


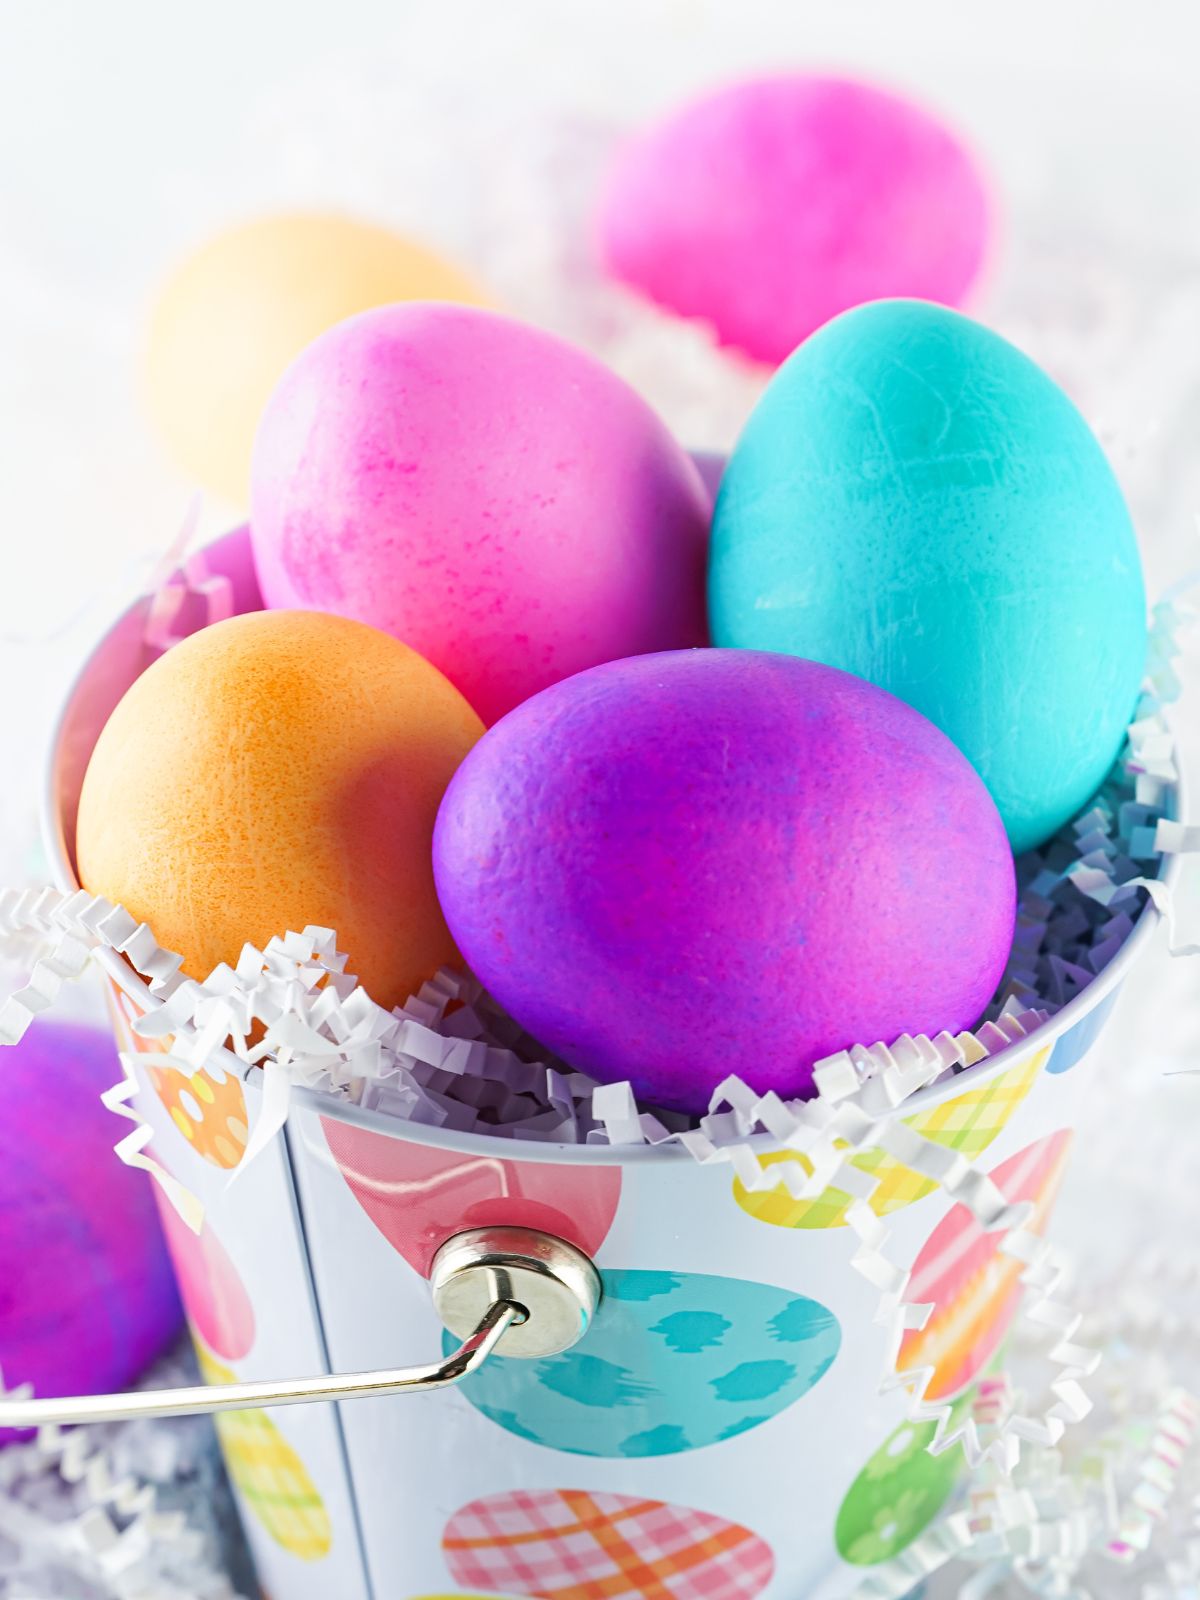
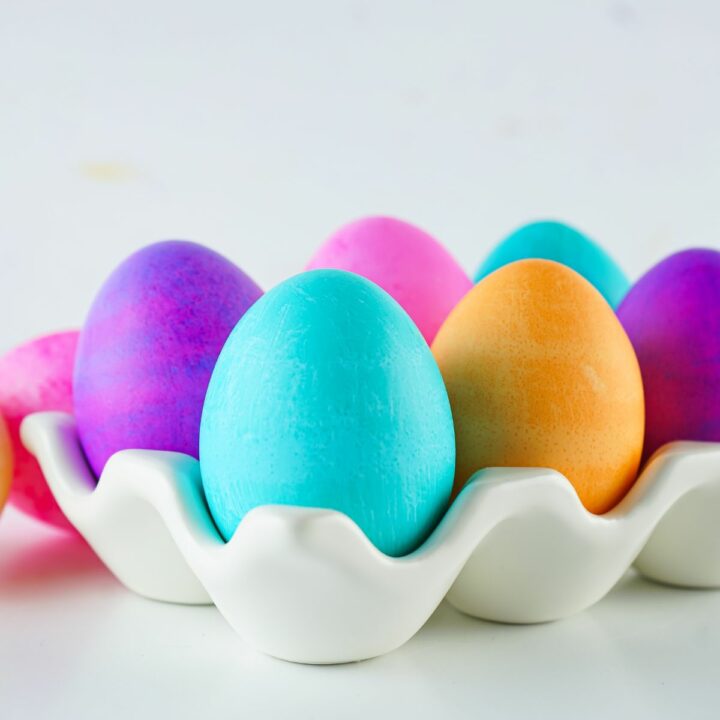
If you forgot to grab an egg dyeing kit, don’t worry. You can easily dye Easter eggs with food coloring using ingredients you already have at home.
Chances are, everything you need is already in your kitchen, making this a quick and budget-friendly Easter activity.
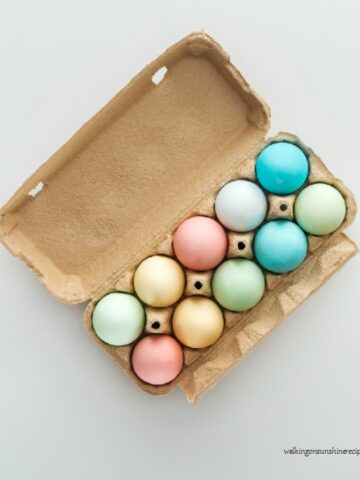
Add a festive touch to your table with a basket of colorful eggs, and check out our holiday recipes and ideas to complete your Easter menu.
Want to Save This Recipe?
Enter your email & I'll send it to your inbox. Plus, get great new recipes from me every week!
By submitting this form, you consent to receive emails from Walking on Sunshine Recipes.
Table of Contents
- Here’s What’s Included:
- Tips for Dyeing Easter Eggs with Food Coloring
- What Readers Are Saying About This Method
- Main Ingredients Needed
- Substitutions and Variations
- Step-by-Step Instructions
- Insider Tips from My Kitchen to Yours
- Easter Egg Dyeing FAQs
- Storage Tips
- More Fun Easter Projects
- Get Easter Brunch Ideas Delivered to Your Inbox
- 🗒️Shopping List
- 💬 Comments
Here’s What’s Included:
Easy step-by-step method: Simple instructions using basic kitchen ingredients.
No special supplies needed: Uses food coloring and common pantry staples.
Quick prep time: Get vibrant results in just a few minutes.
Budget-friendly option: Skip store-bought kits and use what you already have.
Kid-friendly activity: A fun and approachable project for all ages.
Tips for better results: Helpful tricks for brighter, more even color.
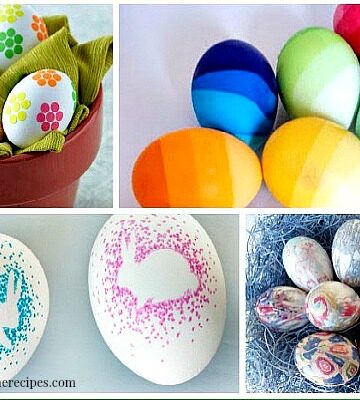
Looking for more fun ideas and recipes for the holiday? Try my Fun Ways to Decorate with Easter Eggs, Tips on Dyeing Easter Eggs Naturally.
Tips for Dyeing Easter Eggs with Food Coloring
Here are a few easy tips to follow when using food coloring for your Easter eggs:
- Warm the dye for deeper color: Microwaving the dye mixture for about a minute can help intensify the color, but it’s optional.
- Adjust colors as needed: Shades like yellow and orange may need extra drops of food coloring for brighter results.
- Use the right type of dye: Liquid food coloring works best (about 10 drops), while oil-based or icing colors won’t mix properly.
- Try different egg types: Brown or farm-fresh eggs create richer, deeper tones for a unique look.
- Don’t worry about gel dye texture: Some gel dyes may create small “floaties,” which can add a fun, marbled or firework-like effect.
What Readers Are Saying About This Method
"Great tips! Can’t wait to try dyeing without a kit!"
~ Emily Holverson
⭐⭐⭐⭐⭐
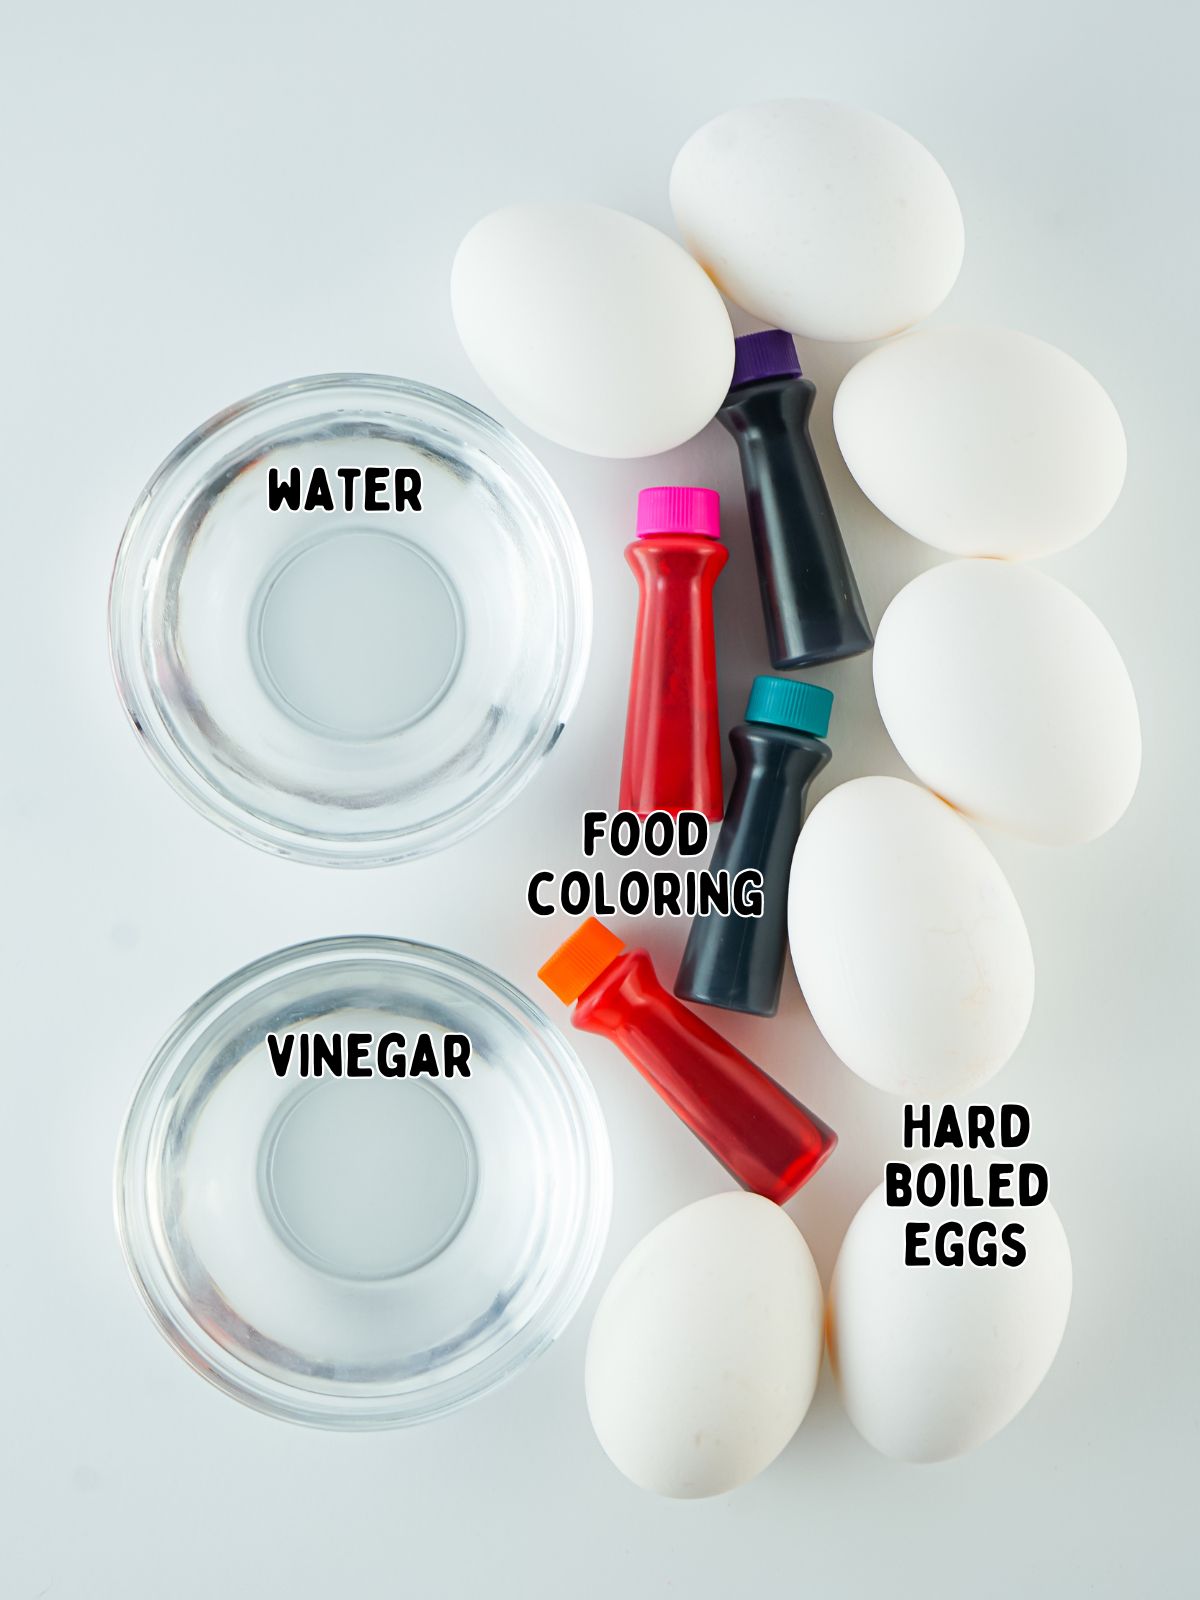
Main Ingredients Needed
Substitutions and Variations
If you don't have gel food coloring, you can use the liquid dye. Depending on the color, you'll need about 10 drops per cup.
White vinegar can be swapped with apple cider vinegar if needed, as both help the dye adhere to the eggs.
For a softer, more muted look, use fewer drops of coloring and shorter soak times. For deeper, more vibrant shades, simply add more dye or let the eggs sit longer.
Brown eggs can be used instead of white eggs for richer, more earthy tones with a unique finish.
You can also experiment with layering colors by dipping eggs in one shade, letting them dry, and then dipping them in another for a two-tone effect.
Step-by-Step Instructions
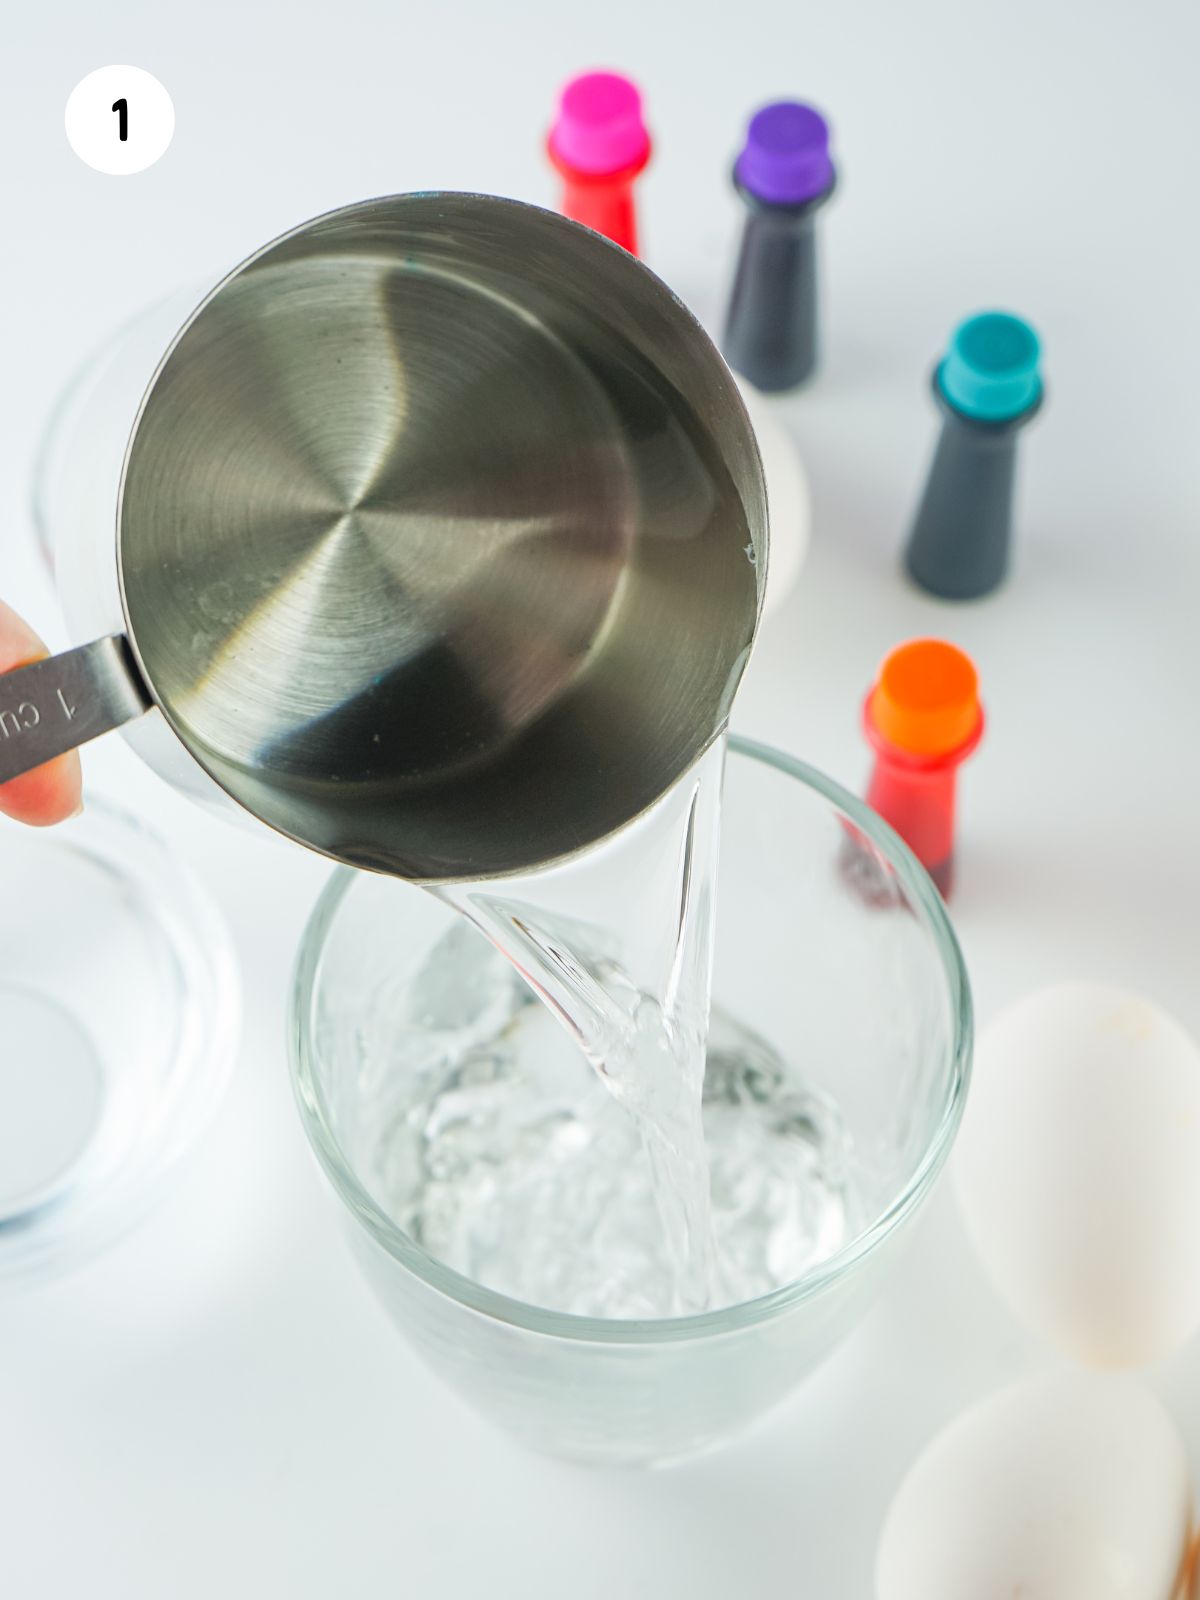
Step 1: Pour 1 cup of water into a cup or bowl where the egg can be fully immersed.
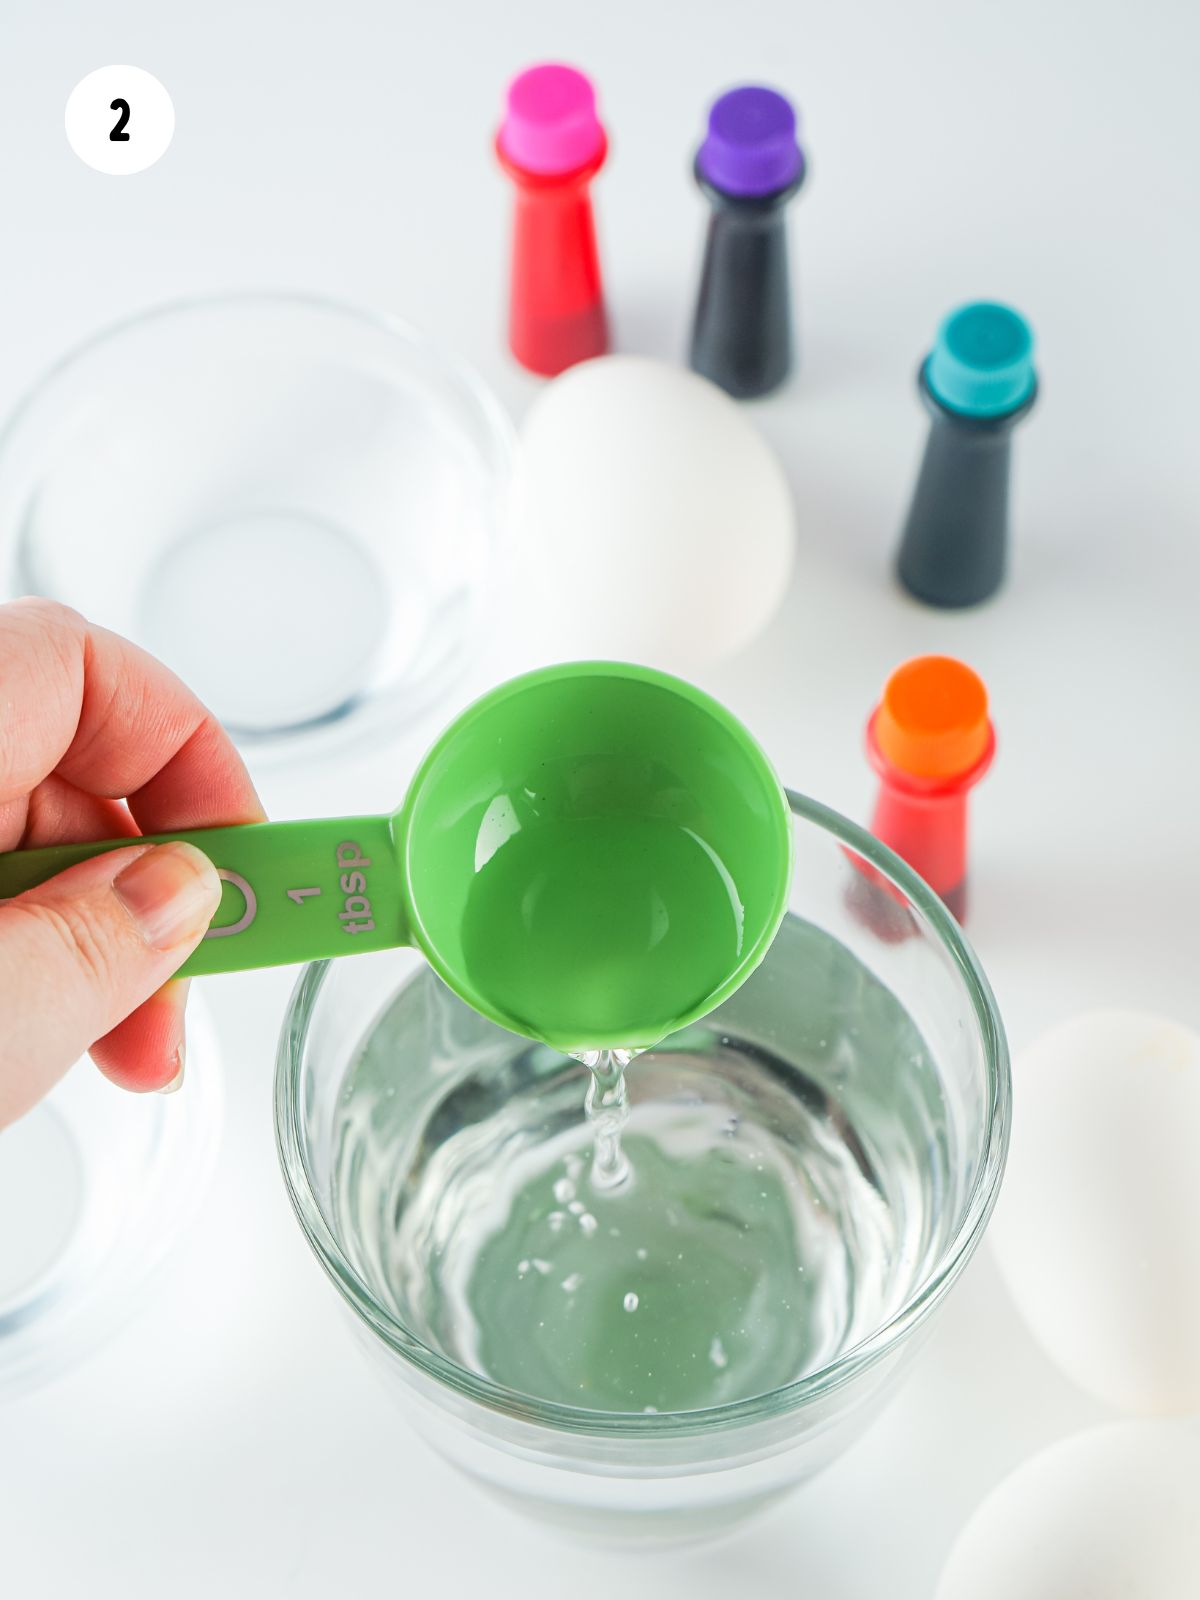
Step 2: Add 1 tablespoon of vinegar to the water.
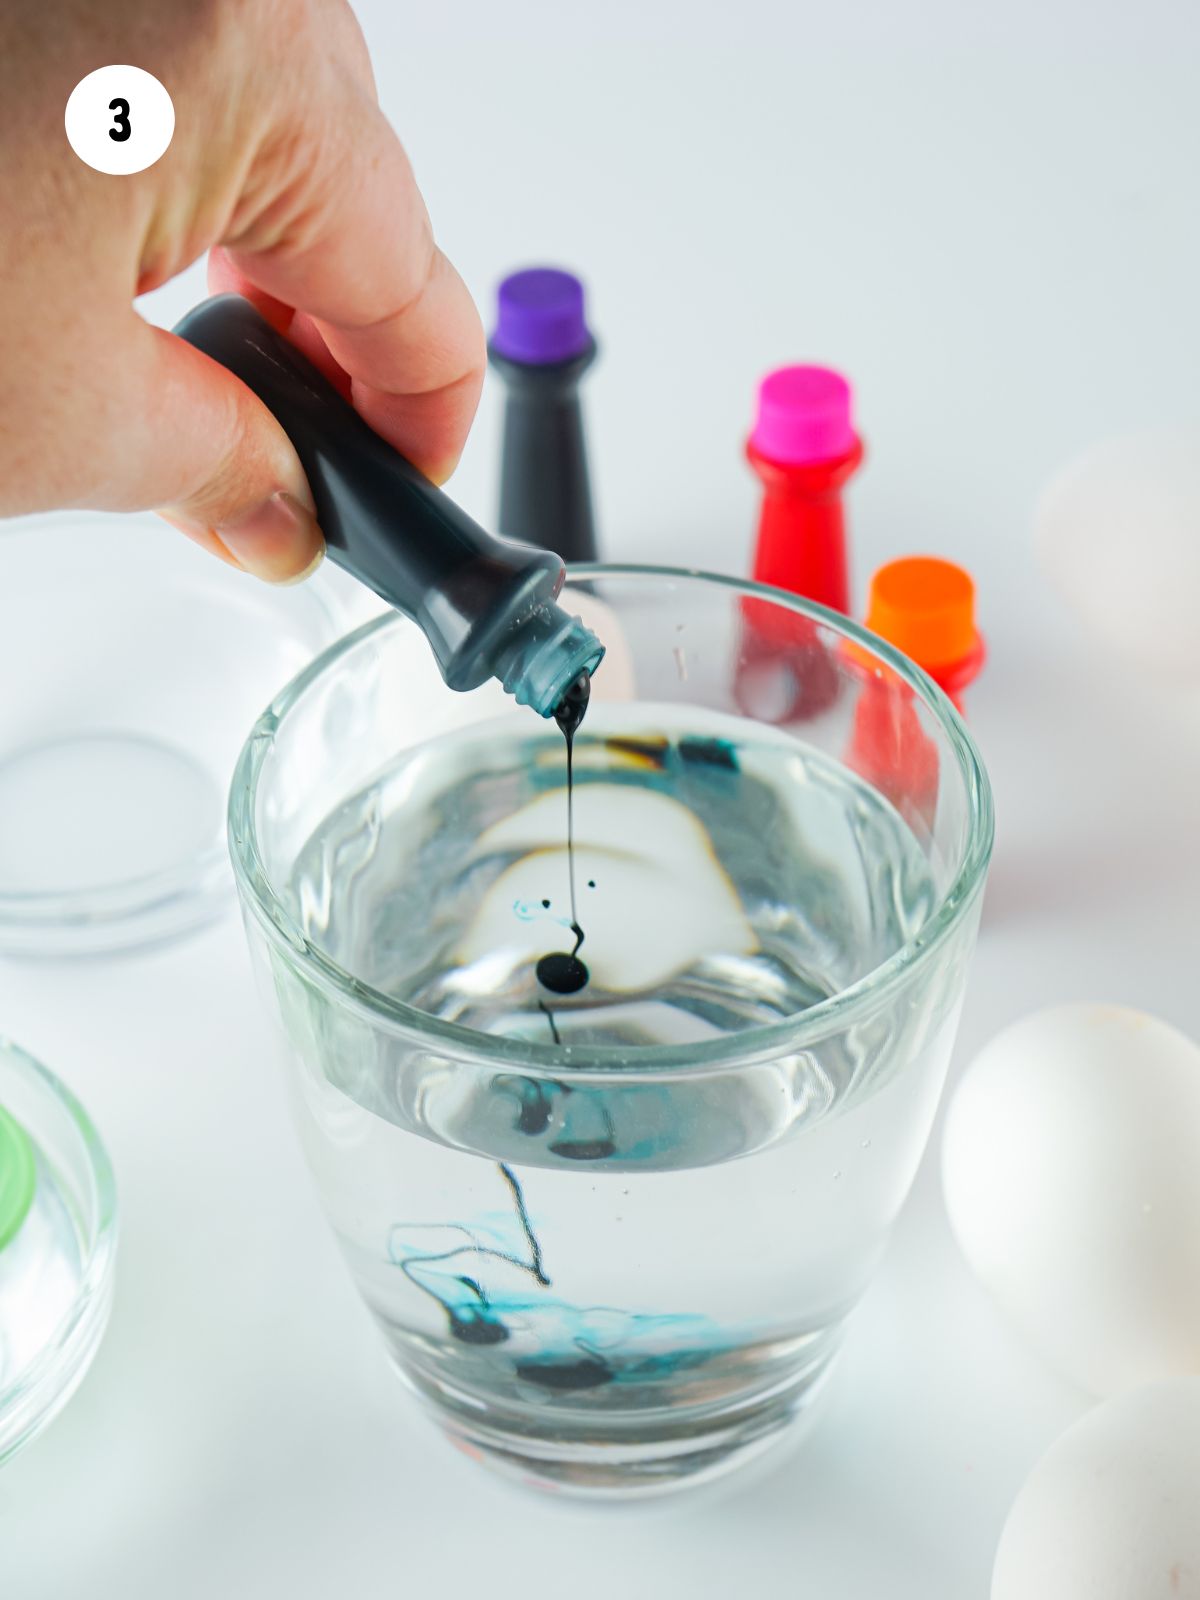
Step 3: Stir in ½ teaspoon of food dye.
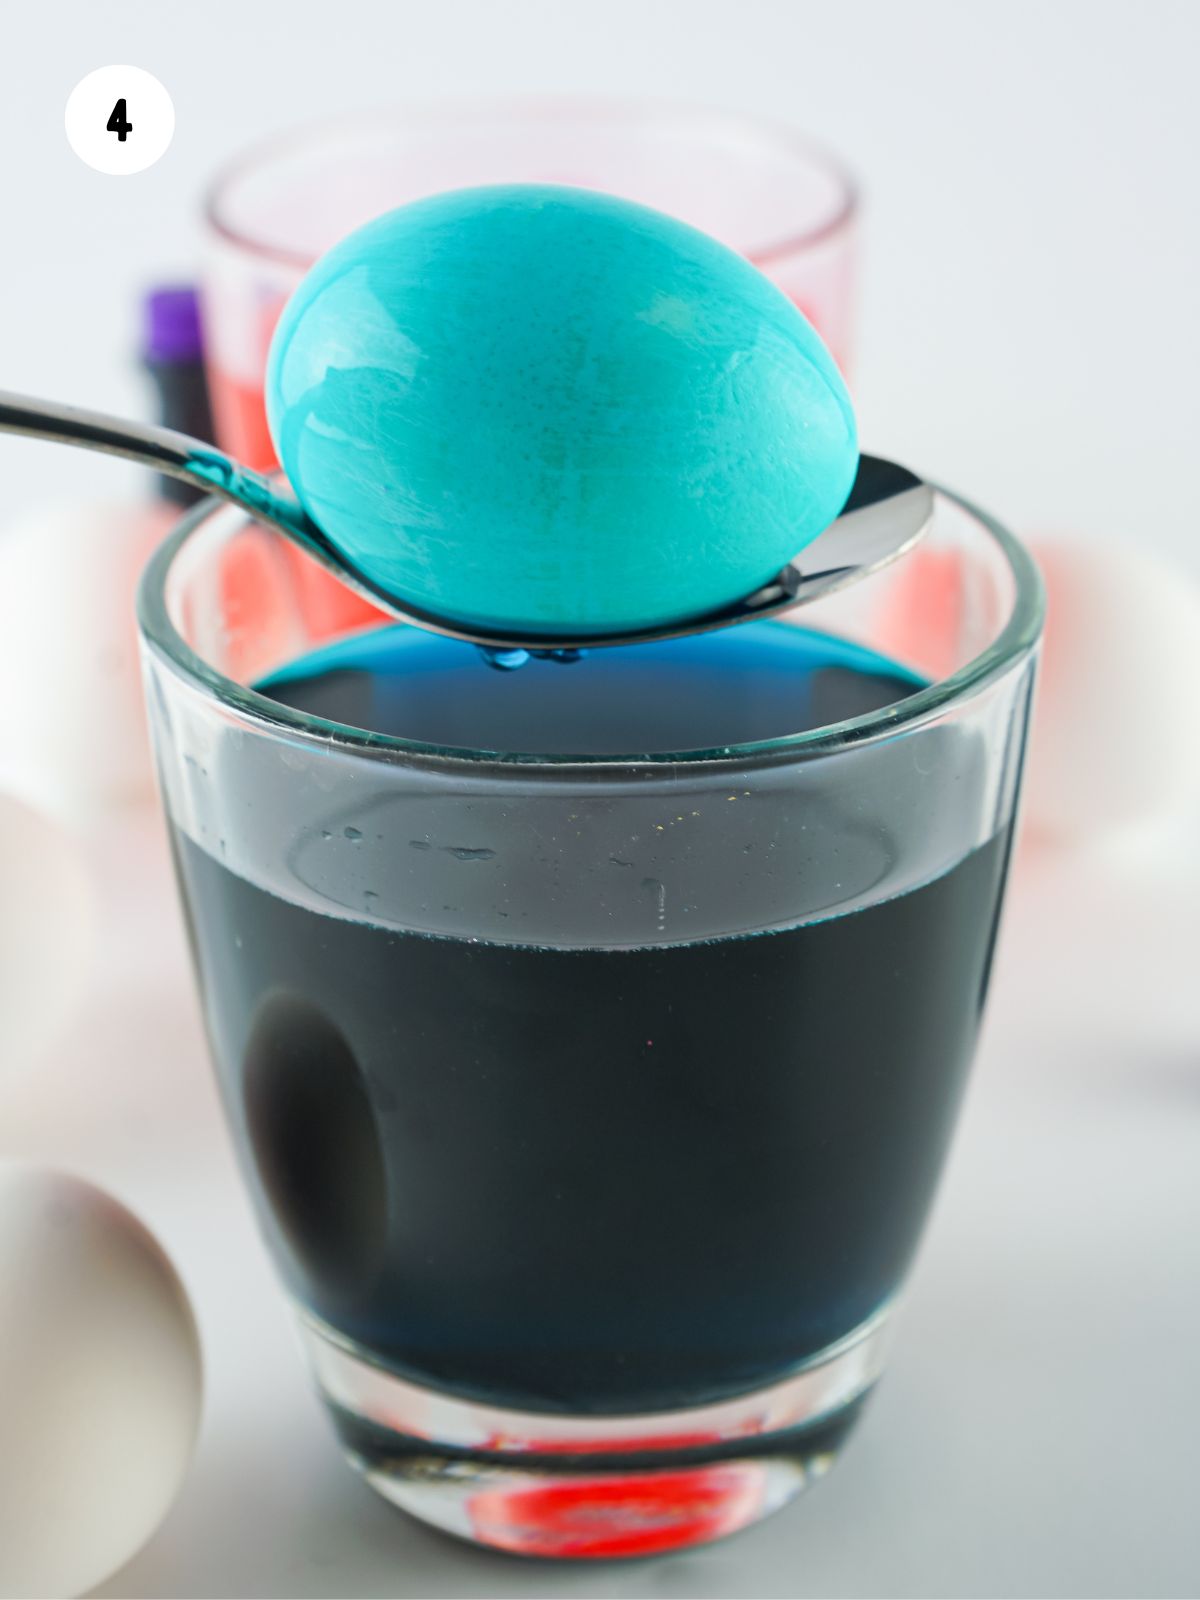
Step 4: Gently place the egg into the dye for about a minute. The longer it sits in the dye, the darker it will get.
Insider Tips from My Kitchen to Yours
✔️ DO start with lighter colors and gradually add more food coloring to control the depth and keep your Easter eggs from becoming too dark too quickly.
❌ DO NOT use oil-based or icing food colors, as they won’t mix properly with water and can ruin your dye.

Easter Egg Dyeing FAQs
Prior to dipping the eggs in the dye, make sure they are chilled or at room temperature. Cold-dyeing facilitates better adherence of the dye to the shell while preventing over-saturation with color.
Hard-boiled eggs, whether dyed or not, should be refrigerated within two hours of cooking to prevent bacterial growth. After dyeing your eggs, place them in the refrigerator if you don't plan to eat them immediately. It's also best to consume refrigerated colored eggs within one week for optimal freshness and safety.
Storage Tips
After dyeing your eggs, place them in the refrigerator if you don't plan to eat them immediately. It's also best to consume refrigerated colored eggs within one week for optimal freshness and safety.
More Fun Easter Projects


Get Easter Brunch Ideas Delivered to Your Inbox
Join the series and get recipes, menu ideas, and inspiration for hosting a delicious Easter brunch.


🗒️Shopping List
Click the button below to instantly create a shopping list for this recipe.
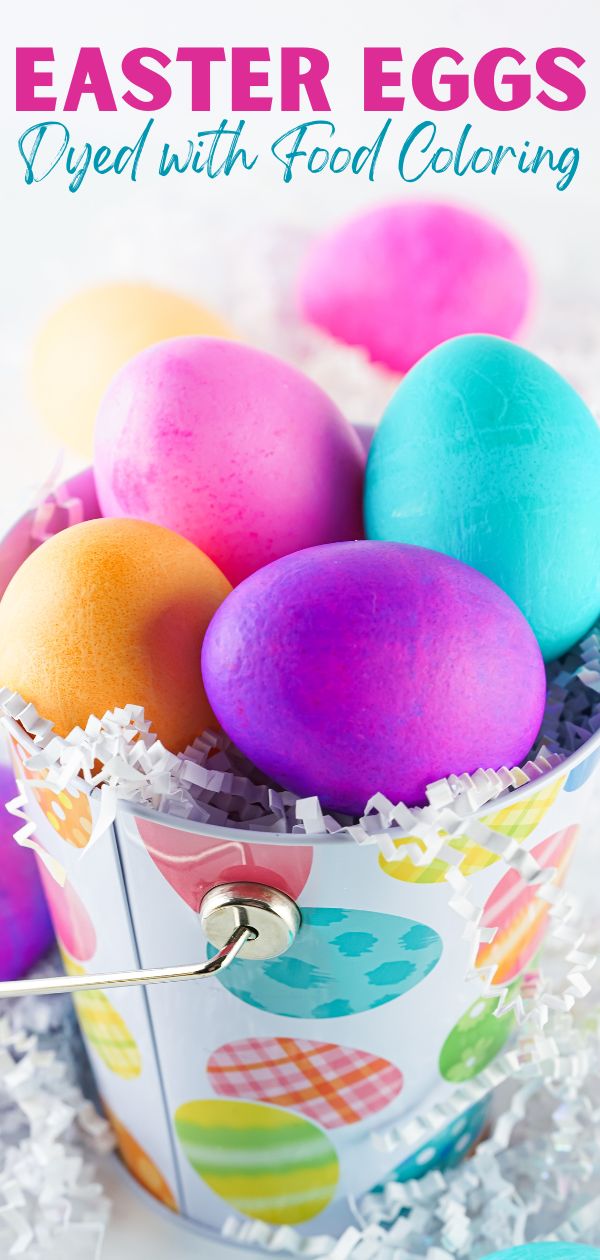
How to Dye Easter Eggs with Food Coloring
Skip the kit and learn how to dye Easter eggs with food coloring using simple pantry ingredients. This easy method creates vibrant colors and is perfect for a fun, budget-friendly Easter activity.
Materials
- boiled eggs
- 1 cup water
- 1 tablespoon vinegar
- ½ teaspoon gel food dye
Tools
- 10 ounce minimum cups or glasses
- paper towels (optional)
- spoons (optional)
Instructions
- Choose your colors and have a glass for each color.
- Place 1 cup water and 1 tablespoon vinegar in each glass.
- Add ½ teaspoon food dye for each color.
- Stir then place the eggs in the glasses. Using spoons makes it easier to get the eggs in and out.
- Within 1 minute, the eggs will be dyed. The longer you leave the eggs in the dye, the darker they will get.
- Let the eggs rest on paper towels to dry for at least 5 minutes.
Notes


Emily Holverson says
Great tips! Can’t wait to try dying with out a kit!
Lois says
Thank you so much! I’m so glad you found the tips helpful—this is such a fun and easy way to dye eggs without a kit. I hope you have a great time trying it! 😊