If you always reach for a roll of refrigerated cookie dough to make cute cutout cookies, that will change after you taste this recipe for Homemade Easy Sugar Cookies.
Life is too short to say no to a cookie every now and then. Let's bake one of my easy cookie recipes together today.
Want to Save This Recipe?
Enter your email & I'll send it to your inbox. Plus, get great new recipes from me every week!
By submitting this form, you consent to receive emails from Walking on Sunshine Recipes.
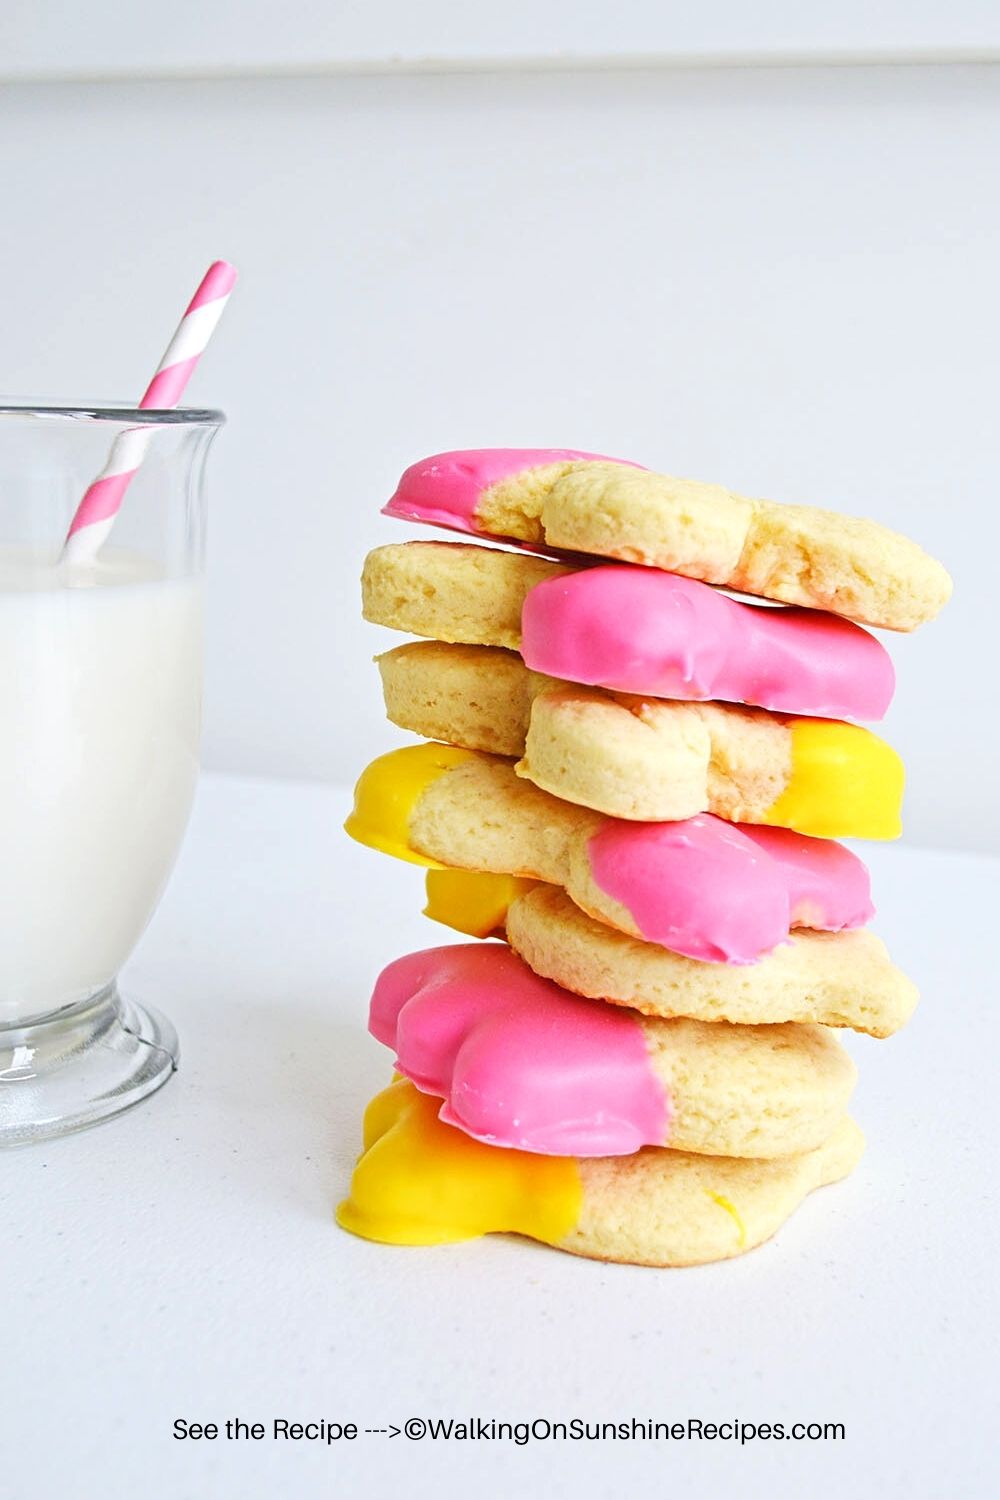
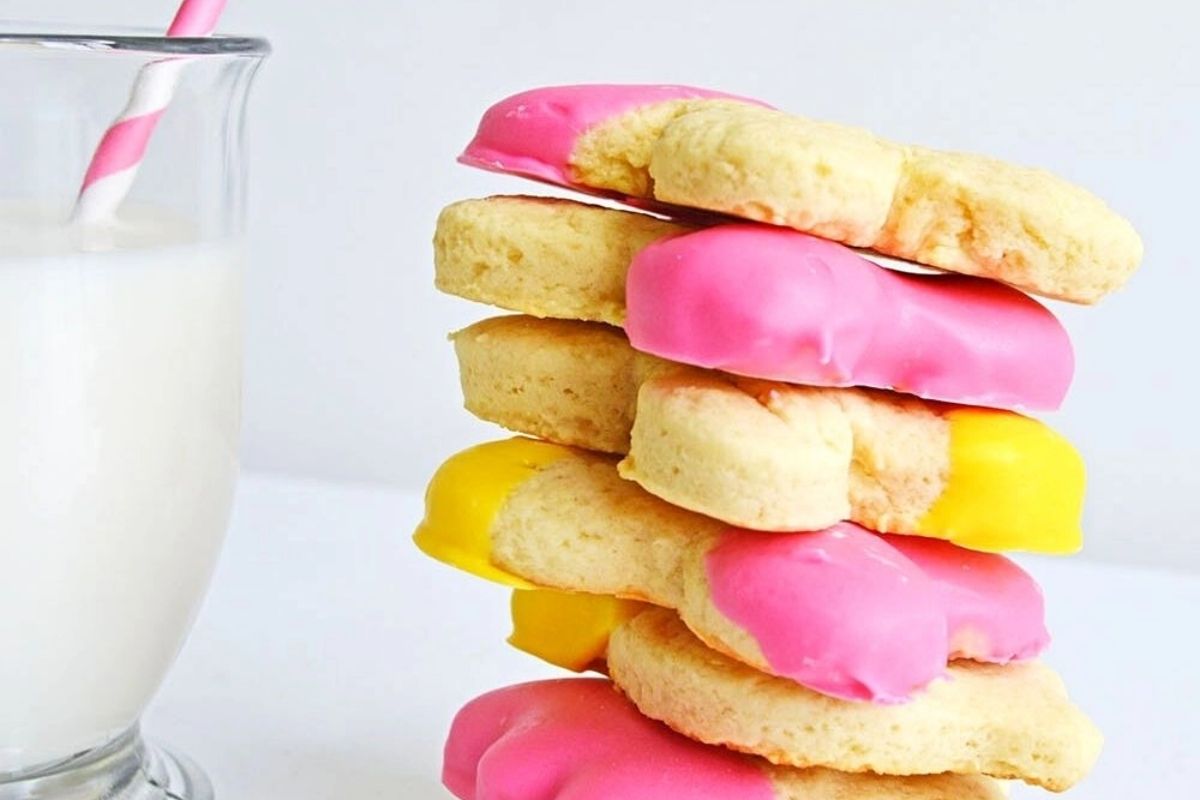
This recipe for Spring Easy Sugar Cookies produces a dough that is very easy to roll out. The dough doesn't spread when baking either so you're sure to get beautiful cutout cookies every time.
Helpful Kitchen Tools
More InformationMore InformationMore InformationMore Information
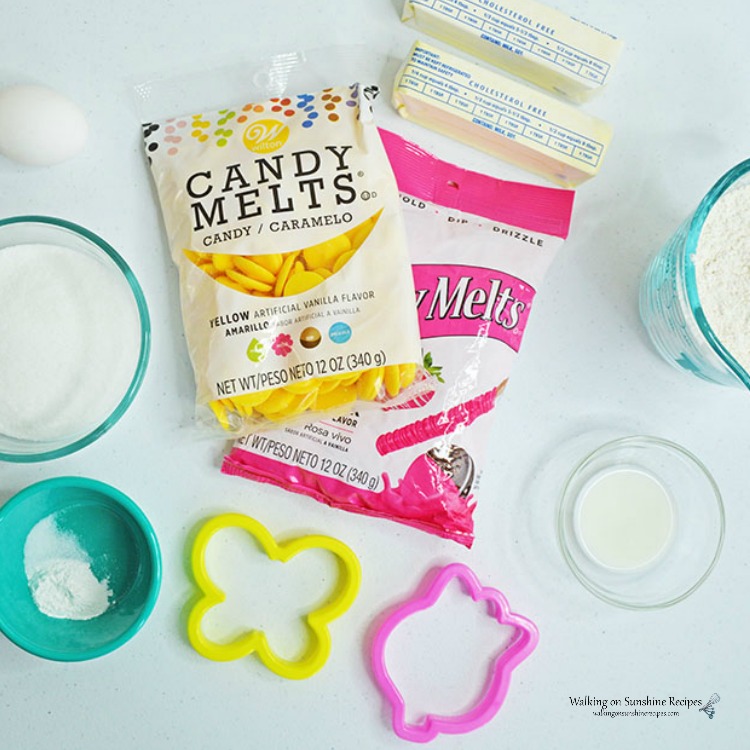
Main Ingredients Needed
Make sure you print out the recipe below and save it for later!
- Flour
- Baking Powder
- Salt
- Butter
- Sugar
- Egg
- Milk
- Vanilla Extract
- Candy melts - in your favorite flavors and colors. I chose pink and yellow for Spring.
Directions
- In a large bowl, using a hand-held mixer combine together the butter and sugar until light and fluffy. Then add in the egg and milk, mix again.
- In another bowl, whisk together the flour, baking powder, and salt.
- Add the dry ingredients slowly to the wet ingredients, mixing well between each addition.
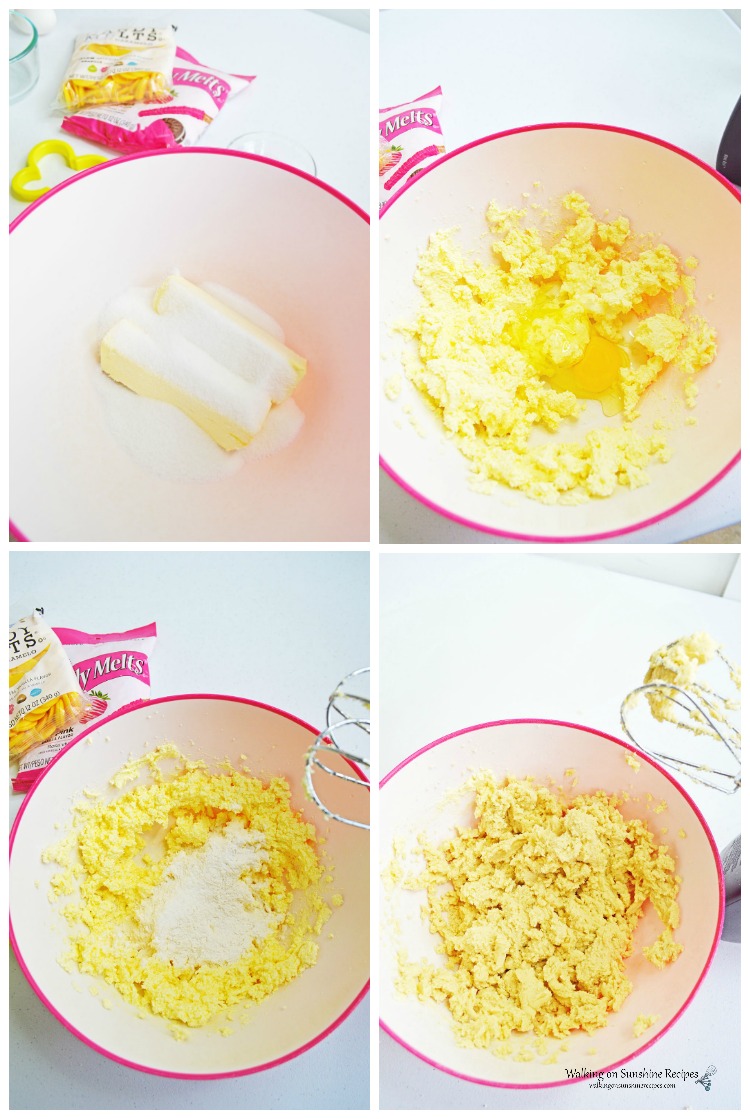
- Once your dough forms, remove it from the bowl and place it onto a sheet of plastic wrap.
- Wrap the dough up in the plastic wrap and chill in the refrigerator for at least one hour.
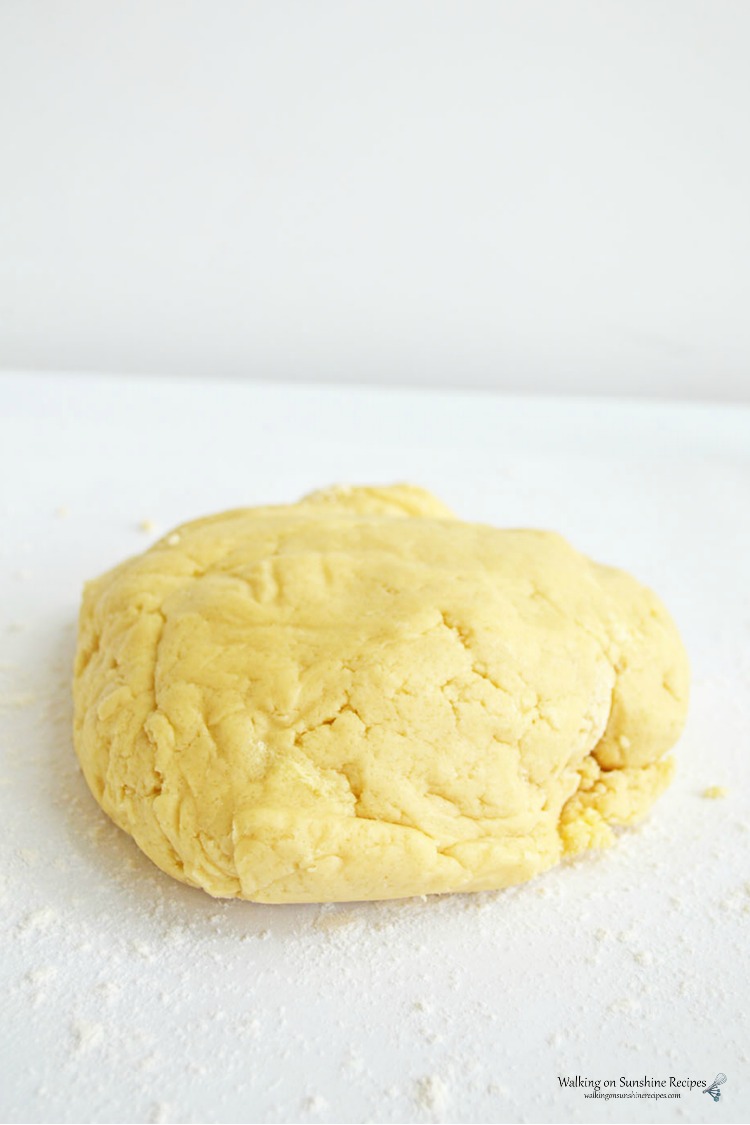
- Once the dough has chilled, roll the dough out onto a lightly floured surface, about ¼ – ½ inch thick.
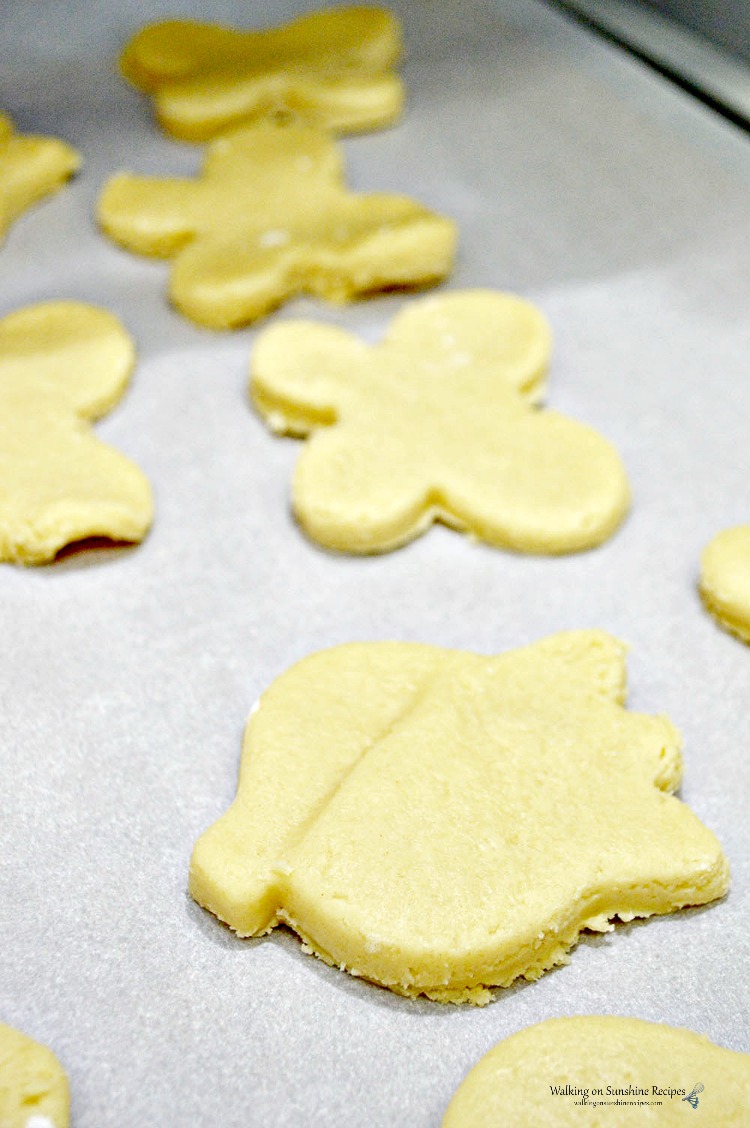
- Cut out the shapes using your favorite shaped cookie cutters. It helps to dip the cookie cutters lightly in flour before placing them on top of the cookie dough.

- Place your cut out cookie shapes onto a baking tray that's been covered with parchment baking sheet.
Baking Instructions
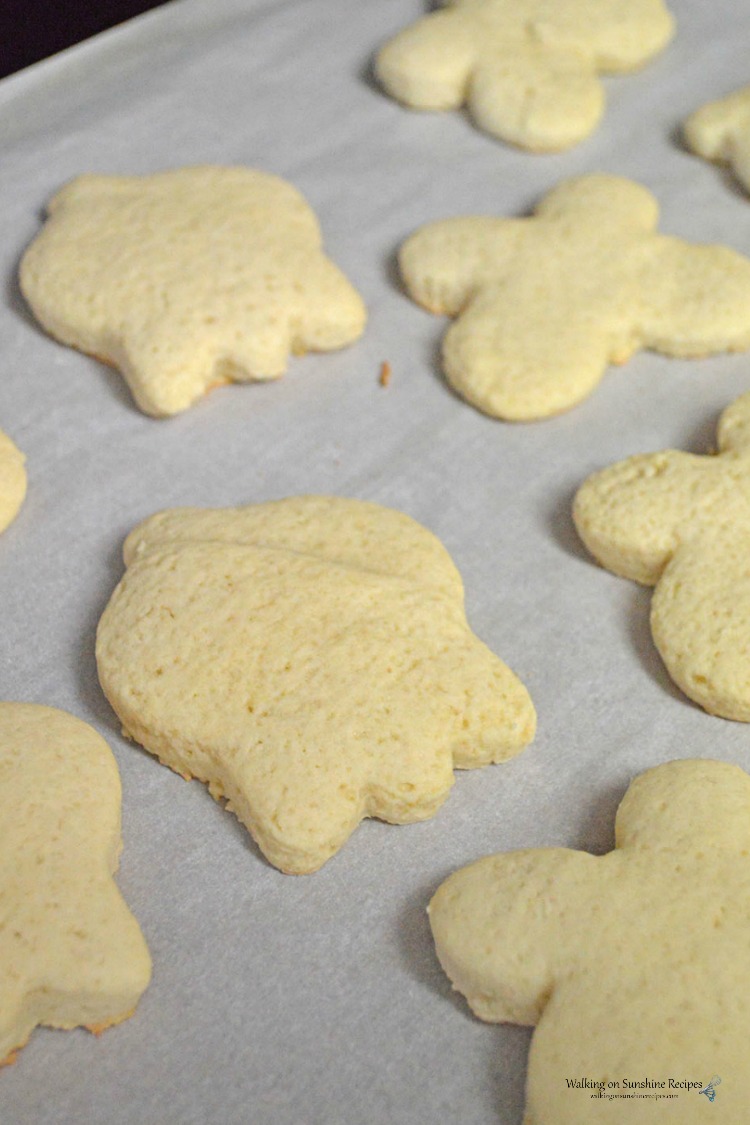
- Place cookies in the preheated 375 degrees oven and bake 8-10 minutes.
- You'll know the cookies are done when they begin to turn golden brown. My best advice is to pull the trays out of the oven when they start to change color. They're also going to look slightly cracked across the center as you can see from the photo below.
- Allow cookies to cool completely before dipping in melted candy melts.
How to decorate sugar cookies
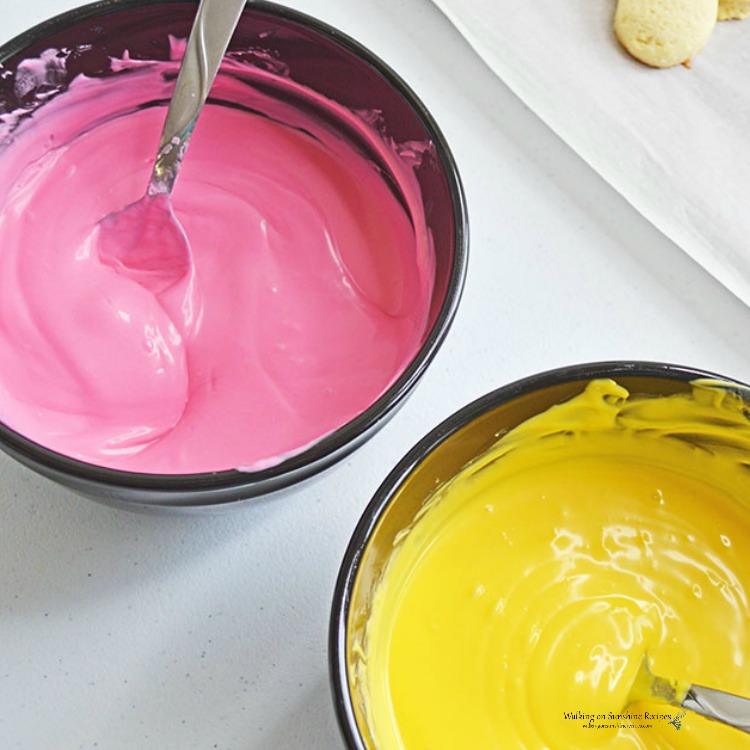
- Place the candy melts in a microwavable-safe bowl and heat in 30 second intervals making sure you stir between each interval until the candy melts are completely melted.
- Dip one end of each cookie in the melted candy melts and place the cookies on parchment baking sheets to dry and harden completely before serving.
Before You Begin!
If you make this recipe, please leave a review and star rating. This helps my business thrive and continue providing FREE recipes.

How long will sugar cookies stay fresh?
- Spring Sugar Cookies should remain fresh for up to two week. Although they taste best when eaten within the first week.
- Store the decorated cookies in layers inside a plastic storage container. In between each layer, you should place a piece of either waxed paper or parchment baking sheets.
Can you make the dough ahead?
- Yes, you can prepare this dough and leave it in the refrigerator for up to three days. Make sure you wrap the dough in plastic wrap and keep it stored in the refrigerator until you're ready.
- You will definitely need to let the dough come to room temperature before rolling and cutting out the shapes.
Tips on freezing sugar cookies
- You can definitely freeze these sugar cookies! Although I recommend NOT dipping them in the candy melts. You can dip them in the melted candy melts after they defrost.
- Allow the baked cookies to cool completely before placing them in layers in a plastic storage container. Make sure you add parchment baking sheets in between each layer.
- You can also "flash freeze" the cookies first by laying them on a baking sheet in a single layer. Then place the baking sheet in the freeze and allow the cookies to harden for about 30 minutes. Then place the cookies in a plastic storage container with parchment baking sheets or waxed paper in between each layer.
- Frozen sugar cookies should remain fresh in the freezer for up to two months.
Like this recipe? Try these other delicious cookie recipes.
- Shortbread Cookies - my favorite cookies all year long!
- Classic Oatmeal Cookies
- Slice and Bake Colorful Swirl Cookies
- Soft Chewy Perfect Sugar Cookies made with Self-Rising Flour
📖 Recipe Card

Easy Sugar Cookies
Ingredients
- 3 cups flour
- 1 teaspoon baking powder
- ¼ teaspoon salt
- 1 cup butter
- 1 cup sugar
- 1 egg
- 1 teaspoon vanilla extract
- 1 tablespoon milk
- Candy melts
Method
- How to Prepare the Cookie Dough
- Preheat your oven to 375 degrees.
- In a large bowl, mix together butter and sugar until light and fluffy. Add vanilla extract, egg and milk, mix again.
- In another bowl, whisk together flour, baking powder, and salt.
- Add dry ingredients slowly to wet ingredients, mixing well between each addition.
- Once your dough forms, plop it onto a sheet of parchment paper.
- Wrap the dough in the parchment paper and chill in the refrigerator for at least one hour.
- Once the dough is chilled, roll dough onto surface, about ¼ – ½ inch thick, and cut out Spring shapes, using cookie cutters.
- Place your cookie shapes onto a cookie sheet covered with parchment paper.
- How to Bake the Cookies
- Place cookies in the preheated 375 degrees oven and bake 8-10 minutes until they begin to turn golden brown on bottom.
- Allow cookies to cool completely before dipping in melted candy melts.
- How to Dip the Cookies
- Place the candy melts in a microwavable-safe bowl and heat in 30 second intervals making sure you stir between each interval until the candy melts are completely melted.
- Dip one end of each cookie in the melted candy melts and place the cookies on waxed paper to dry and harden completely before serving.
Nutrition
Notes
Tried this recipe?
Let us know how it was!This recipe has been updated since it first appeared in 2016 with new photos, information and a new printable recipe card that includes nutritional information. I hope you enjoy the updates as much as I enjoyed working on them!


Comments
No Comments