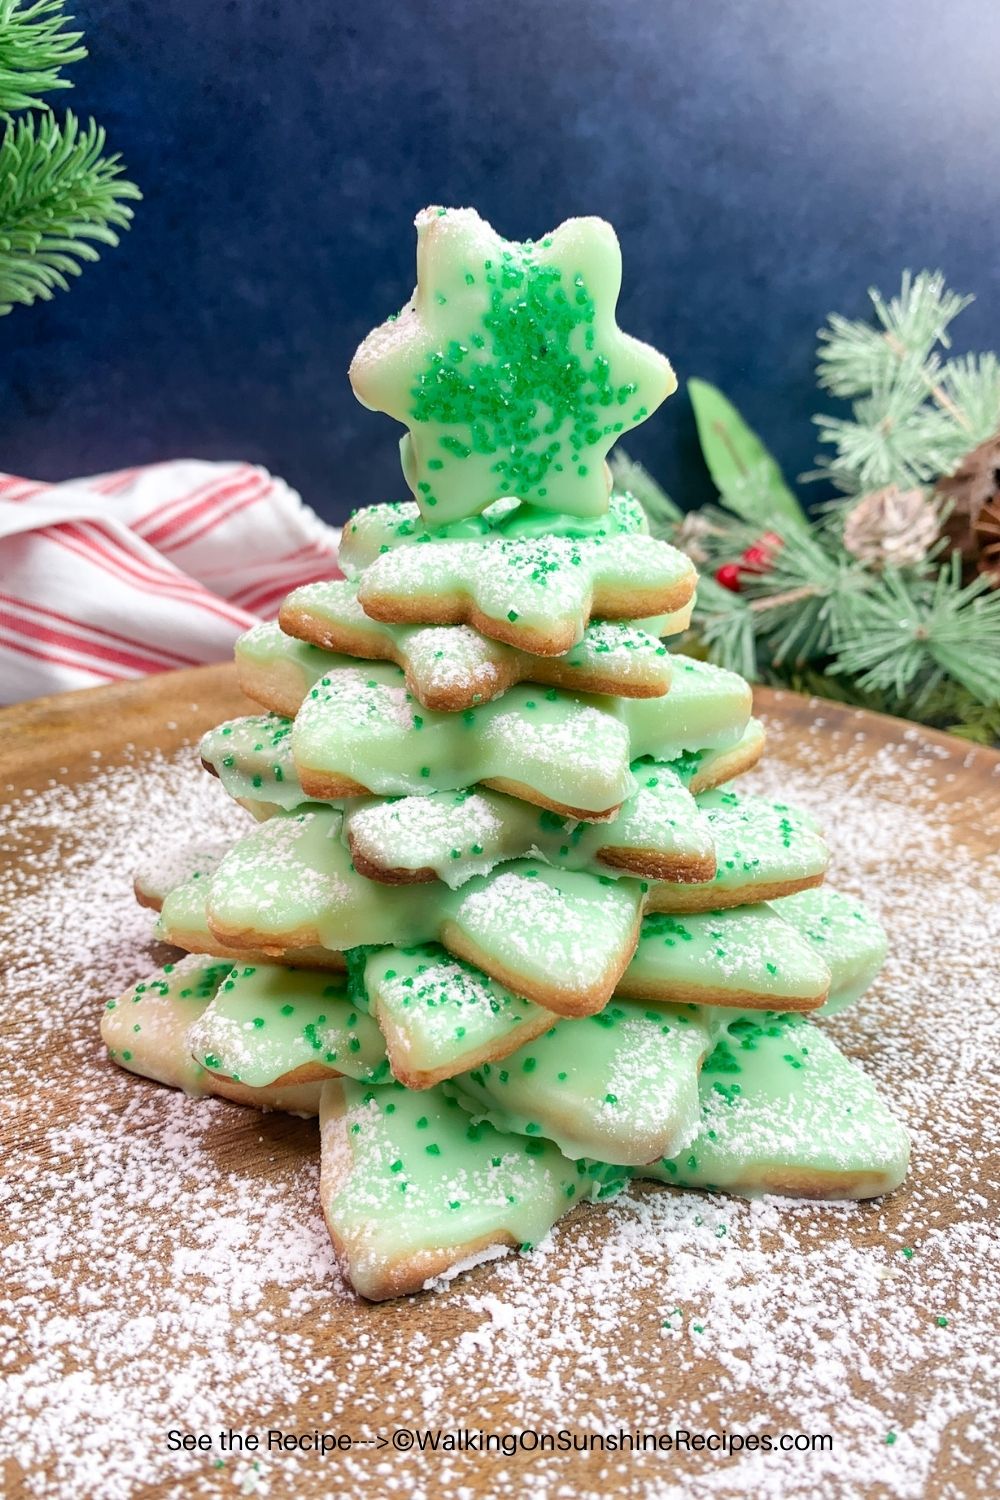
If you’re looking for a show stopping holiday cookie, this Christmas Cookie Tree is a wonderful choice.
The buttery, almond-flavored dough is soft, easy to roll out, and bakes without spreading, which makes it ideal for cutting out star shapes and stacking them into a festive cookie tree.
It’s another one of my Christmas Cookies that’s simple to make, beautiful to display, and always a hit on holiday dessert tables.
This post has been updated since it first appeared in 2021 with improved instructions, added tips, and clearer guidance for assembling the cookie tree.
Recipe at a Glance
Prep: 10 min |Chill: 60 min | Cook/Bake: 10 min | Difficulty: Easy
What it is: A festive stacked star cookie christmas tree made from buttery star-shaped sugar cookies flavored with almond extract for a classic Italian touch, then layered with simple icing and sprinkles.
Why you’ll love it: The dough is easy to roll out, holds its shape beautifully, and makes a charming centerpiece for cookie trays or dessert tables.
How to make it: Cut star shapes from the dough, bake until lightly golden, then stack the cookies with icing to form a tree. Add sprinkles or powdered sugar for a festive finishing touch.
Want to try another version of this recipe? Try my Christmas Tree Cutout Cookies?
Table of Contents
- Recipe at a Glance
- Why I Love this Recipe and You Will Too!
- Recommended Kitchen Tools
- My Kitchen Tools Essentials
- Main Ingredients Needed
- Substitutions and Variations
- Step-by-Step Instructions
- Insider Tips from My Kitchen to Yours
- Storage & Serving Tips
- Recipe FAQ's
- More Italian Christmas Cookie Recipes
- LOVE this recipe? SAVE it for Later!
- 📖 Recipe Card
- 💬 Comments

Why I Love this Recipe and You Will Too!
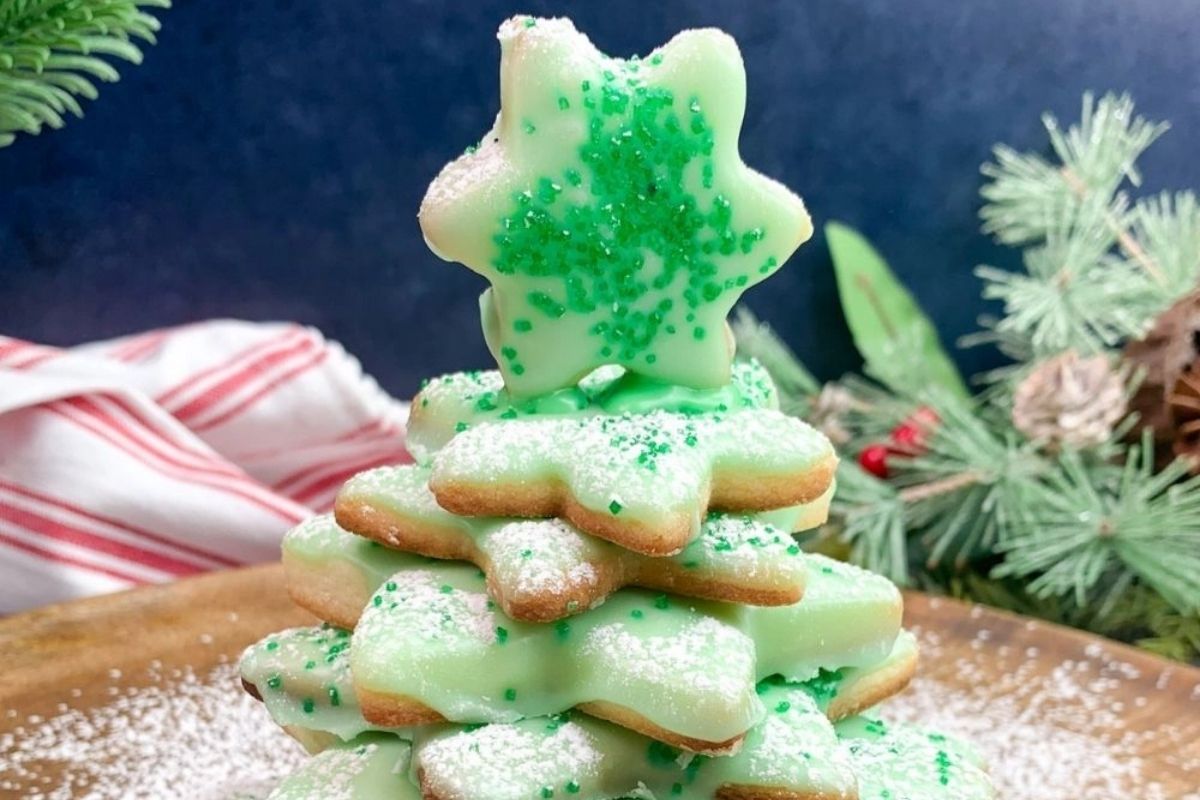
These green italian cookies are made with a soft, buttery dough flavored with almond extract for a classic Italian touch that feels perfect for Christmas.
It holds its shape beautifully, stacks easily, and always adds something festive to a holiday dessert tray.
Recommended Kitchen Tools
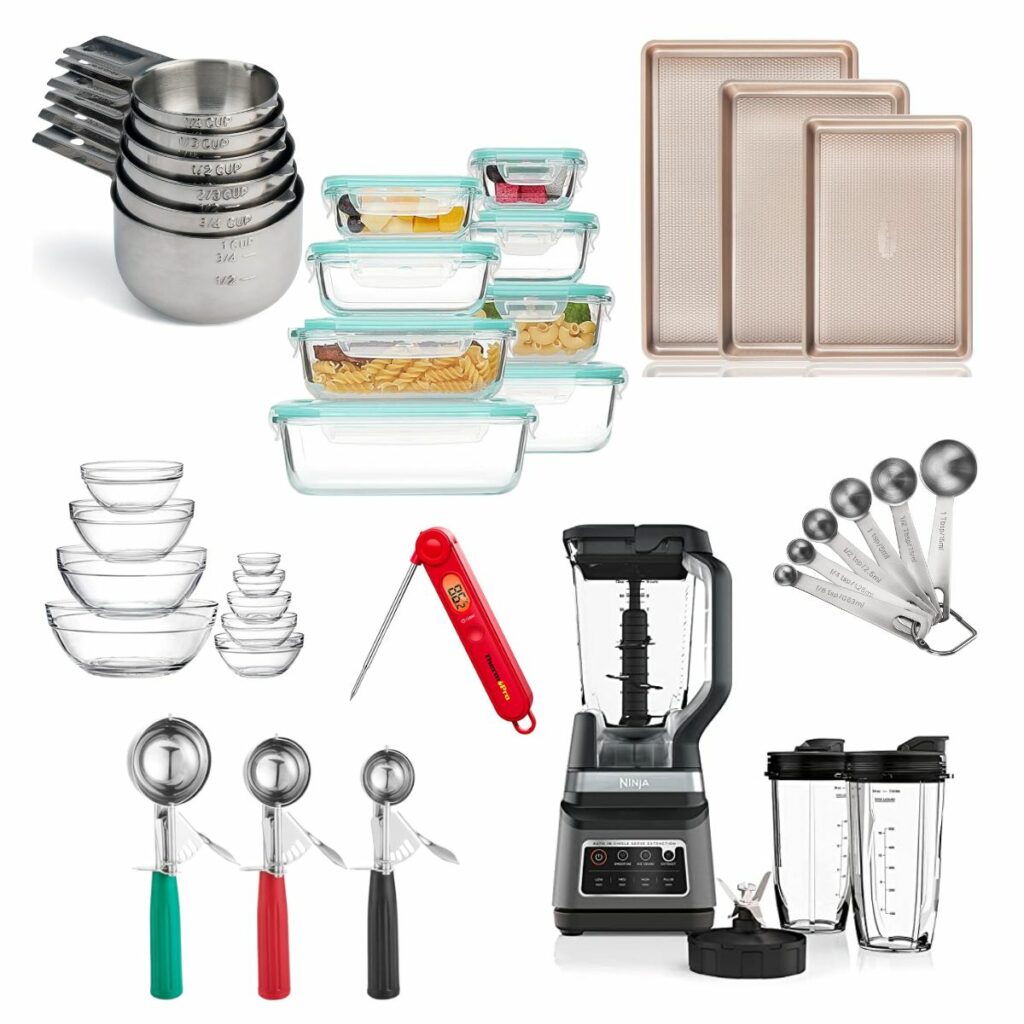
For a full list of kitchen tools used in this recipe, be sure to check the recipe card below. You can also browse my Favorite Kitchen Tools by clicking the photo below.
Check out my list...
My Kitchen Tools Essentials
Tools that will make your time easier and faster in the kitchen!
More InformationMore InformationMore InformationMore InformationMore InformationMore Information
Main Ingredients Needed
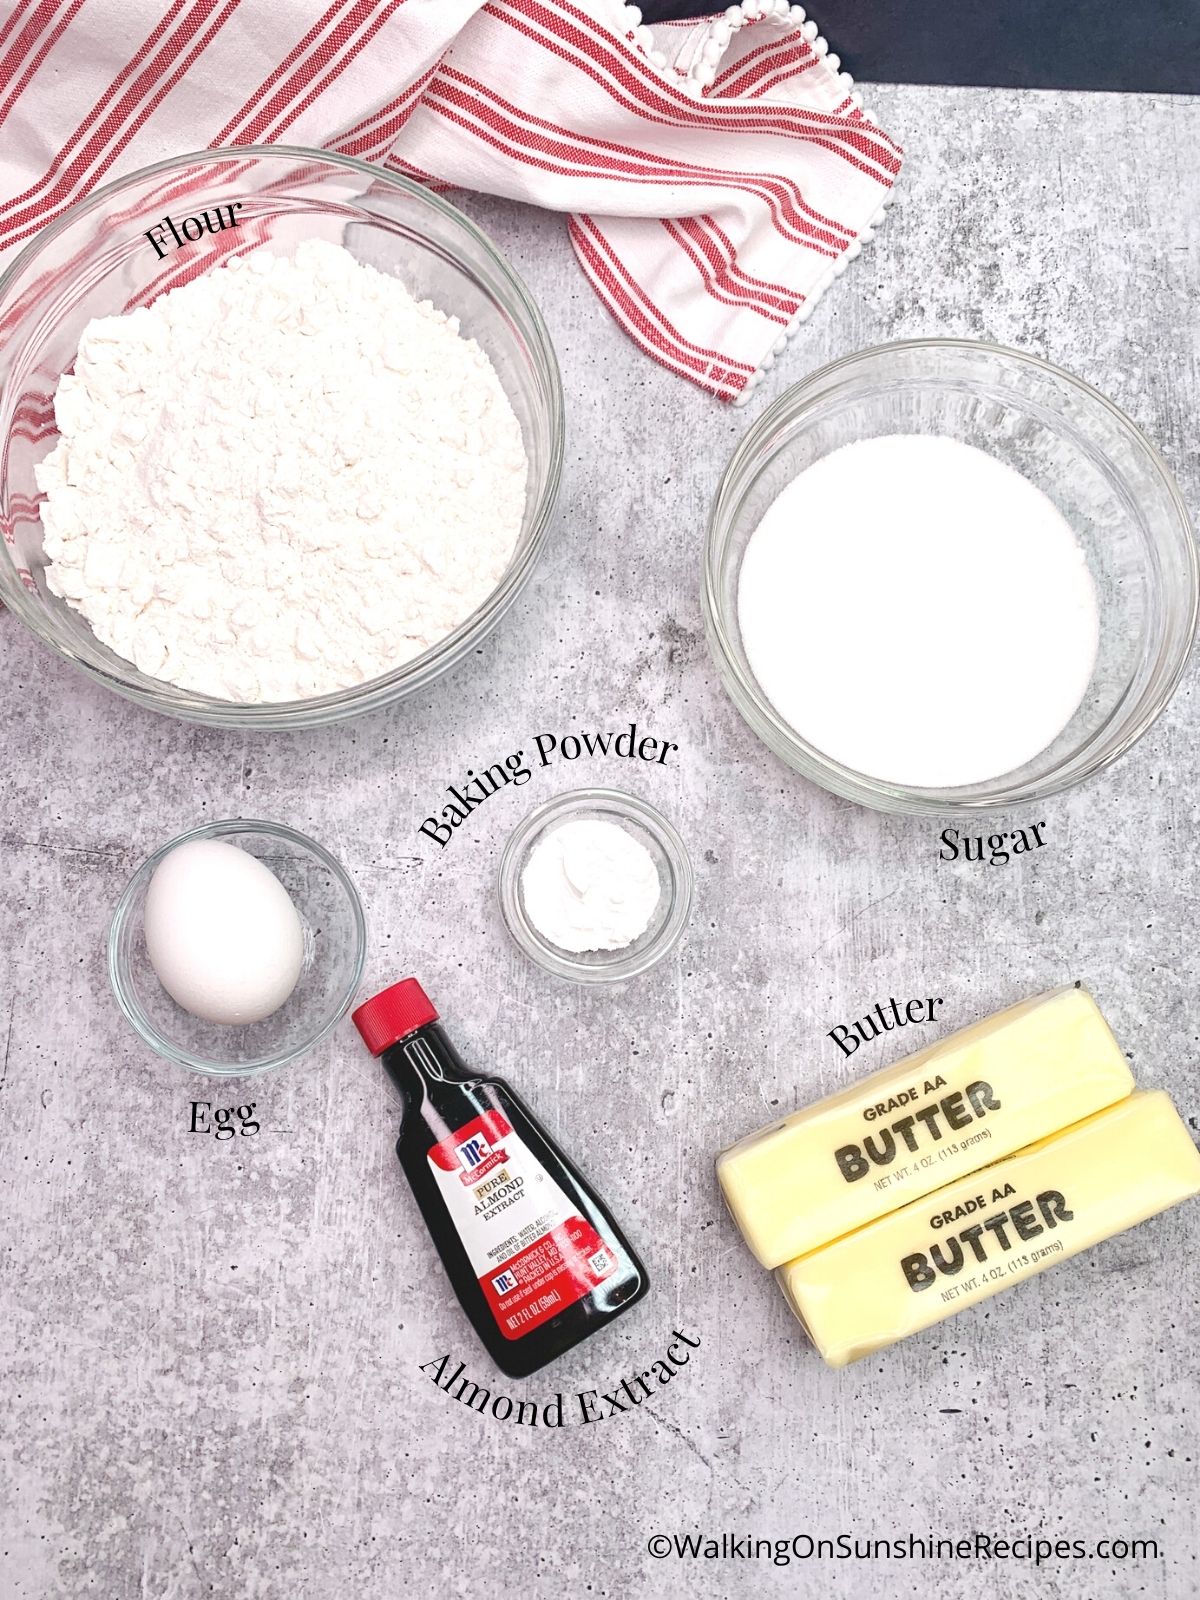
Here's a quick overview of the ingredients for this recipe. Find the exact amounts and click the Instacart button to easily add them to your cart – all in the printable recipe card below!
Substitutions and Variations
Flavor swaps: If your family isn’t fond of almond extract, replace it with a teaspoon of vanilla extract. Lemon extract works well in spring and summer, and peppermint extract adds a fun holiday twist.
Different cookie cutters: This dough holds its shape beautifully, so you can use any cookie cutter you like. It’s a great year-round sugar cookie base.
Kid-friendly: Little helpers will love rolling out the dough and cutting shapes. It’s an easy recipe to turn into a fun family baking activity.
This versatile cookie dough works beautifully for easy cookies all year long. Just change the shape or flavoring. Make stars for summer holidays, flowers for spring, and pumpkins for Thanksgiving.
Step-by-Step Instructions
This section includes step-by-step photos and instructions to guide you through the recipe. For the complete printable version, scroll down to the recipe card below.
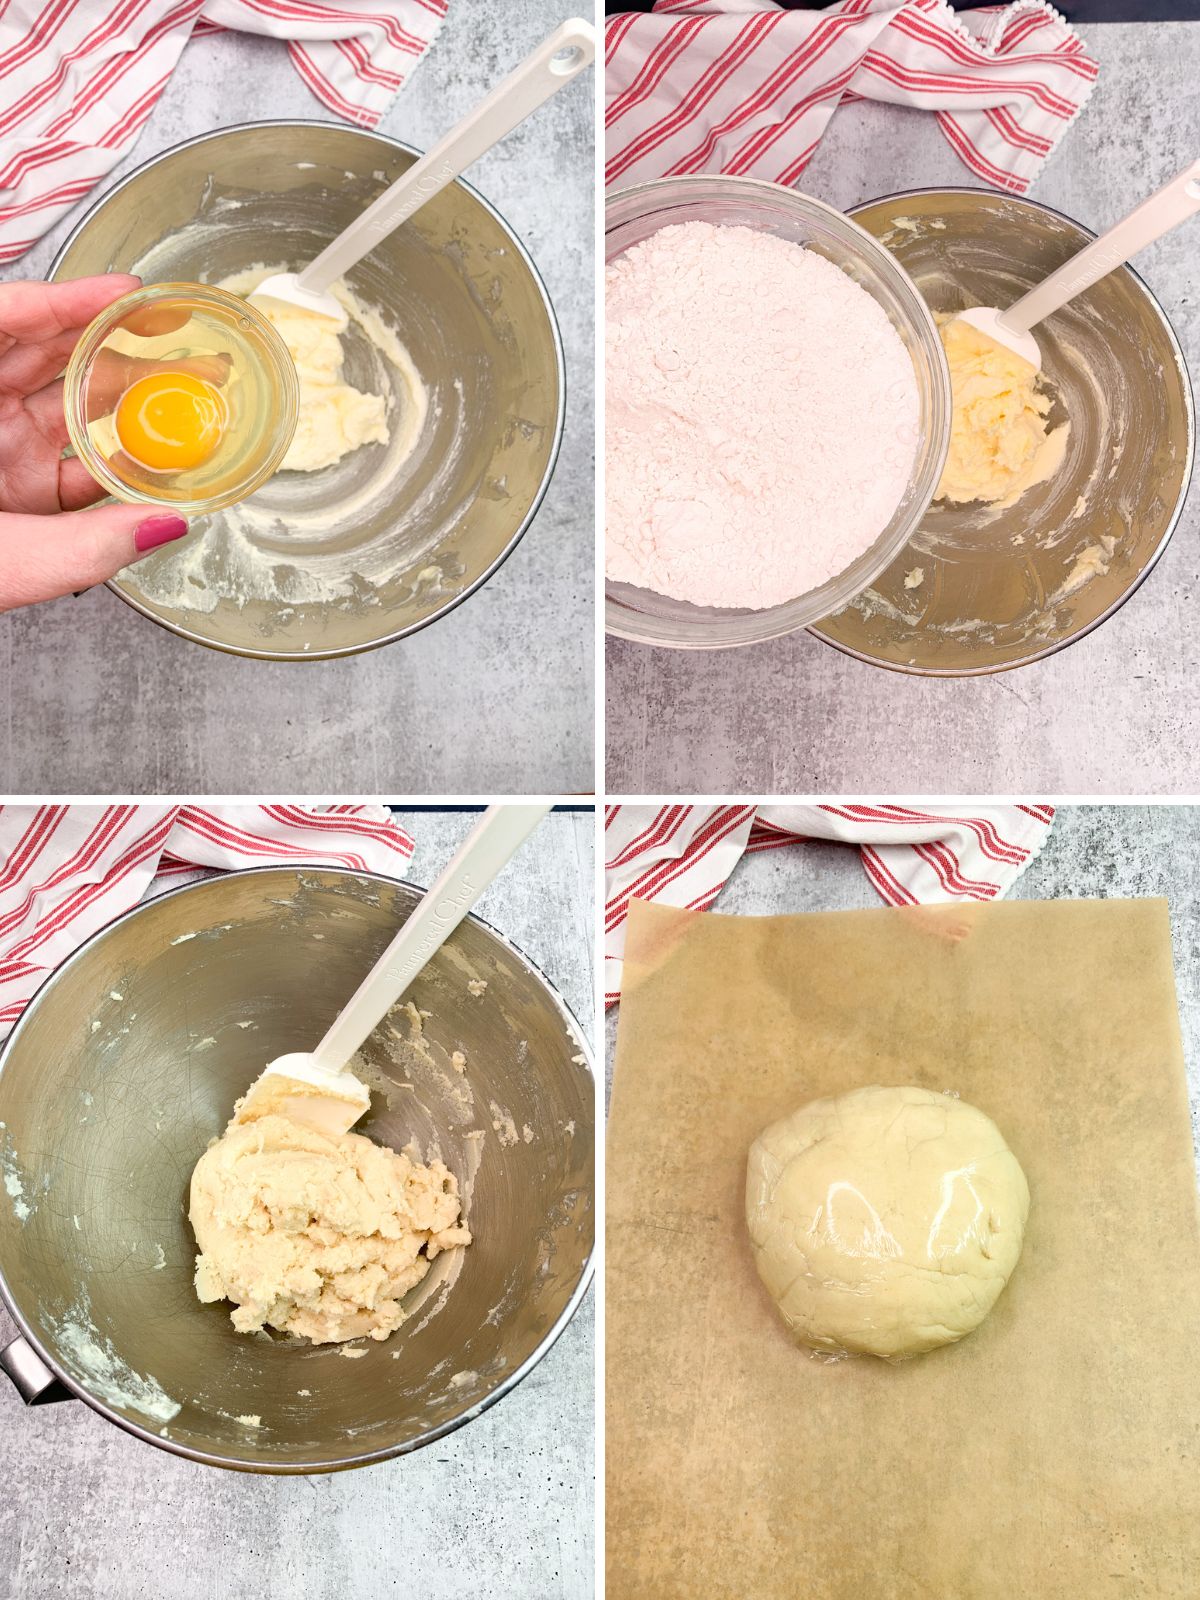
Step 1: Beat the butter and sugar until creamy, then mix in the egg and almond extract. Gradually add the sifted flour and baking powder until the dough comes together. Turn the dough onto a board, shape it into a disc, wrap in plastic, and refrigerate for 1 hour.
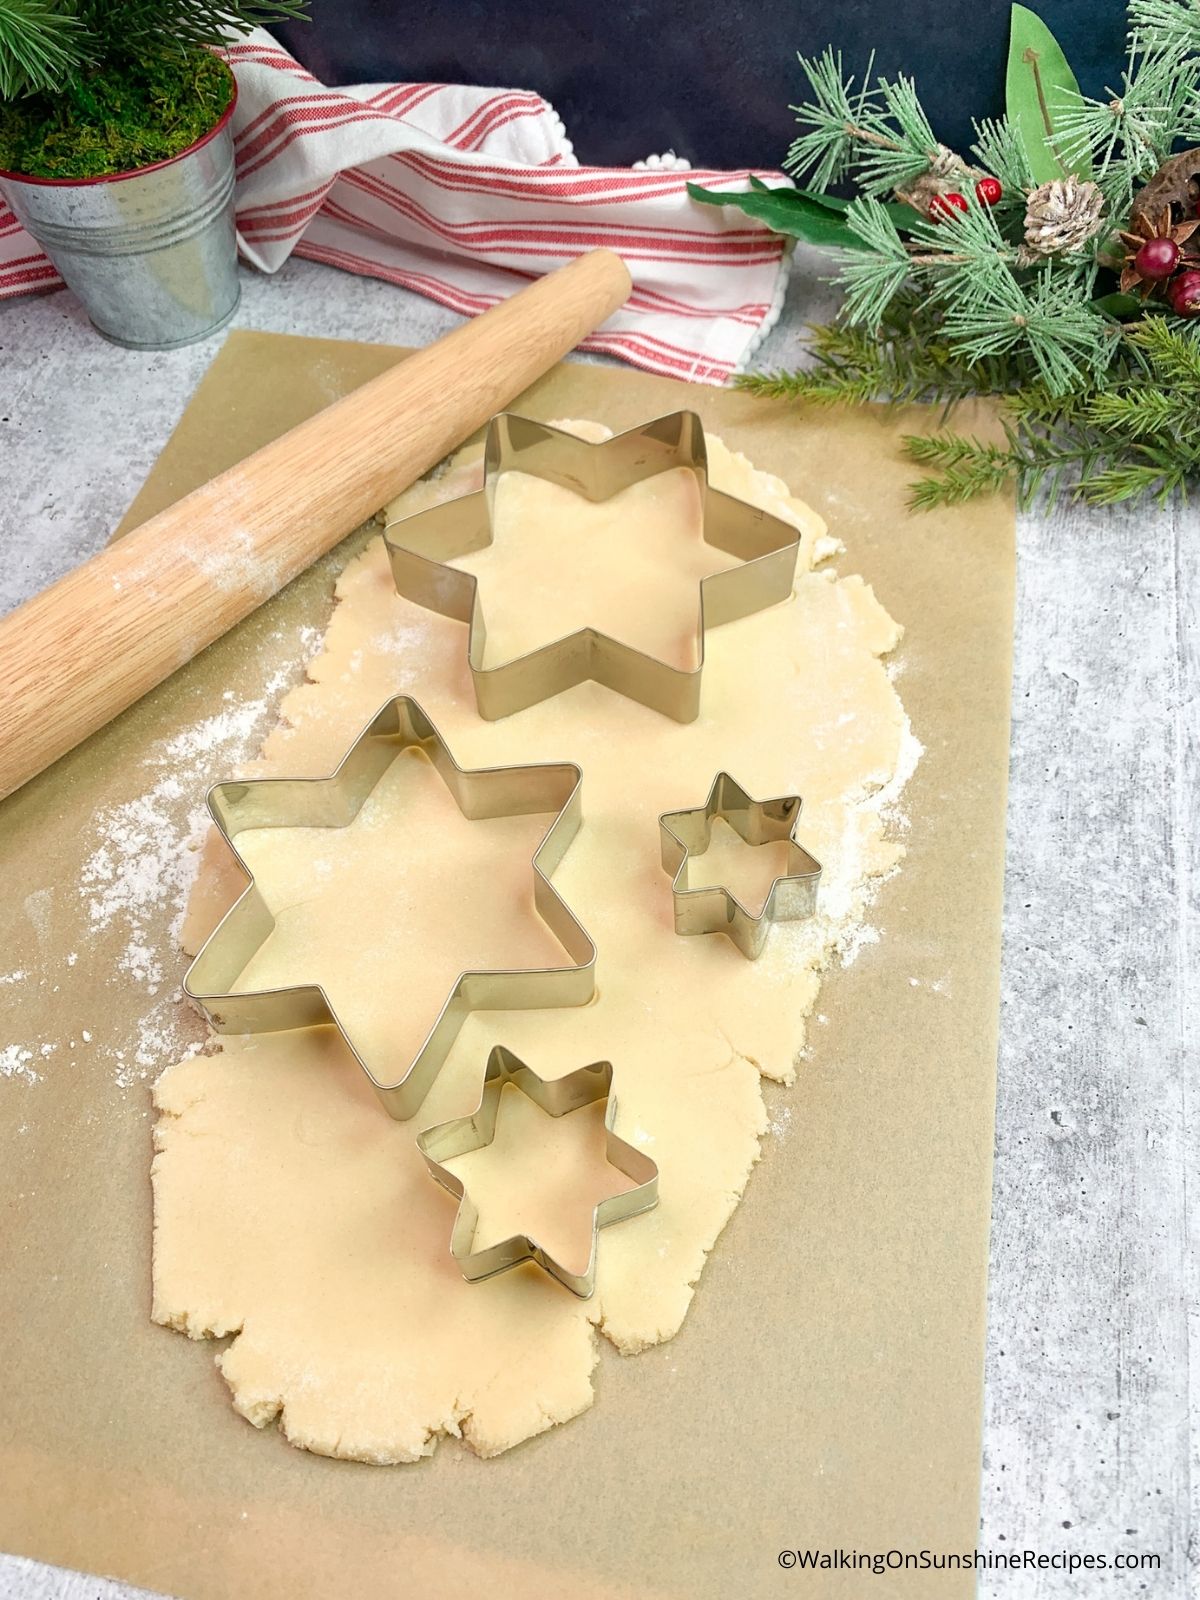
Step 2: On a lightly floured surface, using a rolling pin, roll out the dough. Then cut out the shapes using star cookie cutters, rerolling the scraps until all the dough is used.

Step 3: Place the cookies on parchment-lined baking sheets and bake at 350°F for 10–12 minutes, or until the edges are lightly golden.
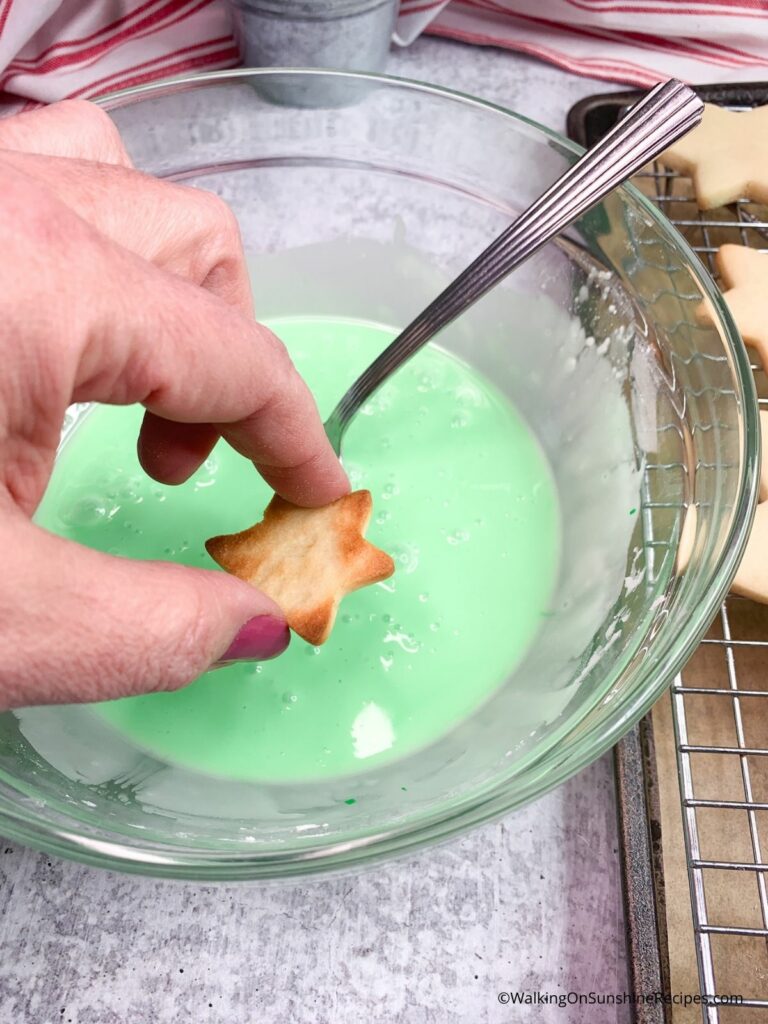
Step 4: Mix the icing ingredients together, then gently dip the tops of the cookies into the icing. Place them on a cooling rack set over a parchment-lined baking sheet to catch any drips.

Step 5: Lightly sprinkle colored sugar over the cookies. Let them dry completely.
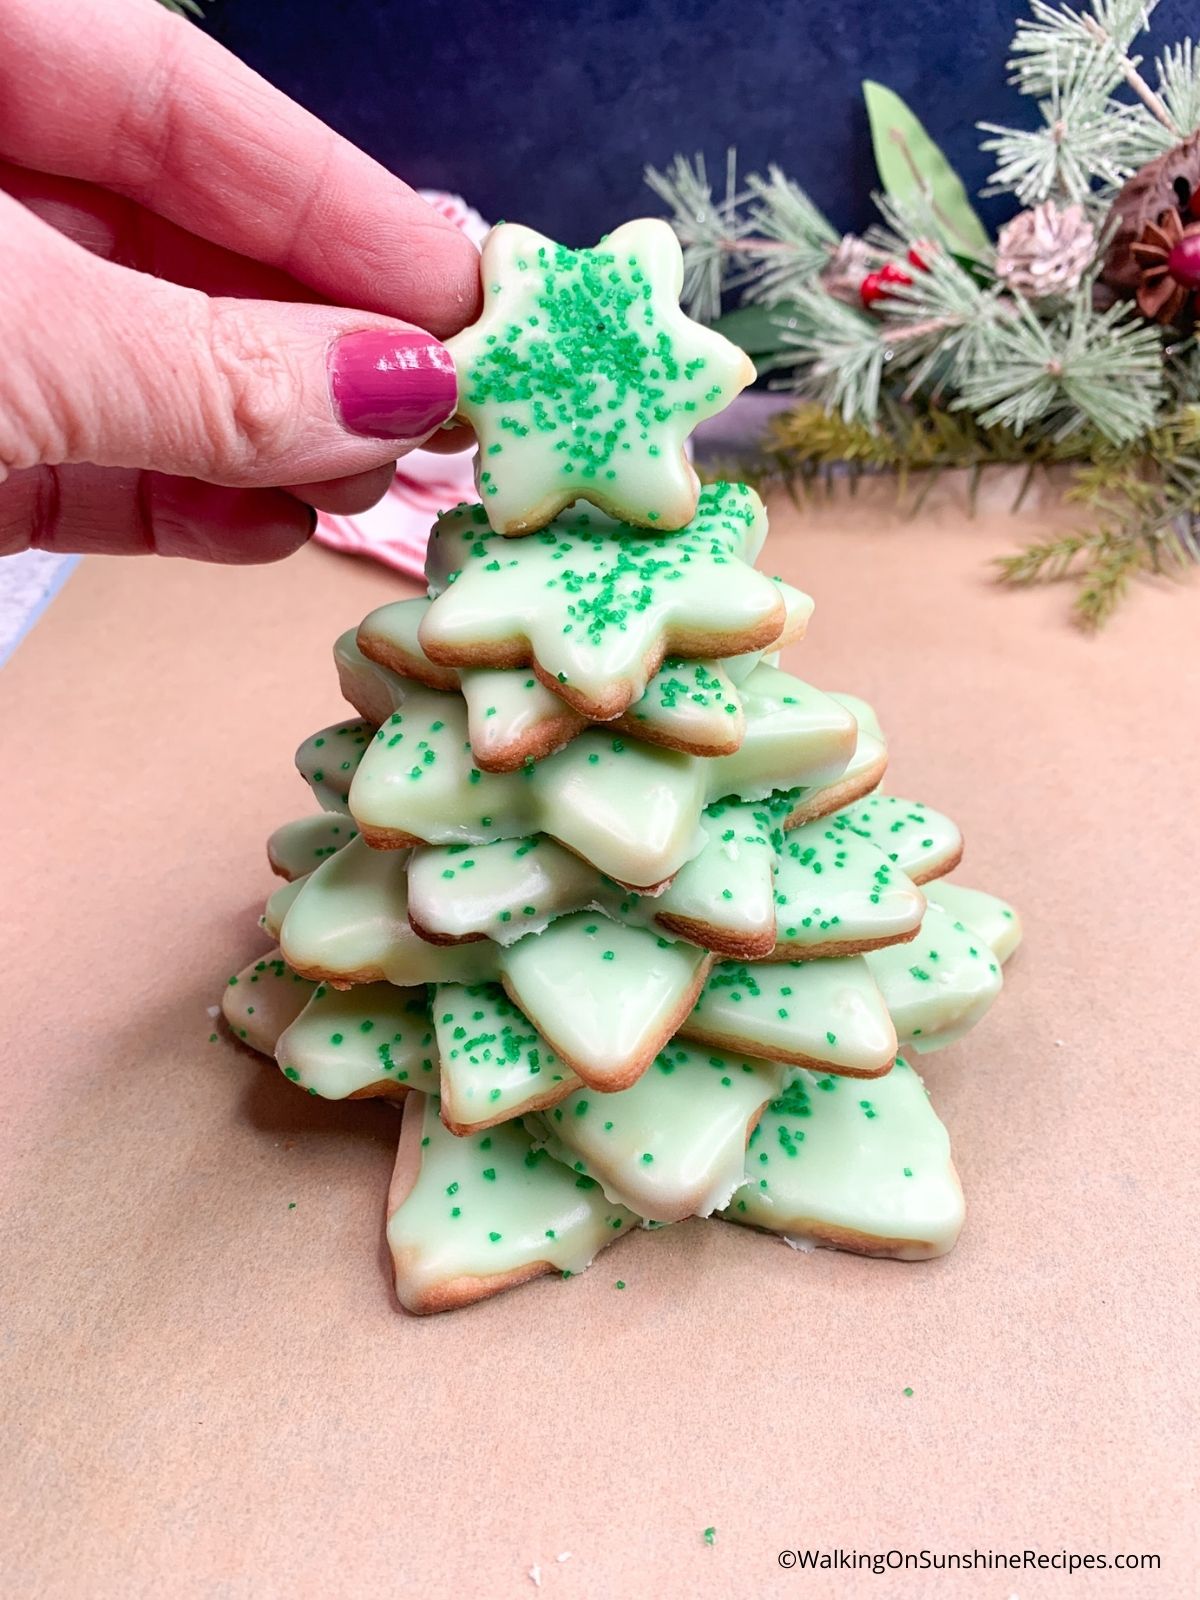
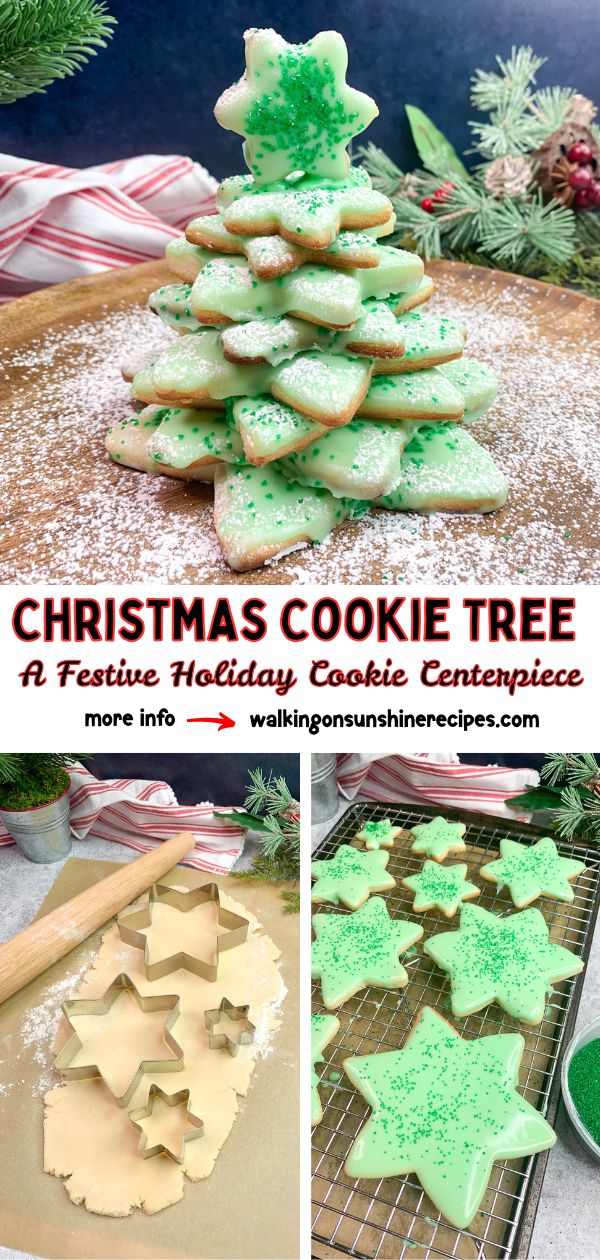
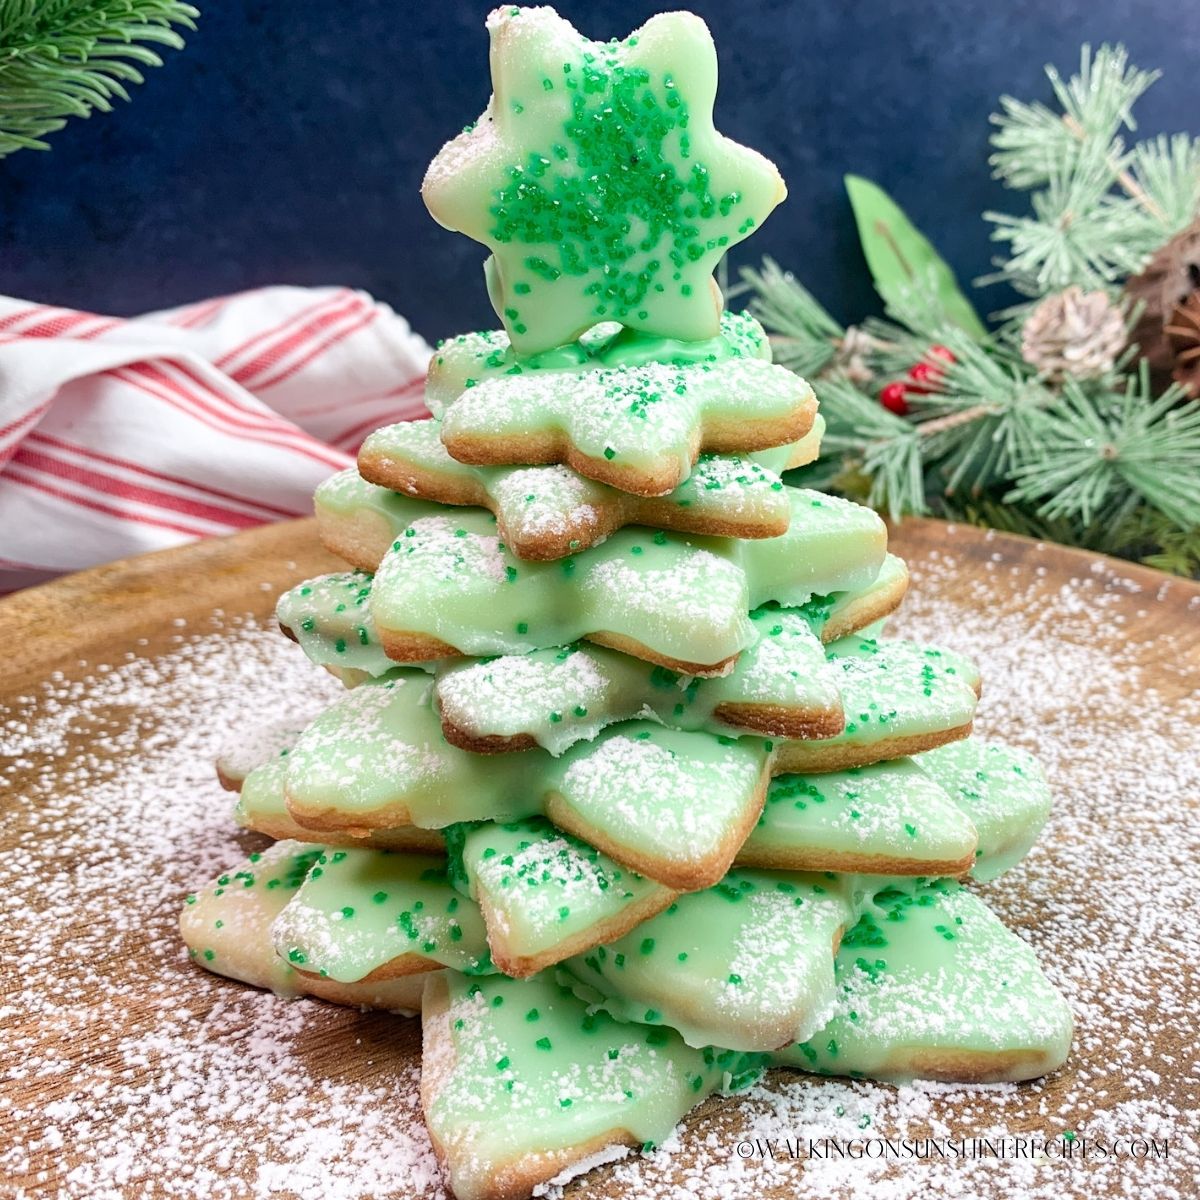
Step 6: Once the Italian christmas tree cookies are dry, stack the stars from largest to smallest, standing the tiniest star upright on top. Use a small dab of icing between layers to secure them, holding the top star briefly until it sets. Your cookie tree is ready to serve or display.
Insider Tips from My Kitchen to Yours
✔️ DO: Keep an eye on the cookies as they bake; smaller stars may finish a bit sooner than the larger ones. If they do, gently remove them early so they don’t overbake.
❌ DO NOT: Skip chilling the dough as warm dough spreads and won’t hold the crisp star shapes needed to build the cookie tree.

Storage & Serving Tips
Refrigerate: Store the unassembled cookies in an airtight container for up to 5 days; assemble the tree just before serving for the best texture.
Freezer: Freeze the baked cookies (unfrosted) for up to 3 months, then thaw and decorate when ready to assemble.
Serving Tips: Assemble the cookie trees on a flat platter and add a dusting of powdered sugar just before serving for a festive snowy look.
Recipe FAQ's
To view the answers, simply click on the down arrow (⬇) next to each question. If you have any other questions not answered here, please leave a comment!
Roll the dough to about ¼ inch thick. This thickness helps the cookies bake evenly, hold their star shape, and stay sturdy enough for stacking into a cookie tree.
Use a small dab of icing as “glue” on the bottom of the smallest star, then gently press it into place at the top of the tree. Hold it for a few seconds until it sets so it stands upright without tipping.
To transport the cookie tree, place it on a flat platter and surround the base with a few extra cookies or parchment to keep it from sliding. Carry it level, and if you’re traveling farther, assemble the tree at the destination for the safest results.

More Italian Christmas Cookie Recipes
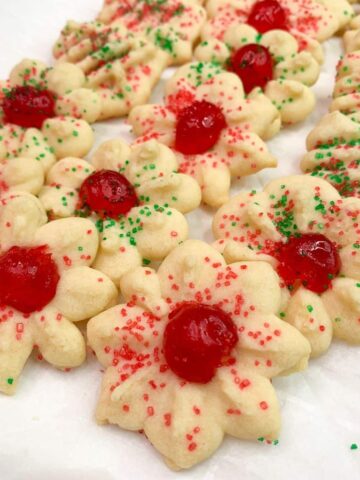
Looking for more Italian Christmas Cookies? Try my grandmother's recipe for Pizzelle cookies or my mother's famous Best Italian Cookies.
LOVE this recipe? SAVE it for Later!
❤️Tap the heart icon in the lower right corner to add the recipe to your recipe box for easy access anytime.
If you made it, leaving a star rating or quick review is always appreciated and helps other readers too.
Want to save this printed recipe? The Ultimate Meal Planner & Recipe Binder helps you keep recipes organized in one easy place.
📖 Recipe Card
Christmas Cookie Tree
Ingredients
Equipment
Video
Method
- In a large bowl on medium speed, beat the butter and sugar together until creamy.
- Then beat in the egg and almond extract.
- Slowly add the sifted flour and baking powder in a little at a time until combined.
- Make sure everything is combined.
- Turn the dough out on a cutting board and shaped it into a disc.
- Wrap the dough in plastic wrap and refrigerate an hour.
- On a lightly floured surface, roll out the dough.
- Arrange the cookie cutters on top of the dough and cut out the shapes.
- Repeat until there is no dough left.
- Place the cookies on parhcment lined baking sheets.
- Bake in a preheated 350°F oven for about 10 to 12 minutes or until the edges are slightly golden.
- Combine the ingredients together for the icing.
- Gently dip the front of the cookies in the icing and place on top of a cooling rack that is on top of a baking tray lined with parchment paper so the cookies can drip.
- Sprinkle a little of the colored sugar on top of the cookies and allow them to dry completely.
- Once the icing has dried completely, begin stacking the cookies starting with the largest star first and work your way up to the top finishing with the smallest star. Use a little more of the green icing to attach the small star so it stands on the top of the tree. Hold it in place for a few minutes until the icing dries.
Nutrition
Notes
Tips
- Roll the dough to about ¼ inch thick so the cookies hold their shape and stack securely.
- Chill the dough before rolling to prevent spreading and ensure clean star edges.
- This recipe makes about 35 cookies, which is enough for 3–4 Christmas Cookie Trees depending on your cutter sizes and how many layers you stack.
Storage & Make Ahead
- Bake the cookies up to 5 days ahead and store them unassembled in an airtight container.
- Freeze the baked, undecorated cookies for up to 3 months; thaw before icing and stacking.
- Assemble the tree the day you plan to serve it for the best texture and stability.




Comments
No Comments