


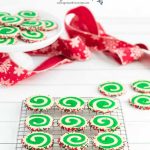


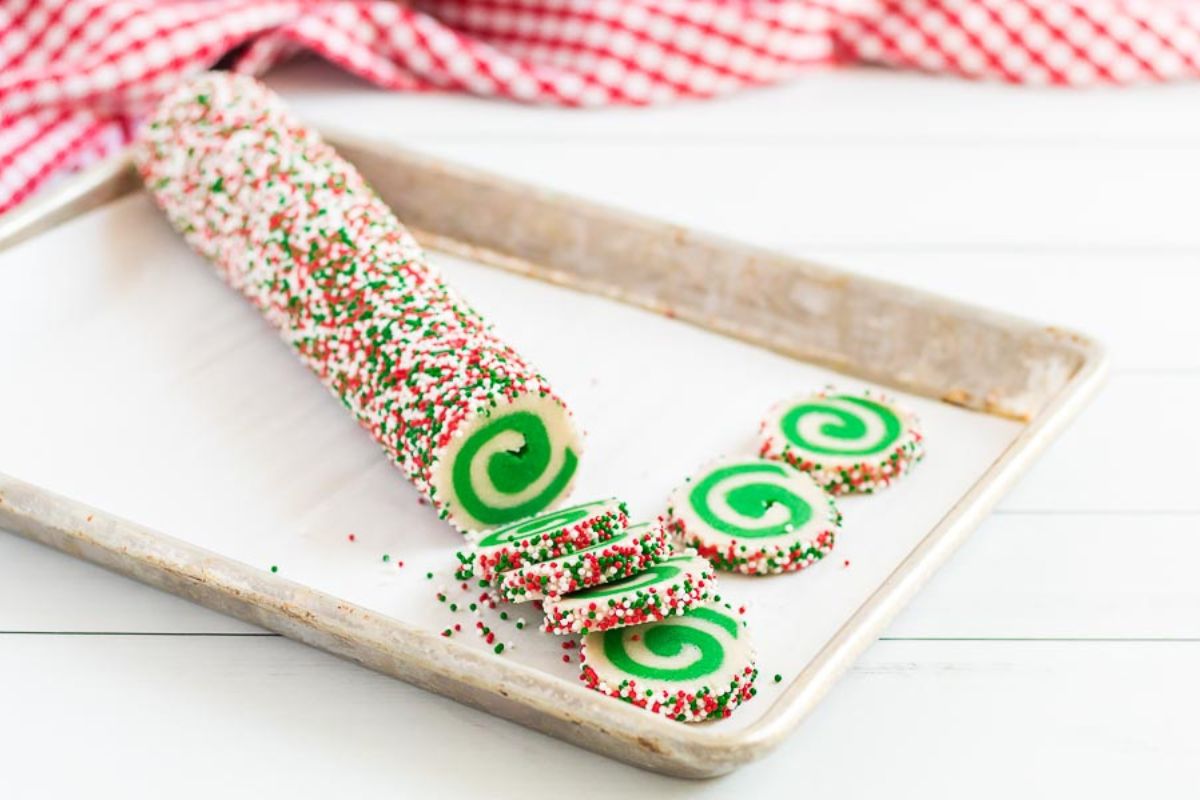
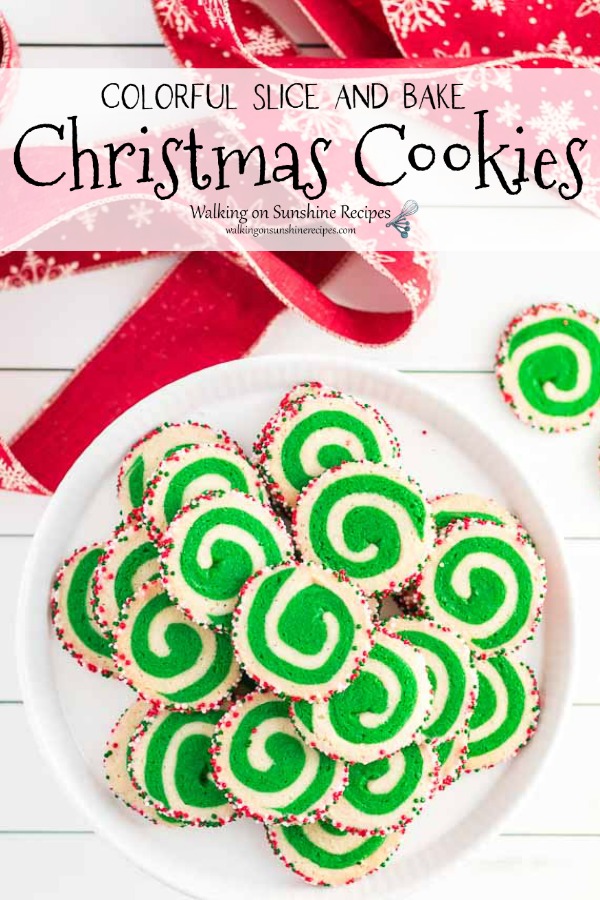
Soft, buttery, and bursting with color, these Slice and Bake Christmas Cookies are a treat for the eyes and the taste buds.
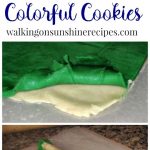
The secret to their vibrant swirl? Two different colored cookie dough sheets pressed together, rolled up, and dipped in sprinkles before slicing.
Plus, they're incredibly easy to make - perfect for busy holiday baking!
Don't miss out on all the other delightful Christmas cookie recipes we have in store for you!

Want to Save This Recipe?
Enter your email & I'll send it to your inbox. Plus, get great new recipes from me every week!
By submitting this form, you consent to receive emails from Walking on Sunshine Recipes.
Have you ever made store purchased slice and bake cookies? Yes, of course we all have.
They're easy way to have cookies fast when you're craving something sweet. Kids love helping putting the cookie slices on the baking trays too.
These versatile cookies can easily be adapted for any occasion! Simply switch up the food coloring in the dough to match your special event or holiday like I did with my Valentine's Day Swirl Cookies or my Colorful Swirl Christmas Cookies.
Table of Contents
- Helpful Tips for Preparing the Cookies
- Cookie Freezing Tips
- How to Slice Cookie Dough Evenly?
- Helpful Kitchen Tools
- Main Ingredients Needed
- Recipe Substitutions and Variations
- Step-by-Step Directions
- How to Form the Green and White Layers
- How to Roll the Cookie Dough into a Log Shape
- How to Slice the Cookies
- Baking Instructions
- Before You Begin!
- Storing, Freezing, and Thawing Tips
- Recipe FAQ's
- Looking for More Christmas Cookies?
- 📖 Recipe Card
- 💬 Comments
Helpful Tips for Preparing the Cookies
- When mixing the dough, if you see it is too "wet" from the food coloring, add another tablespoon of the flour.
- After you have both colored layers of dough on top of each other, trim them to make sure they're both the same size. Otherwise the spiral look of the cookies will be off. You can save the excess dough to make extra cookies.
- Once you have the dough rolled out, make sure it is chilled before even trying to roll the two layers together.
- You can easily change the food coloring and sprinkles for any occasion you're celebrating.
- Swap out the vanilla extract for mint or almond extract.
- Make sure you chill the dough before slicing and baking. Chilling the dough allows the butter to harden again so the cookies don't spread too much while baking.
Cookie Freezing Tips
Don't have time to bake today? Wrap the cylinder of raw cookie dough in plastic wrap in the freezer for up to three months!
For a quick cookie fix anytime, slice the dough, flash freeze the individual cookies on a baking tray, and then store them in the freezer. Whenever you crave freshly baked treats, simply grab a few, bake as directed, and enjoy!
How to Slice Cookie Dough Evenly?
To slice the cookie dough evenly for these Slice and Bake Christmas Cookies, use a sharp knife and chill the dough log thoroughly before slicing.
I like to use a serrated knife to help give me clean cuts. Try to have slices that are about ¼ inch thick.
After every few slices, give the cookie dough log a quarter turn to ensure even pressure and prevent one side from flattening.

Helpful Kitchen Tools
2-Pack Cooling Racks for Baking Wooden Rolling Pin for BakingMcCormick Green Food Color, 1 fl ozHoliday Nonpareils


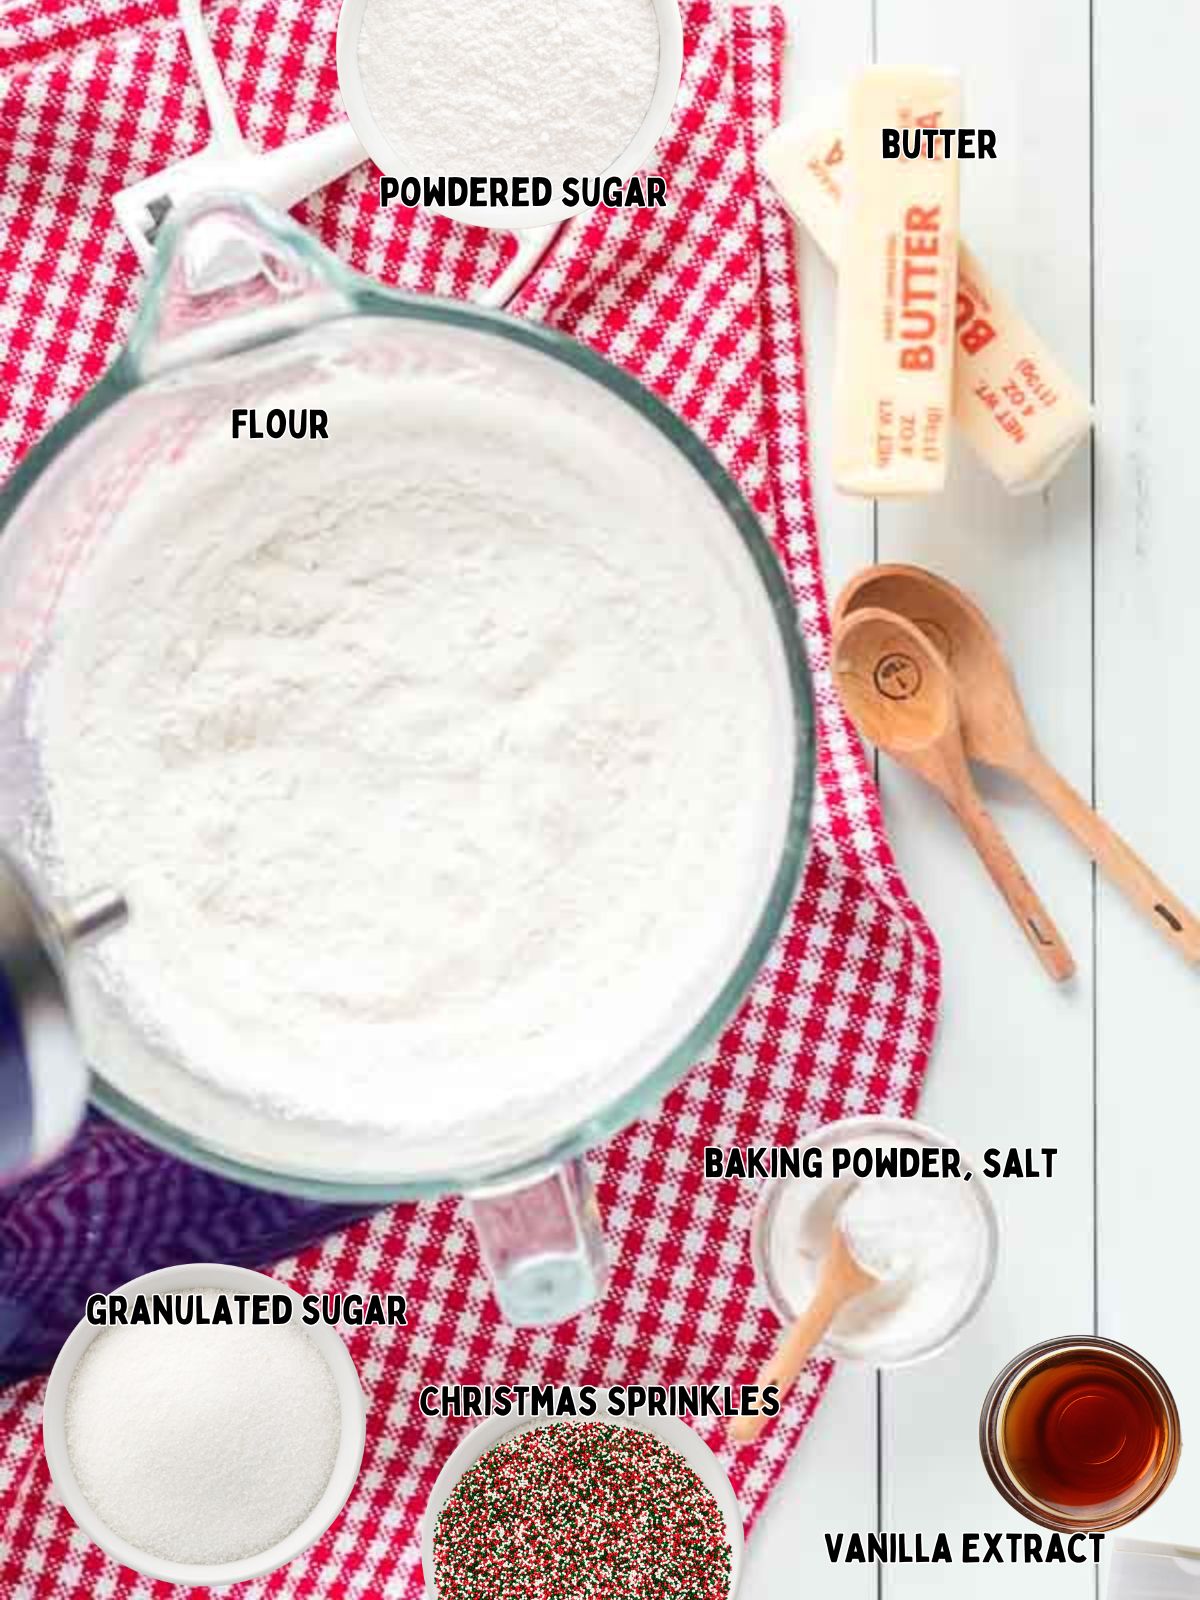
Main Ingredients Needed
Here's a quick overview of the ingredients for this recipe. Find the exact amounts and click the Instacart button to easily add them to your cart – all in the printable recipe card below!
Recipe Substitutions and Variations
- Try adding different flavor extracts to the colored cookie dough. Mint or almond extract pairs beautifully with the green dough, for example.
- You can swap rainbow sprinkles for festive holiday sprinkles. Or try rolling the cookie cylinder in mini chopped nuts.
- Try dipping half of each cookie in melted chocolate or white chocolate when the cookies have cooled.
Step-by-Step Directions

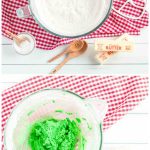
Step 1: In a stand mixer, combine flour, baking powder, salt, and sugars with paddle on medium until well blended. Add butter in, gradually, and continue mixing. Add in vanilla extract. Continue mixing until the dough forms a ball.
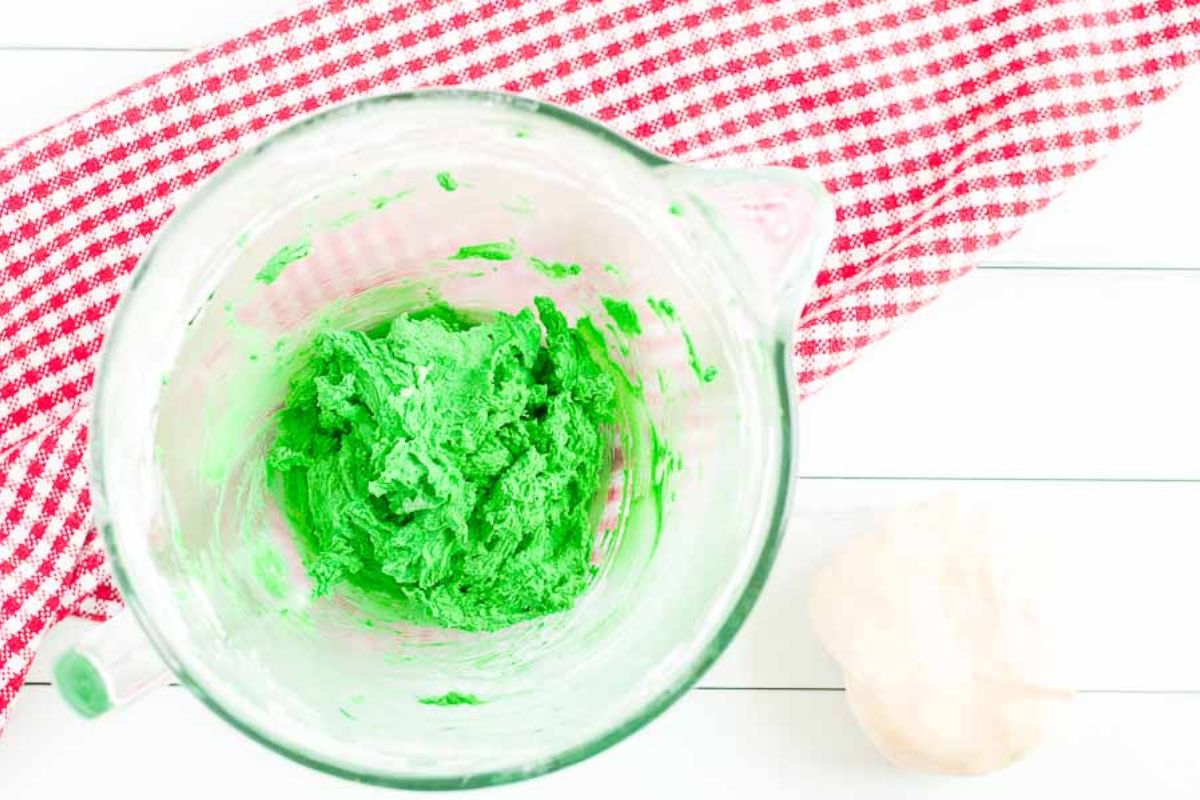
Step 2: Remove all your dough and divide into two equal parts. Return one portion back in to the mixer and add the food coloring and any extra extracts. Mix until the color is spread out evenly.
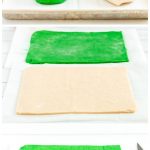
Step 3: Roll out each portions of your dough, between two sheets a wax paper until it reaches about 11 x 9 inches and is ¼ inch thick. Slide both unto a cookie sheet and chill in the refrigerator for at least 2 hours.
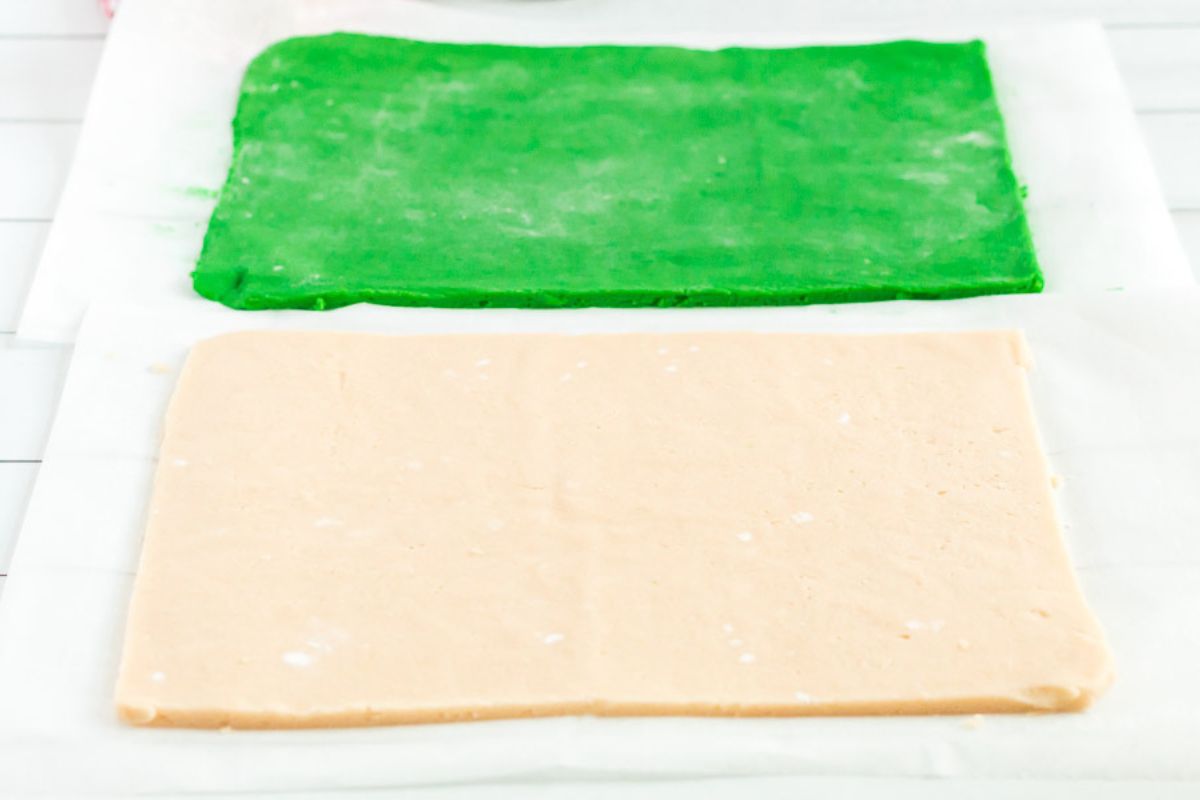
How to Form the Green and White Layers
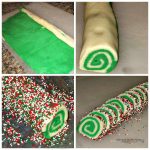
Step 4: Once the dough is chilled and firm, remove the top wax paper sheets. Lightly brush the vanilla dough with water, then flip the colored dough on top, pressing the edges to seal. Trim any uneven edges with a knife.
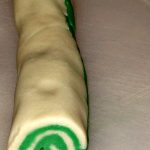
How to Roll the Cookie Dough into a Log Shape
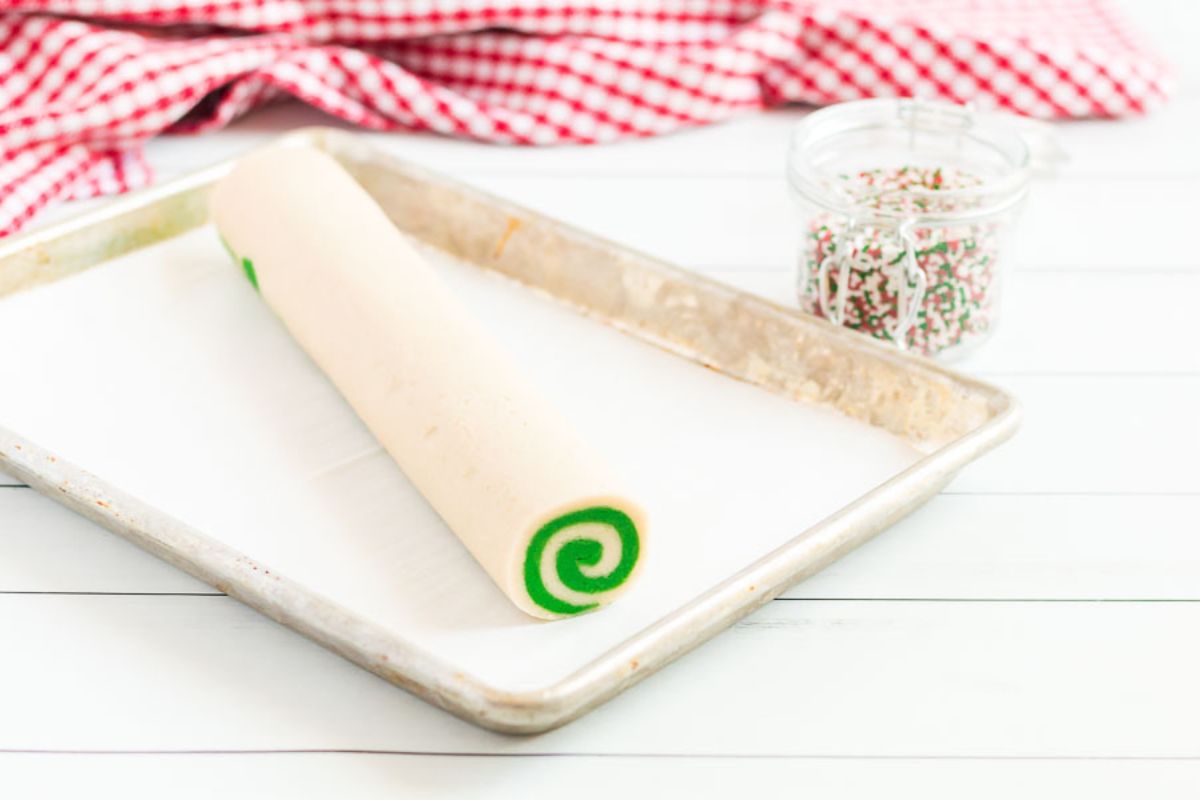
Step 5: Roll it up tightly from the long side, like a jelly roll. Don't worry about small cracks; just pinch them closed and keep rolling. If you find the dough is getting too soft, place it back in the refrigerator or even freezer to chill it again.
How to Slice the Cookies
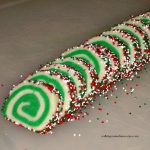
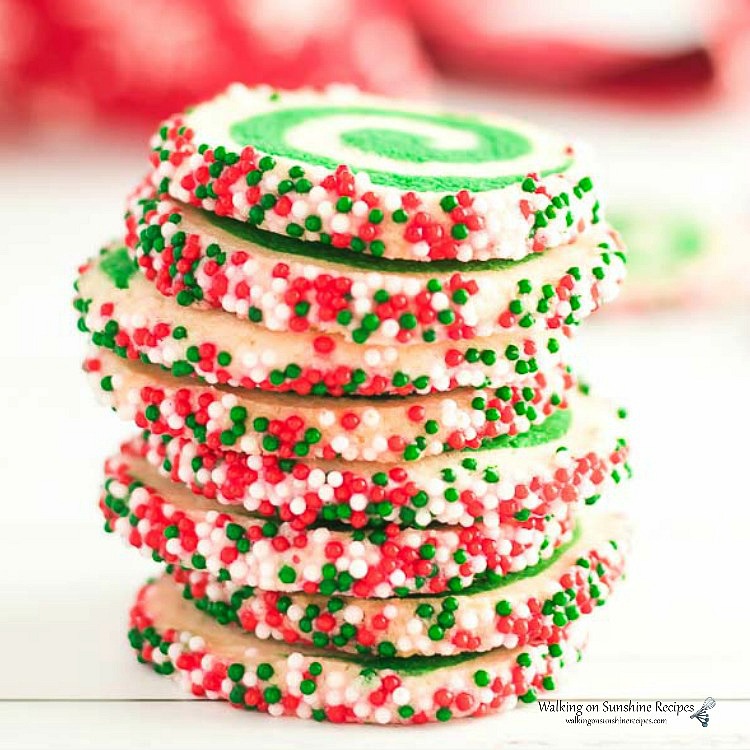
Step 6: Pour the sprinkles onto a platter. Carefully roll the dough log in the sprinkles, then wrap in plastic and chill for a few hours. This re-hardens the butter, preventing the cookies from spreading too much while baking.
Baking Instructions

Step 7: Bake on Parchment Baking Sheets in a preheated 350 degree oven for 10 to 12 minutes or until the edges are starting to turn golden brown.
Step 8: Let the cookies rest on the baking sheet for about 5 minutes, then move them to a baking cooling rack to finish cooling.
Before You Begin!
If you make this recipe, please leave a review and star rating. This helps my business thrive and continue providing FREE recipes.
Storing, Freezing, and Thawing Tips
Pantry: Place the cookies in an airtight container at room temperature. If you plan to keep them for more than a few days, you can layer them between sheets of parchment paper in the container to further protect them from sticking together or becoming stale.
Freezer: Place them in a single layer on a baking sheet and freeze until solid. Then transfer them to an airtight container or freezer bag, separating layers with parchment paper. Frozen cookies can be enjoyed for up to 3 months.
Thawing Tips: Allow the cookies to thaw at room temperature before serving.
Recipe FAQ's
To view the answers, simply click on the down arrow (⬇) next to each question. If you have any other questions not answered here, please leave a comment!
Chill the dough thoroughly for the recommended time, or even longer, as firmer dough holds its shape better when sliced. For extra support and to prevent flattening, chill the log inside a cardboard tube. If not using a tube, rotate the log every 15-20 minutes while chilling to ensure even pressure distribution.
Bake the cookies until the edges are just set and lightly golden, even if the centers seem a bit soft. Remember, the cookies will continue to bake on the hot baking sheet even after you take them out of the oven. Let them cool on the baking sheet for a few minutes before transferring them to a wire rack. This will help them set and retain their shape.
Looking for More Christmas Cookies?
These cookie recipes will be great for hosting a cookie exchange, give away cookies as gifts or just bake for your own family. Check out my Amazon Christmas Shop for ideas on how to package food gifts.
- Check out all 12 Christmas Cookies featured this holiday season.
- Coconut Washboard Cookies
- Date and Walnut Filled Cookies
- Chocolate Orange Shortbread Cookies


📖 Recipe Card
Easy Slice and Bake Christmas Cookies
Video
Ingredients
- 2 cups flour plus possibly a few more tablespoons
- ½ teaspoon baking powder
- ¼ teaspoon salt
- ⅔ cup unsifted powdered sugar
- ¼ cup granulated sugar
- 1 ¼ cups unsalted butter, cut in chunks (2 ½ sticks)
- 1 teaspoon vanilla
- ½ teaspoon of food coloring of your choice and/or ½ teaspoon of any desired extra extracts
- 1 ½ cup holiday sprinkles
Method
- In the bowl of a stand mixer, combine flour, baking powder, salt, and sugars with paddle on medium until well blended. Add butter in, gradually, and continue mixing. Add in vanilla extract.
- Continue mixing until the dough forms a ball.
- Remove all your dough and divide into two equal parts.
- Return one portion back in to the mixer and add the food coloring and any extra extracts. You can at this point add a different extract flavor to the colored cookie dough. Mint or almond flavoring works lovely.
- Mix until the color is spread out evenly.
- Roll out each portion of your dough, between two sheets a wax paper until it reaches about 11 x 9 inches and is ¼ inch thick.
- Slide both onto a cookie sheet and chill in the refrigerator for at least 1 hour.
- When firm, remove the top sheets of wax paper from both. Brush the uncolored vanilla dough lightly with water using a pastry brush. Then flip the colored dough onto the vanilla uncolored dough so they are stacked atop each other and even.
- Press the edges lightly with your fingertips to seal them together. Using a small knife, trim the edges of the dough to make straight, even lines.
- Be sure your dough is still cold, but flexible. Once it’s ready, begin rolling the long side of dough into a swirl, jelly-roll style.
- Pour out sprinkles onto a large platter and set aside. Now gently lift your dough log onto the sprinkles and roll away covering the entire log in the sprinkles.
- Wrap in plastic wrap and chill for a few hours or you can freeze the dough for up to three months at this point.
- Slice your dough into ¼ inch slices and bake on parchment lined baking sheets in a preheated 350°F oven for 10 to 12 minutes or until the edges are starting to turn golden brown.
- Let the cookies rest on the baking sheet for about 5 minutes, then move them to a cookie rack to finish cooling.
Nutrition
Notes
The recipe calls for 2 cups of flour plus a few more tablespoons. What exactly does that mean?
- Sometimes adding food coloring to cookie dough will make the dough too wet and difficult to roll out, so you add extra flour about a tablespoon at a time to help.

Stealthy Mom says
How cute! There are so many possibilities with this one. I might be the only one who eats them, but how about orange and black licorice like tiger ice cream?
Alicia@ eco friendly homemaking says
Those cookies look great! I think I will also make them for Valentines Day. The ham and cheese crescents look so delicious!!
Cheryl @ The Farmer's Daughter says
These look scrumptious and are pretty, too!
Have a wonderful weekend!
Nezzy says
Oh I used to make these and haven't thought about 'em in years! Now I gotta have some!!! My bad!
Even better, I love the ham and cheese crescents, I think they'll do nicely with a bowl of soup Sunday after Church. MMMMMMmmmm, I can smell 'em now!
God bless and have a fantastic weekend sweeite!!! :o)
Flat Creek Farm says
Ok... you're almost making me believe that even I could do this. Normally I run away from 'roll-up' recipes 😉 thanks for sharing - they look very pretty! Also had to let you know I did buy a nifty little Cuisinart Pizzelle maker right before Christmas. My first batch was a hit! Thanks for your inspiration, and have a great weekend! -Tammy
Elena says
The cookies look beautiful! I might try those with Mary next year for Christmas:)
Nellie's Cozy place says
Morning Lois,
Wow, those do look like great cookies, so colorful and pretty.
and those Ham and cheese crescents,
would make my hubby very happy, accept the crescents aren't on his heart diet,
but you gave me a great idea, I will just make a grill cheese with ham,
and it will go great with the Minestrone soup I am making today.
So thanks for the idea............
Your New Year's sounded great too,
yes, I think we all need a few days to just kick around in our jamies all day and not have to to go anywhere............I am with ya on that one girlie.
You have a lovely day today,
Abundant blessings to you hon,
Nellie
Debbie says
These look wonderful! I love the idea of doing them for Valentines day. My grands would love them. Have a good week-end Lois! HUGS
Cranberry Morning says
These are so pretty! I'll have to make them when the grandkids come to visit.
Carol @ There's Always Thyme to Cook says
Those are the prettiest cookies! I can just imagine the Valentine's, glad to know it that easy because they look fantastic 🙂