Another easy Halloween Themed Recipe are these Halloween Thumbprint Cookies.
This is a homemade buttery, chocolate sugar cookie dough recipe rolled into a ball. Once baked, you press a fun "googly eye" to the center of the cookie.
Kids love to help with these cookies because they love to press their thumbs in the center.

Want to Save This Recipe?
Enter your email & I'll send it to your inbox. Plus, get great new recipes from me every week!
By submitting this form, you consent to receive emails from Walking on Sunshine Recipes.
There's no better way to celebrate Halloween than with a batch of spooky chocolate thumbprint cookies.
These festive treats are made by pressing an indentation into the center of each cookie, then filling it with your favorite candy.
This easy cookie recipe is a variation on the traditional peanut butter blossom thumbprint cookie. Only we're using fun candy eyes because it's Halloween.
Table of Contents
- How do you indent thumbprint cookies?
- Helpful Kitchen Tools
- Main Ingredients Needed
- Recipe Substitutions and Variations
- Step-by-Step Instructions
- Baking Instructions
- How to make Candy Eyes
- Before You Begin!
- Storing, Freezing, and Thawing Tips
- Recipe FAQ's
- Scare Up Some Fun with Our Halloween Activity Pack Sale!
- 📖 Recipe Card
- 💬 Comments
How do you indent thumbprint cookies?
To make the "well" for your cookies you can use either your thumb or the back of a teaspoon. I like to use a melon baller. It gives the perfect round well to fit either jam, melted chocolate or candy kisses.
Gently press into the center of each dough ball to create the well. Only you need to do this after the cookies have baked for a few minutes and are too soft.

Helpful Kitchen Tools
More InformationMore InformationMore InformationMore InformationMore InformationMore InformationMore InformationMore Information
Main Ingredients Needed
Here's a quick overview of the ingredients for this recipe. Find the exact amounts and click the Instacart button to easily add them to your cart – all in the printable recipe card below!

Recipe Substitutions and Variations
- You could use a chocolate cake mix if you didn't want to make a homemade cookie recipe.
- Try my other recipe for Monster Eye Cookies that uses a vanilla cake mix.
- In place of the candy melts, you could also fill the centers with candy corn, sprinkles or chocolate chips.
Step-by-Step Instructions
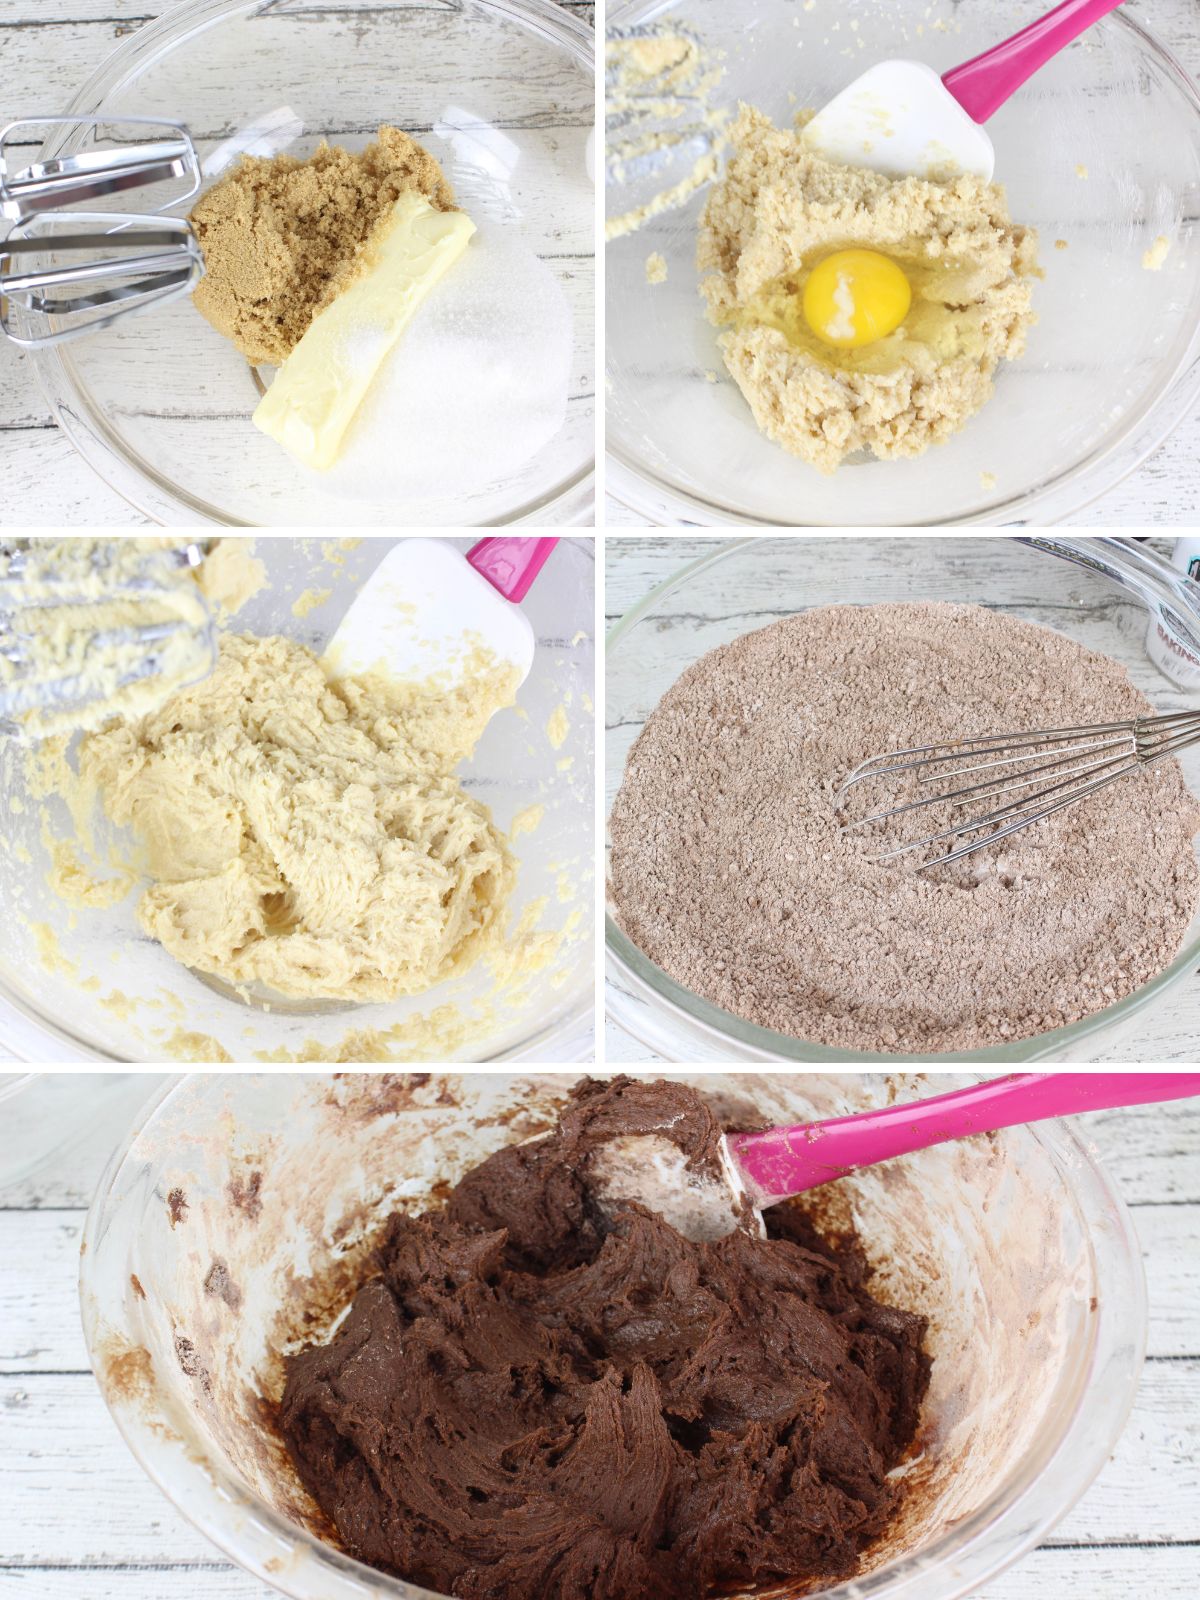
Step 1: In a medium bowl, cream together the butter and both sugars using an electric mixer until smooth and creamy. Beat in the eggs one at a time until fully incorporated.
Step 2: In a large bowl, whisk together the flour, cocoa powder, salt, baking powder, and baking soda until well combined.
Step 3: Gradually add the dry ingredients to the wet ingredients in two batches, mixing until just combined after each addition. Make sure all ingredients are fully incorporated and there are no dry streaks left.
Step 4: The batter will be thick and sticky, making it difficult to roll into balls while warm. Cover the bowl and chill the dough in the refrigerator for 15 to 30 minutes to make it easier to handle.
Step 5: Once the dough is chilled, remove it from the refrigerator. Grease your hands with non-stick cooking spray and shape the dough into 1-inch balls. Arrange these dough balls on a baking sheet lined with parchment paper, leaving some space between them.
Baking Instructions
Step 6: Bake in a preheated 350°F oven for 10 to 12 minutes. Once baked, let the cookies cool on the baking sheet for 2-3 minutes before transferring them to a wire rack to cool completely.
How to make Candy Eyes

Step 7: As soon as the cookies come out of the oven, use a melon scoop to gently press a small indentation into the center of each one. Quickly place a candy melt in each indentation - it will start melting right away. Then, while the candy melt is still soft, add a candy eye on top to complete your spooky Halloween thumbprint cookies.
Before You Begin!
If you make this recipe, please leave a review and star rating. This helps my business thrive and continue providing FREE recipes.

Storing, Freezing, and Thawing Tips
Pantry: Place the cookies in an airtight container, separating layers with parchment paper to prevent them from sticking together. Store them in a cool, dry place. They will remain fresh for up to 7 days.
Freezer: Flash freeze the baked cookies on a baking tray for about 60 minutes. Then store them in a freezer-safe container or bag for up to 3 months.
Thawing: Allow them to thaw them at room temperature before serving.
Recipe FAQ's
To view the answers, simply click on the plus sign (+) next to each question. If you have any other questions not answered here, please leave a comment!
If your thumbprint cookies are cracking, the dough might be too dry or cold, or you might be overmixing or pressing too hard. Ensure the dough is slightly soft and pliable, handle it gently, and don't overwork it.
To keep cookies from spreading when they're baking, you should chill the dough for at least 30 minutes before baking. This will help firm up the butter preventing it from melting too quickly.


📖 Recipe Card
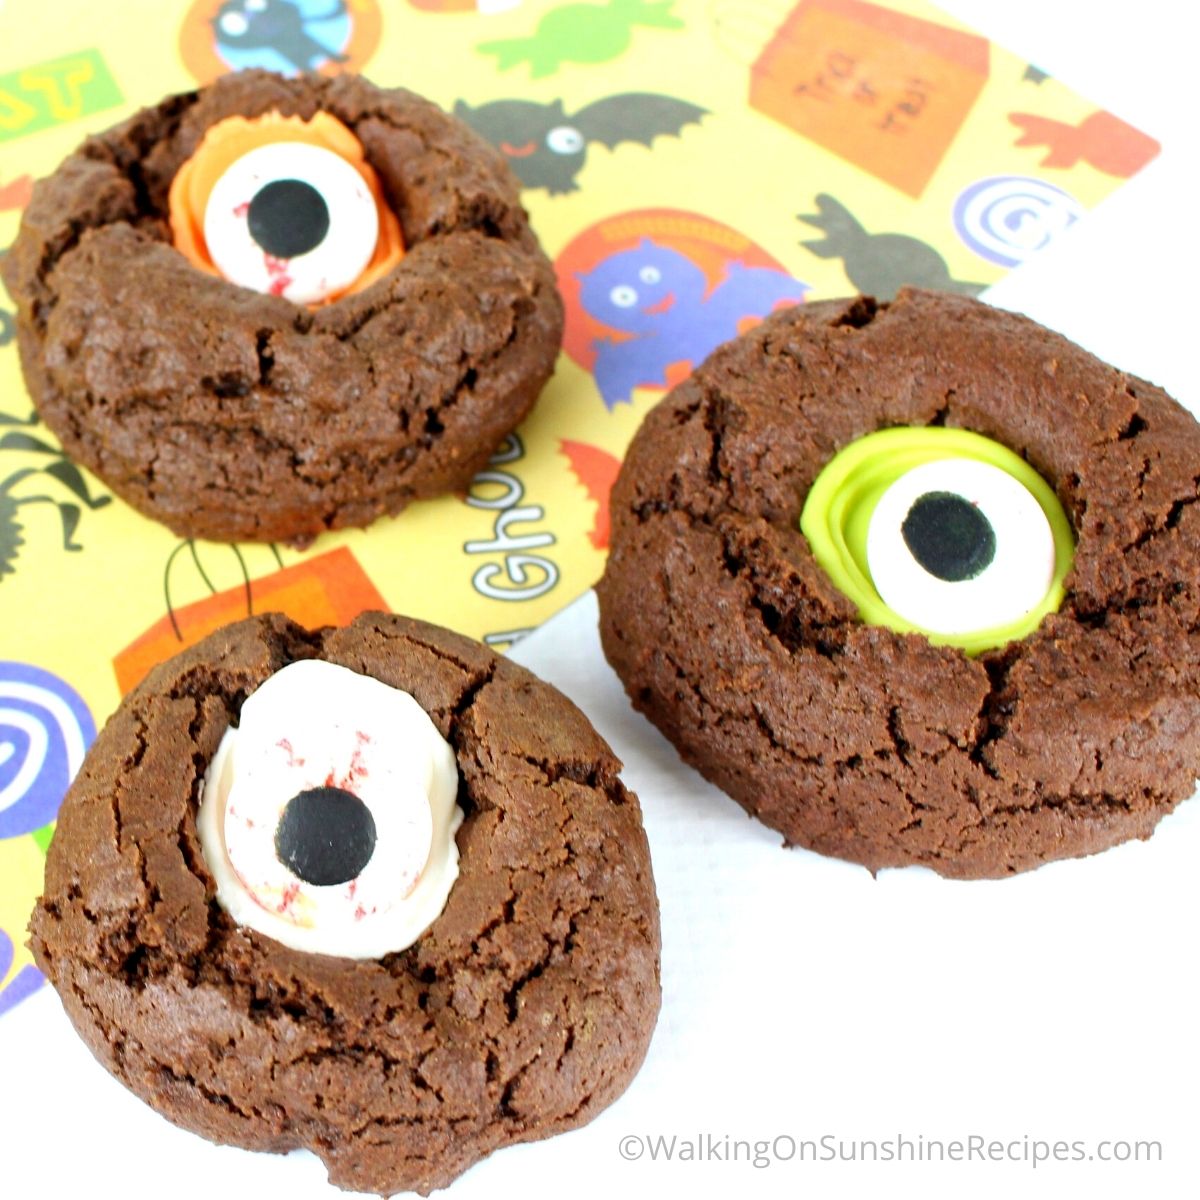
Halloween Thumbprint Cookies with Scary Googly Eyes
Ingredients
- ½ cup 1 stick butter; softened
- ½ cup granulated sugar
- ½ cup brown sugar; packed
- 2 eggs
- 1 ½ cups all-purpose flour
- ⅔ cup unsweetened cocoa powder
- ¼ teaspoon salt
- ¼ teaspoon baking powder
- ¼ teaspoon baking soda
- Wilton bright white candy melts
- Wilton vibrant green candy melts
- Wilton orange candy melts
- Wilton purple candy melts
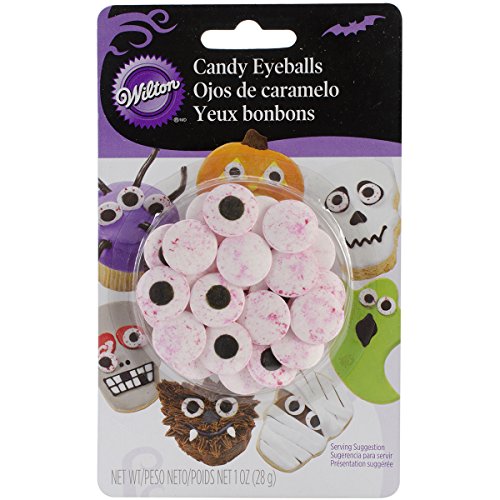
- Wilton large red vein candy eyes
Method
- Preheat oven to 350°. Line a cookie sheet with parchment paper and set aside.
- Add the butter and both sugars to a medium mixing bowl. With an electric mixer, cream together until smooth and creamy.
- Add the eggs, one at a time, and beat until incorporated
- In a large mixing bowl, add the flour, cocoa, salt, baking powder and baking soda. Whisk until combined.
- Add half of the dry ingredients to the creamed mixture and stir until just combined. Add the remaining half and stir until all of the ingredients are wet. The batter will be thick and sticky.
- Cover and chill for 15 minutes.
- Once chilled, remove from refrigerator. With greased hands, shape the cookie dough into 1 inch balls and place on the lined cookie sheet, 2 inches apart.
- Bake for 10 to 12 minutes (depending on oven temperatures). Remove from oven and allow the cookies to cool on the pan for 2-3 minutes.
- Using a small melon scoop or your thumb, press an indentation into the middle of each cookie.
- While the cookies are still warm, place a candy melt into each thumbprint. It will start melting right away. Place a candy eye on top.
- Transfer the cookies to a wire rack to completely cool before serving.
Nutrition
Tried this recipe?
Let us know how it was!This recipe has been updated since it first appeared in 2017 with new photos, information and a new printable recipe card that includes nutritional information. I hope you enjoy the updates as much as I enjoyed working on them!









Jenny says
Pinning for Halloween! My kids would love these cookies, what a cute and fun idea. Thanks for sharing at Merry Monday.
Lois says
Thank you for visiting! Love joining your parties every week.
online dissertation writing service says
Woah, even these cookies look scary just like people who dressed up for Halloween lol. Such a wonderful post with so yummy recipe. Can't wait to make them.