

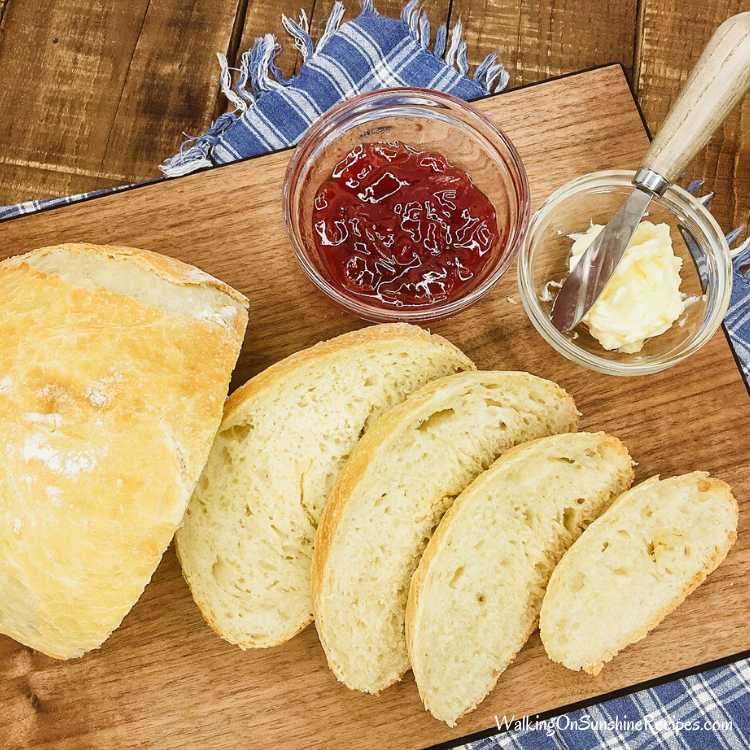
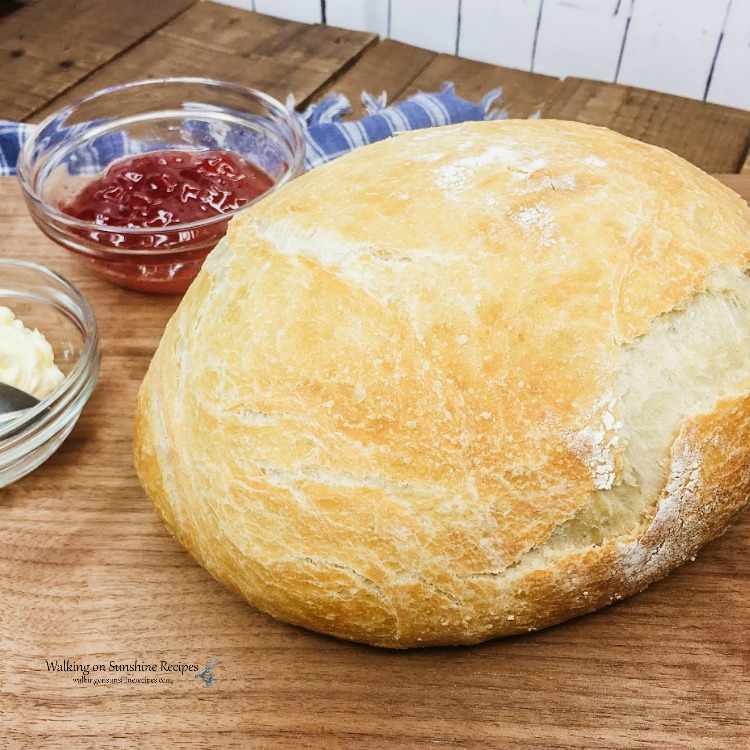
Let me show you how to bake this Le Creuset No Knead Bread that only uses FOUR ingredients!
It's incredibly easy to make, and the results are absolutely delicious. You'll be amazed at how a few simple ingredients can transform into a beautiful, rustic loaf that's perfect for sharing.
It's the perfect accompaniment to any of your favorite family dinner ideas, from weeknight meals to special occasions.
Want to Save This Recipe?
Enter your email & I'll send it to your inbox. Plus, get great new recipes from me every week!
By submitting this form, you consent to receive emails from Walking on Sunshine Recipes.
Forget about "proofing" yeast or kneading dough! This Le Creuset No-Knead Bread recipe is all about simplicity.
With just four ingredients and no fuss, you'll be enjoying a warm, crusty loaf in no time.
It's so easy, it's perfect for even the most hesitant bakers. It's almost as easy as our Easy Flatbread Recipe (which is also yeast-free!).
This is the perfect bread recipe for beginners, but remember to plan ahead!
The dough requires an overnight rise in the refrigerator for at least 8-12 hours, ensuring a flavorful and airy loaf.
Table of Contents
- How to make Bread in Le Creuset
- What size Dutch Oven for No Knead Bread?
- Helpful Kitchen Tools
- Main Ingredients Needed
- Recipe Substitutions and Variations
- Step-by-Step Directions
- Preheat Le Creuset Dutch Oven
- How to Shape the Dough
- Fun Tip
- Baking Instructions
- Baking Bread in Dutch Oven with Parchment Paper
- Before You Begin!
- Recipe FAQ's
- Storing, Freezing, Thawing and Reheating Tips
- Ready for more great recipes?
- 📖 Recipe Card
- 💬 Comments
How to make Bread in Le Creuset
- Unlike my Amish White Bread, this recipe doesn’t produce a traditional loaf for slicing—instead, it’s baked in a Dutch oven for a rustic, artisan-style result. There’s also no need to proof the yeast, making it perfect for beginners or anyone craving fresh, homemade bread with minimal effort.
- Baking bread inside a dutch oven helps to distribute the heat around the dough as it bakes, which will help bake the bread evenly and perfectly every single time.
- It also helps to create that nice crusty outer layer that we all love with a rustic loaf of bread.
- If you don't have a Le Creuset Dutch Oven, you can use any heavy-bottomed pot with a tight-fitting lid.
- Before baking, use a sharp knife or razor blade edge to score the top of the dough with a shallow slash making a decorative pattern.
What size Dutch Oven for No Knead Bread?
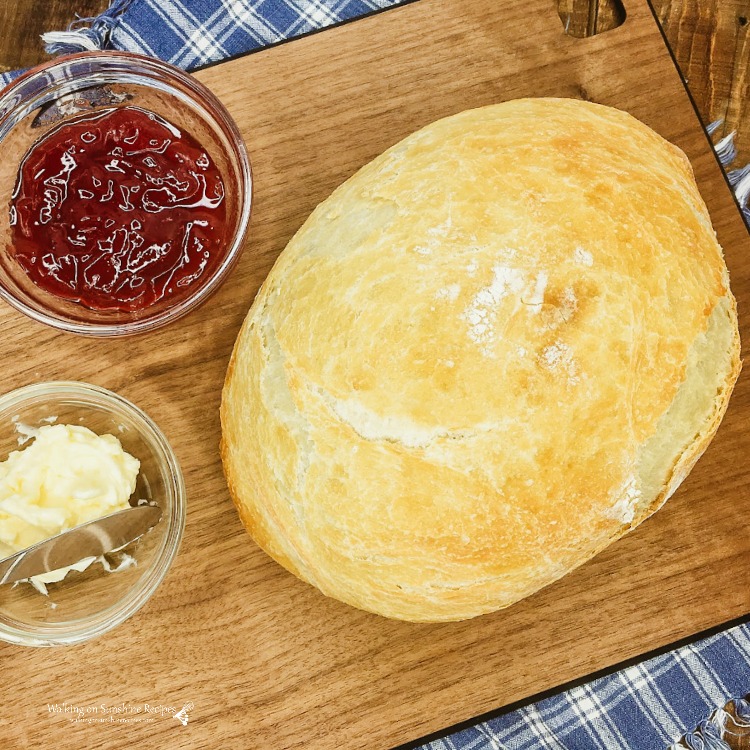
Something to keep in mind when baking this recipe, is the size of the Dutch oven pan you use will determine the shape of the bread.
If the pan you choose is too wide, the dough will spread outward over the surface of the pan while the dough bakes producing a flatter disc shaped bread.
For this recipe, I used a 2.75 quart size Dutch oven.
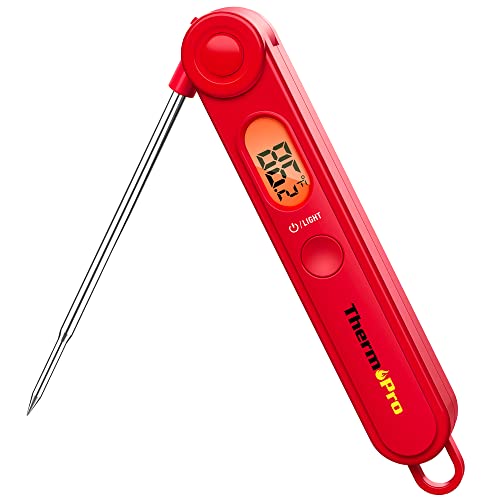
Helpful Kitchen Tools
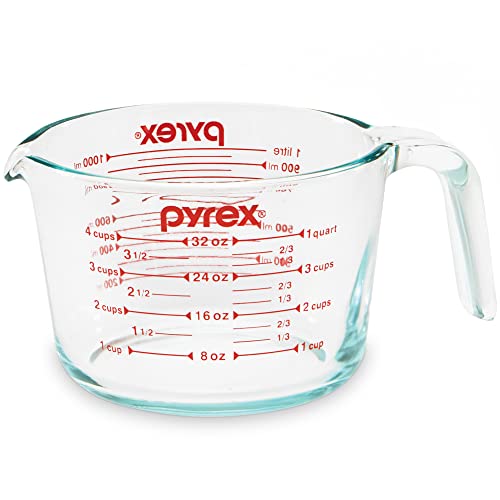
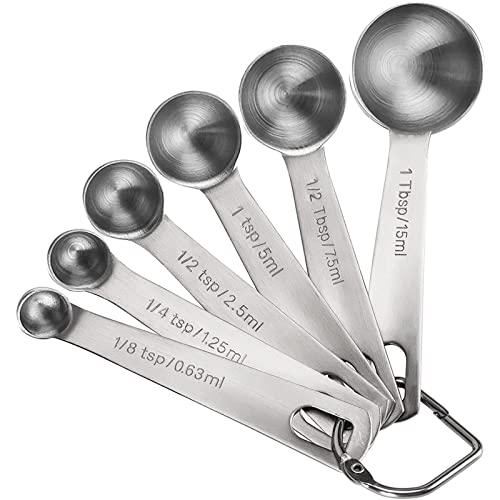
ThermoPro TP-03B Digital Meat Thermometer for Cooking Kitchen Food Candy Instant Read Thermometer with Backlight and Magnet for Oil Deep Fry BBQ Grill Smoker Thermometer Pyrex 4-Cup Glass Measuring Cup For Baking and Cooking, Dishwasher, Freezer, Microwave, and Preheated Oven Safe, Essential Kitchen ToolsMeasuring Spoons, Premium Heavy Duty 18/8 Stainless Steel Measuring Spoons Cups Set, Small Tablespoon with Metric and US Measurements, Set of 6 for Measuring Dry and Liquid IngredientsDecorRack X-Large Food Storage Container, 5.75 Quarts, BPA Free Plastic, 185 oz Heavy Duty Multipurpose Plastic Storage Container, Round Cake Dough Riser Bowl with Airtight Lid (1 pack), Random ColorALLTOP Hard Bench Scraper – Premium Quality Bread Tools for Homemade Baking,Dough Scraper with Versatile Usage - Vibrant and Ergonomic Plastic Bowl Scrapers for Your Kitchen


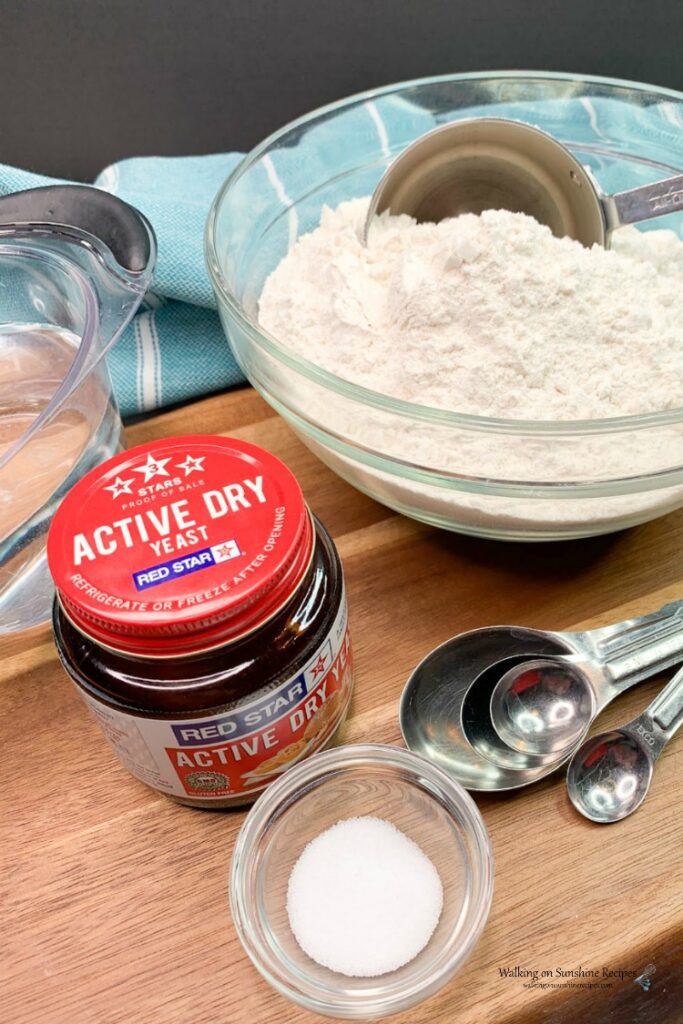
Main Ingredients Needed
Below is a quick preview of the ingredients you’ll need. For exact amounts, check the recipe card below. You can also use the "Shopping List button" to create a printable shopping list, or the "Get Ingredients button" in the recipe card to order groceries online.
Recipe Substitutions and Variations
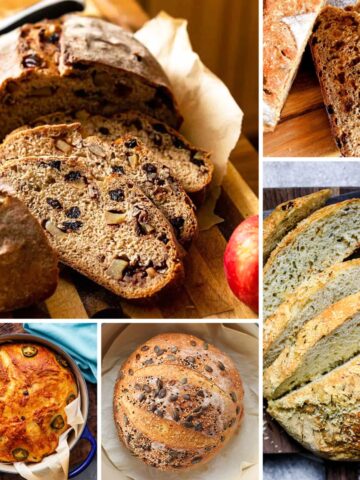
- Add 1-2 teaspoons of dried herbs (rosemary, thyme, oregano) or spices (garlic powder, onion powder, paprika) to the flour mixture for a savory twist.
- You can also add ¼ cup of sugar or honey to the dough for a slightly sweet bread.
- Try adding dried fruit (raisins, cranberries) or chocolate chips!
- Instead of rising at room temperature, you can let the dough rise in the refrigerator for 12-24 hours. This will develop a more complex flavor and a slightly denser texture.
Step-by-Step Directions
This section includes step-by-step photos and instructions to guide you through the recipe. For the complete printable version, scroll down to the recipe card below.
Step 1: In a large bowl, whisk together flour, yeast, and salt. No need to proof the yeast; the long rest period will activate it naturally.
Step 2: Next, pour the warm water on top and using a wooden spoon, stir to combine everything.
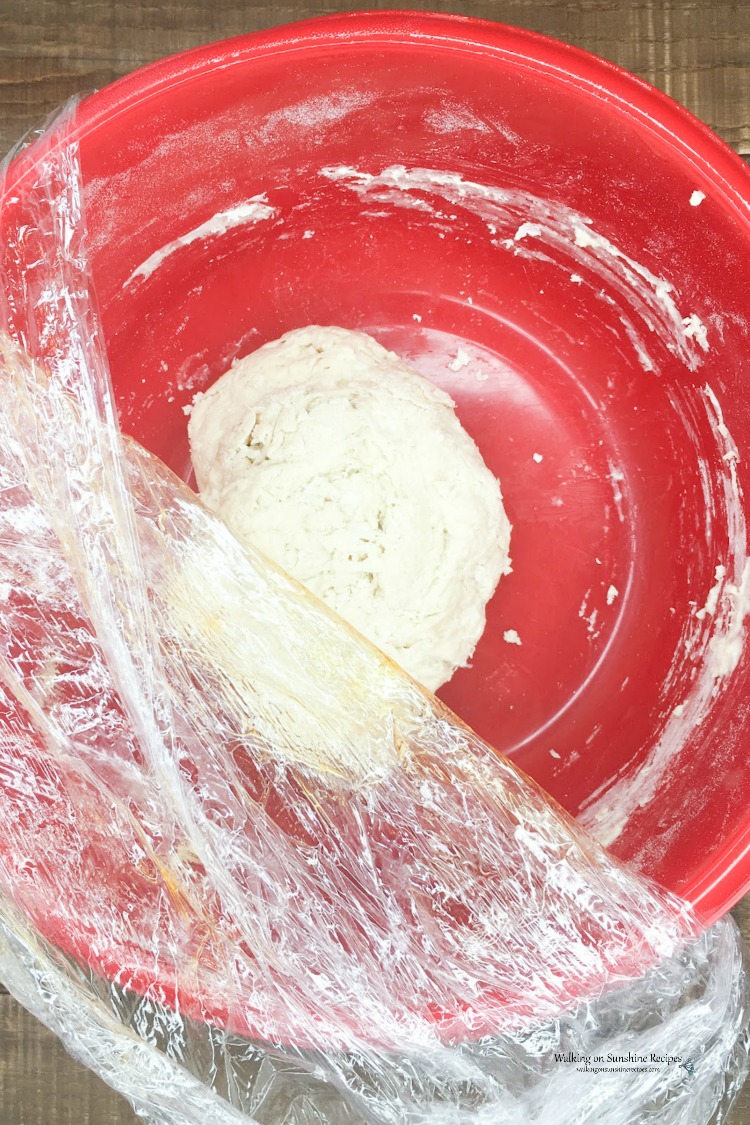
Step 3: Take a sheet of plastic wrap and spray the back of it with non-stick cooking spray. You could also brush about a teaspoon of oil on the back of the plastic wrap as well. You don't want the dough to stick to the plastic wrap as it rises.
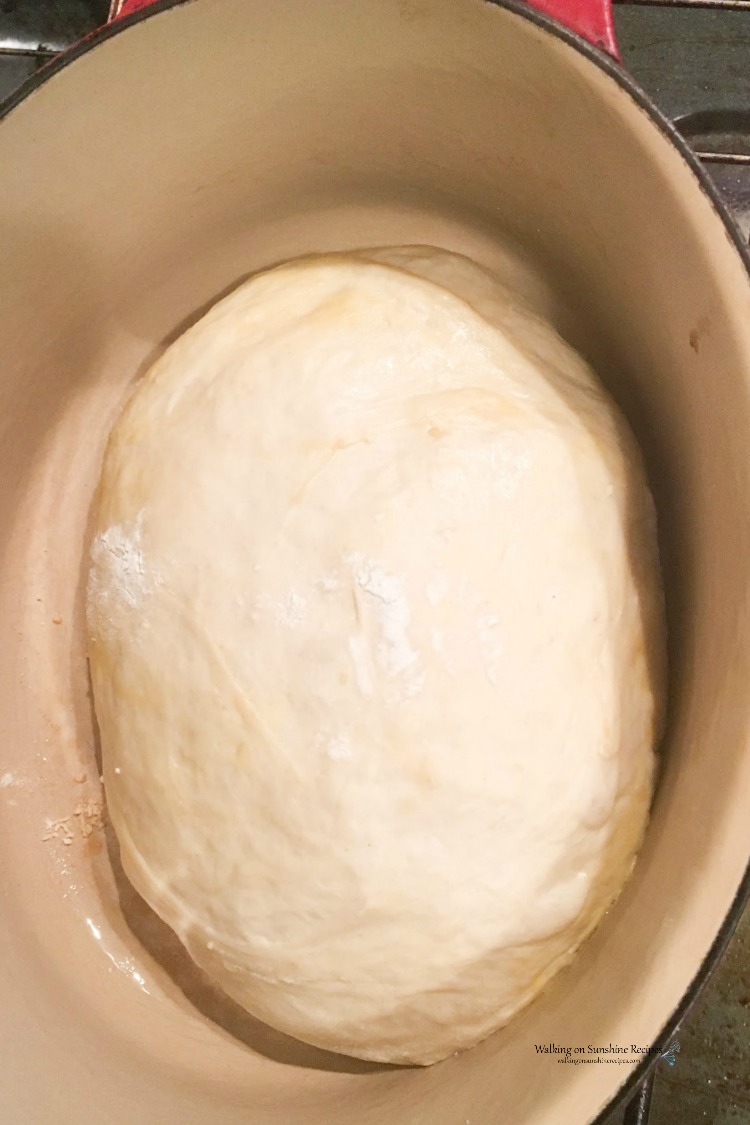
Step 4: Let the covered dough rest at room temperature for 8-12 hours. Remember, the longer it rises, the denser the bread will be—and that's a good thing!
Preheat Le Creuset Dutch Oven
Before shaping the dough, place your Dutch oven—with the lid on—inside the oven and preheat to 450°F.
This step is key to achieving that crisp, golden crust.
And remember: the pot will be extremely hot, so always use oven mitts and handle with care.
How to Shape the Dough

Step 5: After eight hours or so, remove the dough from the bowl and place it on a lightly floured surface. Make sure you flour your hands as well so the dough doesn't stick too much. The dough will be sticky, but once you work with it for a few minutes, it will start to come together nicely.
Fun Tip
Before baking, use a sharp knife, bread lame or razor blade edge to score the top of the dough with a shallow slash making a decorative pattern.
Baking Instructions
Step 6: Carefully remove the hot Dutch oven from the oven using oven mitts. Gently transfer the dough into the pot. Put the lid back on the Dutch oven and bake for 30 minutes.Remove the lid and bake for another 15-20 minutes, or until the bread is golden brown and sounds hollow when tapped on the bottom.

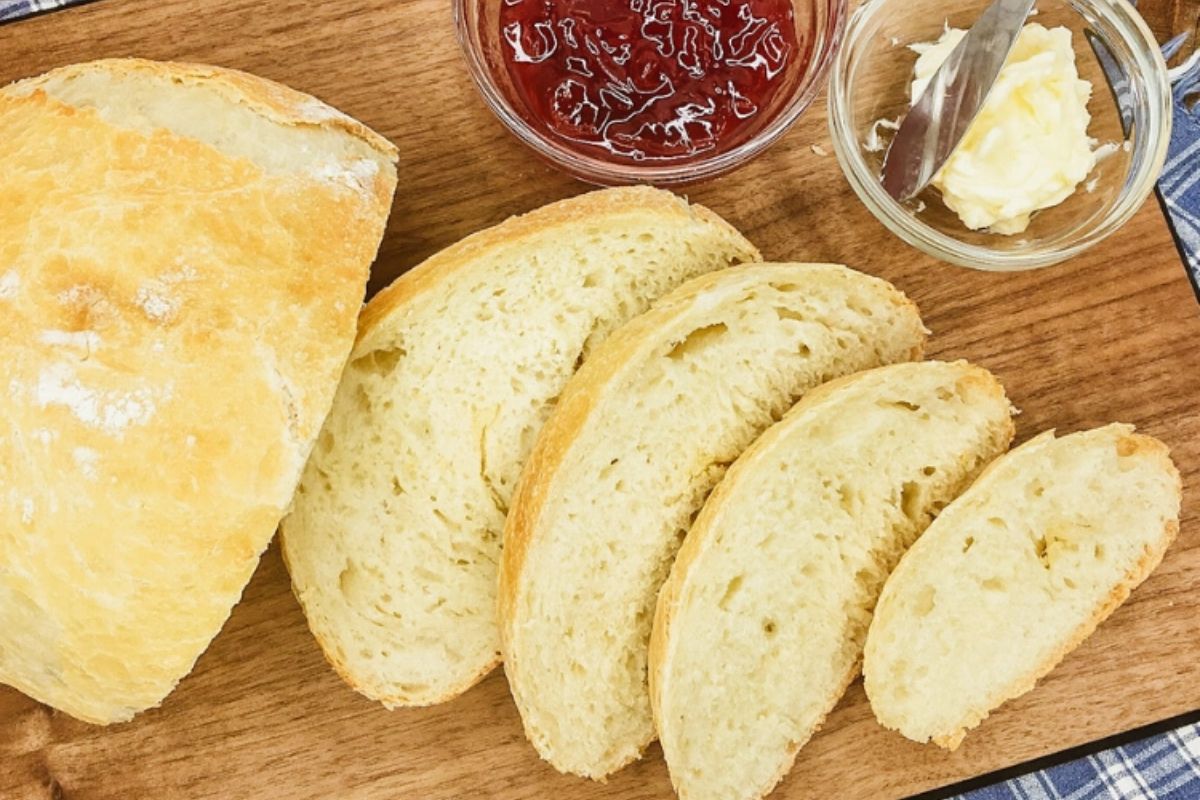
Step 7: The bread is done when it is golden brown. Remove the bread from the pot and allow it to cool on a baking rack before slicing.
Baking Bread in Dutch Oven with Parchment Paper
If you prefer, you can place the dough on a sheet of parchment paper before transferring it to the Dutch oven. Simply lift the corners of the parchment paper to gently lower the dough into the pot.
You can even bake the bread with the parchment paper inside!
Recipe Update: Be sure to watch the video in the recipe card where I show how I recently baked the bread using parchment paper—it works beautifully and makes cleanup a breeze!
Before You Begin!
If you make this recipe, please leave a review and star rating. This helps my business thrive and continue providing FREE recipes.
Recipe FAQ's
To view the answers, simply click on the down arrow (⬇) next to each question. If you have any other questions not answered here, please leave a comment!
Lukewarm water, ideal for activating yeast, falls between 100°F and 110°F (38°C and 43°C). This temperature range helps yeast dissolve and become active without killing it.
Adding excessive flour creates a dry, tough dough that yields a denser loaf. For a lighter result, adhere to the recipe's measurements and introduce water slowly until the dough is slightly sticky yet workable.
Storing, Freezing, Thawing and Reheating Tips
Pantry: Wrap the bread tightly in plastic wrap or aluminum foil. Store it in a cool, dry place away from direct sunlight.
Refrigerator: Avoid storing it in the refrigerator, as this can actually dry out the bread faster.
Freezer: Wrap the bread tightly in plastic wrap, then again in aluminum foil or a freezer-safe bag. Freeze for up to 3 months.
Thawing and Reheating: Thaw overnight at room temperature or toast slices directly from the freezer.
Ready for more great recipes?
You might enjoy my recipe for Homemade French Baguettes that does require a little kneading or my Pepperoni Mozzarella Monkey Bread that uses refrigerator biscuits! This recipe for One Hour Bread sounds delicious too!


📖 Recipe Card
No Knead Bread
Video
Ingredients
- 3 cups all purpose flour
- 1 ¾ tsp. salt
- ½ tsp. active dry yeast
- 1 ½ cup warm water
Method
- Add the flour, yeast and salt to a big bowl. Stir to combine.
- Pour the warm water on top and using a wooden spoon; stir to combine.
- Take a sheet of plastic wrap and spray the back of it with non-stick cooking spray. You could also brush about a teaspoon of oil on the back of the plastic wrap as well. You don't want the dough to stick to the plastic wrap as it rises.
- Allow the dough to sit covered with plastic wrap at room temperature for 8 to 12 hours. The longer it sits and rises, the more dense the bread will become.
- About 30 minutes before you want to bake the bread, preheat the oven to 450 degrees.
- Place the Dutch oven pot inside the oven so it can preheat and get hot as well.
- Remove the dough from the bowl onto a lightly floured surface. Make sure you flour your hands as well so the dough doesn't stick to your hands.
- The dough will be sticky, but once you work with it for a few minutes, it will start to come together nicely.
- Using oven mitts, carefully remove the preheated Dutch oven from the oven. Gently place the dough inside. Cover with the lid and bake for 30 minutes. Then, remove the lid and continue baking for 15-20 minutes, or until the bread is golden brown and sounds hollow when tapped.
- The bread is done when it is golden brown.
- Remove the bread from the Dutch oven and allow it to cool on a baking rack before slicing.
Nutrition
Notes
- Before baking, use a sharp knife or razor blade edge to score the top of the dough with a shallow slash making a decorative pattern.
- Be careful when you remove the Dutch oven pot from the oven as it will be very hot.
- Be sure to watch the video in the recipe card where I show how I recently baked the bread using parchment paper—it works beautifully and makes cleanup a breeze!
Tried this recipe?
Let us know how it was!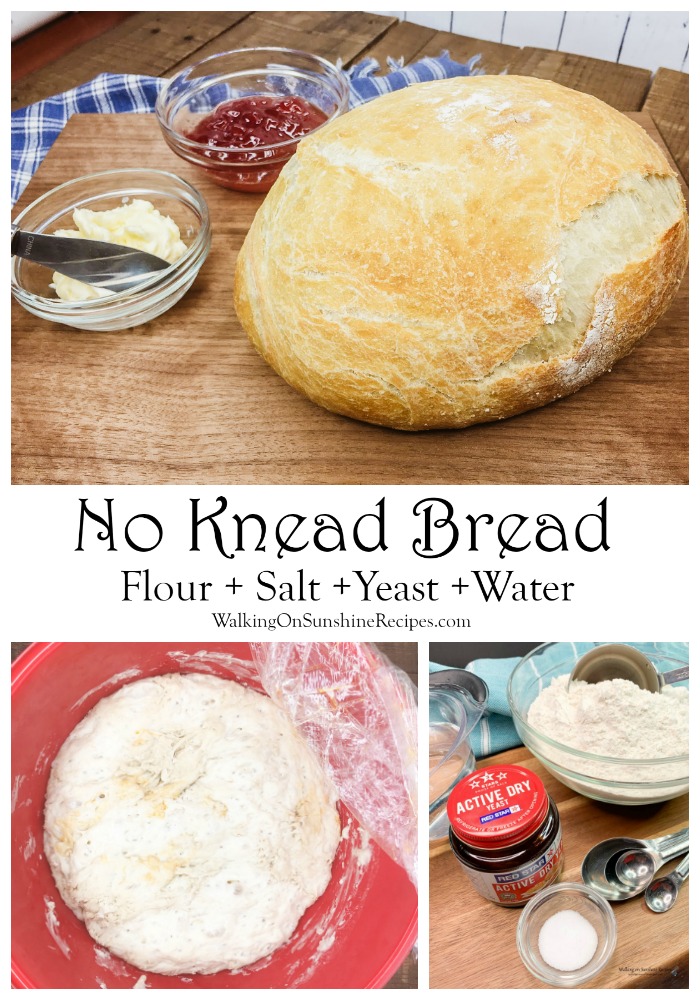

Cindy@CountyRoad407 says
This sounds delish! Thank you for sharing it with us on Farmhouse Friday. I can hardly wait to try it. Featuring it tomorrow. pinned
Esme Slabbert says
I made this bread, ingredients the same although quantities, slightly different and bake it at least 2–3 times per week.
Thank you for sharing and participating at SSPS 365. See you at #366
Rebecca says
Would love to try this bread but wondering if I can use a regular bread pan instead of Dutch oven?
Lois says
Hmmm...I think it worked out okay. Please report back and let me know!
Donna @ Modern on Monticello says
Bread is such great comfort food and delicious no matter when you make it or how. Love that this only has 4 ingredients though. Pinned. Thanks for sharing every week at #HomeMattersParty