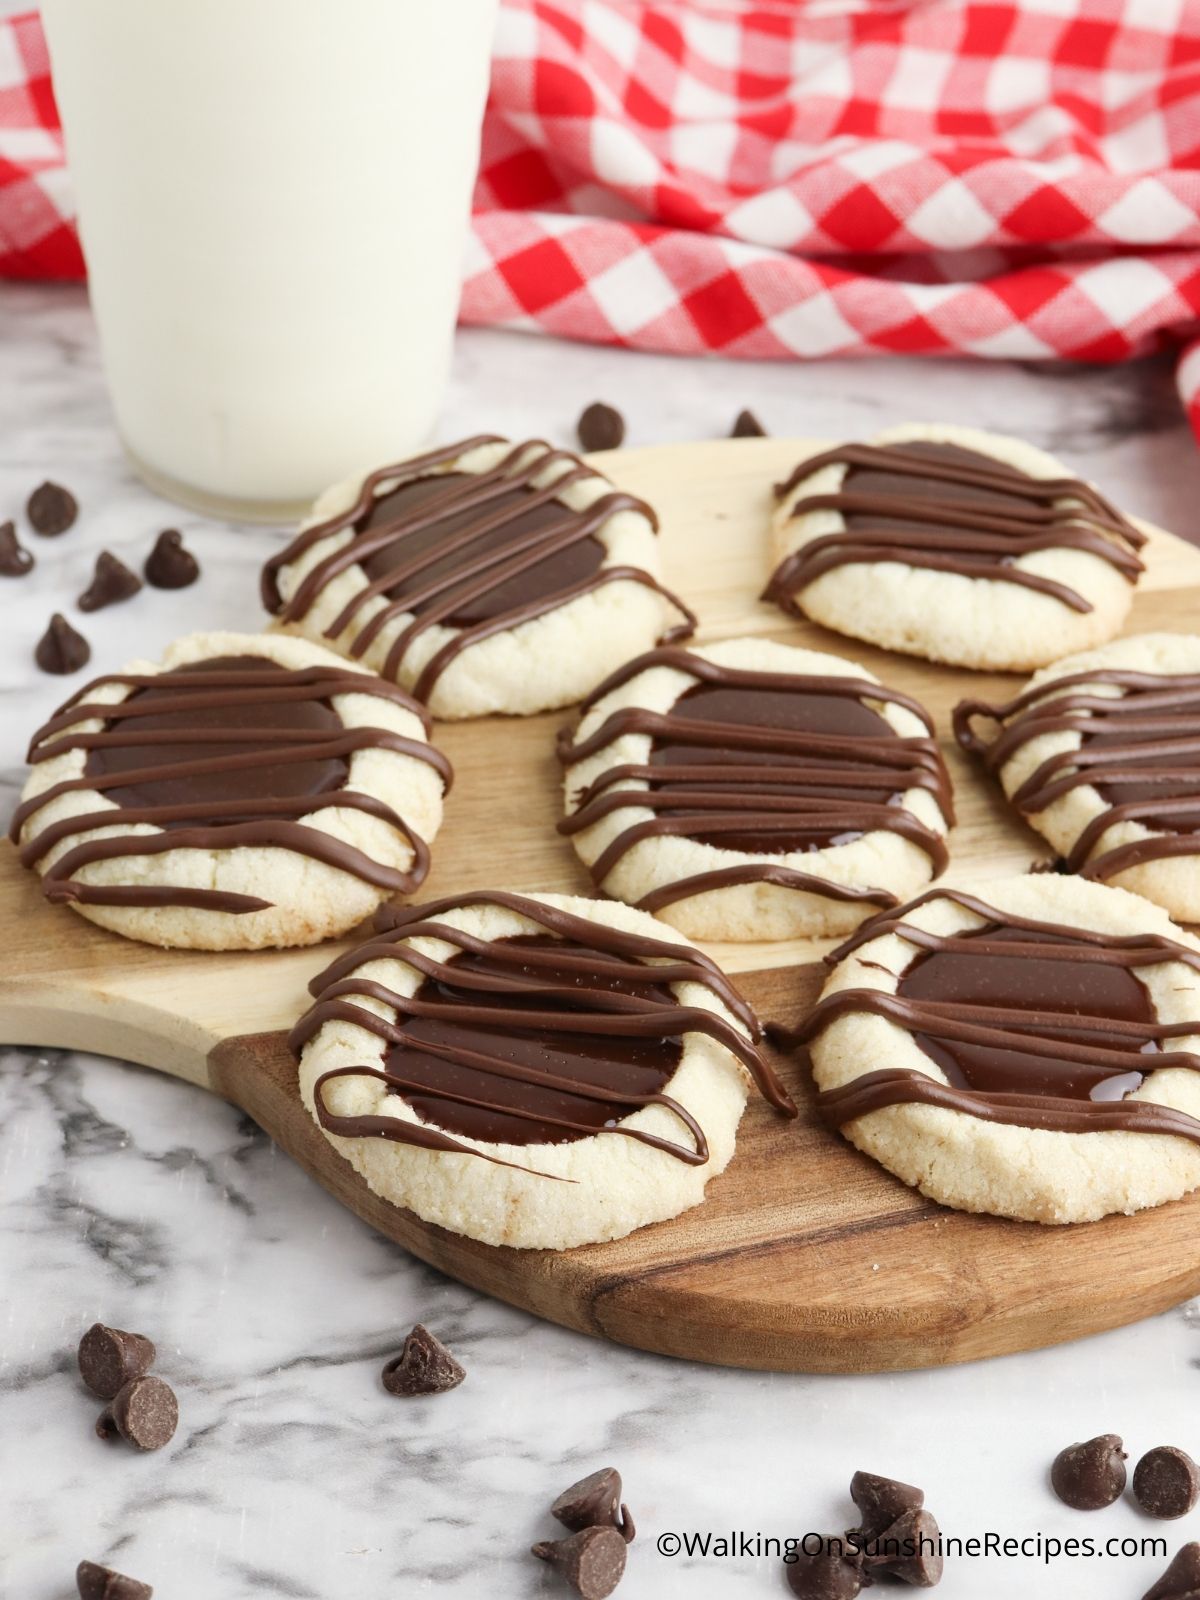
Looking for an cookie recipe that will impress your friends and family? Look no further than these shortbread thumbprint cookies with chocolate. They're buttery, crumbly, and just sweet enough.
You only need 6 ingredients to make the shortbread cookie dough! Plus, they're perfect for any occasion or for holiday baking and gift-giving.
This easy cookie recipe is sure to be a hit with family and friends!
Want to Save This Recipe?
Enter your email & I'll send it to your inbox. Plus, get great new recipes from me every week!
By submitting this form, you consent to receive emails from Walking on Sunshine Recipes.
The shortbread dough comes together quickly and can be rolled into balls in advance. When you're ready to bake, simply press your thumb into the center of each ball to create a small indentation.
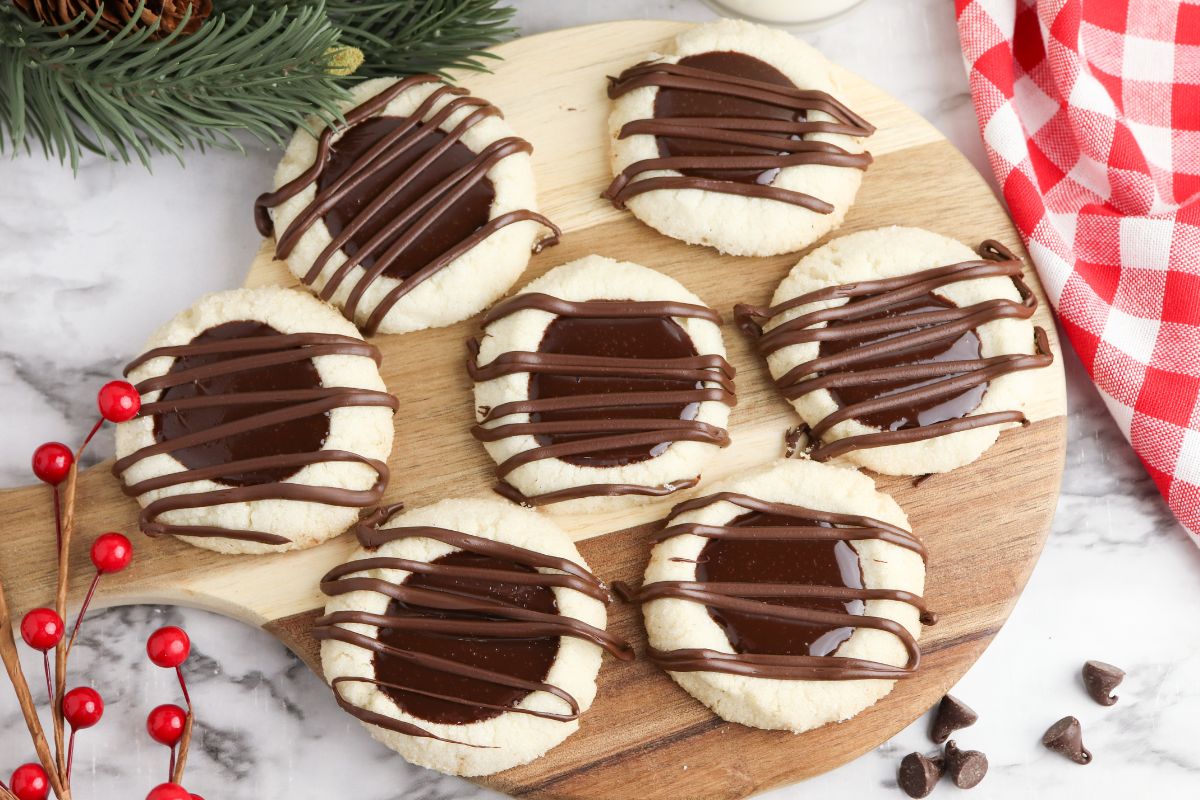
Then, fill the indentation with this homemade chocolate ganache recipe. The result is a delicious and festive cookie that is sure to please everyone. You could easily fill the cookies with jam, but who doesn't love chocolate?
This recipe was inspired by my love for Shortbread Cookies! Check out these other favorites: Classic Shortbread Cookies, Raspberry Shortbread Cookies and Slice and Bake Shortbread Cookies dipped in melted chocolate!
Table of Contents
Classic Shortbread Cookie Recipe
Shortbread is a type of biscuit or cookie that is traditionally made from flour, sugar, and butter. The dough is a short crust pastry, which means that it has a high fat content and is, therefore, short and crumbly in texture.
Shortbread originated in Scotland, and the original recipe was simply flour, sugar, and butter. However, over time, shortbread has evolved to include a variety of flavors and ingredients.
One popular variation is shortbread thumbprint cookies. To make these cookies, shortbread dough is formed into balls and then pressed down in the center to create a small indentation.
The indentation is then filled with jam or chocolate before the cookies are baked. Shortbread thumbprint cookies are a delicious treat that can be enjoyed at any time of year.
Helpful Kitchen Tools
Reynolds Kitchens Cookie Baking Sheets, Pre-CutMore InformationCookie Scoop Set for BakingMore InformationCookie and Cake Carrier ContainerMore InformationGallon Clear Round Big CapacityMore InformationMelon BallerMore Information
Main Ingredients Needed
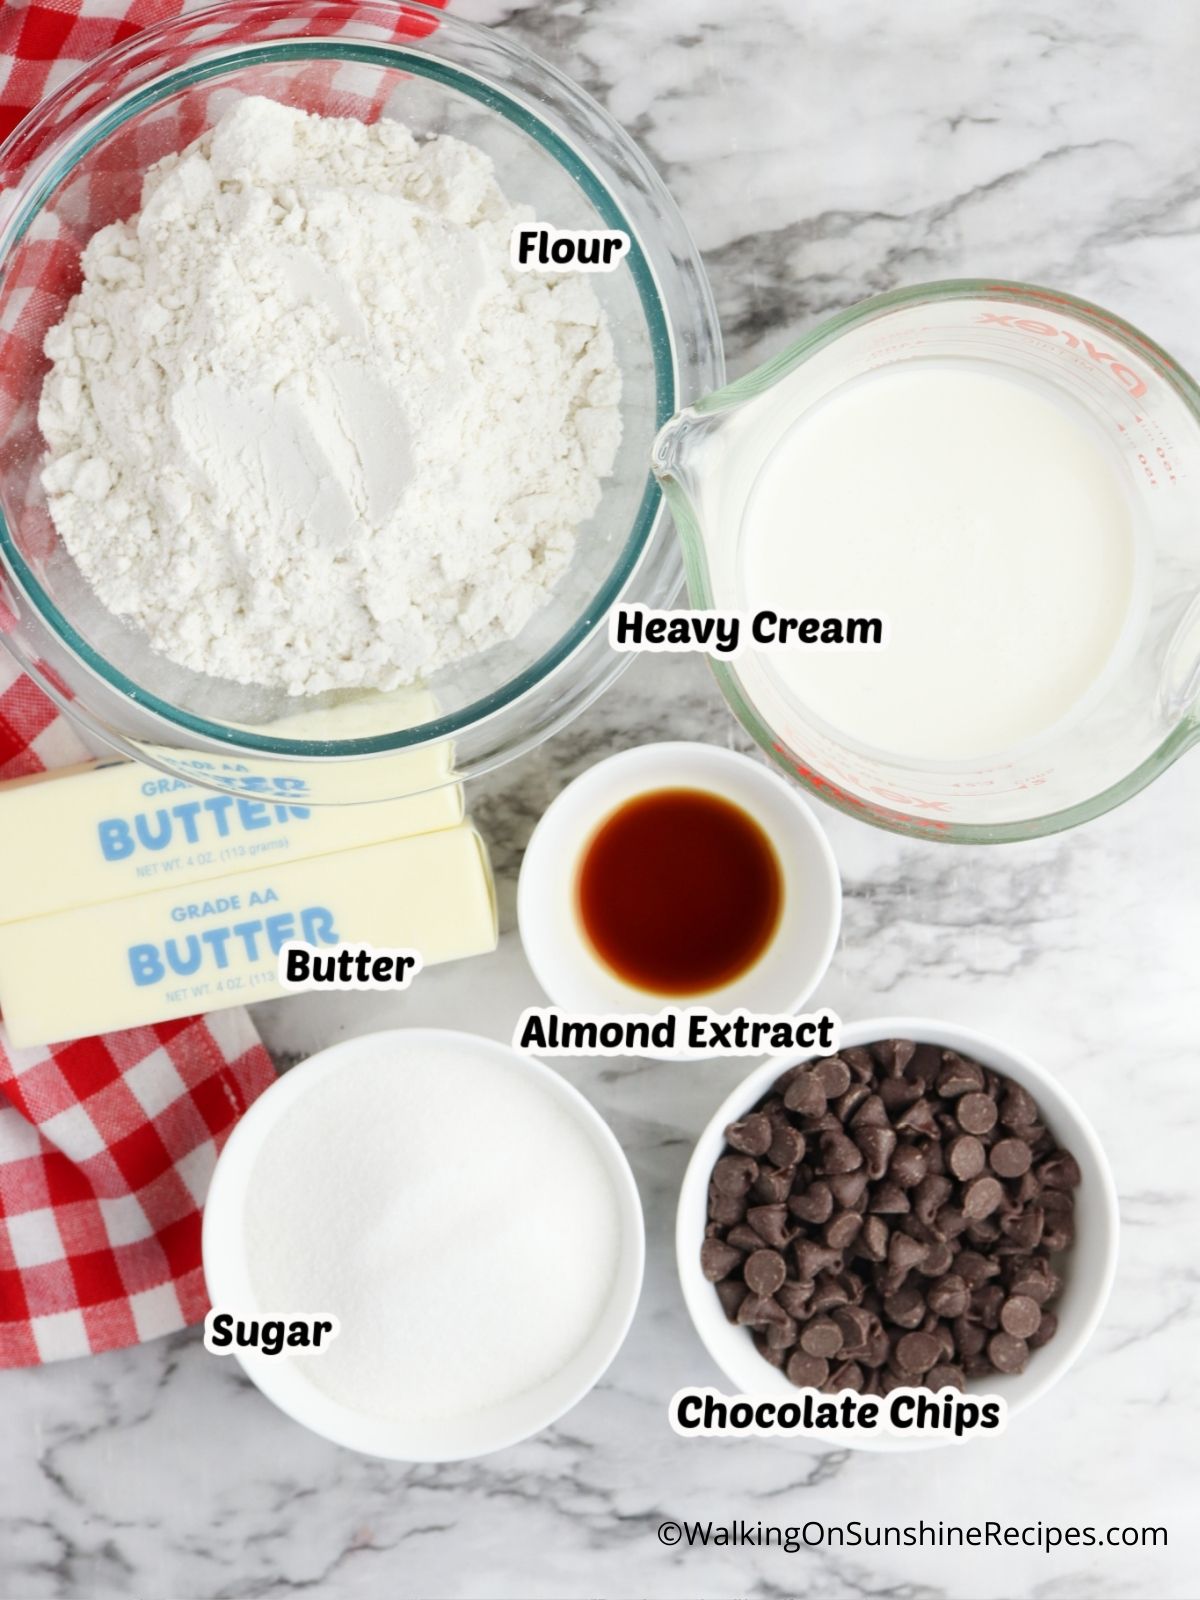
Here's a quick overview of the ingredients for this recipe. Find the exact amounts and click the Instacart button to easily add them to your cart – all in the printable recipe card below!
Recipe Variations
- Instead of melted chocolate, you can fill the cookies with your favorite flavor of jam.
- Check out my other recipe for Raspberry Shortbread Thumbprint Cookies.
Step-by-Step Instructions
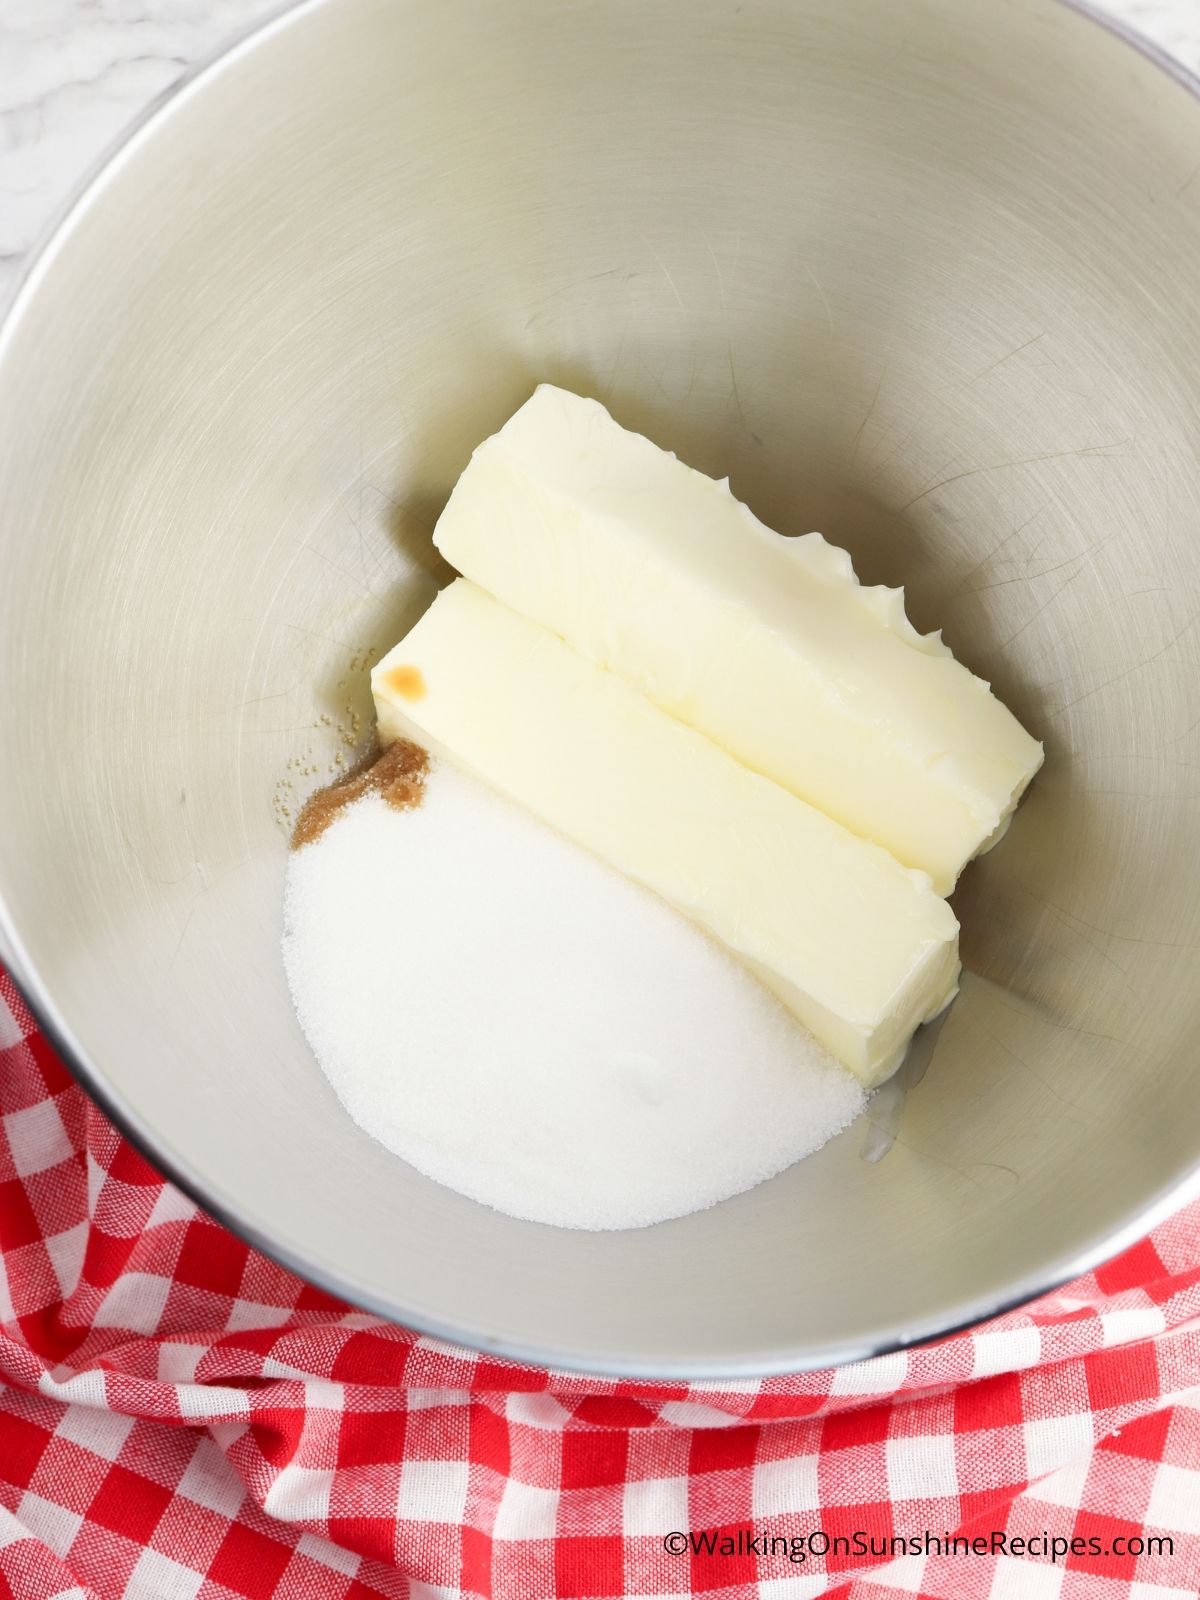
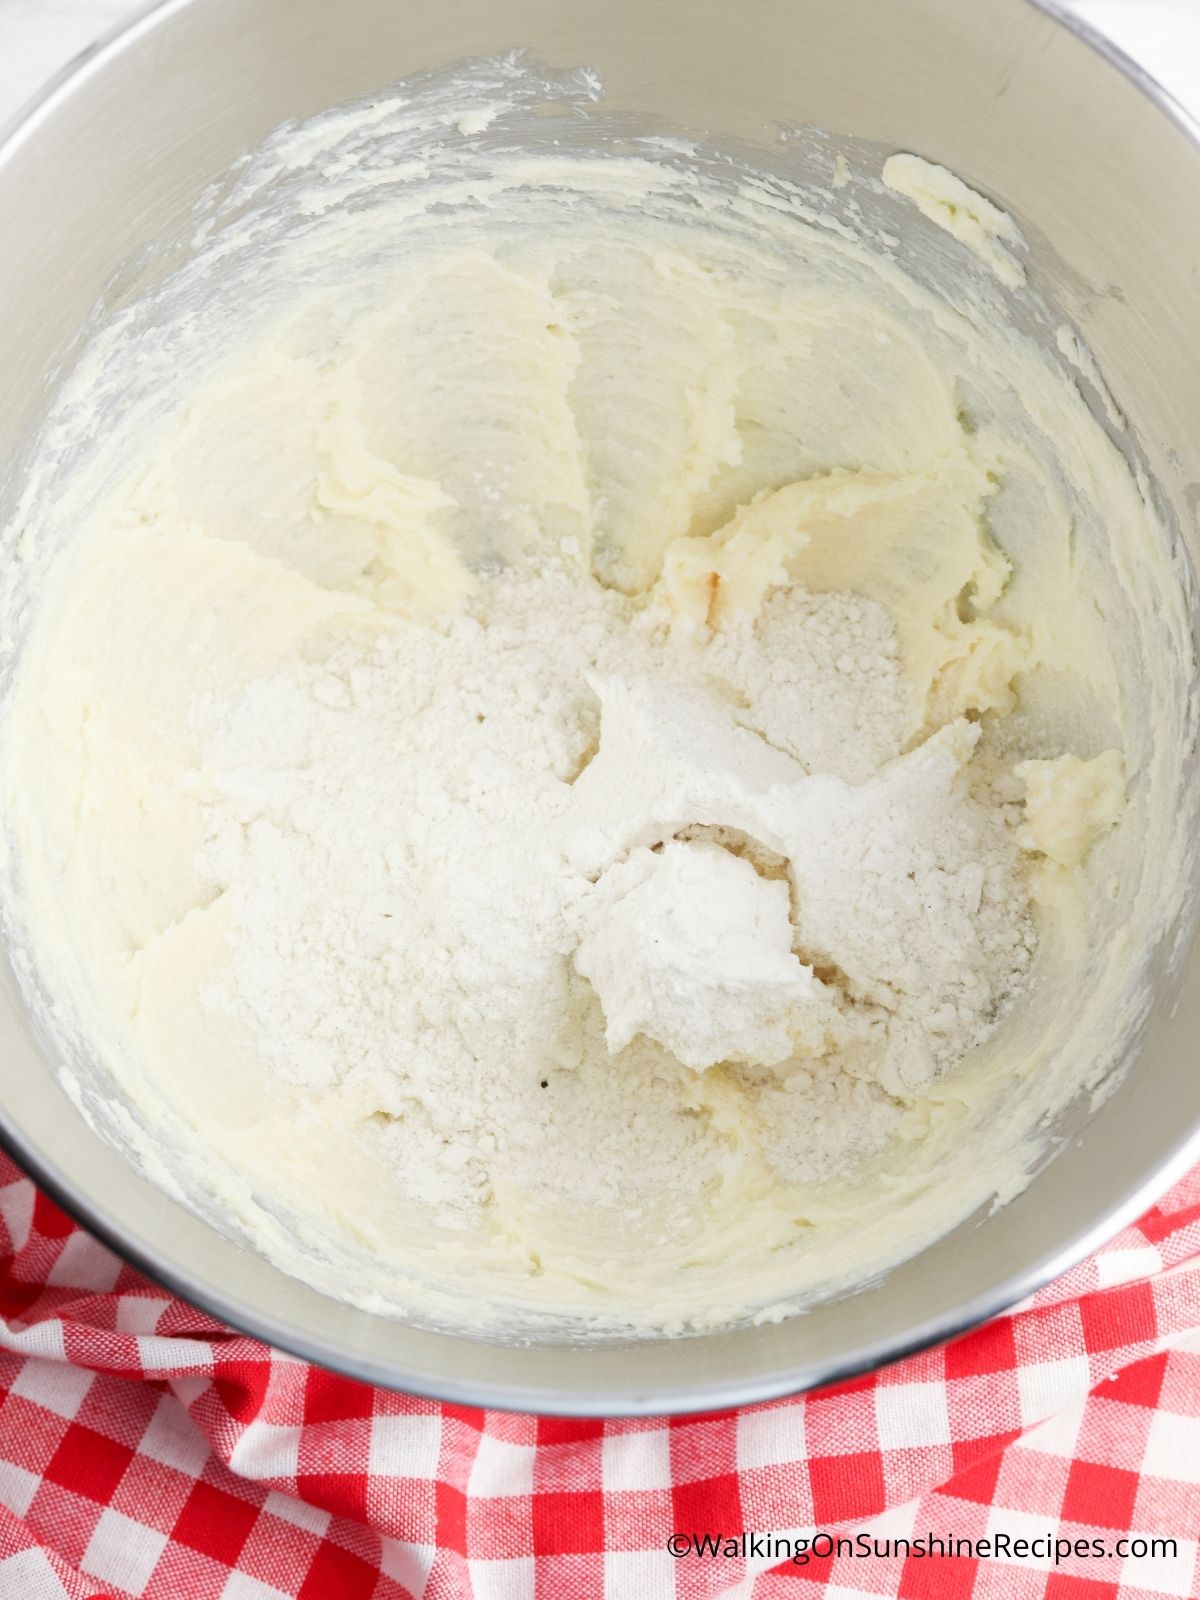
Step 1: In the bowl of an electric mixer fitted with a paddle attachment, mix together the butter, granulated sugar and almond extract until they are just combined.
Step 2: Add the flour, a little at a time until all is added. You’ll know the dough is ready when you can make a small disc in your hands with the dough and it doesn’t fall apart.
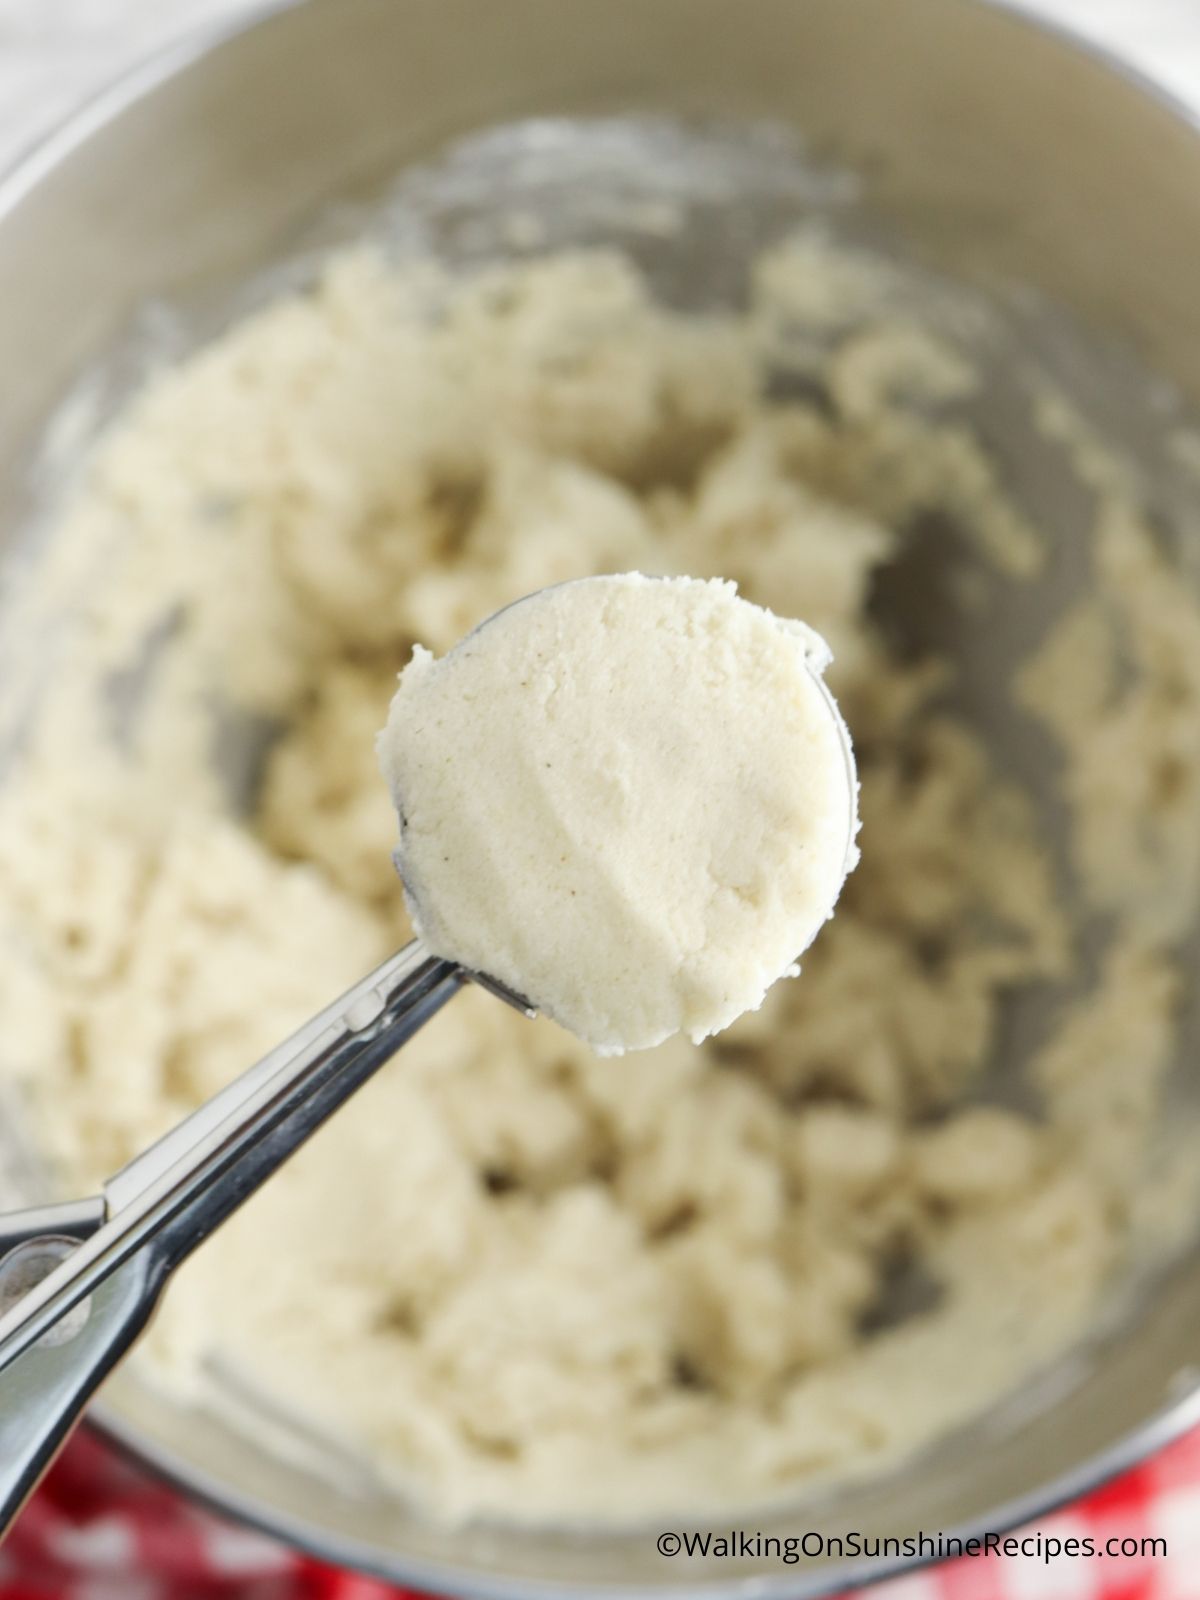
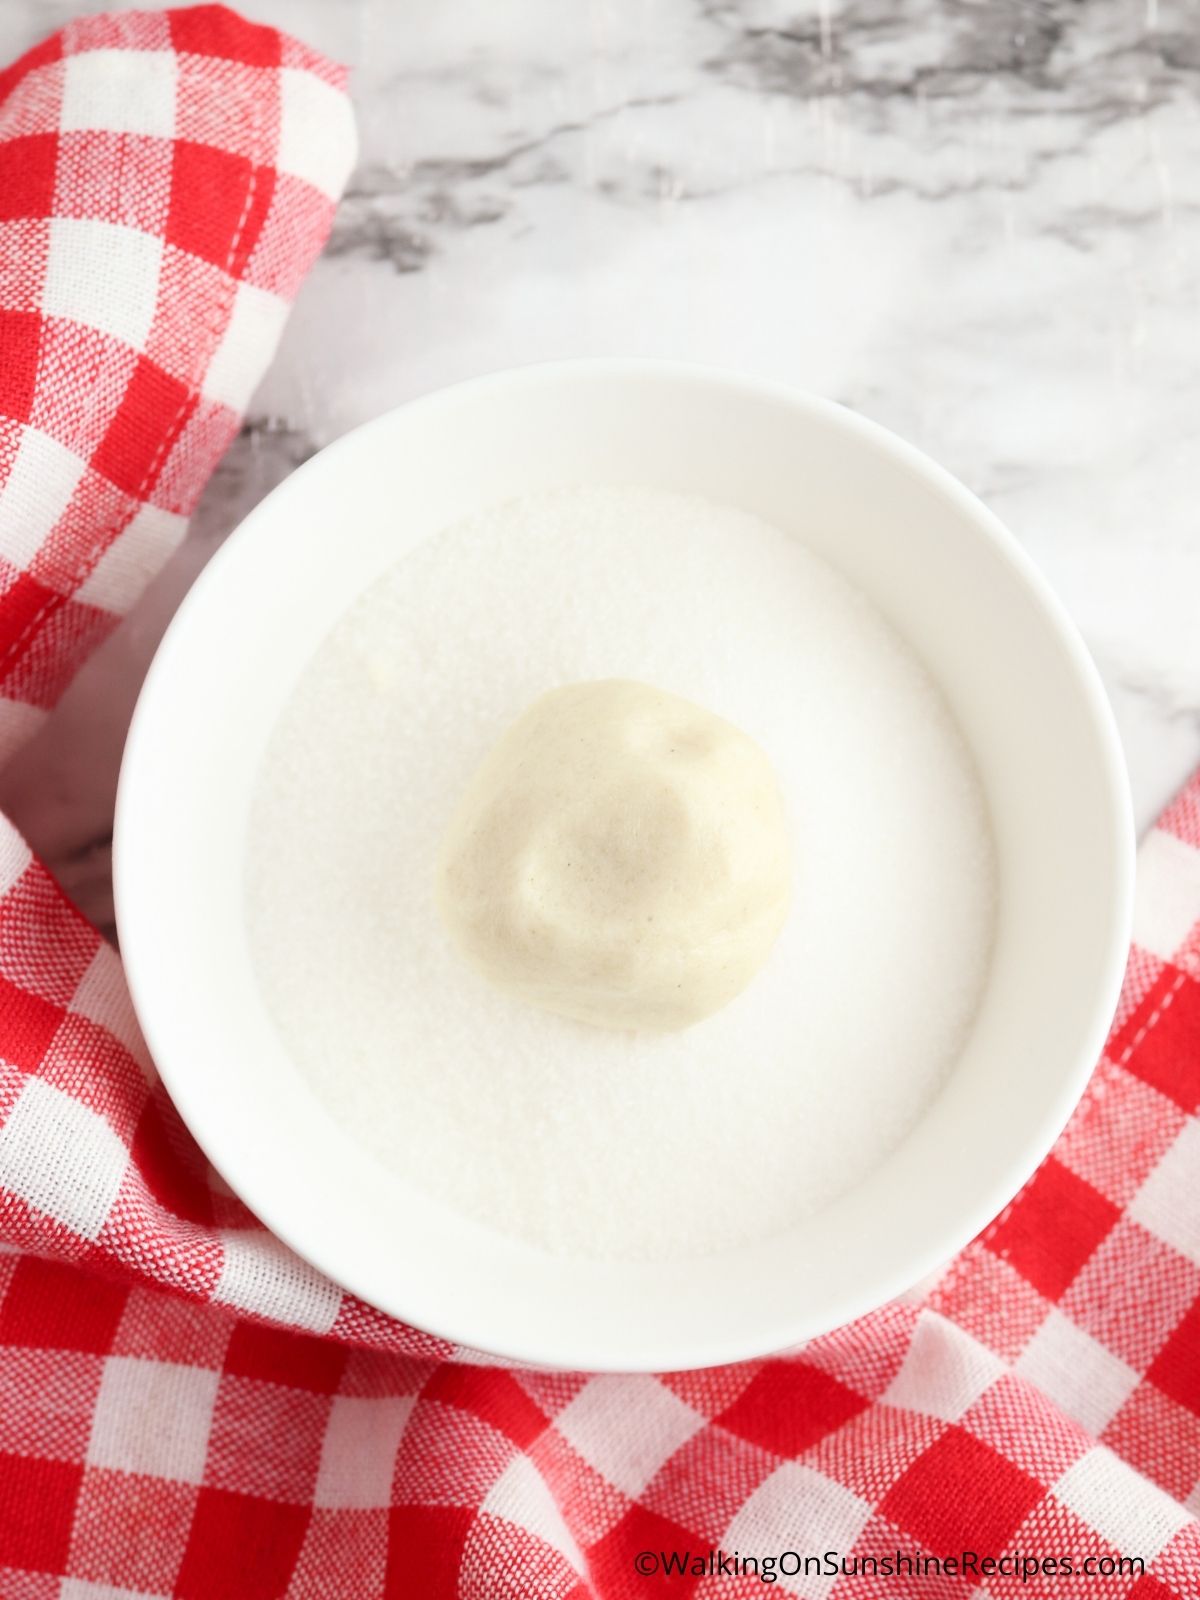
Step 3: Using a small cookie scoop, measure out cookie dough balls. This recipe should give you around 36 one inch sized balls.
Step 4: Roll dough into balls then roll in sugar and place on a parchment-lined baking sh
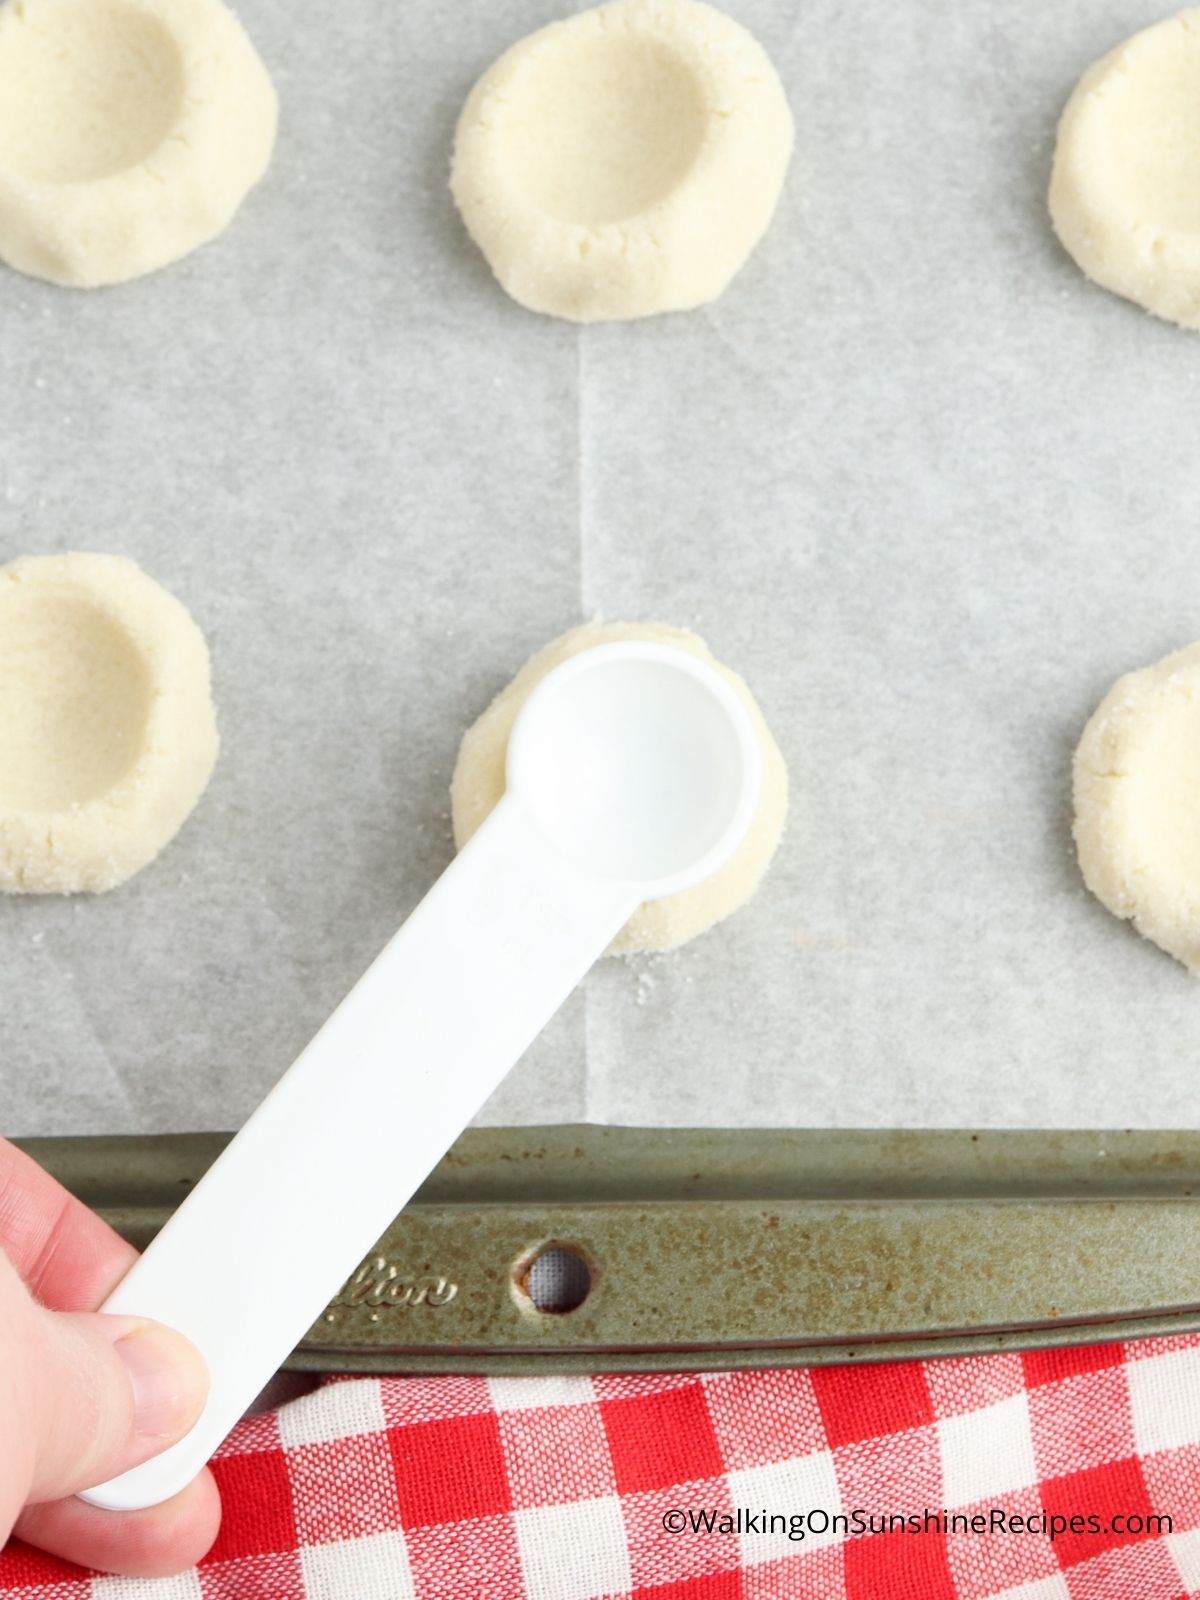
Step 5: Make a small indentation using your thumb in each cookie using a melon scoop, or my tart tamper, but your thumb works great too. If you do use a melon scoop, you may need to dip the spoon in a little extra flour so it doesn't stick to the cookie dough.
Baking Tip
Chill the cookies for about 30 minutes before baking. Do NOT skip this step. As a result of chilling the dough. it allows the butter to harden again so the cookies don’t spread too much while baking.
Baking Instructions
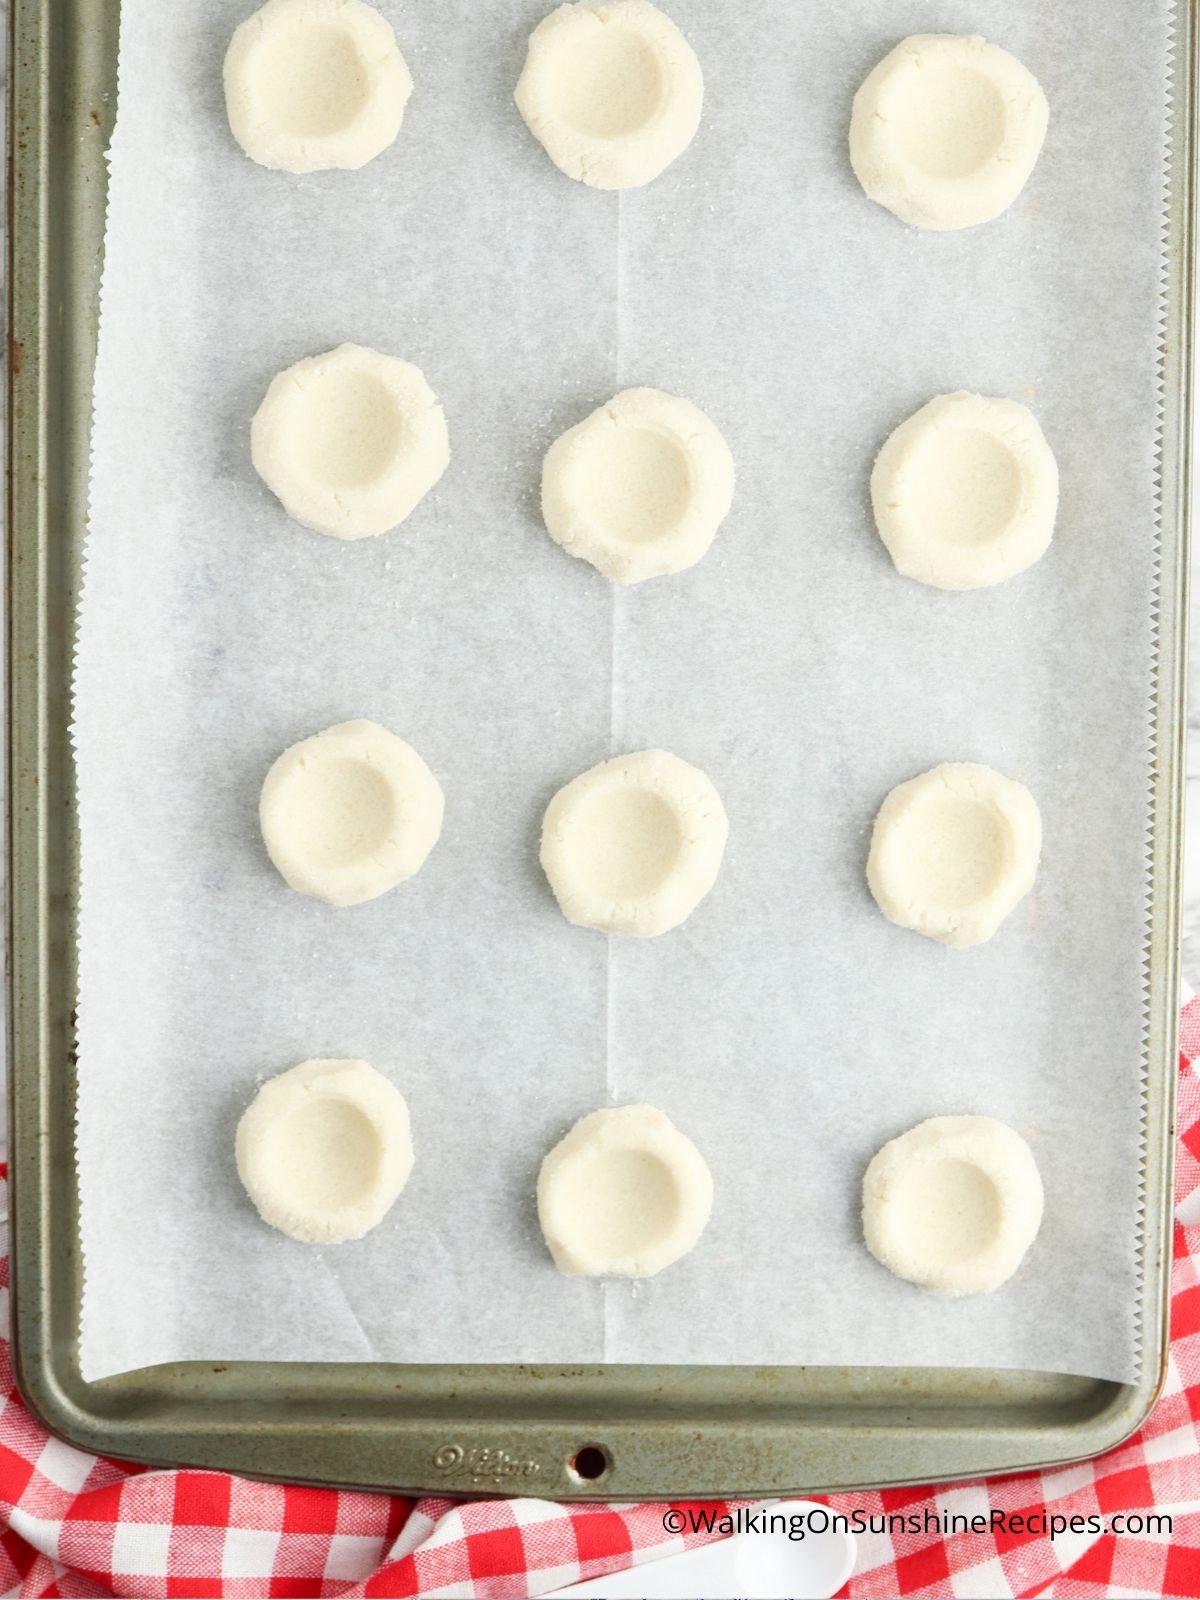
Step 6: Preheat oven to 350°F, bake cookies 15-18 minutes until edges are light brown, let cool on baking sheets for 1 minute, then transfer to cooling rack to cool completely.
How to make Chocolate Ganache
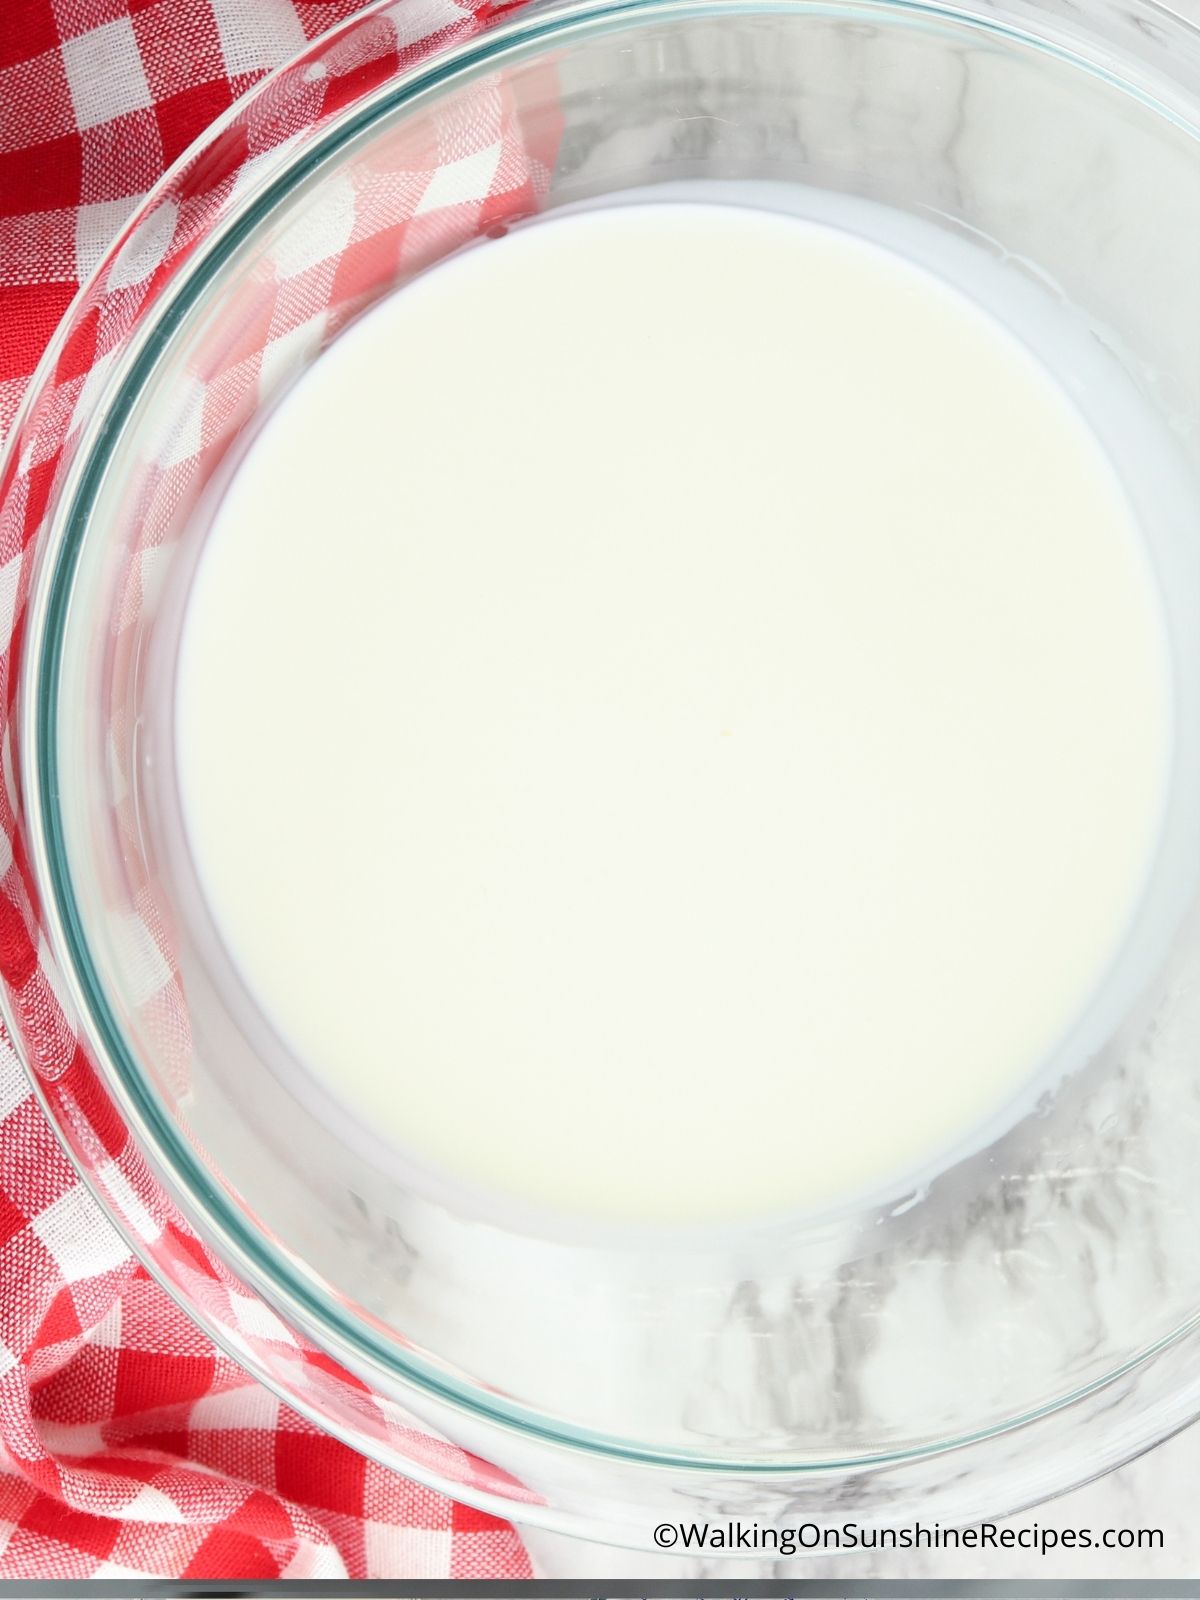
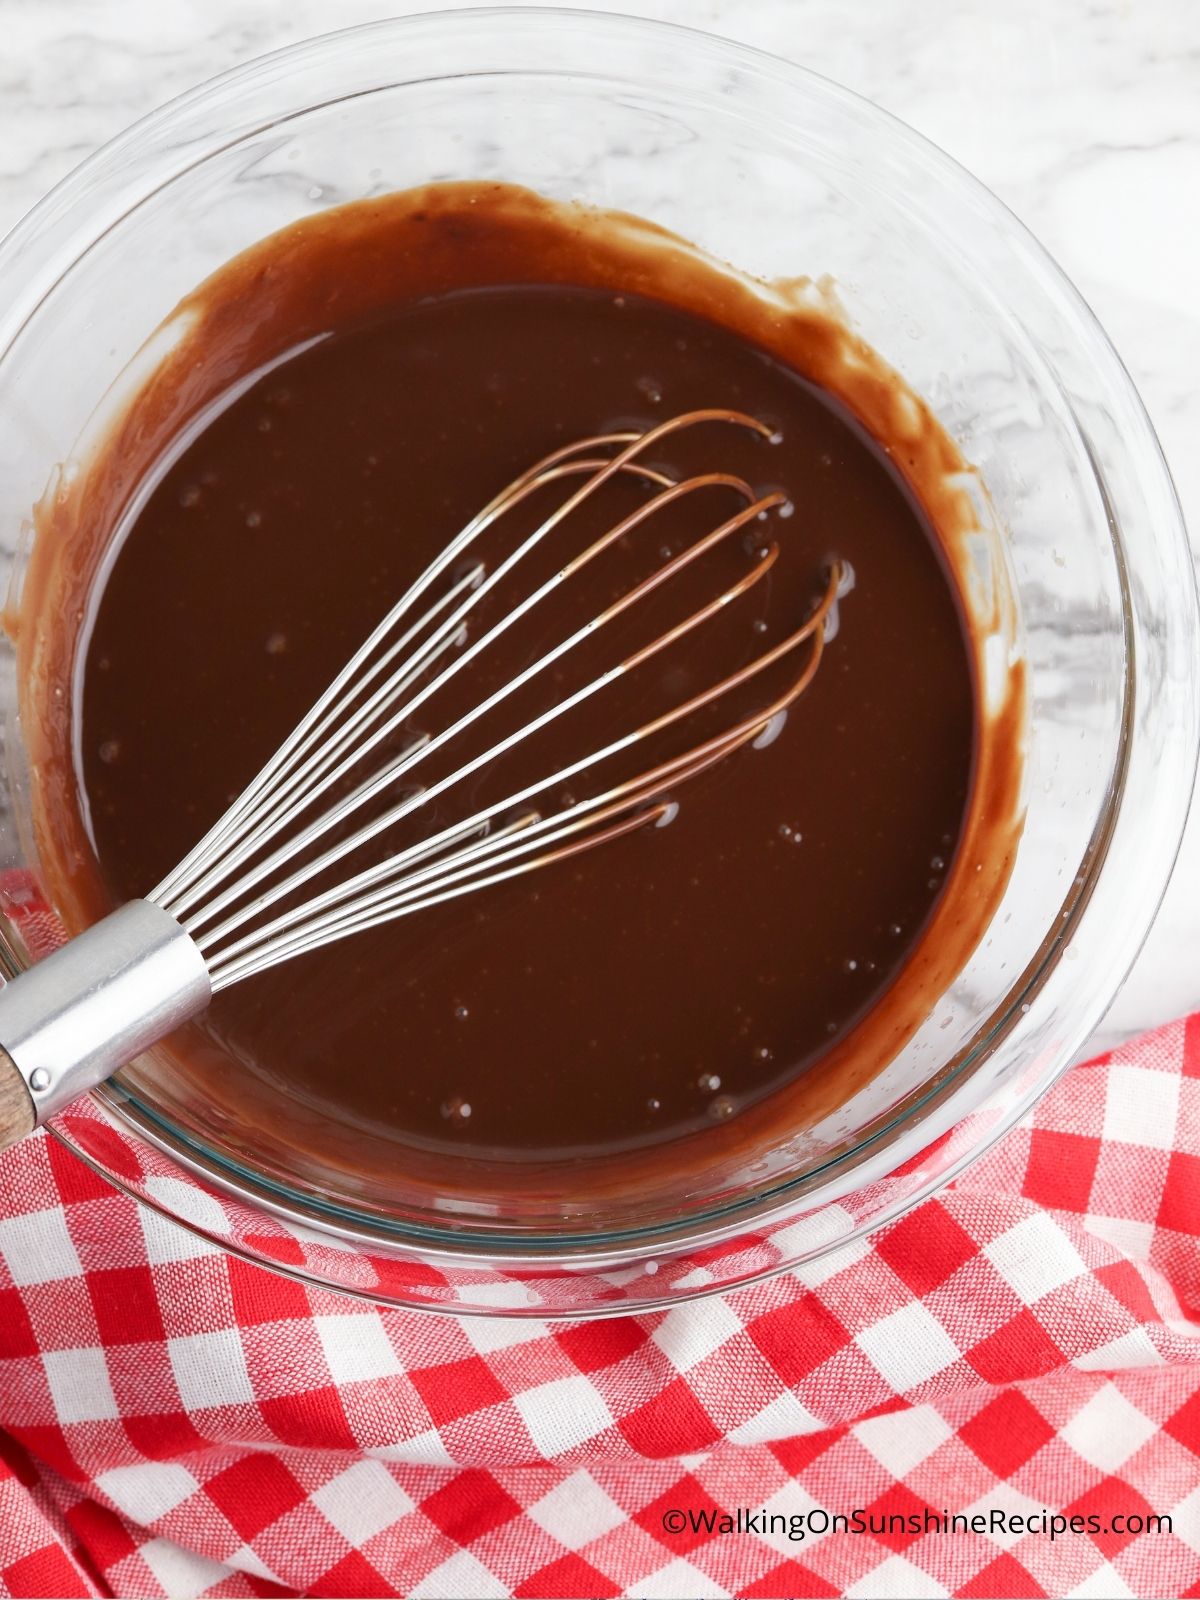
Step 7: Heat heavy cream in a microwave-safe bowl for 2 minutes, or until boiling. Carefully add chocolate morsels (it will bubble). Let sit for 5 minutes, then whisk until smooth.
How to Fill Thumbprint Cookies
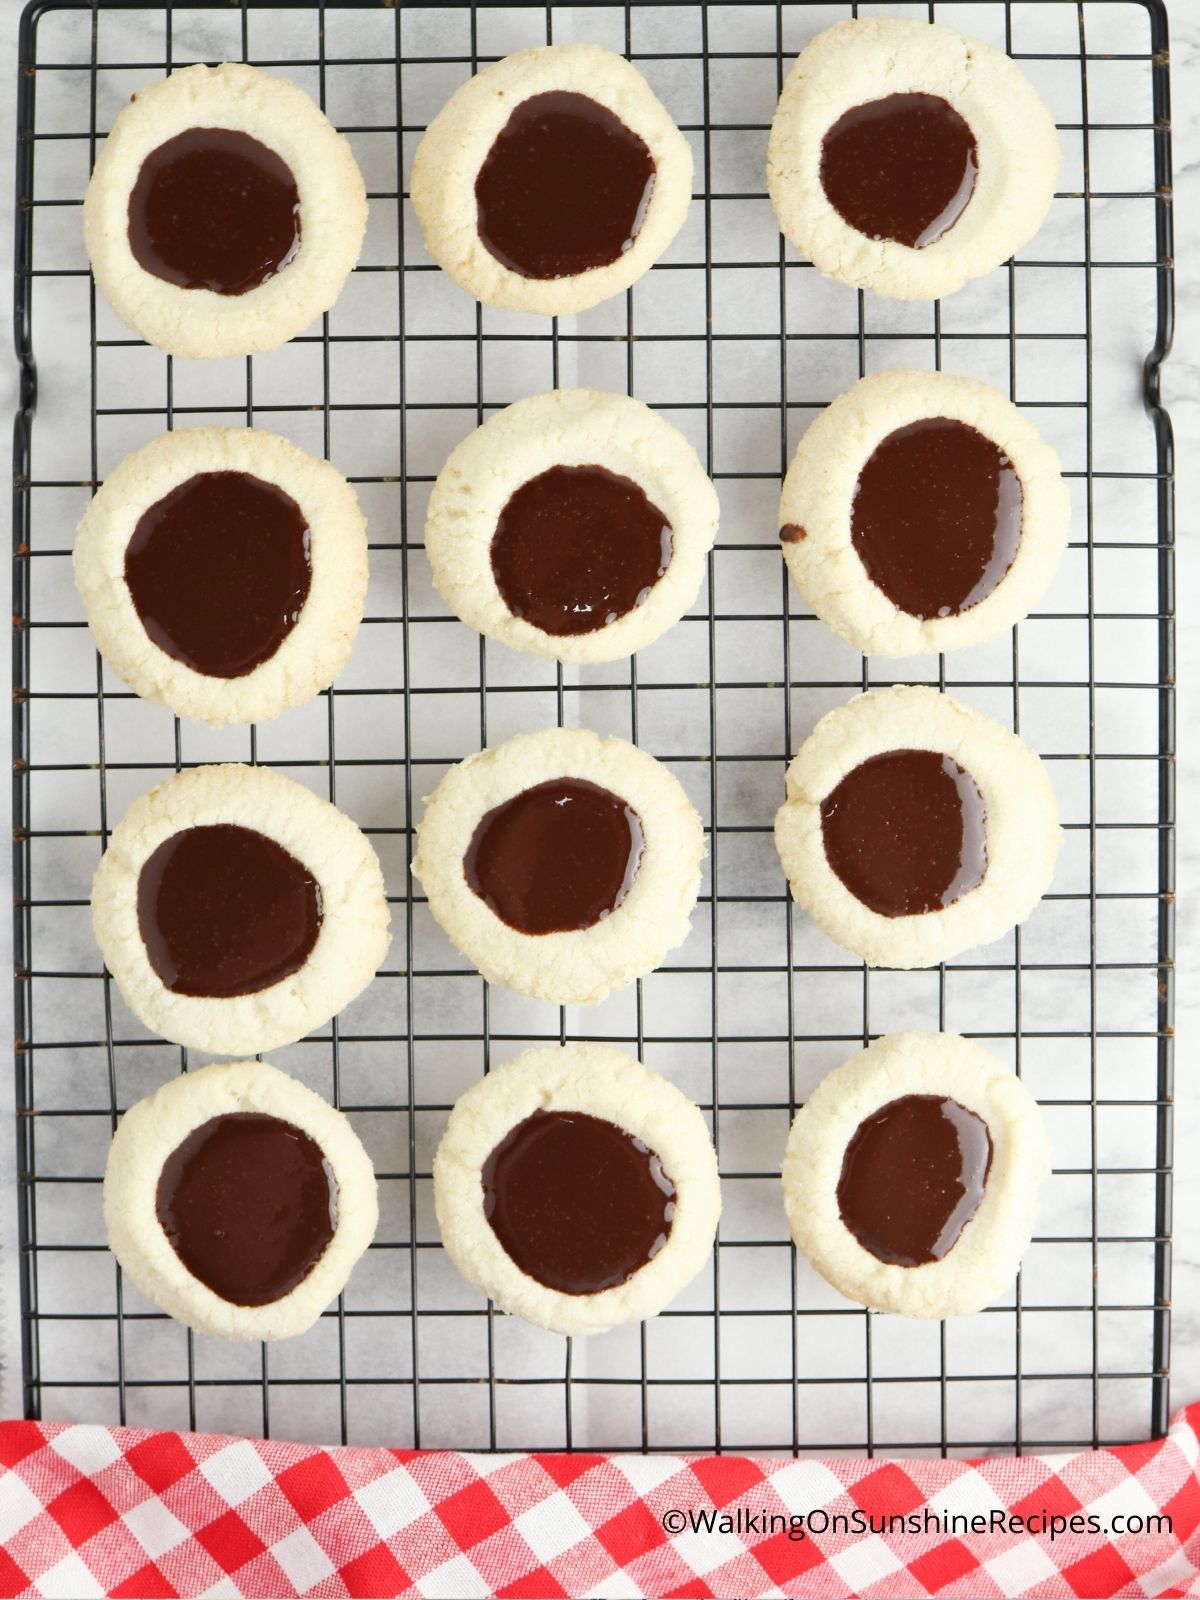
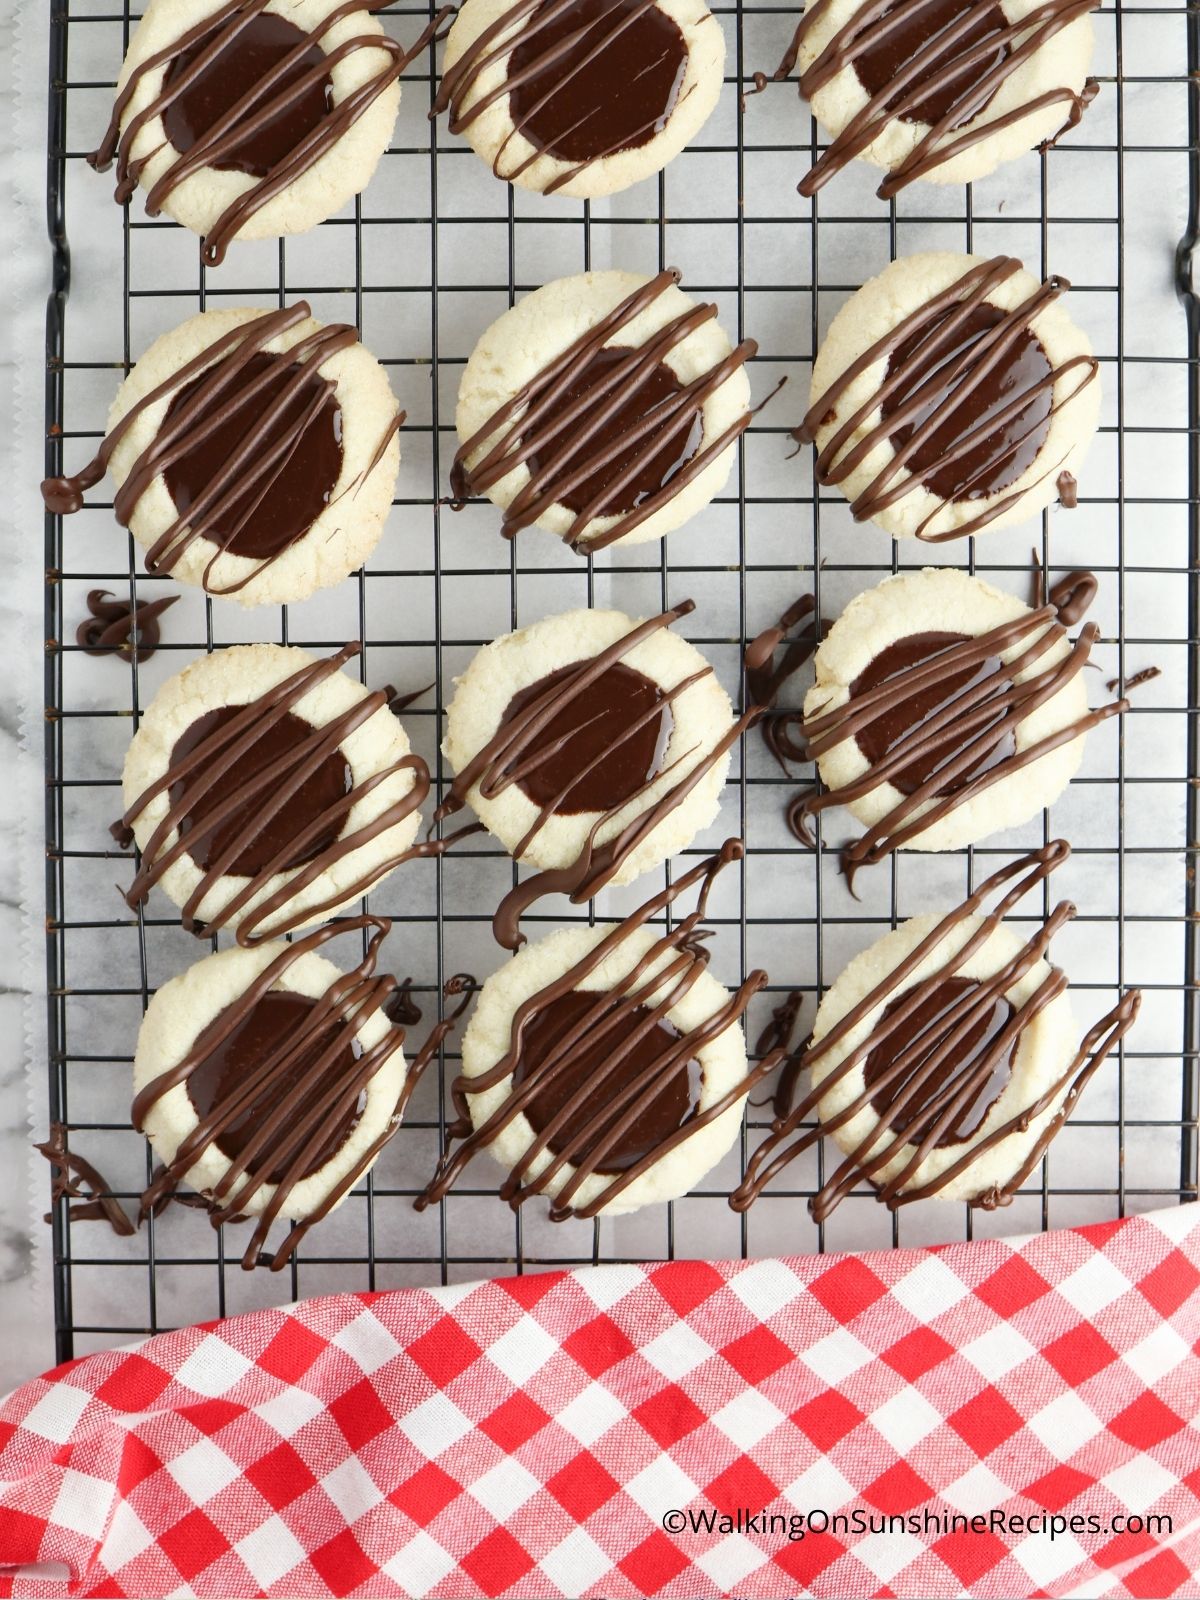
Step 8: Allow the mixture to sit a few minutes to thicken up before filling each cookie. You want to be able to pour the ganache into the indentations of the cookies so you achieve a smooth, flat top.
Step 9: Fill the cookies with about ¼ to ½ teaspoon of the chocolate ganache. If you want, you can drizzle some of the ganache using the back of a spoon to decorate them.
Before You Begin!
If you make this recipe, please leave a review and star rating. This helps my business thrive and continue providing FREE recipes.

Storage Tips
- Shortbread thumbprint cookies can be stored in an airtight container at room temperature for up to two weeks.
- If it's warm in your home or you've made the cookies during the summer months, you might want to store them in the refrigerator to prevent the chocolate ganache from melting.
Freezing Tips
- You can freeze these cookies but keep in mind the chocolate ganache may not hold up too well to the cold temperature in a freezer. I like to freeze the cookies before adding the glaze.
- Place the cooled, baked cookies on a baking tray lined with parchment paper. Then place the baking tray in the refrigerator to flash freeze for about 30 minutes. Once frozen, place the cookies in either an air-tight container or a plastic freezer bag.
- These cookies will last in the freezer for up to a month or two.
- When you're ready to enjoy the cookies, remove them from the freezer and add fresh ganache.
Recipe FAQ's
To view the answers, simply click on the down arrow (⬇) next to each question. If you have any other questions not answered here, please leave a comment!
Shortbread dough can be frozen for up to three months. The dough should be wrapped in plastic wrap and placed in a freezer-safe container before being placed in the freezer.
One possibility is you didn't chill the cookies before baking. Butter makes baked goods spread when the heat from the oven hits them. Try putting your dough in the refrigerator for an hour before baking to avoid cookies spreading. This is especially important for shortbread and thumbprint cookies, which can lose their shape if the dough is too soft when placed in the oven for baking.
Another possibility is that you baked the cookies for too long. Shortbread should be baked until it is just starting to turn golden brown around the edges. If you bake it for too long, it will become dry and crumbly
📖 Recipe Card

Shortbread Thumbprint Cookies
Ingredients
- 2 cups all purpose flour
- 1 cup butter; softened
- ⅔ cups granulated sugar
- ½ teaspoon almond extract
- Additional granulated sugar to roll cookies in before baking
- 8 ounces semi-sweet chocolate
- 1 cup heavy cream
Method
- In the bowl of an electric mixer fitted with a paddle attachment, mix together the butter, granulated sugar and almond extract until they are just combined.
- Add the flour, a little at a time until all is mixed.
- You’ll know the dough is ready when you can make a small disc in your hands with the dough and it doesn’t fall apart.
- Using a small cookie scoop, measure out cookie dough balls. Using your hands, shape the scooped dough into round balls. If you don't have a small cookie scoop, you can use a tablespoon.
- Roll the cookie balls in granulated sugar.
- Place on a baking tray that's been lined with parchment paper.
- Make a small indentation using your thumb in each cookie. I like to use the back of a melon scoop, but your thumb works great too.
- Chill the cookies for 30 minutes or so before baking.
- Preheat the oven to 350°F while they cookies chill.
- Bake for 15 to 18 minutes or until the edges are light brown.
- Remove from the oven and allow the cookies to cool on the baking sheet for about 5 minutes before transferring to a baking rack to finish cooling. You may need to re-do the small indentation again when you pull the cookies out of the oven.
- Place heavy whipping cream in a microwave safe bowl and heat on high for two minutes or just until the heavy cream begins to boil.
- Remove the bowl from the microwave and carefully add the chocolate morsels. The mixture may bubble up, this is okay!
- Let the mixture sit for 5 minutes and then begin to whisk until shiny and smooth, about 1 minute.
- At first it may look like the glaze is not going to get smooth. But keep stirring and it will come together.
- Allow the mixture to sit and cool down a little bit to thicken up before filling the cookie. You want to be able to pour the ganache into the indentations of the cookies so you achieve a smooth, flat top. If the ganache thickens too much, the ganache will have more of a texture.
- Fill each cookie thumbprint with about ¼ to ½ tsp. of the chocolate ganache.


Kelly says
So fun! and beautiful! Thanks for sharing with us at the Homestead Blog Hop. I love seeing what you have for use each week 🙂
Lois says
Thank you for the comment and visit! Your party is always fun to join!