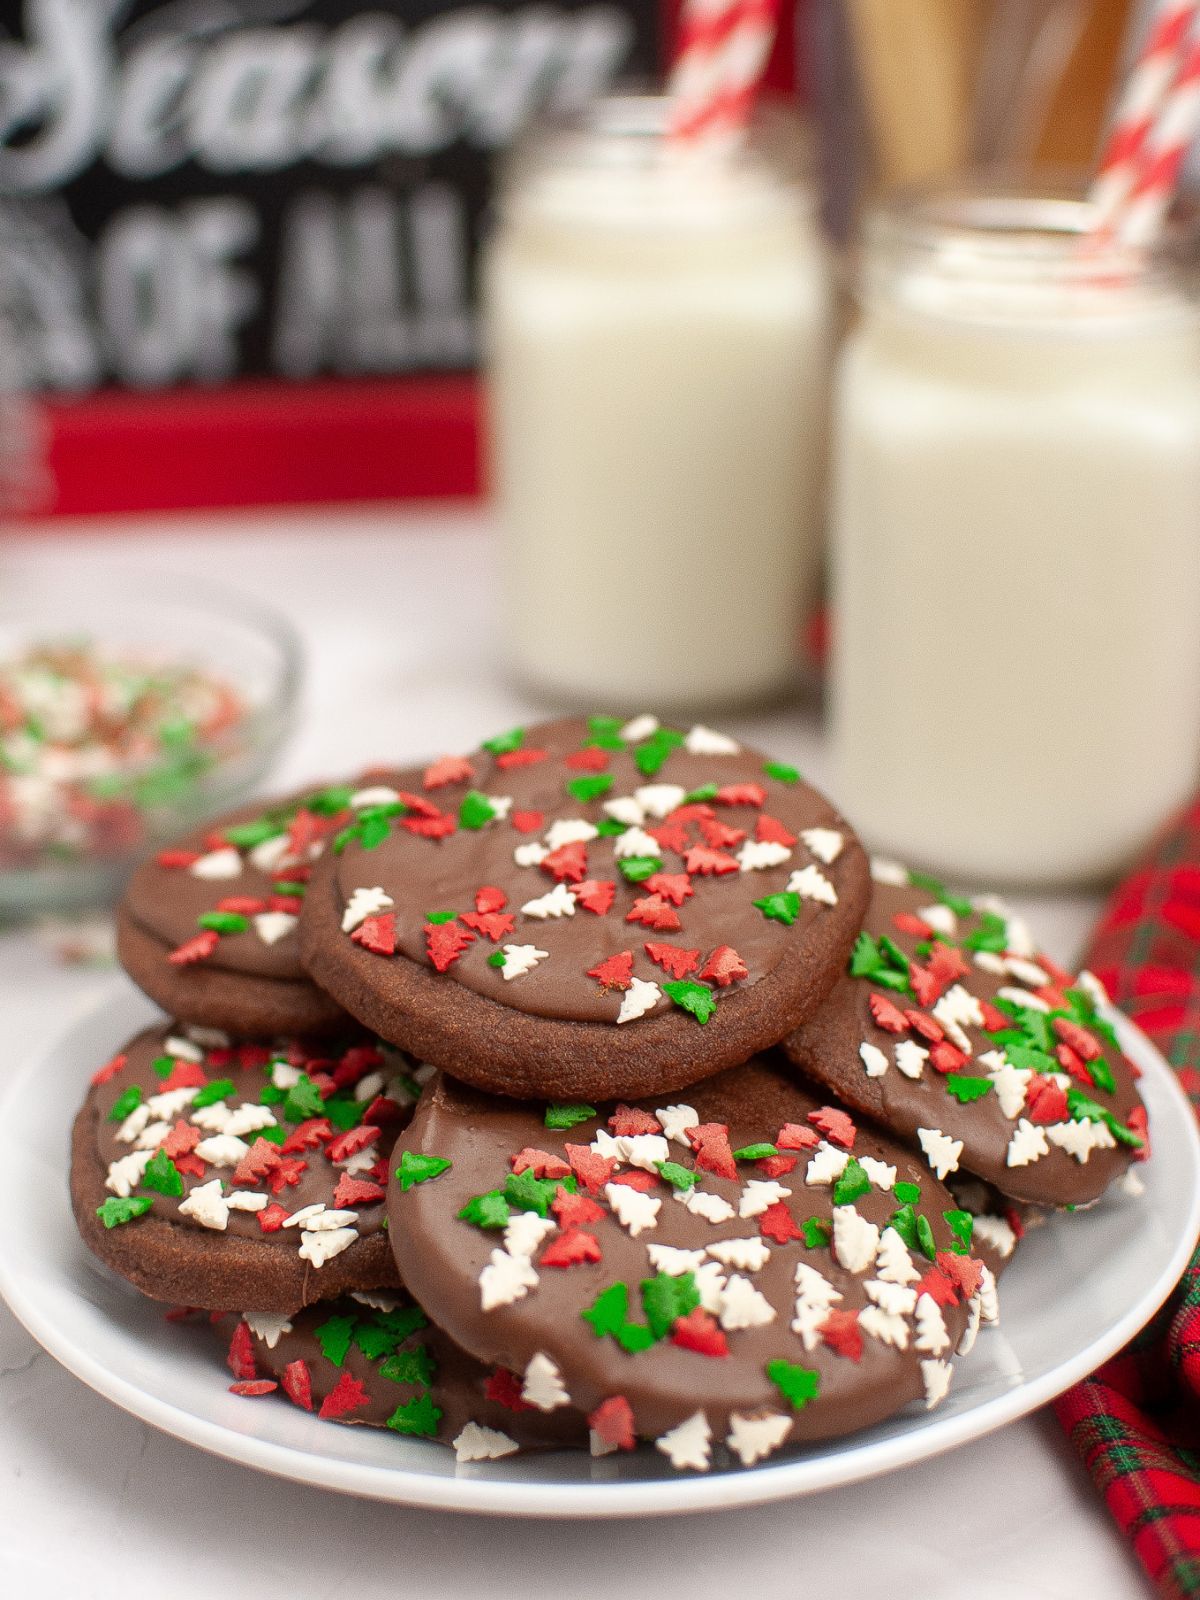
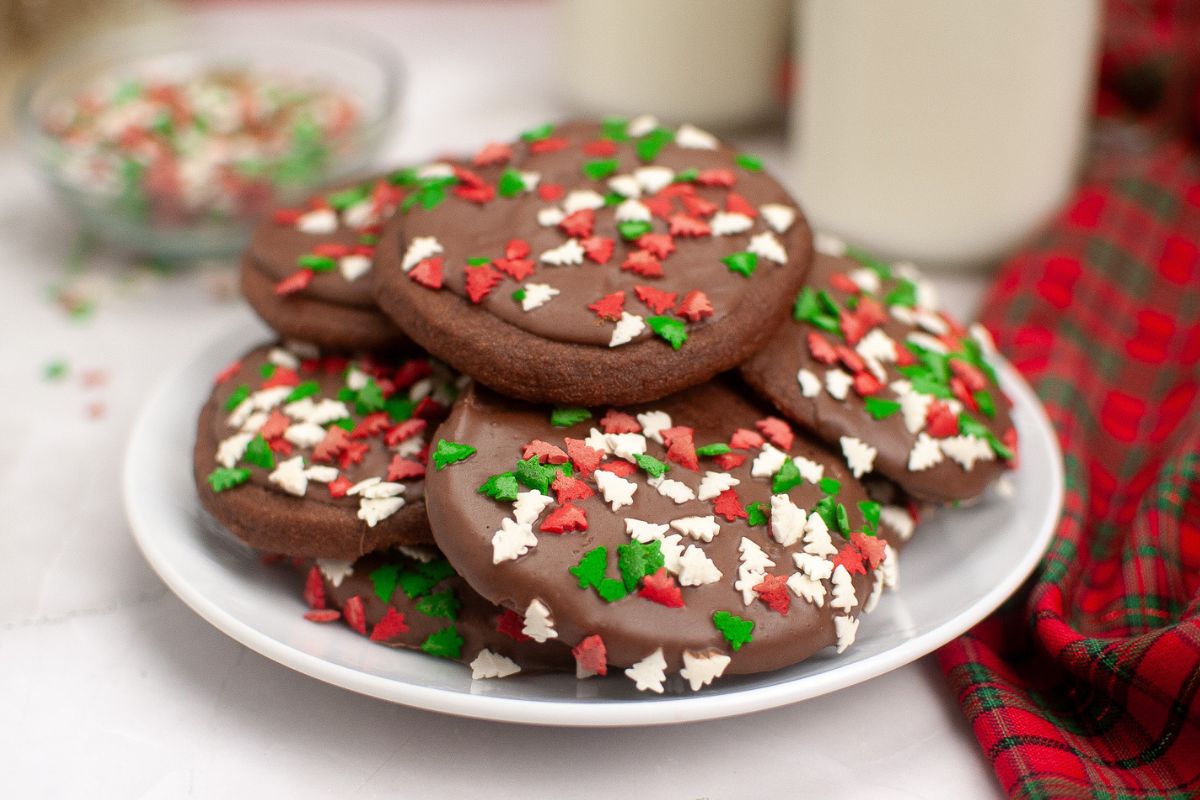
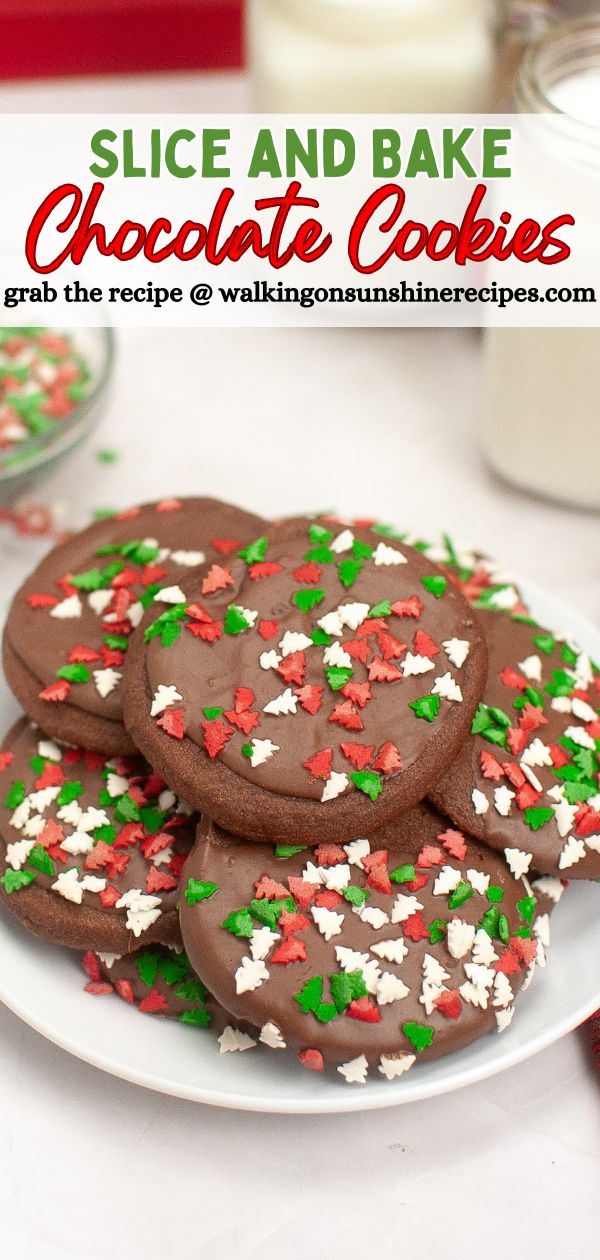
These Slice and Bake Chocolate Cookies are perfect for busy moms who want a delicious treat without the fuss.
Made with pantry ingredients that require no rolling, shaping or fancy cutters. Decorate them with candy melts and festive sprinkles, they're the perfect holiday treat.
Check out all the other Christmas Cookies to bake a sweet holiday surprise for your family.
Want to Save This Recipe?
Enter your email & I'll send it to your inbox. Plus, get great new recipes from me every week!
By submitting this form, you consent to receive emails from Walking on Sunshine Recipes.
The holidays are a whirlwind of activity, and sometimes the last thing you need is a complicated baking project. That's where slice-and-bake cookies come to the rescue!
These simple treats are a lifesaver when you're short on time and stressed to the max. No rolling pins, no cookie cutters, no fuss – just slice, bake, and decorate.
They're the perfect way to enjoy homemade goodness without adding to your holiday chaos.
Looking for more Easy Cookie Recipes? Try my Pretzel Christmas Cookies, or my Slice and Bake Christmas Cookies. Yum!
Table of Contents
- Tips for Baking Perfect Slice-and-Bake Cookies
- 🛒Helpful Kitchen Tools
- Main Ingredients Needed
- Substitutions and Variations
- Step-by-Step Instructions
- Cookie Freezing Tips
- Baking Instructions
- Kitchen Tool Spotlight
- LOVE this recipe? SAVE it for Later!
- Recipe FAQ's
- Storage and Reheating Instructions
- More Recipes You'll Love!
- 📖 Recipe Card
- 💬 Comments
Tips for Baking Perfect Slice-and-Bake Cookies
Chill Thoroughly: This is the most important tip! Well-chilled dough holds its shape better during baking.
Baking Time: Keep a close eye on them as they bake, as ovens vary. Start with the lower end of the suggested baking time.
Melting Chocolate: I like to melt the chocolate in the microwave. Stir frequently to prevent scorching. Add a touch of vegetable shortening to thin the melted candy for easier drizzling and dipping.
Festive Sprinkles: Add the sprinkles on top of the melted chocolate immediately so they adhere properly. If you wait too long, they won't stick and fall off.
🛒Helpful Kitchen Tools
More InformationMore InformationMore InformationMore InformationMore Information
Main Ingredients Needed
Below is a quick preview of the ingredients you’ll need. For exact amounts, check the recipe card below. You can also use the "Shopping List button" to create a printable shopping list, or the "Get Ingredients button" in the recipe card to order groceries online.

Substitutions and Variations
Different Colored Sprinkles - change the sprinkles for different holidays or celebrations. Orange for Halloween, red and pink for Valentine's Day or red, white and blue for summer patriotic celebrations.
Crushed Walnuts, Peppermint Candies - try dipping the cookies in either crushed walnuts or crushed peppermint candies after dipping in the melted chocolate.
Step-by-Step Instructions
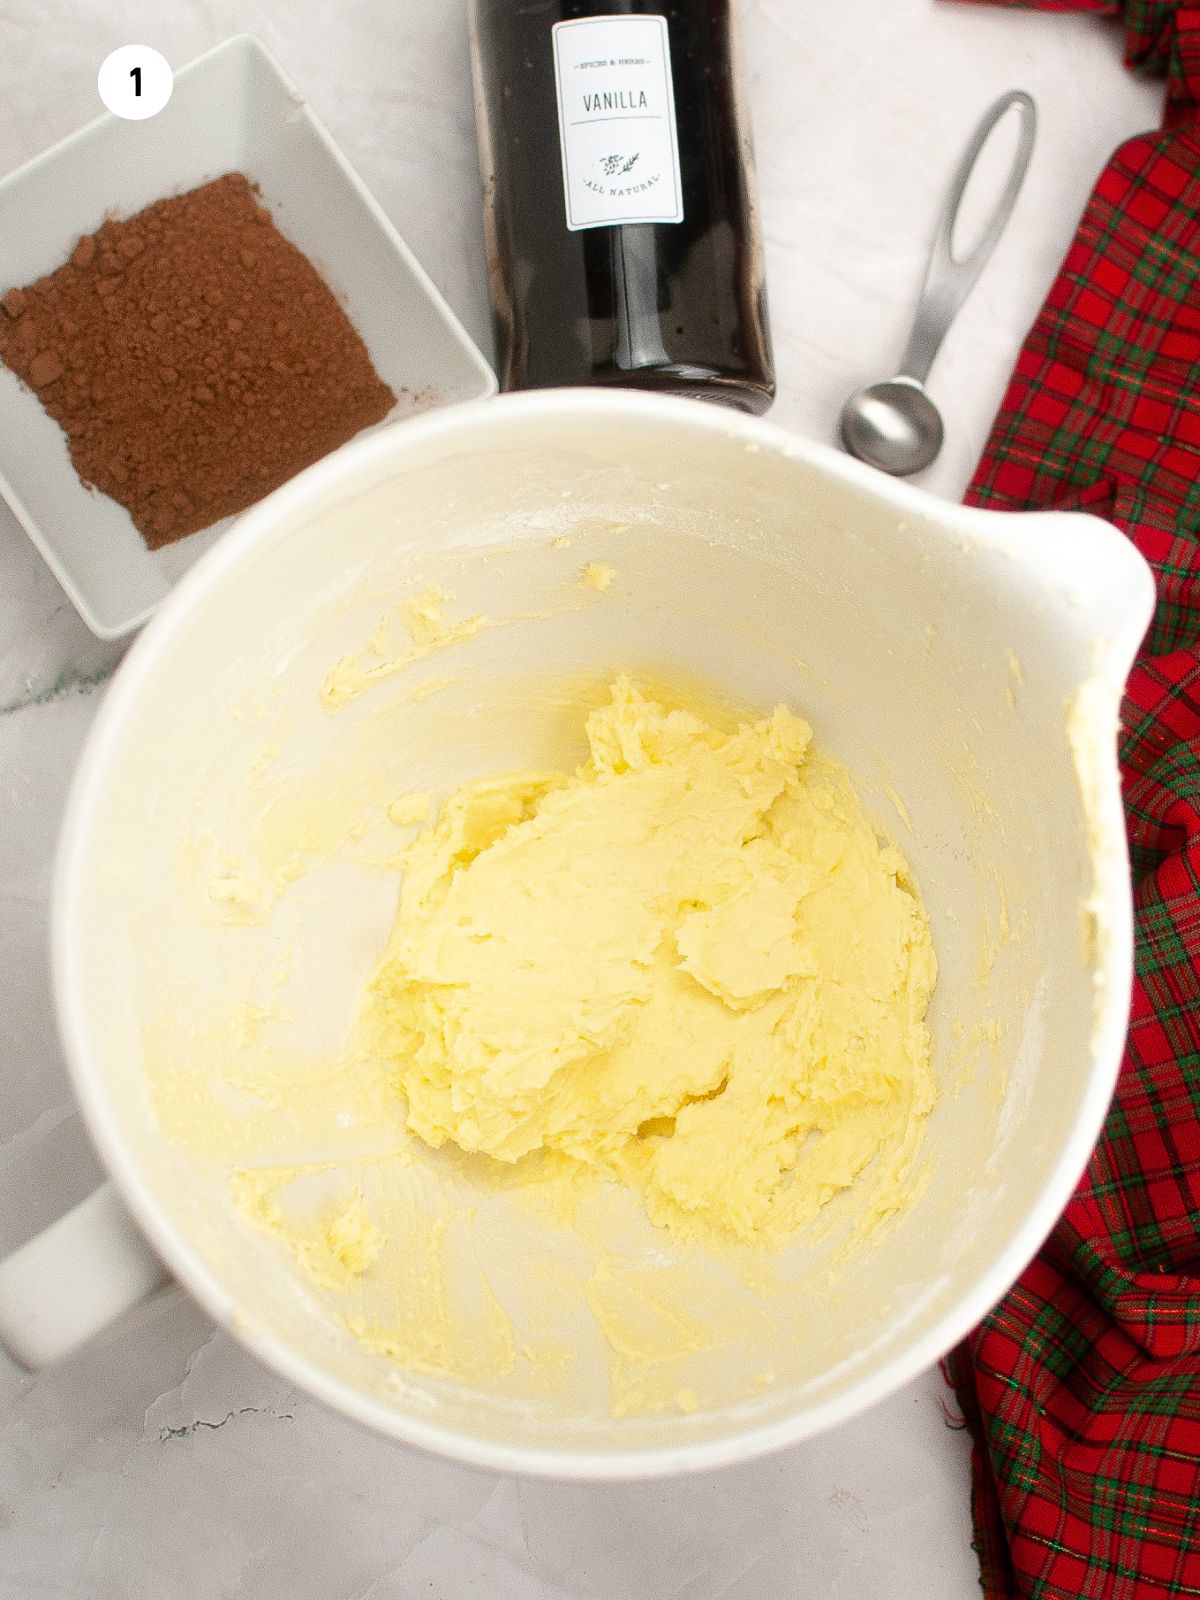
Step 1: Cream the butter and sugar together until light and fluffy.
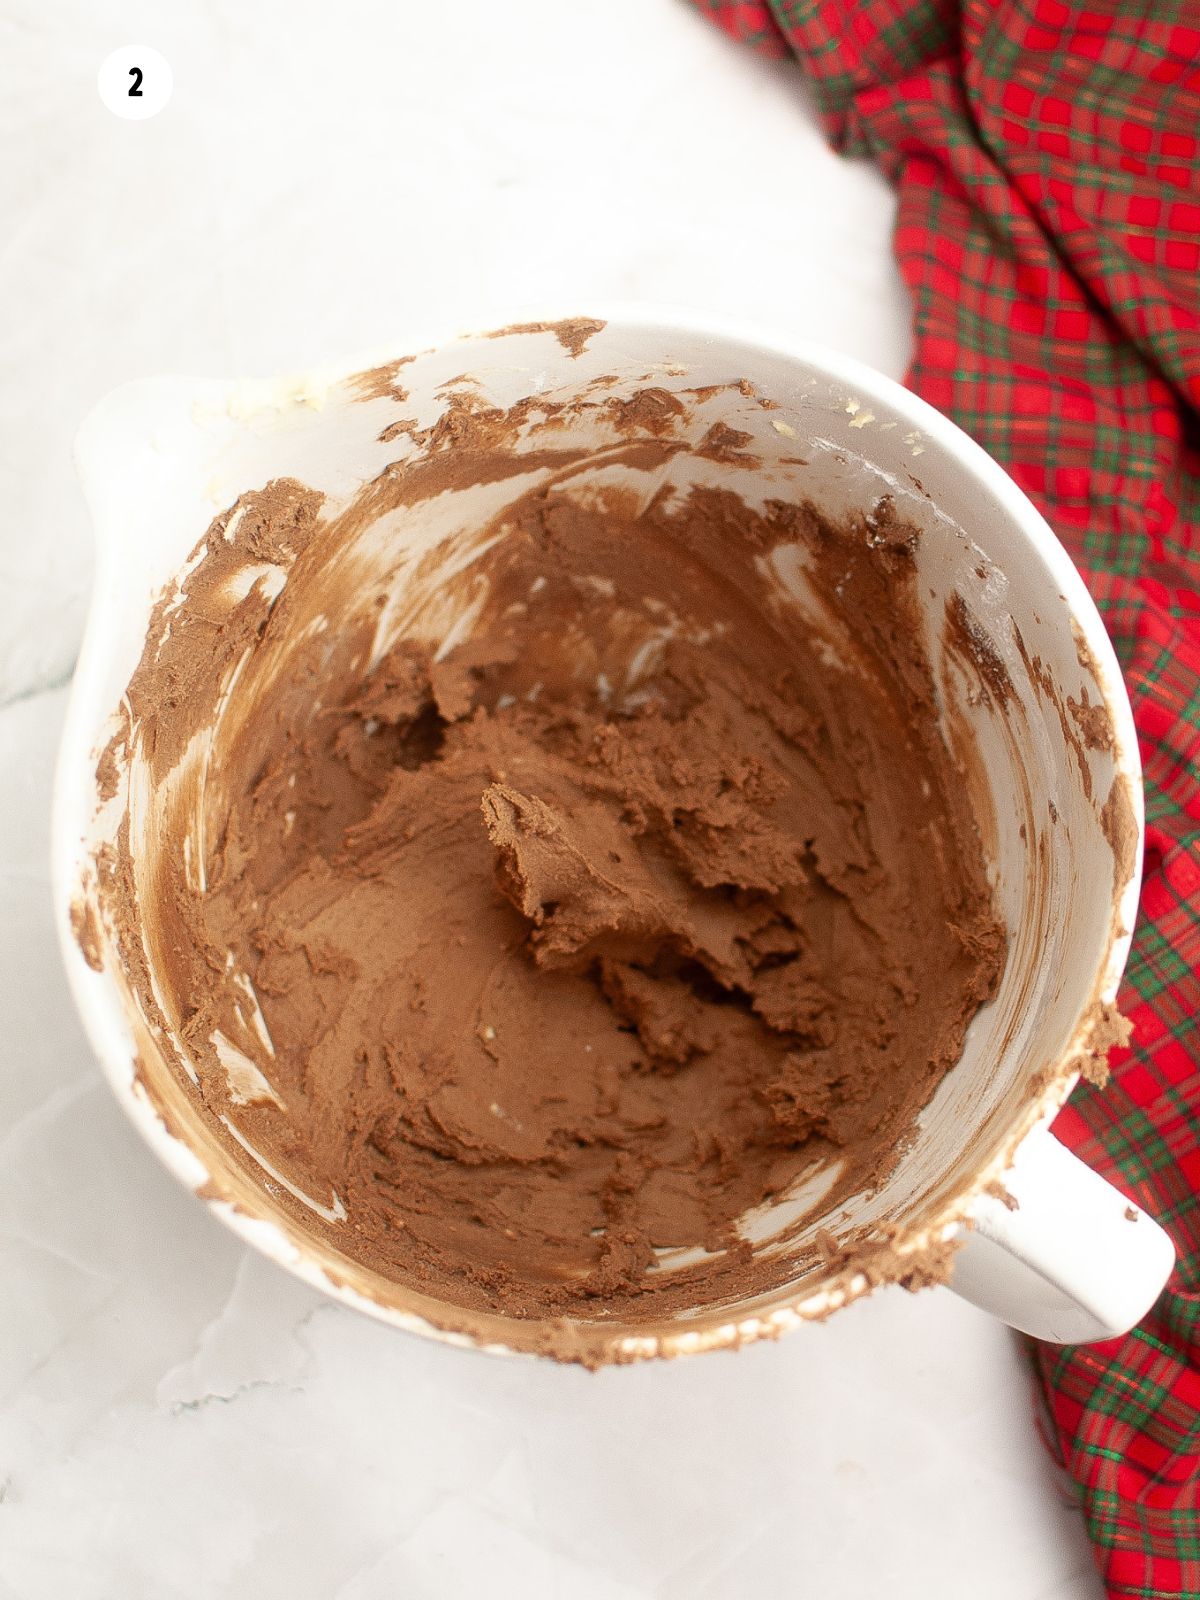
Step 2: Add in the cocoa powder and vanilla extract. Then gradually add in the flour until just combined.
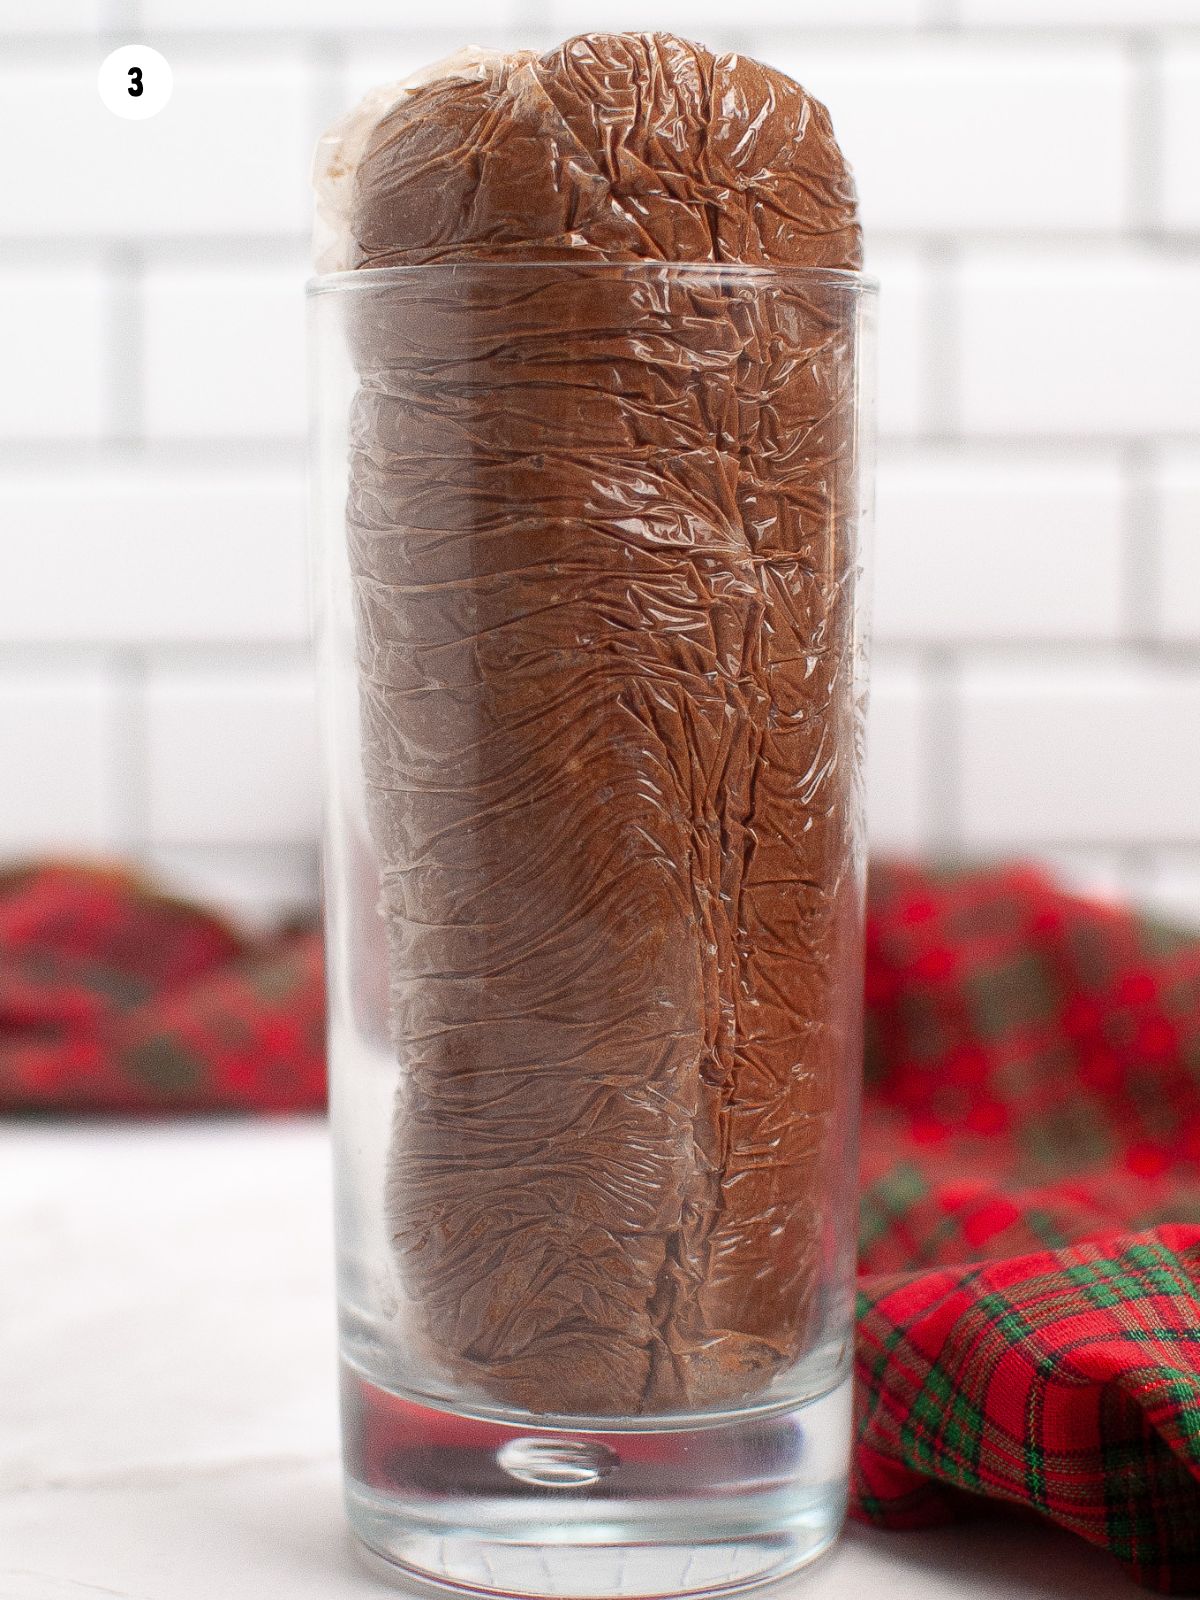
Step 3: Scoop the dough onto a sheet of plastic wrap and form into a log. Stand the log up in a tall glass to prevent the dough from flattening. Chill for at least an hour.
Cookie Freezing Tips
- Don't have time to bake today? Wrap the cylinder of raw cookie dough in plastic wrap and place in the freezer for up to three months!
- For a quick cookie fix anytime, slice the dough, flash freeze the individual cookies on a baking tray, and then store them in the freezer. Whenever you crave freshly baked treats, simply grab a few, bake as directed, and enjoy!
Baking Instructions
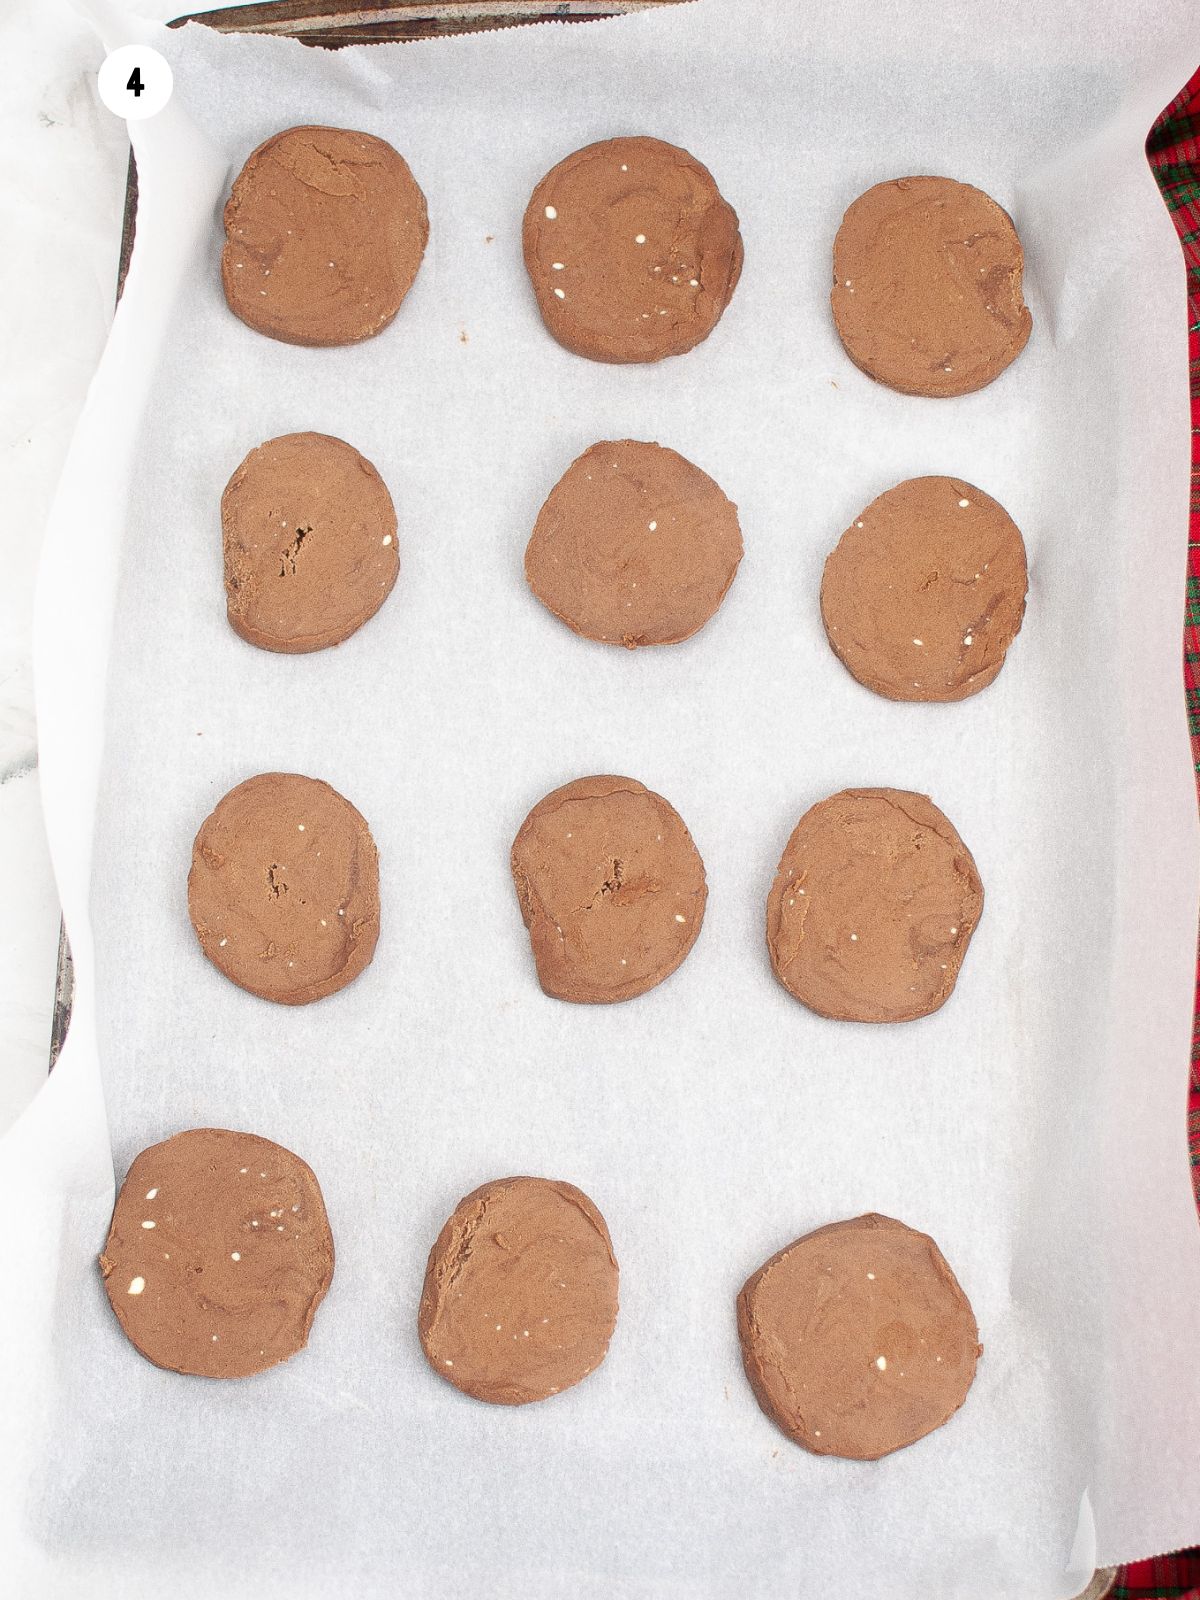
Step 4: Slice the cookies ¼-inch thick. Place on a parchment lined baking sheet.
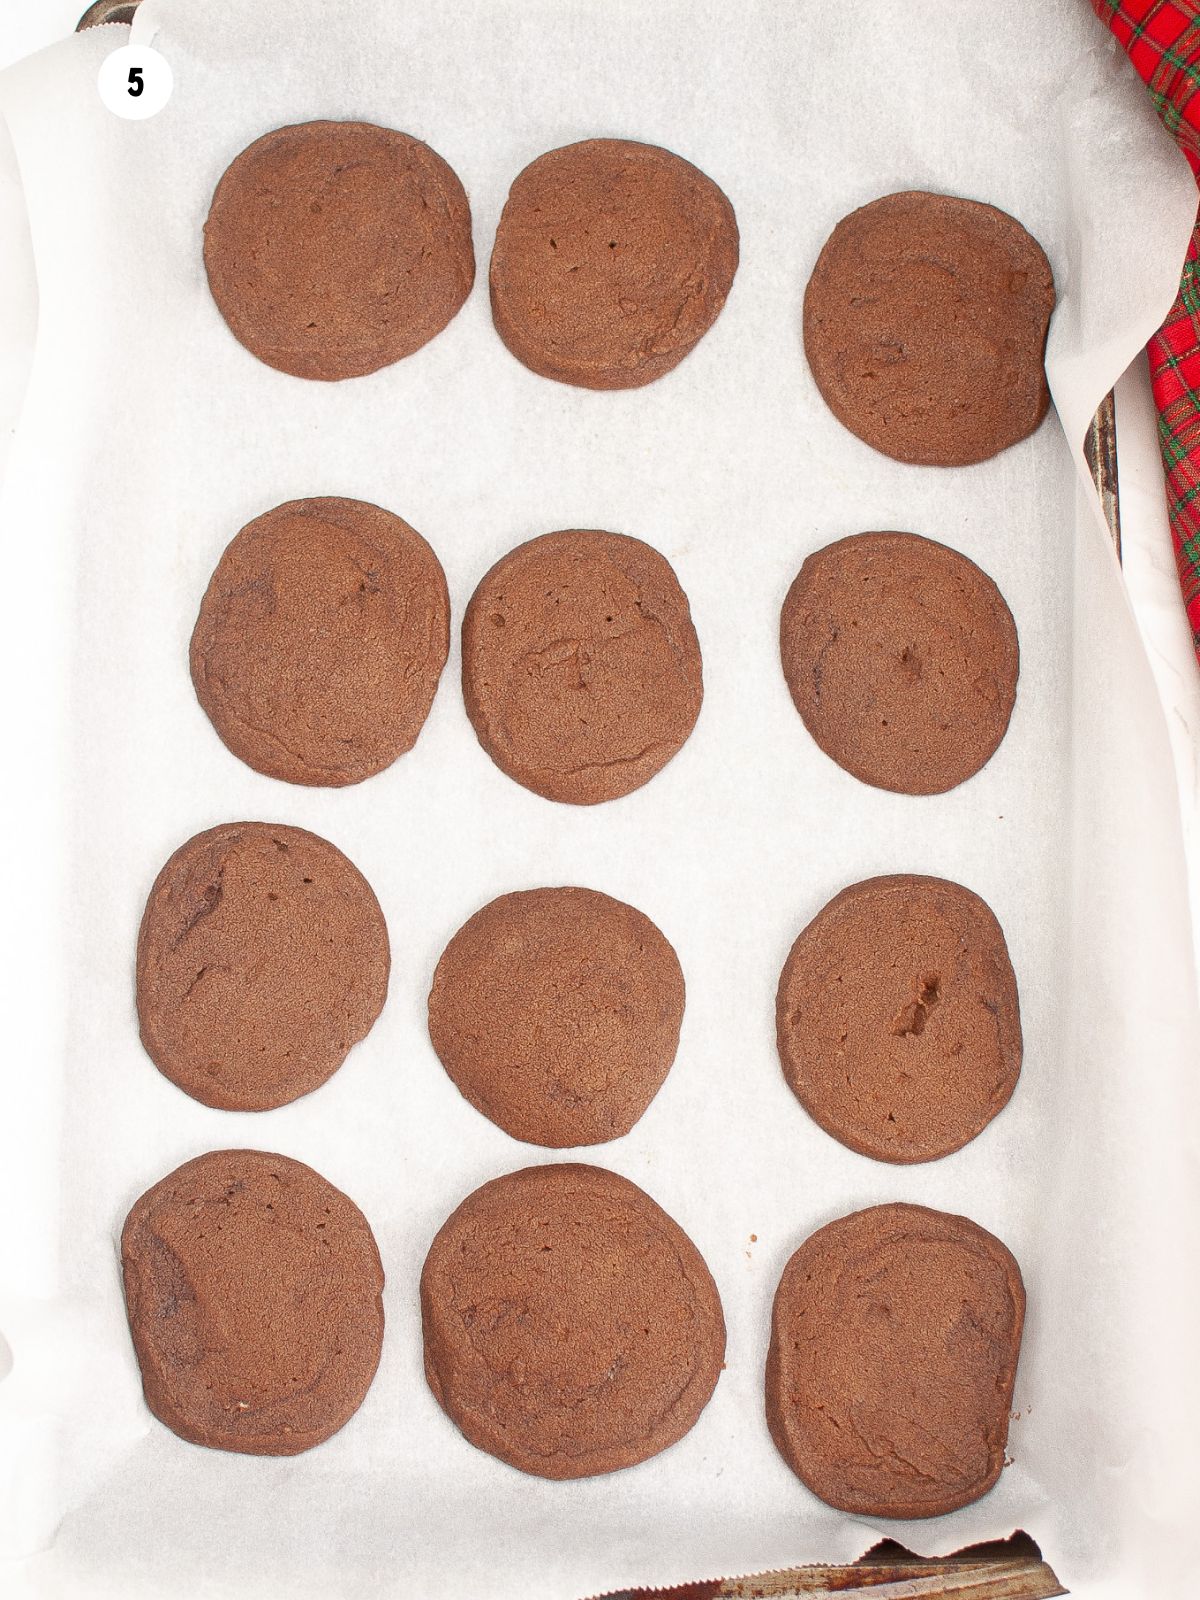
Step 5: Bake at 350°F for 14-17 minutes or until the edges are set. Allow the cookies to cool completely on the baking sheets.
Kitchen Tool Spotlight
For perfectly golden-brown cookies with effortless cleanup, line your baking sheets with parchment paper before baking.
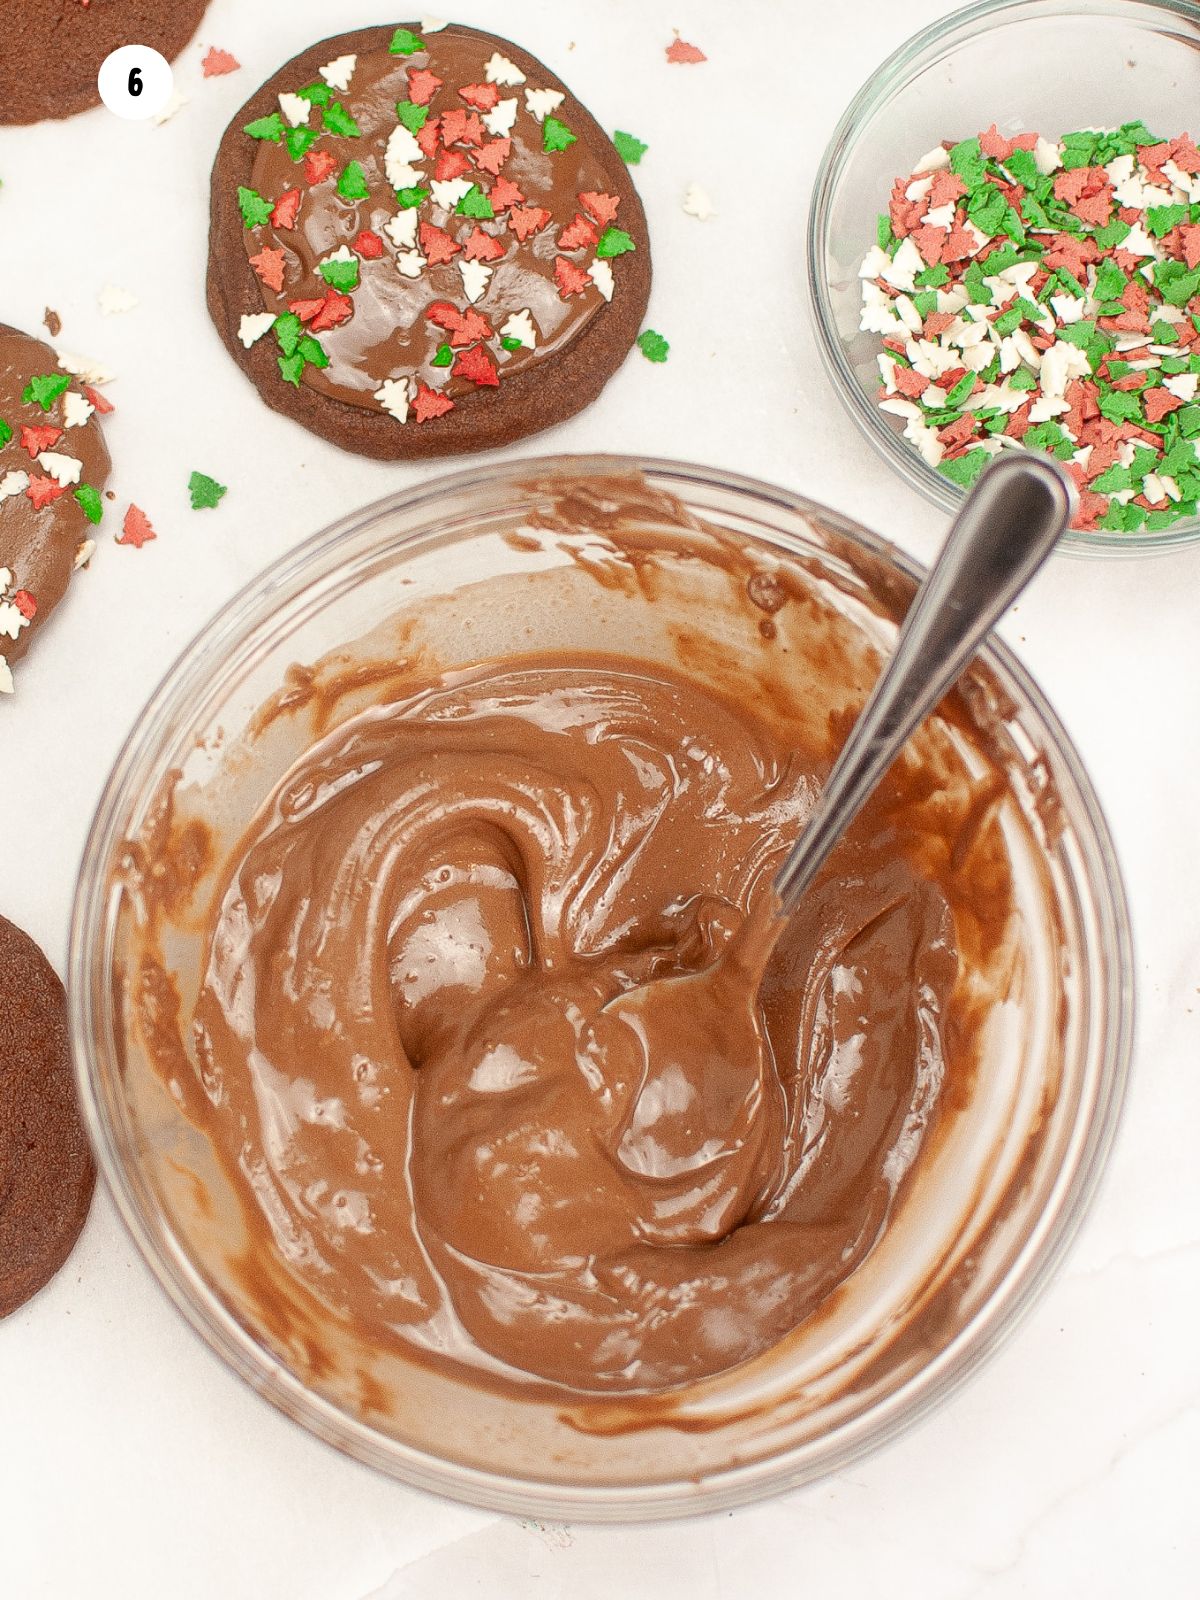
Step 6: Melt the chocolate melting chips according to the package directions. Be careful not to scorch the chocolate.
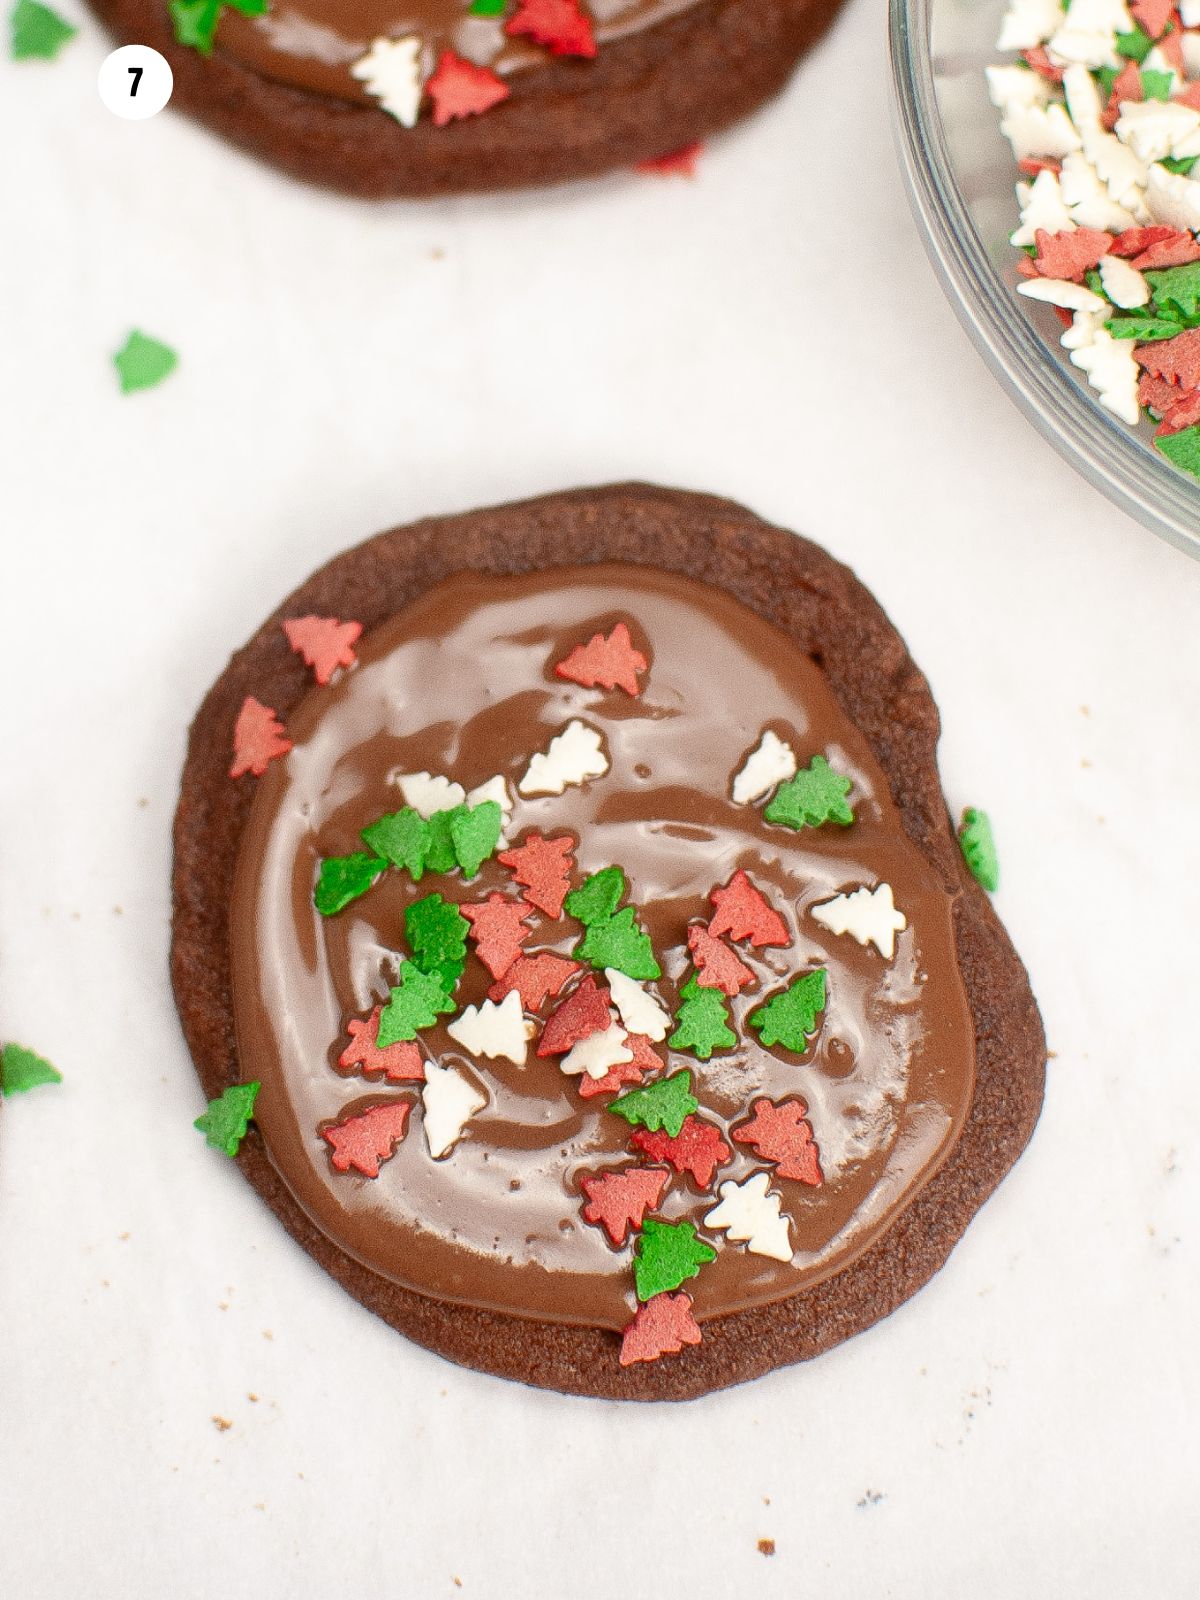
Step 7: Spread the chocolate onto each cookie. You could also dip half the cookie into the chocolate.

Step 8: Before the chocolate sets, add the Christmas sprinkles.
LOVE this recipe? SAVE it for Later!
❤️Tap the heart icon in the lower right corner to add the recipe to your recipe box for easy access anytime.
If you made it, leaving a star rating or quick review is always appreciated and helps other readers too.
Want to save this printed recipe? The Ultimate Meal Planner & Recipe Binder helps you keep recipes organized in one easy place.
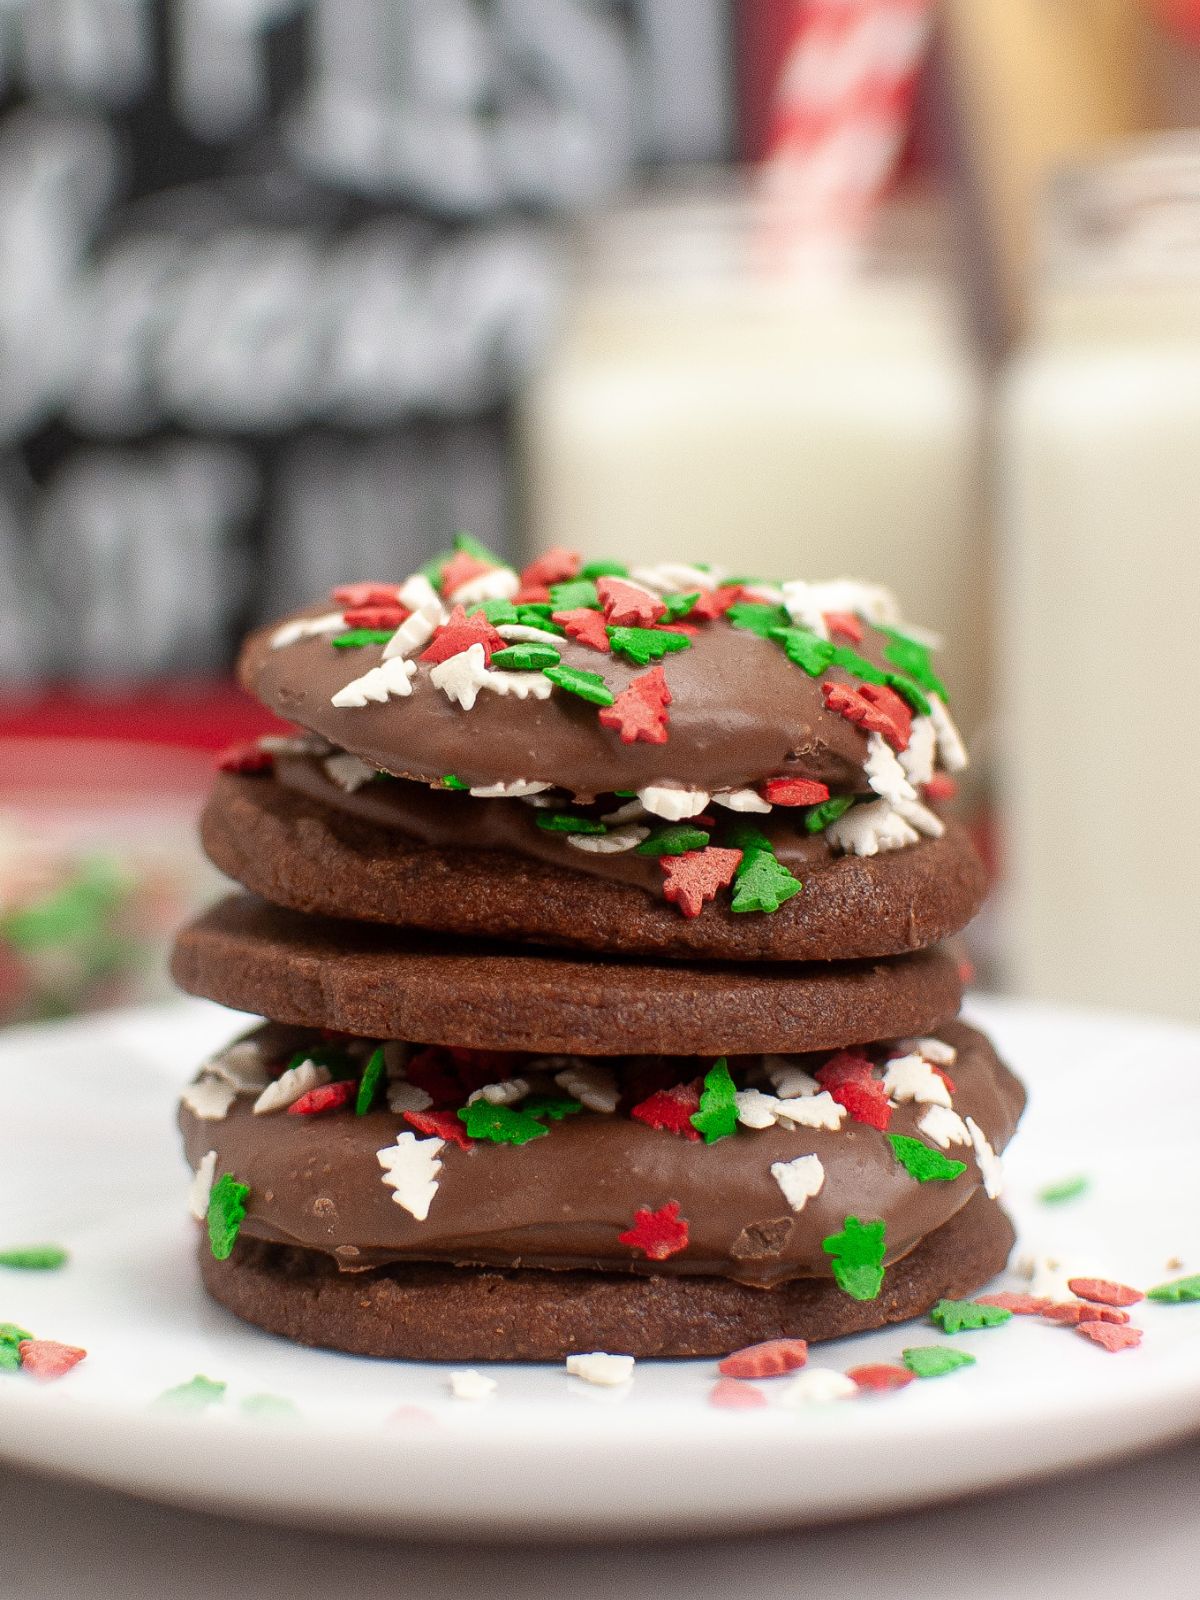
Recipe FAQ's
To view the answers, simply click on the down arrow (⬇) next to each question. If you have any other questions not answered here, please leave a comment!
For perfectly round slice-and-bake cookies, chill the dough thoroughly and use a sharp knife to slice evenly. For extra roundness, shape the dough log in plastic wrap and chill it inside a cardboard tube or stand it upright in a large drinking glass.
You typically don't roll out slice-and-bake cookie dough. It's designed to be shaped into a log, chilled, and then sliced for baking. Rolling it out can make the dough too thin and may alter the texture of the cookies.
Storage and Reheating Instructions
Pantry: Once cooled completely, store baked cookies in an airtight container at room temperature for up to 3 days. Since these cookies have melted chocolate, if it's warm in your house, you can also store them in the refrigerator for up to 7 days.
Freezer: For longer storage, freeze baked cookies in a single layer on a baking sheet. Once frozen, transfer them to a freezer-safe bag for up to 3 months. Make sure you put pieces of parchment paper to keep the cookies from sticking together.
Thawing Tips: Allow the cookies to defrost overnight in the refrigerator.
More Recipes You'll Love!
Check out my recipe for Chocolate Christmas Cookies.
Or you might like this recipe for Hot Chocolate Cookies.
📖 Recipe Card
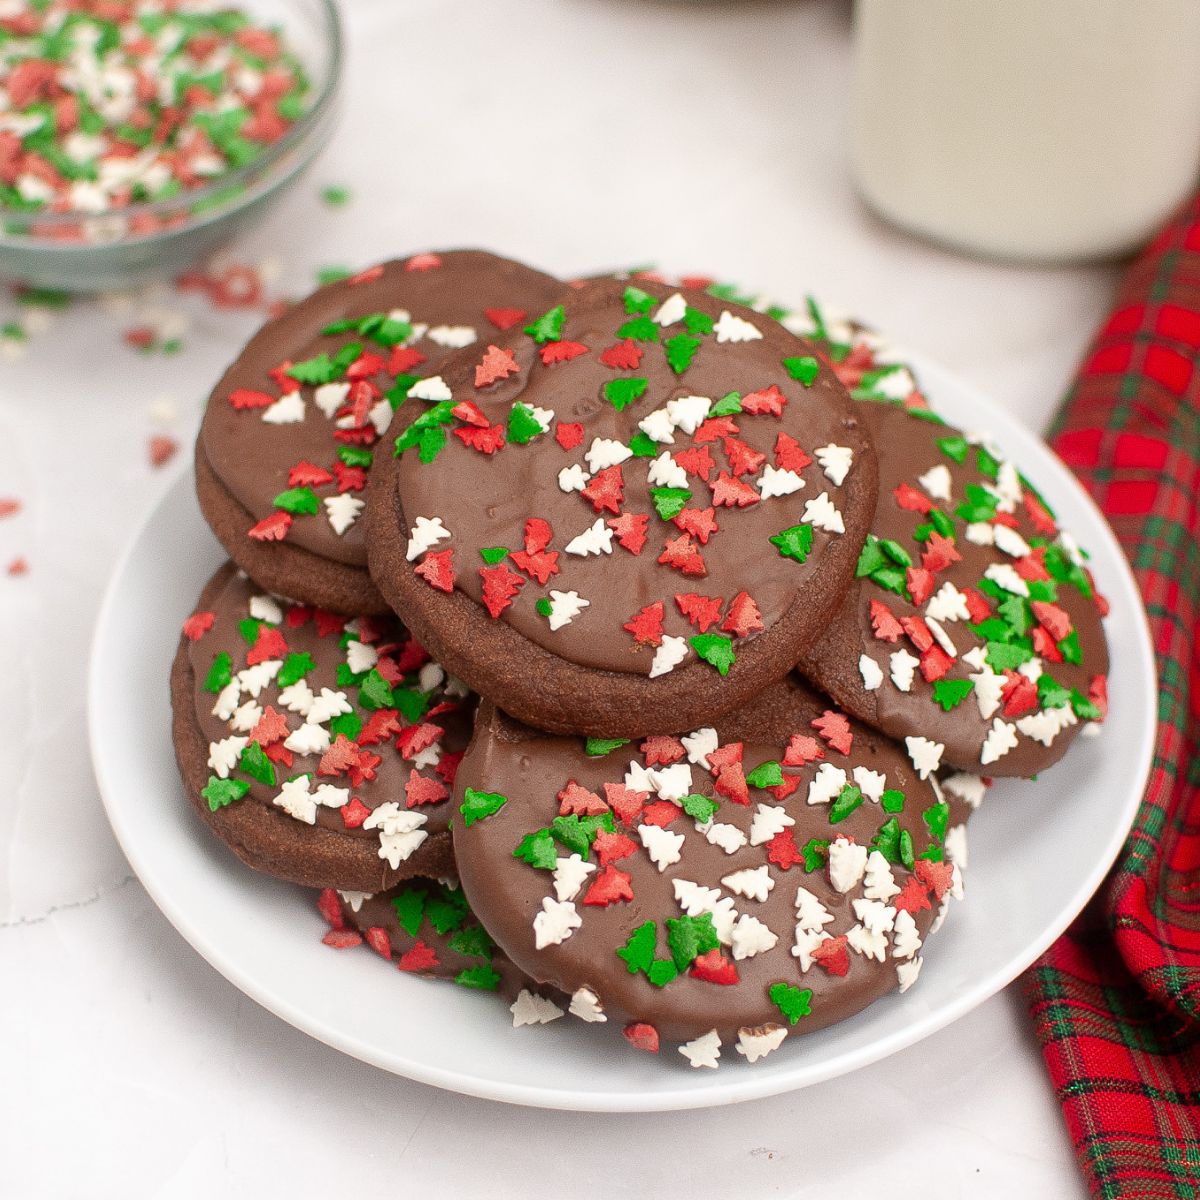
Slice and Bake Chocolate Cookies
Video
Ingredients
- 1 cup butter, softened
- 1 cup powdered sugar
- ¼ cup unsweetened cocoa powder
- 1 teaspoon vanilla extract
- 1 ¾ cups all purpose flour
- 1 cup chocolate melting chips
- Christmas sprinkles for decorating
Method
- In a large bowl, using a stand mixer or hand mixer, beat the butter and sugar together until light and fluffy. This should take about a minute.
- Make sure to scrape down the sides and bottom of the bowl to ensure even mixing.
- Add the cocoa powder and vanilla extract.
- Gradually add the flour, mixing until just combined.
- Place a sheet of plastic wrap on a clean surface.
- Scoop the dough onto the plastic wrap and shape it into a log with your hands.
- Wrap the log tightly in the plastic wrap and roll it gently to create a uniform shape.
- To prevent flattening, stand the wrapped log upright in a tall drinking glass. Chill for at least 1 hour, or up to overnight, until firm.
- Preheat your oven to 350°F. Line two baking sheets with parchment paper.
- Once chilled, slice the log into ¼-inch thick rounds. You should get 24-30 cookies.
- Arrange the cookies on the prepared baking sheets, leaving about 2 inches between each.
- Bake for 14-17 minutes, or until the edges are set.
- Let the cookies cool completely on the baking sheets before decorating.
- Melt the chocolate melting chips according to the package instructions.
- Spread the melted chocolate on each cookie and add the Christmas sprinkles.









Melynda Brown says
These delicious cookies will be one of my features for this weeks SSPS #338! Thank you for sharing with us, we all appreciate it. Melynda @scratchmadefood!
Esme Slabbert says
Beautiful and delicious looking Christmas cookies
Thank you for sharing and participating at SSPS 337. See you at #338
Jeraldine Socha says
no eggs?
Lois says
There are no eggs in this recipe! It's very similar to a shortbread recipe. I hope you'll try it!