


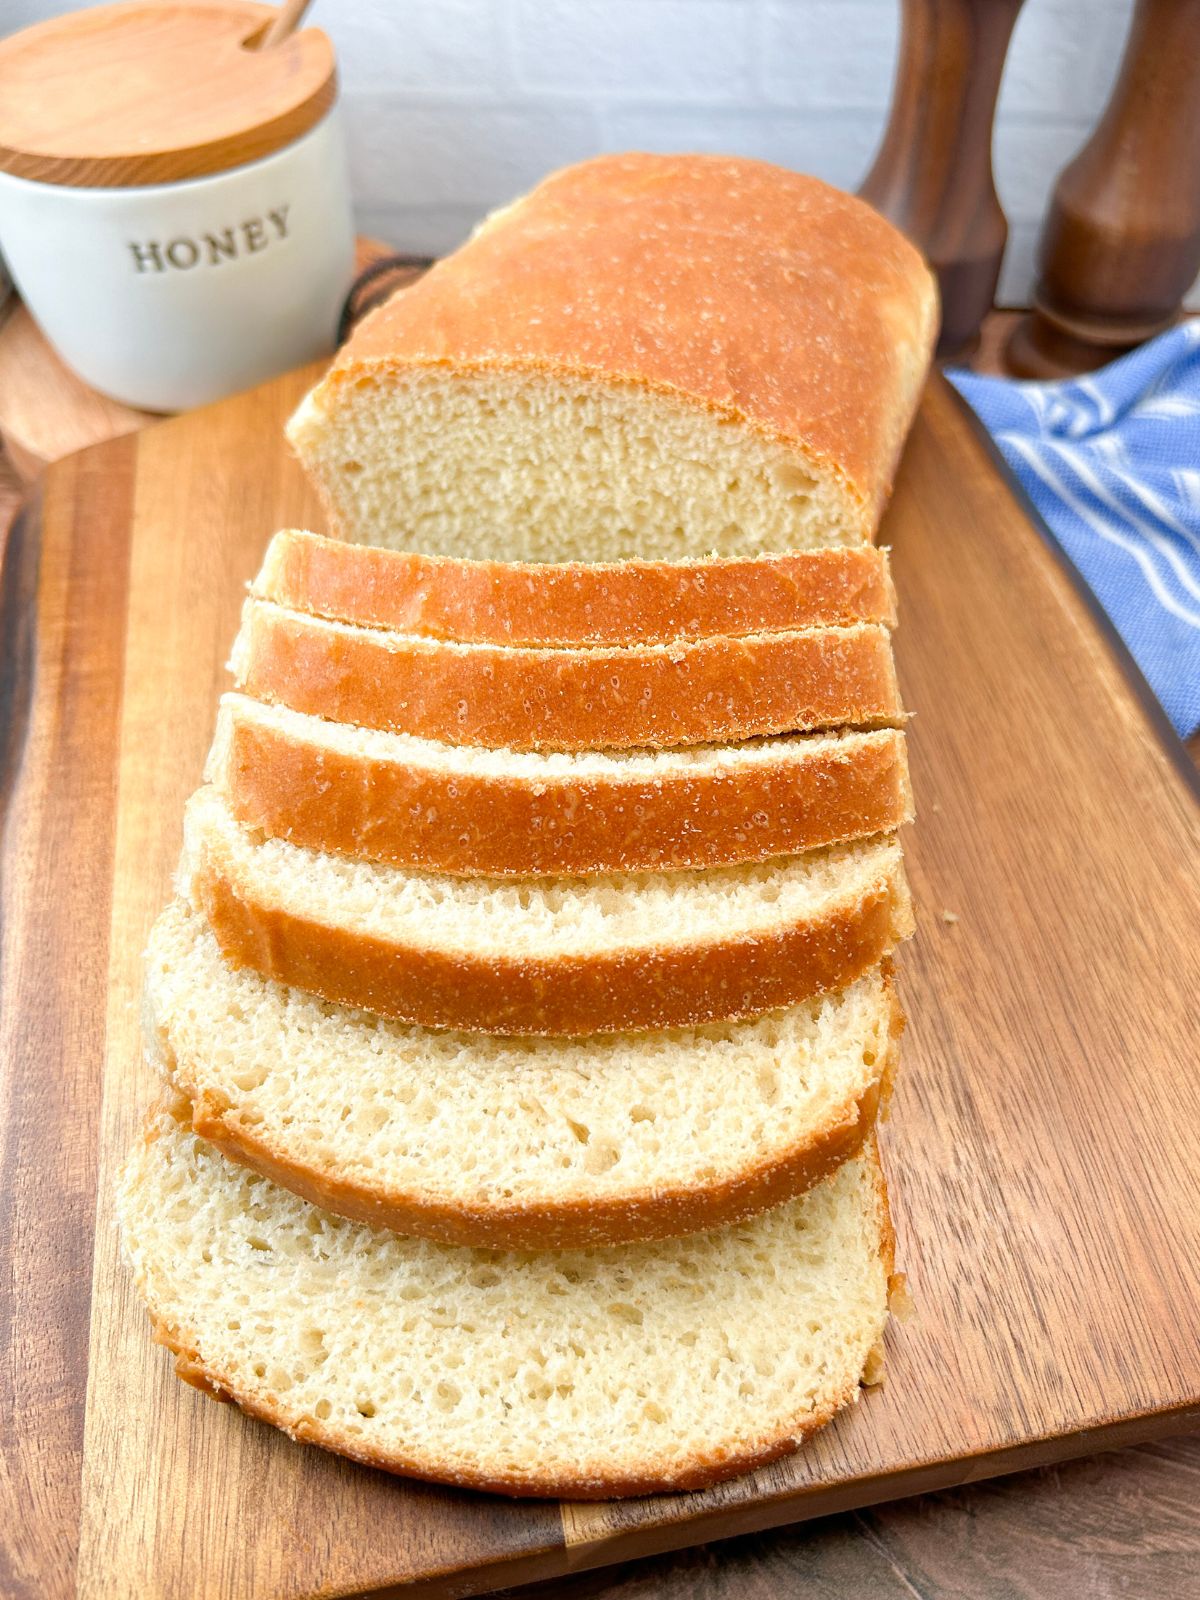
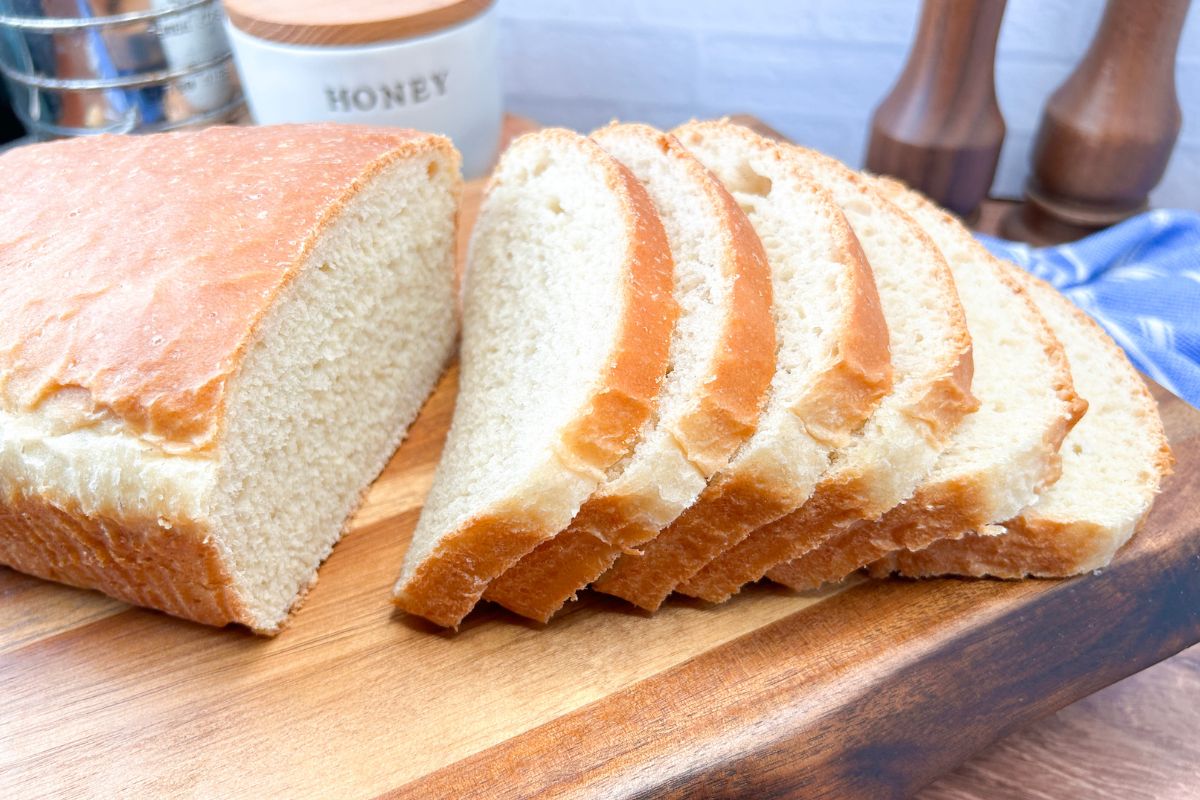
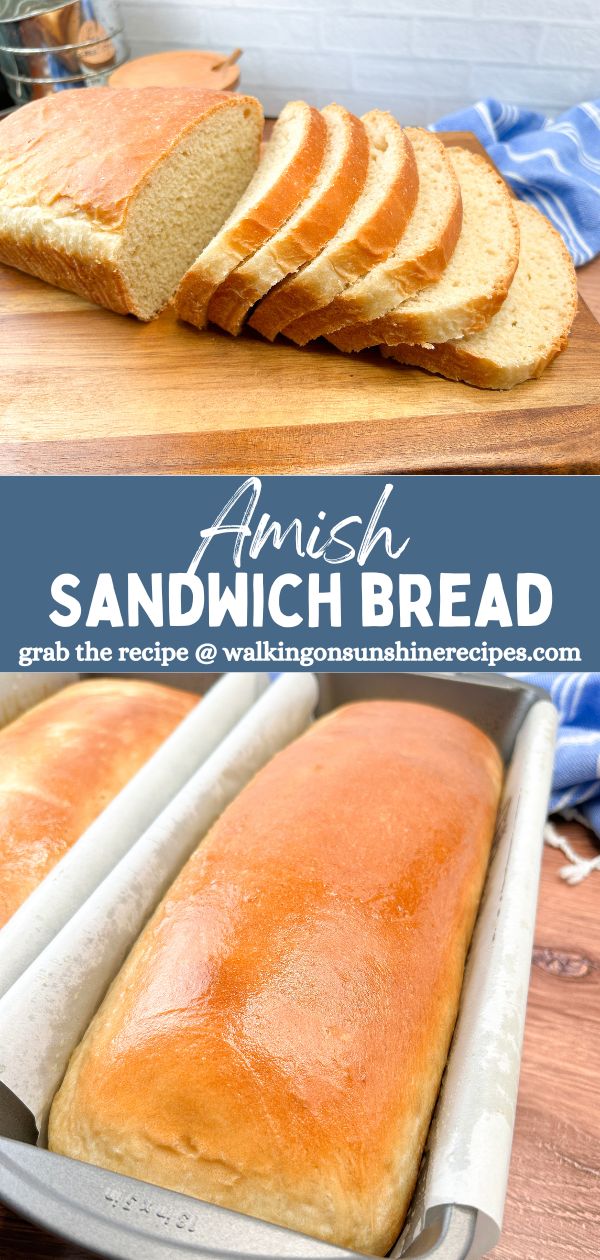
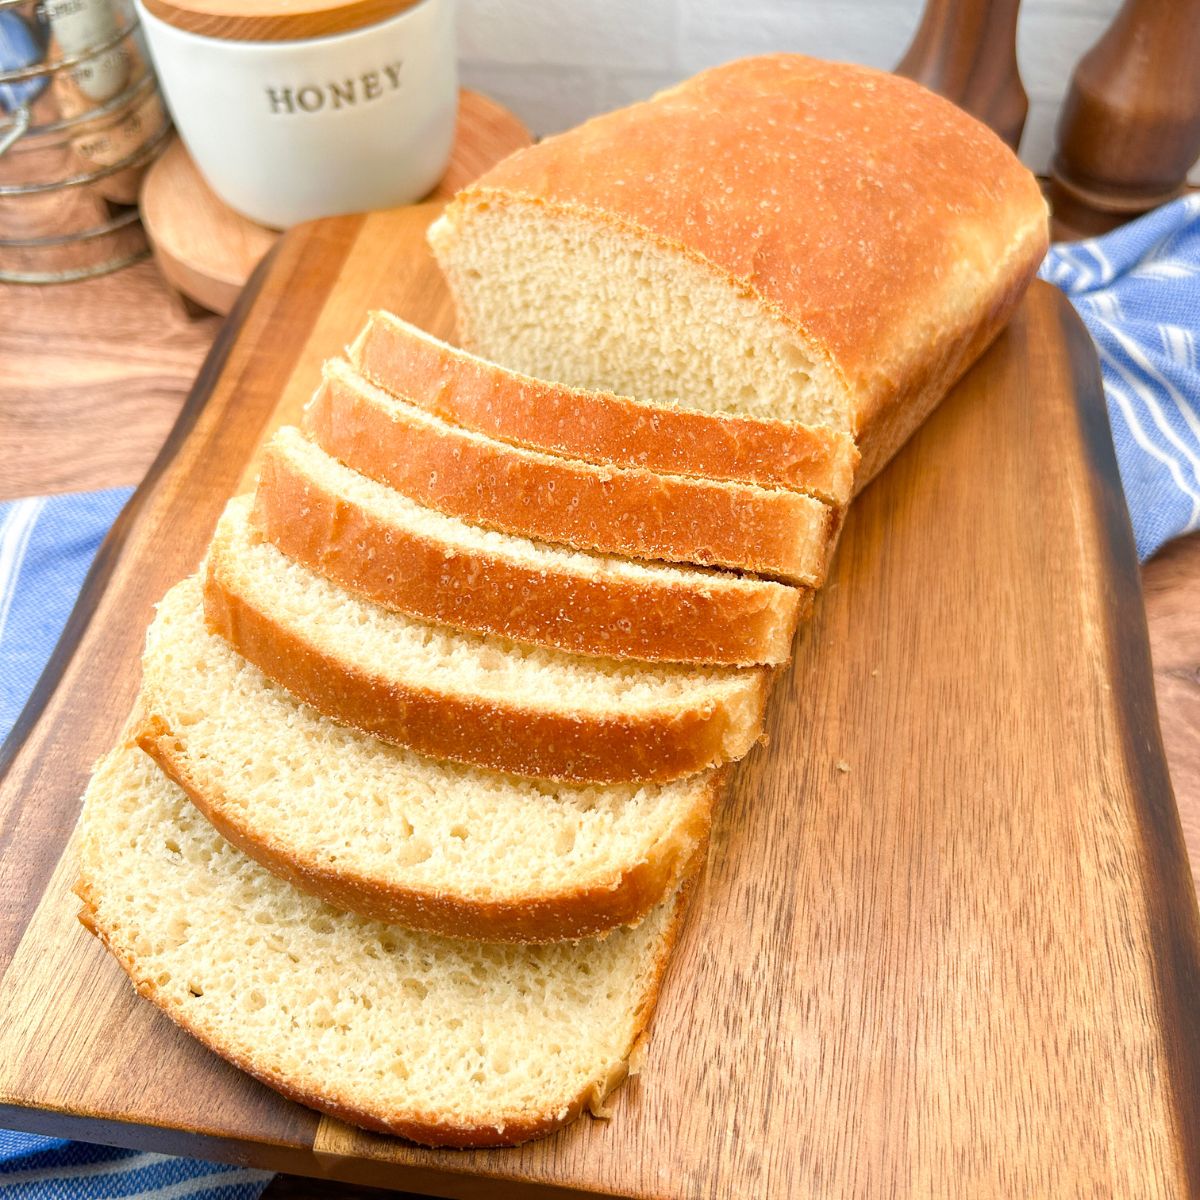
This simple old-fashioned Amish Sandwich Bread Recipe creates two loaves that are perfect for everyday sandwiches, toast, or even as a side with dinner.
Made with simple pantry ingredients such as all-purpose flour, warm water, sugar, salt, butter, and yeast. The instructions are easy to follow and doesn't require any special equipment, making it a great choice for home bakers of all skill levels.
For a cozy homemade meal, try pairing this recipe with one of my Family Dinner Ideas.
Want to Save This Recipe?
Enter your email & I'll send it to your inbox. Plus, get great new recipes from me every week!
By submitting this form, you consent to receive emails from Walking on Sunshine Recipes.
Recipe at a Glance
This recipe produces a loaf of bread that’s filling enough for lunch but still soft and perfect for toast with your favorite jam.
Prep: 120 min | Cook/Bake: 30 min | Difficulty: Moderate | Servings: 2 loaves
Main Ingredients: all-purpose flour, active dry yeast, warm water, sugar, salt, butter
Best For: everyday sandwiches, toast, or serving with soups and dinners
Make Ahead: the dough can be prepared ahead and refrigerated before the final rise
Storage: store bread in an airtight container at room temperature up to 4 days or freeze up to 3 months
Looking for more homemade bread recipes? Try my Homemade Honey Wheat Bread, this Homemade Italian Bread, and even my Homemade French Baguettes. Yum!
Table of Contents
- Recipe at a Glance
- Tried, Loved, and Rated 5 Stars!
- Why You'll Love this Recipe
- Recommended Kitchen Tools
- My Kitchen Tools Essentials
- Main Ingredients Needed
- Substitutions and Variations
- Step-by-Step Instructions
- Baking Instructions
- Insider Tips from My Kitchen to Yours
- Recipe FAQ's
- How to Store, Freeze and Reheat
- What to Serve with Homemade Sandwich Bread
- LOVE this recipe? SAVE it for Later!
- 📖 Recipe Card
- Food Safety Tips:
- 💬 Comments
Tried, Loved, and Rated 5 Stars!
⭐⭐⭐⭐⭐
Yummy so soft and the taste is fabulous!
~ Marsha
I just made this bread and it came out absolutely perfect. I love a soft, moist sandwich bread and this is definitely it. Thank you!
~Cathy
Why You'll Love this Recipe
Simple ingredients – Everything you need is most likely already in your pantry.
No special equipment required – I used a KitchenAid mixer, but all you really need is a mixing bowl and loaf pans—it’s that simple!
Versatile use – Ideal for sandwiches, toast, or served alongside dinner.
Freezer-friendly – Make two loaves and freezes great!
Beginner-friendly – Easy for first-time bread bakers to follow.
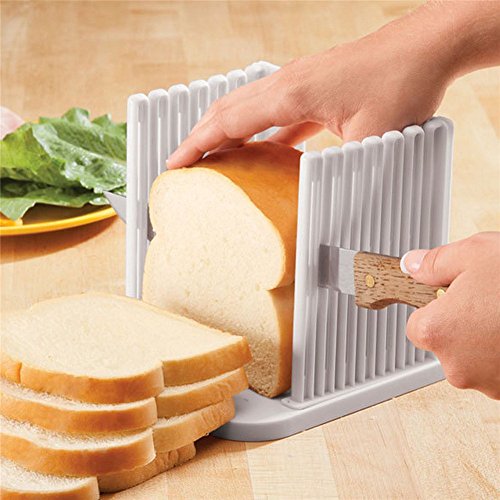
Recommended Kitchen Tools

Check out my list...
My Kitchen Tools Essentials
Tools that will make your time easier and faster in the kitchen!
Extra Large Bread Pan, 13 ThermoPro TP03B Digital Meat Thermometer for Cooking, Instant Read Thermometer with Backlight, Kitchen Food Thermometer for Grill Smoker BBQ Oil Deep Fry Candy Bread Coffee with Pop-up Meat ProbeAdjustable Toast Slicer/ Cutting Guide for Homemade Bread, Plastic Bread Slicer Loaf for Slicing Bread Foldable Kitchen Baking Tools (White)vivinin 70 Pack Bread Bags & 100 Pack Ties, 8


Main Ingredients Needed
Below is a quick preview of the ingredients you’ll need. For exact amounts, check the recipe card below. You can also use the "Shopping List button" to create a printable shopping list, or the "Get Ingredients button" in the recipe card to order groceries online.

Substitutions and Variations
- You can use half whole wheat flour for a heartier texture or swap the oil for melted butter.
- Or you could use bread flour for a chewier crumb.
- Swap sugar with honey if you want.
- After brushing the baked loaves with butter, you can add oats, or seeds to the top.
This recipe has not been tested with other substitutions or variations. If you replace or add any ingredients, please let us know how it turned out in the comments below!
Step-by-Step Instructions
This section includes step-by-step photos and instructions to guide you through the recipe. For the complete printable version, scroll down to the recipe card below.
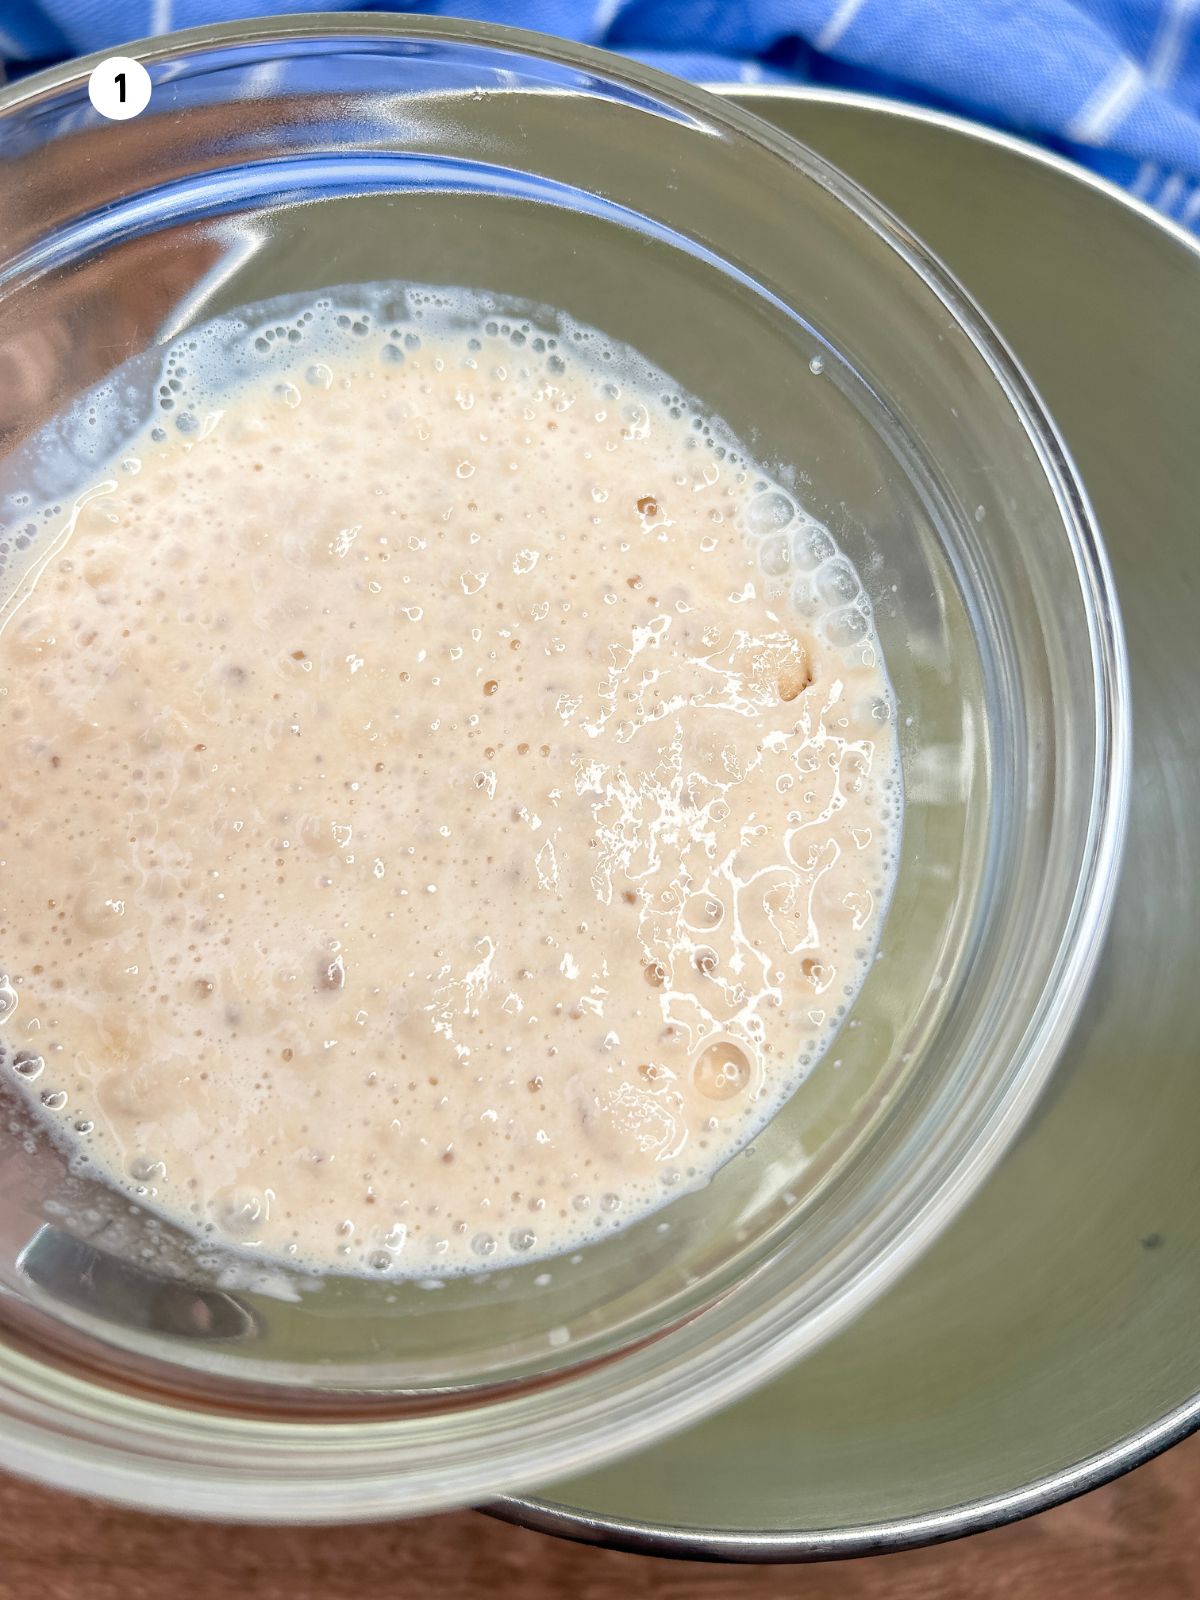
Step 1: Dissolve yeast in ½ cup warm water until foamy. Mix with sugar, salt, 2 cups warm water, melted butter, then gradually add flour to form a dough.
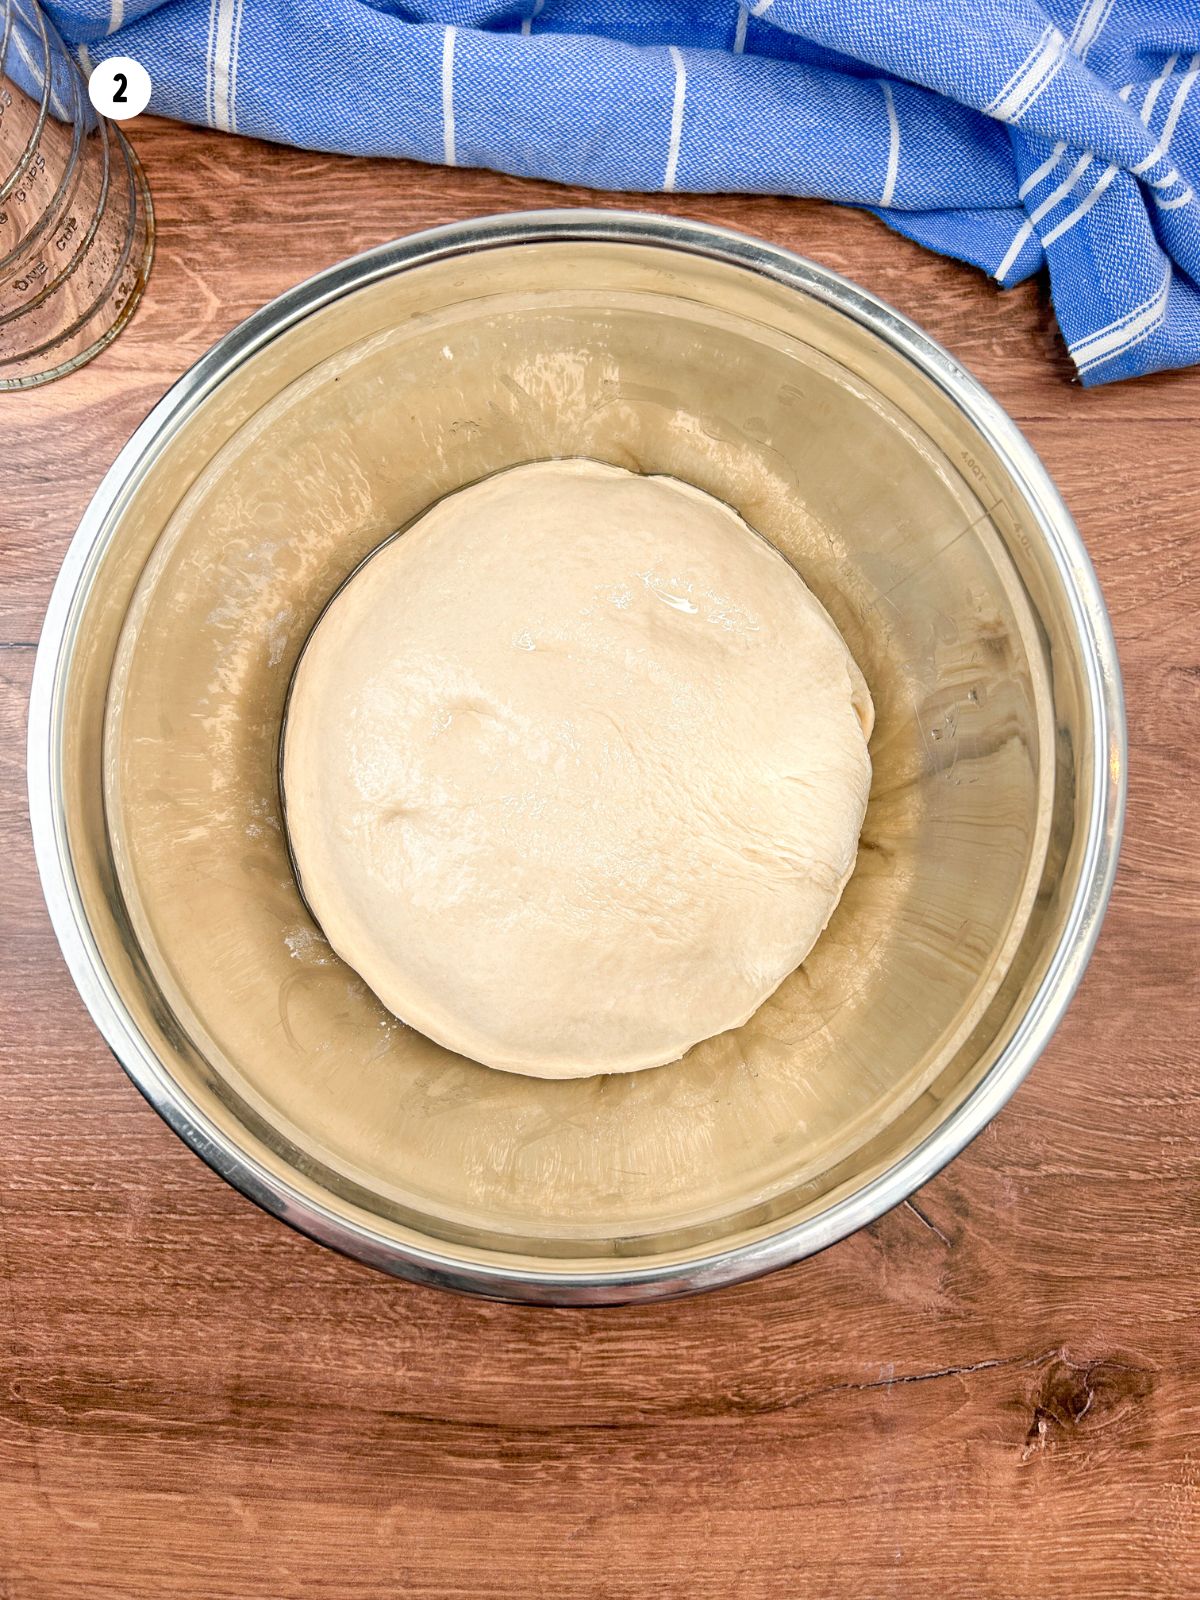
Step 2: Knead with a dough hook for 5 minutes, then briefly knead by hand on a floured surface before placing in an oiled bowl.
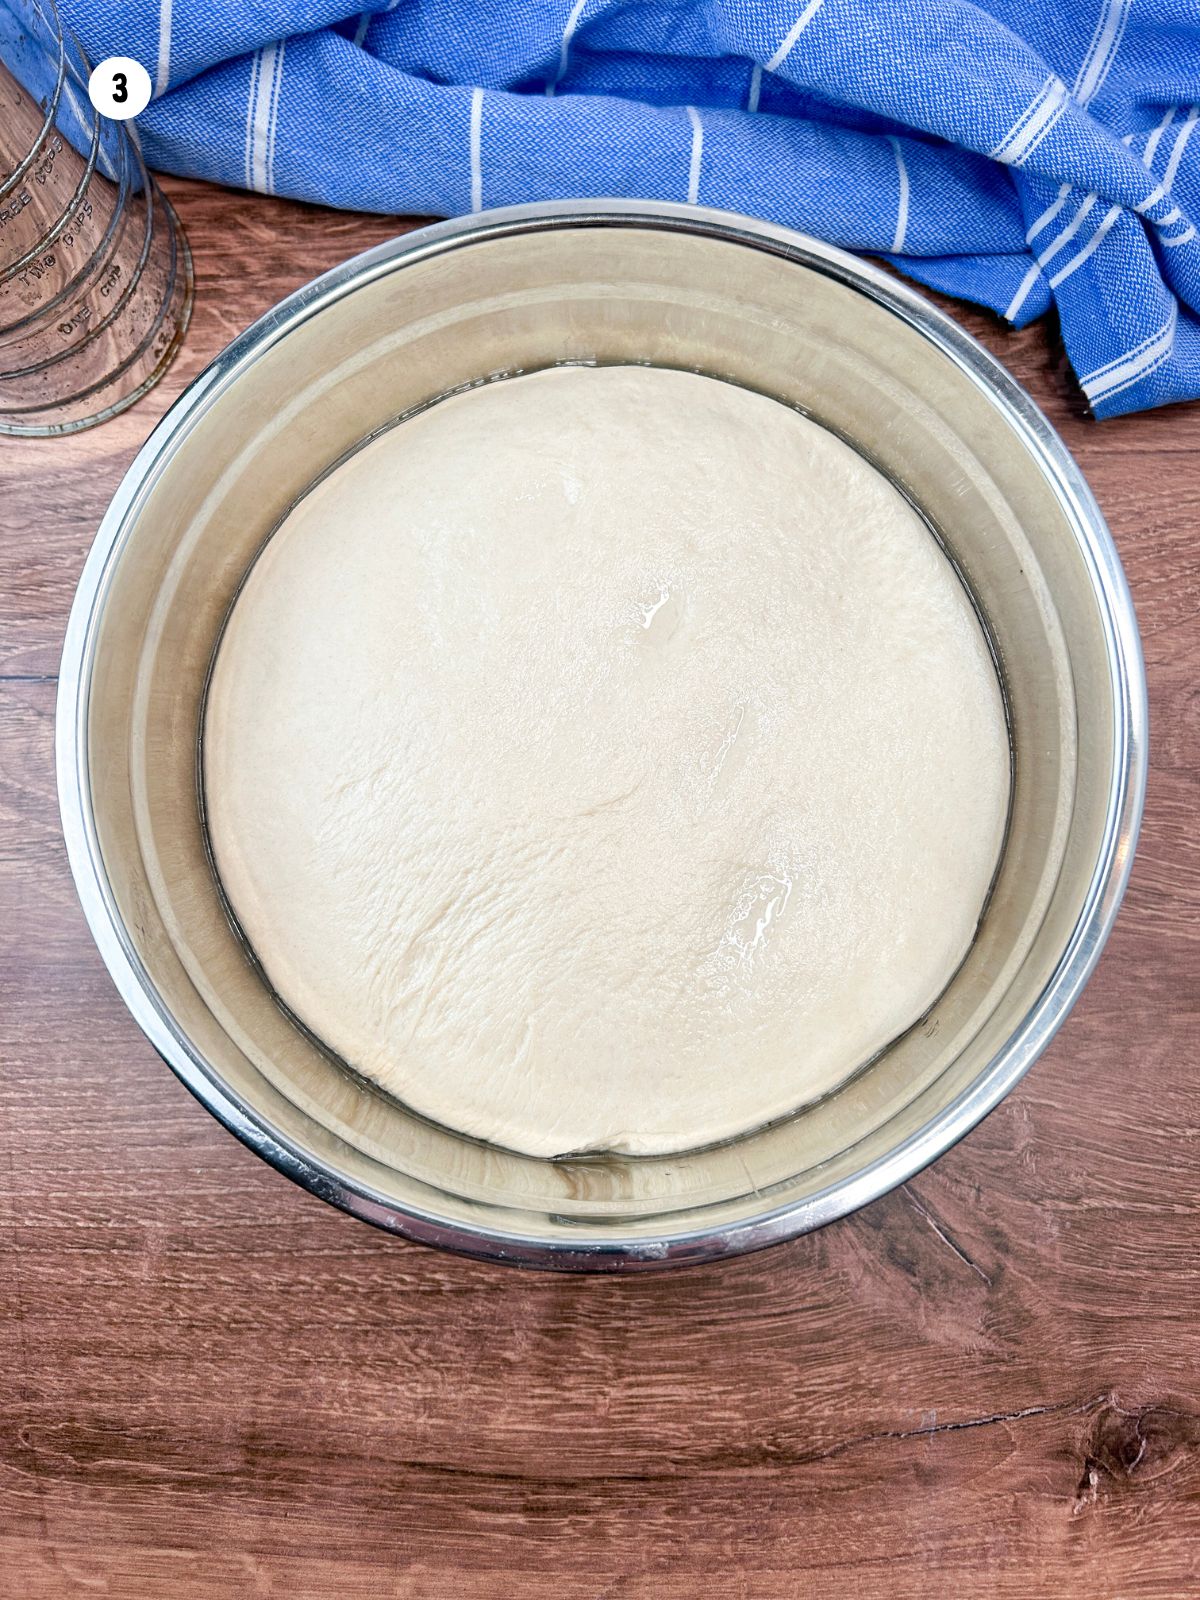
Step 3: Cover the bowl with plastic wrap and allow it to rise for about an hour until doubled in size. Once the dough has risen, punch it down and divide in half.
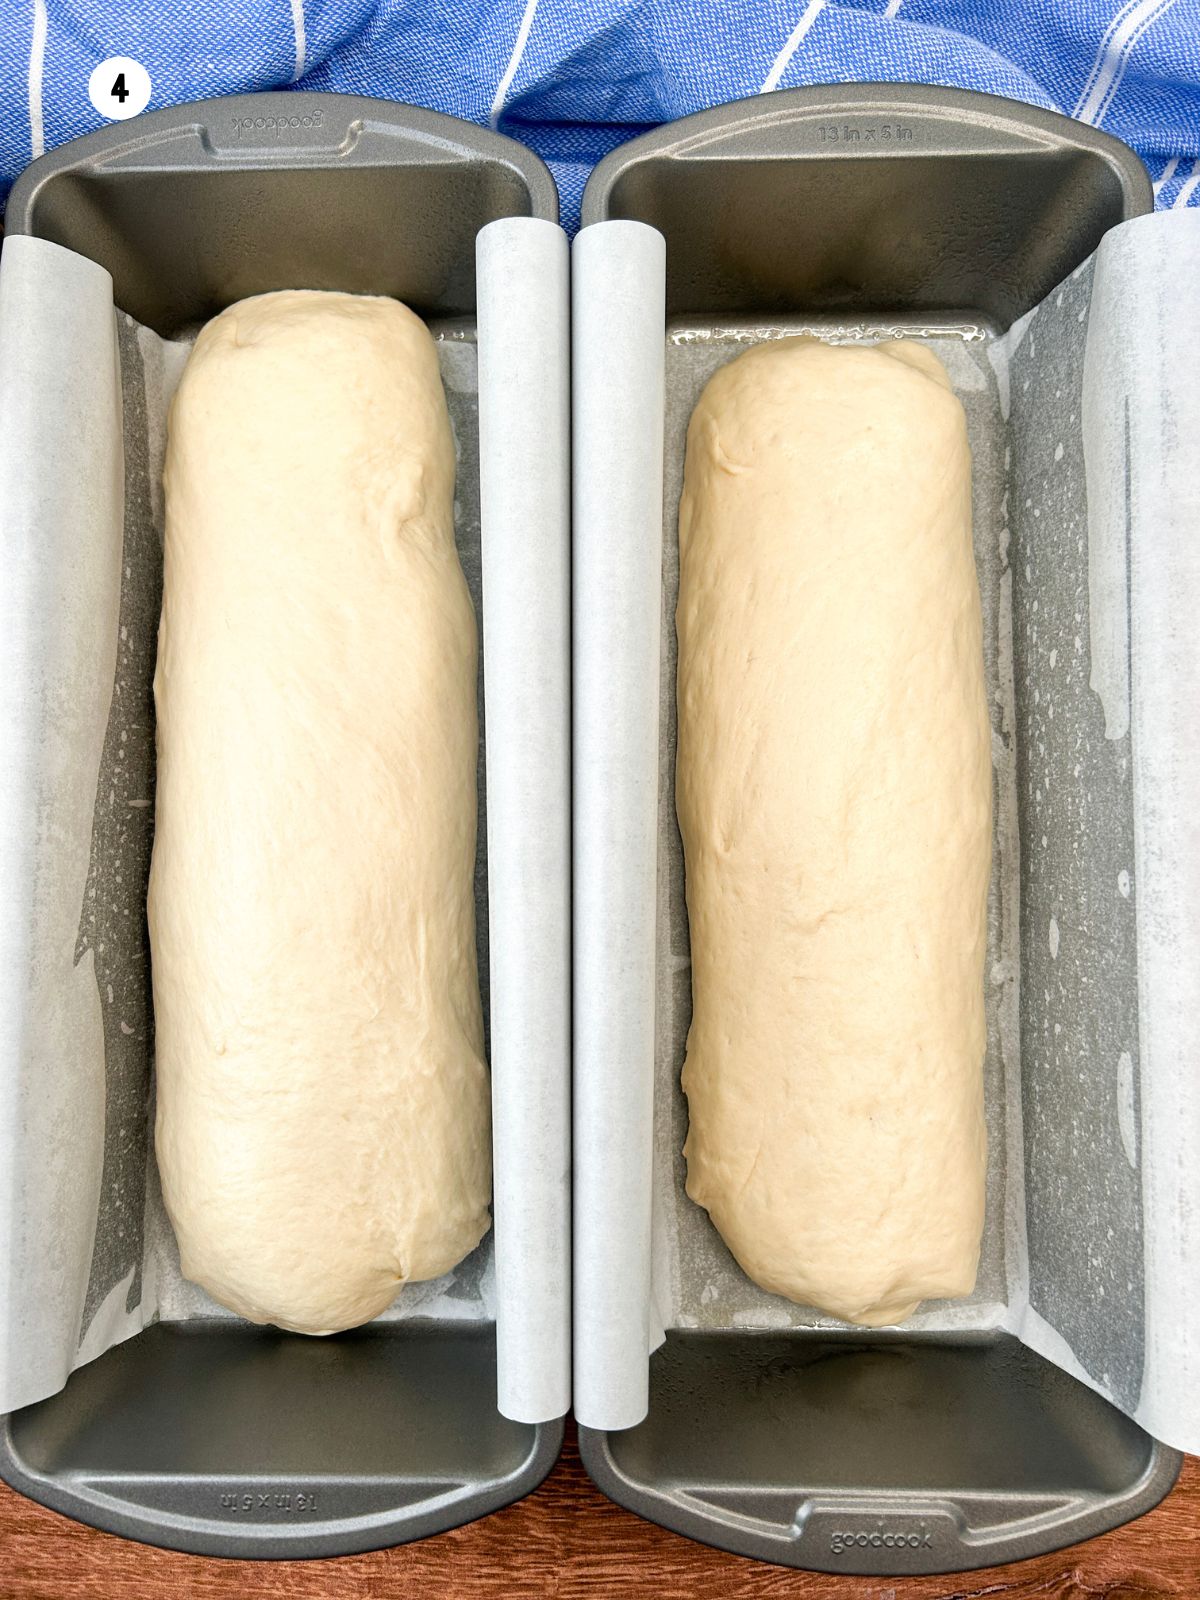
Step 4: Shape the dough halves into loaves and place in greased sandwich loaf pans.
Baking Instructions
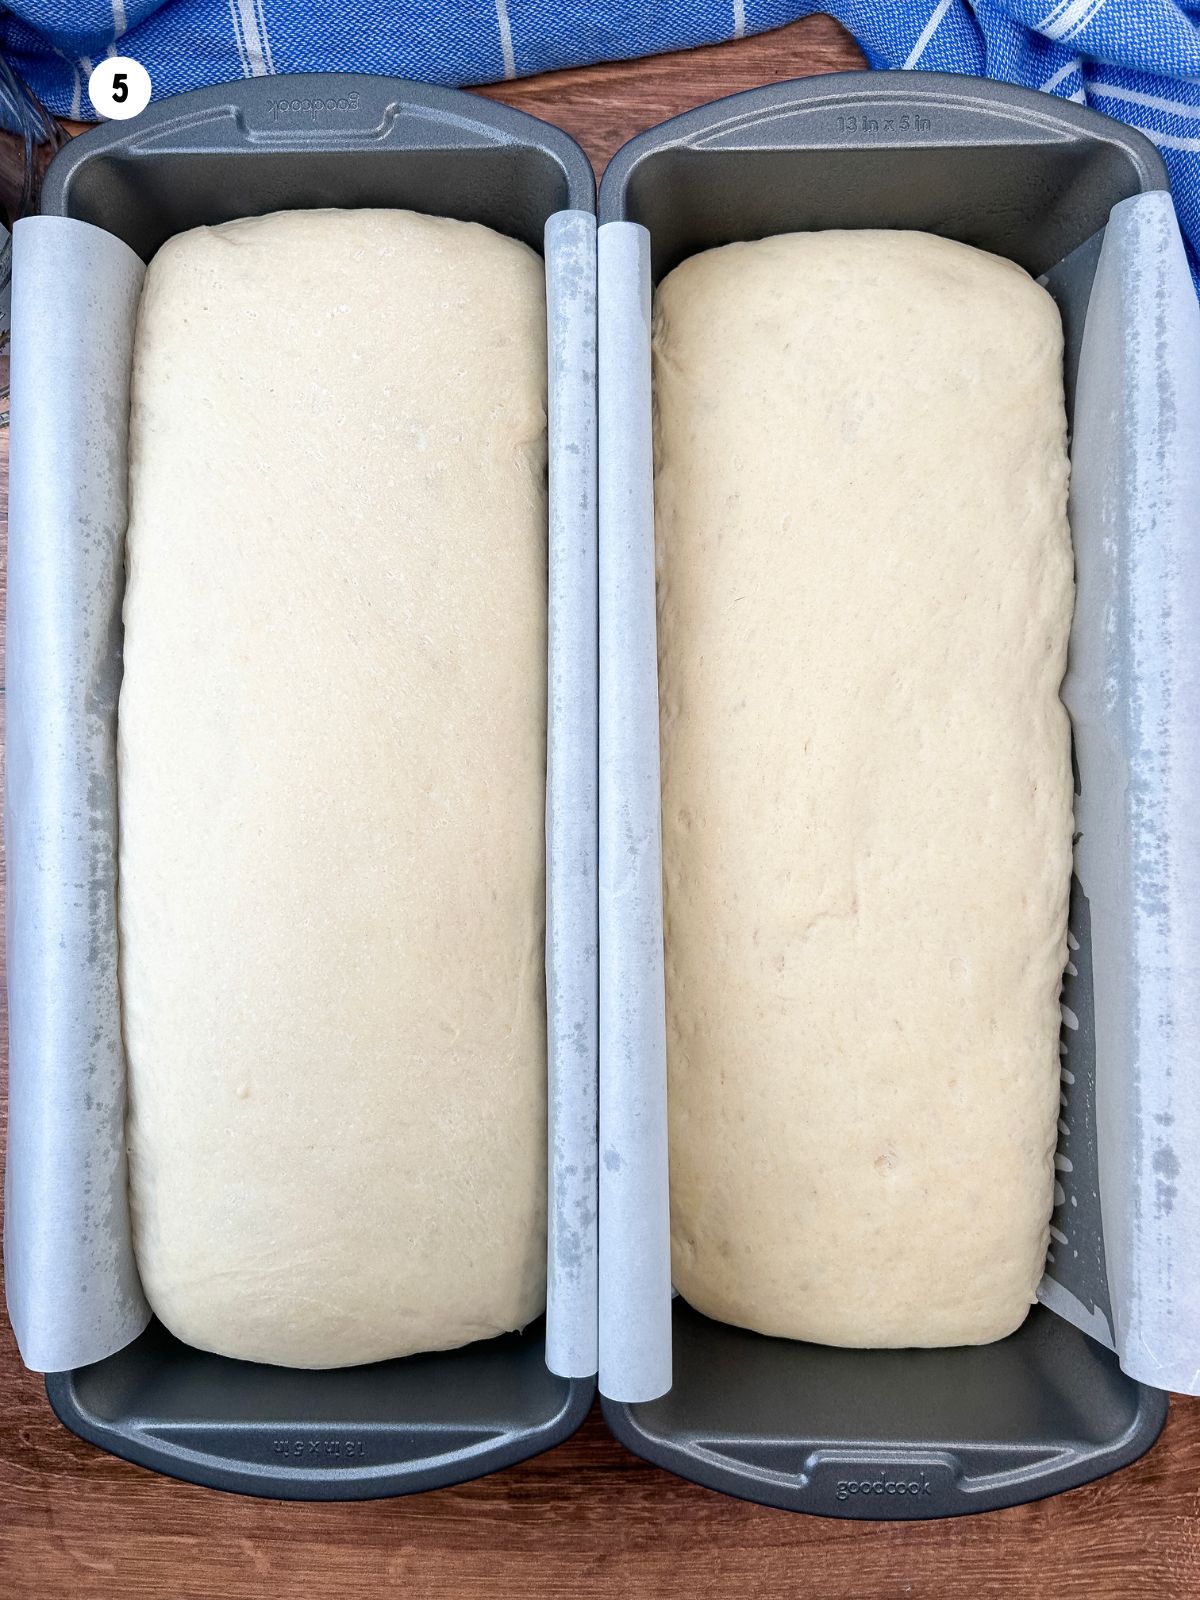
Step 5: Cover again with plastic wrap and allow to rise until doubled for 30-60 minutes.
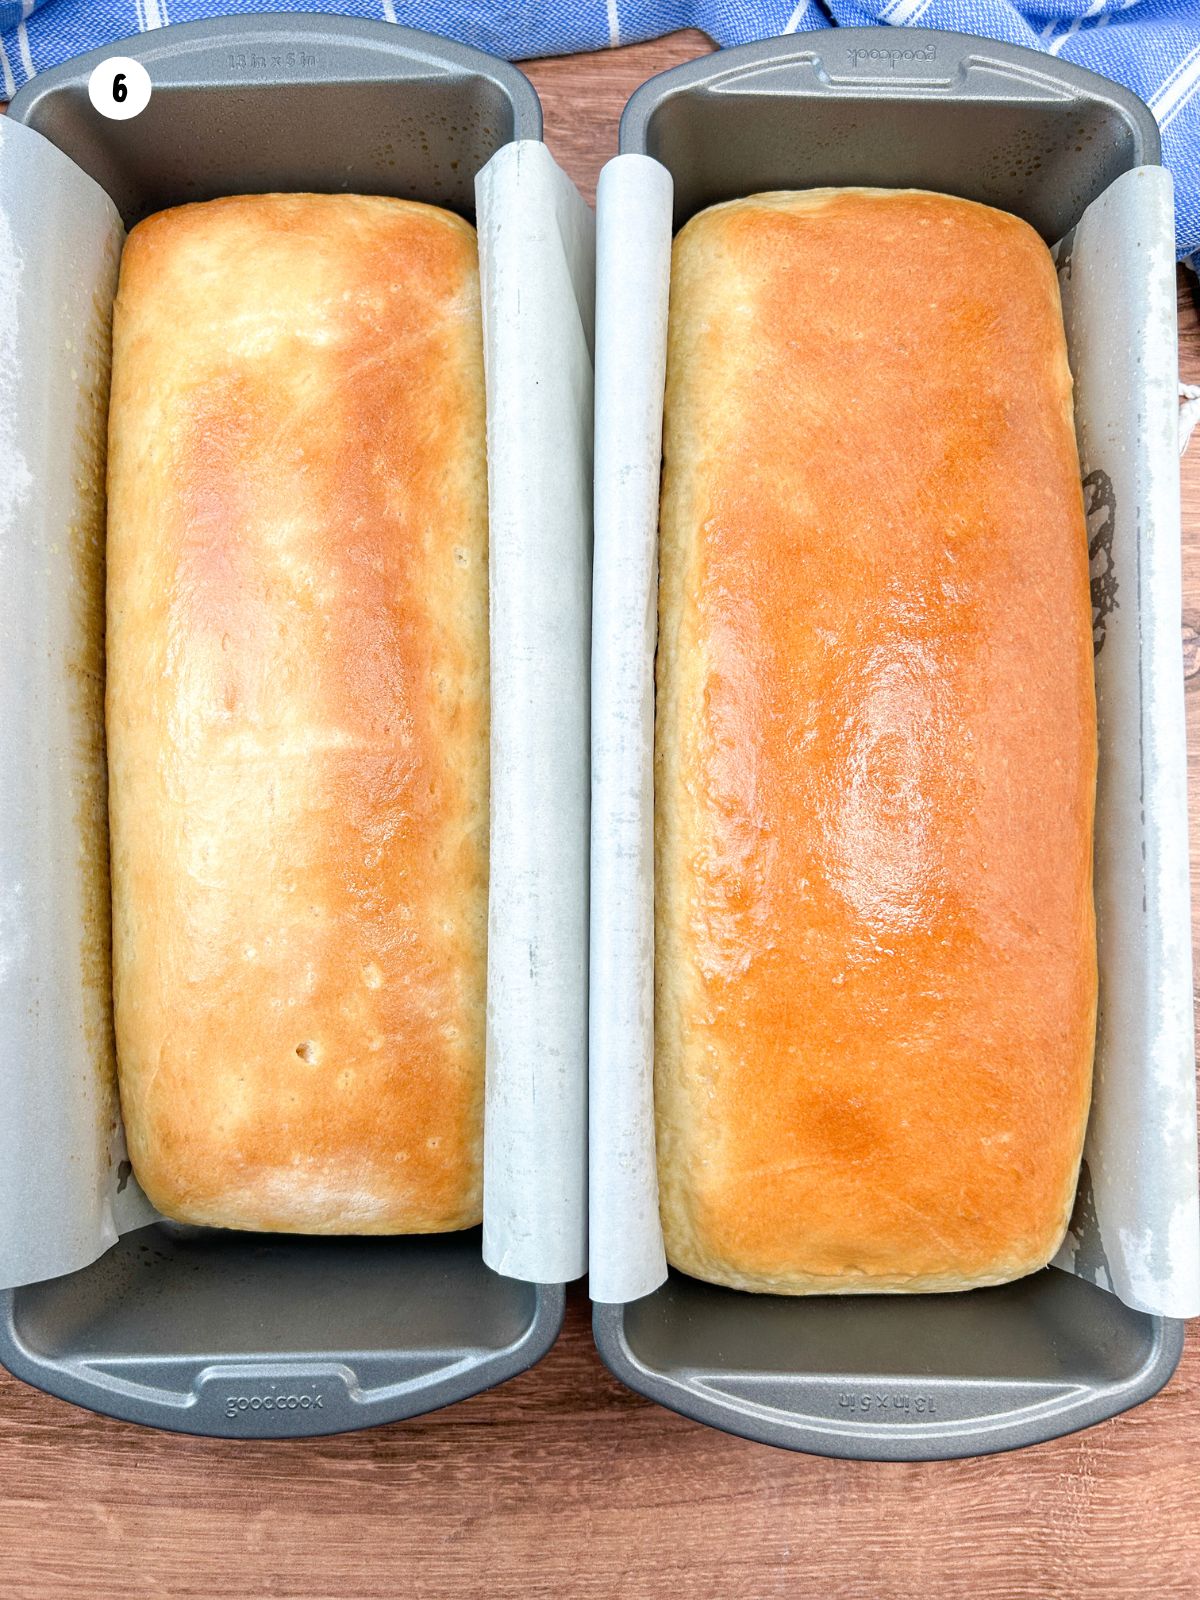
Step 6: Remove the plastic wrap and bake for 20 to 30 minutes in a 350°F oven. Bake until golden brown and sounds hollow when tapped.
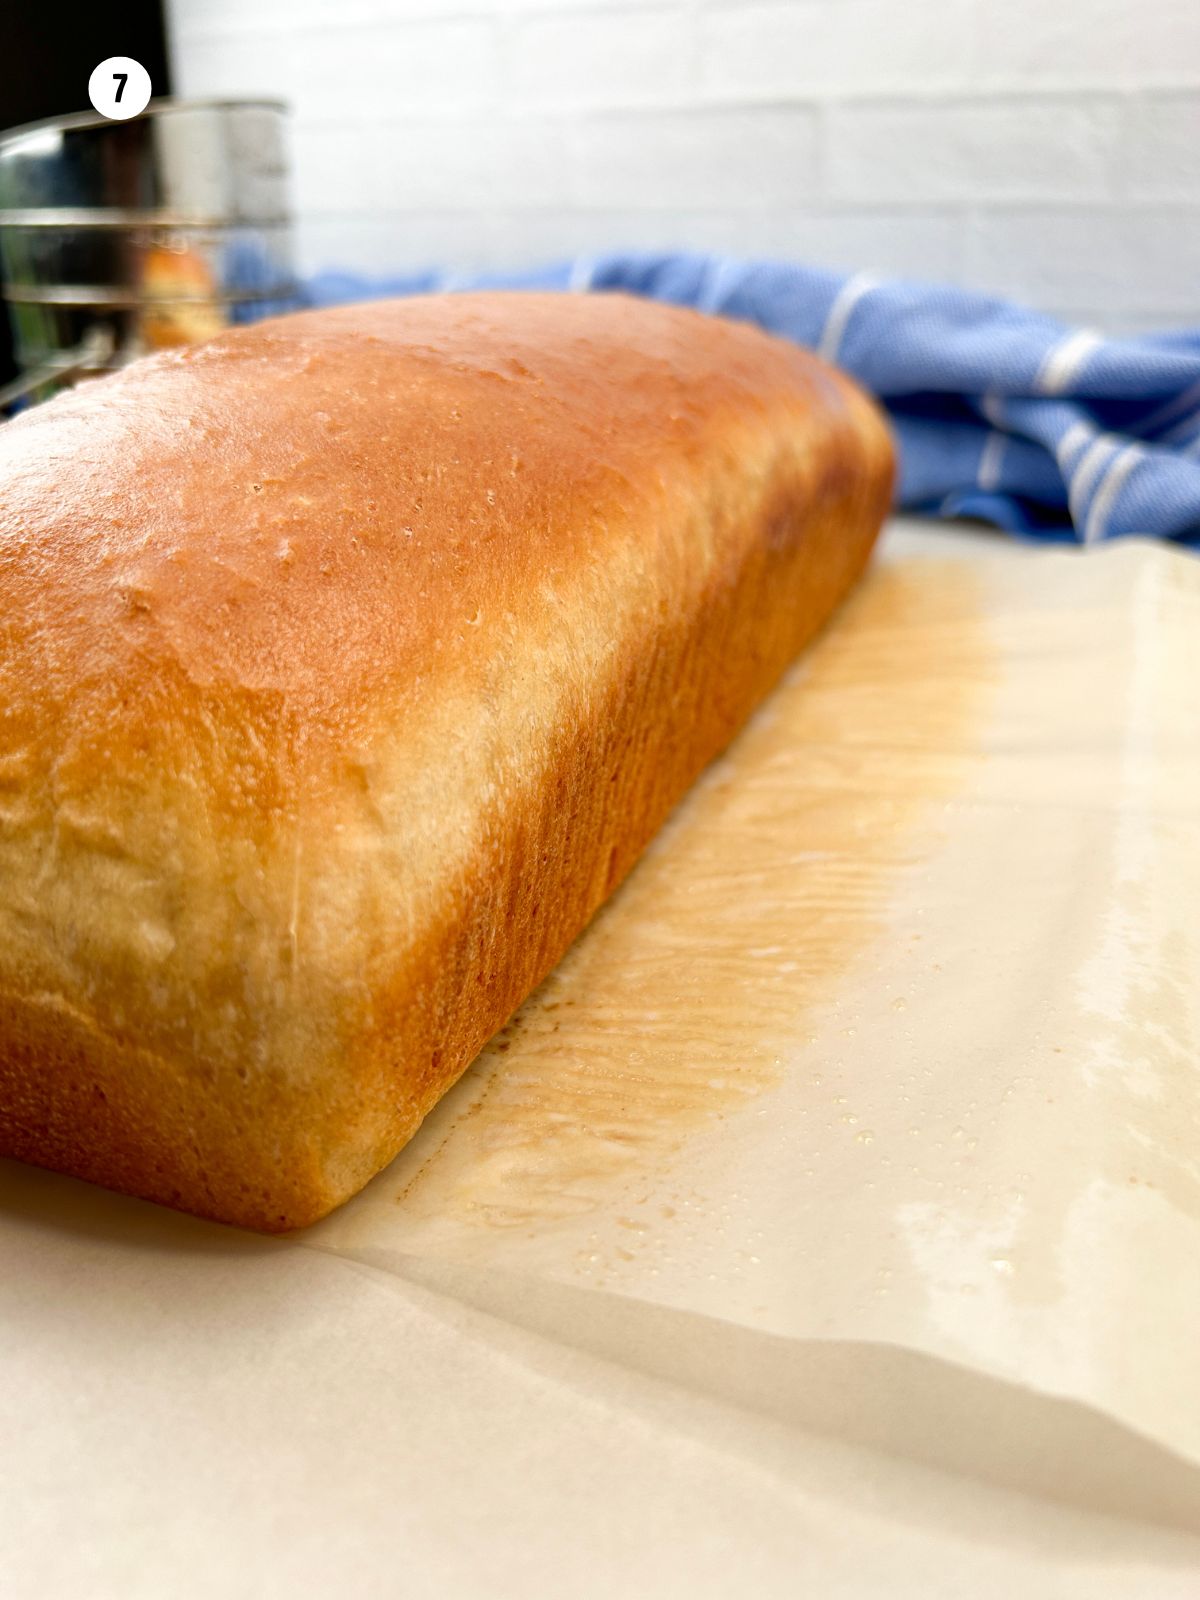
Step 7: Allow the loaves to cool for 10 minutes in the pans then cool completely on a wire rack. Brush the tops with melted butter.
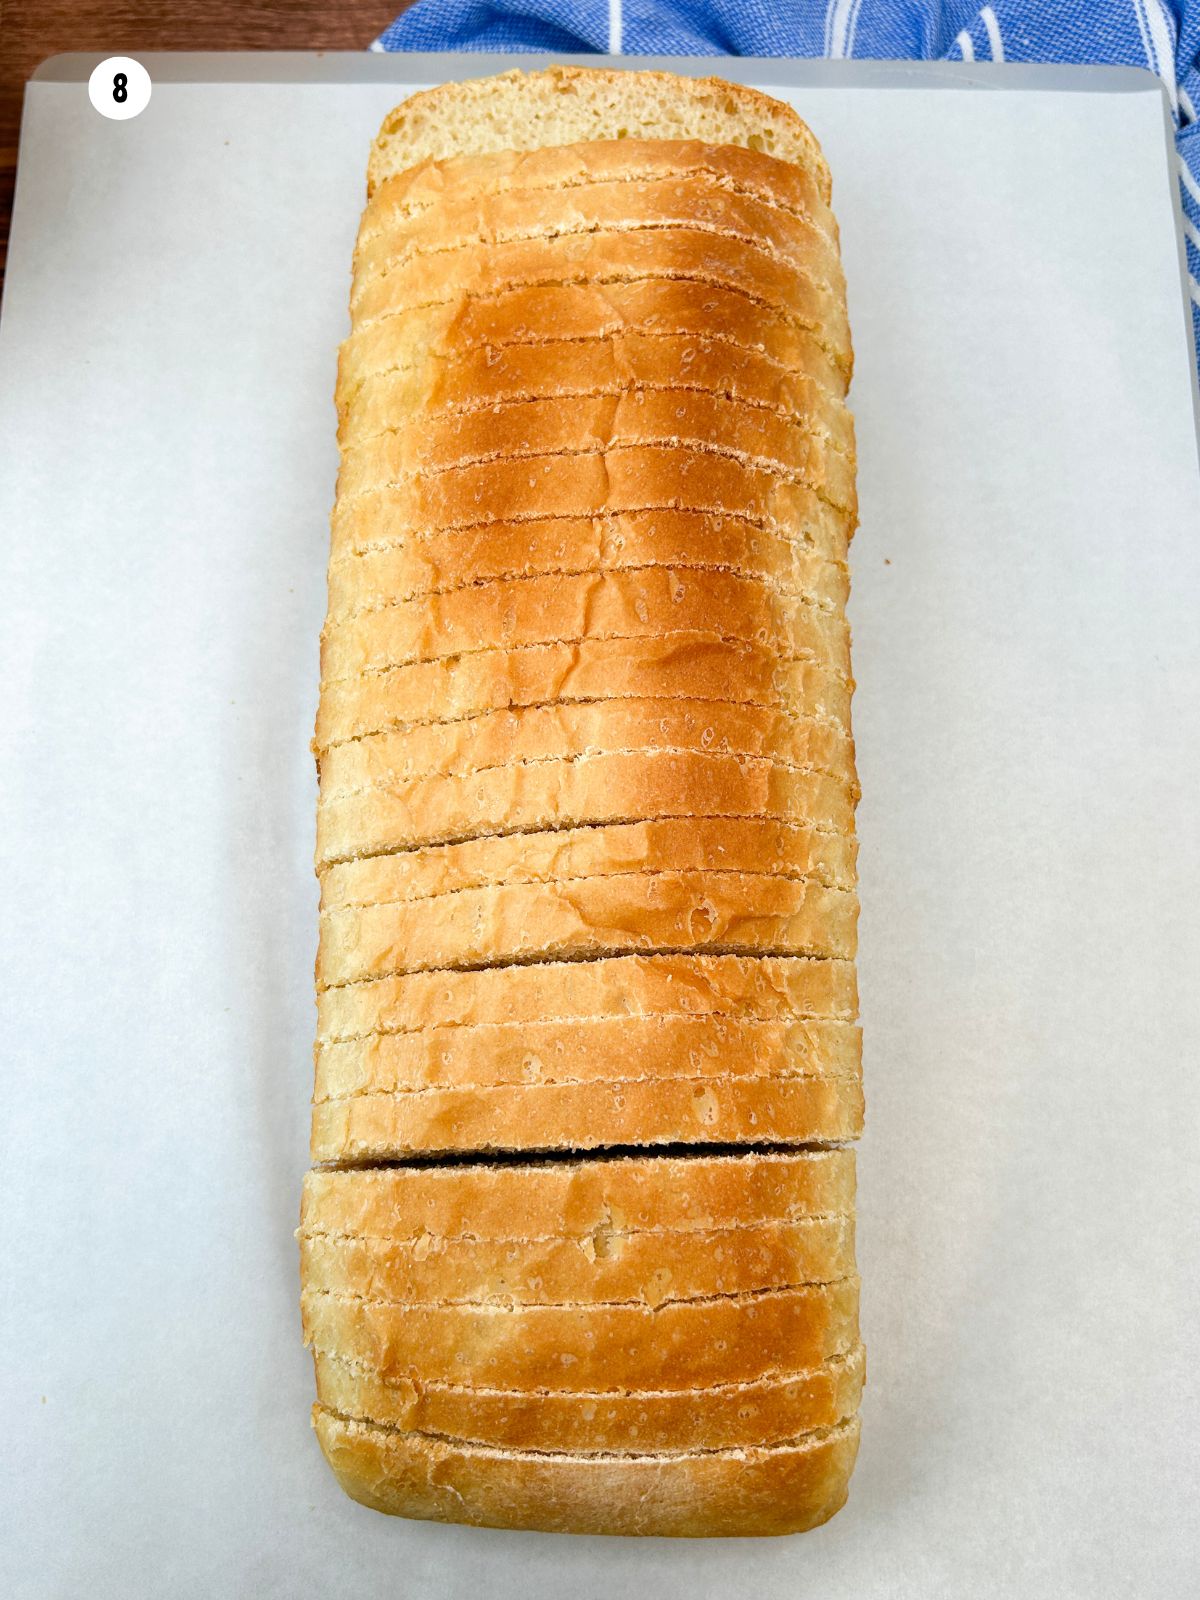
Step 8: Evenly slice to complete your loaf of sandwich bread.
Insider Tips from My Kitchen to Yours
Want to make this recipe even better? Don’t miss my favorite tips below for boosting flavor, perfecting texture, and saving time in the kitchen!
- Make sure your yeast is active and bubbly before moving on. It’s key to getting that soft, fluffy texture.
- Letting the dough rise until it’s doubled (even if it takes a bit longer) makes for a lighter, better loaf.
- Line the loaf pans with parchment paper to create a sling to easily lift the bread out of the pan once it's baked.
- Brush the top with butter after baking to keep the crust soft and add a little extra flavor.

Recipe FAQ's
To view the answers, simply click on the down arrow (⬇) next to each question. If you have any other questions not answered here, please leave a comment!
Sandwich bread is a type of regular bread that's soft, easy to slice, and ideal for holding fillings, often with a tender crumb and mild flavor from being baked in a loaf pan. Regular bread is a broader category that includes crusty loaves like sourdough or baguettes, which aren’t always the best fit for sandwiches.
Homemade sandwich bread can fall apart if it’s over-proofed, under-kneaded, or contains too much flour, making it dry or structurally weak. Letting it cool completely before slicing and including enough fat (like butter) also helps it hold together better.
How to Store, Freeze and Reheat
Refrigerate: Store in a cool, dry place in an airtight container for up to 4 days.
Freezer: Wrap tightly and freeze up to 3 months. Slice before freezing for convenience
Thaw and Reheat: Allow the bread to defrost on your countertop. Toast slices or warm briefly in the oven at 300°F for 5–7 minutes.
What to Serve with Homemade Sandwich Bread


LOVE this recipe? SAVE it for Later!
❤️Tap the heart icon in the lower right corner to add the recipe to your recipe box for easy access anytime.
If you made it, leaving a star rating or quick review is always appreciated and helps other readers too.
Want to save this printed recipe? The Ultimate Meal Planner & Recipe Binder helps you keep recipes organized in one easy place.
📖 Recipe Card
Amish Sandwich Bread
Video
Ingredients
- 2 ¼ teaspoons active dry yeast
- ½ cup warm water, 105 - 115°F
- ⅓ cup sugar
- 2 teaspoons salt
- 2 cups warm water, 105 - 115°F
- 2 ½ tablepsoons melted butter
- 6 cups flour
Method
- In a small bowl, dissolve the yeast in ½ cup of warm water. Cover with a plate to trap the heat and let it sit for about 5 minutes, until foamy and bubbly.
- In the bowl of a stand mixer fitted with the dough hook, combine the sugar, salt, 2 cups of warm water, and melted butter. Add the proofed yeast mixture.
- Gradually mix in the flour, one cup at a time, until a soft dough forms and pulls away from the sides of the bowl. Knead with the mixer for about 5 minutes. If the dough sticks to the sides, sprinkle in a little more flour as needed.
- Transfer the dough to a lightly floured surface, knead a few times, then place it in an oiled bowl, turning to coat both sides. Cover with plastic wrap and let it rise until doubled in size, about 30 minutes to 1 hour.
- Once risen, punch down the dough and divide it into two equal portions. Shape each portion into a loaf and place them in two greased sandwich baking pans. Cover with plastic wrap and let rise again until doubled, about 30 to 60 minutes.
- Preheat the oven to 350°F. Remove the plastic wrap and bake for 20 to 30 minutes, until the crust is golden brown and sounds hollow when tapped.
- Let the loaves cool in the pans for 10 minutes before transferring them to a wire rack to cool completely. Brush the tops with melted butter before serving.
Nutrition
Notes
Tried this recipe?
Let us know how it was!Food Safety Tips:
- Bake goods to their recommended internal temperature, typically 165°F (74°C) or higher for safety.
- Use separate utensils and surfaces for raw ingredients, especially eggs, to prevent cross-contamination.
- Wash your hands thoroughly after handling raw dough or eggs.
- Avoid leaving baked goods or raw dough at room temperature for extended periods.
- Never leave the oven unattended while baking.
- Choose oils with a high smoking point to minimize the release of harmful compounds.
- Ensure good ventilation when using a gas stove when using an oven or gas stove to maintain a safe cooking environment.

Cathy Jones says
I just made this bread and it came out absolutely perfect. I love a soft, moist sandwich bread and this is definitely it. Thank you
Lois says
Thank you so much for the lovely comment! My family loves this recipe also and I make it quite often for them!
Marsha says
Yummy so soft and the taste is fabulous
Lois says
Thank you so much! I’m so glad you enjoyed it—soft, delicious, and full of flavor is exactly what I was going for. 🥰