


Looking for a festive way to make your holiday baking stand out?
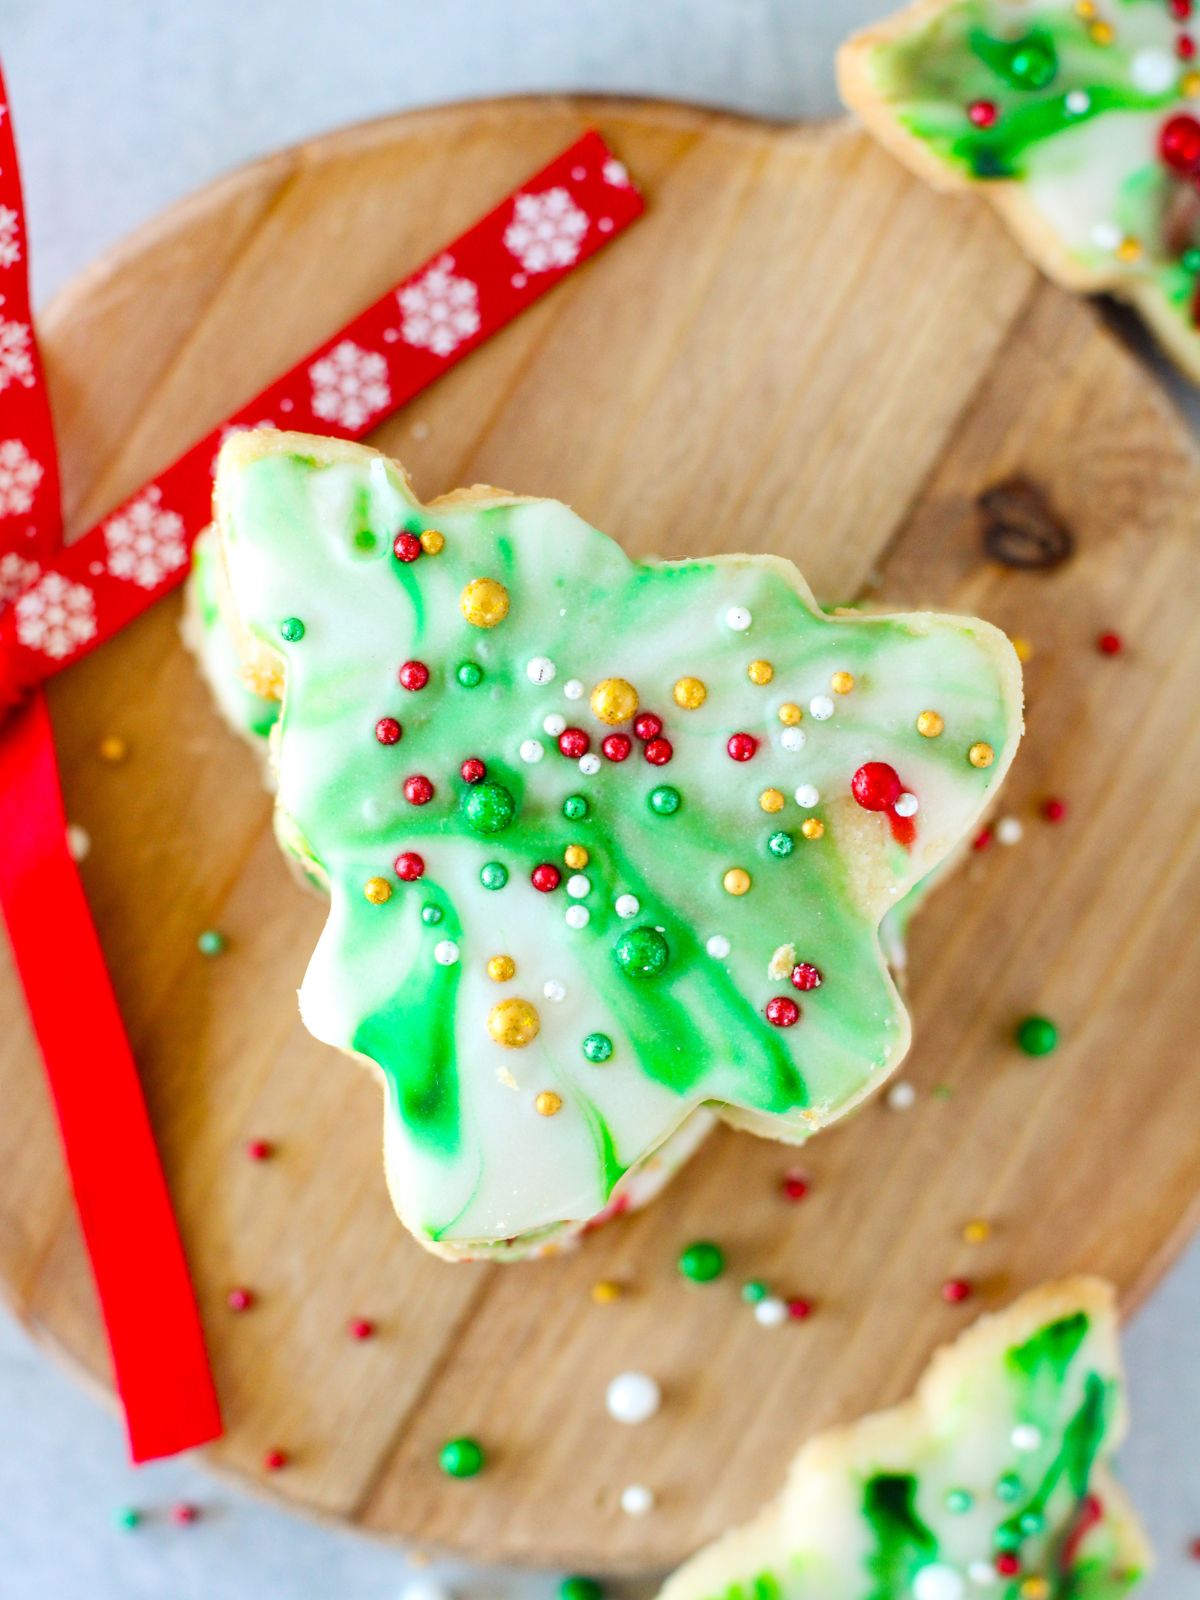
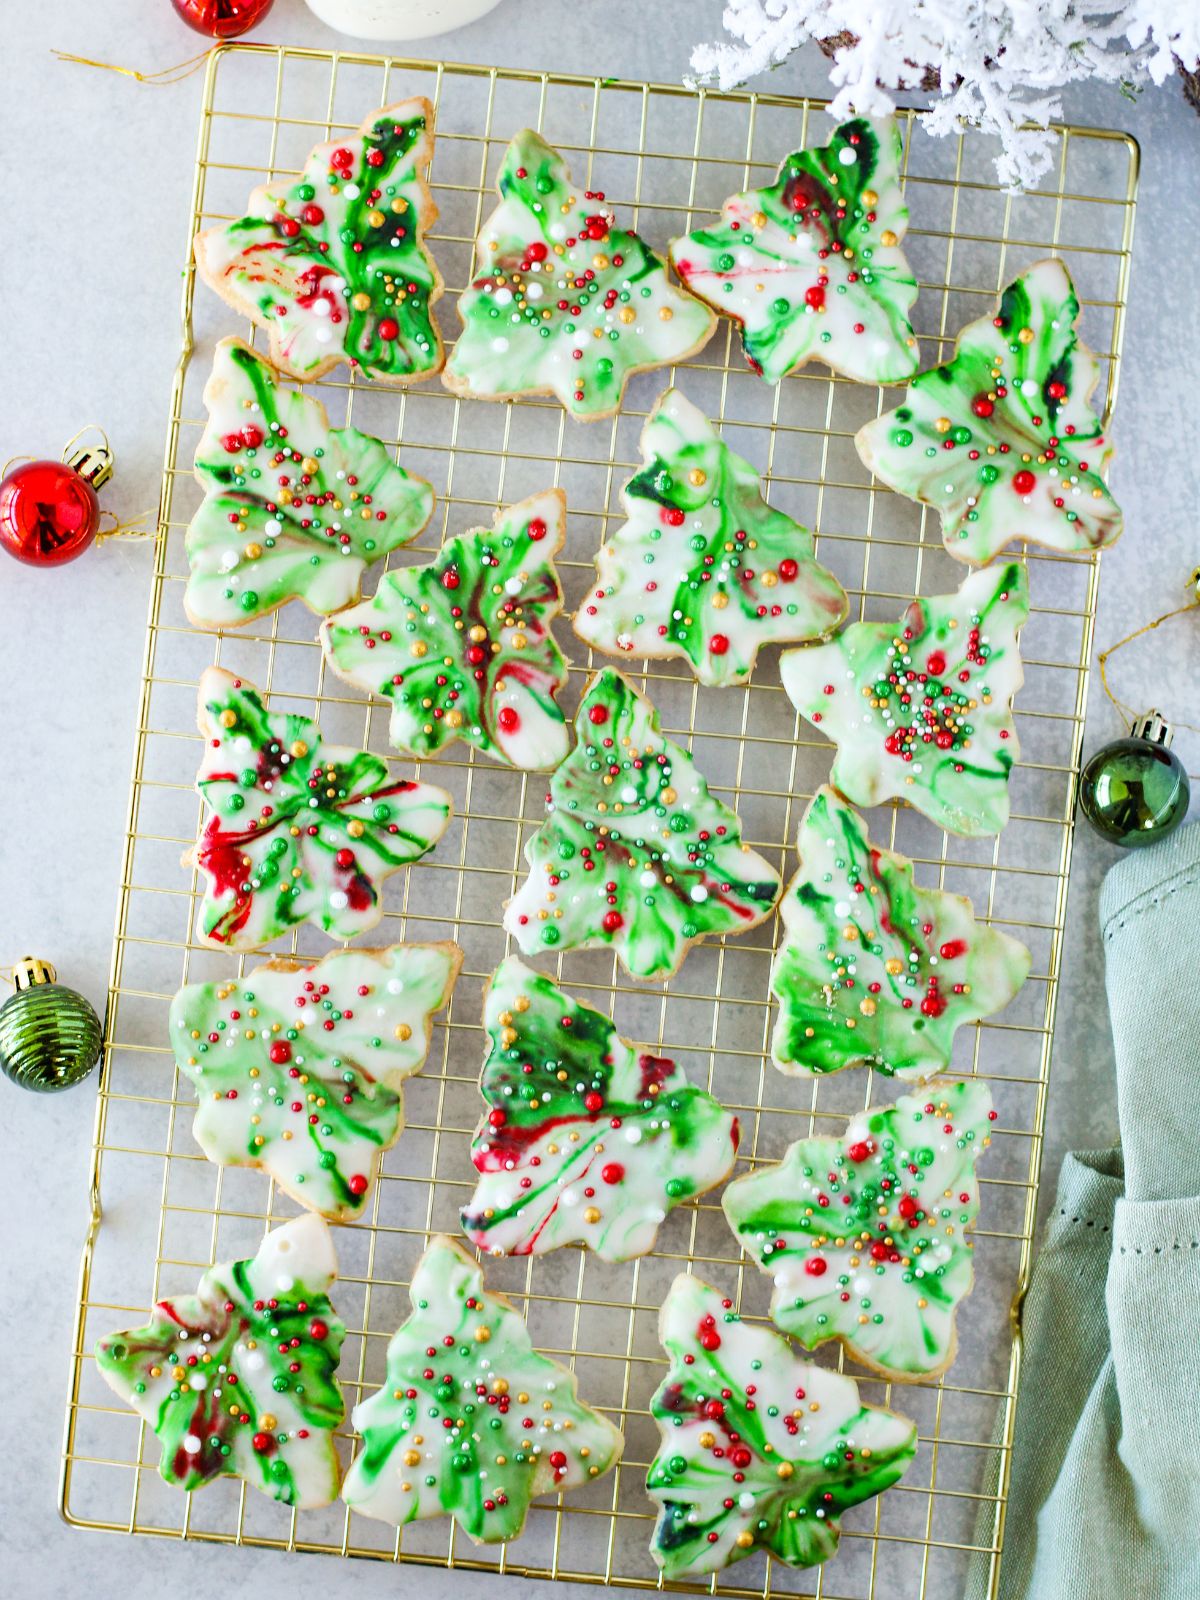
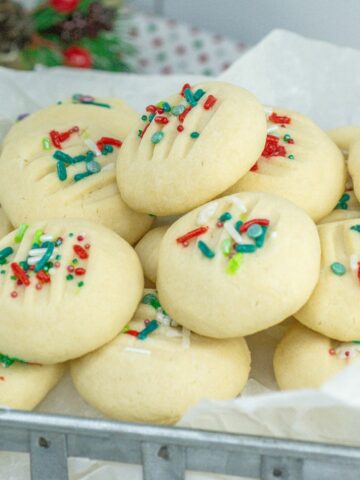
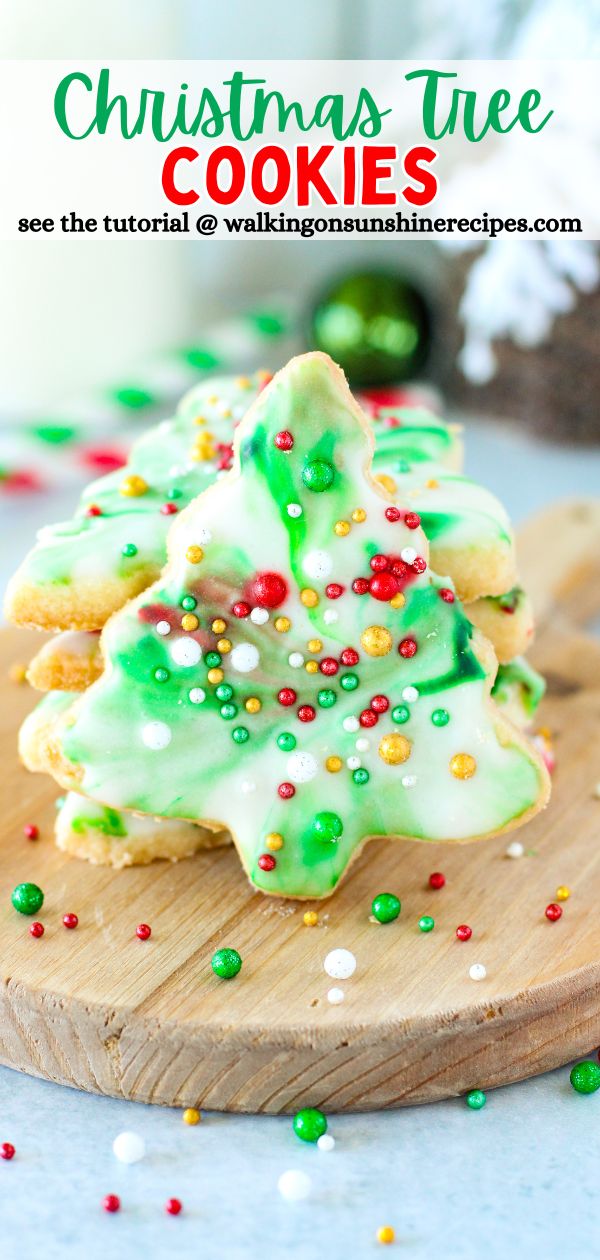
These Christmas Tree Cookies are classic cutout cookies made with a buttery shortbread-style dough, then decorated with green marbled icing and colorful sprinkles. They’re just as fun to decorate as they are to eat.
For even more holiday baking inspiration, explore our collection of Christmas Cookies filled with festive recipes perfect for spreading cheer all season long.
Want to Save This Recipe?
Enter your email & I'll send it to your inbox. Plus, get great new recipes from me every week!
By submitting this form, you consent to receive emails from Walking on Sunshine Recipes.
Recipe at a Glance
Prep: 20 min | Cook/Bake: 10 min | Decorating: 20 min | Difficulty: Easy
What it is: These Christmas Tree Cookies are classic cutout cookies made with a buttery shortbread dough that holds its shape while baking. Each cookie is finished with green marbled icing and festive sprinkles.
Why you’ll love it: This recipe is a fun, family-friendly holiday baking project that’s easy to decorate and enjoy together. The simple dough and quick bake time keep things stress-free.
How to make it: Roll out the shortbread cookie dough, cut it into Christmas tree shapes, and bake until lightly golden. Once cooled, decorate with green marbled icing and sprinkles for a festive finish.
👉Click HERE for my NEW Christmas Cookie Exchange Printables
Looking for more easy desserts for Christmas? Try my Nutella Puff Pastry Christmas Tree, Chocolate Christmas Tree Cupcakes, and even my Traditional Christmas Cookies. Yum!
Table of Contents
- Recipe at a Glance
- Why Shortbread Works for Cutout Cookies
- Recommended Kitchen Tools
- My Kitchen Tools Essentials
- Main Ingredients Needed
- Substitutions and Variations
- Step-by-Step Instructions
- Insider Tips from My Kitchen to Yours
- Storage & Serving Tips
- Recipe FAQ's
- More Easy Cookie Recipes You'll Love!
- LOVE this recipe? SAVE it for Later!
- 📖 Recipe Card
- 💬 Comments
Why Shortbread Works for Cutout Cookies
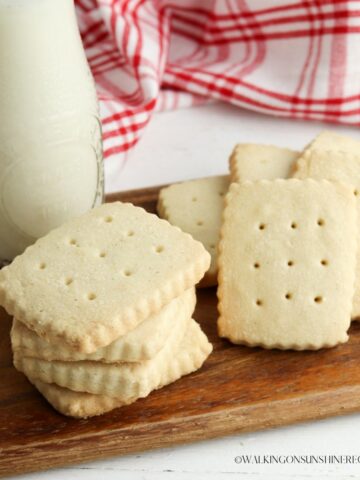
- Shortbread dough works especially well for cutout cookies because it’s sturdy and holds its shape while baking.
- The simple, buttery dough also creates clean edges, making it ideal for cookie cutters and decorating.
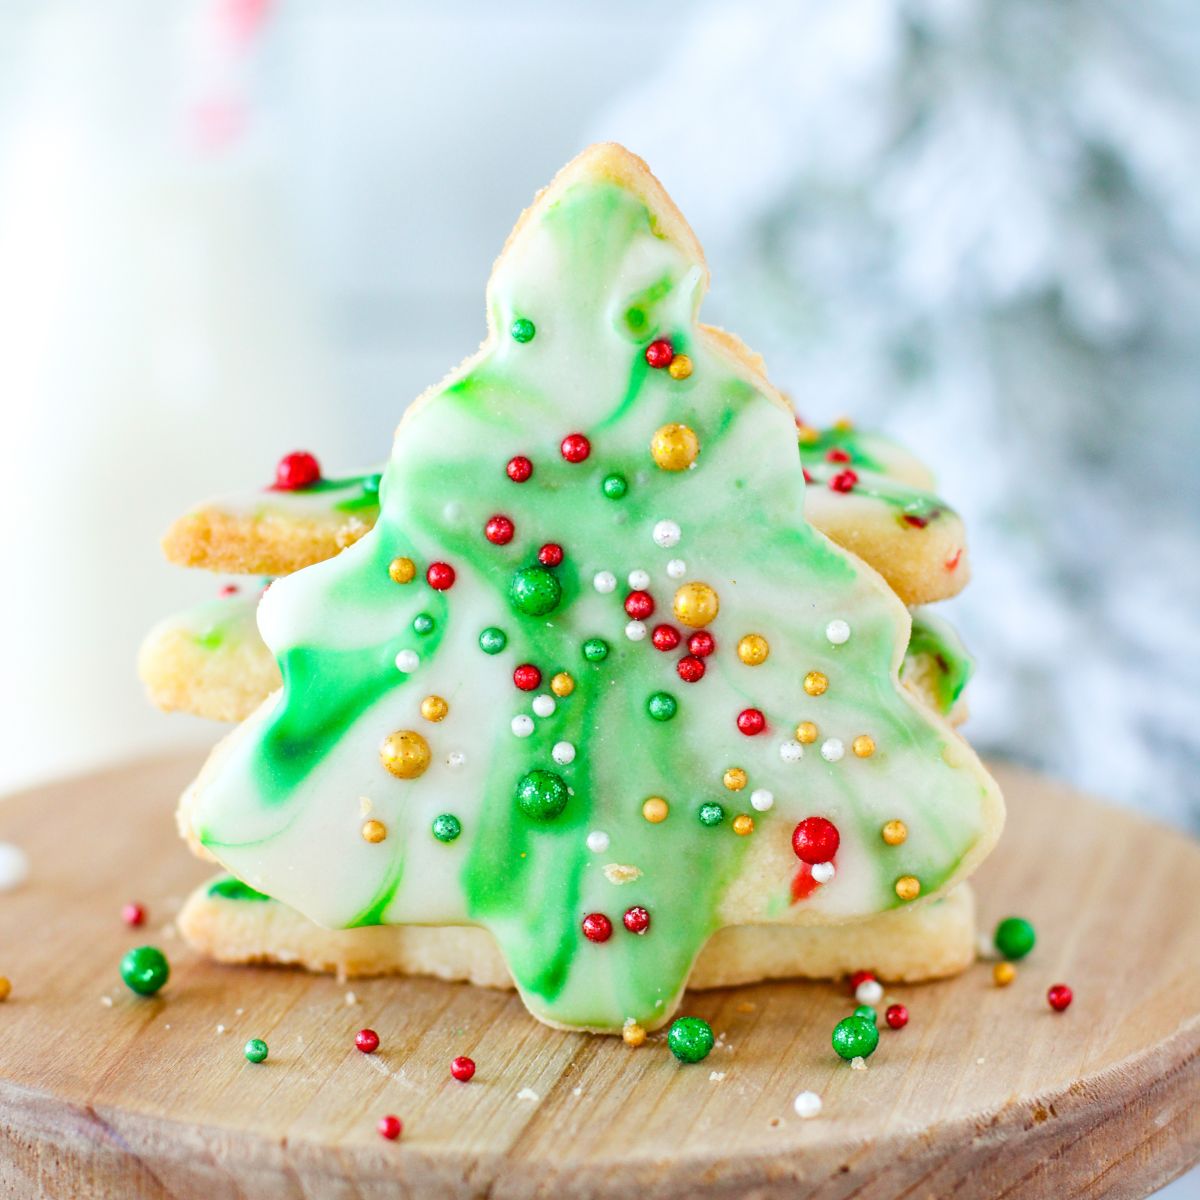
- The marbled icing technique for this cookie is simple! You just dip the cookie, pull it straight up, and let the excess drip off. It creates a beautiful finish without the need for detailed decorating skills.

Recommended Kitchen Tools
For a full list of kitchen tools used in this recipe, be sure to check the recipe card below. You can also browse my Favorite Kitchen Tools by clicking the photo below.

Check out my list...
My Kitchen Tools Essentials
Tools that will make your time easier and faster in the kitchen!
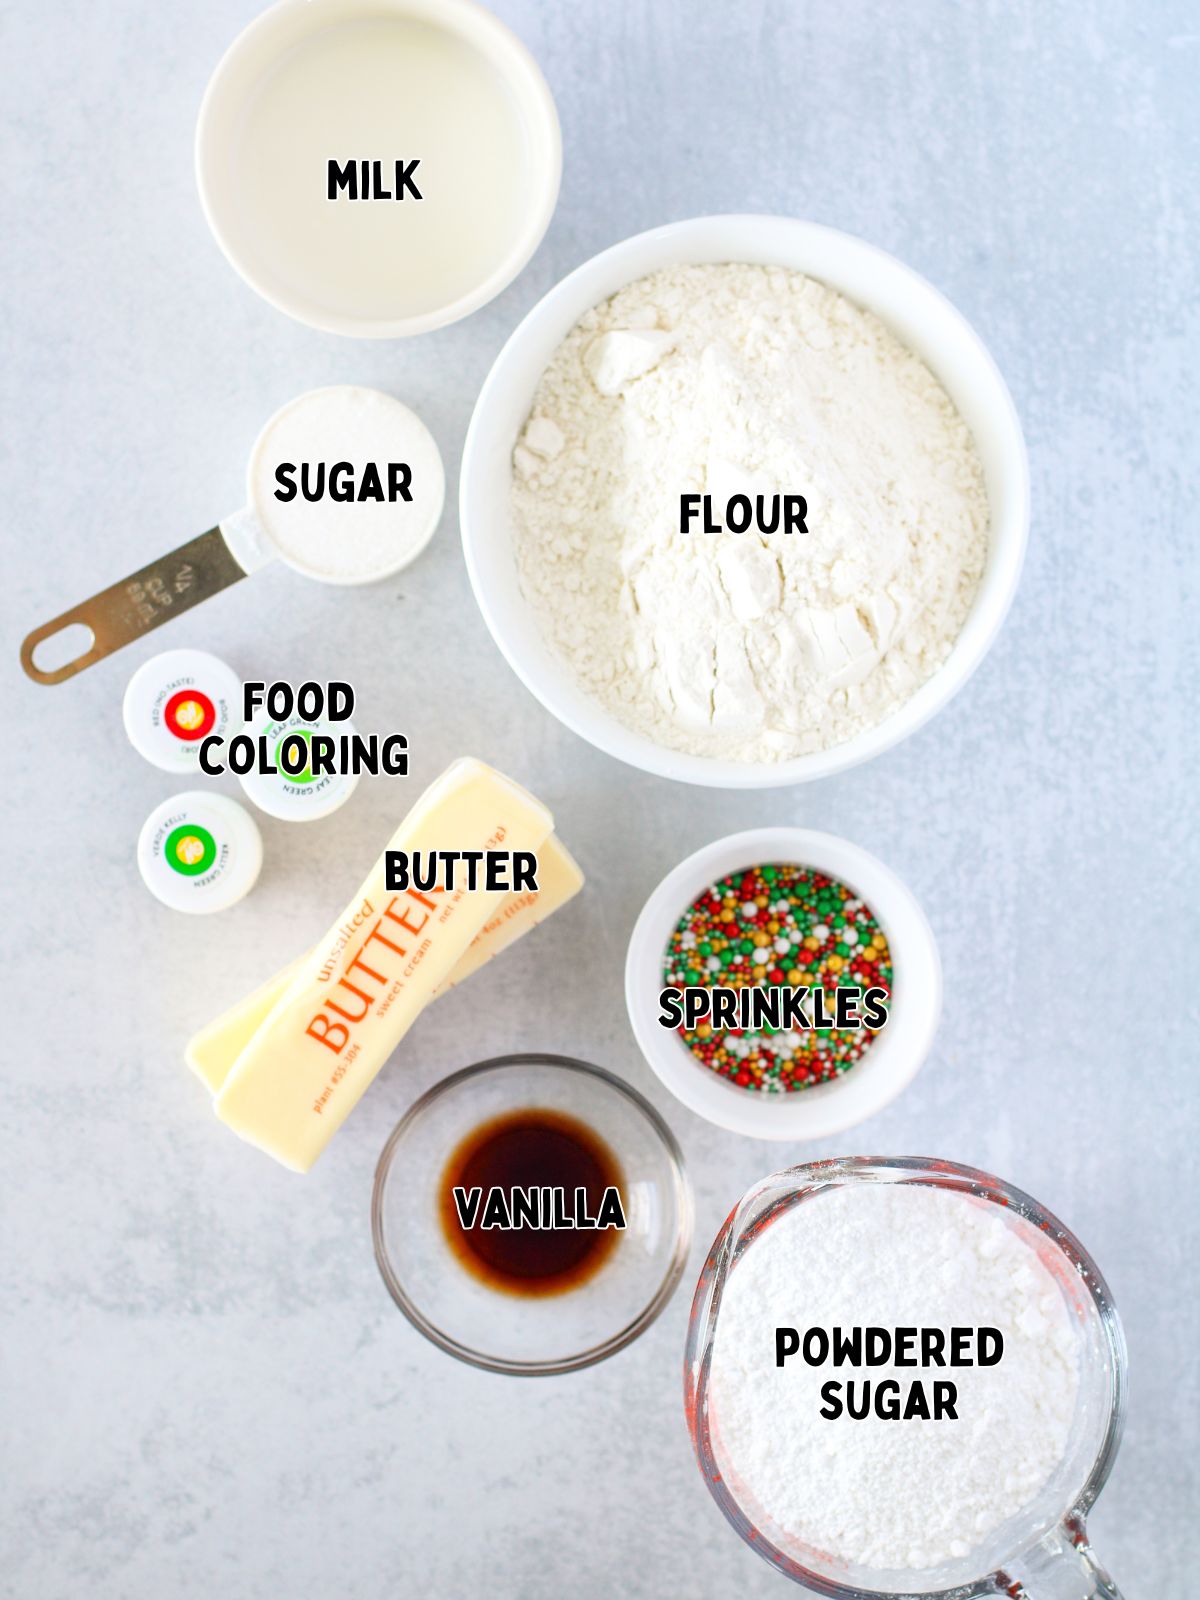
Main Ingredients Needed
Below is a quick preview of the ingredients you’ll need. For exact amounts, check the recipe card below. You can also use the "Shopping List button" to create a printable shopping list, or the "Get Ingredients button" in the recipe card to order groceries online.
Substitutions and Variations
Peppermint icing: Add ½ teaspoon of peppermint extract to the icing for a festive mint flavor that pairs well with the cookies.
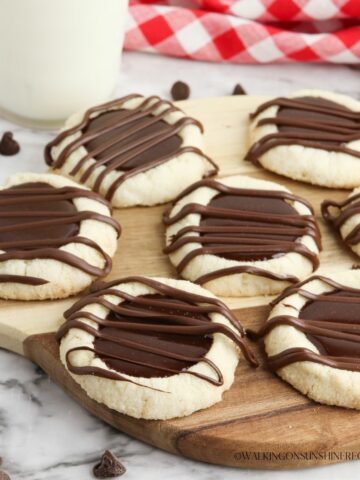
Classic frosting option: Instead of marbled icing, decorate the cookies with a traditional cutout cookie frosting like the one used on my Sugar Cutout Cookies or you can dip them in melted chocolate like I do with my original Shortbread Cookie Recipe.
Sprinkle swap: Change up the sprinkles with nonpareils, sanding sugar, or edible pearls to give the cookies a different look each time.
This recipe has not been tested with other substitutions or variations. If you replace or add any ingredients, please let us know how it turned out in the comments below!
Step-by-Step Instructions
This section includes step-by-step photos and instructions to guide you through the recipe. For the complete printable version, scroll down to the recipe card below.
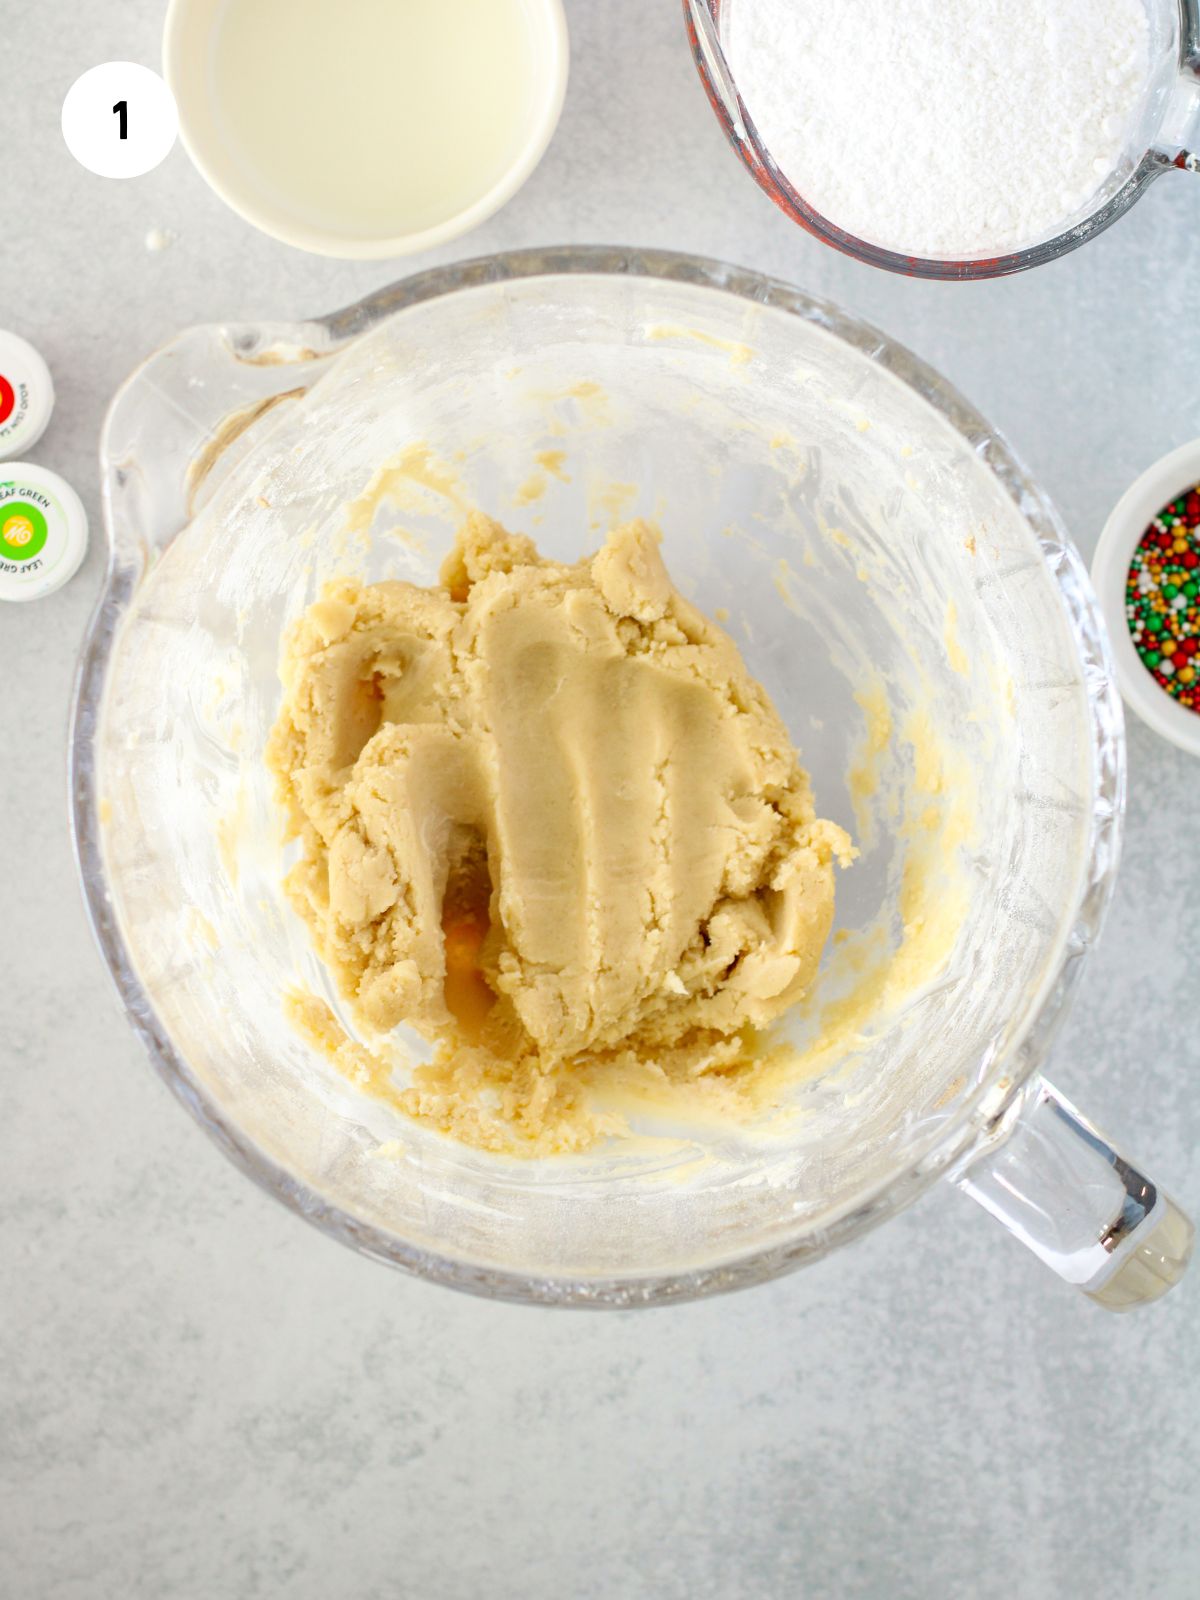
Step 1: Beat the butter, sugar, and vanilla together until creamy. Add in the flour until fully incorporated.
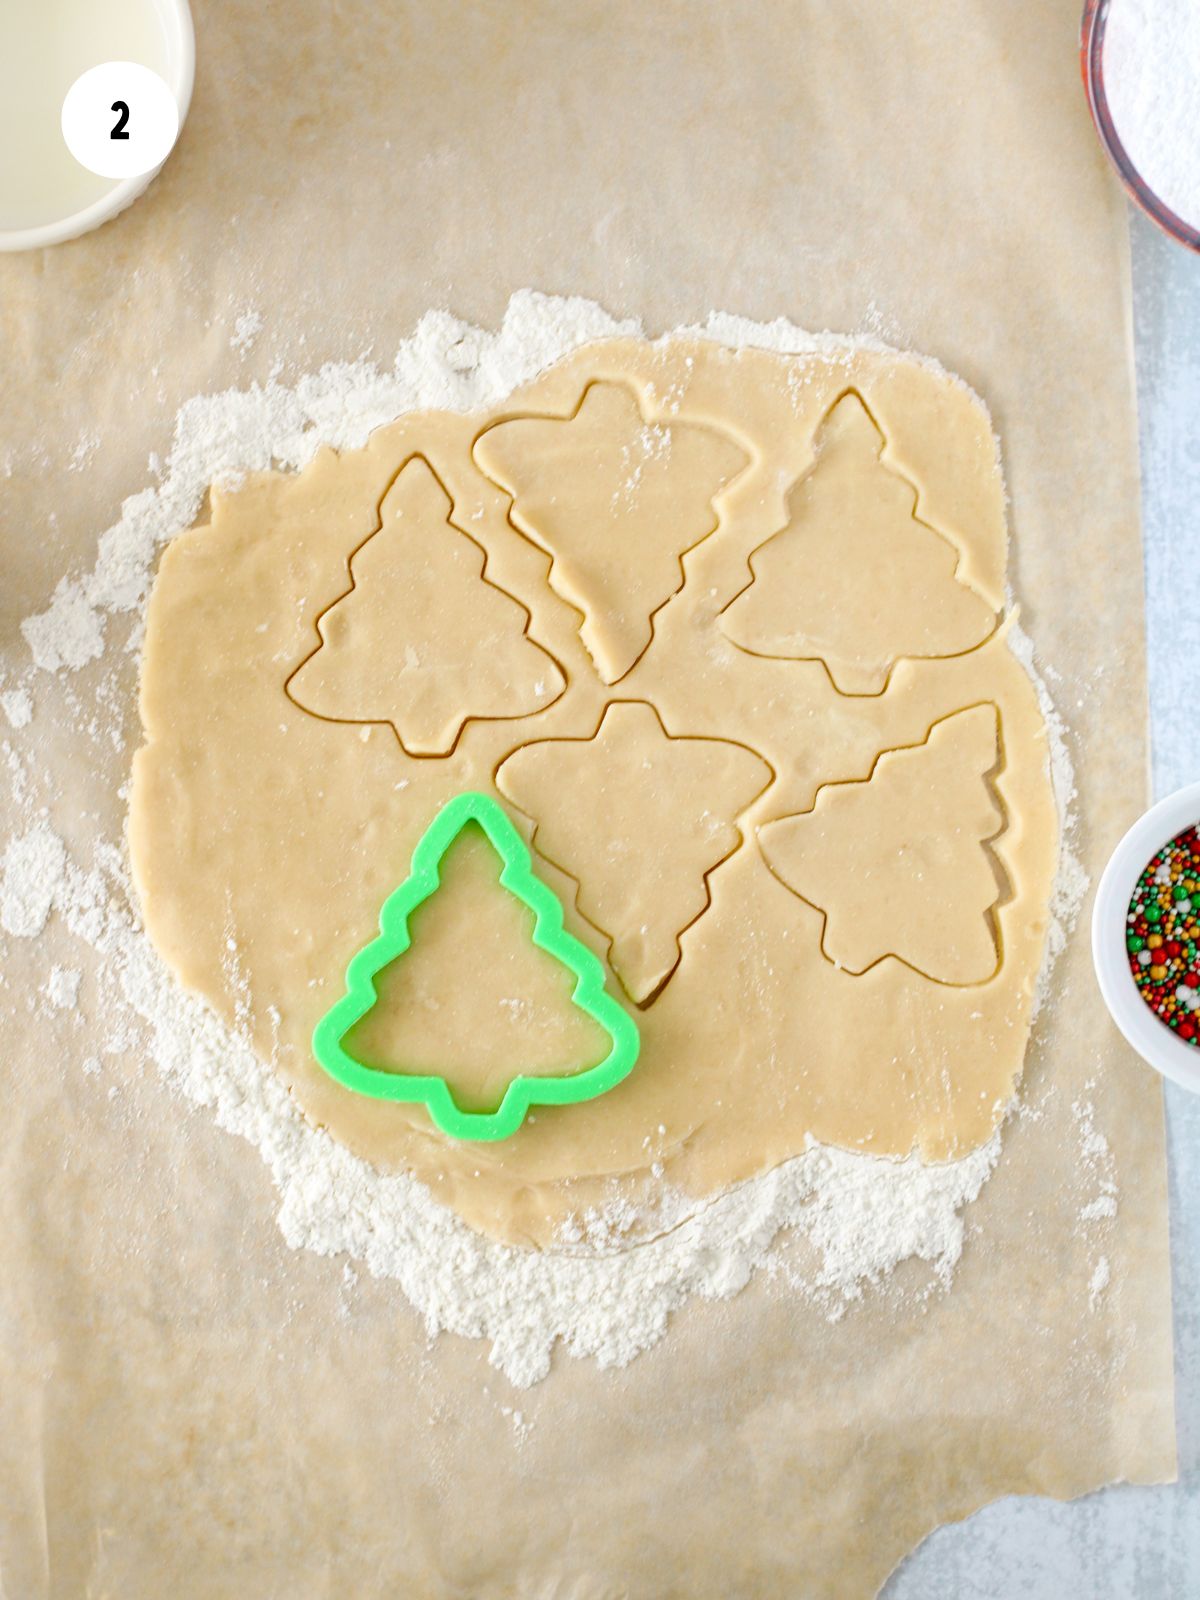
Step 2: Roll the dough out on a floured surface until it is between ⅛ and ¼ inch thick. Use a cookie cutter to cut out trees.
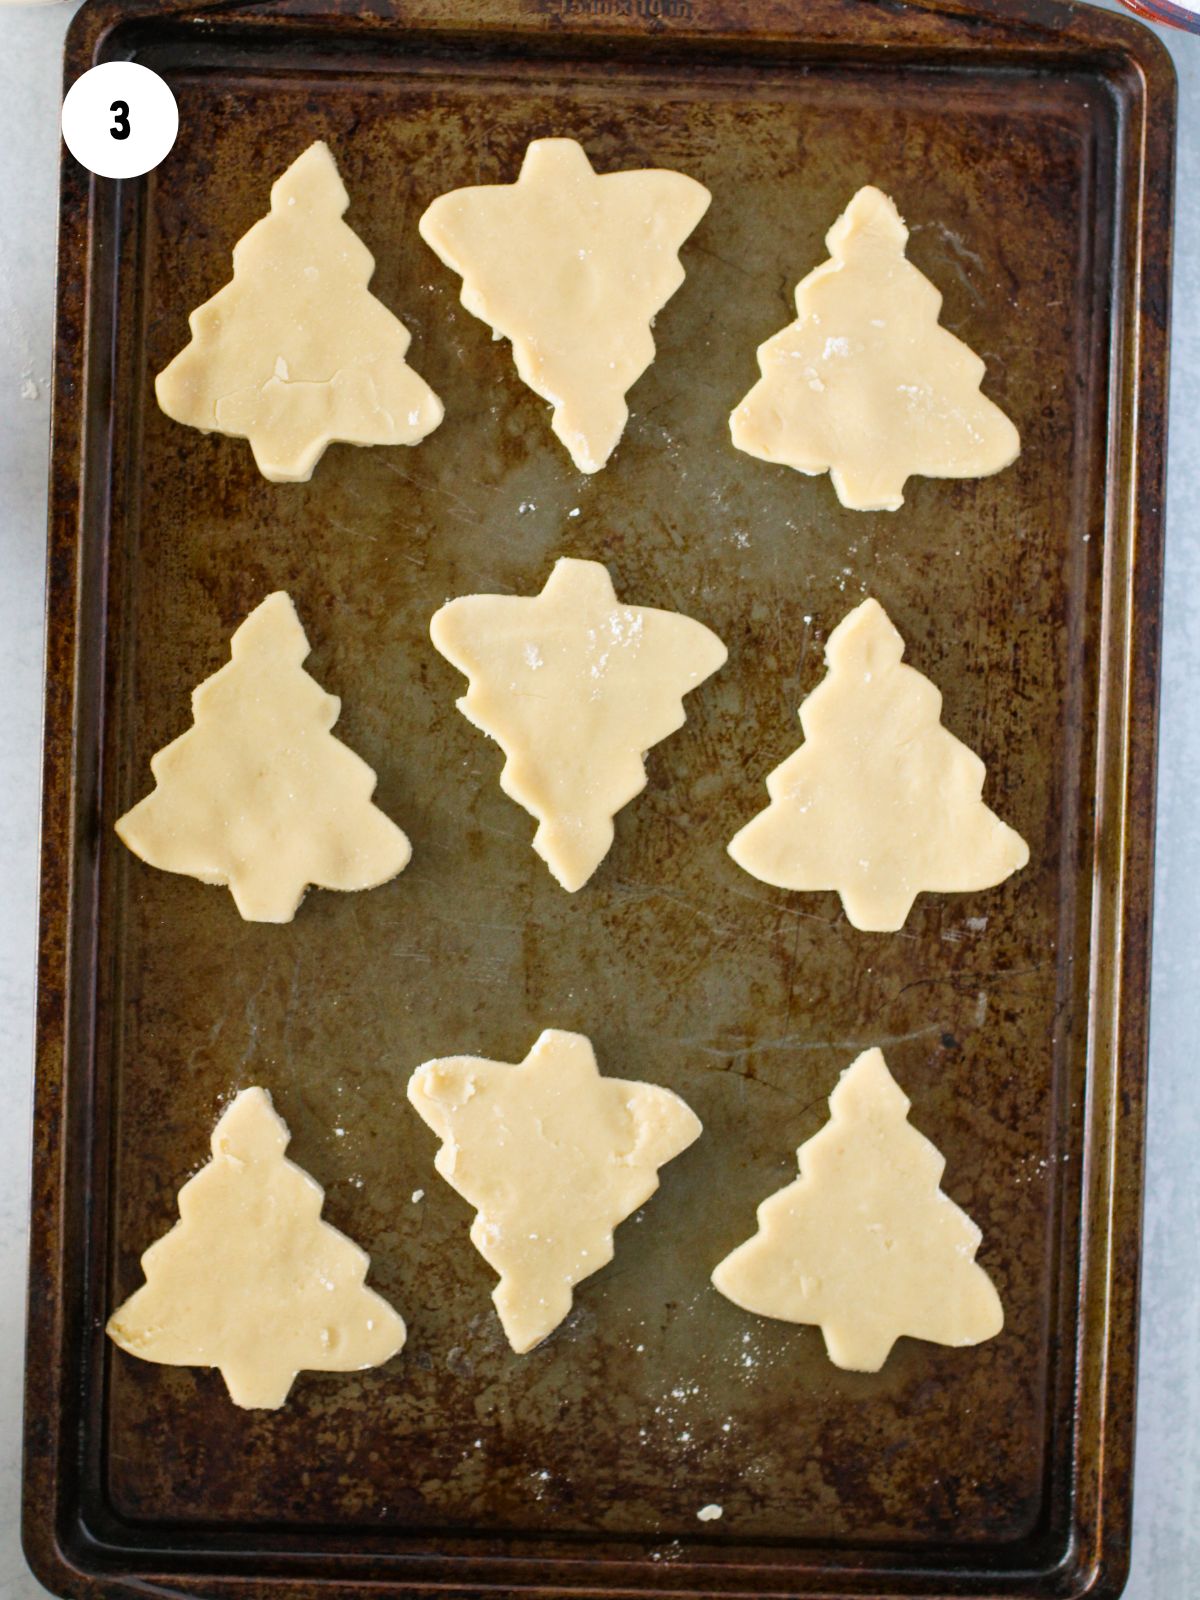
Step 3: Bake at 350°F for about 10 minutes. The bottoms of the cookies will be lightly golden brown.
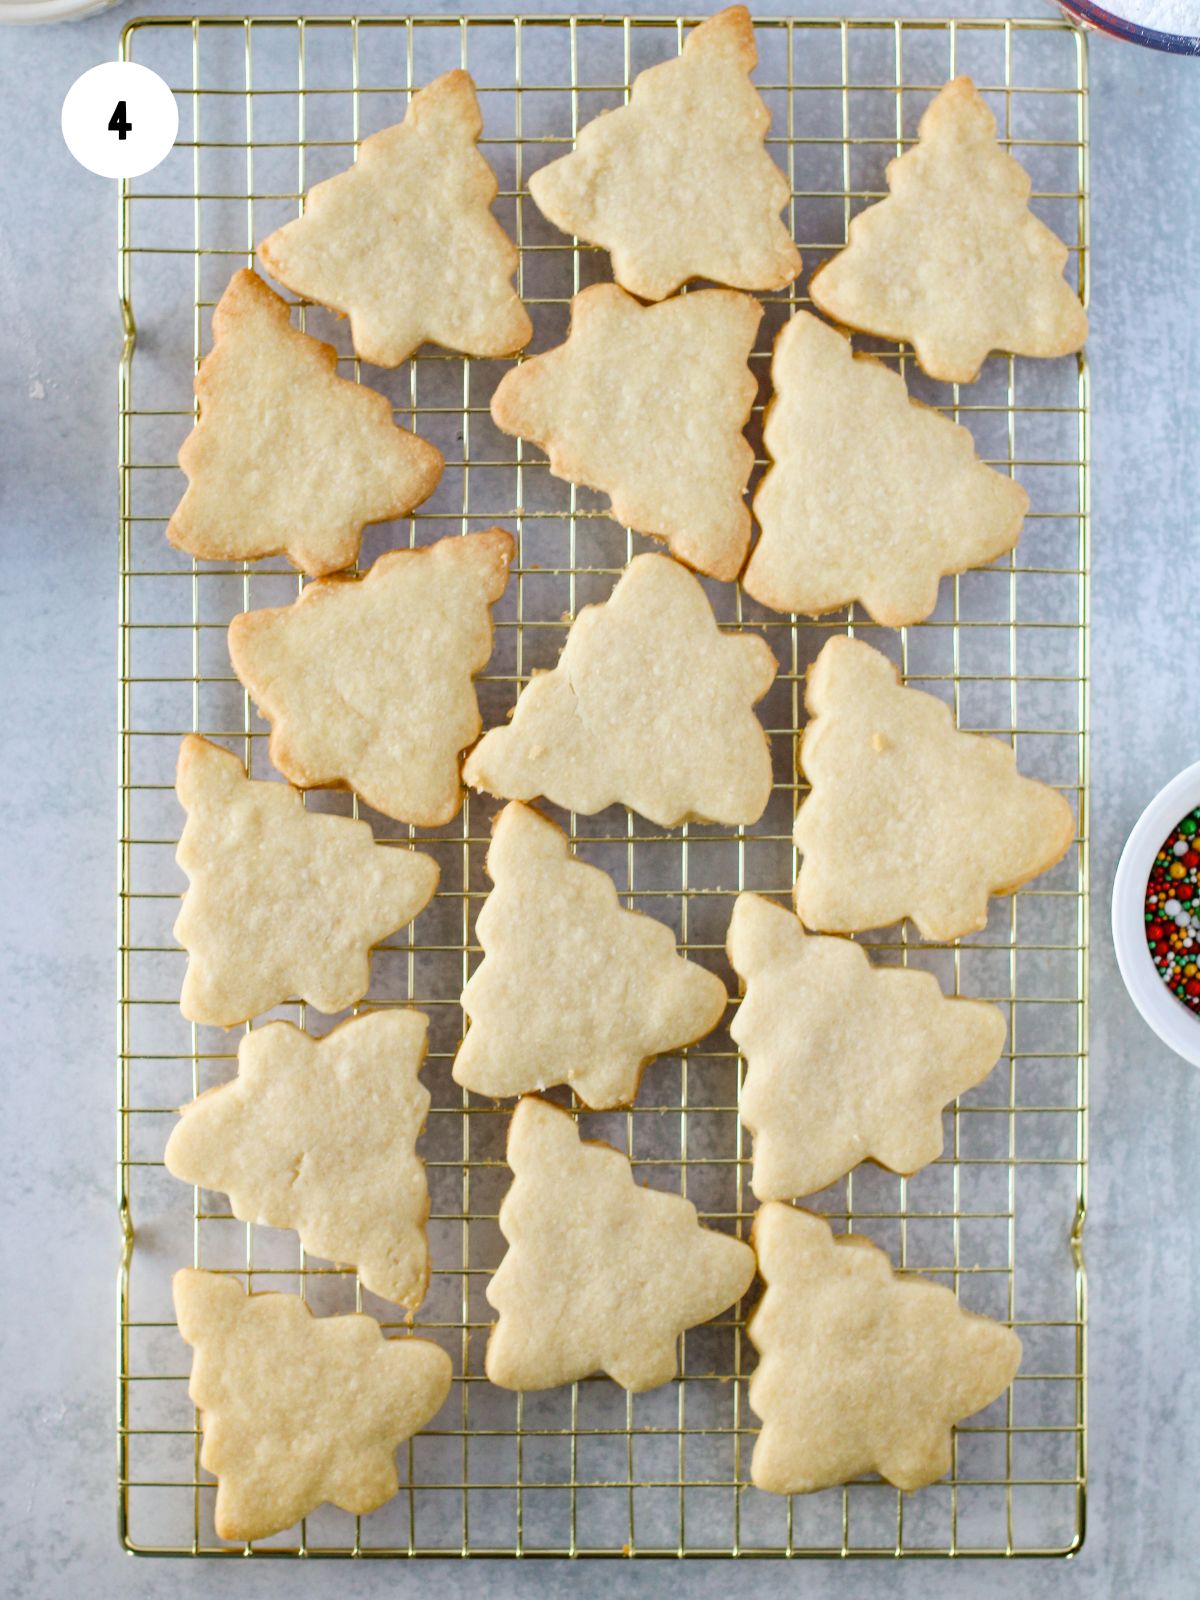
Step 4: Transfer the baked cookies to a wire rack to completely cool before decorating.
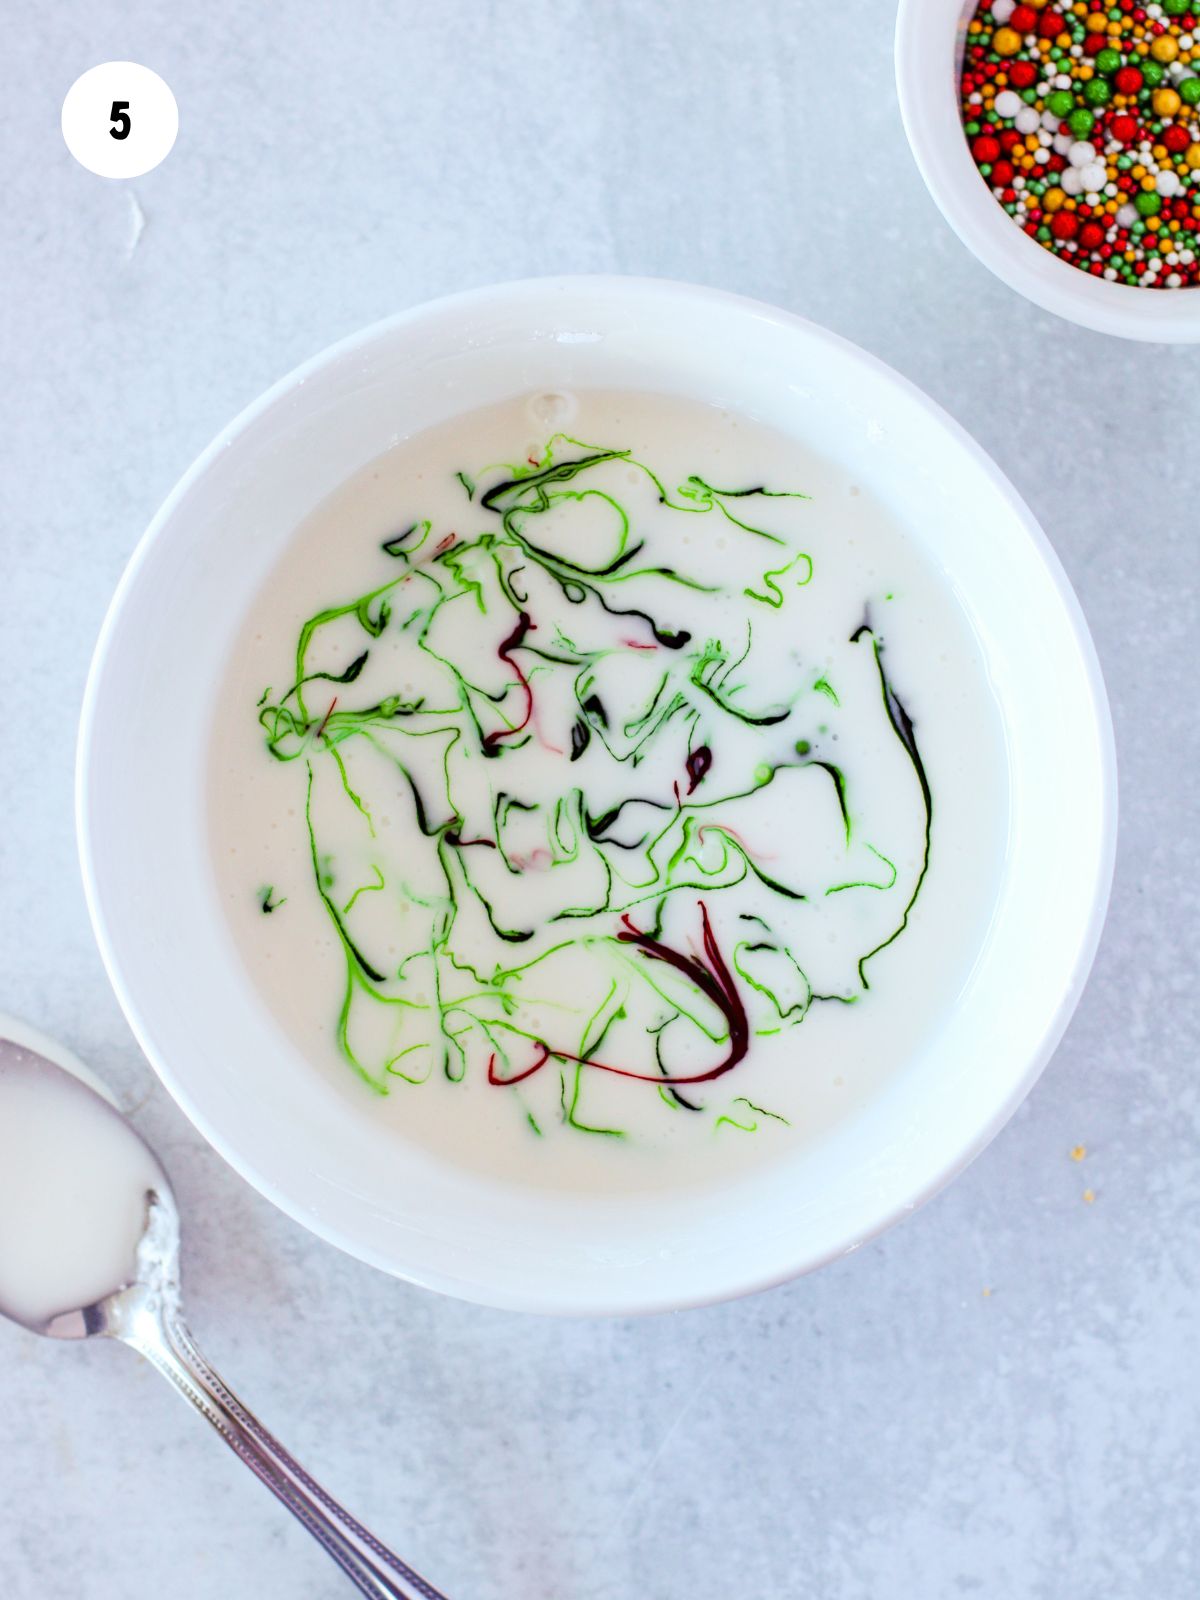
Step 5: Mix the milk and powdered sugar to create the glaze. Add drops of food coloring and swirl with a toothpick.
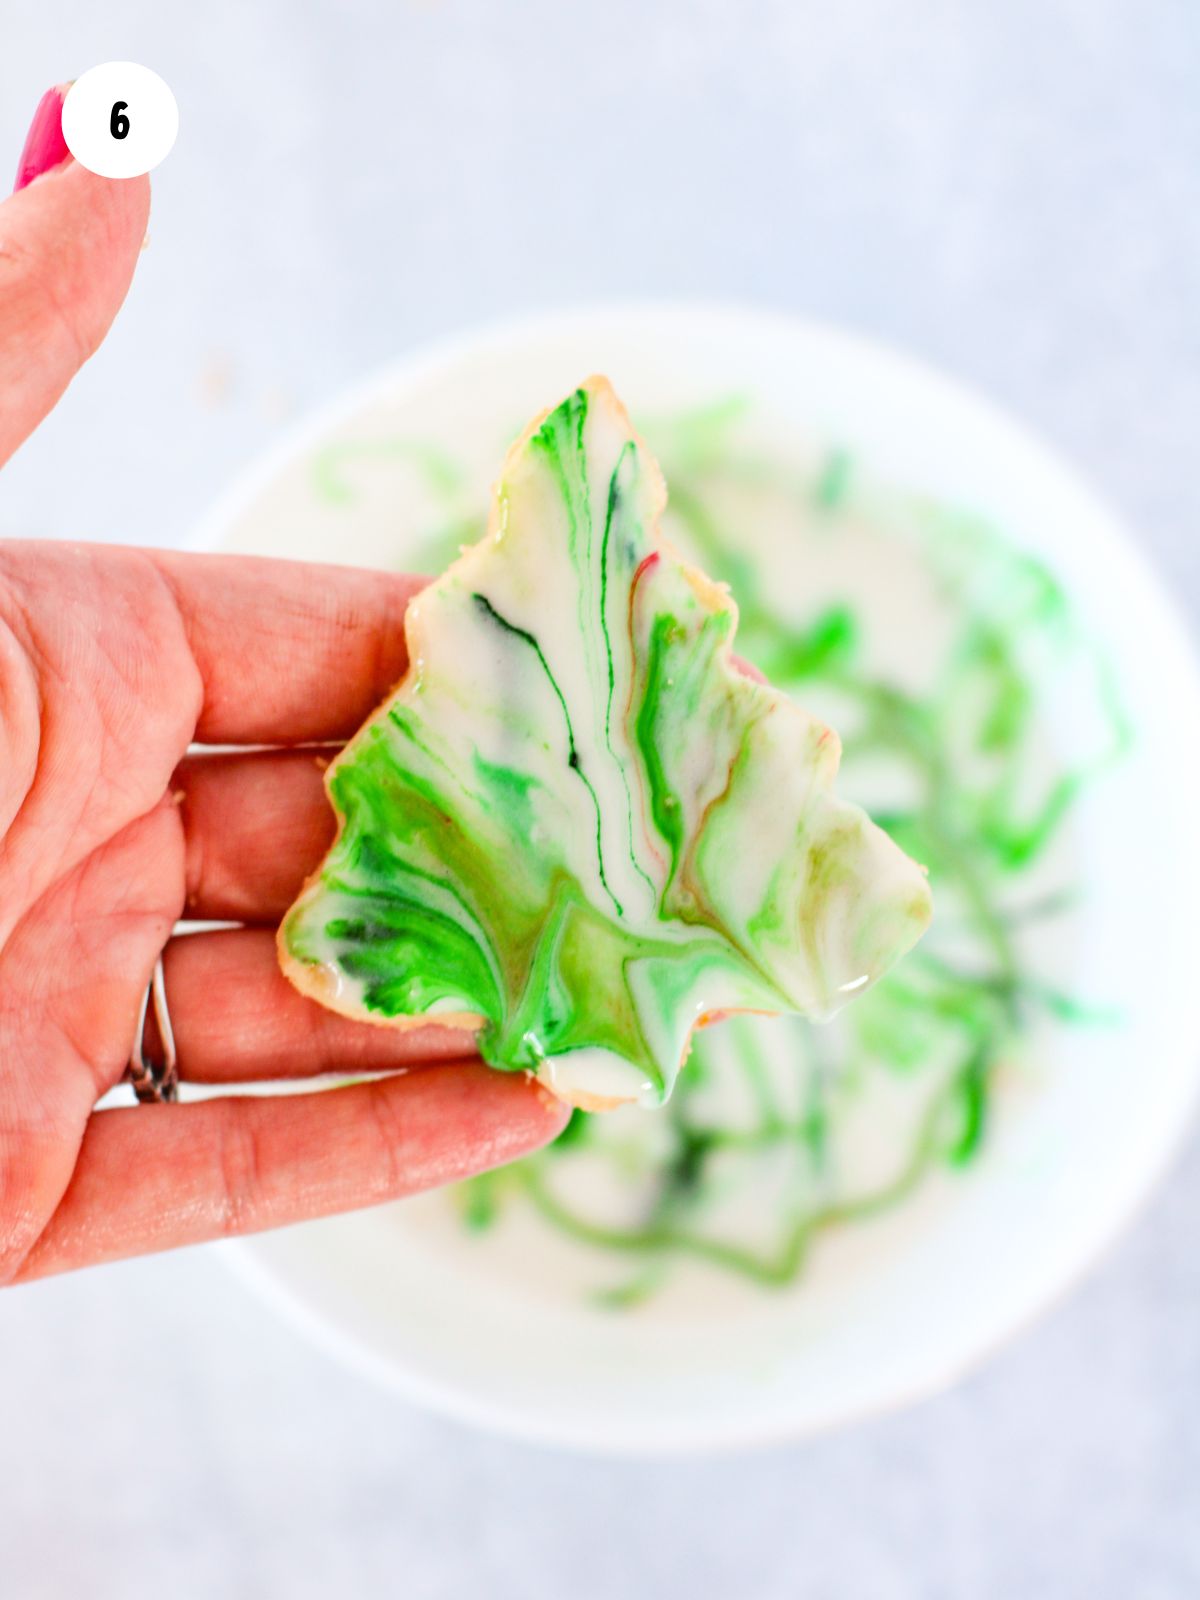
Step 6: Dip the tops of the cookies into the icing, pull straight up, then allow the excess to drip off.
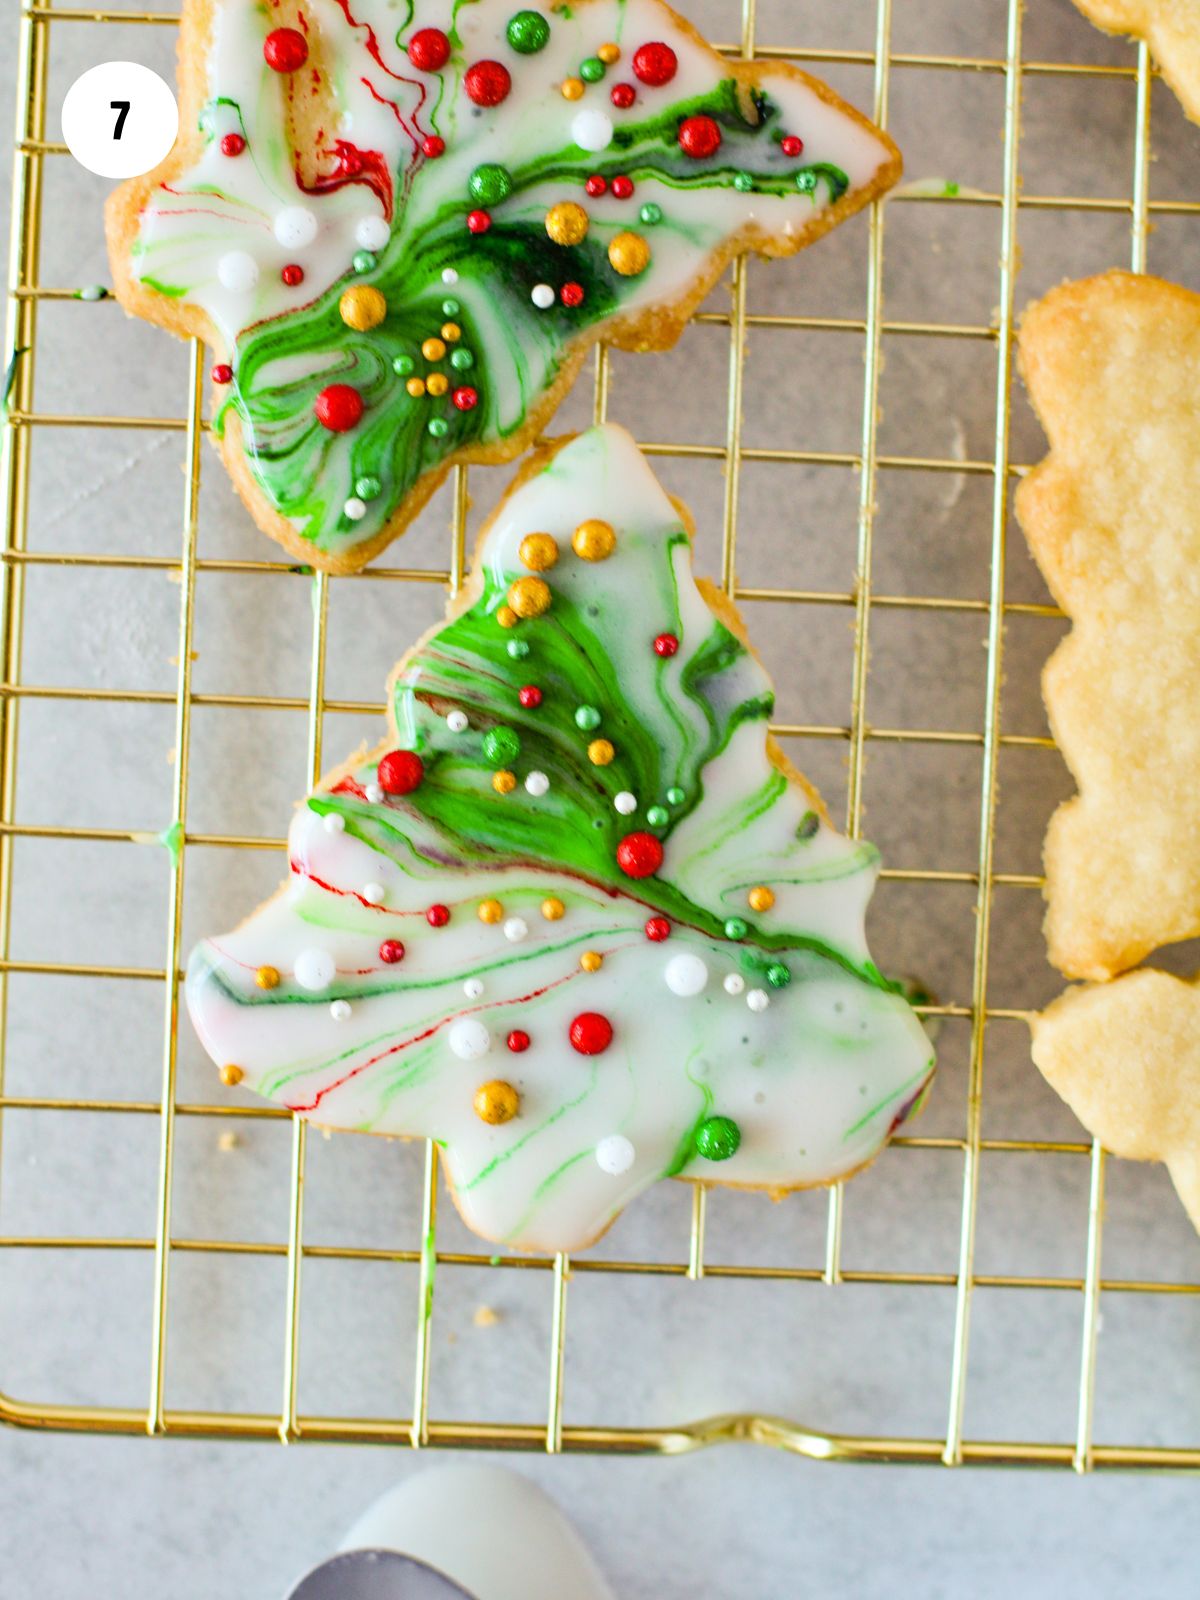
Step 7: Place the cookie on a wire rack and add Christmas sprinkles. Allow to dry then enjoy!
Insider Tips from My Kitchen to Yours
✔️ DO gently swirl the food coloring into the icing with a toothpick instead of fully mixing it so the marbled pattern shows when the cookies are dipped.
❌ DO NOT overmix the icing or stack the cookies before it sets, as this can blur the design and cause sticking.
Storage & Serving Tips
Room Temperature: These cookies do not need to be refrigerated. Store them at room temperature in an airtight container for up to 5 days once the icing has fully set.
Freezer: Undecorated cookies can be frozen for up to 2 months. Let them cool completely, then layer between parchment paper in a freezer-safe container. Decorated cookies can be frozen, but the marbled icing may lose some of its finish after thawing.
Thaw: Thaw frozen cookies at room temperature.
Serving Tips: Arrange the cookies on a platter with extra sprinkles or sanding sugar for a festive look. They also work well packaged individually or stacked in clear bags for gifting.
Recipe FAQ's
To view the answers, simply click on the down arrow (⬇) next to each question. If you have any other questions not answered here, please leave a comment!
Allow the icing to dry for about 1-2 hours, or until it sets completely. If you’re stacking the cookies, wait until the icing has fully hardened.
Shortbread dough usually does not need to be chilled before rolling and cutting. If the dough becomes soft while working with it, chilling it for 15–20 minutes can make it easier to handle and help the cookies keep their shape while baking.
Shortbread cookies naturally hold their shape well, but starting with dough that isn’t too warm helps even more. Avoid overworking the dough, and if it feels soft, chill it briefly before baking to keep the edges clean.
Yes, this shortbread dough works well with a variety of cookie cutters. Because the dough is sturdy and holds its shape, it’s suitable for both simple and detailed designs, making it easy to switch up shapes for different holidays or occasions.
More Easy Cookie Recipes You'll Love!
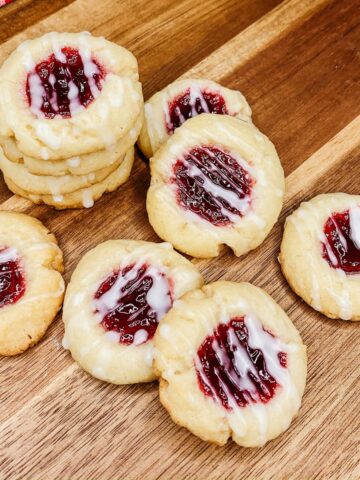
Check out these other easy cookie recipes that are perfect for holiday baking like my festive Christmas Tree Cookie or my Shortbread Christmas Cookies.


LOVE this recipe? SAVE it for Later!
❤️Tap the heart icon in the lower right corner to add the recipe to your recipe box for easy access anytime.
If you made it, leaving a star rating or quick review is always appreciated and helps other readers too.
Want to save this printed recipe? The Ultimate Meal Planner & Recipe Binder helps you keep recipes organized in one easy place.
📖 Recipe Card
Christmas Tree Cookies
Video
Ingredients
- 2 cups all purpose flour
- ¼ cup granulated sugar
- 2 teaspoons vanilla extract
- 1 cup unsalted butter, room temperature
- 2 cups powdered sugar
- 4 tablespoons milk
- green, red, or yellow food coloring
- Christmas sprinkles
Method
- Preheat the oven to 350°F.
- Add the butter, sugar, and vanilla to the bowl of an electric mixer and beat until creamy.
- Add the flour and mix until all the flour is fully incorporated.
- Turn the dough out onto a floured surface and roll it out evenly with a rolling pin until it is between ⅛ and ¼ inch thick.
- Using a Christmas tree cookie cutter, cut the dough out and place the cookies, evenly spaced, on a baking sheet.
- After cutting out the first batch of cookies, gather the leftover dough scraps, reroll the dough, and cut out more cookies. Repeat until all the dough is used up.
- Bake the cookies in the preheated oven for 10-12 minutes, or until the cookie bottoms are lightly golden brown.
- Carefully transfer the cookies to a wire cooling rack to cool completely.
- Add the powdered sugar and milk to a small mixing bowl and stir until smooth.
- Add drops of food coloring to the top of the icing and swirl it around with a toothpick.
- Dip the top of a cooled cookie into the icing, pull it straight up, and allow the excess icing to run off.
- Turn the cookie over, place it back onto the wire cooling rack, and top it with Christmas sprinkles.
- Repeat until all the cookies are decorated.
- Allow the icing to dry before stacking the cookies. Store any leftover cookies in an airtight container for up to five days.
Nutrition
Notes
Tips
- If the dough becomes soft while rolling, chill it briefly to make cutting cleaner and easier.
- Gently swirl the food coloring into the icing rather than fully mixing to keep the marbled effect visible.
- Let the cookies cool completely before dipping so the icing sets properly.
Storage & Make Ahead
- Store decorated cookies in an airtight container at room temperature for up to 5 days once the icing has set.
- Undecorated cookies can be baked ahead and frozen for up to 2 months.
- Allow frozen cookies to thaw at room temperature before decorating.

Comments
No Comments