


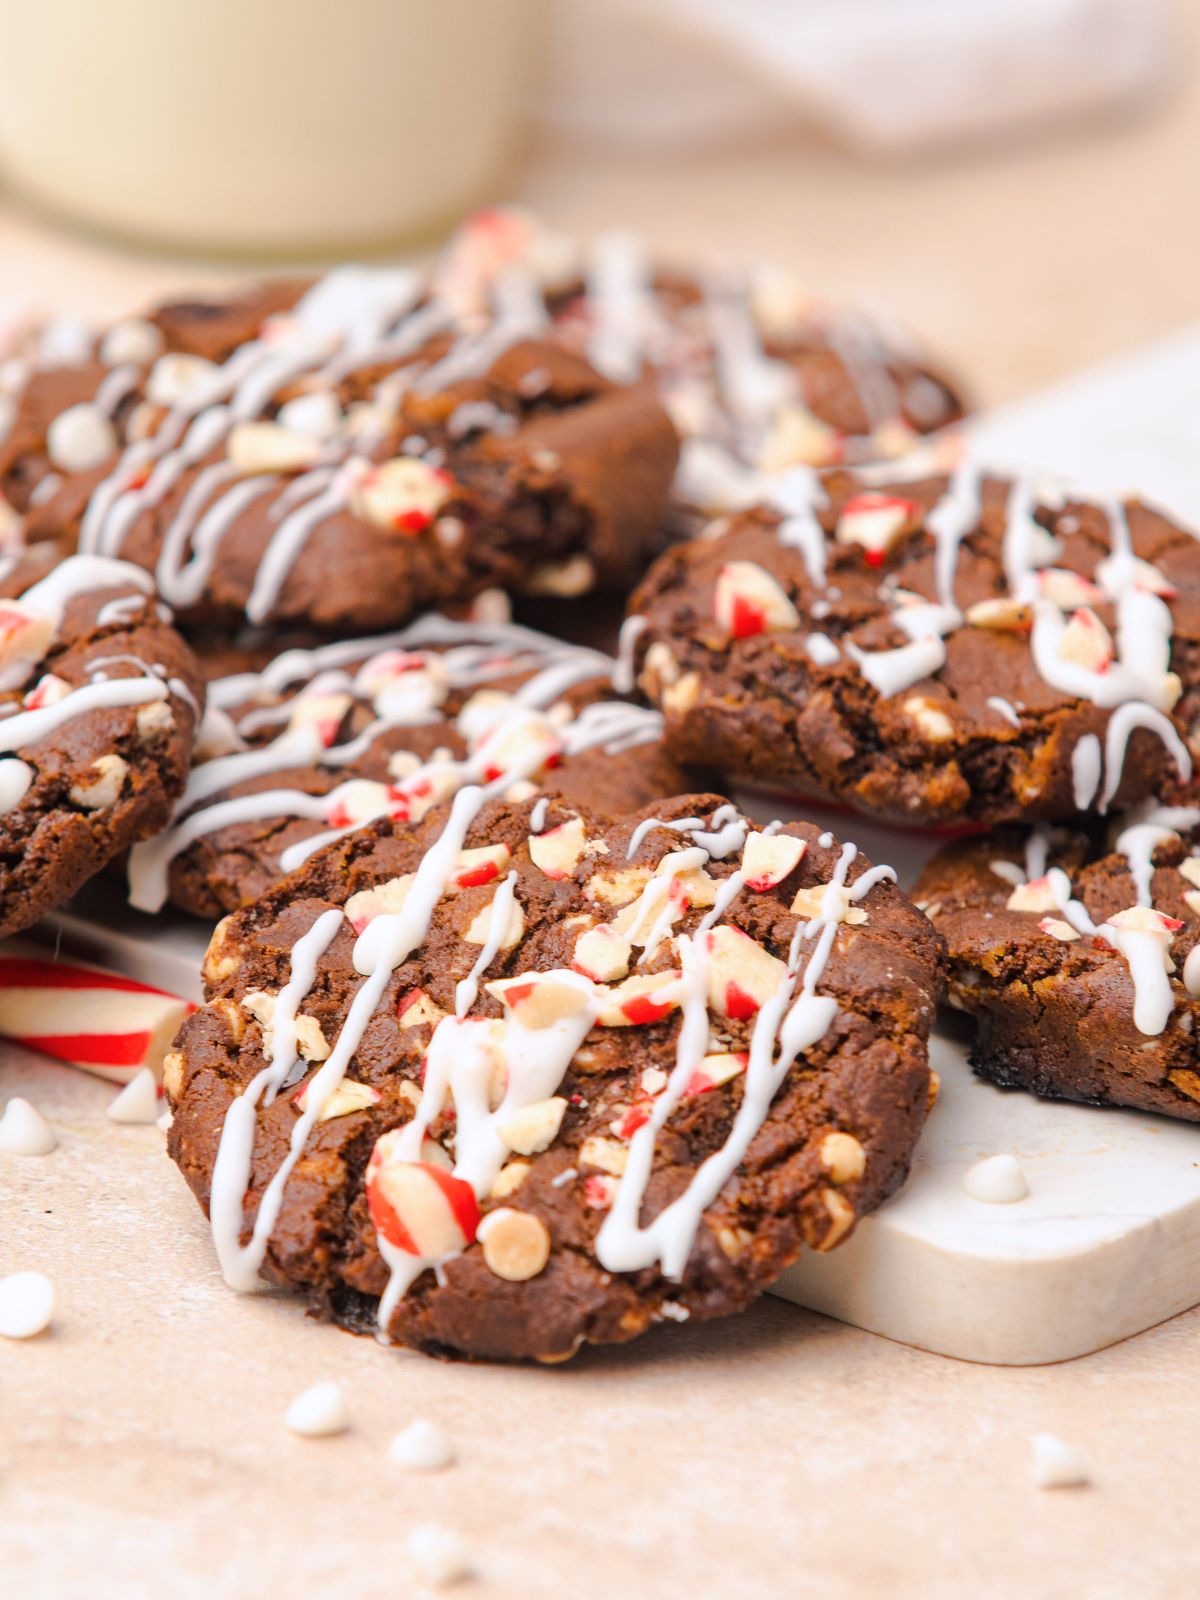
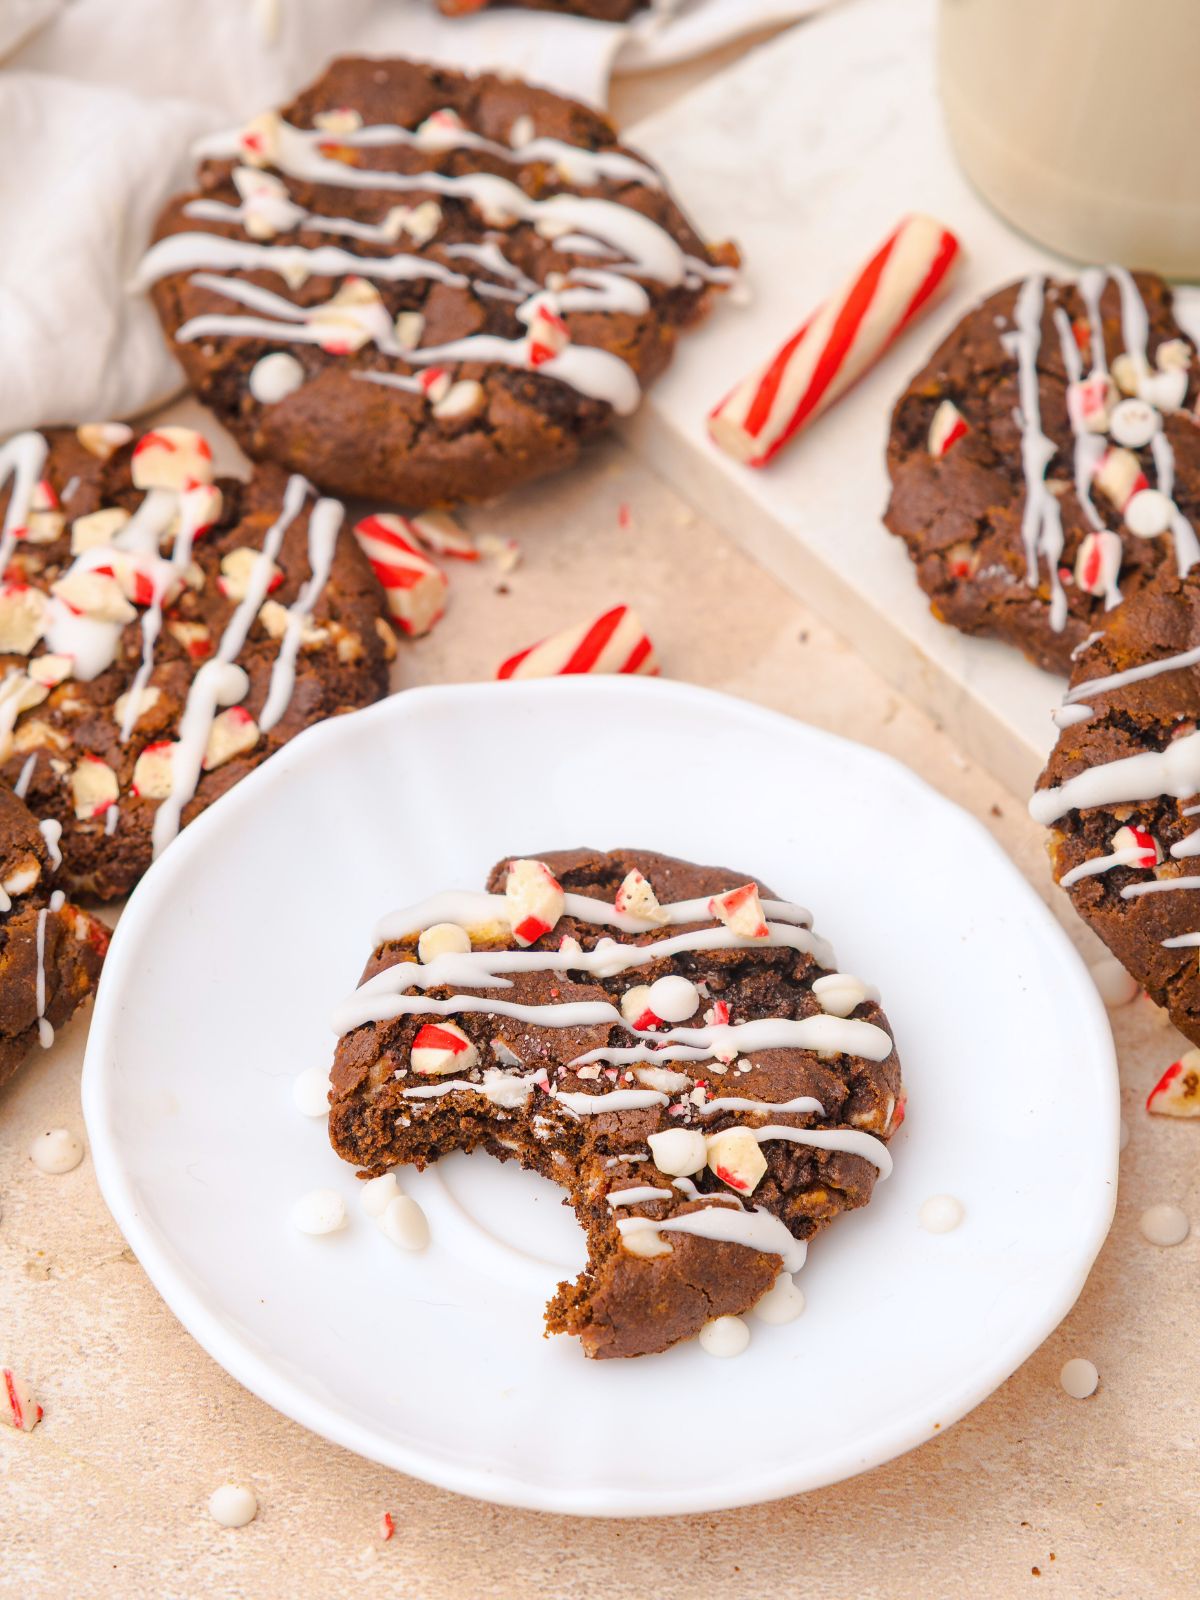
These Easy Chocolate Peppermint Cookies bring together rich cocoa flavor, white chocolate chips, and crushed candy canes in one simple holiday cookie.
Finished with a drizzle of melted chocolate, these cookies look festive and work well for cookie trays, exchanges, and holiday baking days.
For more holiday baking ideas, be sure to browse my full collection of Christmas cookie recipes all in one place.
Want to Save This Recipe?
Enter your email & I'll send it to your inbox. Plus, get great new recipes from me every week!
By submitting this form, you consent to receive emails from Walking on Sunshine Recipes.
Recipe at a Glance
Prep: 15 min | Chill: 30 min. | Cook/Bake: 12 min | Difficulty: Easy
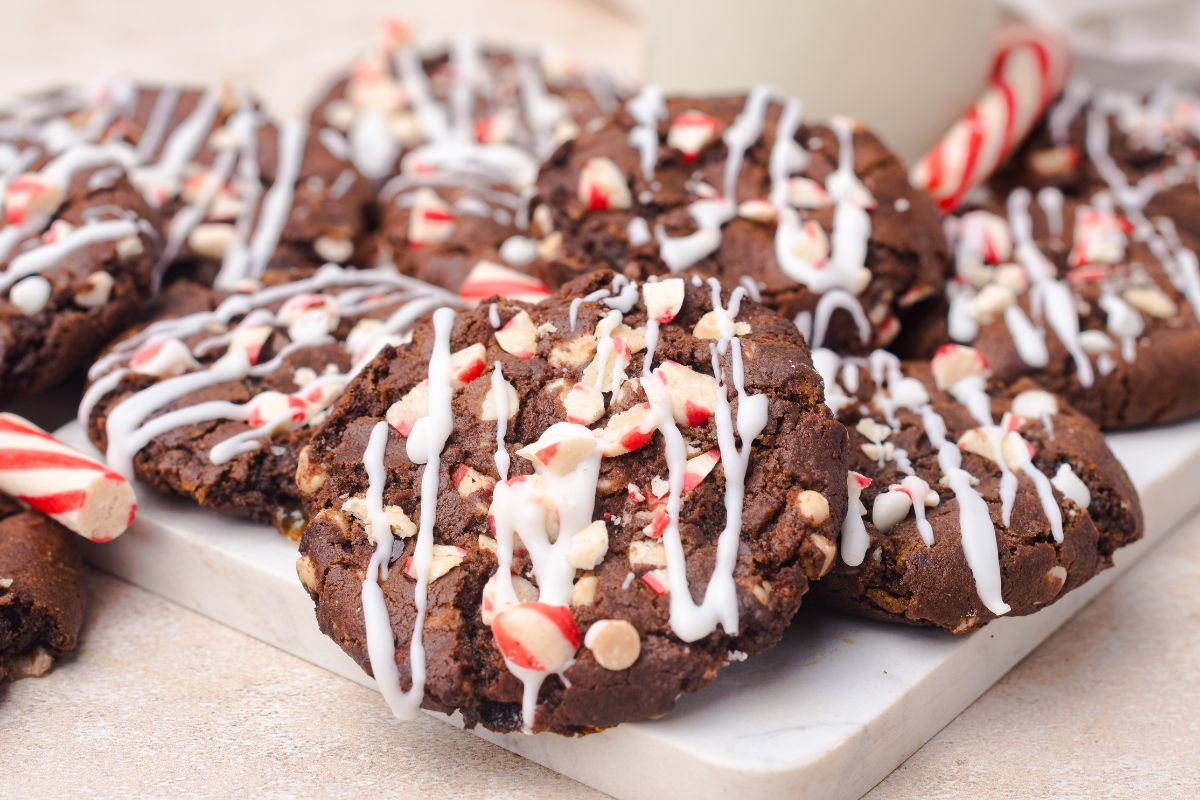
What it is: Made with a simple cocoa-based dough, white chocolate chips, and crushed candy canes, the cookies are finished with a drizzle of white chocolate for a festive touch.
Why you’ll love it:The combination of chocolate and peppermint makes these cookies perfect for holiday baking. They’re easy to prepare and great for sharing on cookie trays or dessert tables.
How to make it: A basic chocolate cookie dough is mixed with white chocolate chips and crushed candy canes, then baked until set. Once cooled, the cookies are drizzled with melted white chocolate for a simple finishing step.
👉Love holiday baking? This Christmas Cookie eBook Bundle includes the cookies I make each year, along with tips and printables to help with seasonal baking.
Table of Contents
- Recipe at a Glance
- Why I love this recipe and you will too!
- Recommended Kitchen Tools
- My Kitchen Tools Essentials
- Ingredients You’ll Need
- Substitutions and Variations
- Step-by-Step Instructions
- Insider Tips from My Kitchen to Yours
- Storage & Serving Tips
- More Peppermint Cookie Recipes You'll Love!
- LOVE this recipe? SAVE it for Later!
- 📖 Recipe Card
- Recipe FAQ's
- Didn't find the answer you're looking for?
- Food Safety Tips
- 💬 Comments

Why I love this recipe and you will too!
I love how these cookies bring together chocolate and peppermint in a simple, reliable way, and you’ll love how well they fit into any holiday cookie tray too.
They’re easy to make, look festive, and always fit right in on a holiday cookie tray. If you’re planning a cookie exchange, my Christmas Cookie Exchange Printables may be useful as well.
Recommended Kitchen Tools
For a full list of kitchen tools used in this recipe, be sure to check the recipe card below. You can also browse my Favorite Kitchen Tools by clicking the photo below.

Check out my list...
My Kitchen Tools Essentials
Tools that will make your time easier and faster in the kitchen!
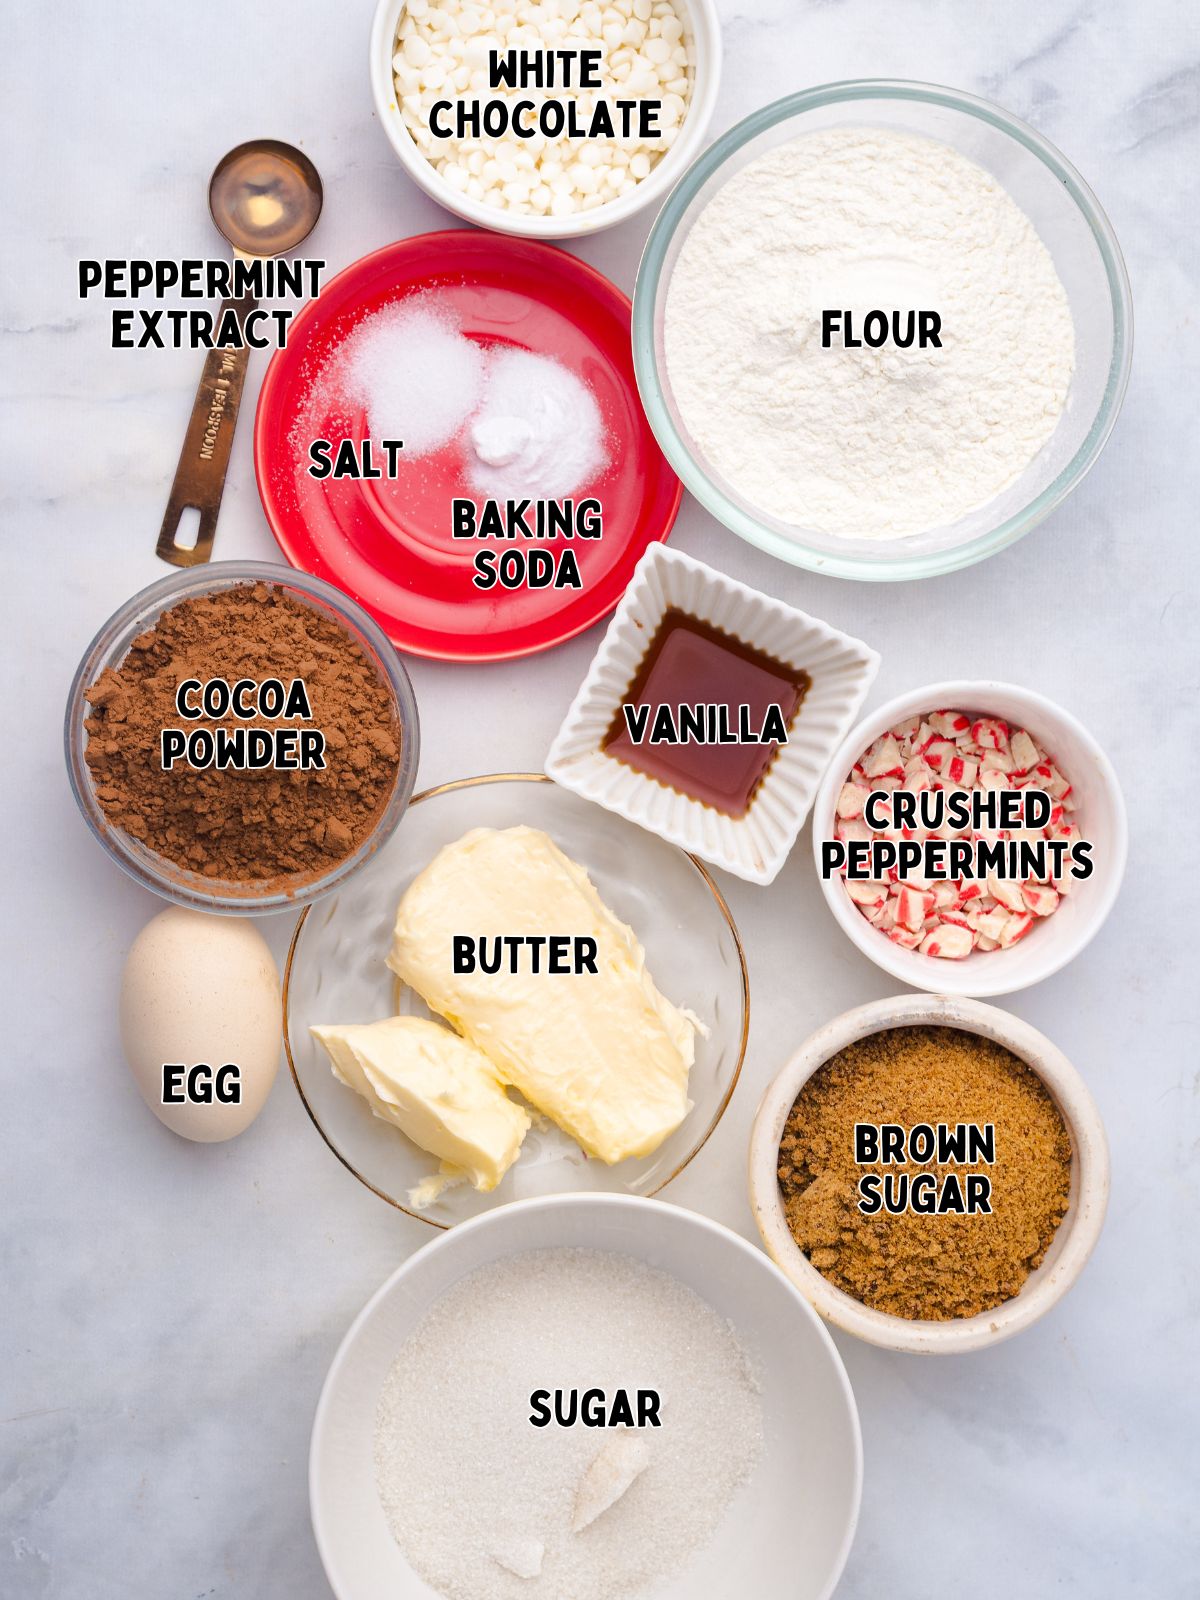
Ingredients You’ll Need
Below is a quick preview of the ingredients you’ll need. For exact amounts, check the recipe card below. You can also use the "Shopping List button" to create a printable shopping list, or the "Get Ingredients button" in the recipe card to order groceries online.
Substitutions and Variations
Peppermint extract instead of candy canes: If you don’t have candy canes, a small amount of peppermint extract can be added to the dough for mint flavor. Start with a small amount and adjust to taste.
White Chocolate Chips: Switch out half of the white chocolate chips for a mixture of semi-sweet chocolate chips.
Gluten-free option: A 1:1 gluten-free baking flour blend can be used in place of regular flour with similar results.
This recipe has not been tested with other substitutions or variations. If you replace or add any ingredients, please let me know how it turned out in the comments below!
Step-by-Step Instructions
This section provides step-by-step photos and instructions to guide you through the recipe. For the complete printable version, scroll down to the recipe card below.
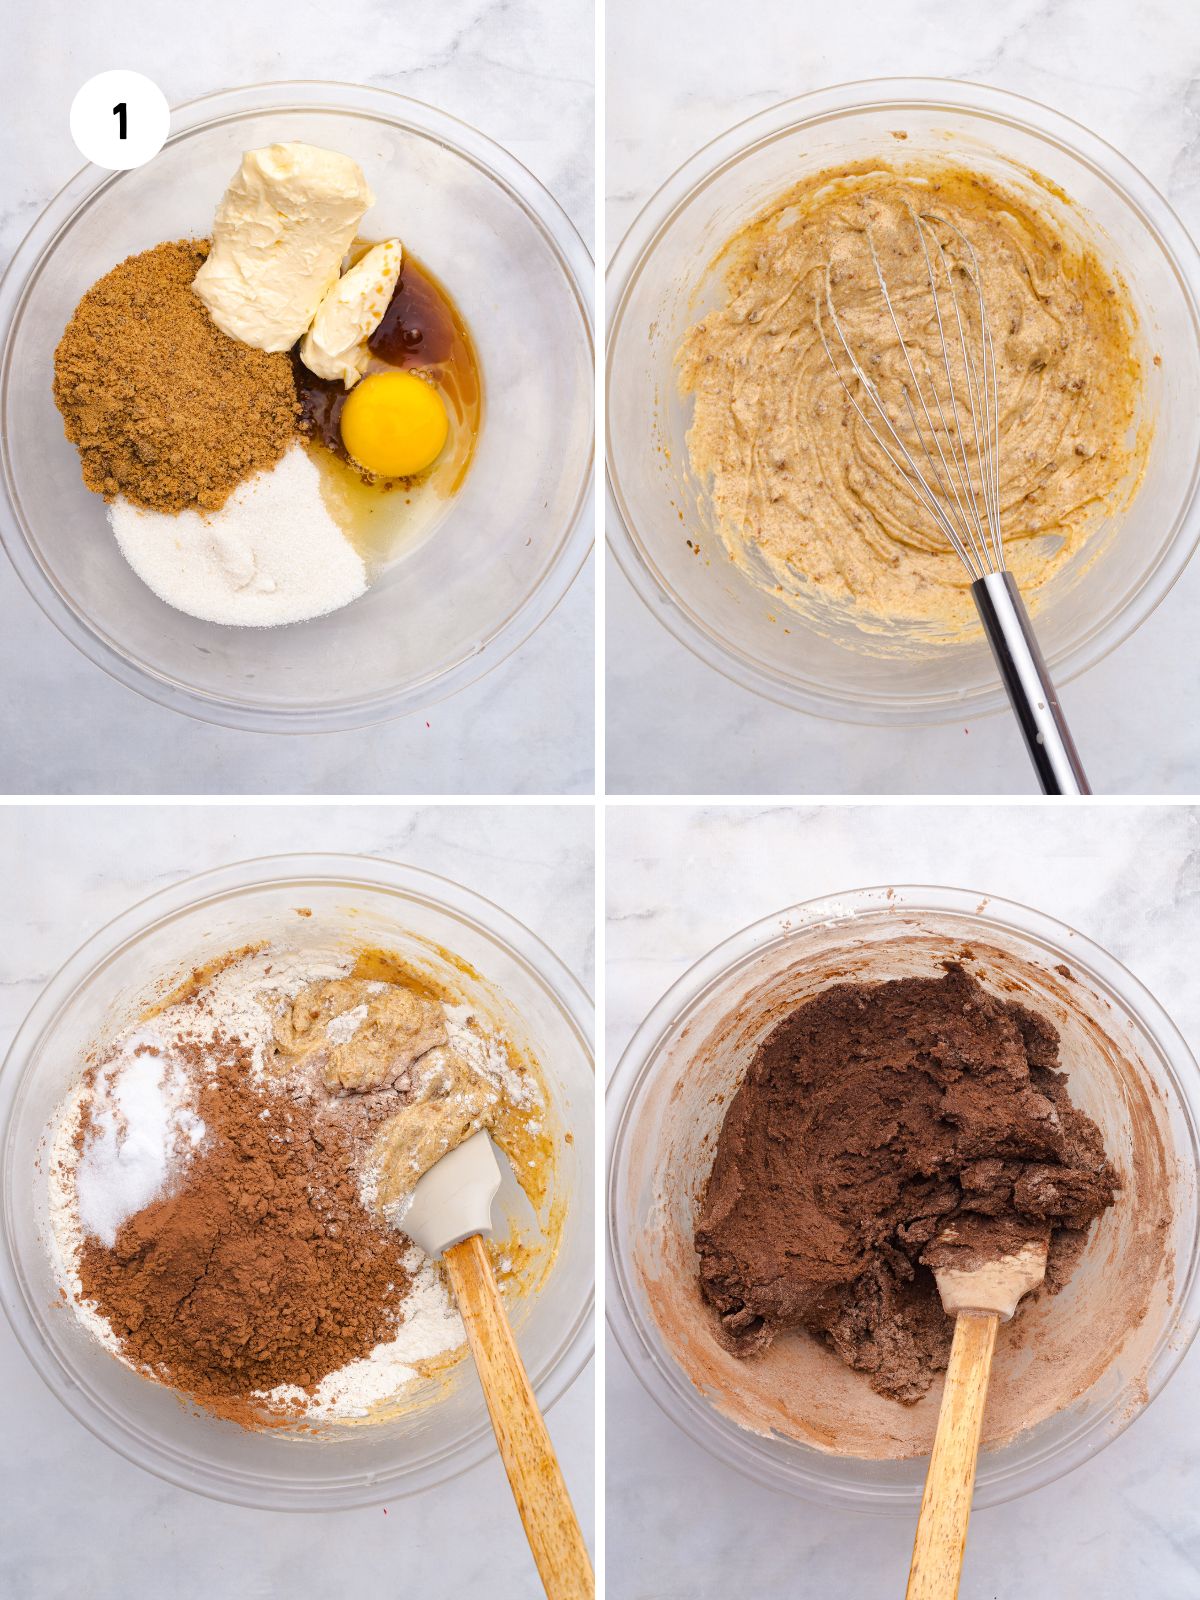
Step 1: Cream the wet ingredients together then sift the dry ingredients into the wet mixture. Mix just until combined.
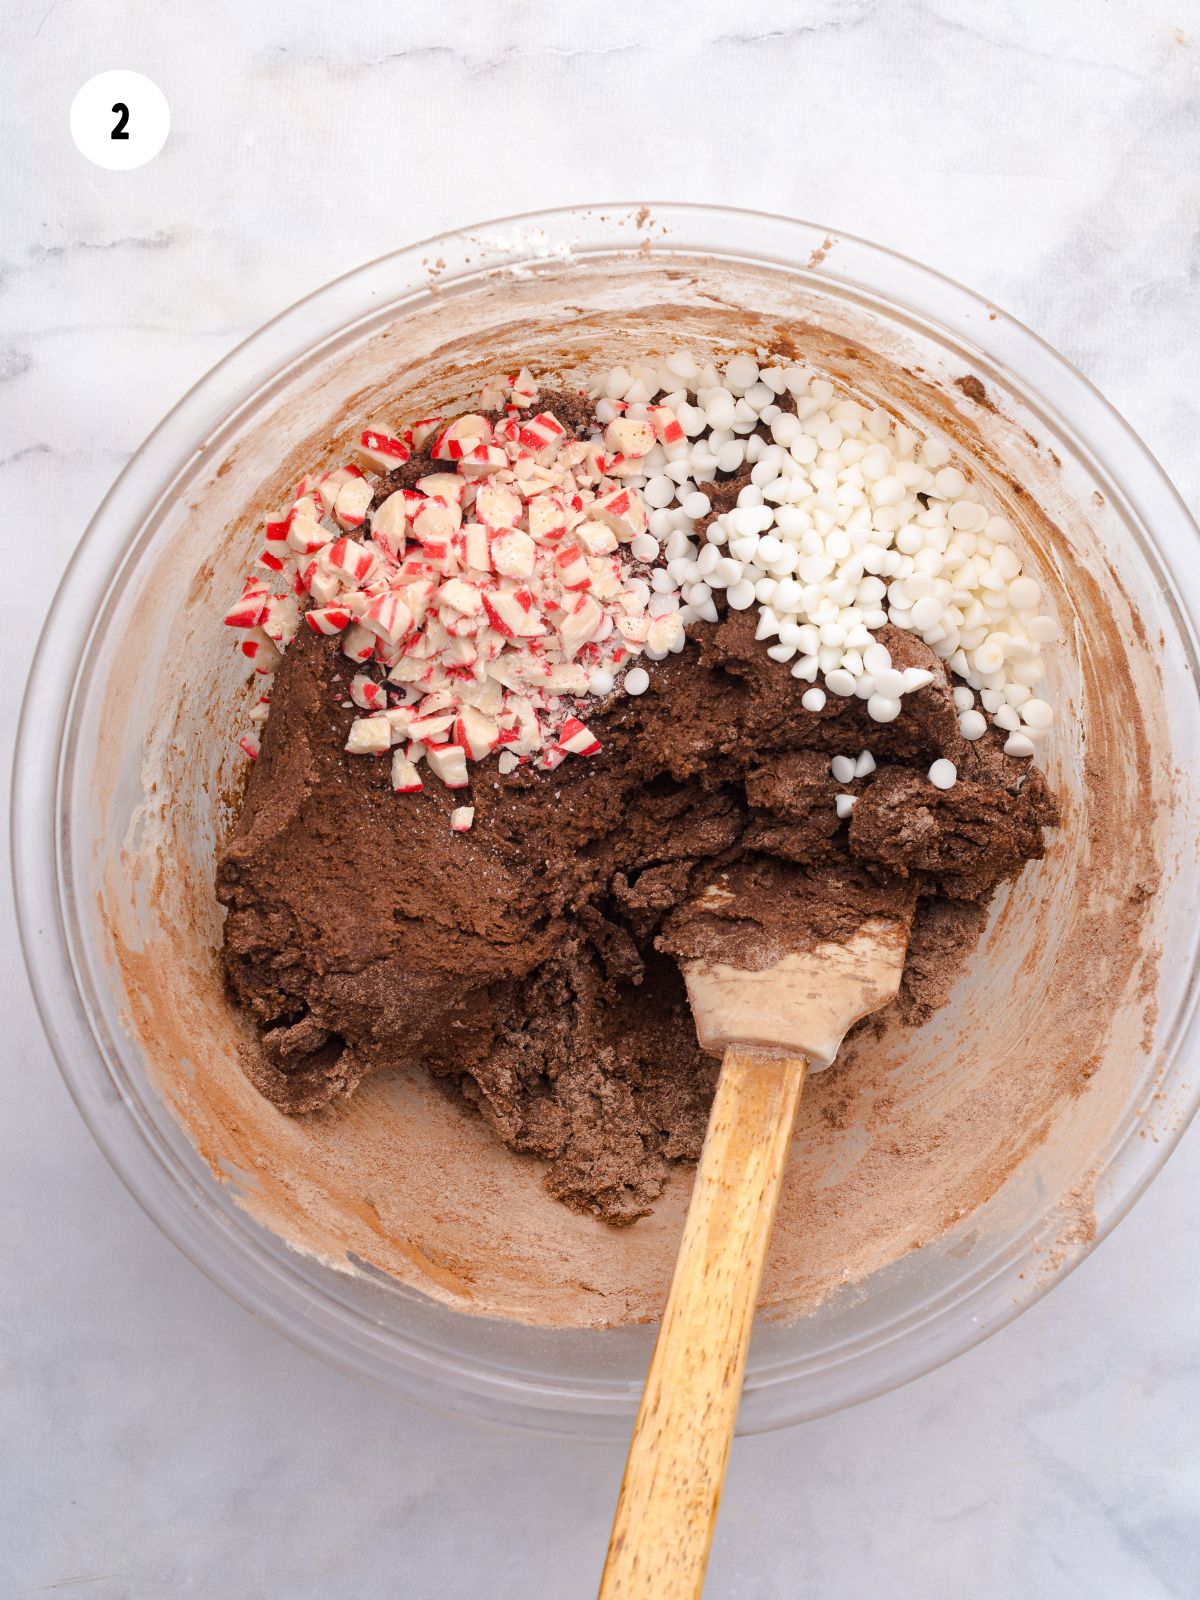
Step 2: Fold in the white chocolate chips and the crushed peppermints. I like to use a rubber spatula for this step.
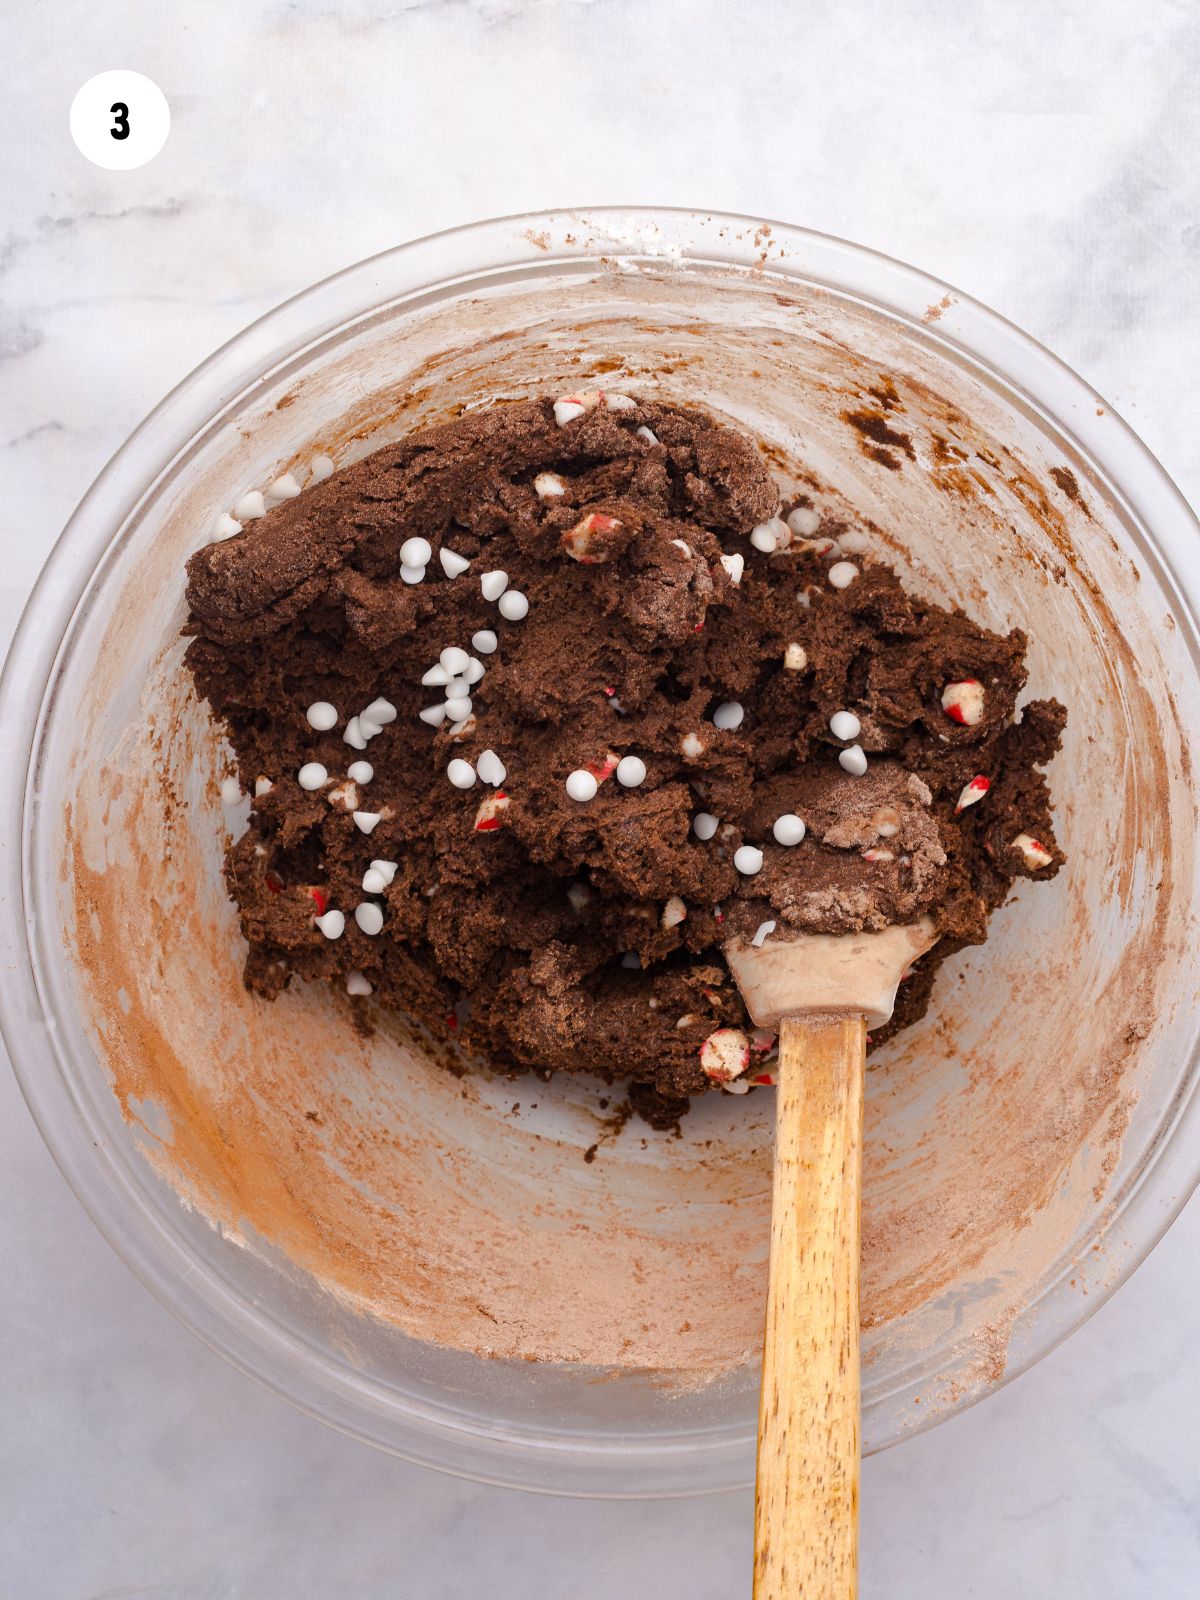
Step 3: Cover and chill the dough for 30 minutes. This helps control spreading and helps the cookies hold their shape while baking.
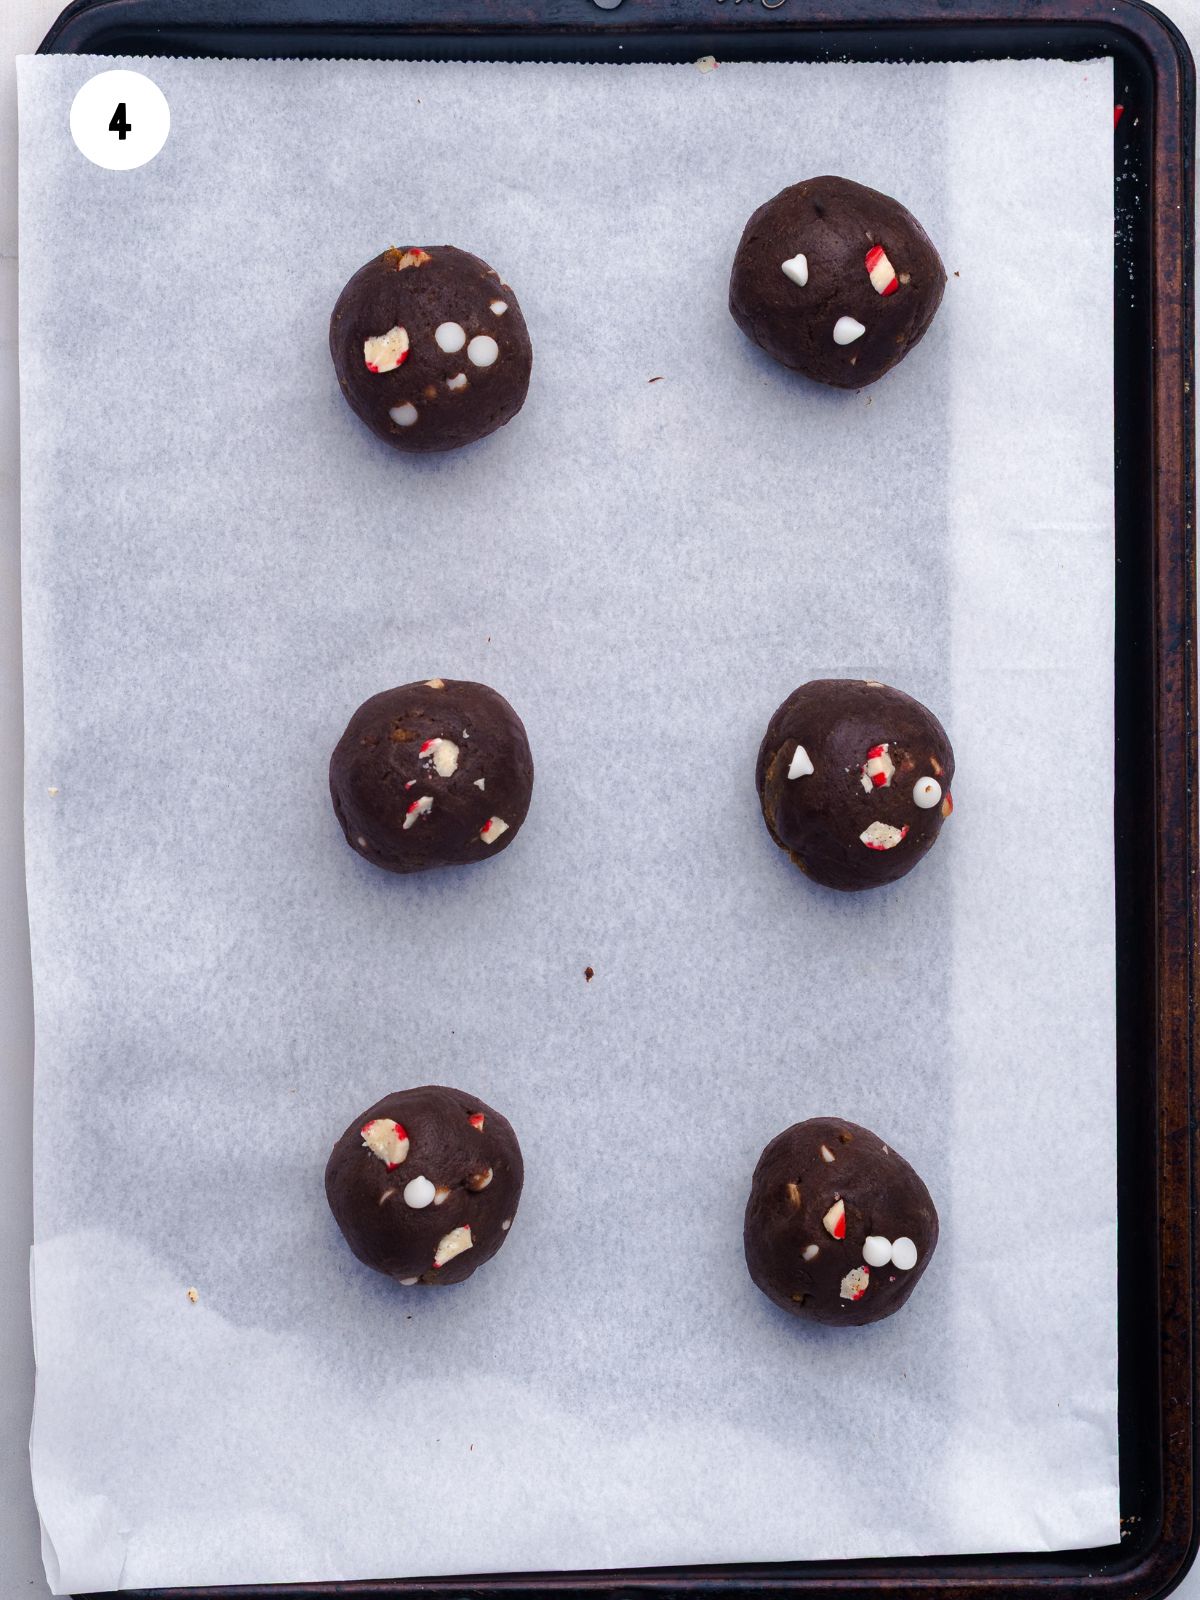
Step 4: Scoop the dough out on a parchment lined baking sheet. Chill for 10 minutes before baking.

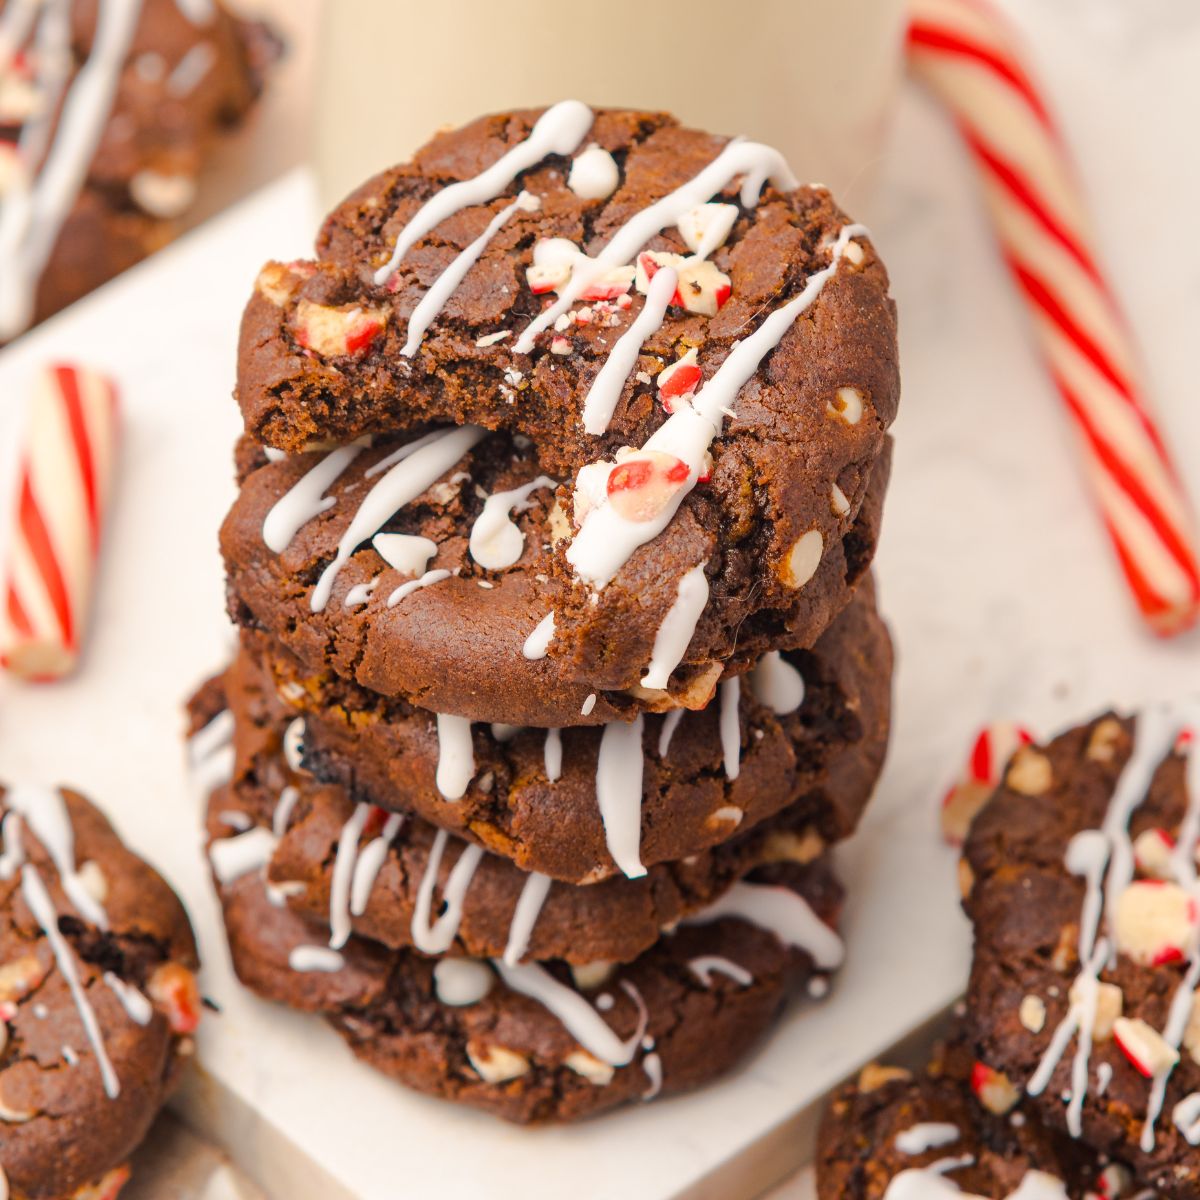
Step 5: Bake at 350°F for 10-12 minutes until the edges are set and centers are slightly soft.
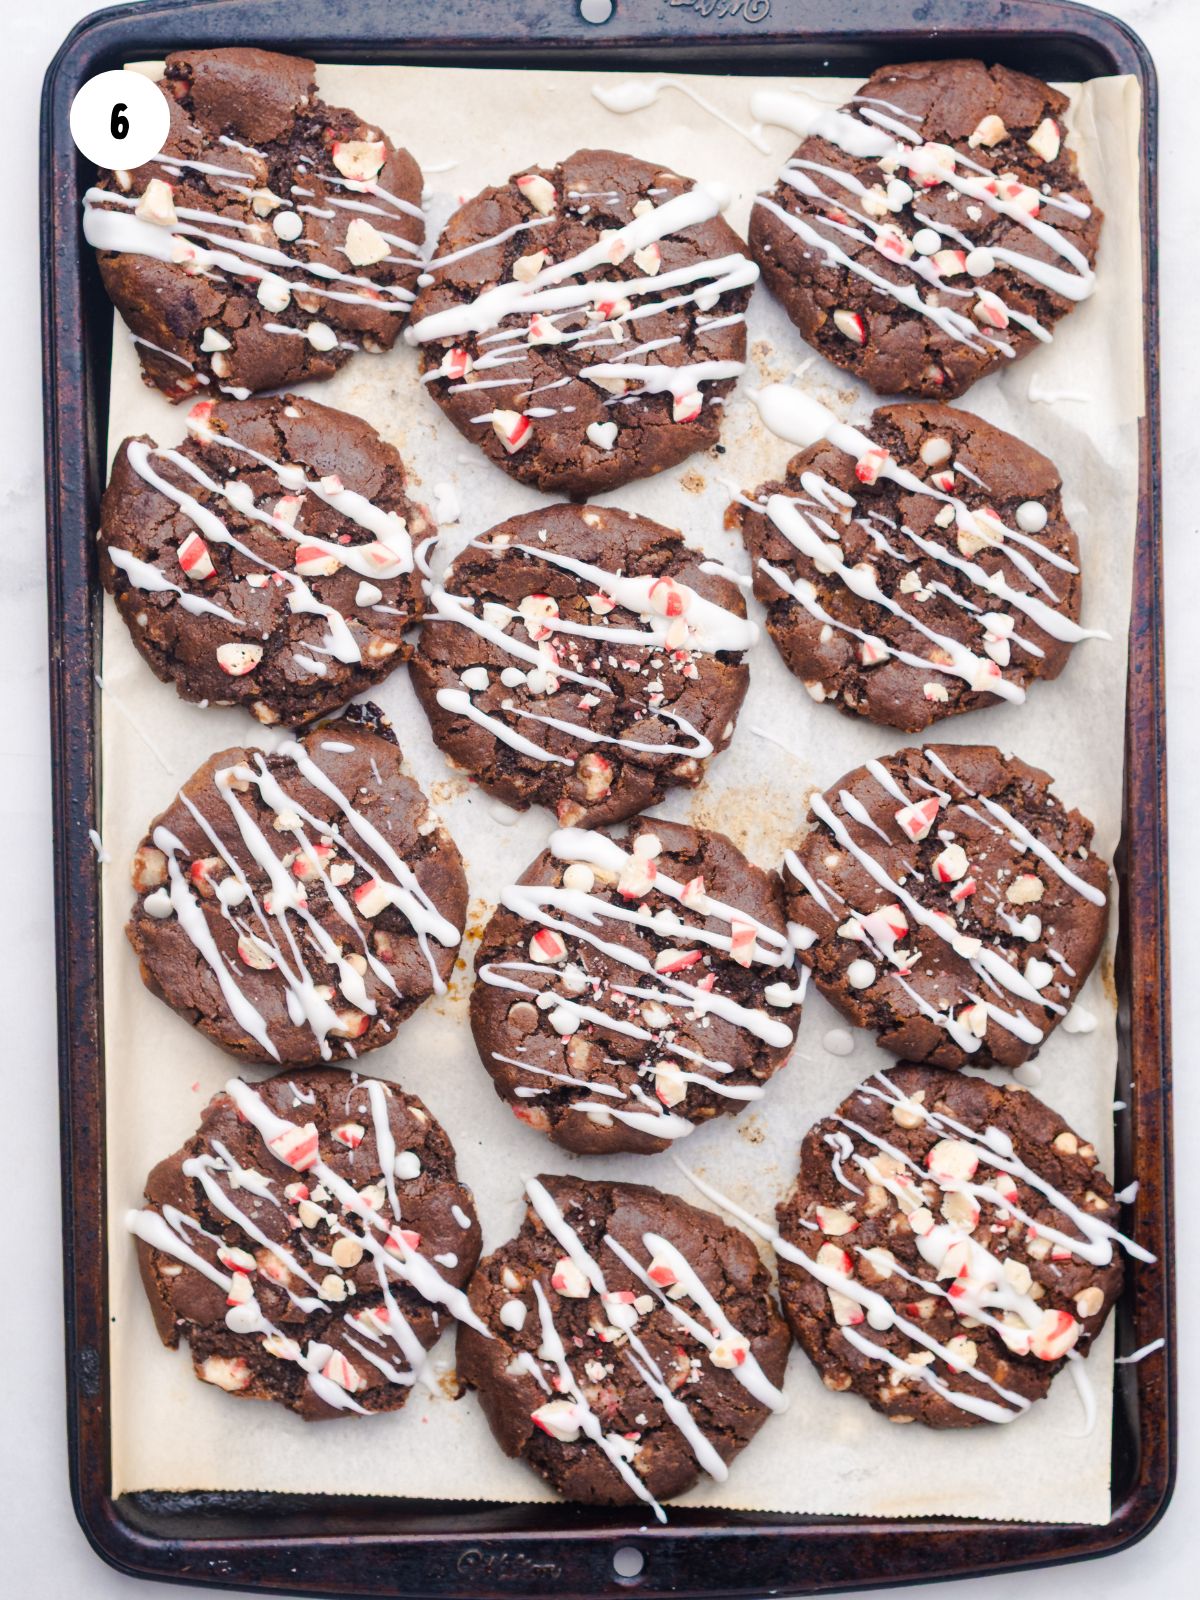
Step 6: Once the cookies have cooled, drizzle melted white chocolate on top and sprinkle on additional crushed candy canes before the chocolate sets.
Insider Tips from My Kitchen to Yours
✔️ DO crush the candy canes into small, even pieces so they blend well into the dough and bake evenly.
❌ DO NOT forget to chill the dough before baking, which helps control spreading and helps the cookies hold their shape while baking.
Storage & Serving Tips
Refrigerate: Store cookies in an airtight container in the refrigerator for up to 5 days. Let them come to room temperature before serving for best texture.
Freezer: Cookies can be frozen for up to 2 months. Place them in a freezer-safe container with parchment between layers to prevent sticking.
Thaw and Reheat: Thaw frozen cookies at room temperature. Reheating is not required, but a brief warm-up at low heat can soften the texture if desired.
Serving Tips: Arrange on a holiday cookie tray with other peppermint or chocolate cookies for a simple, festive presentation.
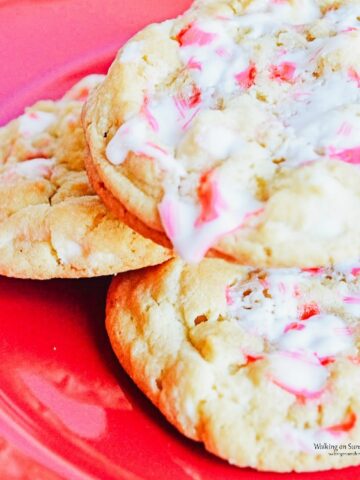
More Peppermint Cookie Recipes You'll Love!
Looking for more easy cookie recipes? Try my Chocolate Thumbprint Cookies with Peppermint Kisses, Peppermint Christmas Cookies, or my collection of Peppermint Christmas Cookie Recipes.


LOVE this recipe? SAVE it for Later!
❤️Tap the heart icon in the lower right corner to add the recipe to your recipe box for easy access anytime.
If you made it, leaving a star rating or quick review is always appreciated and helps other readers too.
Want to save this printed recipe? The Ultimate Meal Planner & Recipe Binder helps you keep recipes organized in one easy place.
📖 Recipe Card
Easy Chocolate Peppermint Cookies
Video
Ingredients
- ½ cup unsalted butter, softened
- ¾ cup granulated sugar
- ½ cup brown sugar, packed
- 1 large egg, room temperature
- 1 teaspoon peppermint extract
- 1 teaspoon vanilla extract
- 1 ⅓ cups all purpose flour
- ¾ cup unsweetened cocoa powder
- 1 teaspoon baking soda
- ¼ teaspoon salt
- ¾ cup white chocolate chips or chunks
- ½ cup crushed candy canes or peppermints
- ½ cup melted white chocolate
Method
- In a large bowl, beat the softened butter, granulated sugar, brown sugar, egg, vanilla extract, and peppermint extract together until light and creamy (about 2–3 minutes).
- Gradually sift the dry ingredients to the wet mixture and mix just until combined. Stir in the chocolate chips and crushed candies.
- Cover the dough and refrigerate for 30 minutes. This helps the cookies stay thick and chewy.
- Preheat your oven to 350°F. Line a baking sheet with parchment paper.
- Scoop about 2 tablespoons of dough per cookie. Place on the baking sheet about 2 inches apart. Chill in the fridge 10 minutes before baking.
- Bake for 10–12 minutes, until edges are set but centers look slightly soft.
- Let cookies cool completely. You can drizzle with melted white chocolate and sprinkle with crushed candy canes before the chocolate sets.
Nutrition
Notes
- Don’t overbake: They’ll continue to set as they cool. Slightly underbaked = fudgy centers.
- Feel free to stir in a few white chocolate chunks along with the semi-sweet ones.
- If you don't have peppermint extract you can use 1 drop of food-grade peppermint oil (very strong!) or omit for plain double chocolate cookies.
- Storage: Keep in an airtight container for up to 5 days at room temperature or freeze up to 2 months.
Tried this recipe?
Let us know how it was!Recipe FAQ's
To view the answers, simply click on the down arrow (⬇) next to each question. If you have any other questions not answered here, please leave a comment!
Yes, you can absolutely make the dough ahead of time and bake it later. After preparing the dough, cover it tightly and store it in the refrigerator for up to 24 hours before baking. When you’re ready to bake, let the dough sit at room temperature for about 10–15 minutes so it’s easier to scoop, then bake as directed.
The easiest way to drizzle white chocolate neatly is to melt it gently, then transfer it to a small zip-top bag and snip a tiny corner off one end. Hold the bag over the cookies and move your hand back and forth in a steady motion for even lines. For best results, make sure the cookies are fully cooled before drizzling so the chocolate sets smoothly.
Didn't find the answer you're looking for?
Ask AI to answer based on this specific recipe.
Food Safety Tips
- Cook foods to a safe internal temperature of 165 °F (74 °C) when applicable.
- Use separate utensils for raw and cooked ingredients.
- Wash hands thoroughly after handling uncooked foods.
- Avoid leaving food at room temperature for extended periods.
- Stay nearby while food is cooking.
- Use cooking oils suited for higher-heat cooking.
- Ensure proper airflow when using a gas stove.
- More kitchen safety guidance is available at USDA.gov.

Comments
No Comments