

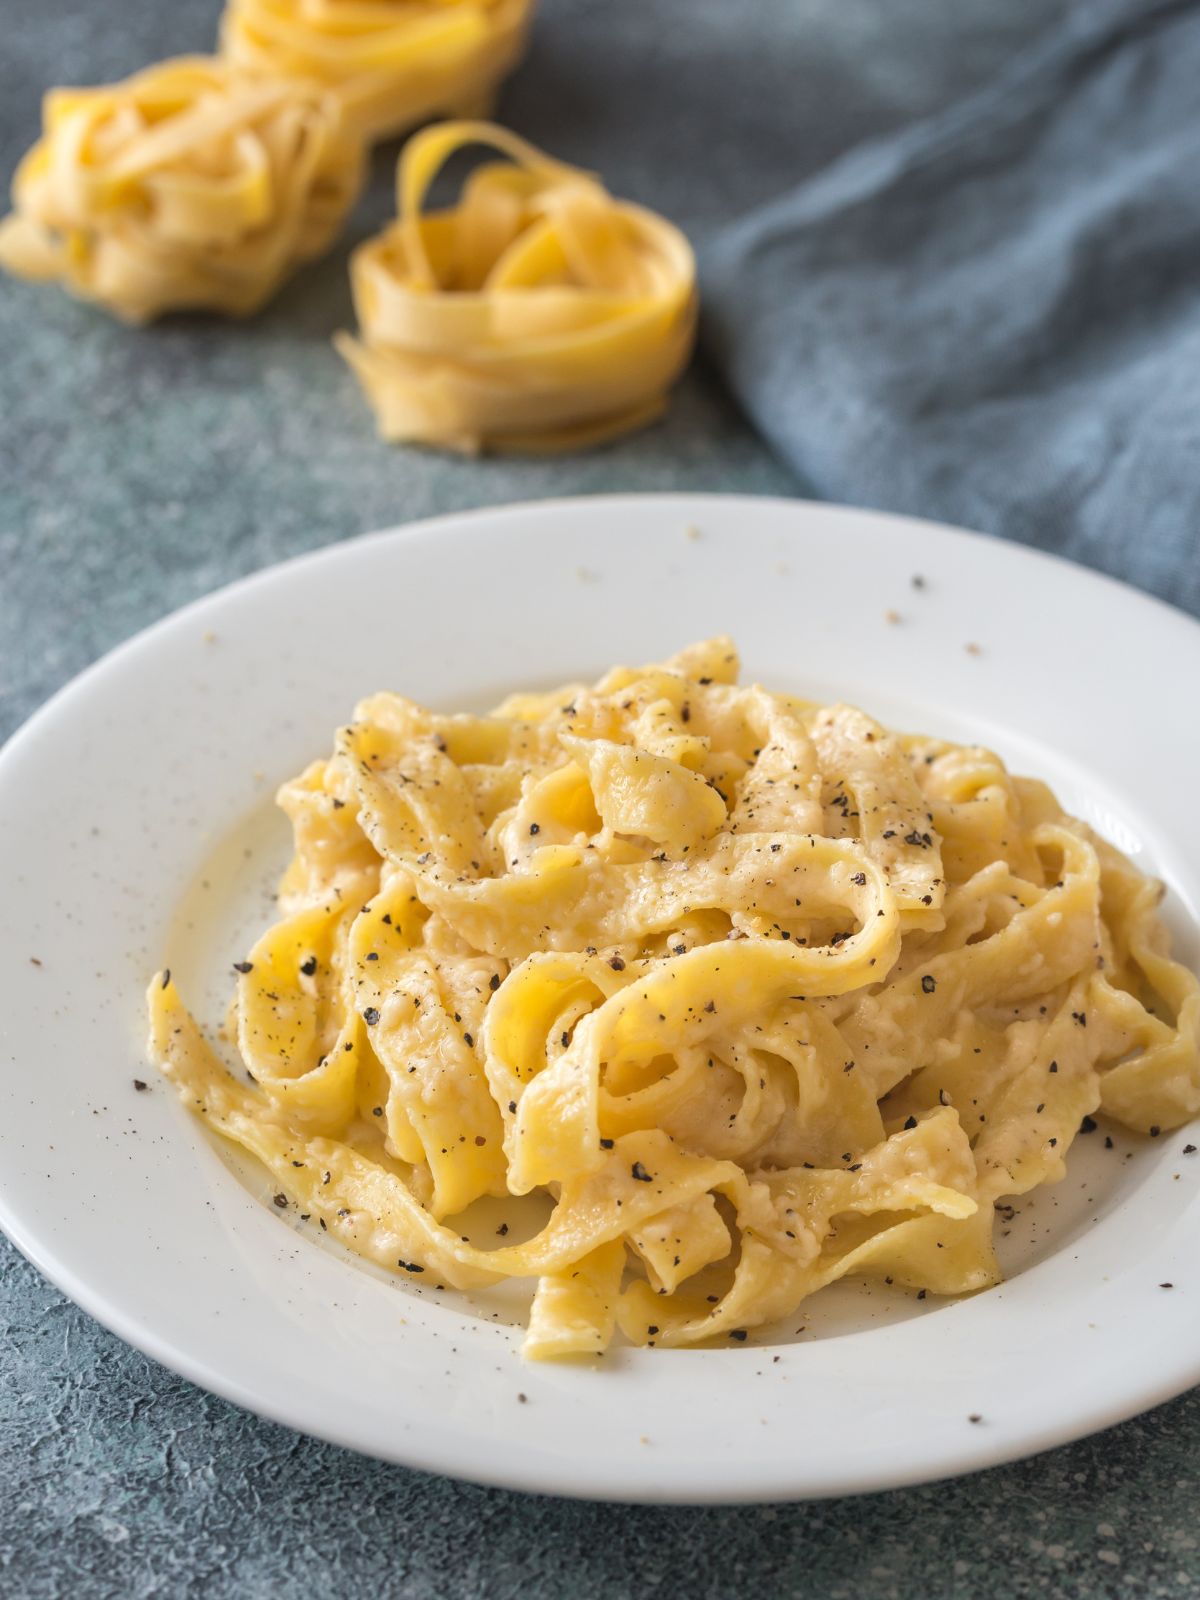
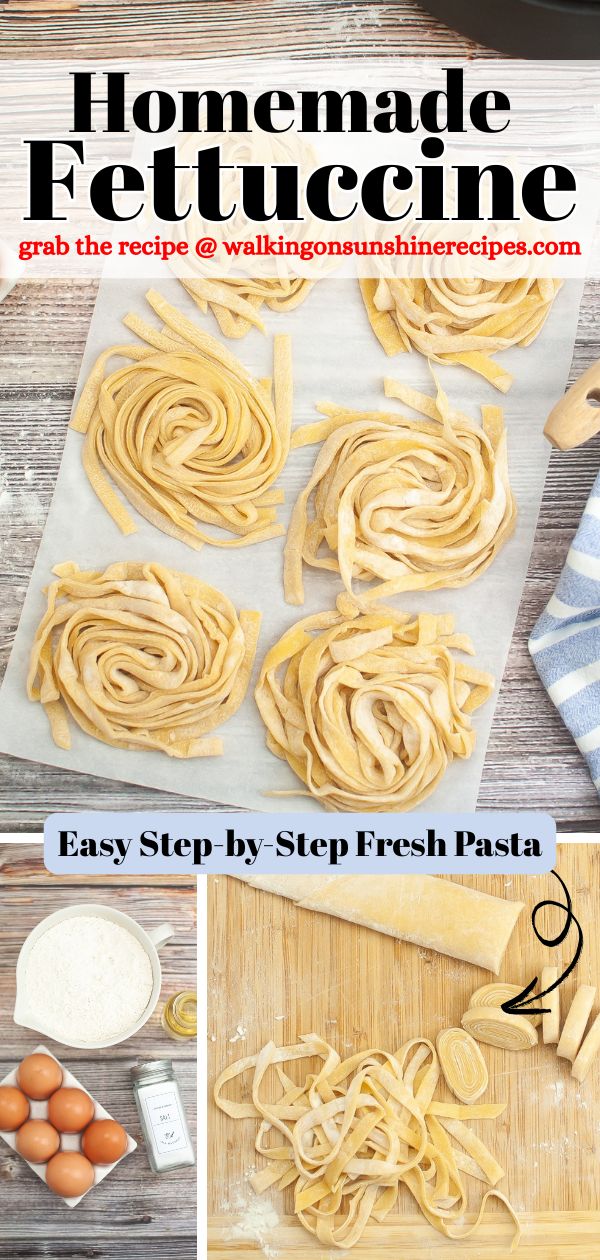
If you’ve ever wanted to try making pasta from scratch but weren’t sure where to start, this Beginner’s Guide to Homemade Fettuccine will walk you through every step.
With just a few basic ingredients and a little time, you’ll learn how to create simple, tender noodles that look and taste like they came from an Italian kitchen. They’re a delicious addition to any of my family dinner ideas.
Want to Save This Recipe?
Enter your email & I'll send it to your inbox. Plus, get great new recipes from me every week!
By submitting this form, you consent to receive emails from Walking on Sunshine Recipes.
Table of Contents
- Recipe at a Glance
- Tips for Perfect Homemade Pasta
- Ingredients You’ll Need
- Substitutions and Variations
- Step-by-Step Instructions
- Before You Start
- Insider Tips from My Kitchen to Yours
- How to Cook Homemade Pasta
- Storage & Serving Tips
- Recipe FAQ's
- More Italian Inspired Recipes You'll Love!
- LOVE this recipe? SAVE it for Later!
- 📖 Recipe Card
- Finally, a Meal Planner That Keeps Up With Your Life
- Food Safety Tips
- 💬 Comments
Recipe at a Glance
Prep: 20 min | Rest: 30 min | Difficulty: Moderate | Servings: 4
Main Ingredients: 00 flour or all-purpose flour, eggs, olive oil, salt
Why You'll Love It: This simple homemade fettuccine recipe uses just a few pantry ingredients and creates fresh pasta with a tender texture and rich flavor.
Best For: Family dinners, homemade pasta nights, and serving with your favorite pasta sauce.
👉 Want to save this printed recipe? My Ultimate Meal Planner & Recipe Binder is the perfect place to keep all your favorite recipes organized and ready to use again and again!
Tips for Perfect Homemade Pasta
Measure carefully & use room-temperature eggs so the dough comes together smoothly.
Knead 8–10 minutes until the dough is smooth no longer looks rough or crumbly. Fresh pasta dough should feel firm rather than soft like bread dough. If it's too dry, add a few drops of water; if it's sticky, dust with a little flour.
Rest the dough 30 minutes wrapped in plastic so the gluten relaxes for easier rolling.
Dust with flour often and roll to about 1/16 inch (1.5 mm) thickness for fettuccine.
Boil in plenty of salted water; fresh pasta cooks to al dente in just 2–3 minutes.
Ingredients You’ll Need
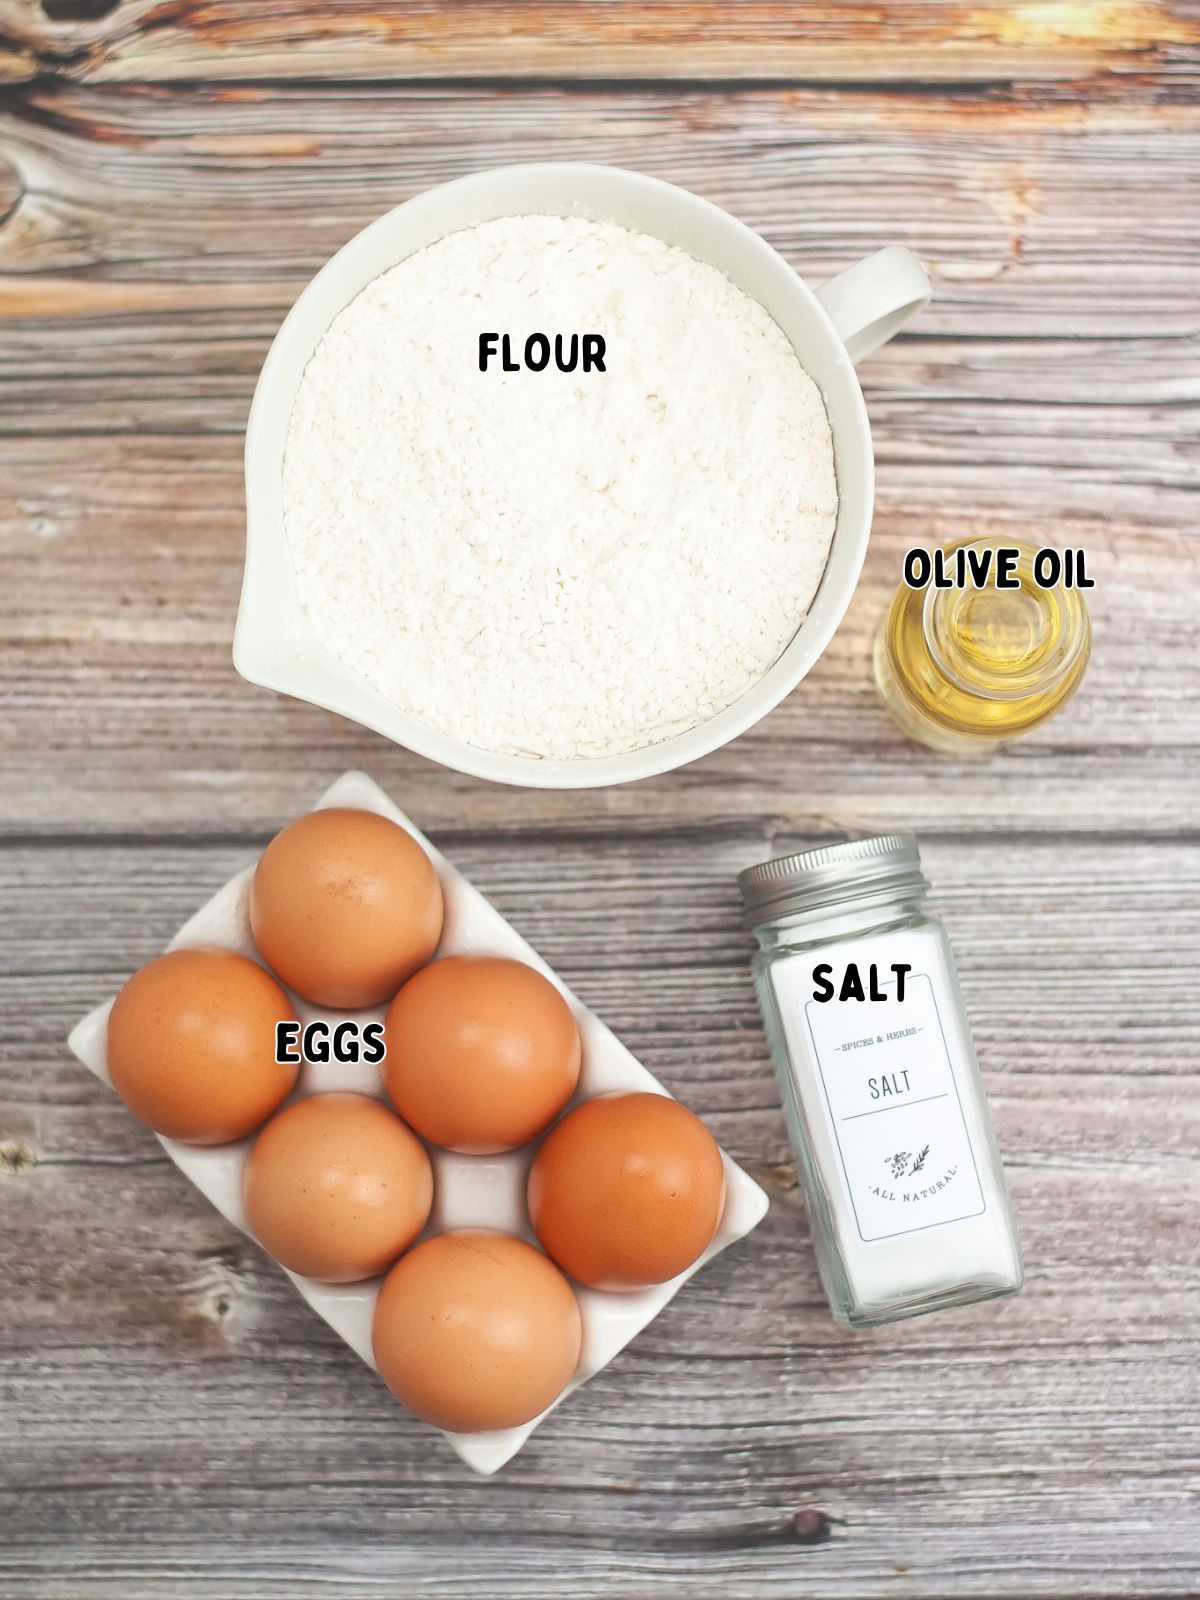
Below is a quick preview of the ingredients you’ll need. For exact amounts, check the recipe card below. You can also use the "Shopping List button" to create a printable shopping list, or the "Get Ingredients button" in the recipe card to order groceries online.
Substitutions and Variations
Herb-infused dough: Mix a teaspoon of finely chopped fresh basil, parsley, or thyme into the flour for a subtle flavor boost.
Garlic or lemon zest: Add a pinch of garlic powder or a teaspoon of lemon zest to give the pasta a gentle, aromatic lift.
Ravioli or lasagna sheets: Roll the dough thinner and use it for stuffed ravioli or homemade lasagna noodles.
This recipe has not been tested with other substitutions or variations. If you replace or add any ingredients, please let me know how it turned out in the comments below!
Step-by-Step Instructions
This section provides step-by-step photos and instructions to guide you through the recipe. For the complete printable version, scroll down to the recipe card below.
Before You Start
- Homemade pasta dough is different from bread dough. It should feel firm but pliable, not soft and stretchy.
- Don't worry if the dough looks dry or crumbly at first. As you knead, it will gradually come together into a smooth, firm ball.
- If the dough isn't coming together after several minutes, add a few drops of water. If it feels sticky, sprinkle in a little more flour.
- Before wrapping the dough to rest, compare it to the Step 5 photo. It should look smooth, firm, and ready to roll.
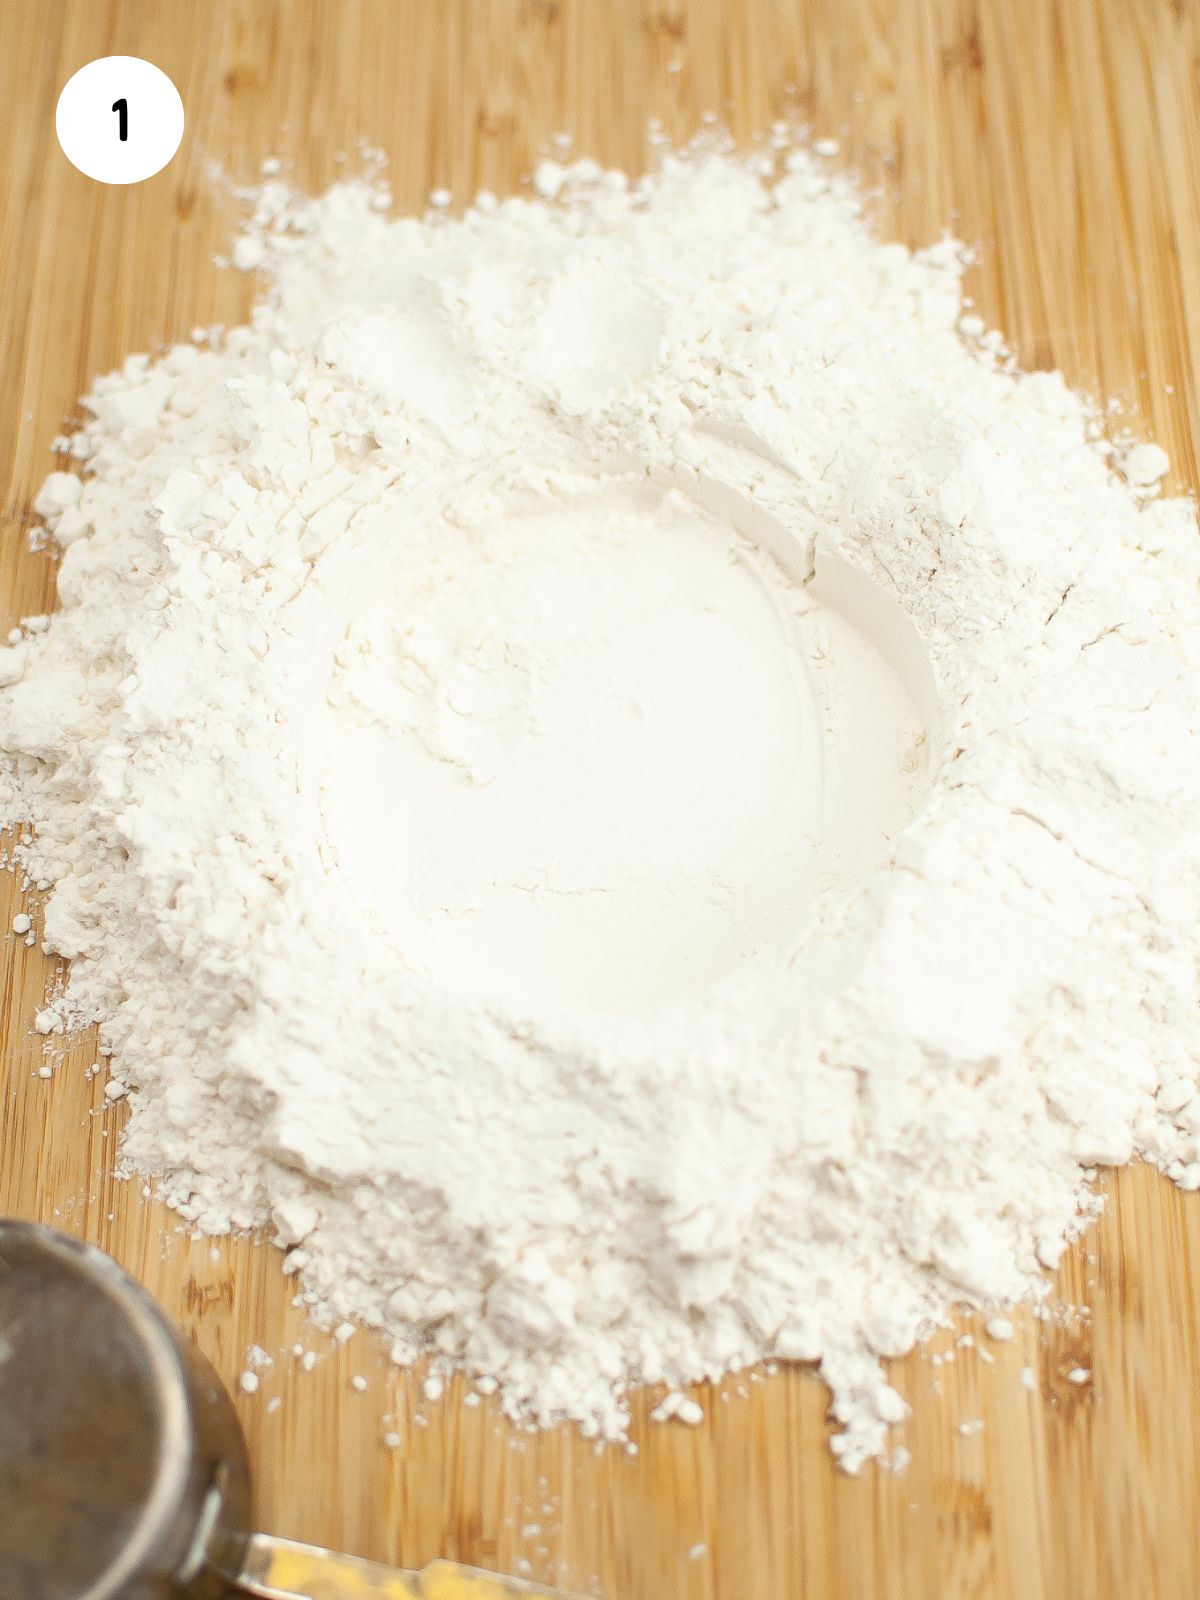
Step 1: Pile 2¼ cups flour on a clean surface.And make a 4-inch well in the center.
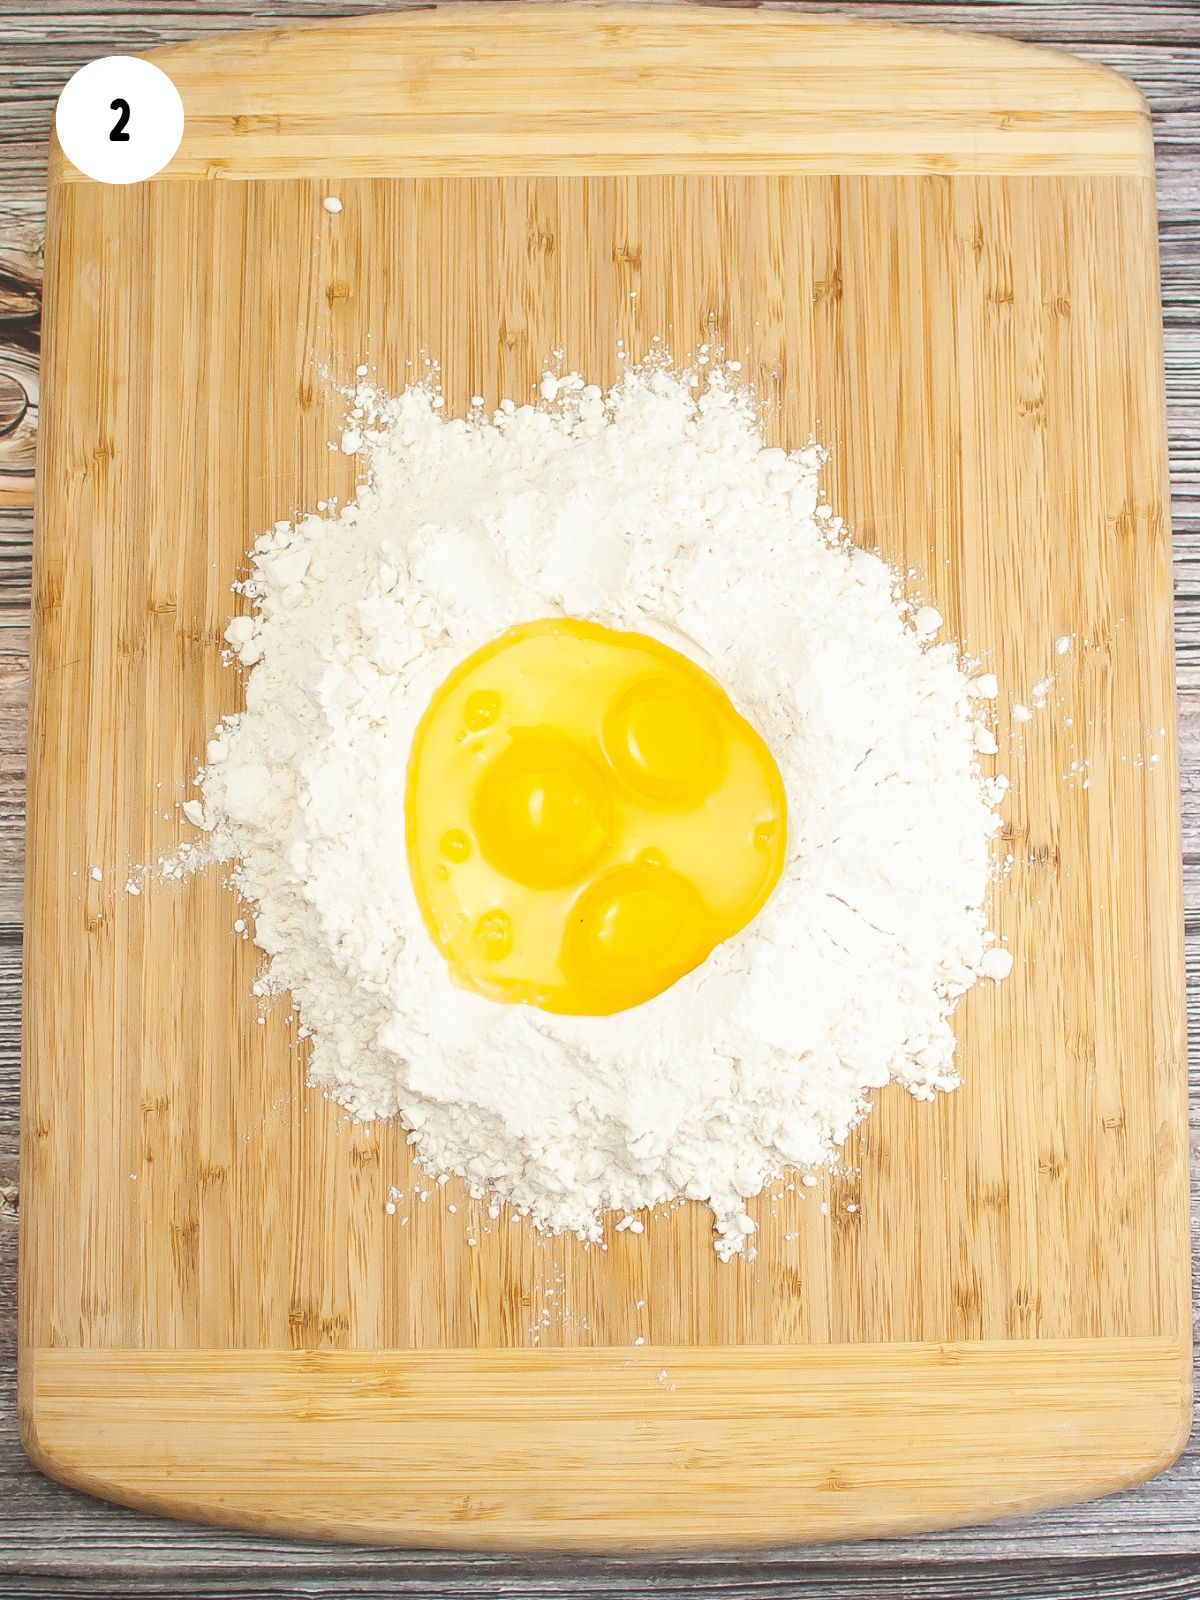
Step 2: Add the eggs, olive oil, and salt.
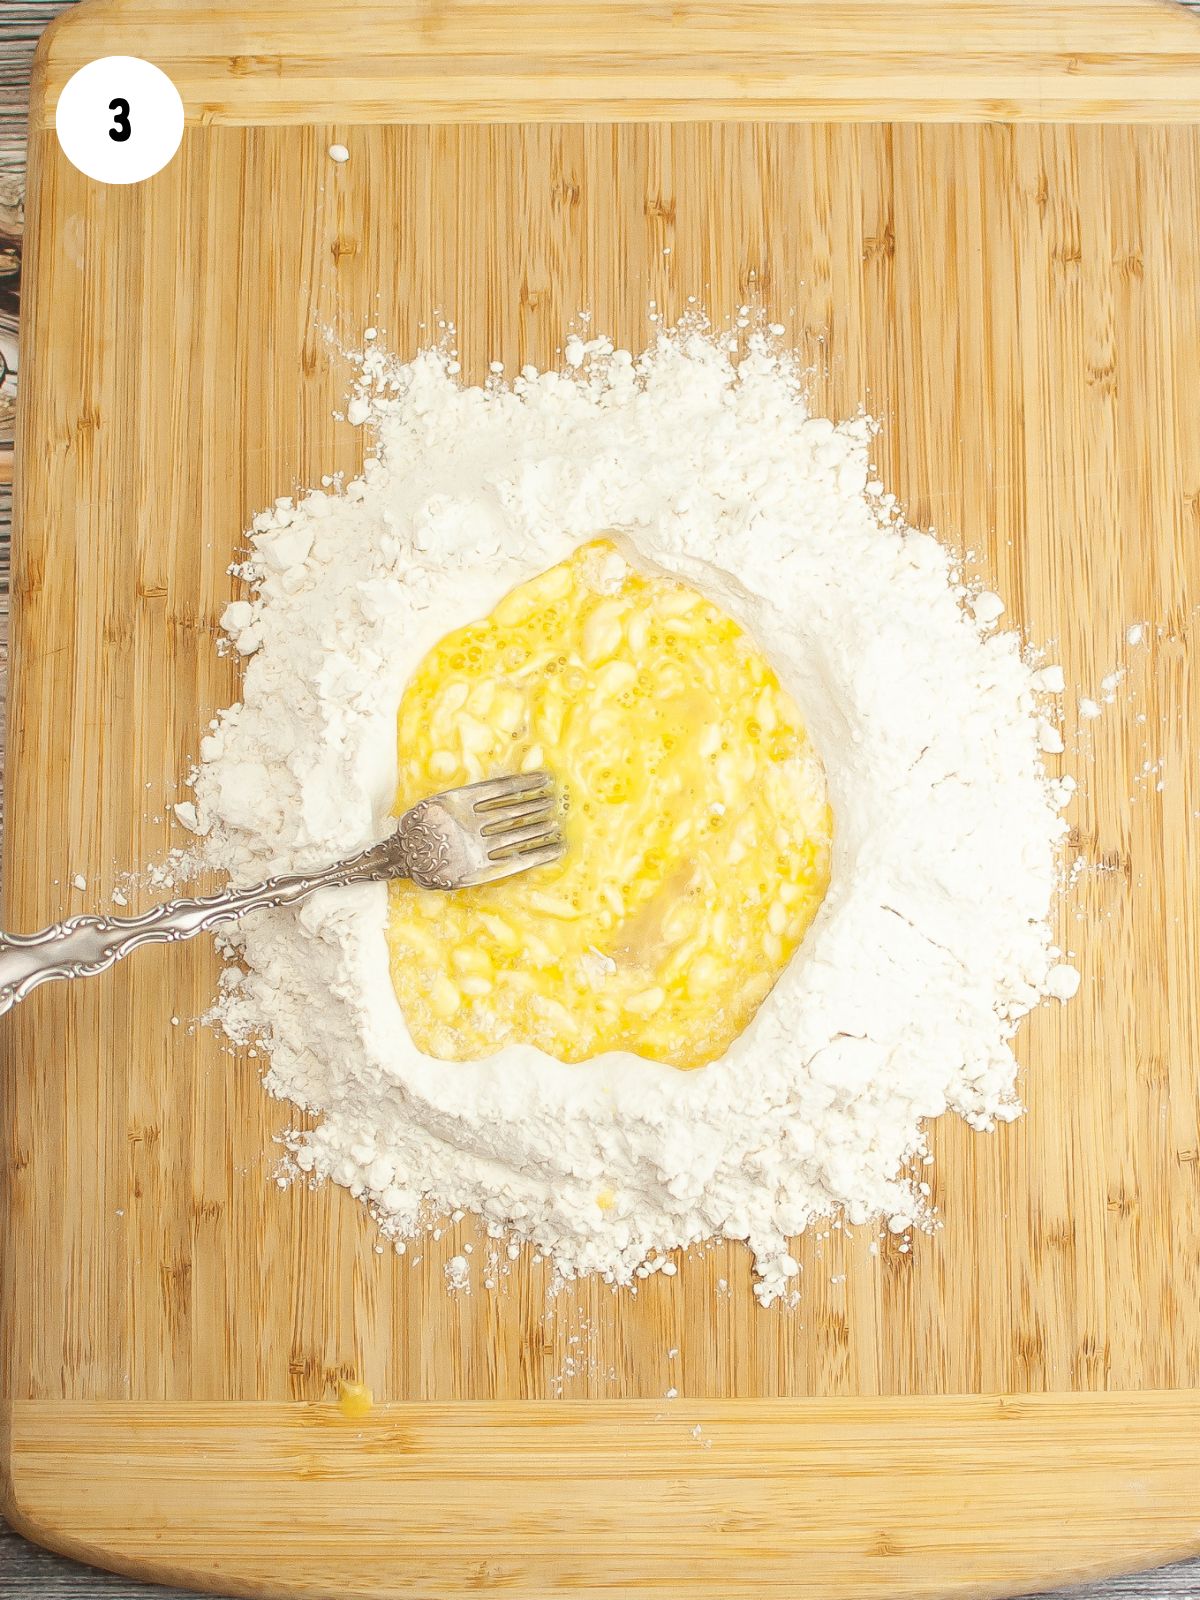
Step 3: Beat the eggs with a fork, slowly pulling in flour. The dough will start to come together slowly.
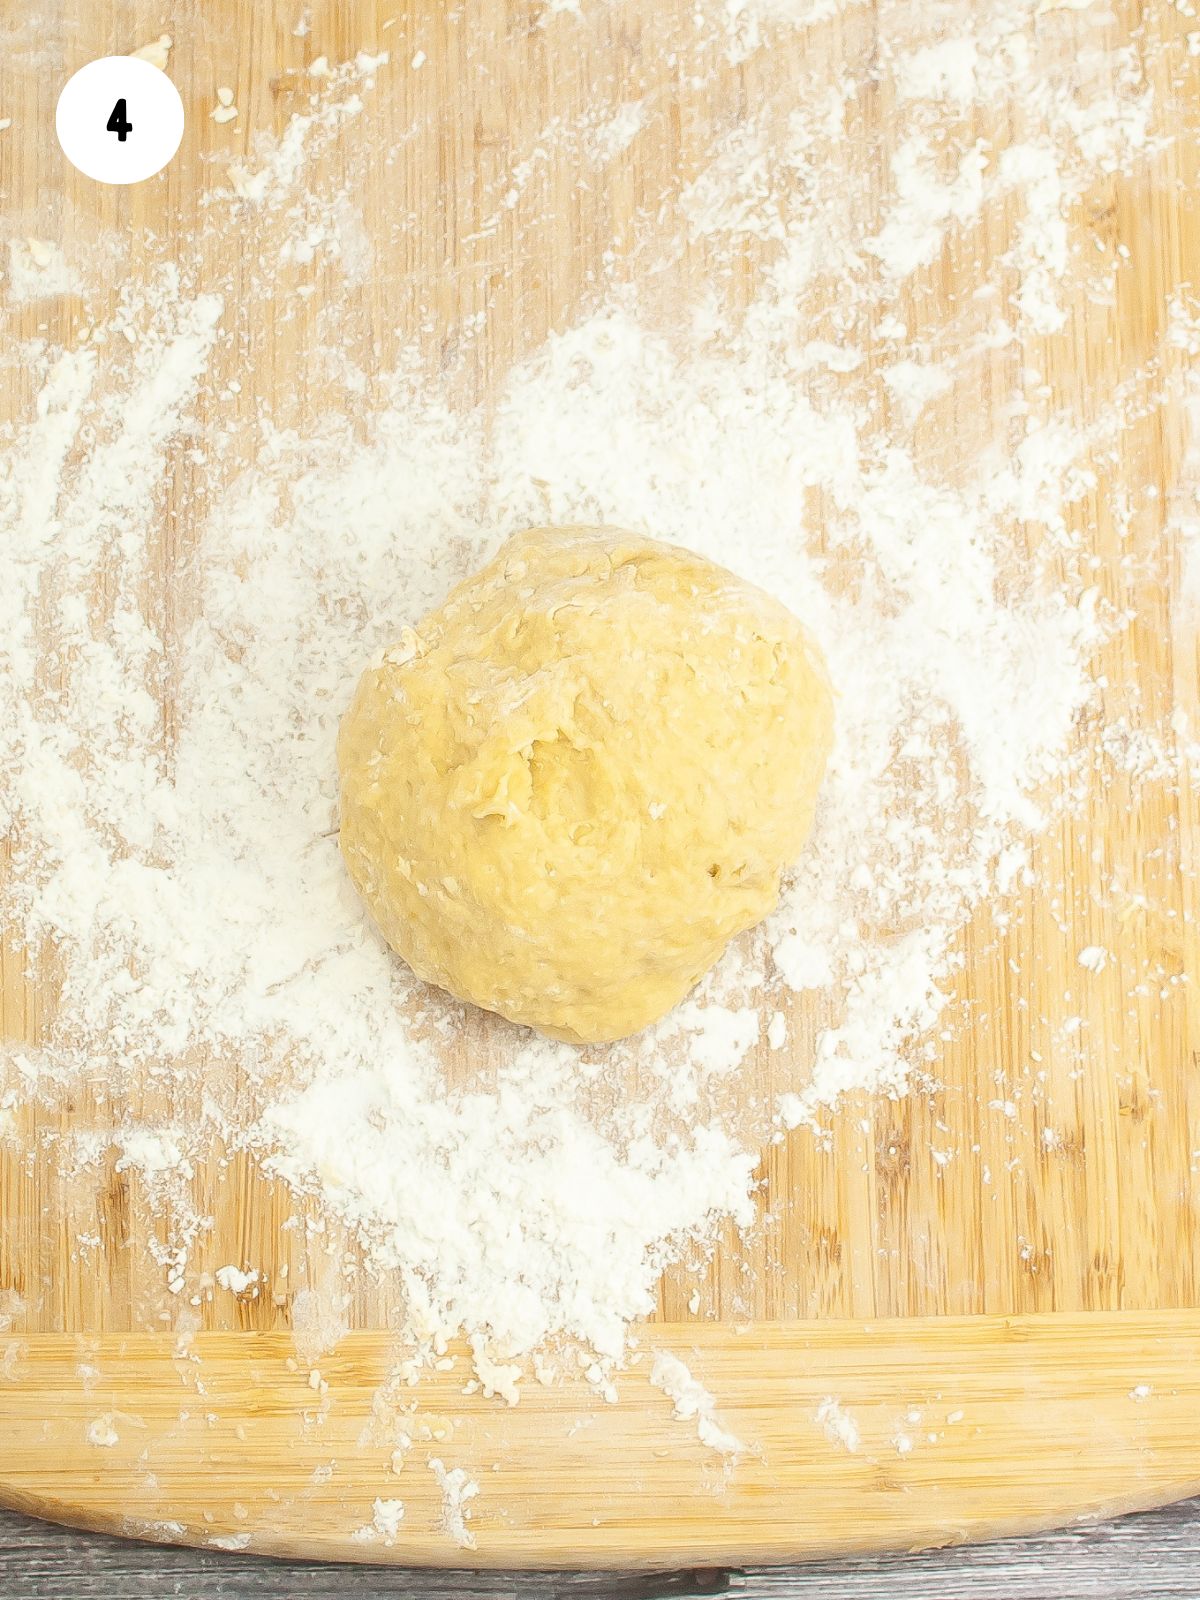
Step 4: Gather the dough with a bench scraper or your hands. Knead for 10 to 15 minutes until the dough is smooth and firm. Fresh pasta dough should be firm but pliable, not soft like bread dough. Add a little extra flour only if the dough is sticky.
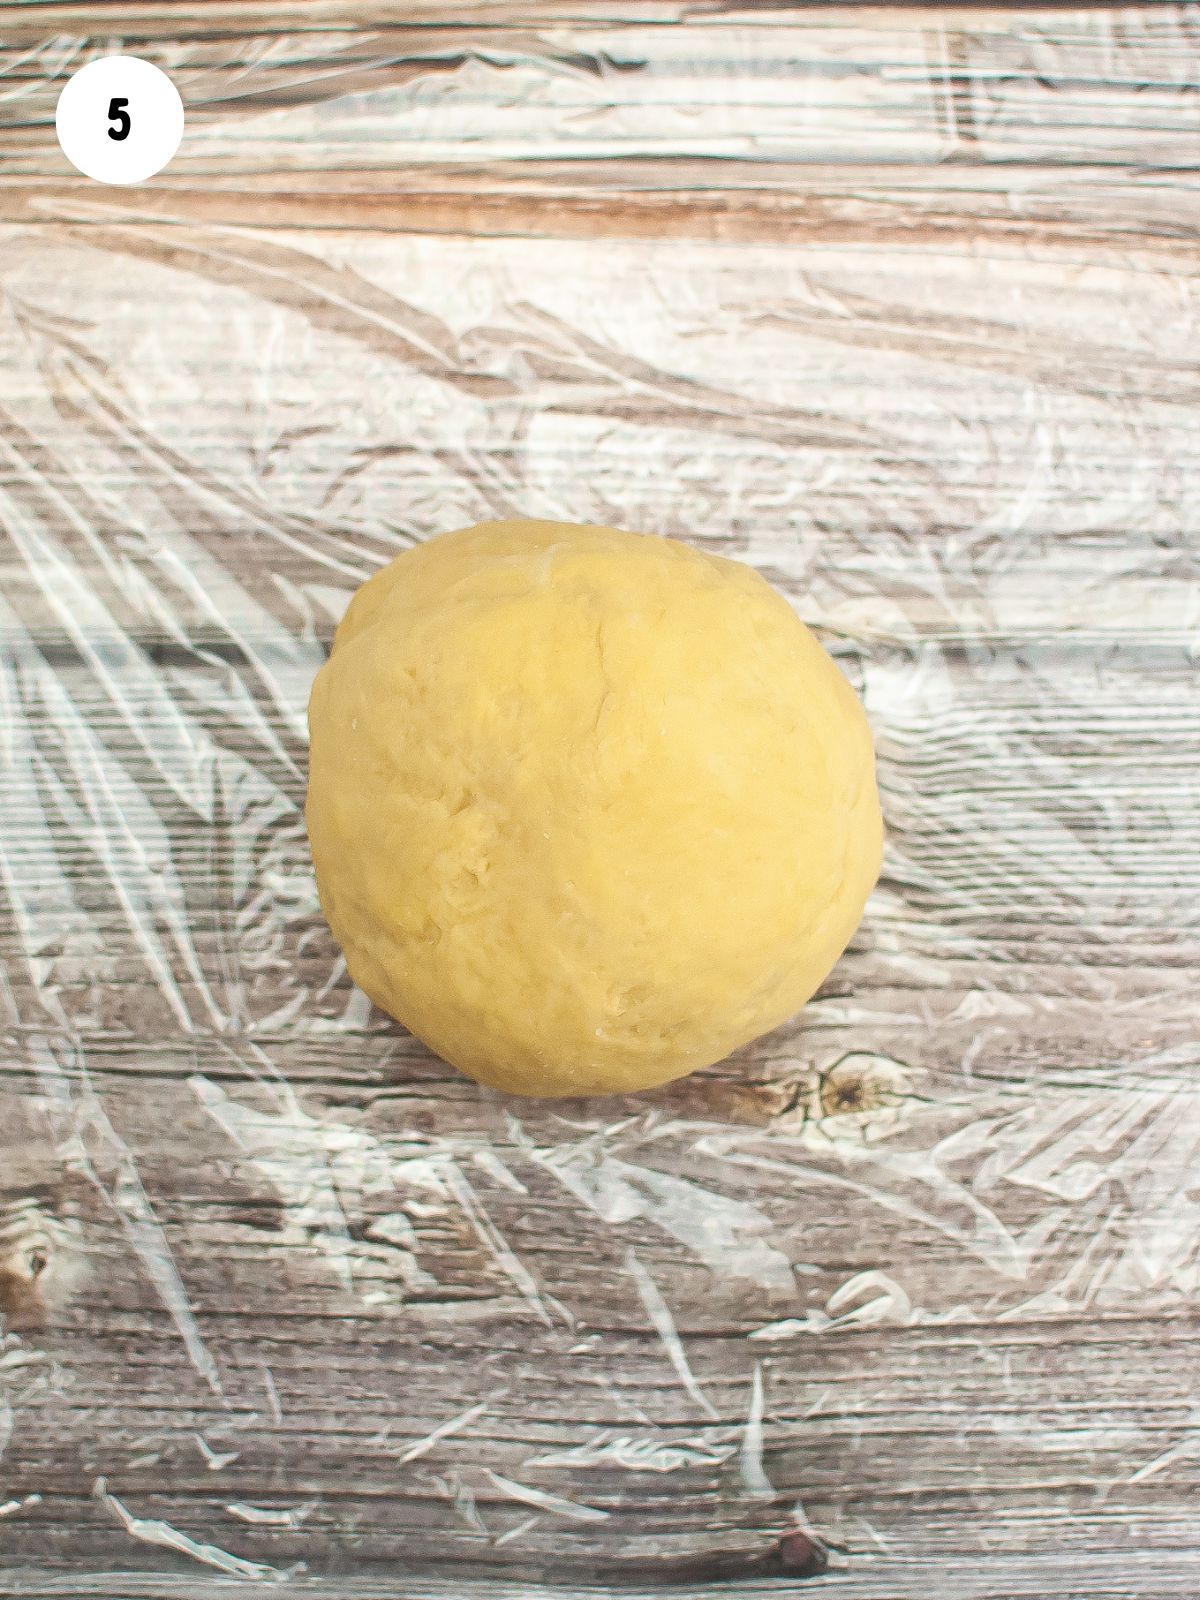
Step 5: Shape into a ball, wrap tightly in plastic wrap. Allow it to rest at room temperature 30 minutes to 3 hours.
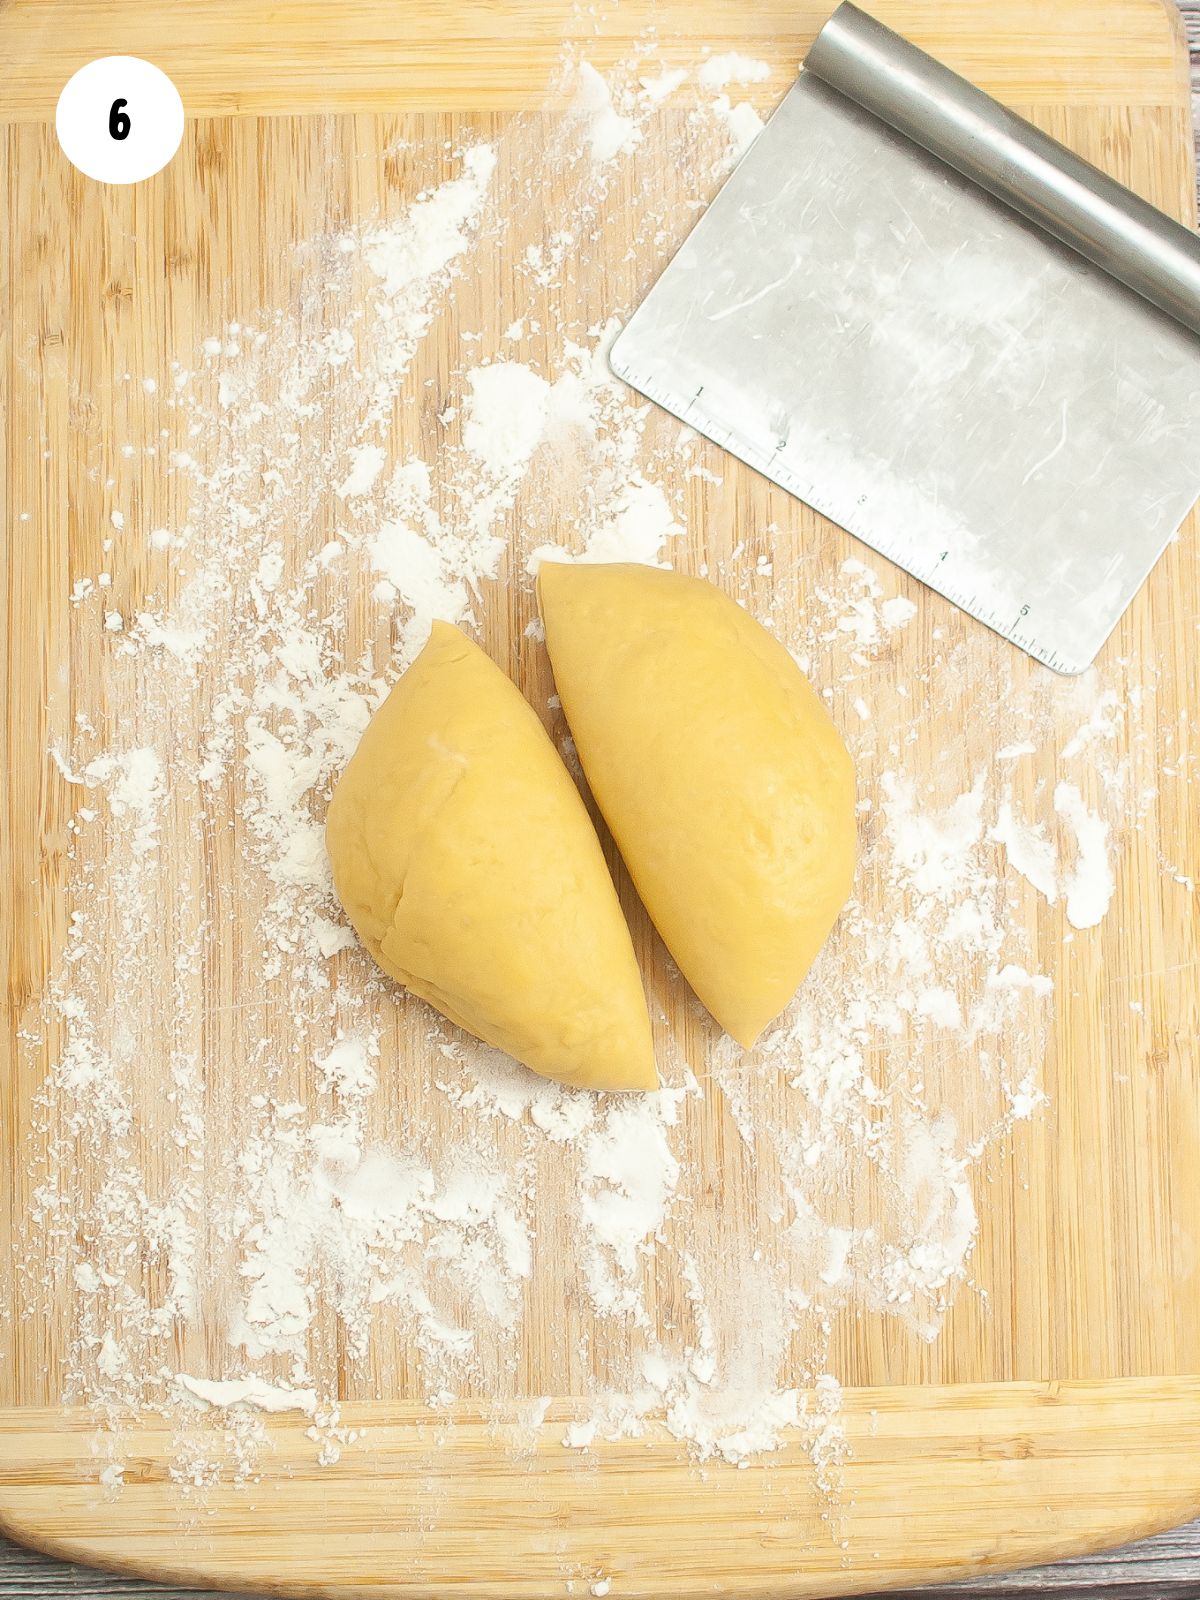
Step 6: Lightly flour your work surface, divide dough into 2–4 pieces. While you're working with one piece, keep the others loosely covered with plastic wrap so they don't dry out.
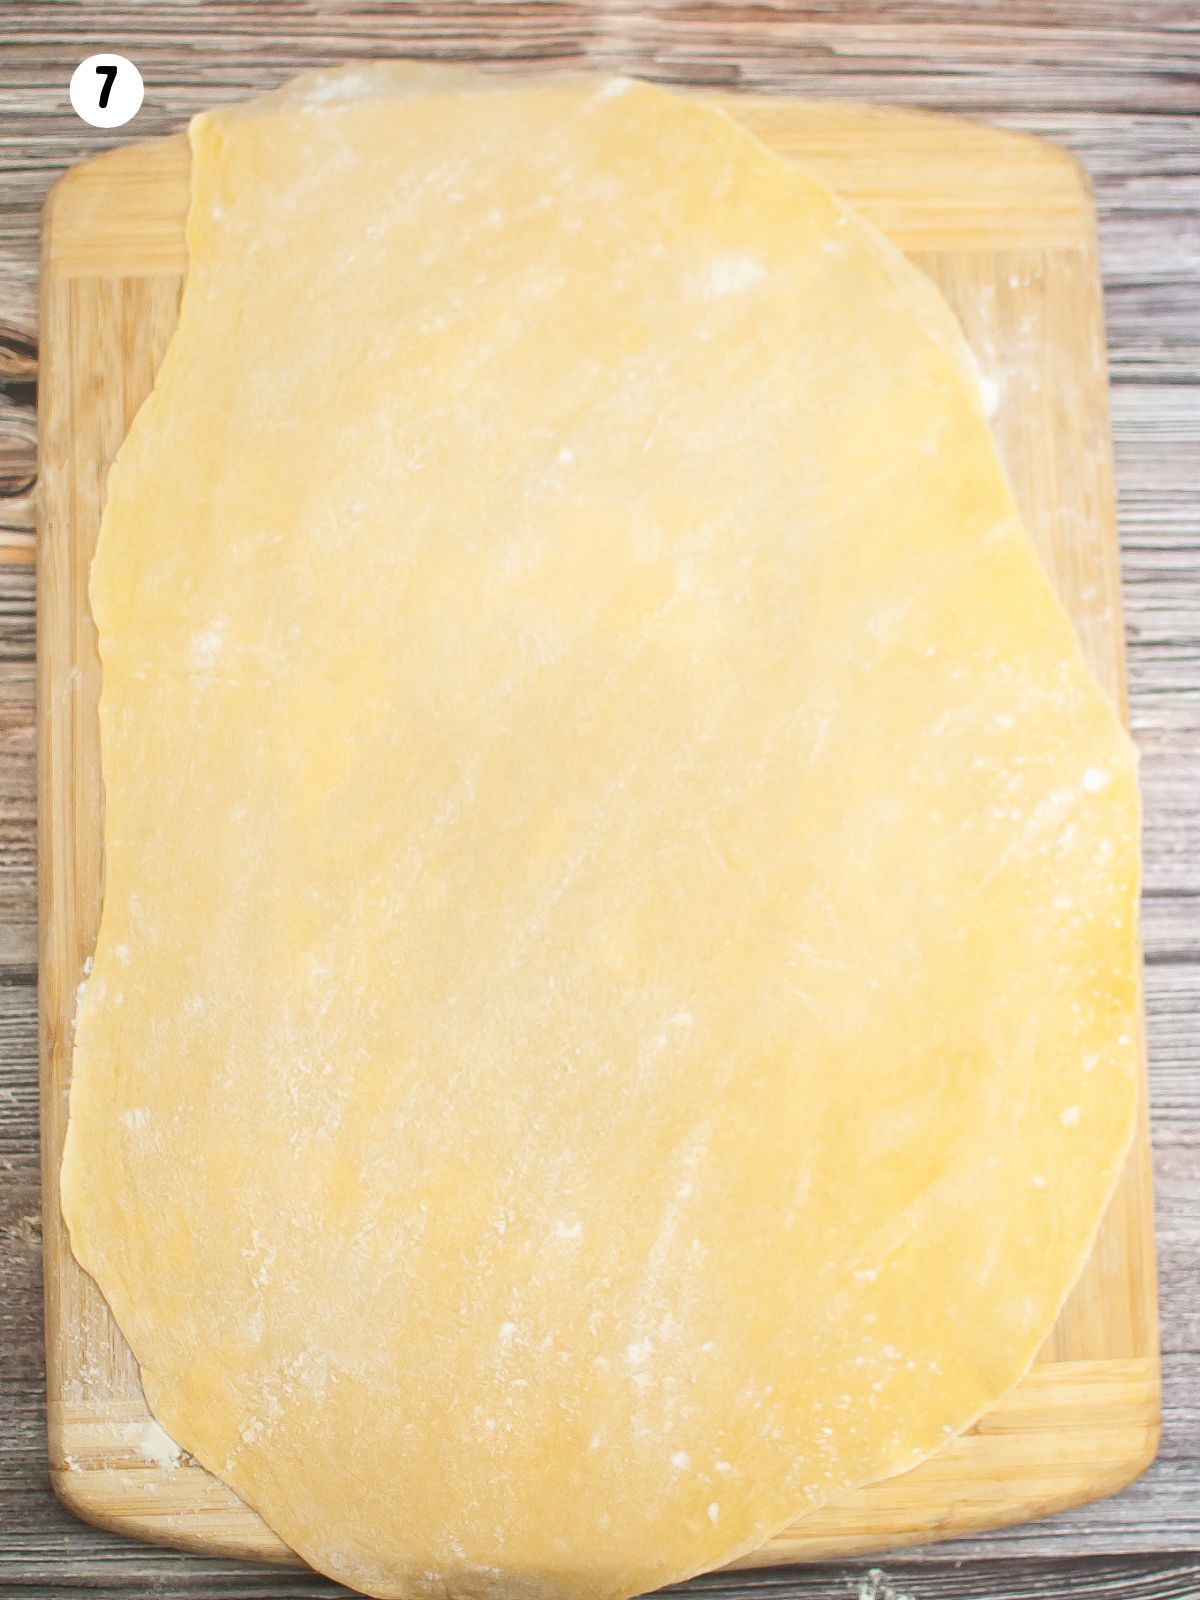
Step 7: Roll one piece at a time to about ¼-inch thick. Make sure you dust your rolling pin with flour so the dough doesn't stick.
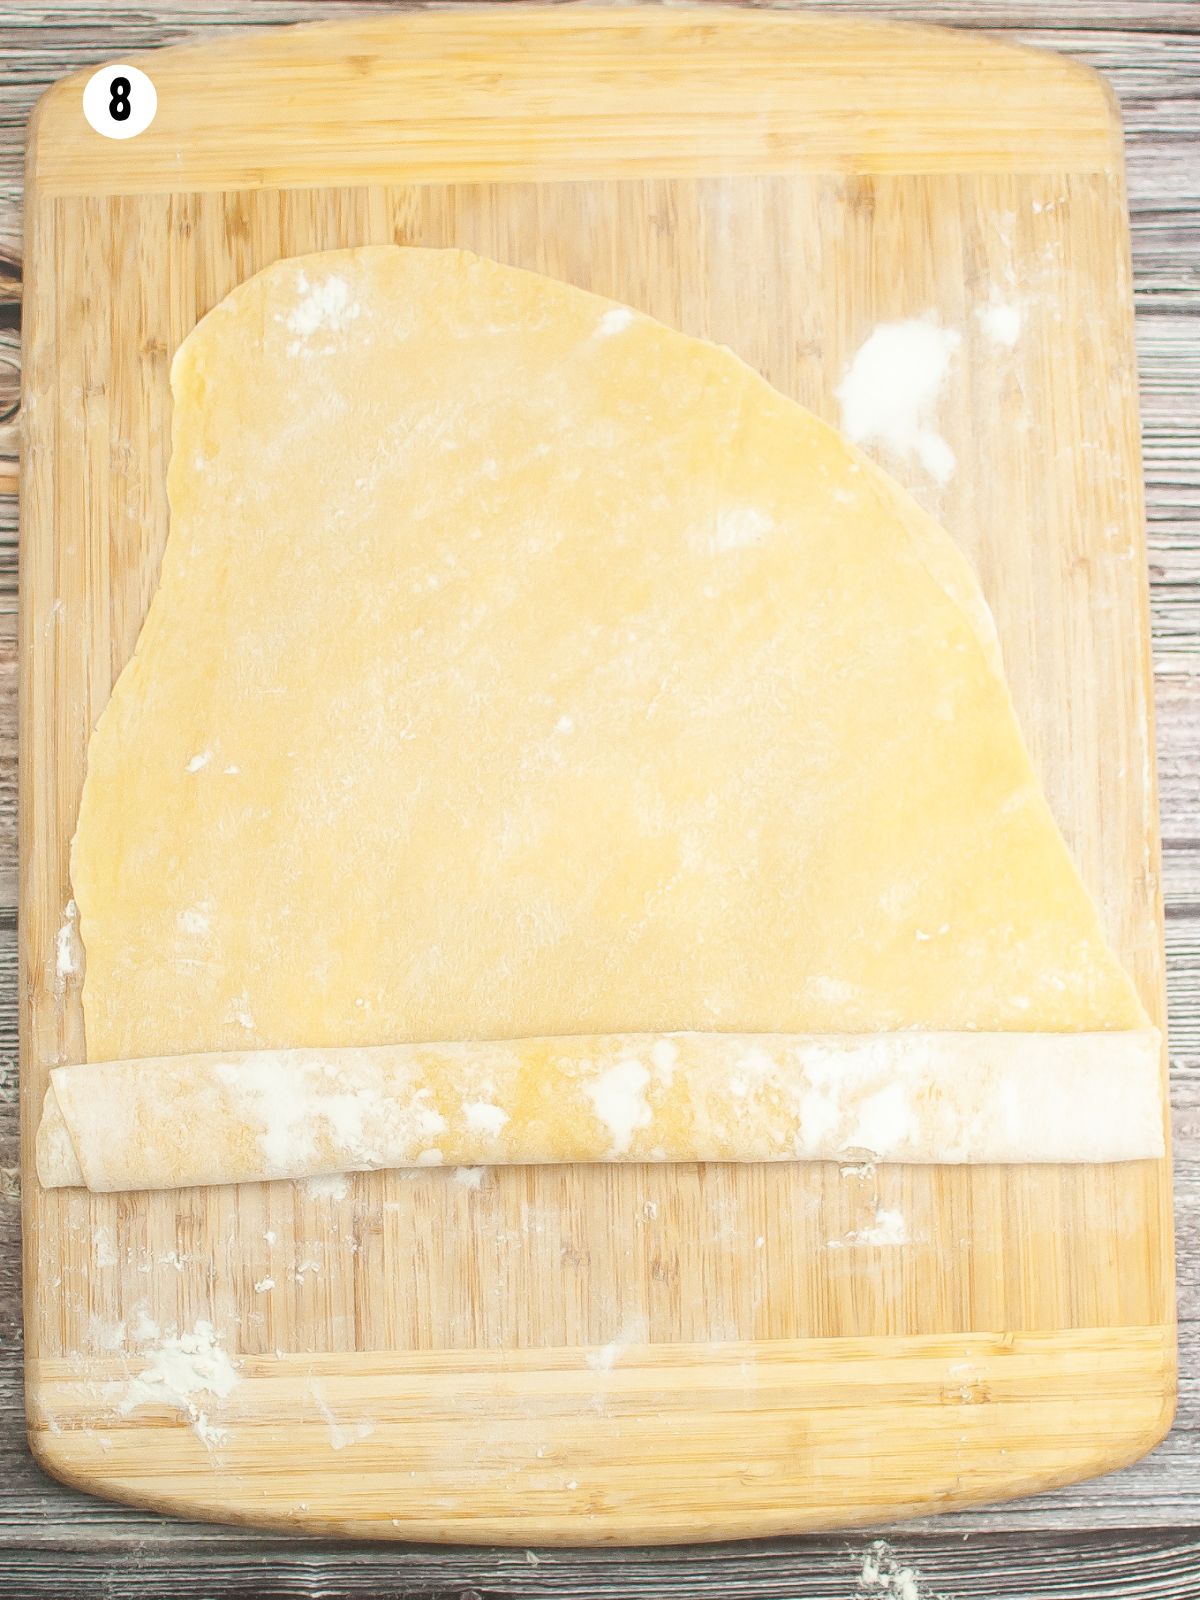
Step 8: Dust the surface lightly with flour. Begin to fold into 1–3 inch layers.
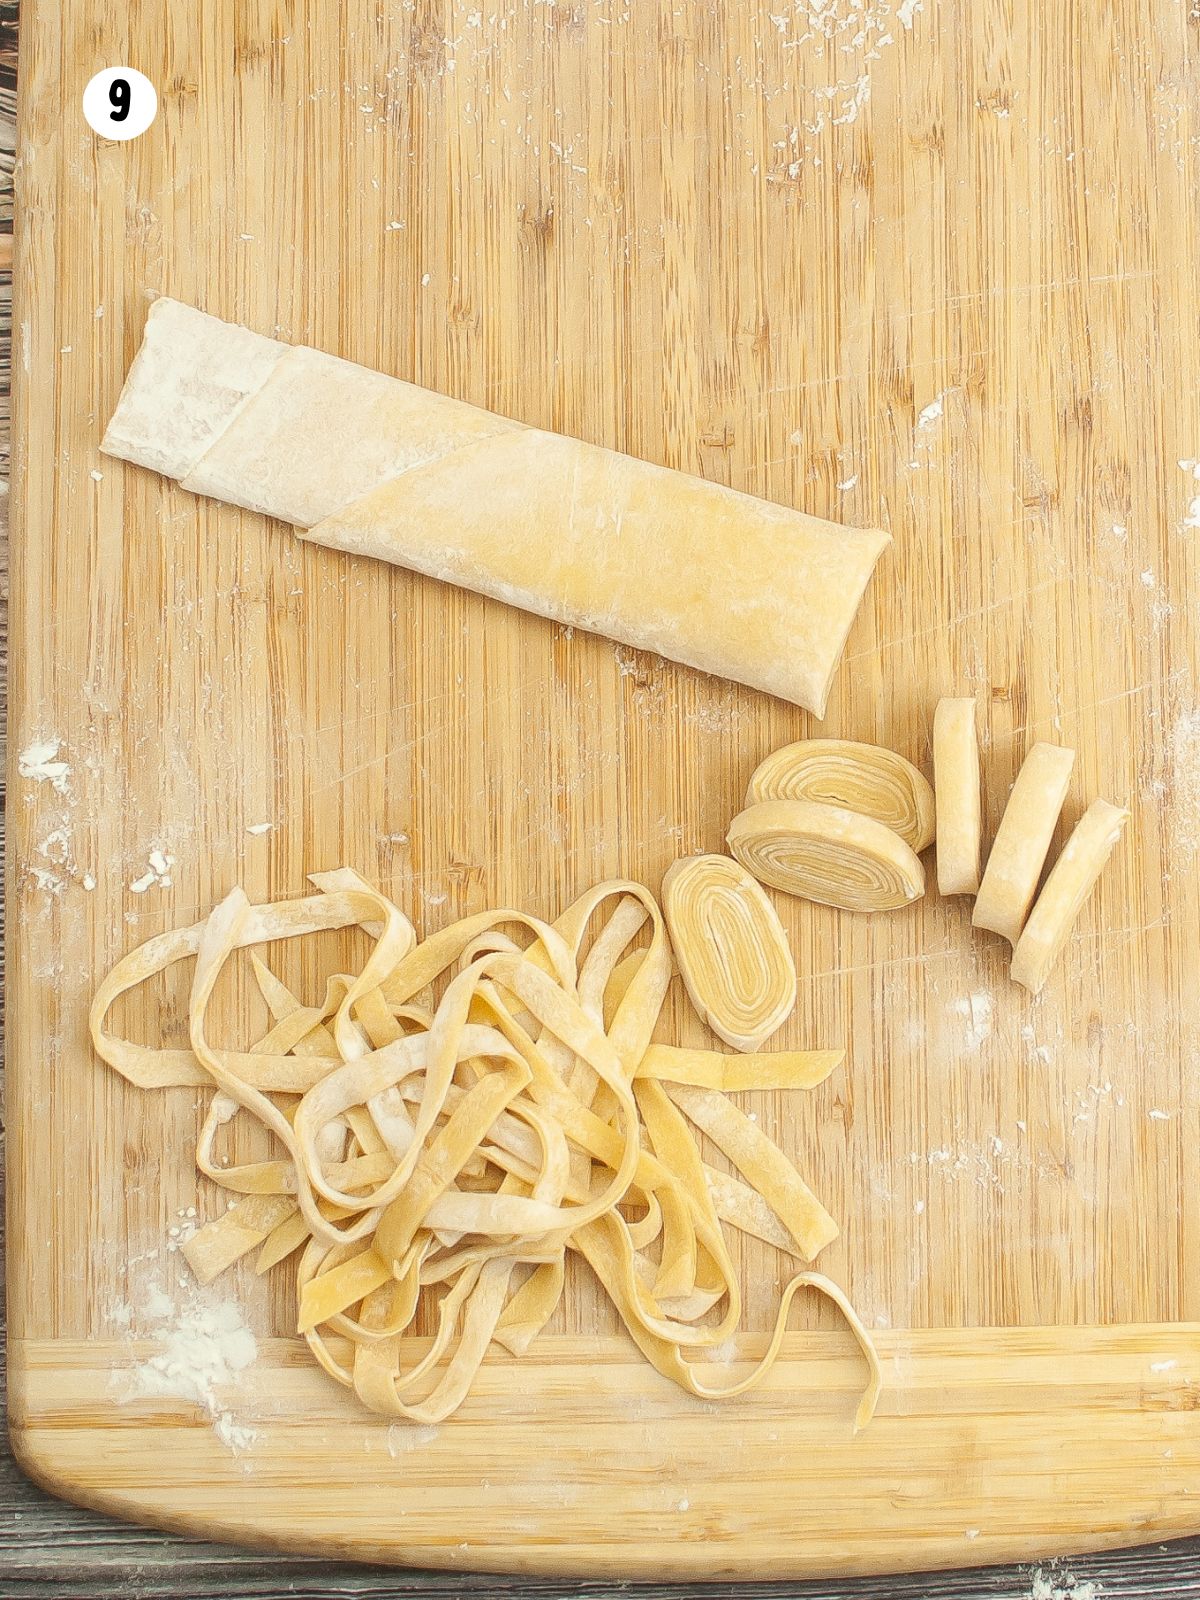
Step 9: Using a sharp knife, cut into ⅛-inch strips. Unfold into fettuccine strands.
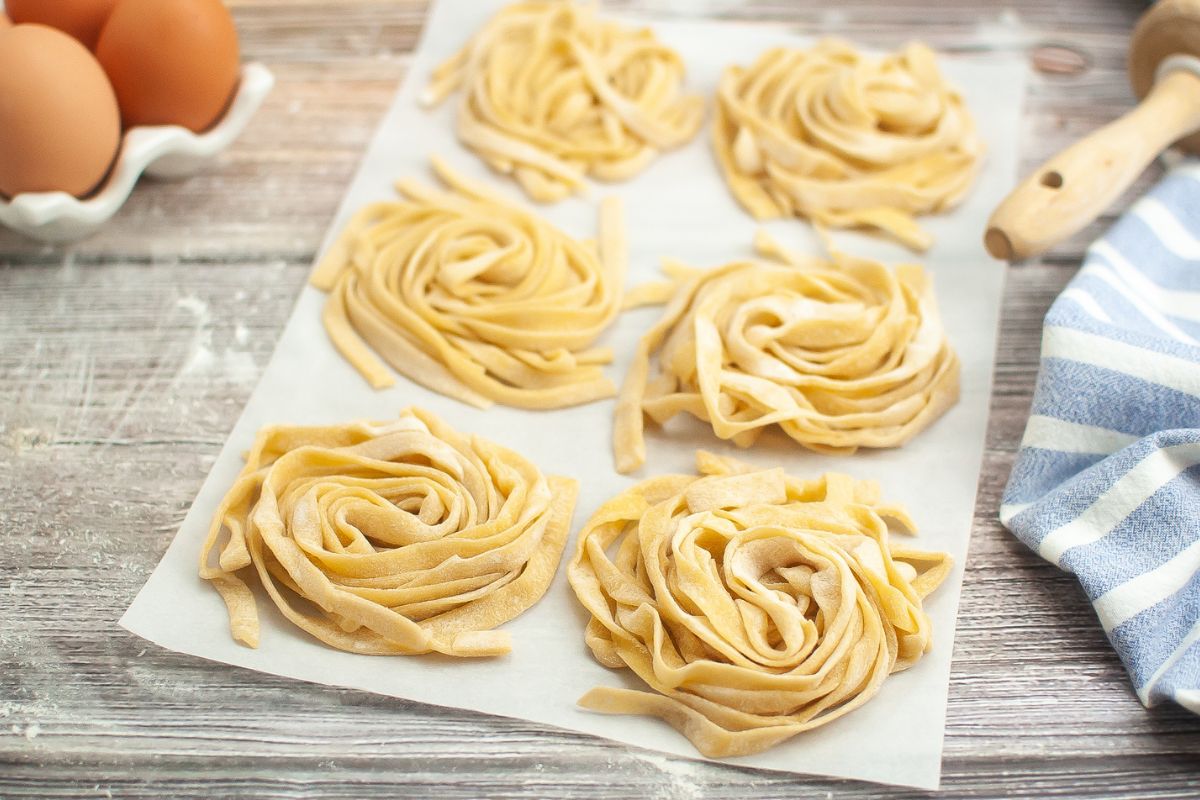
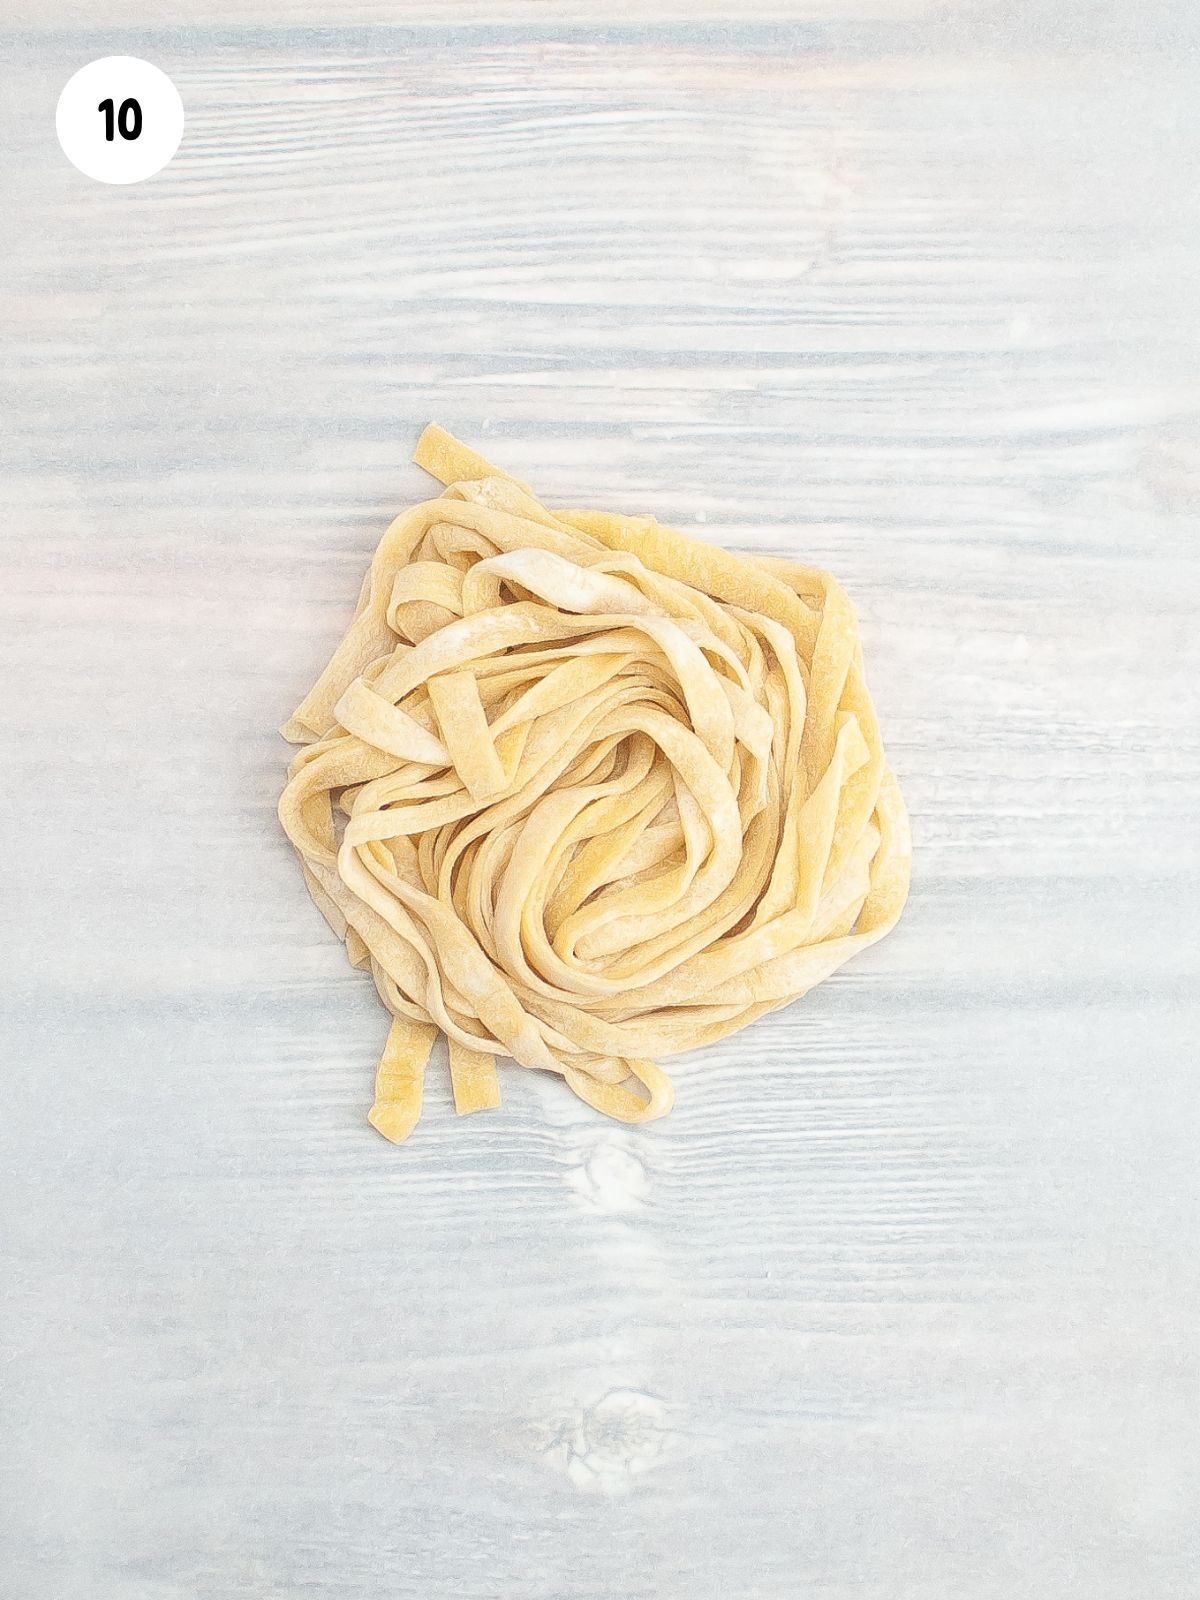
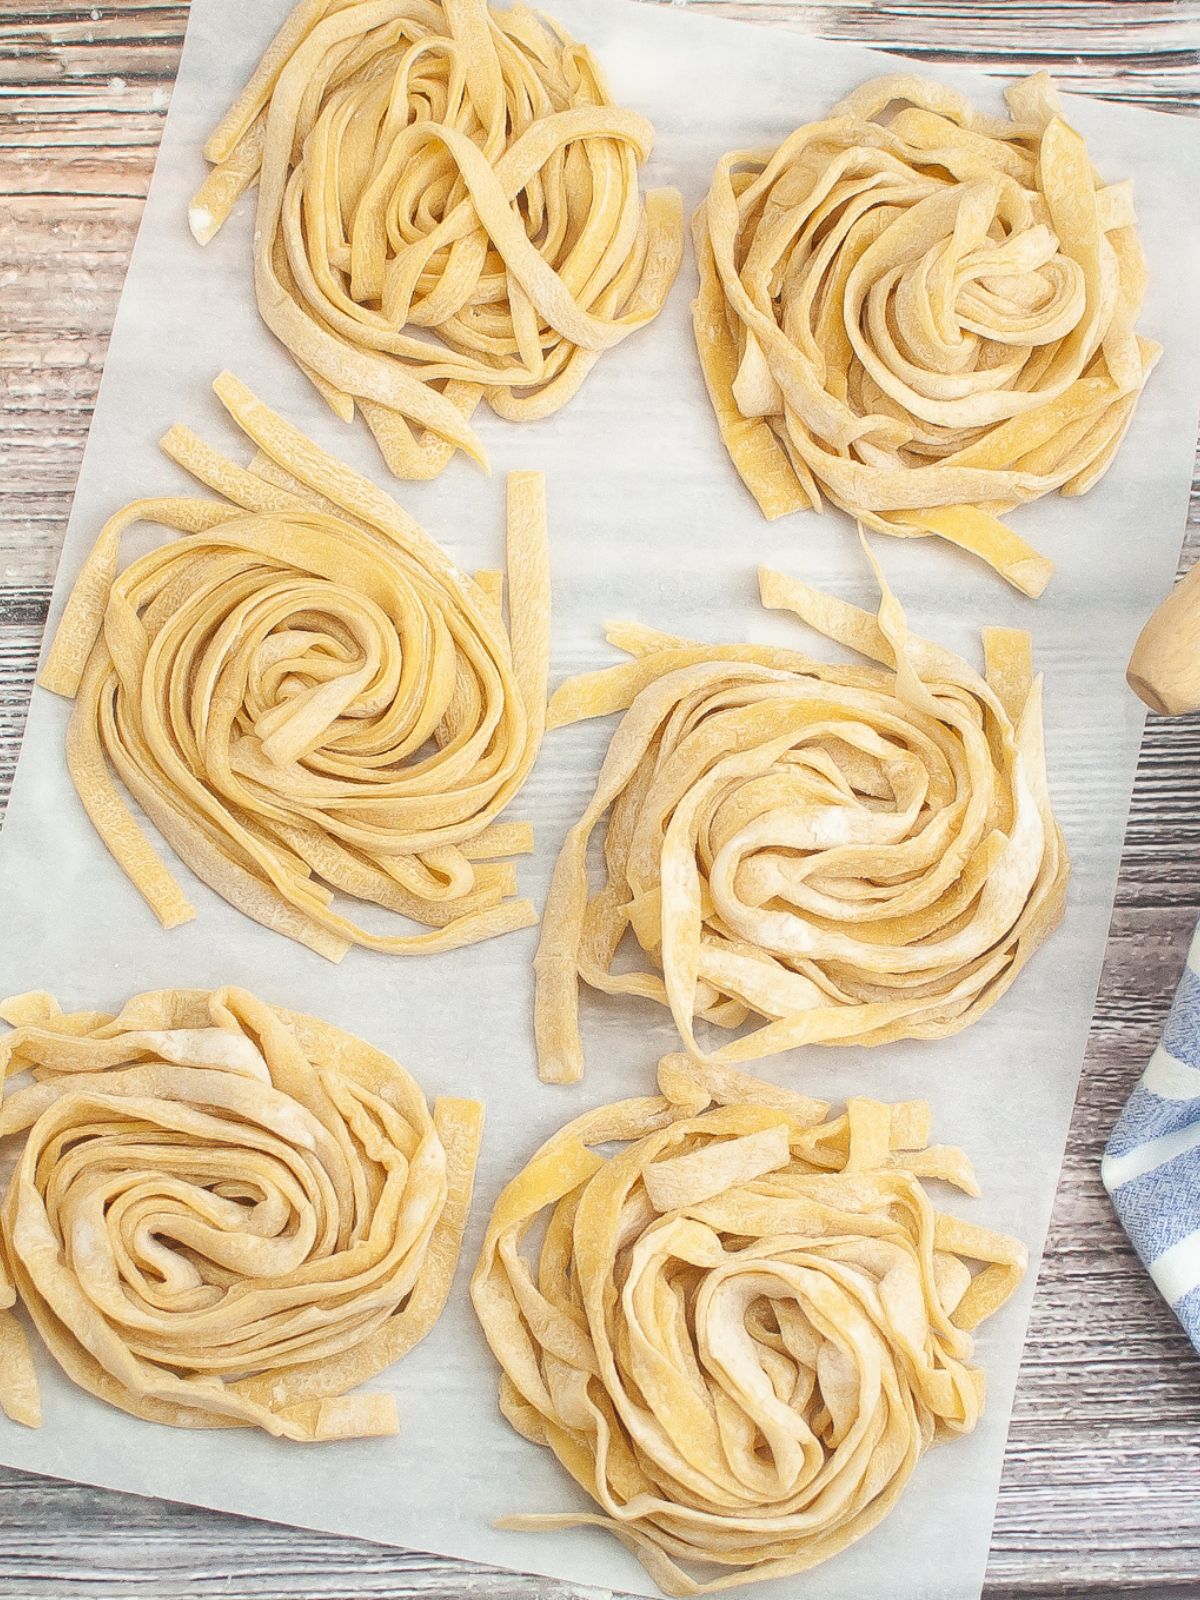
Step 10: After cutting the fettuccine, lightly dust the strands with flour or semolina and gently twirl small bundles into loose nests.
Insider Tips from My Kitchen to Yours
✔️ DO let the dough rest for at least 30 minutes so the gluten relaxes and the pasta rolls out smoothly.
❌ DO NOT skip the dusting of flour when rolling and cutting, or the noodles will stick together.
How to Cook Homemade Pasta
- Bring a large pot of water to a rolling boil. Use plenty of water so the noodles can move freely.
- Add salt. Stir in about 1–2 tablespoons of salt to season the pasta.
- Add the fresh pasta. Gently drop the noodles into the boiling water and stir to separate.
- Cook briefly. Fresh fettuccine usually takes only 2–3 minutes to reach al dente.
- Check for doneness. Taste a strand; it should be tender with a slight bite.
- Drain and serve. Toss the hot fettuccine immediately with your favorite sauce or a drizzle of olive oil and freshly grated Parmesan. Try my Homemade Tomato Sauce with Meatballs Recipe or Homemade Alfredo Sauce Recipe.
Storage & Serving Tips
Refrigerate: Place fresh, uncooked pasta in a lightly floured airtight container and refrigerate for up to 2 days.
Freezer: Arrange floured pasta nests on a baking sheet, freeze until firm, then transfer to a freezer bag for up to 2 months.
Thaw and Reheat: Cook frozen pasta straight from the freezer; add 1–2 extra minutes to the boiling time.
Recipe FAQ's
To view the answers, simply click on the down arrow (⬇) next to each question. If you have any other questions not answered here, please leave a comment!
Yes! A pasta machine makes rolling the dough much easier and helps you achieve an even thickness. Simply cut the rested dough into smaller pieces, dust lightly with flour, and pass each piece through the machine, starting at the widest setting and gradually narrowing until you reach the desired thickness for fettuccine.
If it’s too dry, sprinkle in a few drops of water and knead until the dough comes together smoothly.
If it’s too sticky, dust your hands and the surface with a little flour and keep kneading until it feels soft and elastic but no longer tacky.
Lightly toss the freshly cut noodles with a bit of flour or semolina as soon as you slice them. Spread them out on a floured surface or a clean kitchen towel in loose nests so air can circulate. This keeps the strands separated and prevents clumping until you’re ready to cook.
More Italian Inspired Recipes You'll Love!

LOVE this recipe? SAVE it for Later!
❤️Tap the heart icon in the lower right corner to add the recipe to your recipe box for easy access anytime.
If you made it, leaving a star rating or quick review is always appreciated and helps other readers too.
Want to save this printed recipe? The Ultimate Meal Planner & Recipe Binder helps you keep recipes organized in one easy place.
📖 Recipe Card
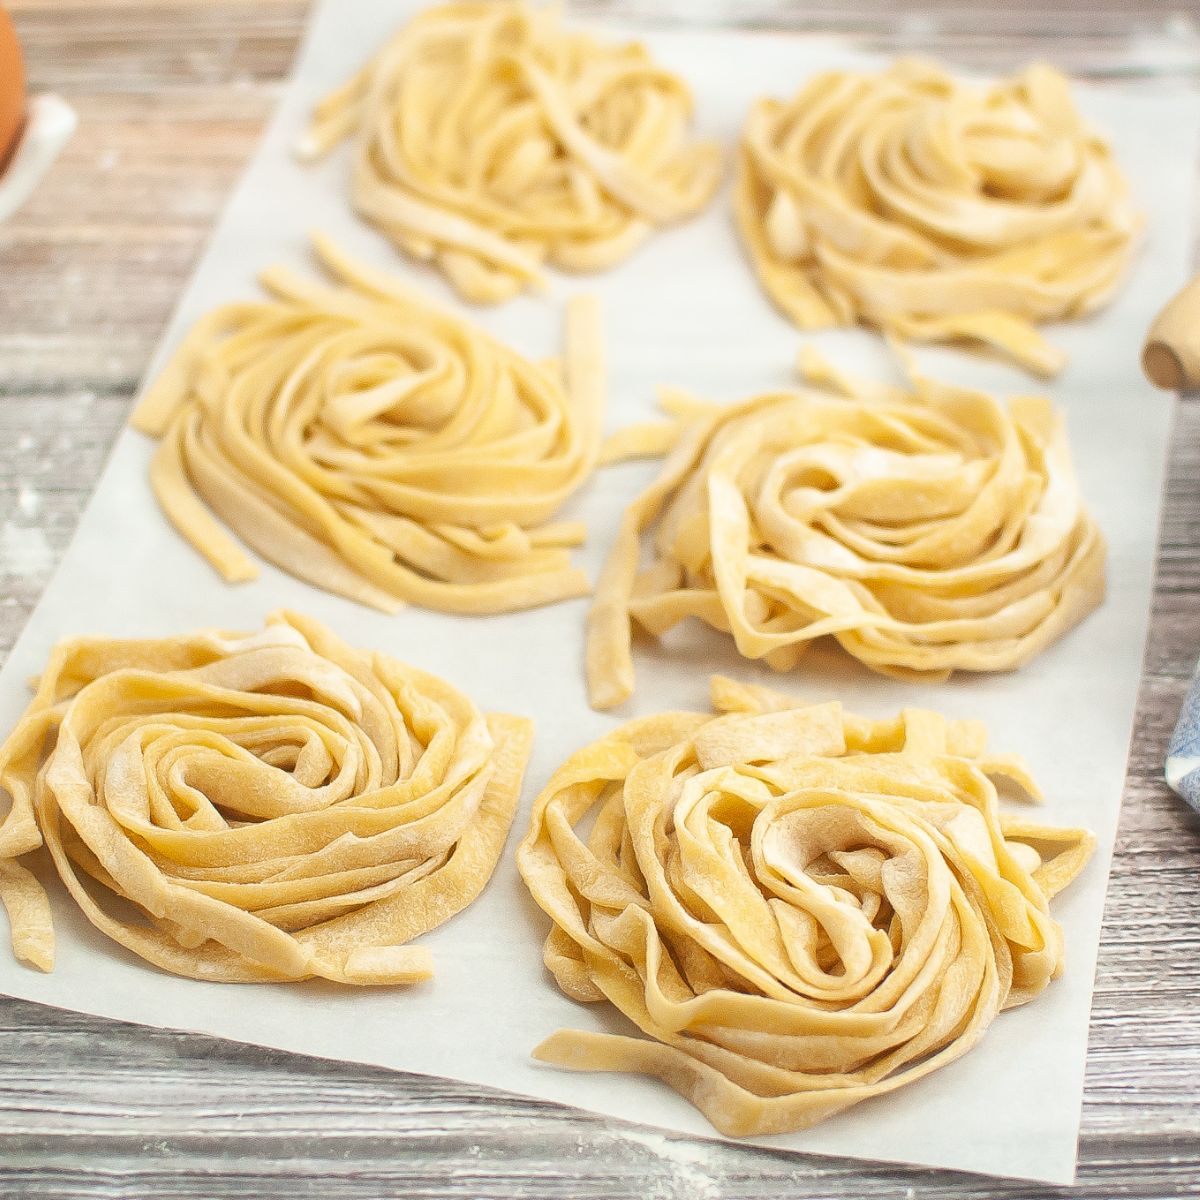
Beginner’s Guide to Homemade Fettuccine
Video
Ingredients
- 2 ½ cups flour; 00 flour or all-purpose
- 3 large eggs
- ½ teaspoon salt
- 1 tablespoon olive oil
Method
- Spread 2¼ cups of flour onto a clean, smooth work surface. Using the back of a rounded bowl or large spoon, press the center to form a well about 4 inches wide. Crack the eggs into the well and add the olive oil and salt.
- With a fork, gently whisk the eggs while slowly drawing in a little flour from the inner edges of the well. Continue to mix carefully so the wall of flour doesn’t break. As more flour blends in, the mixture will thicken and start to look like a shaggy dough.
- Use a bench scraper or your hands to fold the remaining flour into the egg mixture until a rough ball of dough forms. Knead the dough by hand for 10 to 15 minutes, until it is smooth and no longer looks rough or crumbly. Fresh pasta dough should feel firm but pliable, not soft like bread dough. If the dough feels sticky, sprinkle in 1 tablespoon of the reserved flour at a time while kneading. If it seems too dry to come together, add a few drops of water as needed.
- Shape the dough into a round, wrap it tightly in plastic wrap, and let it rest at room temperature for at least 30 minutes and up to 3 hours. For longer storage, refrigerate for up to 24 hours, bringing it back to room temperature before rolling.
- Lightly flour a flat work surface. Divide the rested dough into 2 to 4 equal portions and loosely cover the pieces you’re not rolling with plastic wrap.
- Working with one piece at a time, roll it out into a rectangle about ¼ inch thick. Dust the sheet lightly with flour.
- Fold the pasta sheet into loose folds 1 to 3 inches wide, then slice across the folds into ⅛-inch strips. Carefully separate and unfurl the cut strands to create your fettuccine noodles.
Nutrition
Notes
- Weigh the flour for consistent results and use room-temperature eggs for easier mixing.
- Knead the dough until it is smooth and no longer looks rough or crumbly. Fresh pasta dough should feel firm but pliable, not soft like bread dough. If it seems dry, add a few drops of water; if sticky, dust with a little flour.
- Rest the dough for at least 30 minutes so the gluten relaxes, making it easier to roll thin without shrinking.
- Wrap the dough tightly in plastic and refrigerate for up to 24 hours; bring to room temperature before rolling.
- Refrigerate freshly cut pasta in a floured airtight container for up to 2 days.
- Freeze pasta nests on a baking sheet until firm, then transfer to a freezer bag and cook straight from frozen, adding 1–2 extra minutes to the boiling time.
Tried this recipe?
Let us know how it was!

Finally, a Meal Planner That Keeps Up With Your Life
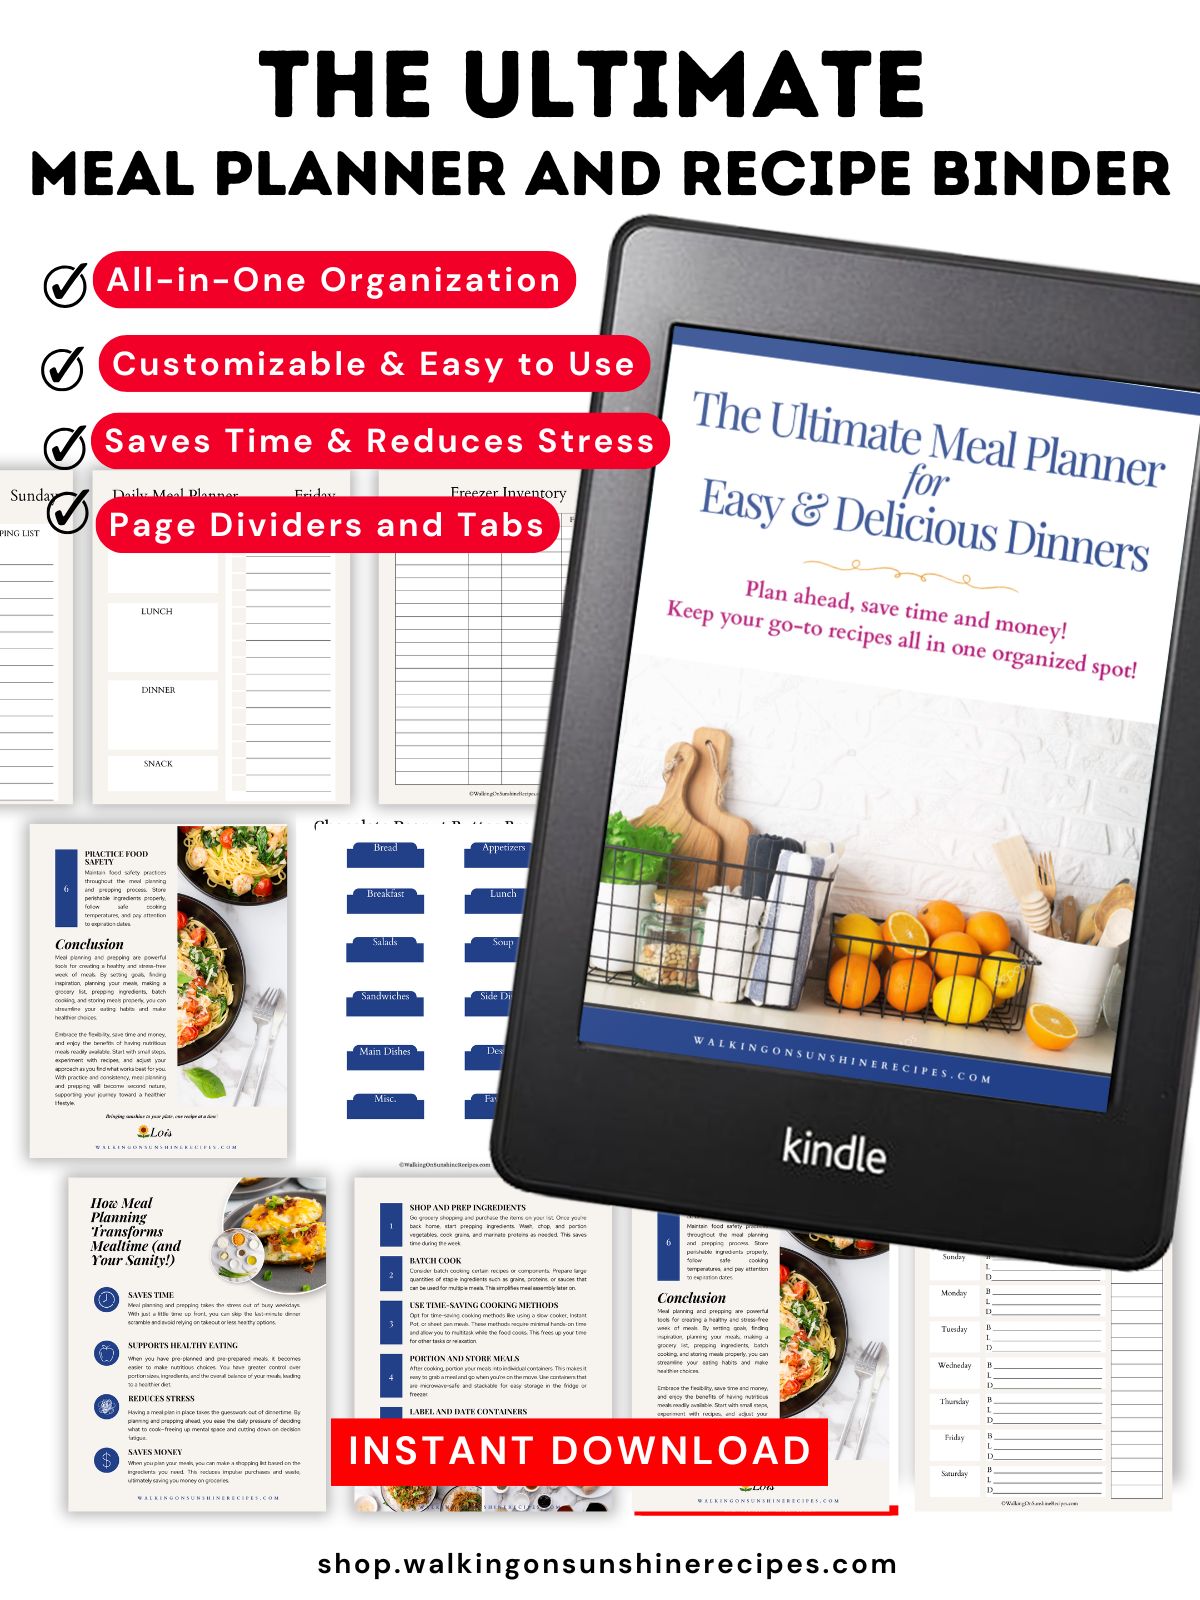
Want a better way to keep track of your family’s favorite meals? Grab my Ultimate Meal Planner & Recipe Binder—perfect for organizing go-to recipes, planning weekly dinners, and making mealtime feel a little less chaotic.

Food Safety Tips
- Cook to a minimum temperature of 165 °F (74 °C)
- Do not use the same utensils on cooked food, that previously touched raw meat.
- Wash hands after touching raw meat.
- Don't leave food sitting out at room temperature for extended periods.
- Never leave cooking food unattended.
- Use oils with high smoking point to avoid harmful compounds.
- Always have good ventilation when using a gas stove.


Sarah says
Taking a break from kneading to comment that I have been kneading for nearly 40 minutes and my dough is in no way shape or form “smooth and elastic”.
Lois says
Hi Sarah! Thank you for taking the time to leave a comment. Forty minutes is definitely longer than I would expect. Homemade pasta dough is much firmer than bread dough, so it won't feel soft and stretchy as you knead. Based on your feedback, I've updated the post to include more tips about what the dough should look and feel like, along with a photo you can compare your dough to before letting it rest. I hope those additions make the process a little easier for future readers. If you decide to give the recipe another try, I'd love to hear how it turns out!
Lesley says
How much flour do you use? You have 2 different measurements for the flour-2 1/2 and 2 1/4.
Lois says
Great question! The ingredient list calls for 2 1/2 cups flour total. In the directions, it’s just split up: you start with 2 1/4 cups, then add the remaining flour a tablespoon at a time during kneading if the dough feels sticky. The exact amount can vary a bit depending on egg size and humidity, so the extra flour is just for adjusting the texture. Hope this helps!
Natasha Mairs says
I have never made my own pasta before. I may have to give this a go.
Lois says
Thank you so much! If you decide to try making your own pasta, I’d love to hear how it turns out for you.