

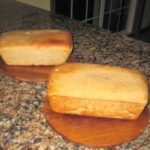


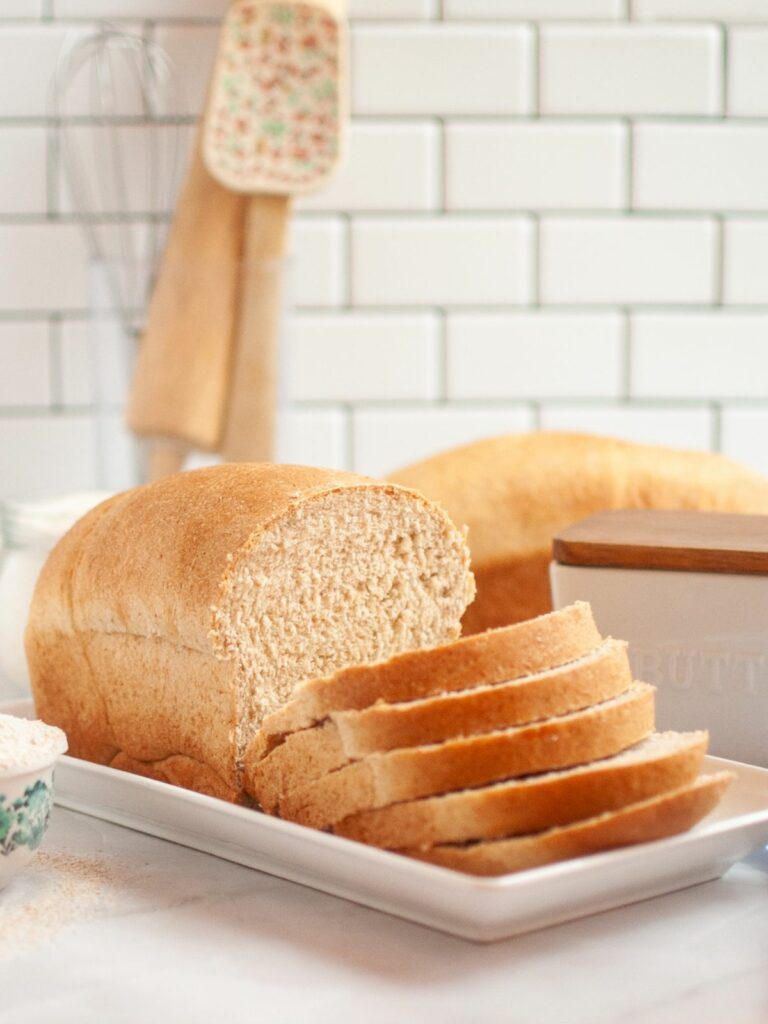
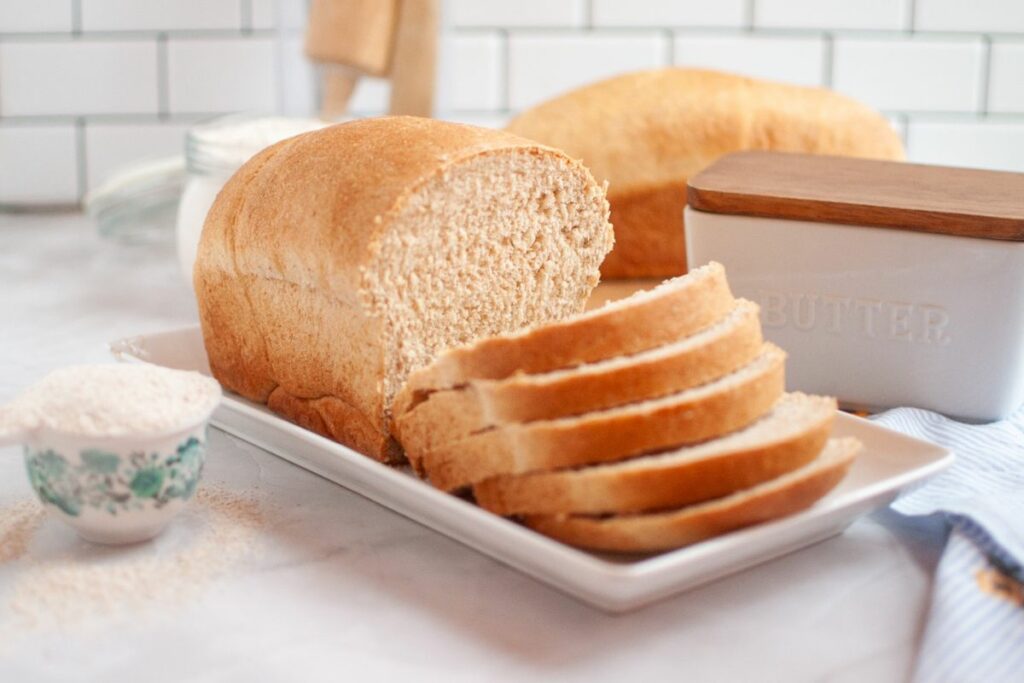
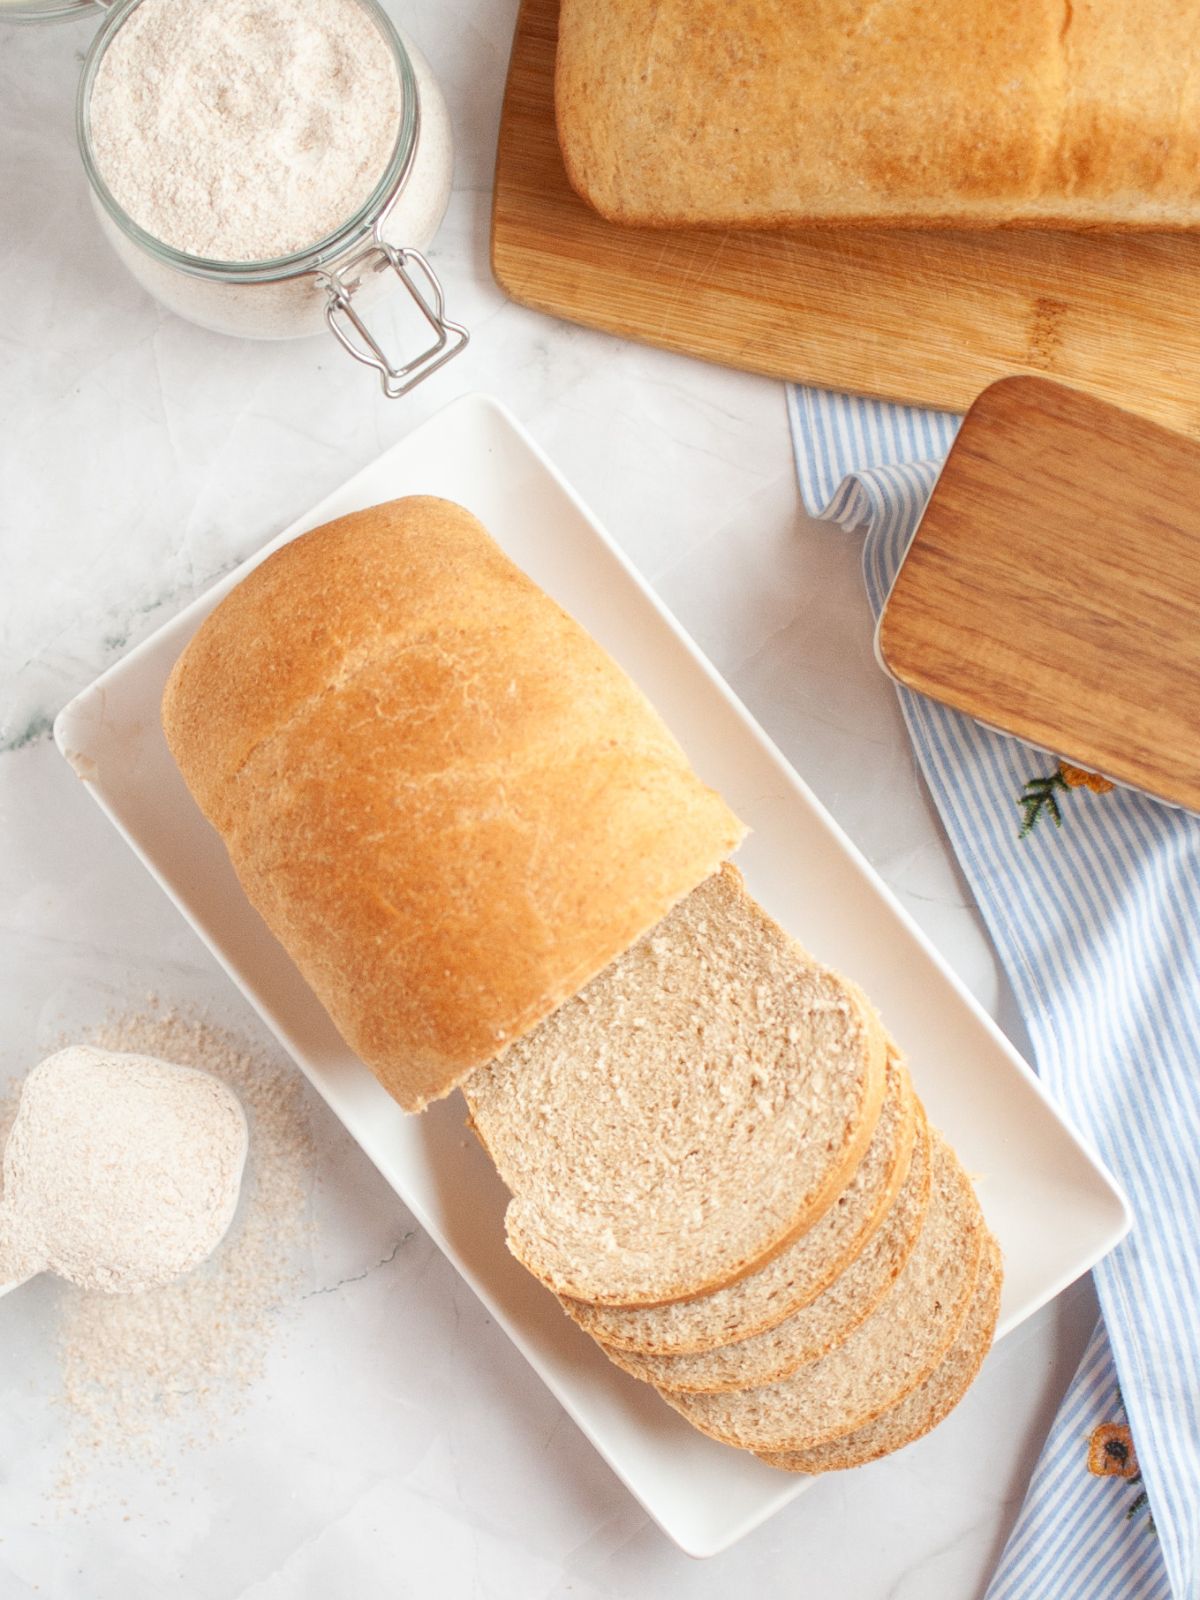
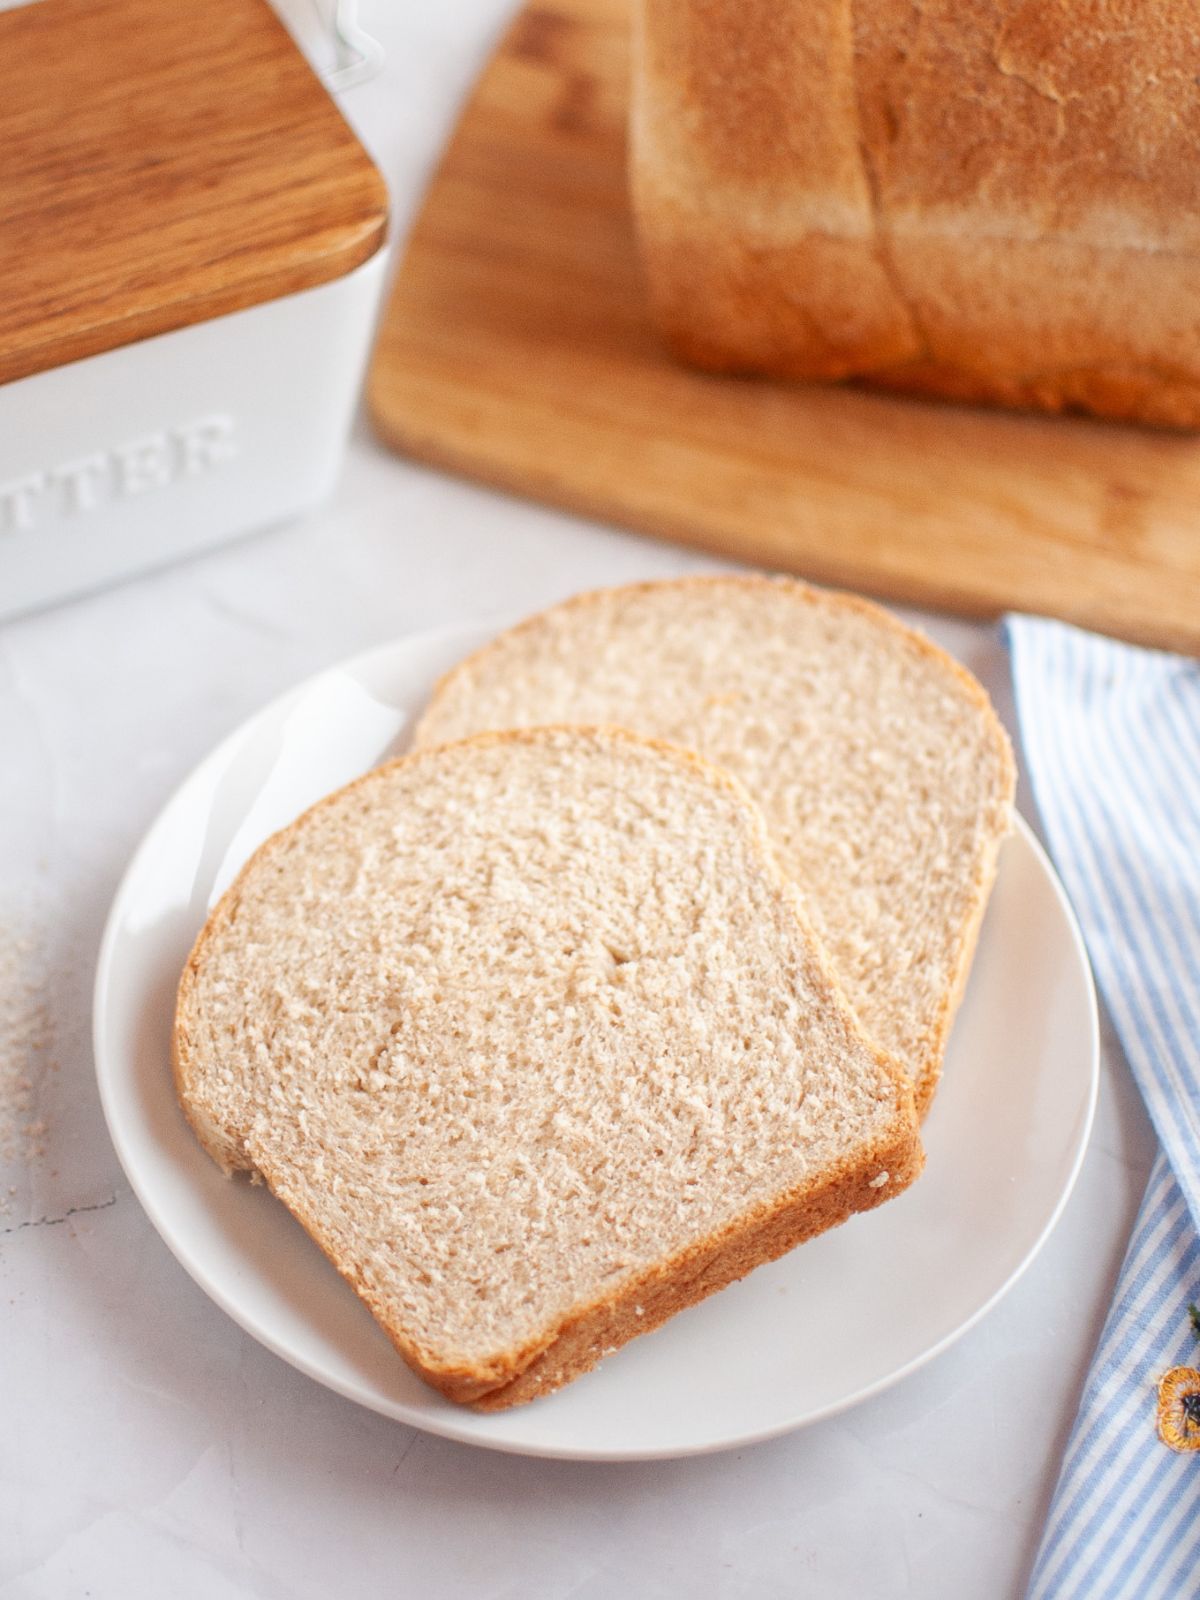
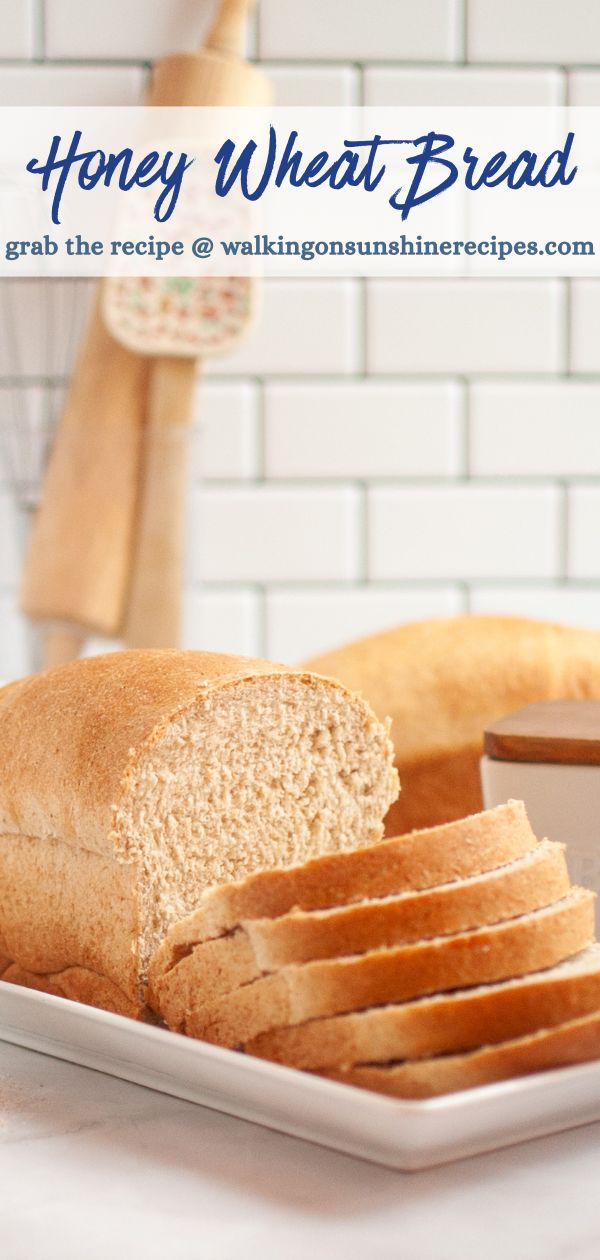
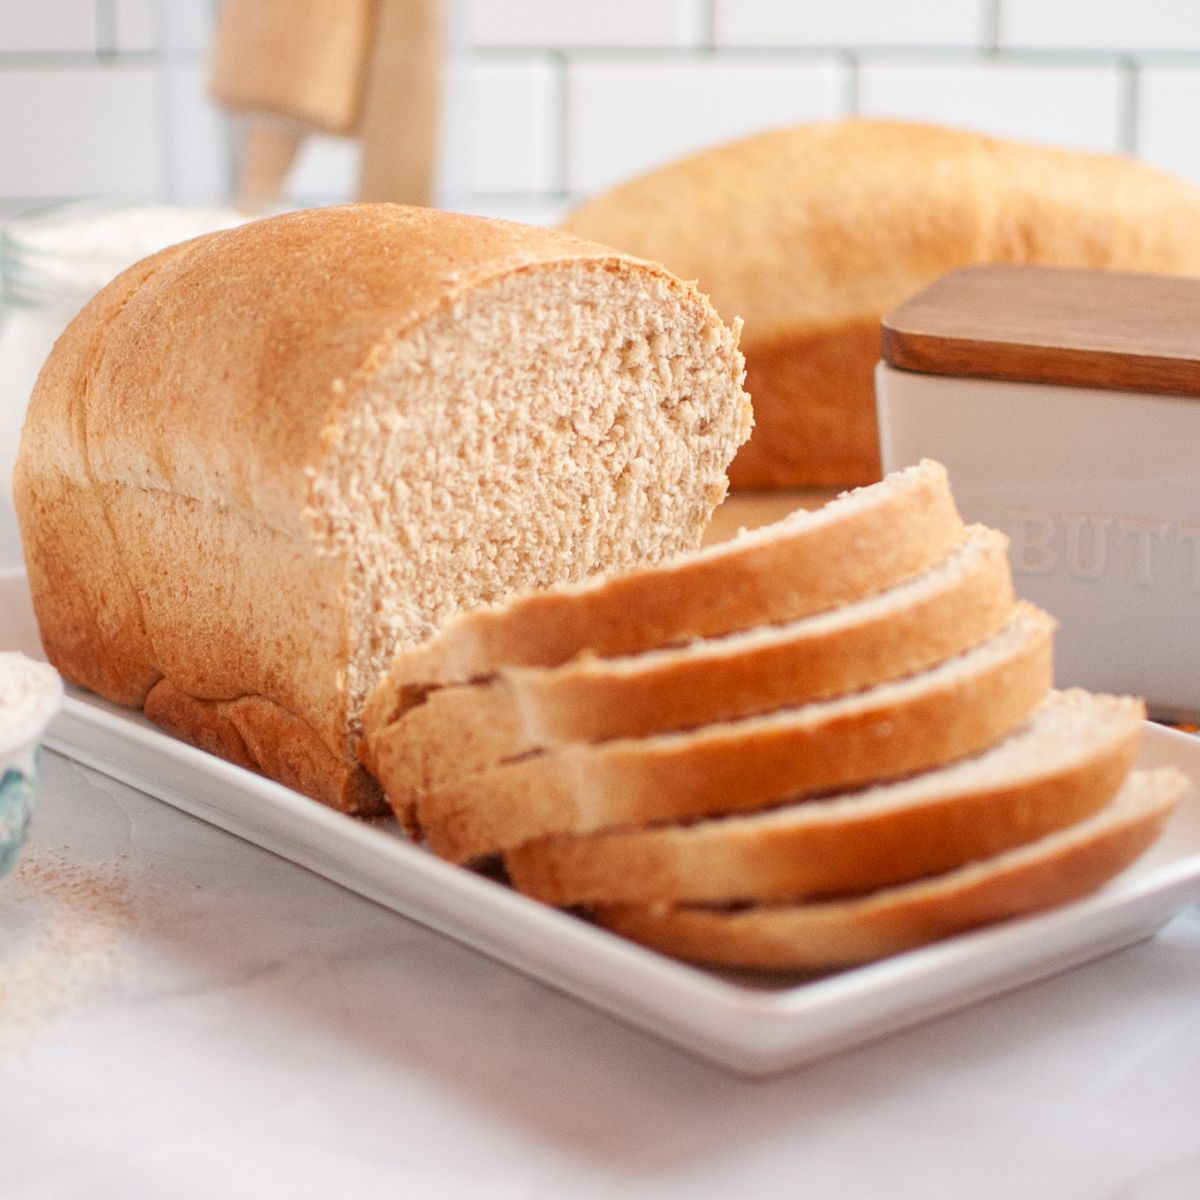
There’s nothing quite like the smell of fresh bread baking in your kitchen—and this Homemade Honey Wheat Bread delivers on both flavor and comfort.
Made with a blend of whole wheat and all-purpose flour, and naturally sweetened with honey, this recipe creates a soft, slightly nutty loaf that’s perfect for sandwiches, toast, or just warm with a pat of butter.
It’s an easy, reliable recipe that brings homemade goodness to your table with every slice—perfect for sandwiches, toast, or your favorite Family Dinner Ideas.
Want to Save This Recipe?
Enter your email & I'll send it to your inbox. Plus, get great new recipes from me every week!
By submitting this form, you consent to receive emails from Walking on Sunshine Recipes.
I’ve been baking homemade bread for years—long before it became trendy. What started with a cookbook, a big plastic blue bowl, and a curiosity about working with yeast quickly turned into a passion.
It didn’t take long before I was completely hooked on the joy (and delicious results) of baking fresh bread from scratch.
Looking for more Homemade Bread Recipes? Try my Amish White Bread or try this No Knead Bread if you'd like to skip the yeast.
Table of Contents
- Soft Honey Wheat Bread Recipe
- Helpful Kitchen Tools
- My Kitchen Tools Essentials
- Main Ingredients Needed
- Substitutions and Variations
- Step-by-Step Instructions
- What does Foamy Yeast Look Like?
- How long does it take for bread to start to rise?
- Baking Instructions
- LOVE this recipe? SAVE it for Later!
- Recipe Tips That Work for Me When Baking Homemade Bread
- Recipe FAQ's
- How to Store, Freeze and Reheat
- More Delicious Bread Recipes
- 📖 Recipe Card
- 💬 Comments
Soft Honey Wheat Bread Recipe
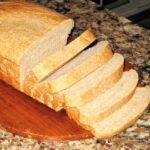
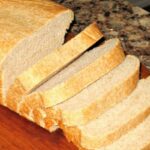
It’s soft and fluffy – not dense like some whole wheat breads, making it great for sandwiches and toast.
Mild, slightly sweet flavor – thanks to the honey, it’s kid-friendly and goes with everything.
Homemade freshness – nothing beats the taste (or smell!) of bread fresh from the oven.
Healthier than store-bought – with simple ingredients and less sugar, you know exactly what’s inside.
It freezes well – make a few loaves at once and always have homemade bread on hand.
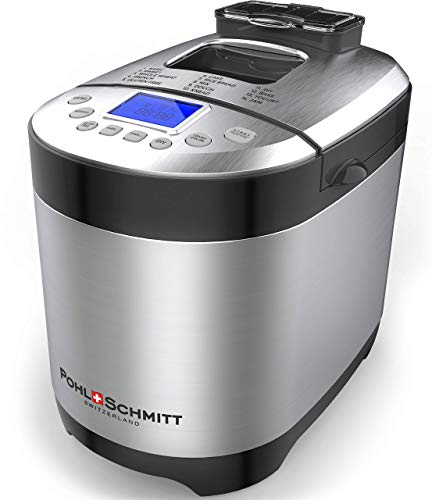
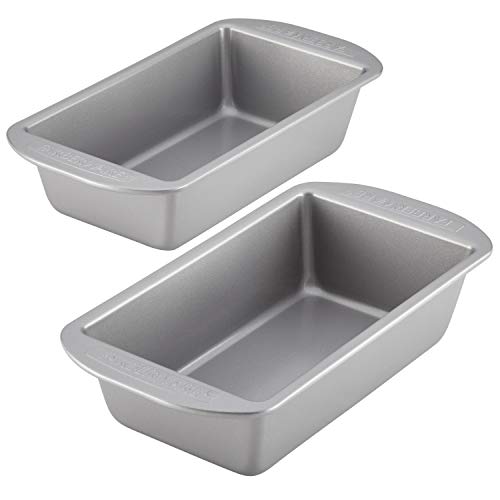
Helpful Kitchen Tools
More InformationMore InformationMore InformationMore Information


Check out my list...
My Kitchen Tools Essentials
Tools that will make your time easier and faster in the kitchen!
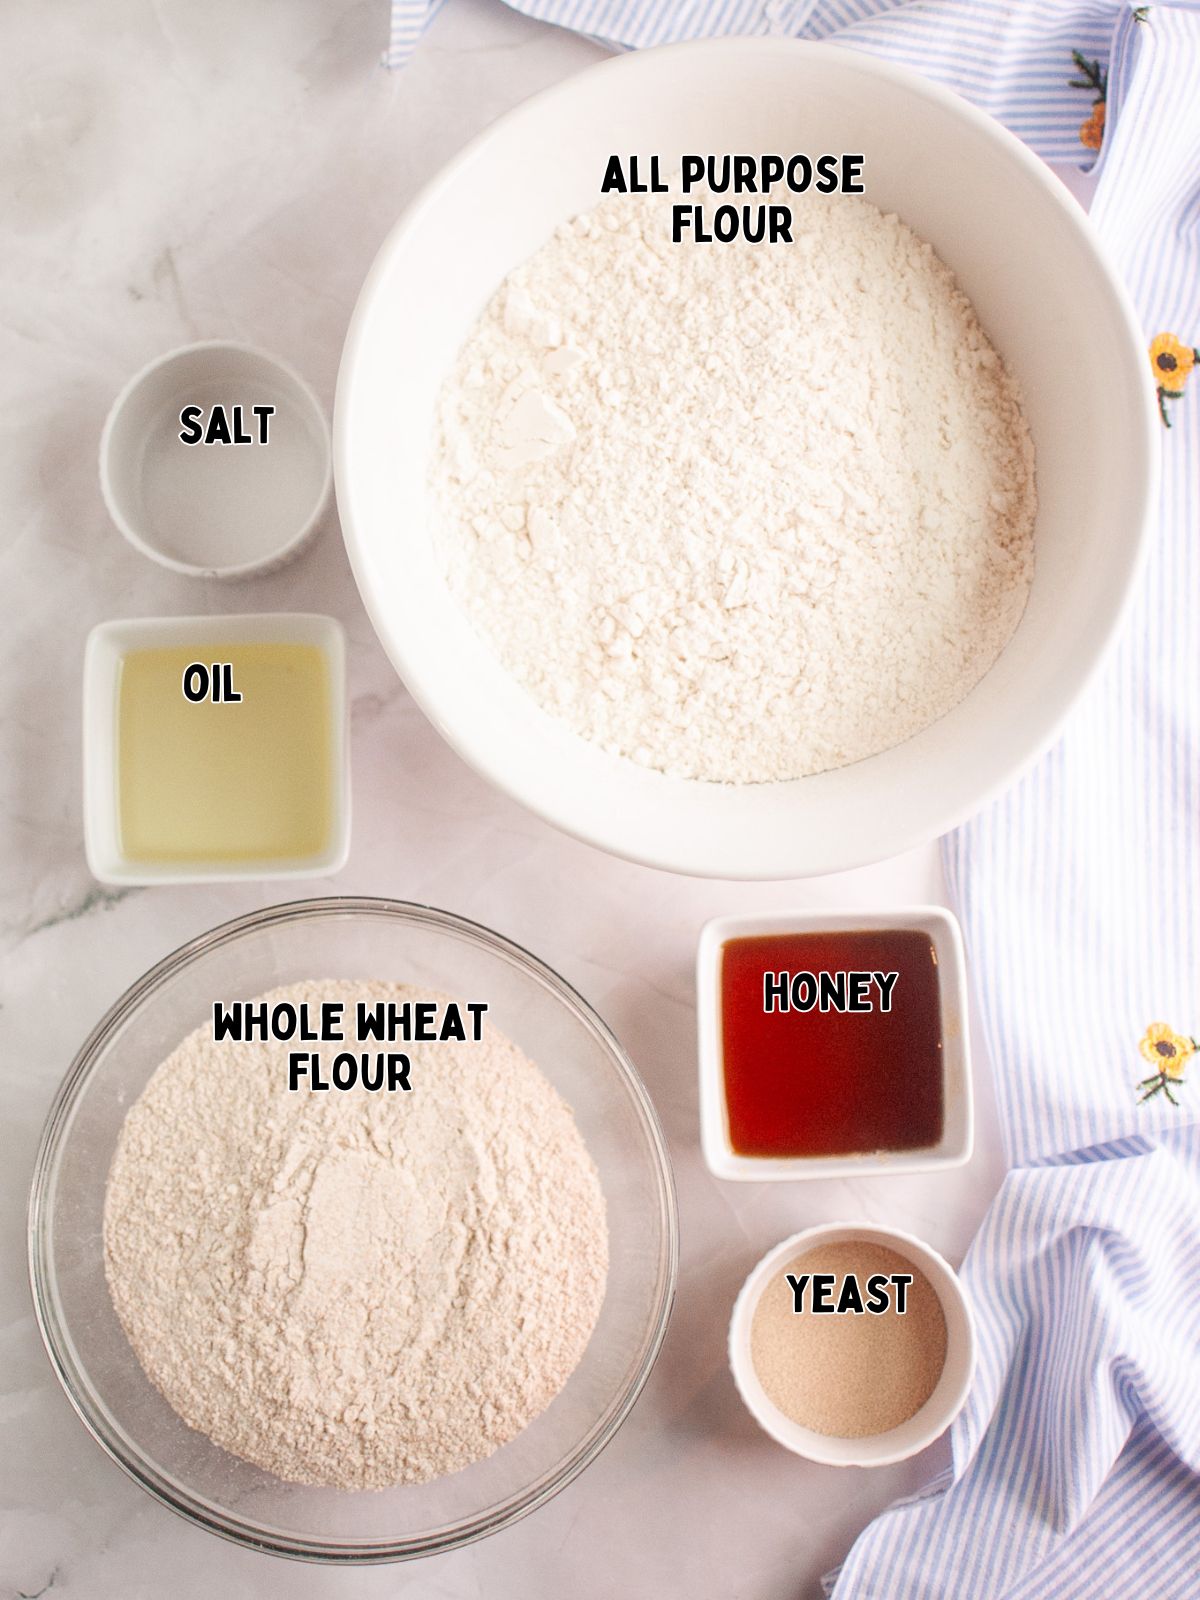
Main Ingredients Needed
Below is a quick preview of the ingredients you’ll need. For exact amounts, check the recipe card below. You can also use the "Shopping List button" to create a printable shopping list, or the "Get Ingredients button" in the recipe card to order groceries online.
Substitutions and Variations
- Warm water ⟶ Warm milk (adds extra richness to the dough)
- Active dry yeast ⟶ Instant yeast (reduce amount by 25% and skip proofing step)
- Honey ⟶ Maple syrup or agave nectar (use the same amount; flavor will vary slightly)
This recipe has not been tested with other substitutions or variations. If you replace or add any ingredients, please let us know how it turned out in the comments below!
Step-by-Step Instructions
This section includes step-by-step photos and instructions to guide you through the recipe. For the complete printable version, scroll down to the recipe card below.
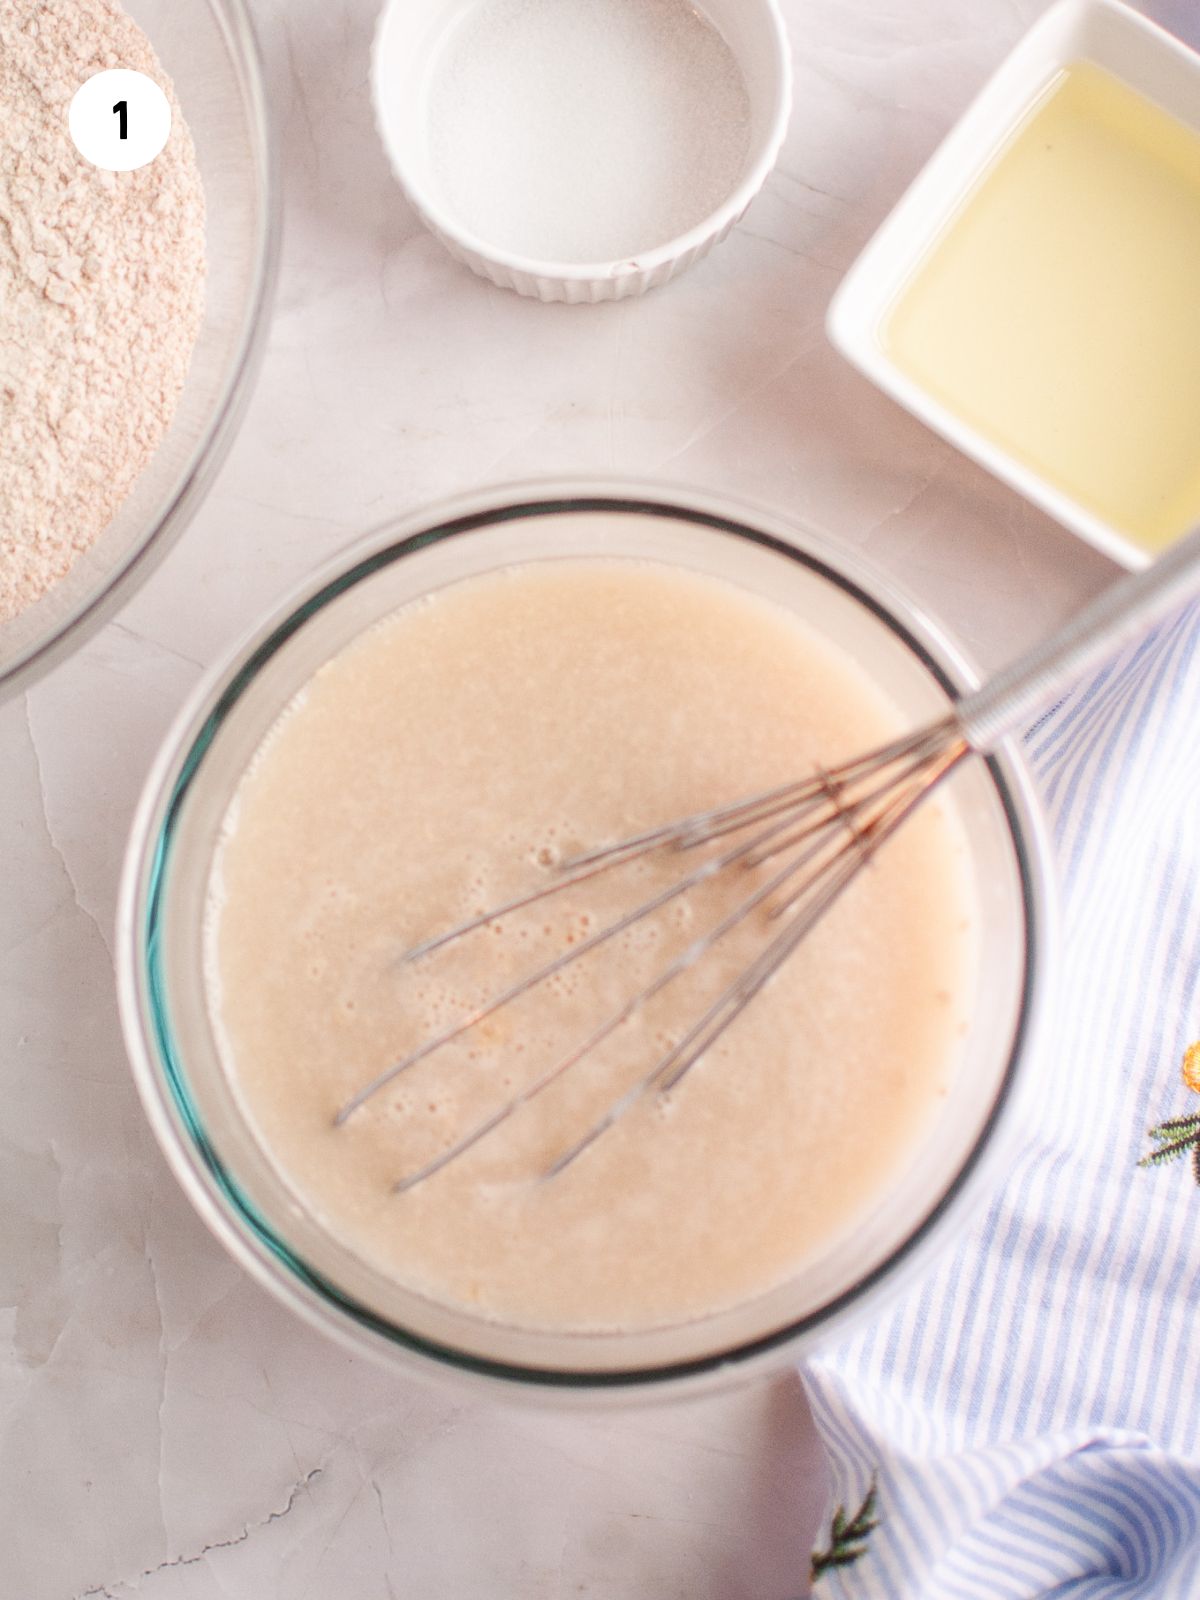
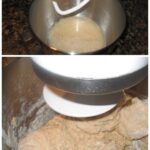
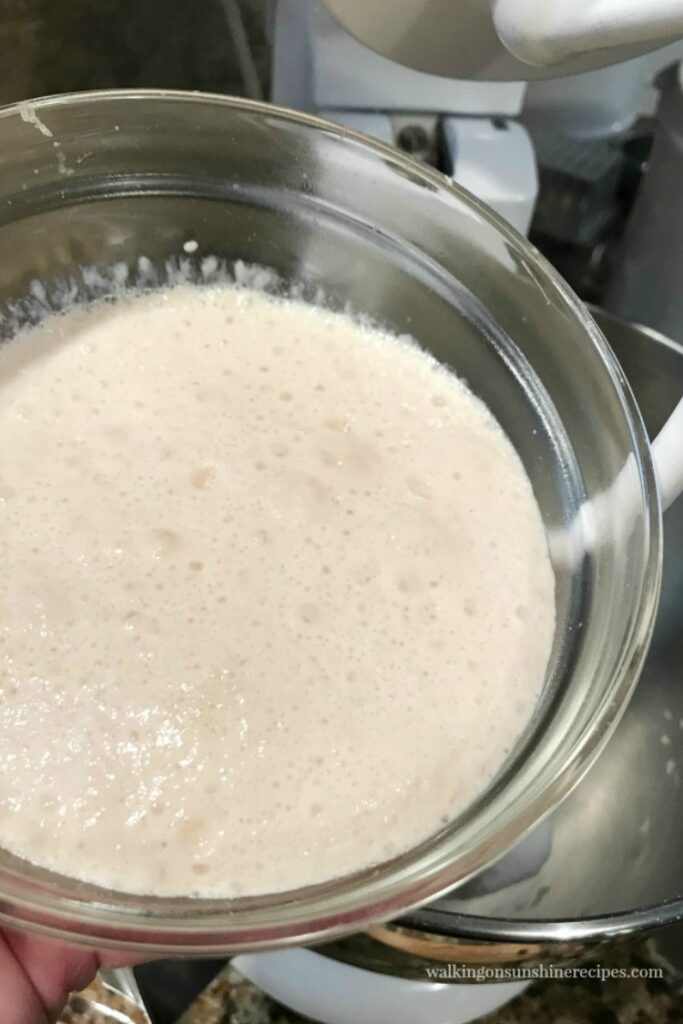
Step 1: Activate the yeast by adding it to a small bowl filled with warm water and honey.
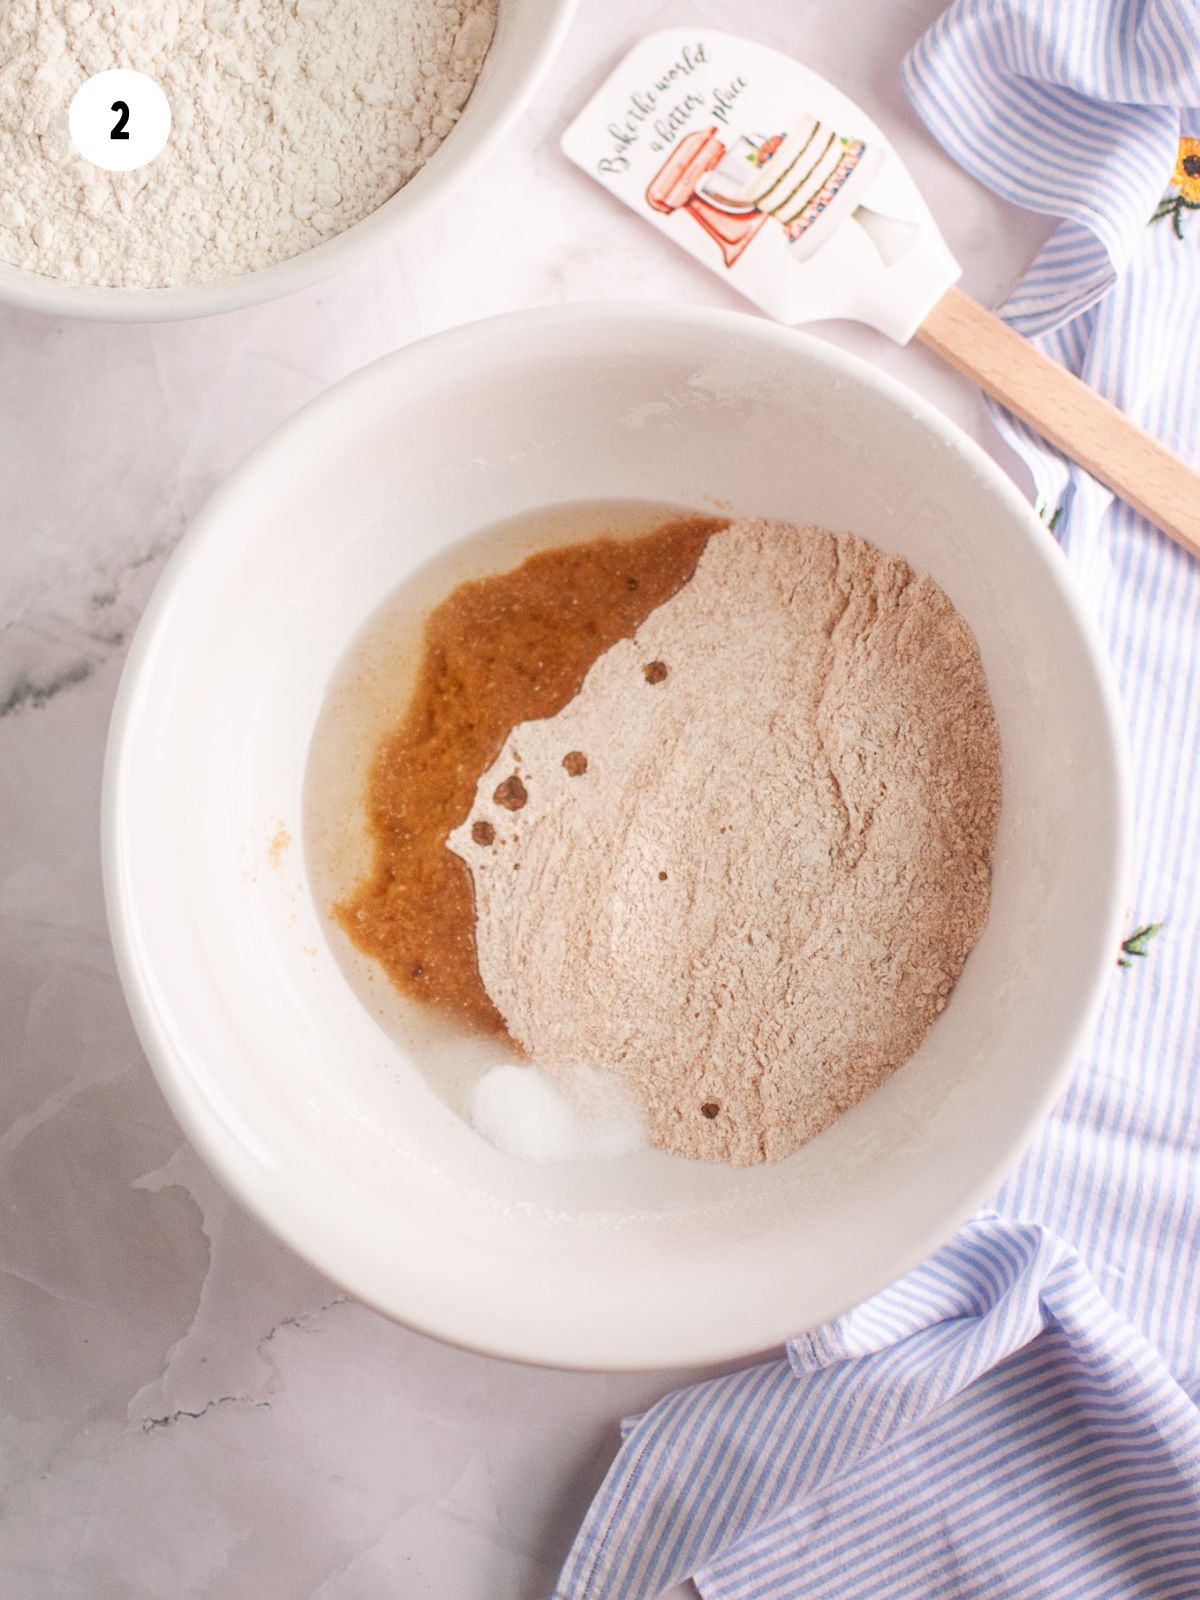
Step 2: After the yeast is bubbly, add it to the whole wheat flour, salt, and vegetable oil. Gradually add in the all purpose flour.
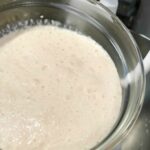
What does Foamy Yeast Look Like?
Foamy yeast looks bubbly and frothy on the surface of the water, similar to the foam on top of a soda or beer.
It may have a creamy or tan color and should show visible signs of activity—small bubbles rising and a light, airy texture. If the surface is still and flat, the yeast likely didn’t activate—start over or your bread won’t rise.

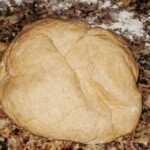
Step 3: Once the dough comes together, turn it out on a lightly floured surface and knead for 10-15 minutes.
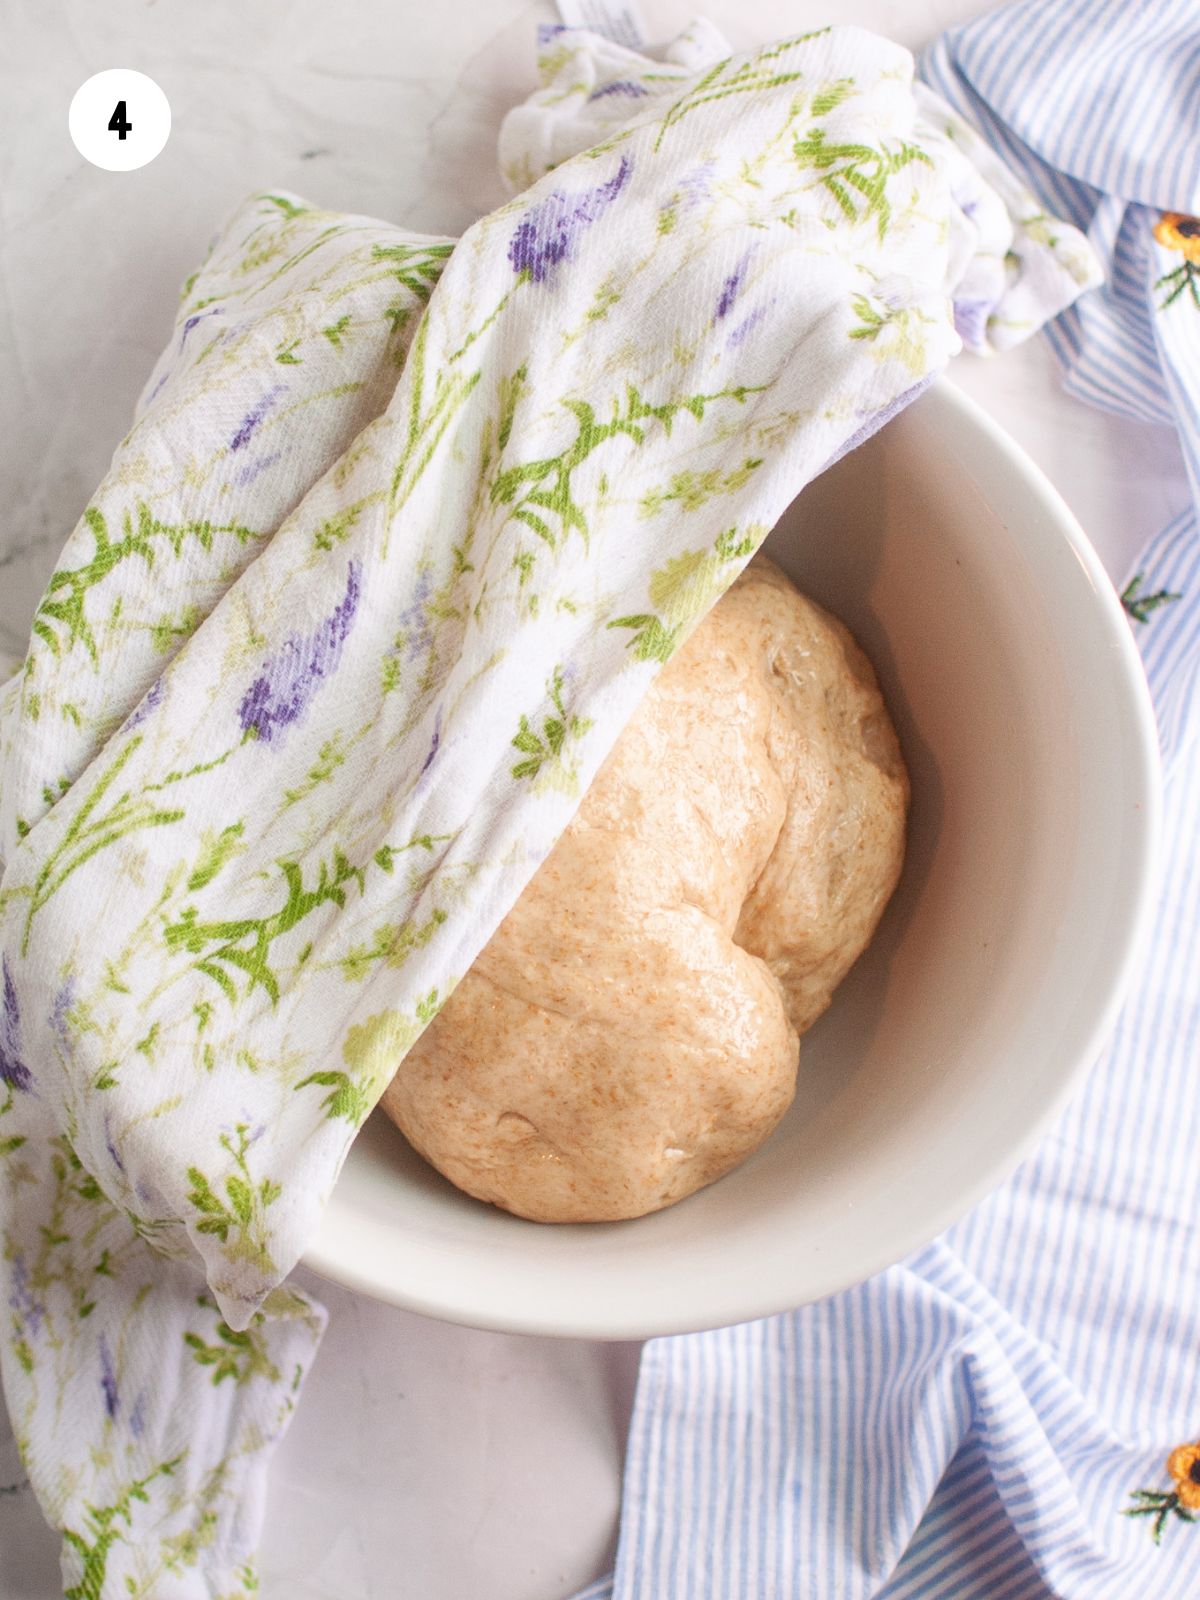
Step 4: Place the smooth dough ball in an well oiled bowl. Turn it to coat the whole surface with the oil.
How long does it take for bread to start to rise?
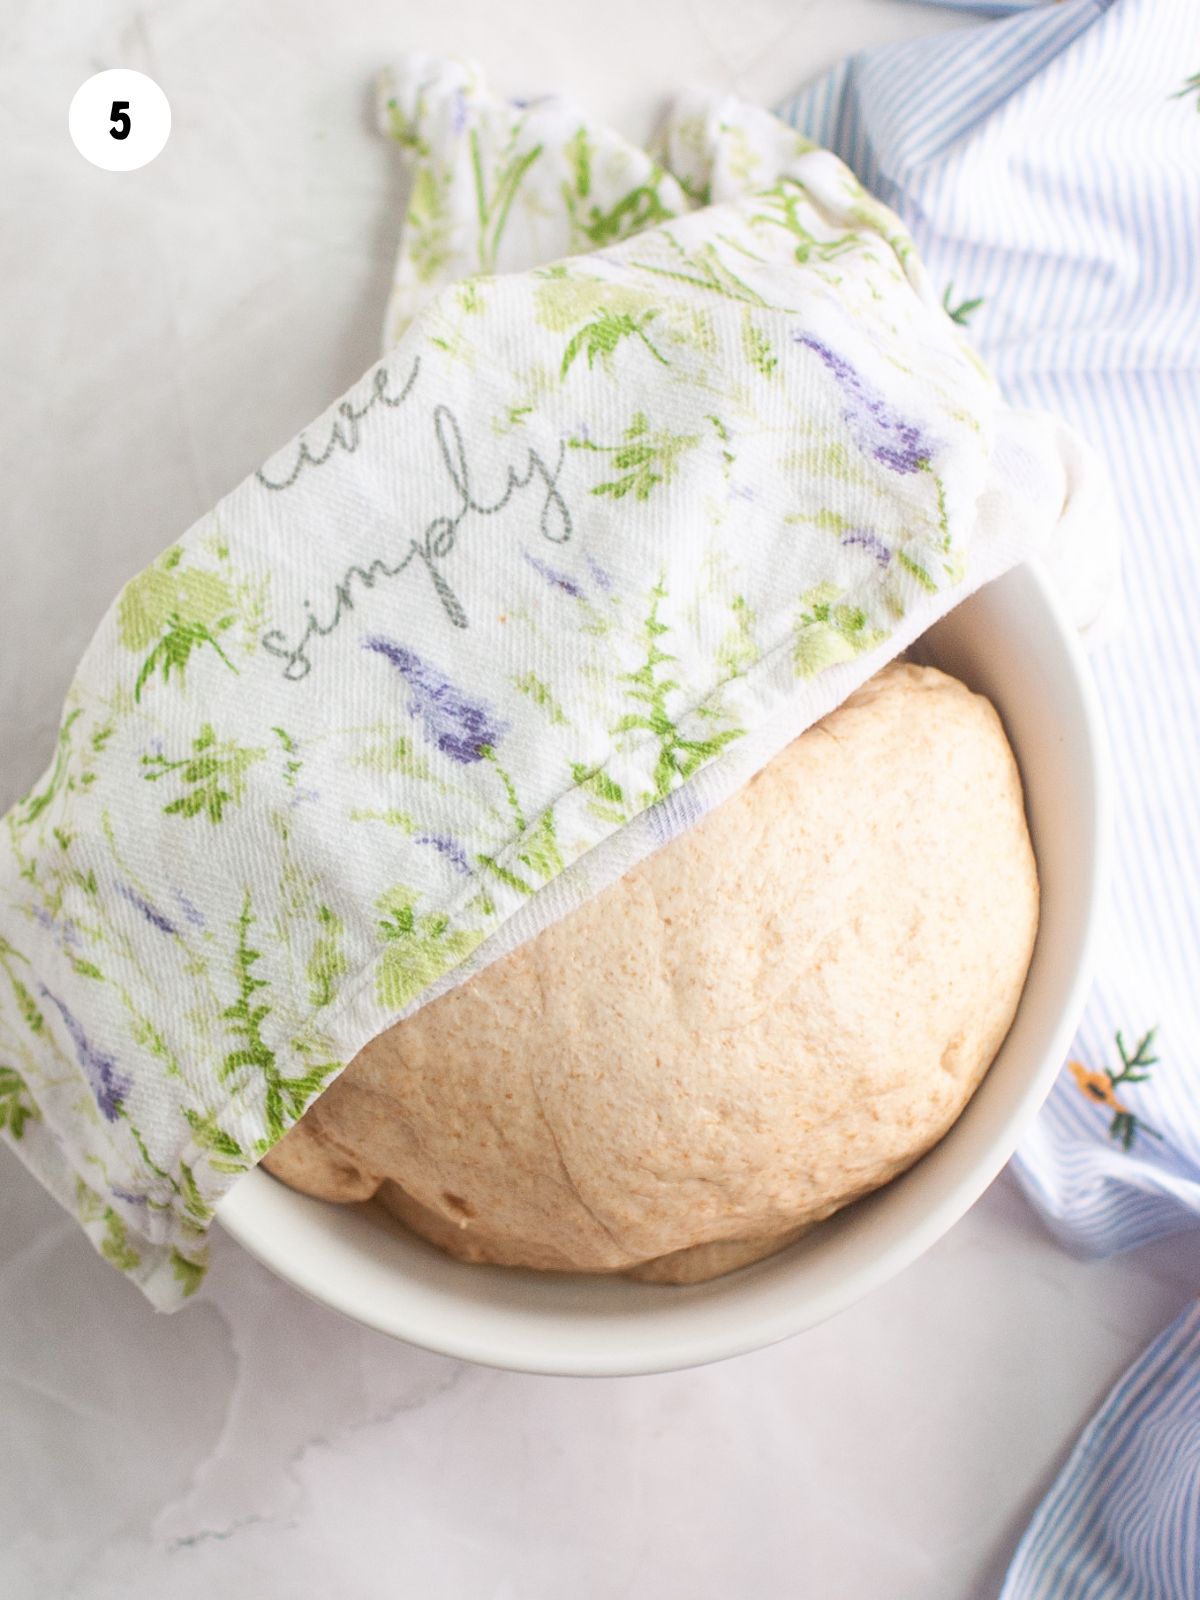
Step 5: Cover and allow to rise for about 45 minutes or until doubled in size.
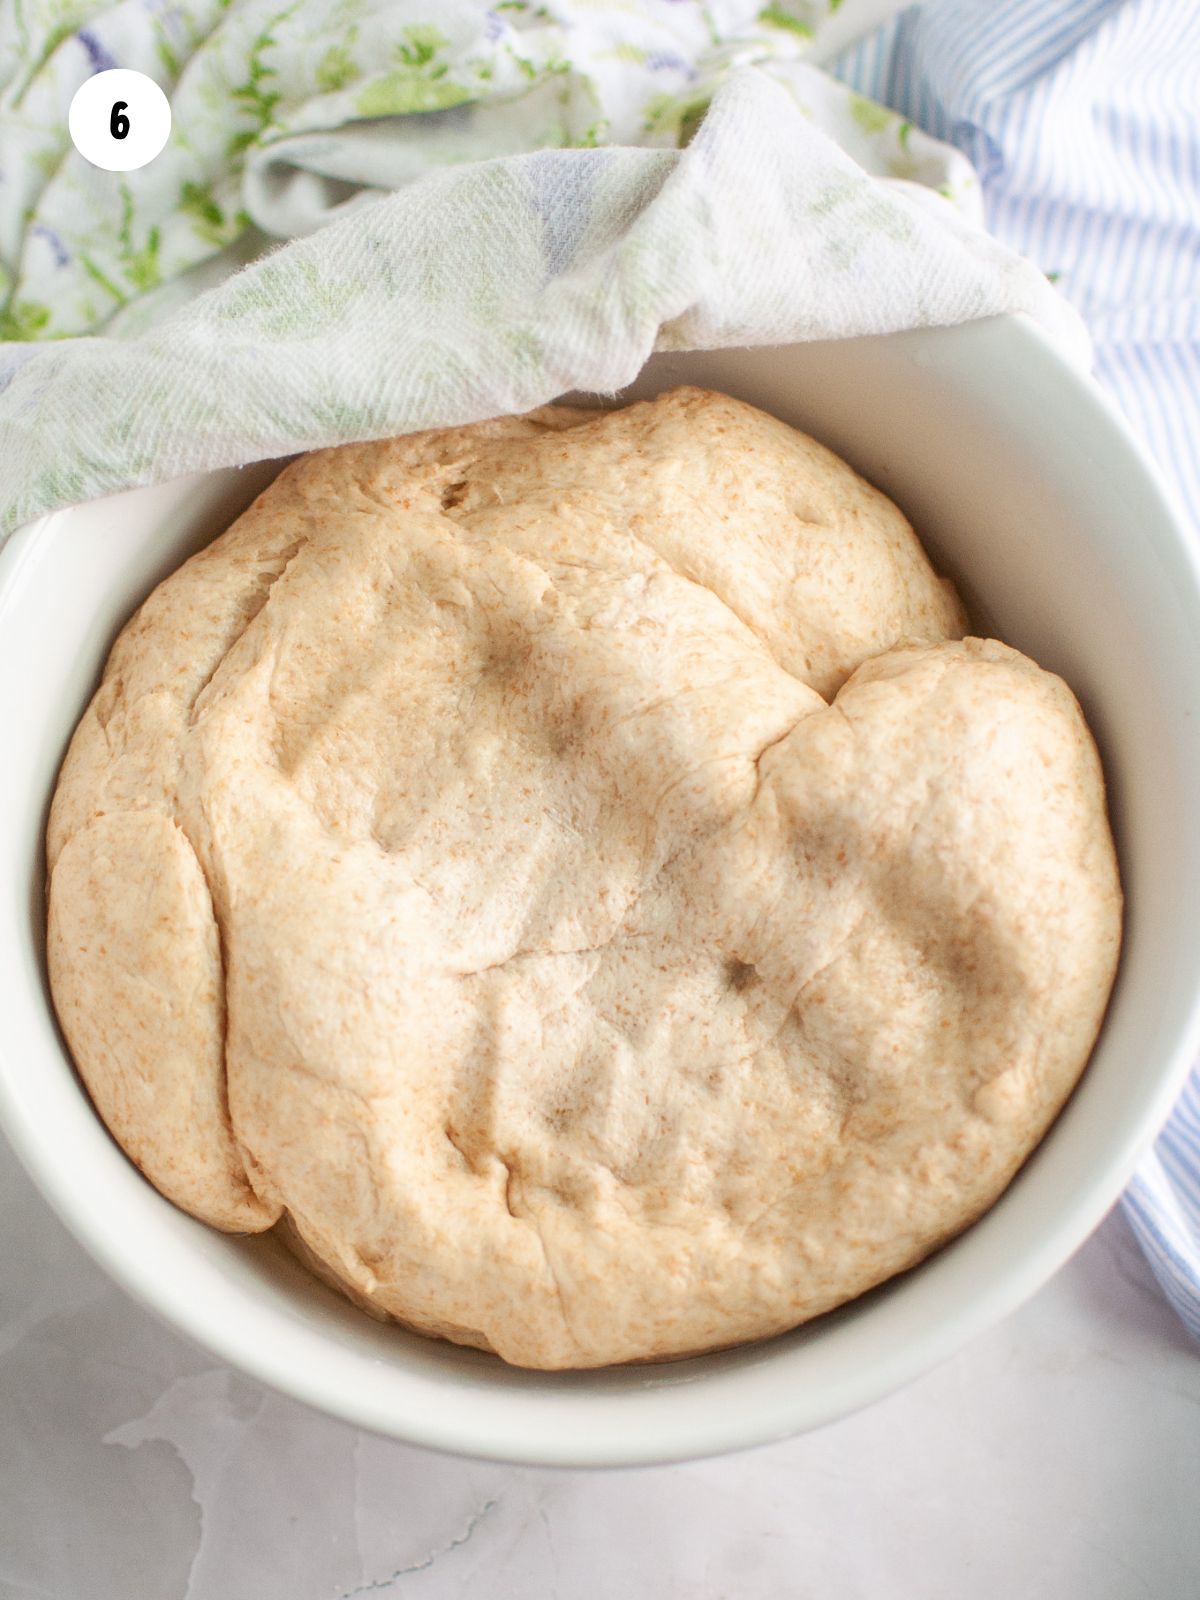
Step 6: Once the dough has risen, punch it down.

Step 7: Then divide the dough in half.
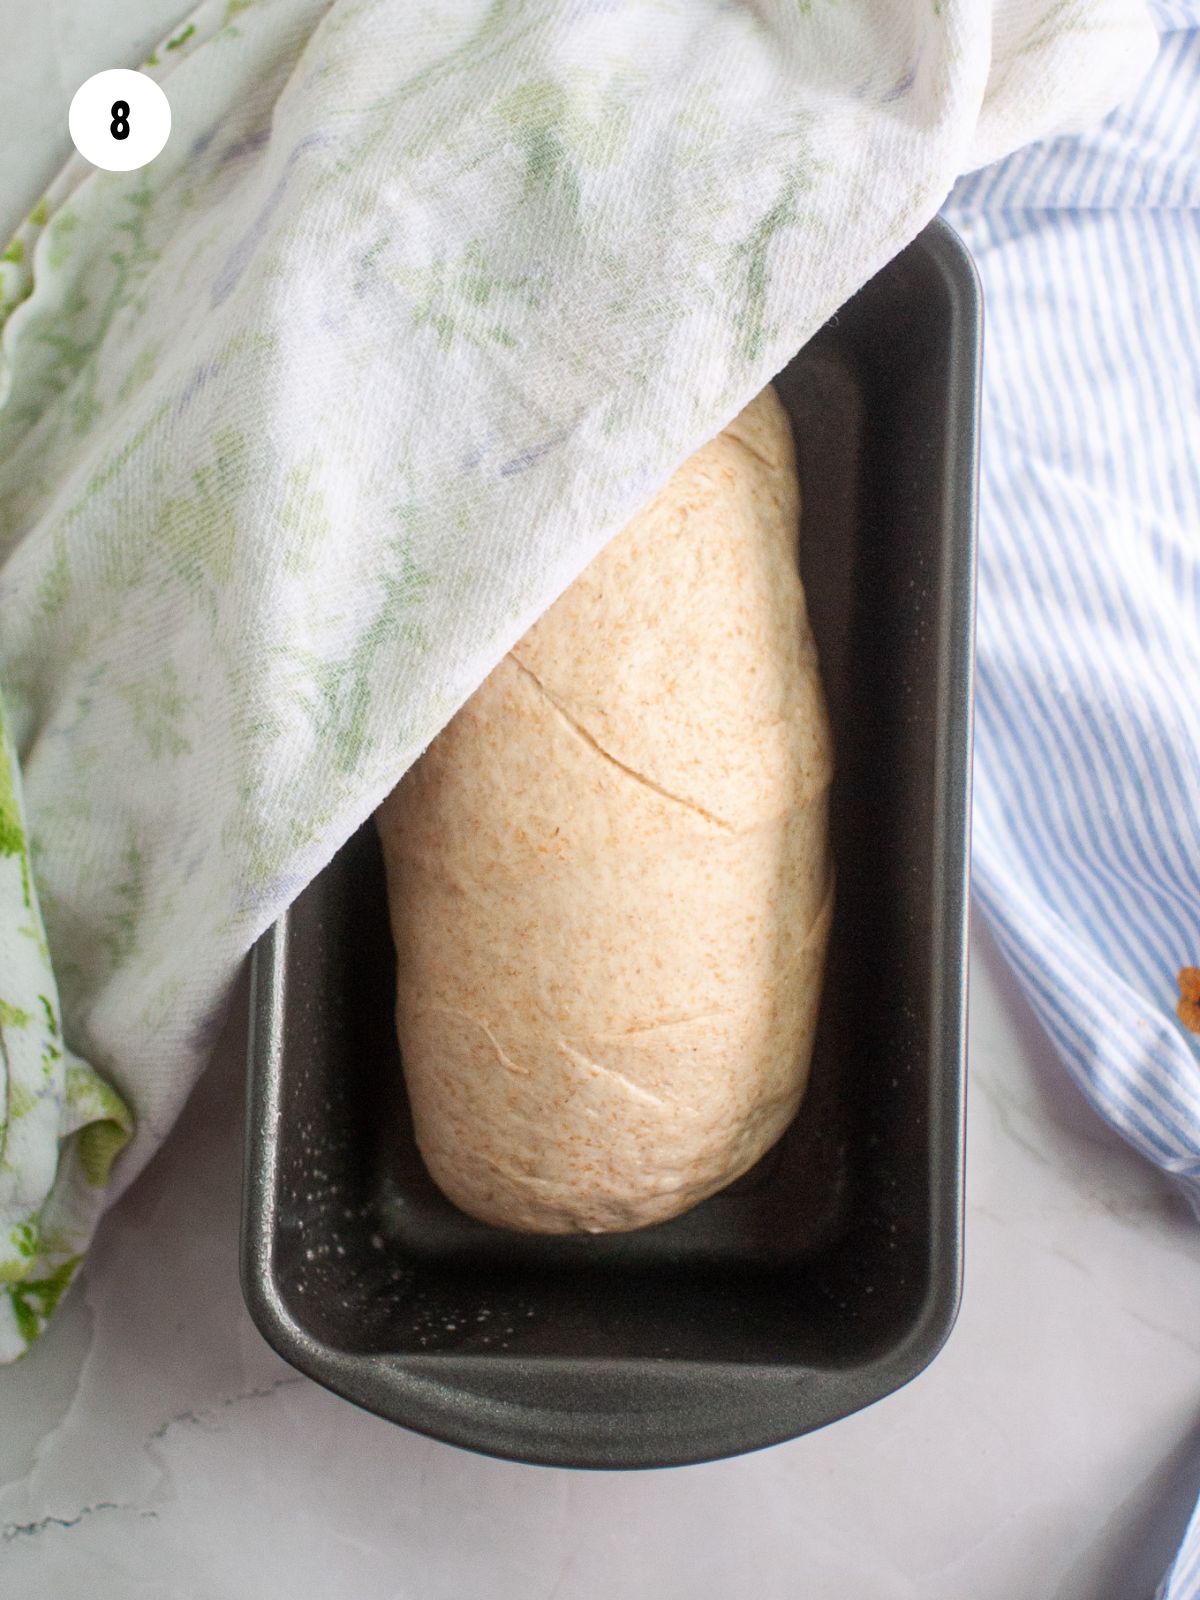
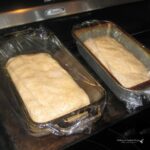
Step 8: Place each dough log in a greased loaf pan and allow to rise until doubled in size.
Baking Instructions
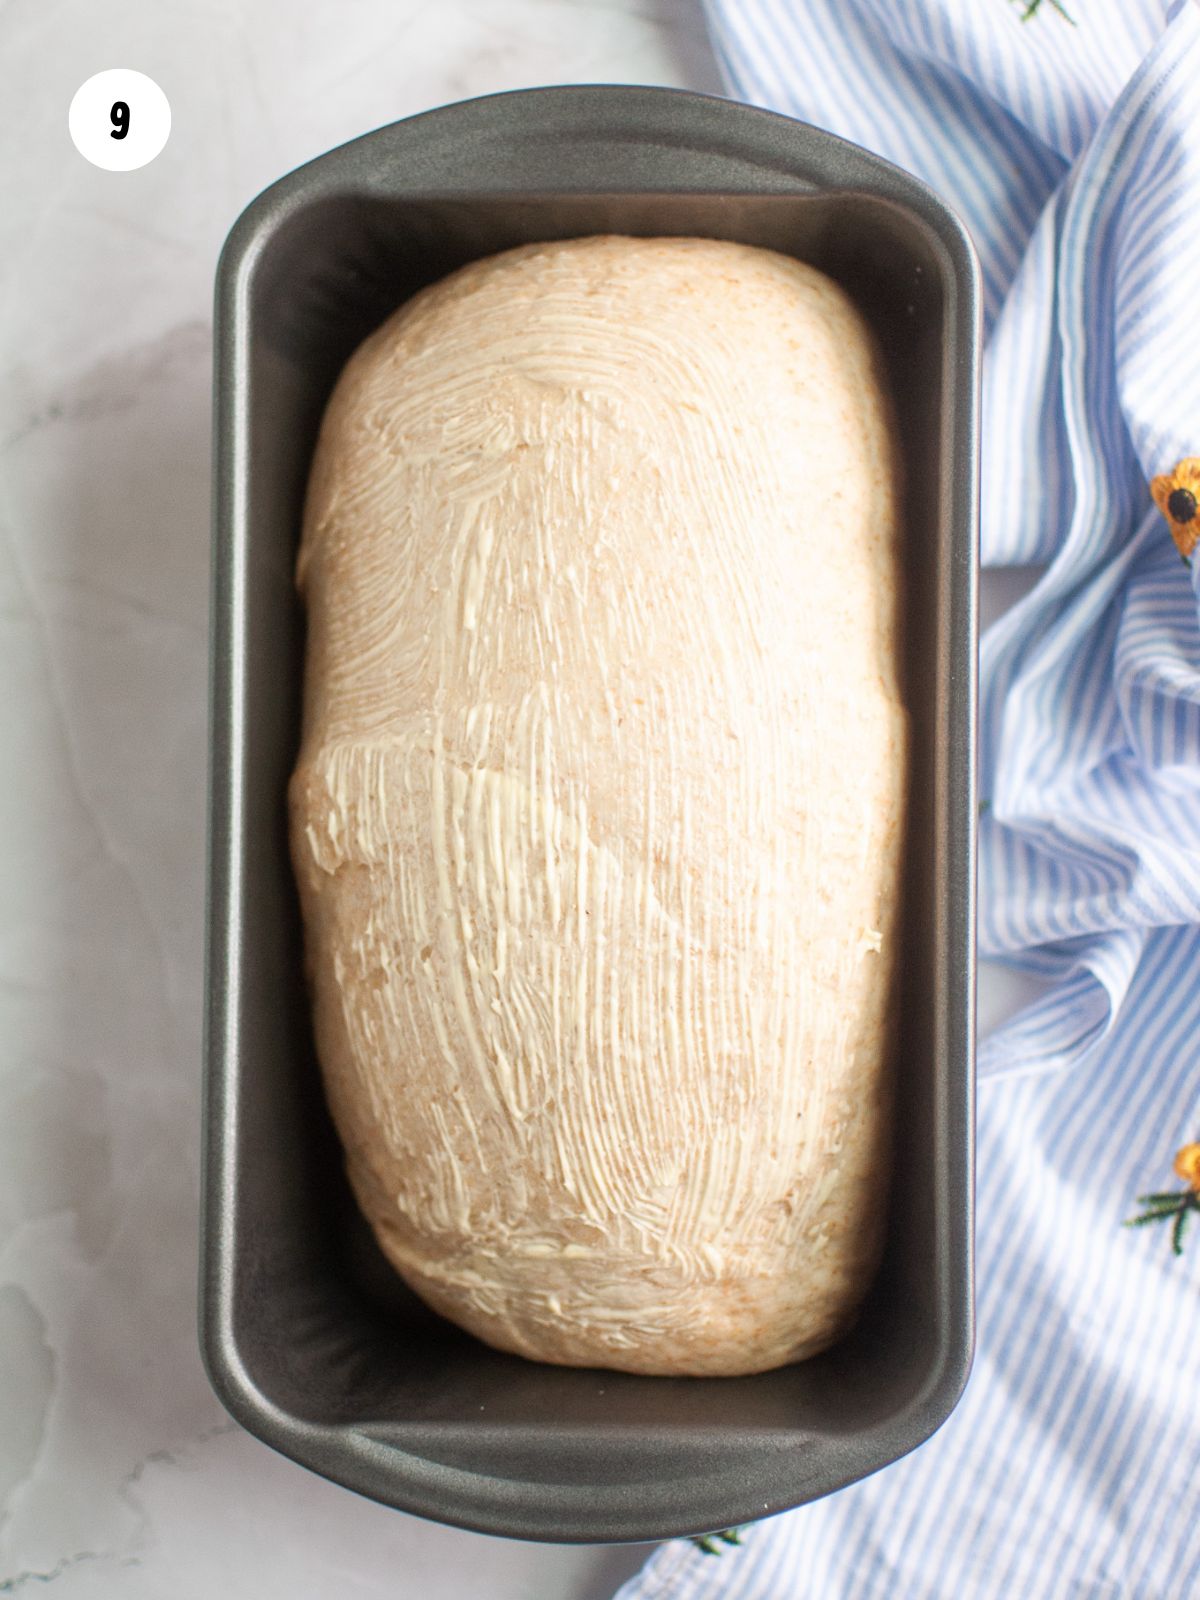
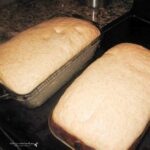
Step 9: Brush the tops of the risen dough with butter.
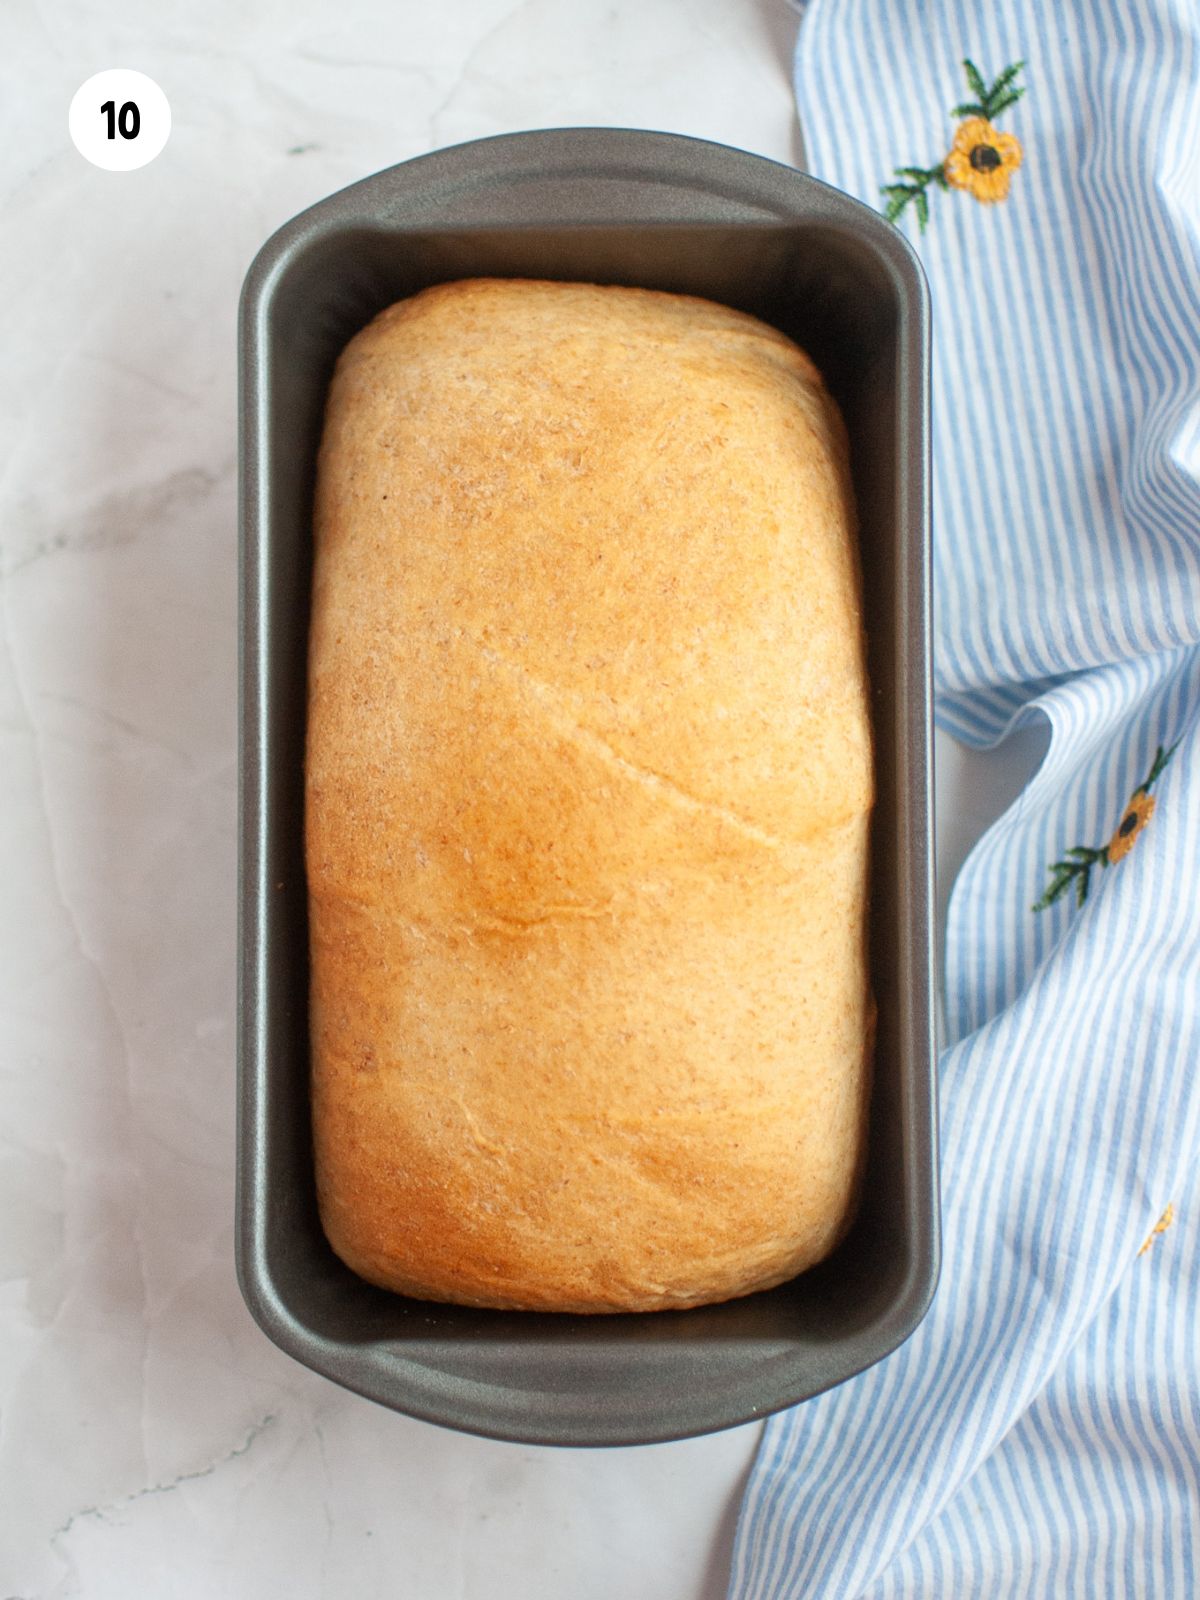
Step 10: Bake at 375°F for 25-30 minutes until the crust is golden brown. Allow the bread to cool in the pans for 10 minutes, then cool completely on a wire rack.
LOVE this recipe? SAVE it for Later!
❤️Tap the heart icon in the lower right corner to add the recipe to your recipe box for easy access anytime.
If you made it, leaving a star rating or quick review is always appreciated and helps other readers too.
Want to save this printed recipe? The Ultimate Meal Planner & Recipe Binder helps you keep recipes organized in one easy place.
Recipe Tips That Work for Me When Baking Homemade Bread
Use a digital thermometer to make sure your water is between 105–115°F—this helps the yeast activate properly.
Don’t rush the rise. Let the dough double in size in a warm, draft-free spot. I like to set it near a sunny window or use my oven with the light on.
Cover with a towel or plate during the rise to keep the dough from drying out.
Brush the top with butter after baking for a soft, golden crust with extra flavor.
Let the bread cool completely before slicing to keep the texture light and airy—no squished slices!
Recipe FAQ's
To view the answers, simply click on the down arrow (⬇) next to each question. If you have any other questions not answered here, please leave a comment!
Homemade wheat bread can turn out dense if the dough lacks enough moisture or gluten development, both of which are affected by the bran in whole wheat flour. To improve texture, try using a mix of whole wheat and all-purpose flour, add more water, and knead longer.
Yes, letting bread rise longer—within reason—can make it fluffier. A longer rise allows the yeast more time to produce gas, which creates a lighter, airier texture, but over-proofing can cause the dough to collapse, so timing is key.
If you're using a bread machine for this recipe, follow your machine’s specific guidelines for the order of ingredients. Once everything is added, use the recommended settings for baking homemade bread according to your manufacturer's instructions.
How to Store, Freeze and Reheat
Refrigerate: Store the bread in an airtight container or tightly wrapped in plastic wrap in the fridge for up to 5 days. For best texture, slice as needed instead of all at once.
Freezer: Wrap the bread tightly in plastic wrap, then place in a freezer-safe bag or container. Freeze whole or in slices for up to 3 months.
Thaw and Reheat: Thaw at room temperature or reheat individual slices in the toaster or oven at 300°F for 5–10 minutes until warmed through. For a softer crust, wrap the bread in foil before reheating.

More Delicious Bread Recipes
Amish White Bread or my recipe for Homemade French Baguettes. I think this recipe for Hamburger Buns made in the Bread Machine sound delicious!


📖 Recipe Card
Homemade Honey Wheat Bread
Video
Ingredients
- 2 cups warm water 105 to 115 degrees
- 2 cups whole wheat flour
- 1 tablespoon active dry yeast
- 1 teaspoon salt
- ⅓ cup honey
- ⅓ cup vegetable oil
- 5 cups all-purpose flour
Method
- Add the yeast to a small bowl and add the warm water, honey and stir to dissolve.
- Cover the bowl with a plate and set aside for about 5 minutes for it to proof.
- Mix in whole wheat flour, salt, and vegetable oil. Work all-purpose flour in gradually.
- Turn dough out onto a lightly floured surface, and knead for at least 10 to 15 minutes.
- When dough is smooth and elastic, place it in a well oiled bowl.
- Turn it several times in the bowl to coat the surface of the dough, and cover with a damp cloth. Let rise in a warm place until doubled in bulk, about 45 minutes.
- Punch down the dough. Shape into two loaves, and place into two well greased 9 x 5 inch loaf pans. Allow to rise until dough has doubled in size again.
- Bake in a preheated 375 degrees F for 25 to 30 minutes or until the crust is golden brown and when you tap the top of the bread you hear a hollow sound.
- Allow to cool in pans for about 10 minutes then brush the top of each loaf with melted butter.
- Turn the bread loaves out onto a cooling rack to finish cooling.
Nutrition
Notes
Tried this recipe?
Let us know how it was!This recipe has been updated since it first appeared in 2013 with new photos and a new printable recipe card that includes nutritional information. I hope you enjoy the updates as much as I enjoyed working on them!

Susan says
I have a lot of instant/rapid rise yeast which was the only kind available at the time. Can I use it in this bread recipe and do I have to make adjustments? l use can I use bread flour or half bread flou and half all purpose flour? Thanks
Lois says
Hi Susan, you can use bread flour which should be fine for the recipe. I have never used rapid rise yeast, but it should work fine also in this recipe. The dough will probably rise quicker. Thank you for visiting!
A Primitive Homestead says
Thanks. Blessings! Lara
Beth says
The bread looks delicious!
Debra Hawkins says
This looks amazing! We love Honey Wheat bread in this house!
Vee says
What beautiful loaves!
April says
I love making sourdough bread from a starter. This bread looks delicious and very easy to make...thanks so much!
Miss Debbie says
beautiful bread! my daughter makes bread, too. she was doing it before she got her kitchen aid mixer (at Salvation Army for $15!!) but she says it does make it even easier!