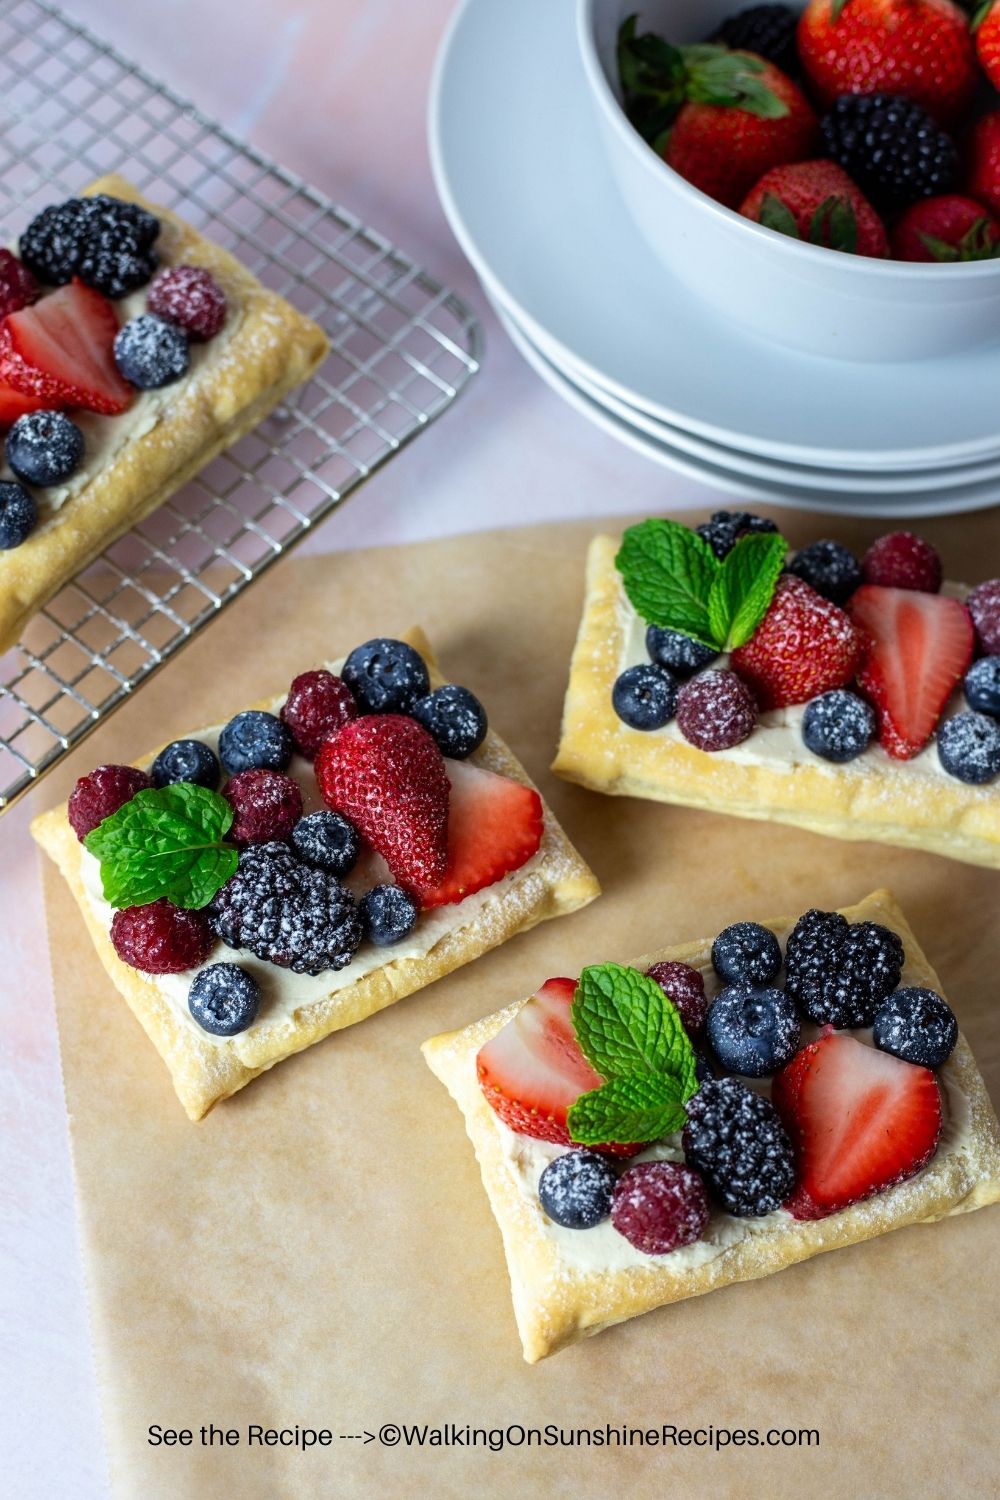
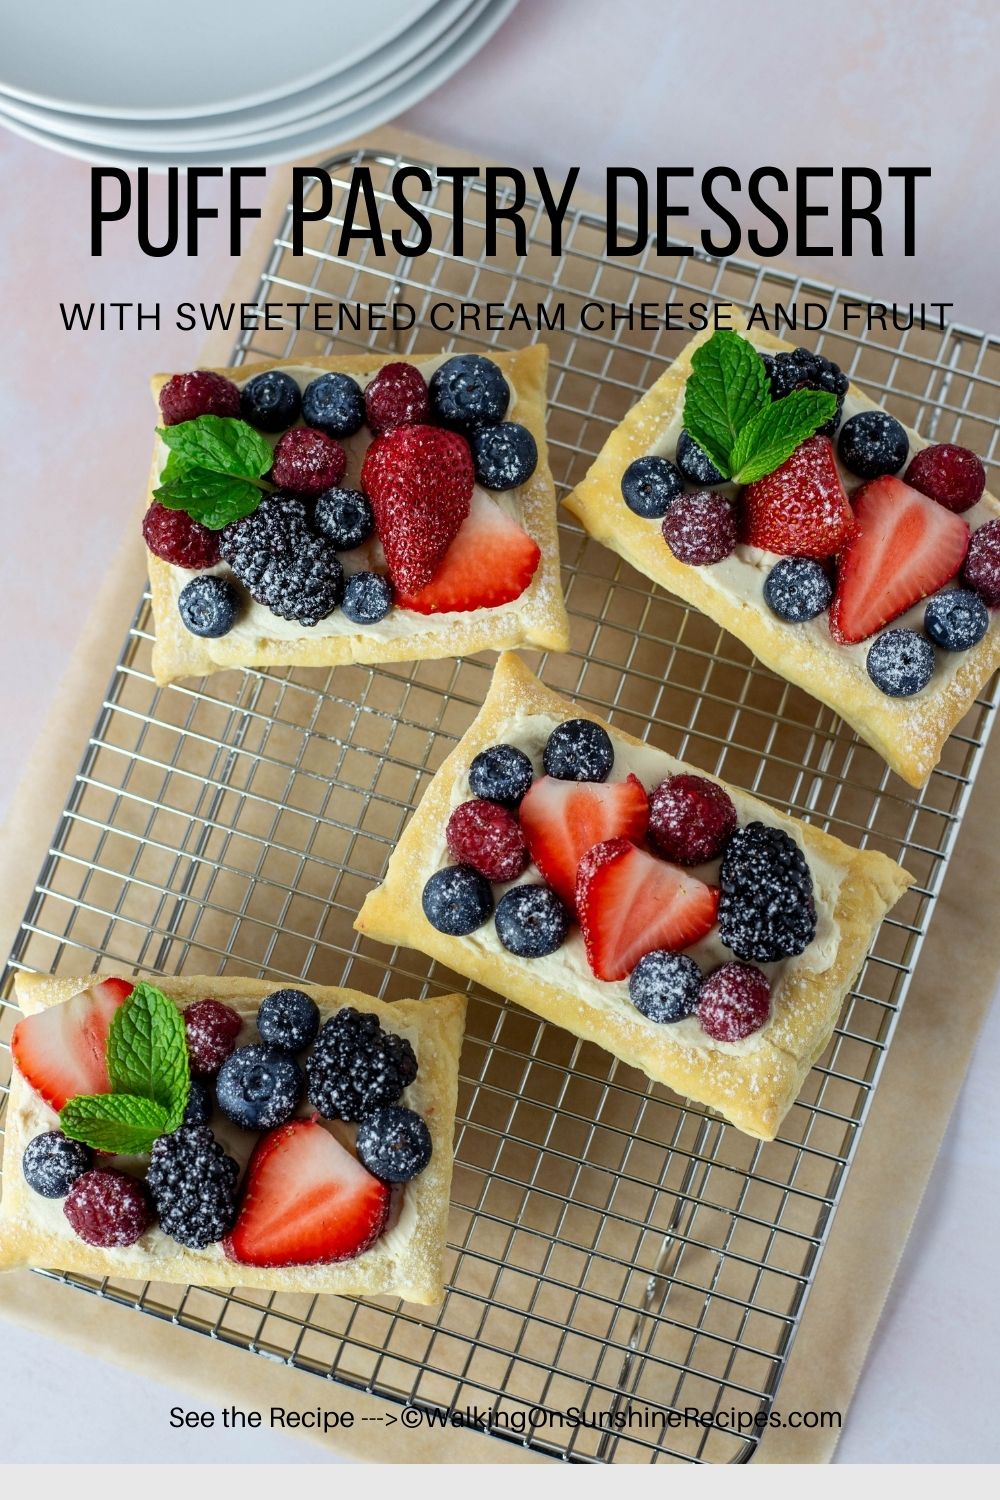
Elevate your brunch or dessert with this recipe for Puff Pastry with Cream Cheese and Fruit.
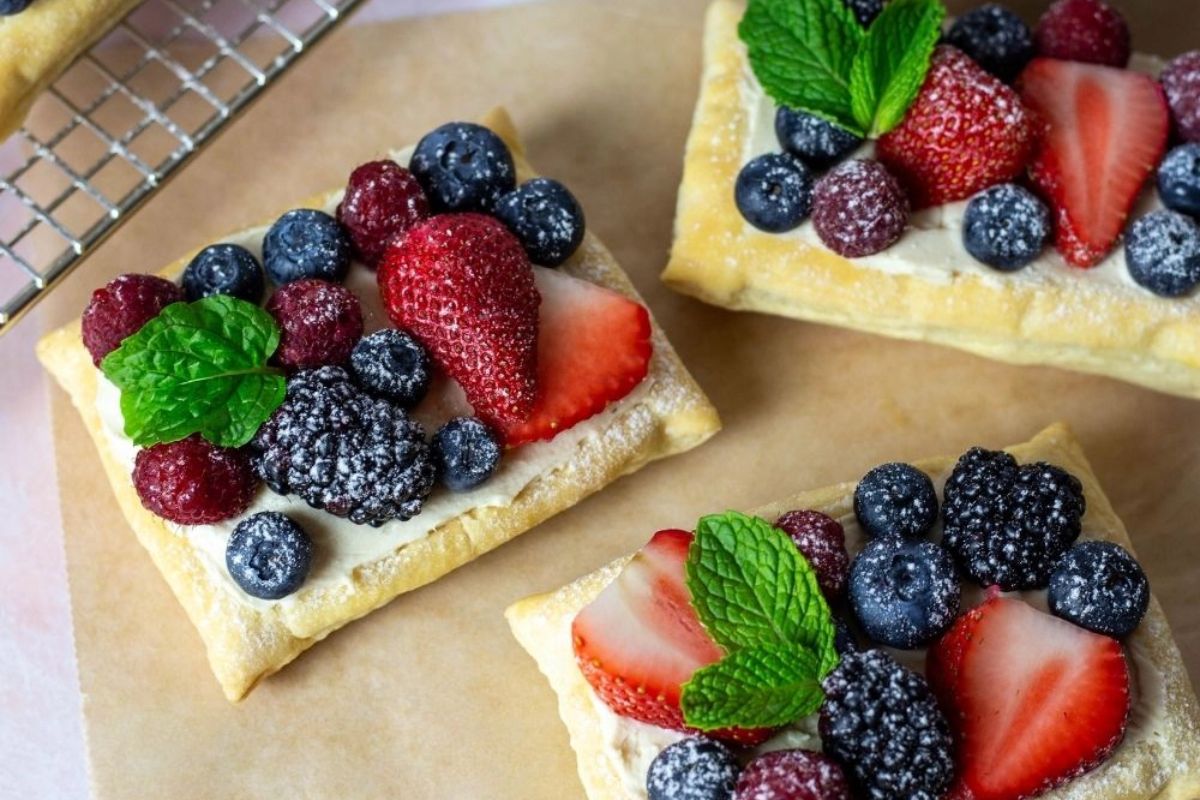
Flaky pastry squares topped with a sweetened cream cheese and mixed fruit, this recipe as easy to make as it is impressive to serve.
They're easy to make yet look as if you purchased them from a bakery! Let's take a look at this beautiful puff pastry recipe your family is going to love.
Want to Save This Recipe?
Enter your email & I'll send it to your inbox. Plus, get great new recipes from me every week!
By submitting this form, you consent to receive emails from Walking on Sunshine Recipes.
This recipe is simple, thanks to the convenience of frozen puff pastry. I always keep a few boxes in my freezer—it’s a lifesaver when I need an easy dessert or appetizer.
With just a few ingredients, you can create these pastries in under an hour. They’re sure to vanish quickly, which is always a good sign that everyone loves them.
And here’s the best part: no one has to know how easy they were to make. Let’s keep the semi-homemade secret between us!
Looking for more puff pastry recipes? Try my Puff Pastry Apple Tart Recipe, Puff Pastry Apple Tart or my Puff Pastry Hearts are filled with chocolate mousse.
Table of Contents
- Why you'll LOVE this Recipe:
- Helpful Kitchen Tools
- Main Ingredients Needed
- Recipe Substitutions and Variations
- Step-by-Step Instructions
- How to Thaw Puff Pastry
- Baking Instructions
- Add the Cream Cheese Filling and Fruit
- Serving Tips
- Before You Begin!
- Storage Tips
- Recipe FAQ's
- 📖 Recipe Card
- Food Safety Tips:
- 💬 Comments
Why you'll LOVE this Recipe:
Easy to Make: With store-bought puff pastry as the base, the recipe minimizes prep time while delivering a bakery-quality treat.
Versatile: You can easily customize the fruit topping to what’s in season.
Beautiful: This recipe creates a beautiful presentation...perfect anytime you need to wow your family!
Flaky Butter Crust: The flaky, buttery pastry pairs beautifully with the smooth, sweetened cream cheese and the fresh, juicy fruit.
Perfect for Any Occasion: Whether you're serving a brunch, dessert or for a special celebration, this recipe works for both casual and special events.
Helpful Kitchen Tools
More InformationMore InformationMore InformationMore Information
Main Ingredients Needed
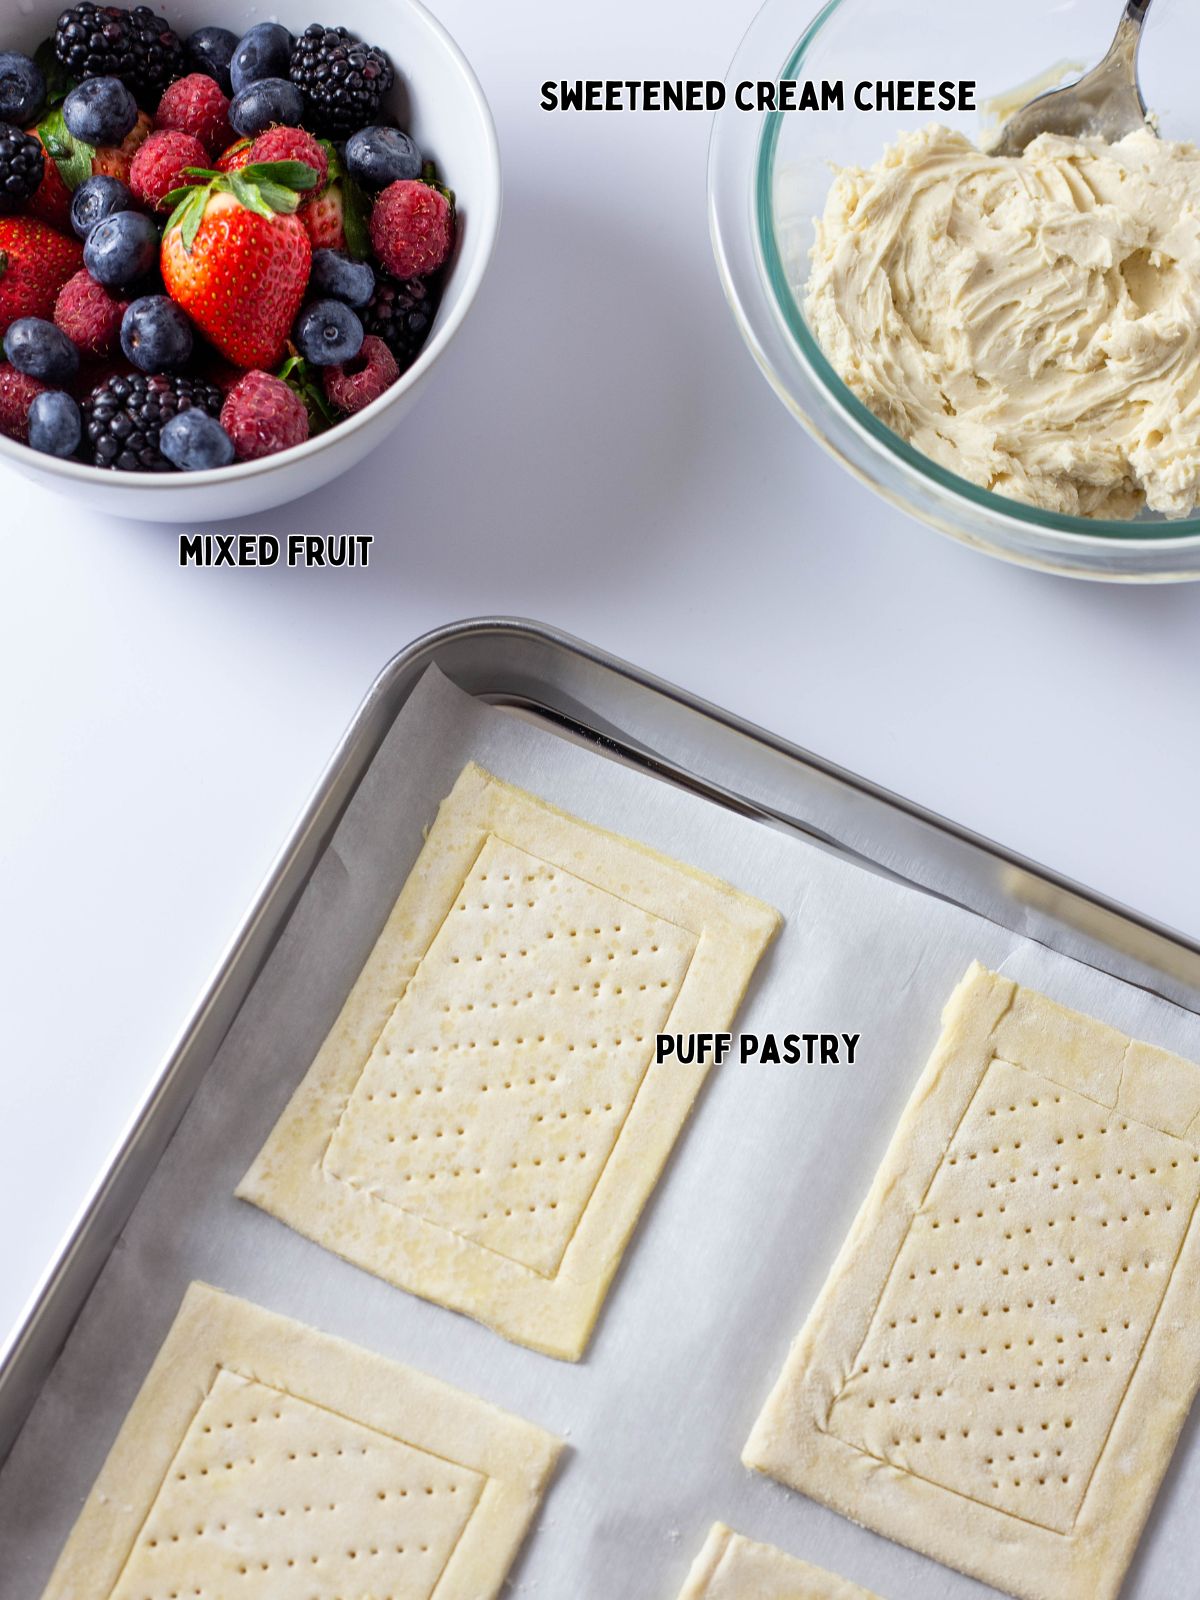
Here's a quick overview of the ingredients for this recipe. Find the exact amounts and click the Instacart button to easily add them to your cart – all in the printable recipe card below!
Recipe Substitutions and Variations
- You can use whatever fruit you want and your family enjoys.
- Check out my other recipe for Cream Cheese Danish that uses crescent rolls in place of the puff pastry.
- Substitute the heavy cream with half-and-half or whole milk (though the mixture may be less rich).
- Replace the vanilla extract with almond extract for a different flavor.
Step-by-Step Instructions
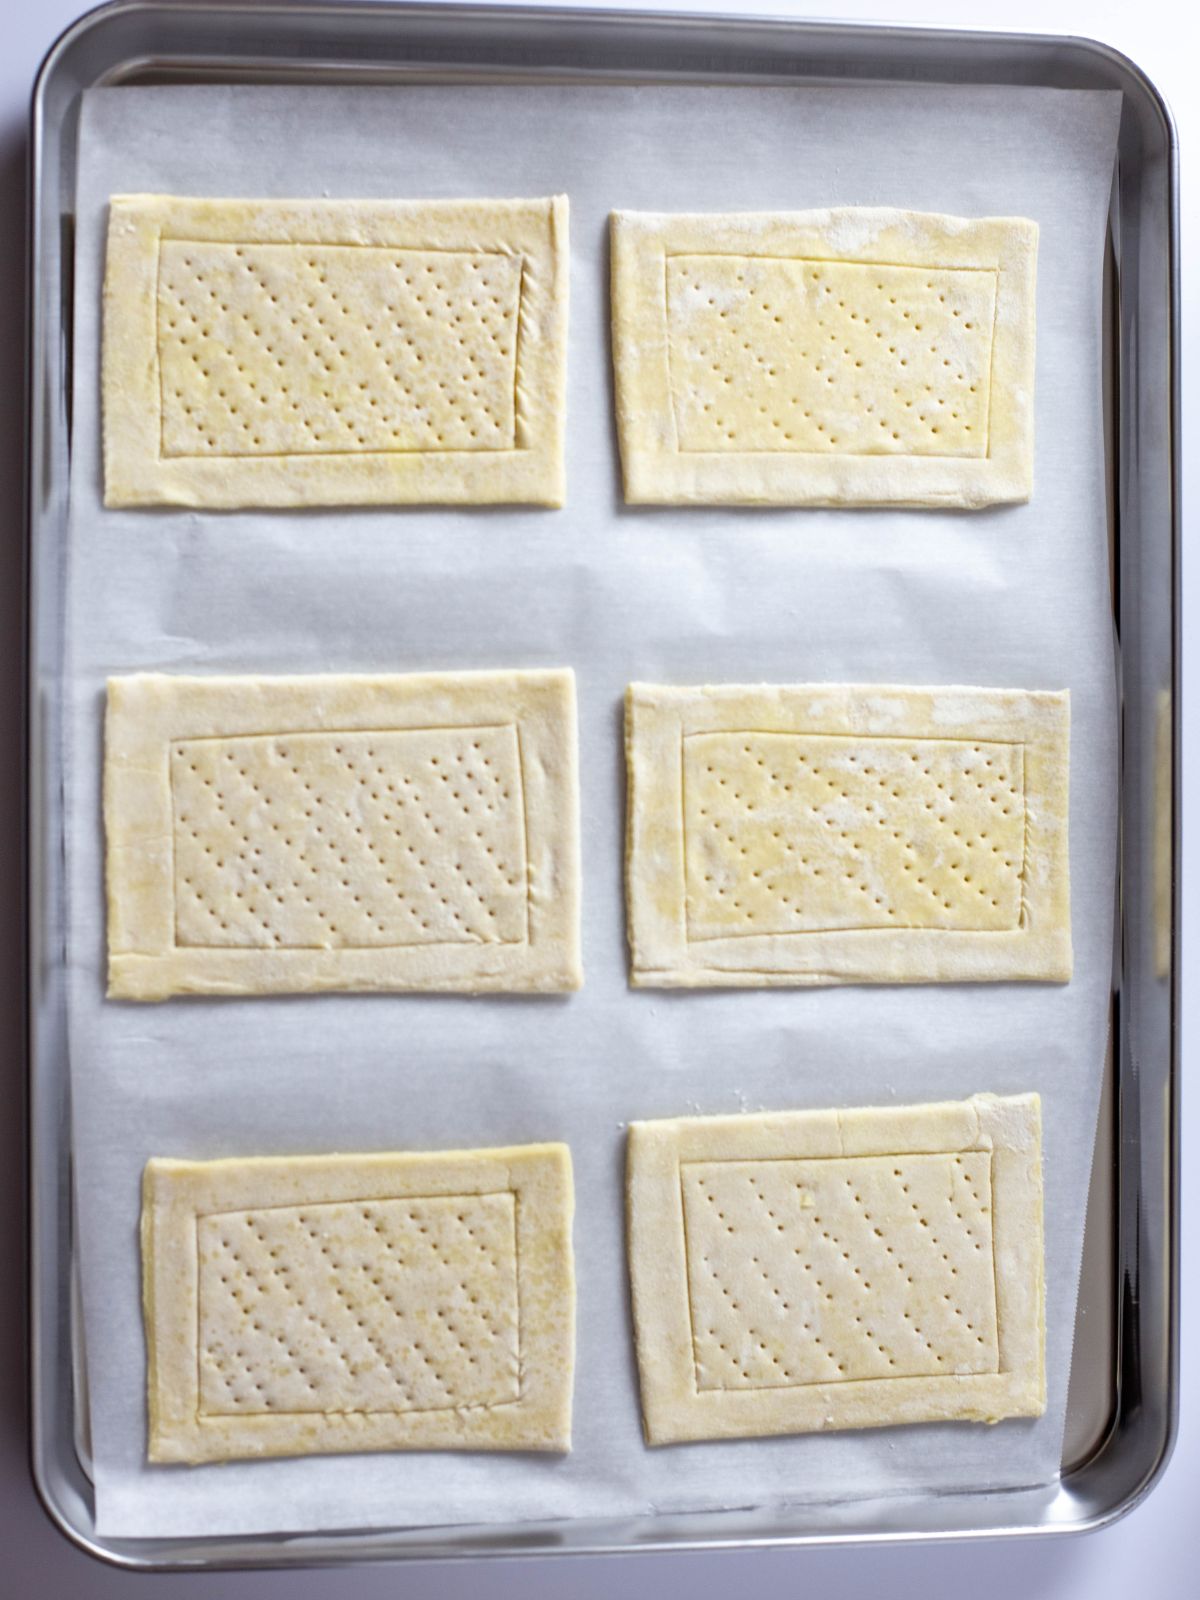
Step 1: Line a baking pan with parchment. Roll out the puff pastry on a floured surface to smooth folds, then cut into six pieces. Score an inner rectangle on each piece without cutting through, and pierce the center with a fork.
How to Thaw Puff Pastry
- Only defrost what you're going to use. If a recipe calls for one sheet, wrap unused sheets in plastic wrap, place in a freezer safe plastic bag and return to the freezer.
- Thaw the dough in the refrigerator 3 to 4 hours before you need to use it. If you forget to remove the pastry from the freezer in time for your recipe, you can defrost it at room temperature for about 30 to 40 minutes.
- Keep the puff pastry dough cool and try to work quickly. If you find that the pastry gets too soft while working with it, return it to the refrigerator for it to firm up. Placing the puff pastry in the freezer for a few minutes will help firm it up again.
- Use any thawed dough within 24 hours.
Baking Instructions
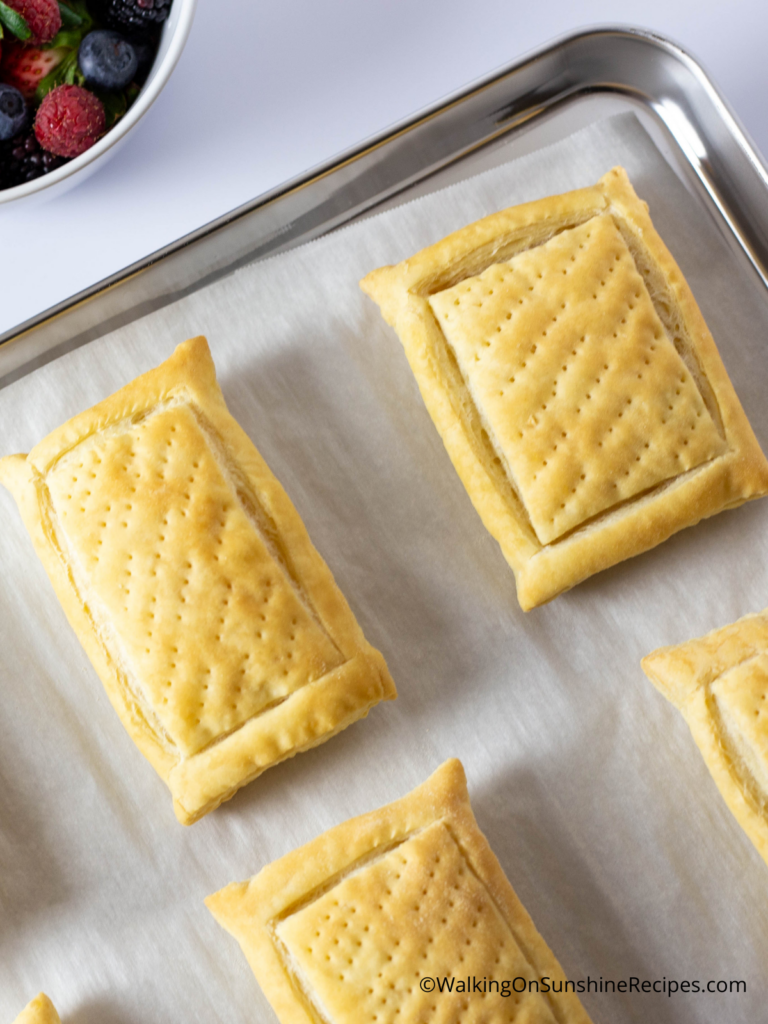
Step 2: Bake for 15 minutes or until golden brown. Let the puff pastry cool for about 15 minutes. The centers will be puffed up but you can gently push them down to make room for the filling.
Add the Cream Cheese Filling and Fruit
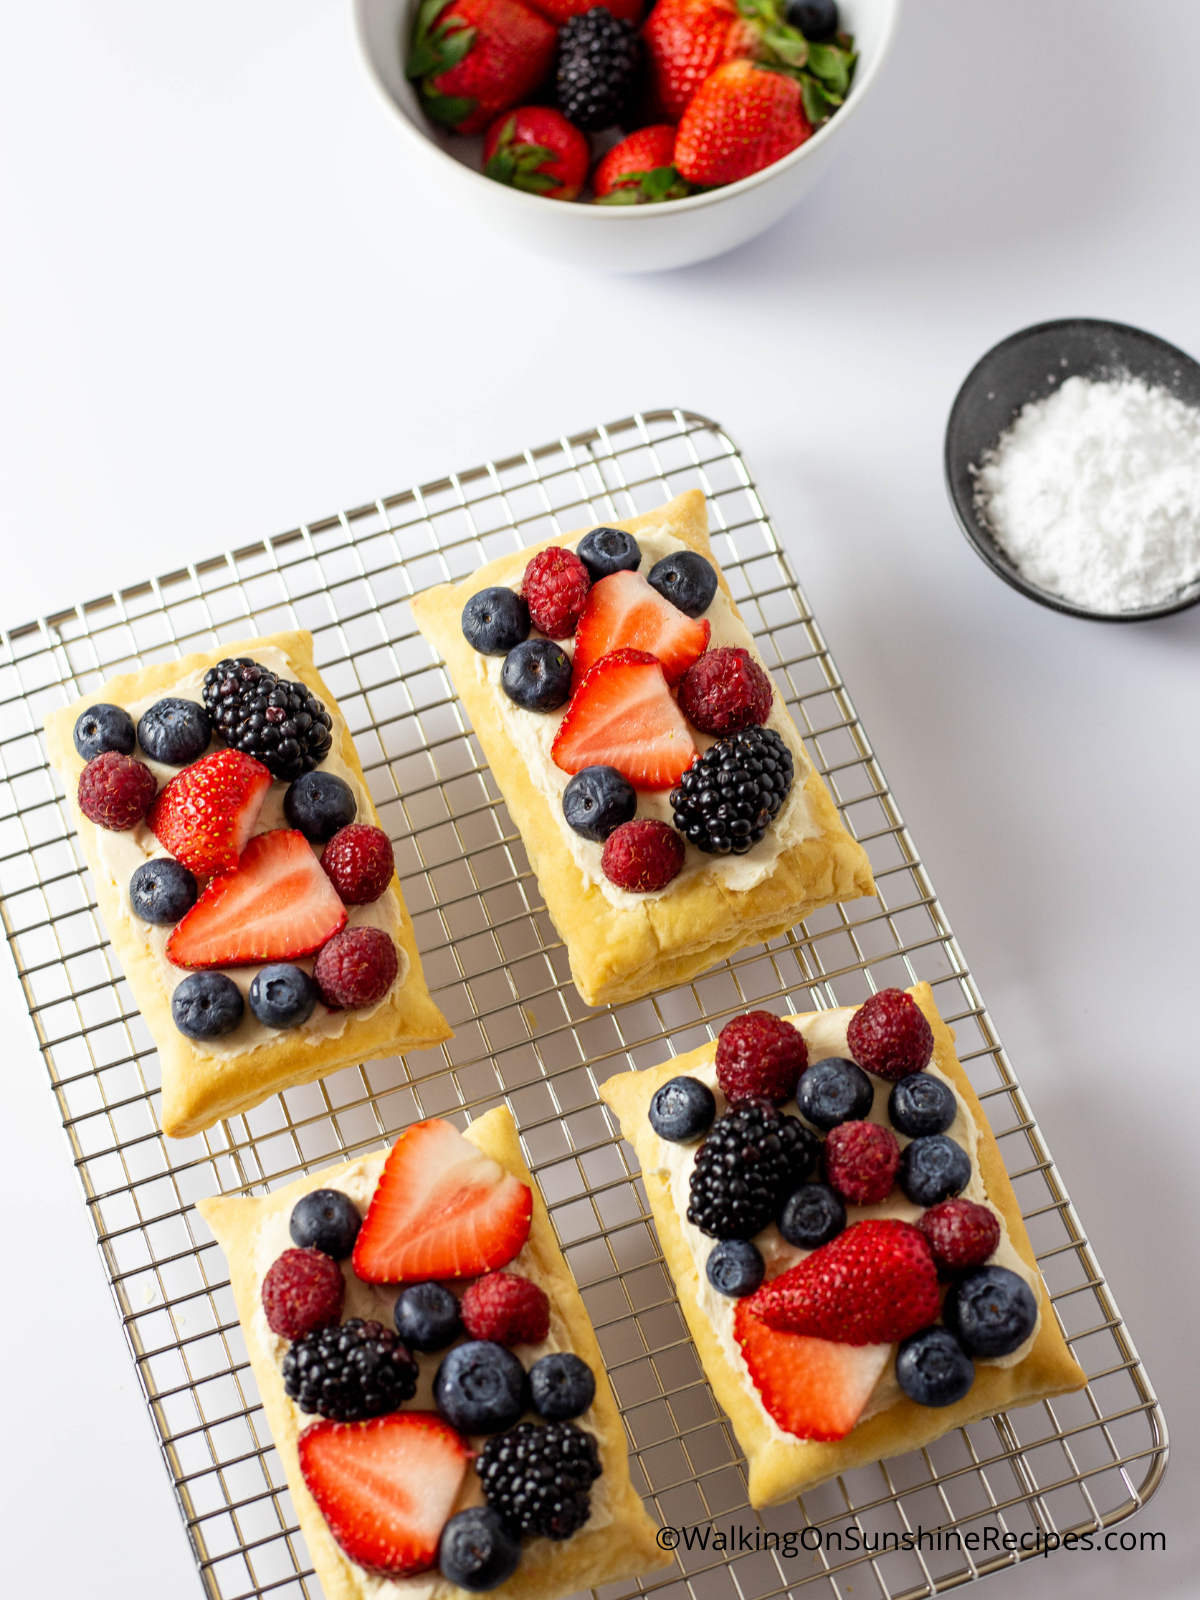
Step 3: In a medium bowl, beat the softened cream cheese and powdered sugar together. Then add the heavy cream and vanilla extract and beat until smooth. Add a generous amount of the cream cheese mixture to the top of each puff pastry. Then arrange the berries on top in a decorative way.
Serving Tips
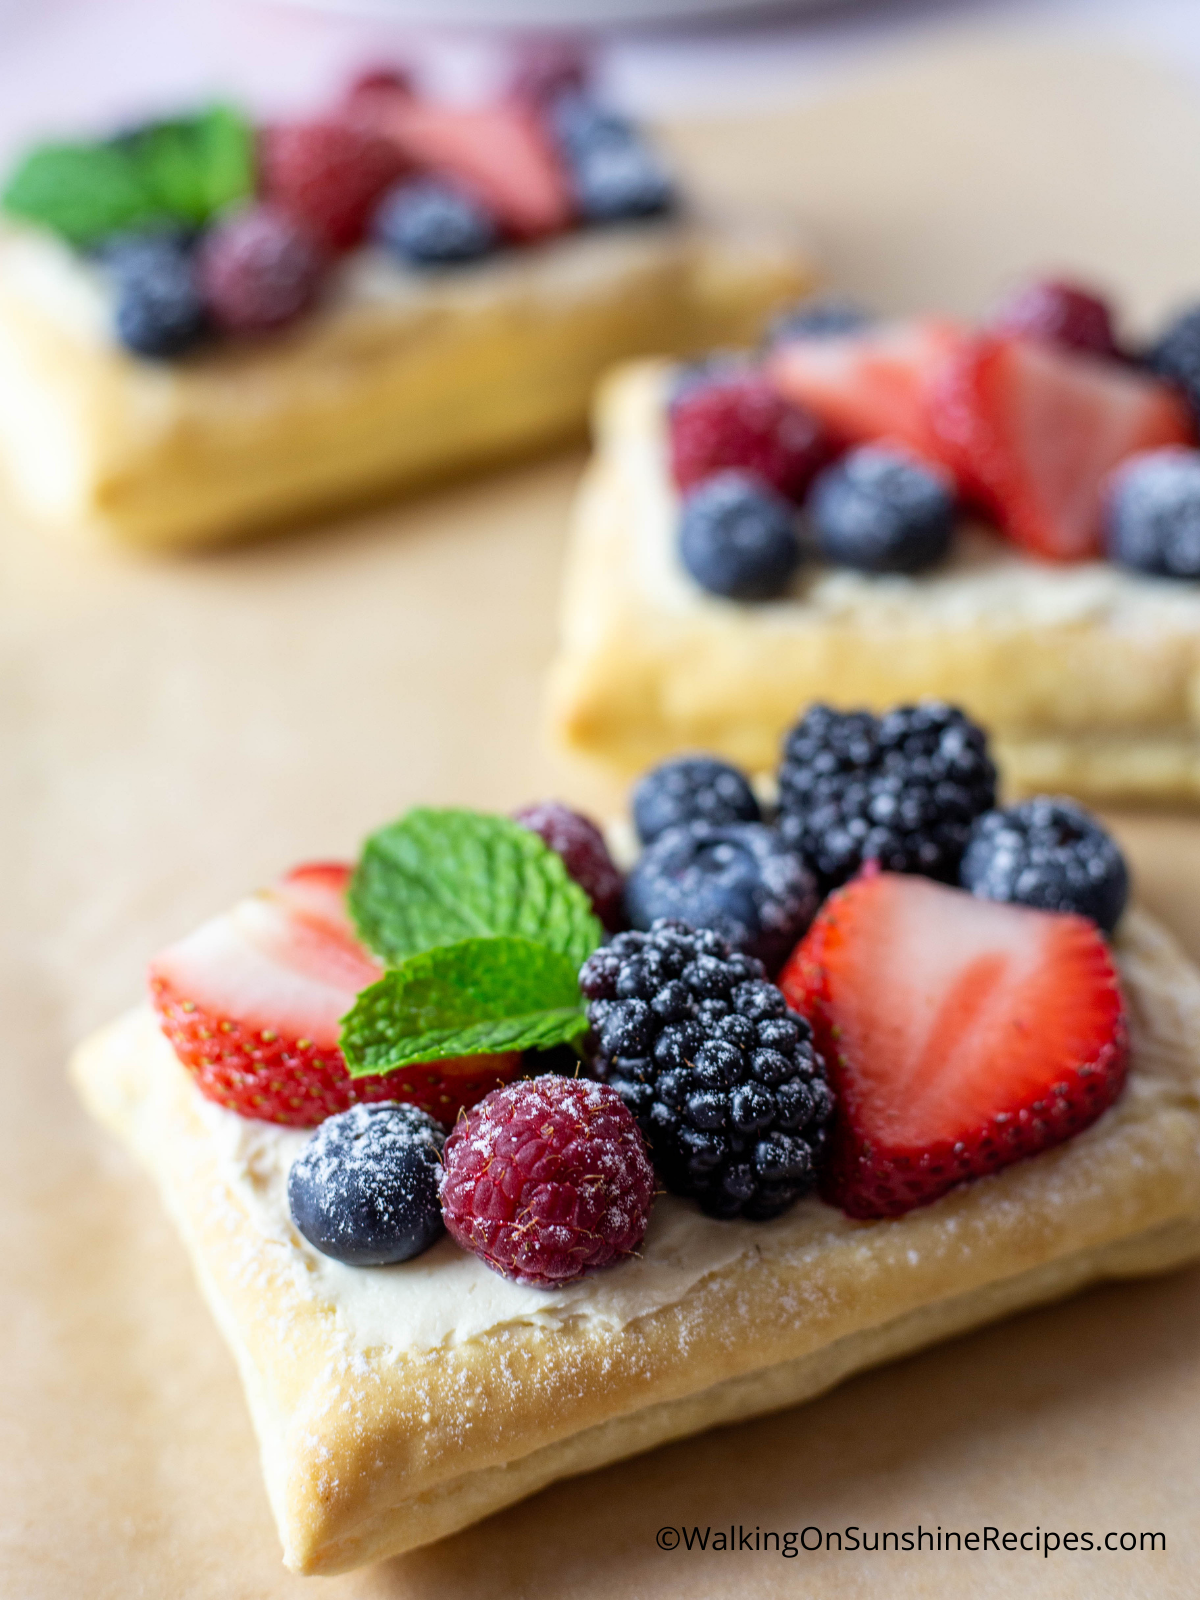
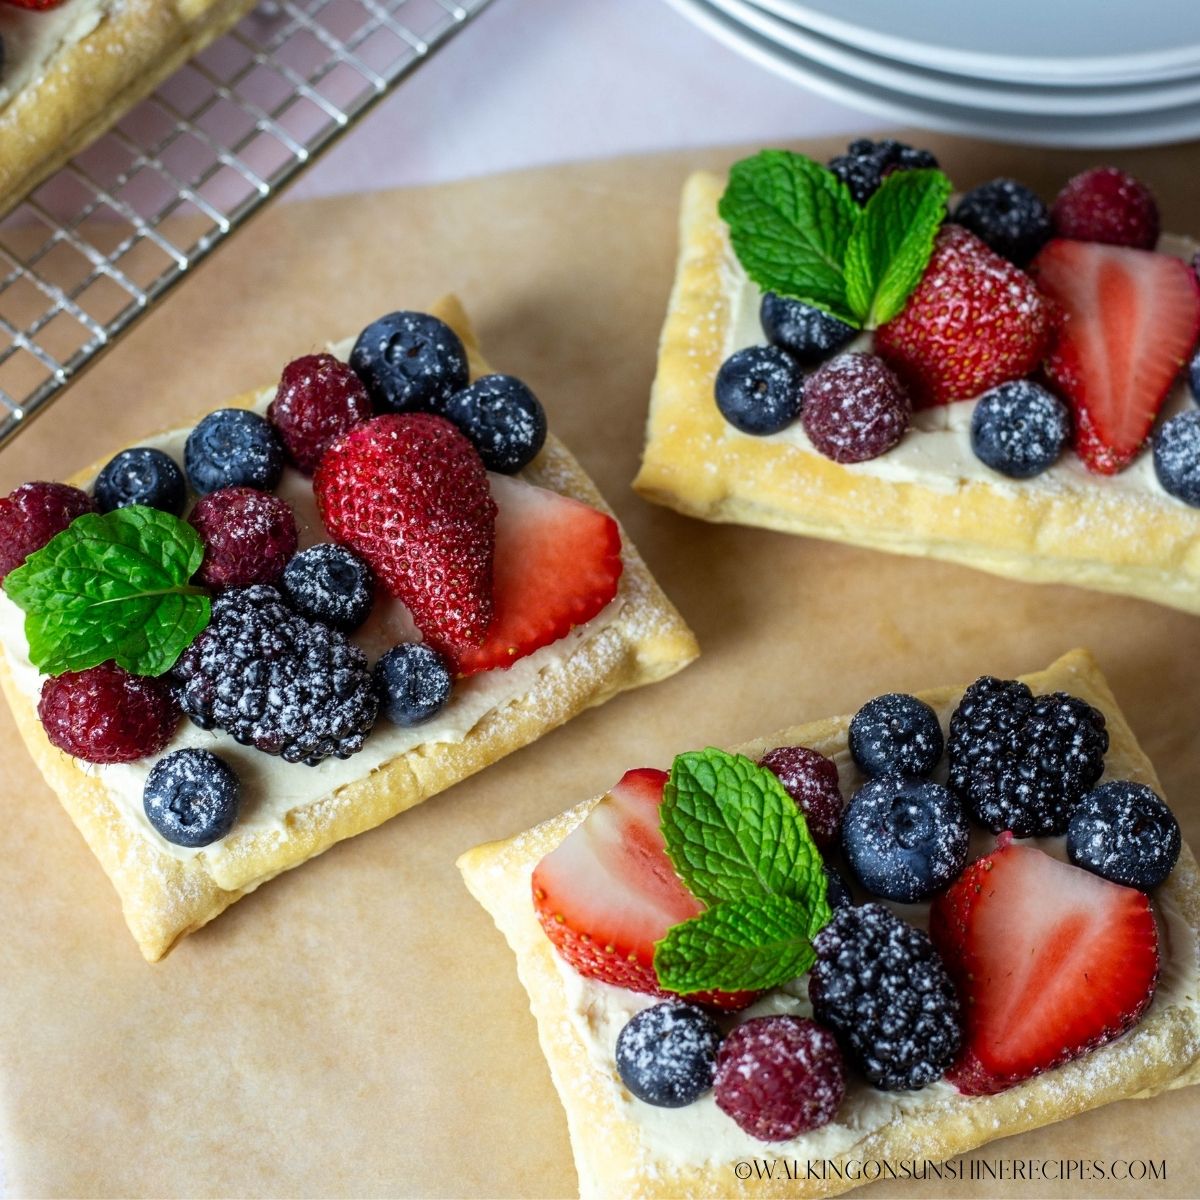
Right before serving, sprinkle the tops of the pastries with a little powdered sugar and garnish with a sprig of mint.
Before You Begin!
If you make this recipe, please leave a review and star rating. This helps my business thrive and continue providing FREE recipes.

Storage Tips
Refrigerator: If you have leftovers, wrap the dessert tightly in plastic wrap or aluminum foil to prevent it from drying out. Then place them in an airtight container or resealable plastic bag in the refrigerator for up to 3 days.
Freezer: I don't recommend freezing this recipe.
Recipe FAQ's
To view the answers, simply click on the down arrow (⬇) next to each question. If you have any other questions not answered here, please leave a comment!
Filled puff pastry desserts, like these cream cheese and fruit danishes, need to be stored in a airtight container in the refrigerator. They will remain fresh like this for about a day. They are best eaten fresh.
If you overwork the dough, you can compress these layers and prevent the puff pastry from rising. It's also very important to chill the pastry dough before baking. This will help chill the butter in the dough again which will help the pastry puff up.
📖 Recipe Card
Puff Pastry Cream Cheese Danish
Ingredients
- 4 ounces cream cheese; softened
- ⅓ cup powdered sugar
- ½ teaspoon vanilla extract
- 1 tablespoon heavy cream
- 1 sheet of puff pastry; slightly defrosted
- ½ cup sliced strawberries
- ¼ cup blueberries
- ¼ cup raspberries
- ¼ cup blackberries
- mint leaves for garnish
Method
- Preheat to 400°F
- In a medium bowl, beat the softened cream cheese, powdered sugar until smooth.
- Add the heavy cream and vanilla extract. Mix until smooth. Set aside.
- Line a baking sheet with parchment paper.
- Unfold the puff pastry sheet on a lightly floured surface.
- Cut the puff pastry sheet into six equal parts.
- With a sharp knife, score an inner rectangle on top of each puff pastry piece. You don't want to cut all the way through
- Poke holes throughout the center of the puff pastry.
- Bake in the preheated oven for 12 to 14 minutes.
- Remove from the oven and allow them to cool for about 15 minutes. The centers will be puffed up but you can gently push them down to make room for the filling.
- Add about 2 tablespoons of the cream cheese mixture to the top of each puff pastry.
- Arrange the fruit on top in a decorative way.
- Right before serving, sprinkle the tops of the pastries with a little powdered sugar and garnish with a sprig of mint.
Nutrition
Notes
Tried this recipe?
Let us know how it was!Food Safety Tips:
- Bake goods to their recommended internal temperature, typically 165°F (74°C) or higher for safety.
- Use separate utensils and surfaces for raw ingredients, especially eggs, to prevent cross-contamination.
- Wash your hands thoroughly after handling raw dough or eggs.
- Avoid leaving baked goods or raw dough at room temperature for extended periods.
- Never leave the oven unattended while baking.
- Choose oils with a high smoking point to minimize the release of harmful compounds.
- Ensure good ventilation when using a gas stove when using an oven or gas stove to maintain a safe cooking environment.




SRW says
These were easy to make but there is a contradiction in your recipe. Step 9 says to put one to two teaspoons in the middle before baking. Which is what I did. Then is says to put it in after the pastry bakes. Confused.
Lois says
I'm sorry! There was a mistake in the printable recipe card, but the post directions were correct. I'm sure the dessert still came out great for you! Thanks for the warning. I've corrected the recipe card with the proper steps.
Michelle says
These turned out so wonderful and delicious! It was a great way to use up the rest of my berries before they went bad. Having puff pastries in the freezer sure come in handy! Thanks for an easy recipe!
Lois says
Thank you for the great comment!
Julie Briones says
Lois, I love how easy these are, how pretty, and yummy, too! So glad to be featuring your pastry with cream cheese and fruit at Tuesday Turn About this week! Pinned!
Lois says
Thank you Julie!
Beth says
Lois, Thanks for sharing over at the Creative Crafts Linky Party! We will be featuring you this week, starting on Wednesday! Have a great week! CHEERS! Team Creative Crafts
Lois says
Thank you Beth!