If you happened to forget to pick up one of those egg dyeing kits, don't worry! Check out this blog post on Dyeing Eggs with Food Coloring for an equally simple solution!
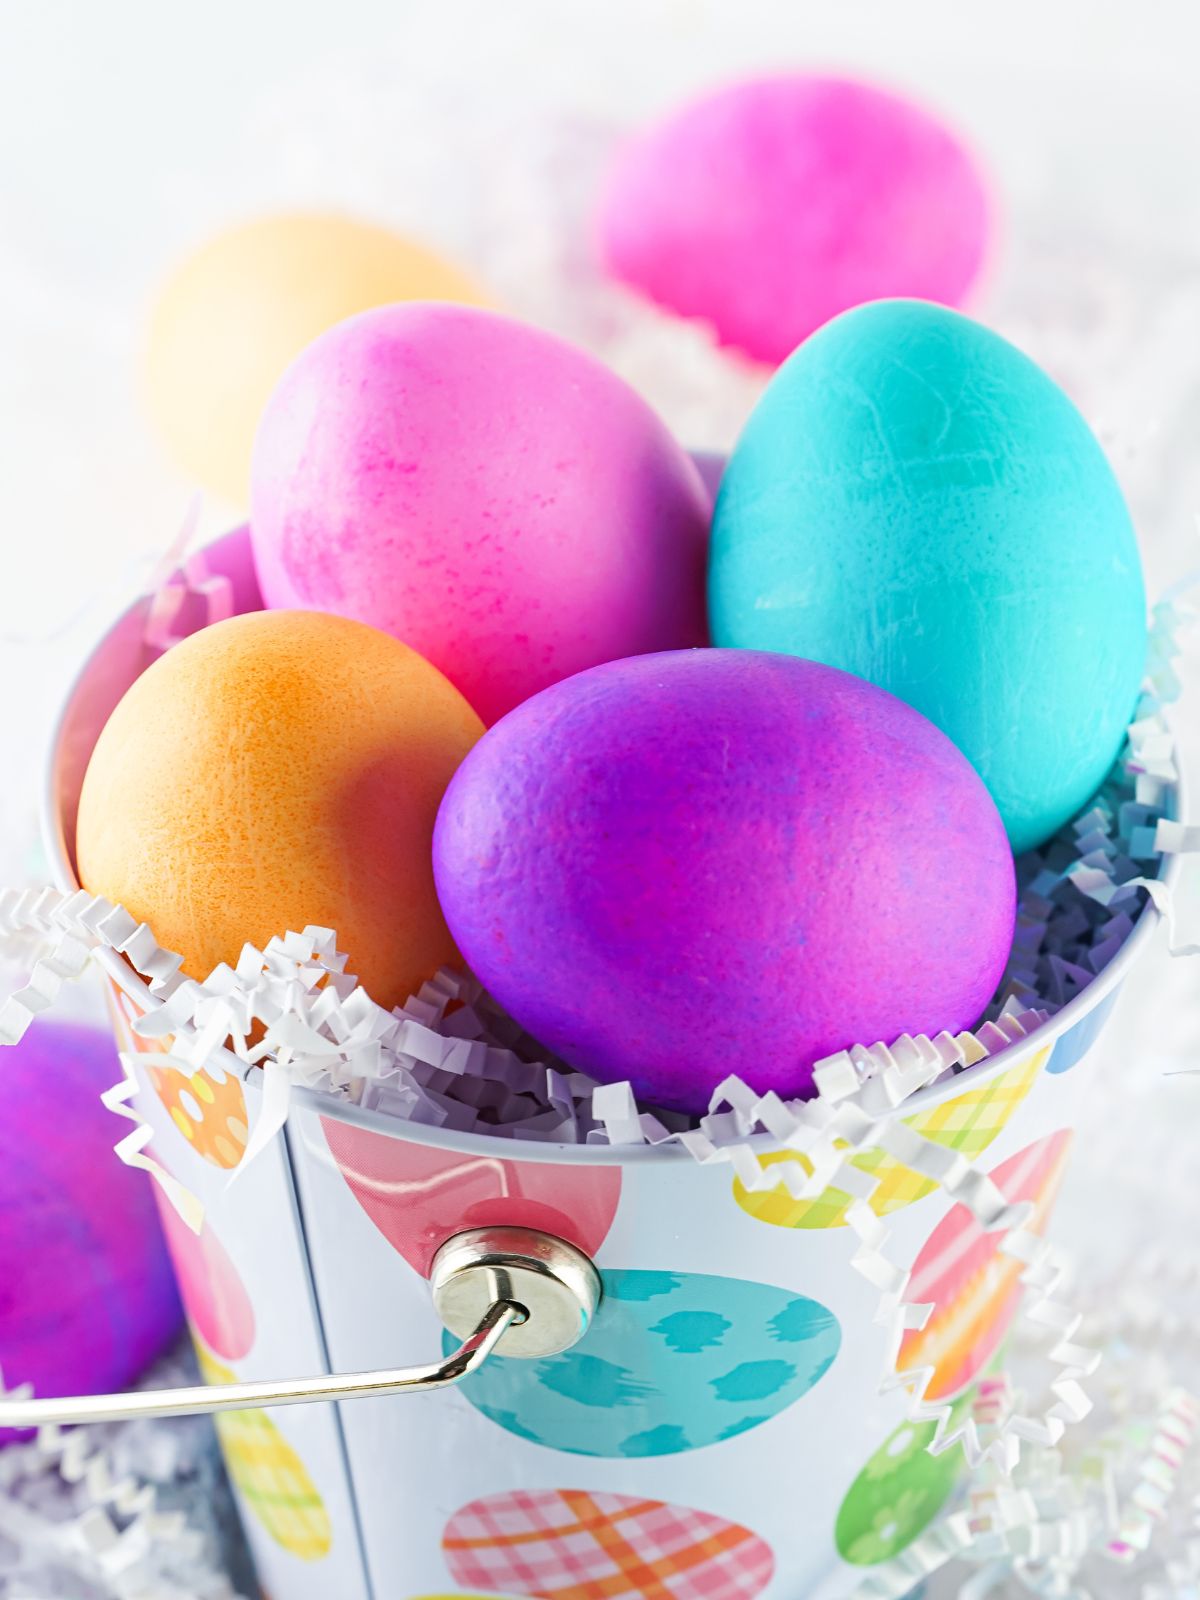
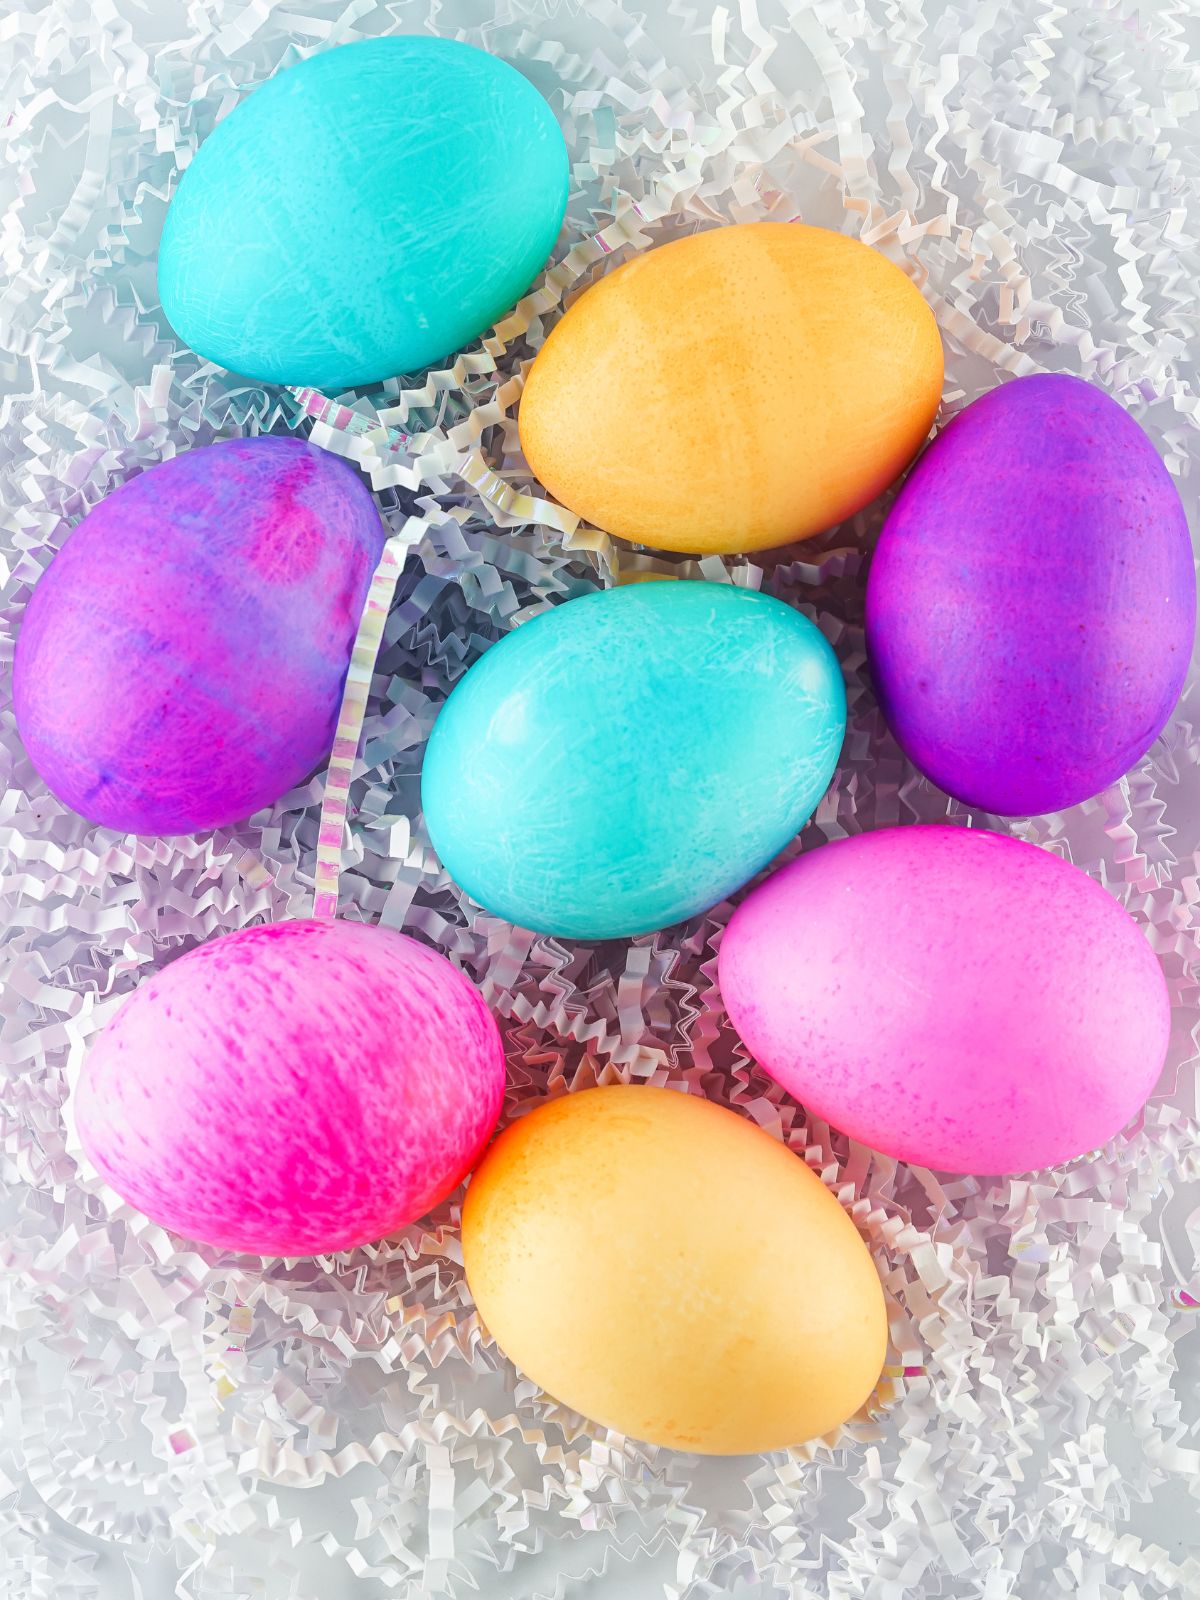
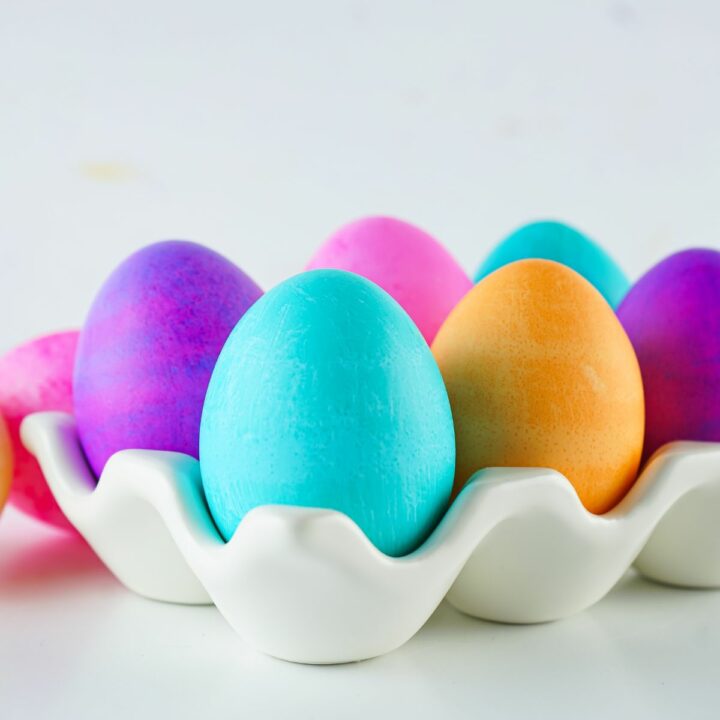
Chances are you already have everything you need in your kitchen cabinet to make Easter eggs with stunning colors.
Enhance your buffet table with a basket filled with these stunning eggs! Explore our collection of Easter Brunch Ideas to help you make this holiday even more special.
Want to Save This Recipe?
Enter your email & I'll send it to your inbox. Plus, get great new recipes from me every week!
By submitting this form, you consent to receive emails from Walking on Sunshine Recipes.
As Easter approaches or just for a little fun anytime, dying eggs is a timeless tradition that sparks creativity and joy.
It's not only a fun and creative activity but also a wonderful opportunity to create cherished memories and traditions together.
Looking for more fun ideas and recipes for the holiday? Try my Fun Ways to Decorate with Easter Eggs, Tips on Dyeing Easter Eggs Naturally. You might also enjoy my Easter Egg Brownies!
Table of Contents
- How to Dye Easter Eggs Without a Kit
- Looking for help with Easter Preparation?
- 🛒Helpful Kitchen Tools
- 📋Ingredients
- Substitutions and Variations
- Step-by-Step Instructions
- Quick Tip
- Before you Begin!
- Is it better to dye Easter eggs hot or cold?
- Should I refrigerate colored Easter eggs?
- 🍶Storage Tips
- More Recipes You'll Love!
- 📇How To Card
- 💬 Comments
How to Dye Easter Eggs Without a Kit
Here are a few easy tips to follow when using food coloring for your Easter eggs:
- Microwaving the colors for about a minute can intensify the hue, though it's not necessary for achieving a beautiful result.
- Certain colors like orange and yellow may require more dye for optimal vibrancy, depending on the brand's potency.
- Liquid dye, typically around 10 drops, can also be used; however, avoid oil-based dyes or icing colors as they won't blend well with water.
- Brown or farm-fresh eggs can be used too, producing deeper and richer shades that are equally enchanting.
- Some gel dyes, particularly older ones, may create "floaties" in the water, but don't discard them; instead, embrace the unique effect they create, resembling a fireworks display on the eggs, adding an extra layer of charm to your creations.
Looking for help with Easter Preparation?
Click here now to check out my Let's Do Brunch Easter Celebration Digital Cookbook! prepare for a delicious celebration!
It's the ultimate guide to crafting your dream Easter brunch featuring 11 easy-to-make recipes, Prep-Ahead Tips, Planning Checklists, and Fun Kid's Activities!
🛒Helpful Kitchen Tools
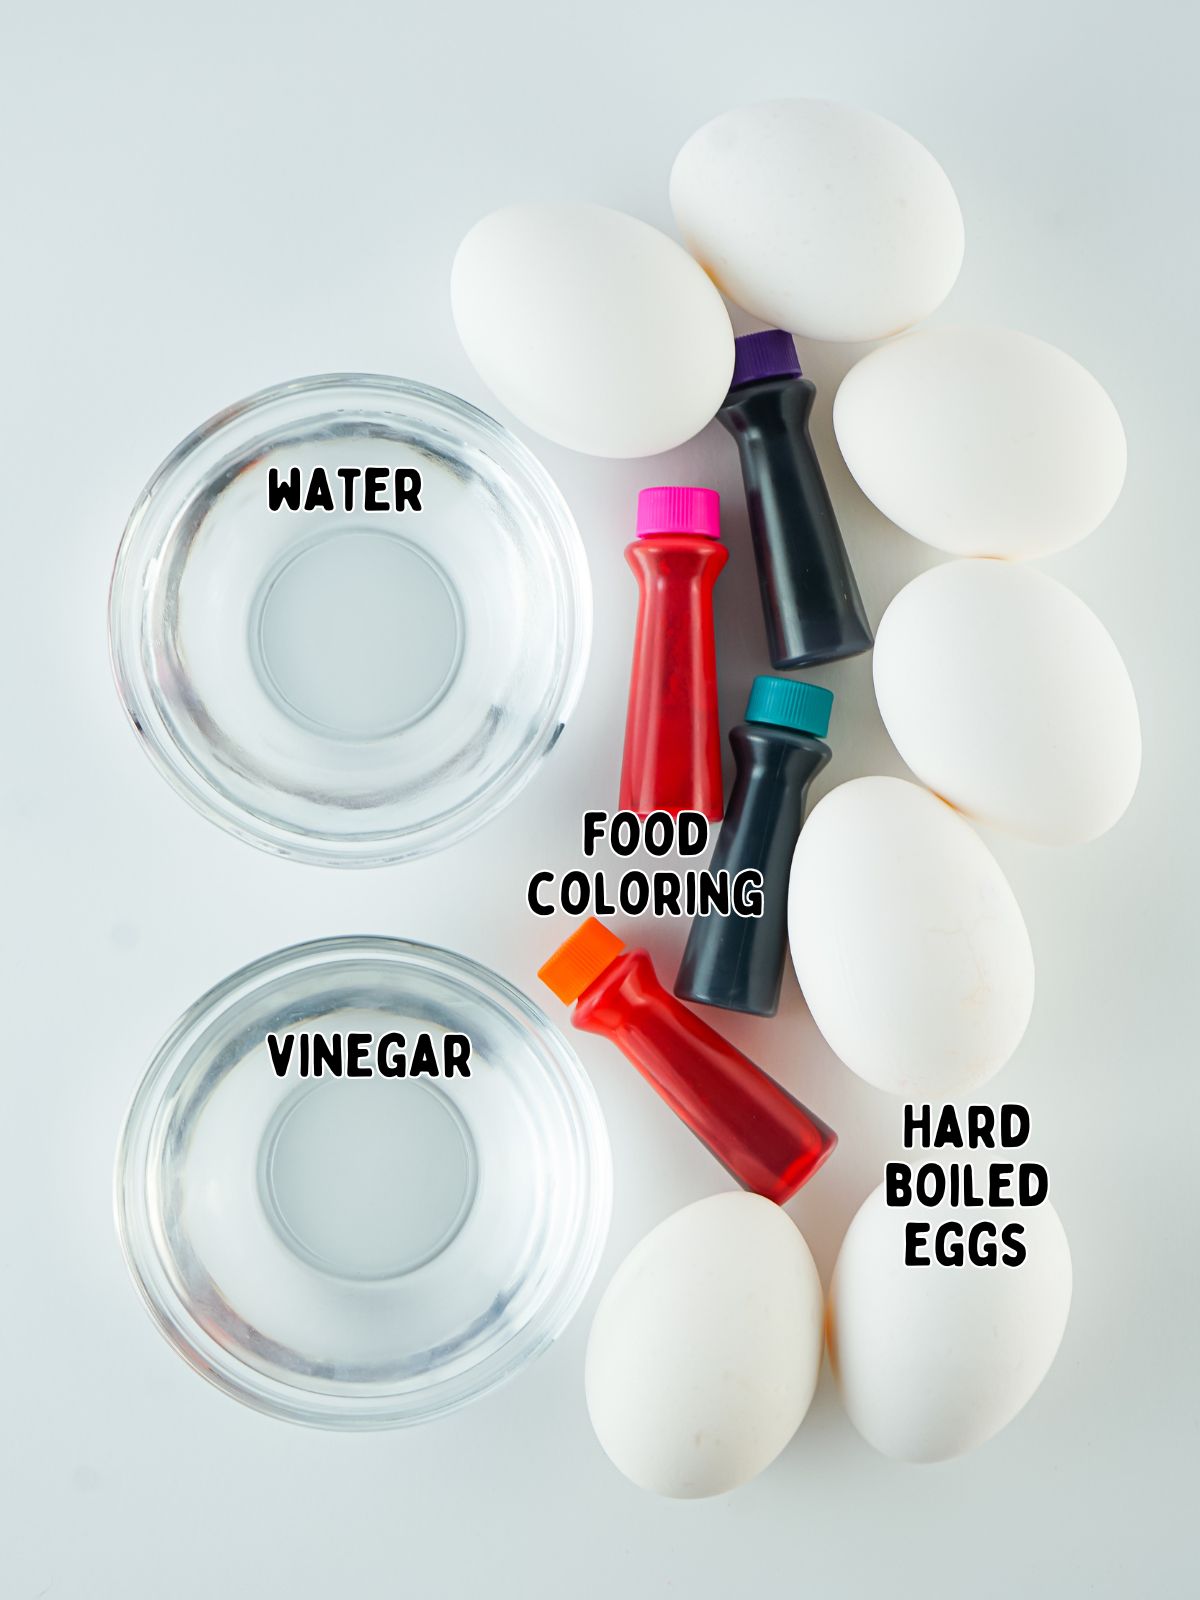
📋Ingredients
This is an overview of the ingredients and instructions. Be sure to see the recipe card below for exact quantities, detailed instructions and special notes.
Substitutions and Variations
If you don't have gel food coloring, you can use the liquid dye. Depending on the color, you'll need about 10 drops per cup.
Step-by-Step Instructions
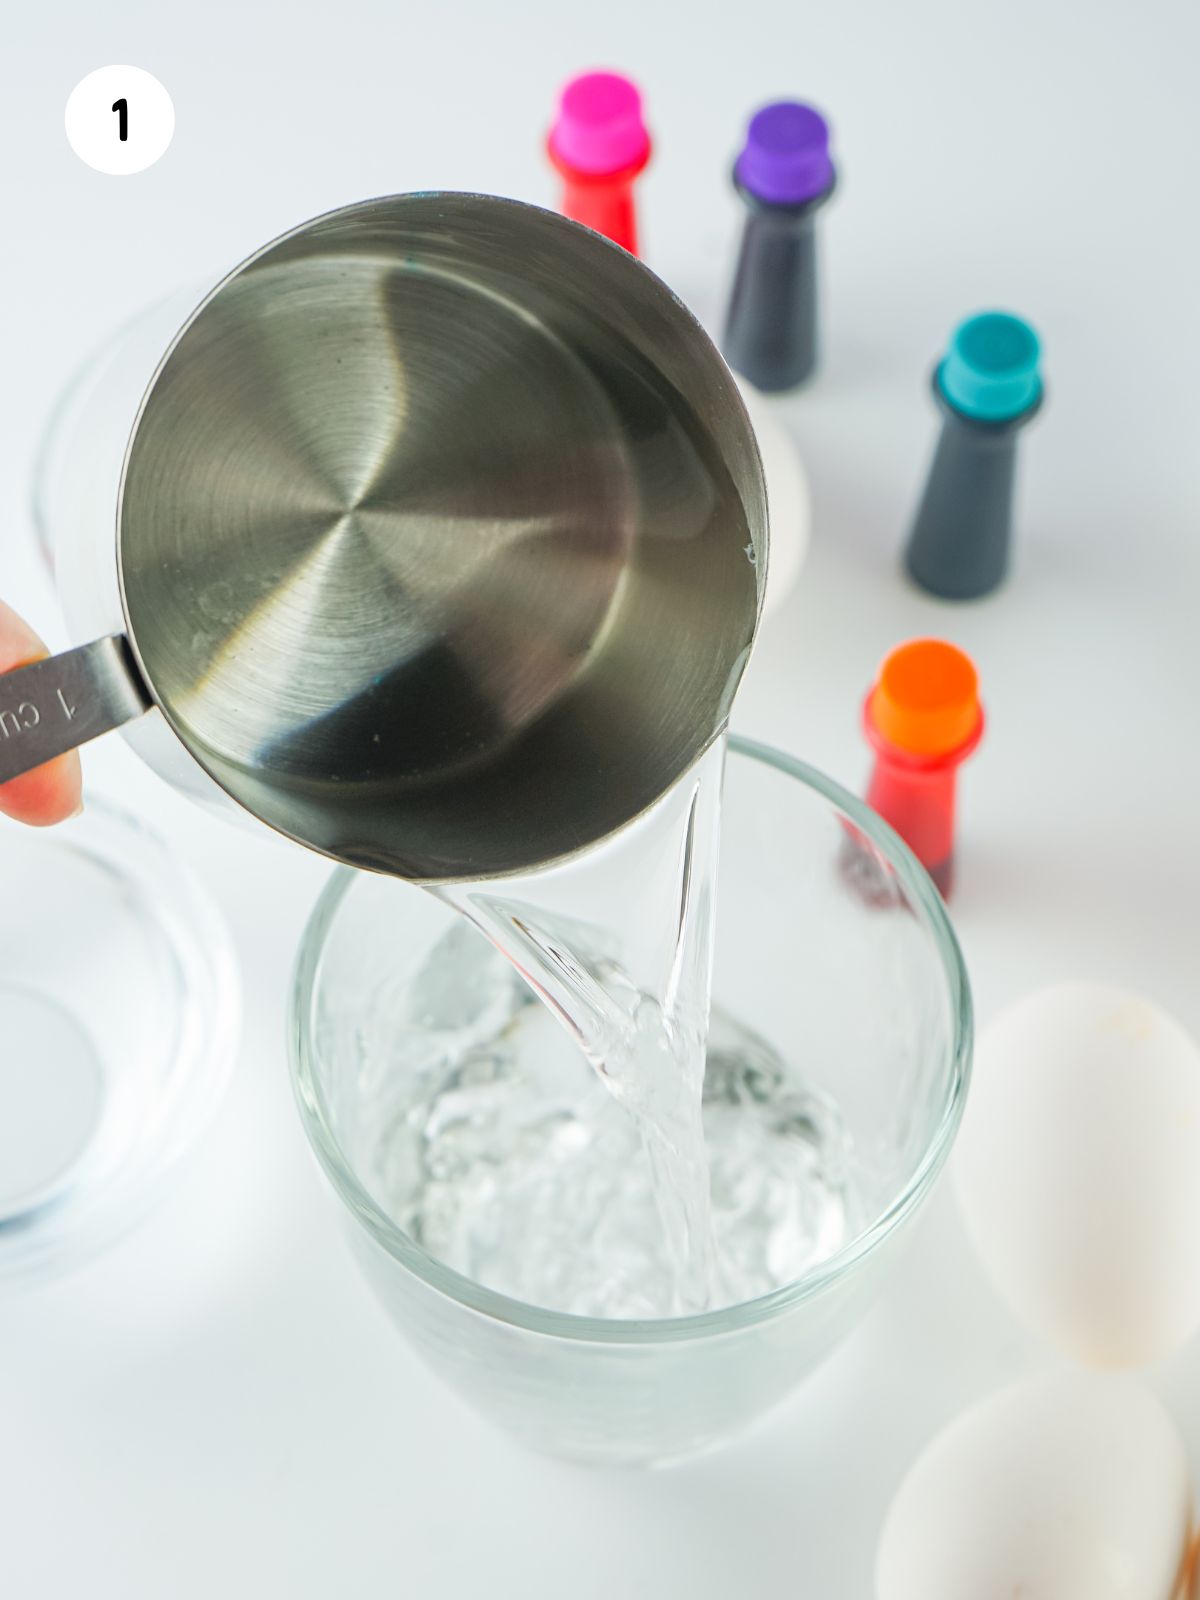
Step 1: Pour 1 cup of water into a cup or bowl where the egg can be fully immersed.
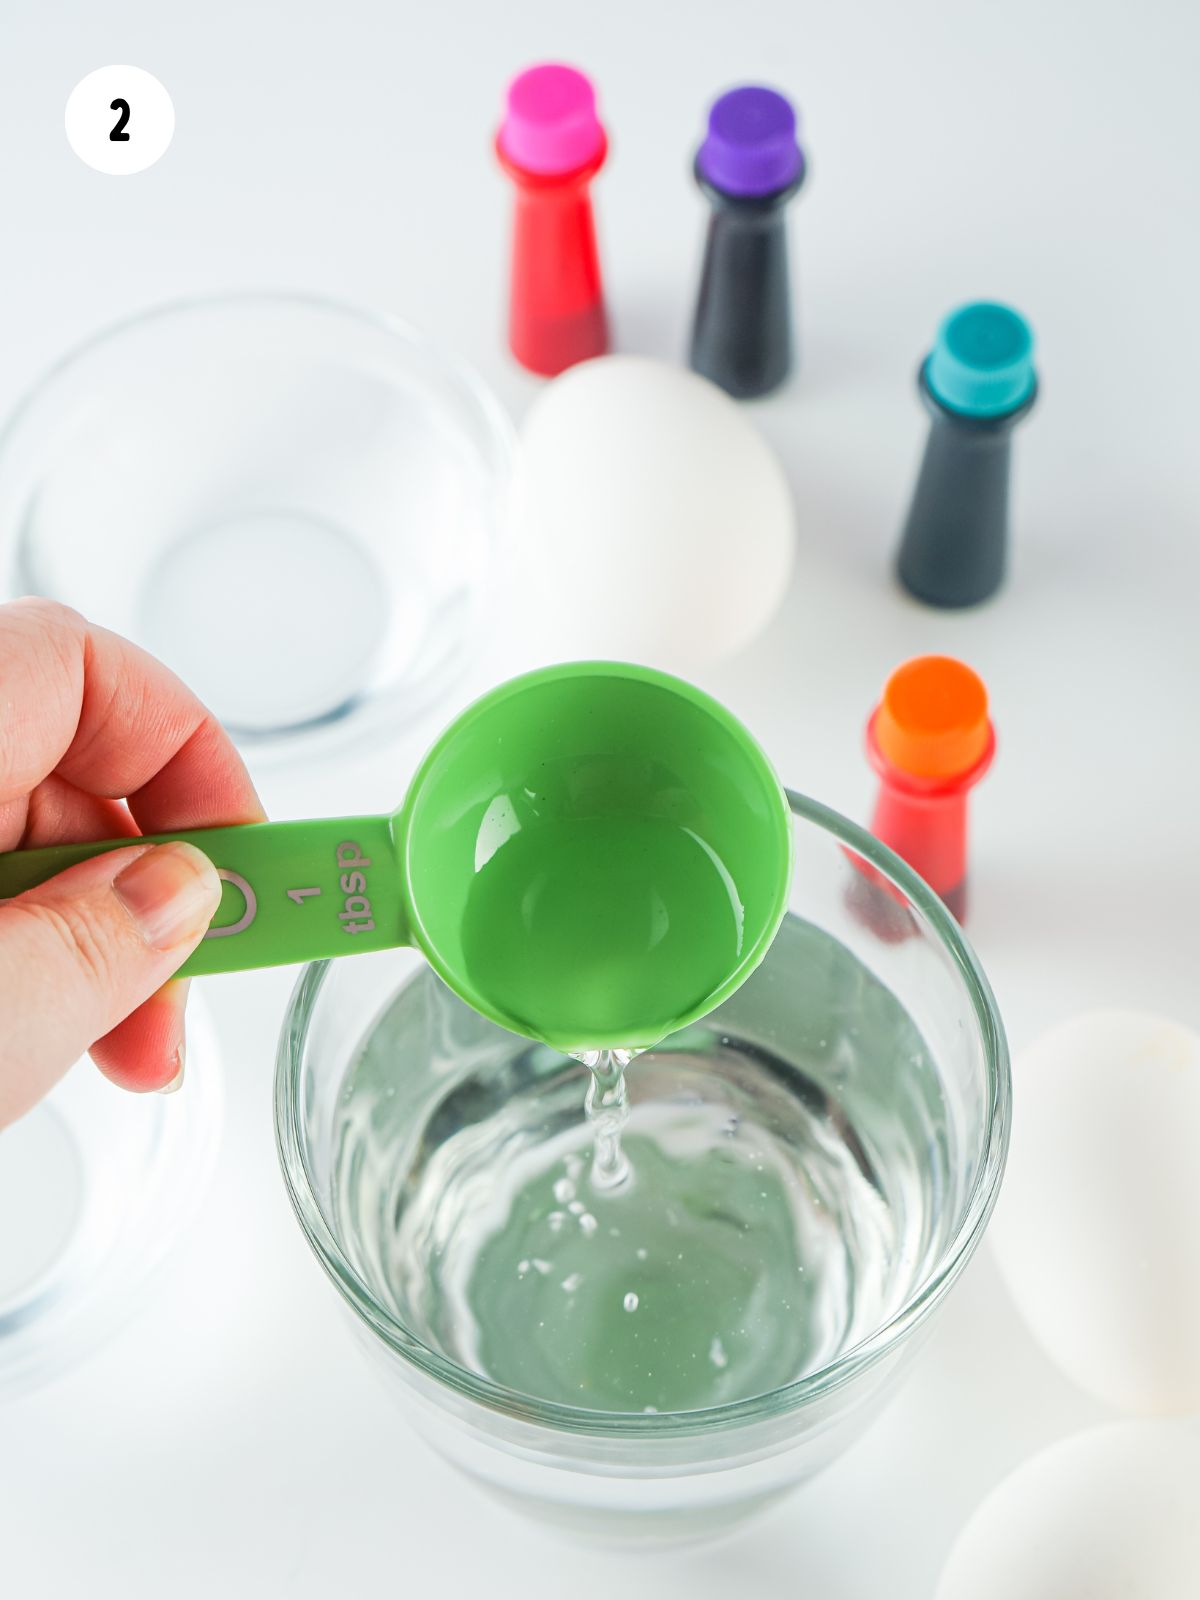
Step 2: Add 1 tablespoon of vinegar to the water.
Quick Tip
When using food coloring to dye Easter eggs it's best to start with lighter colors and gradually add more dye for deeper hues. This allows for better control over the intensity of the colors and helps prevent the eggs from becoming too dark or saturated too quickly.
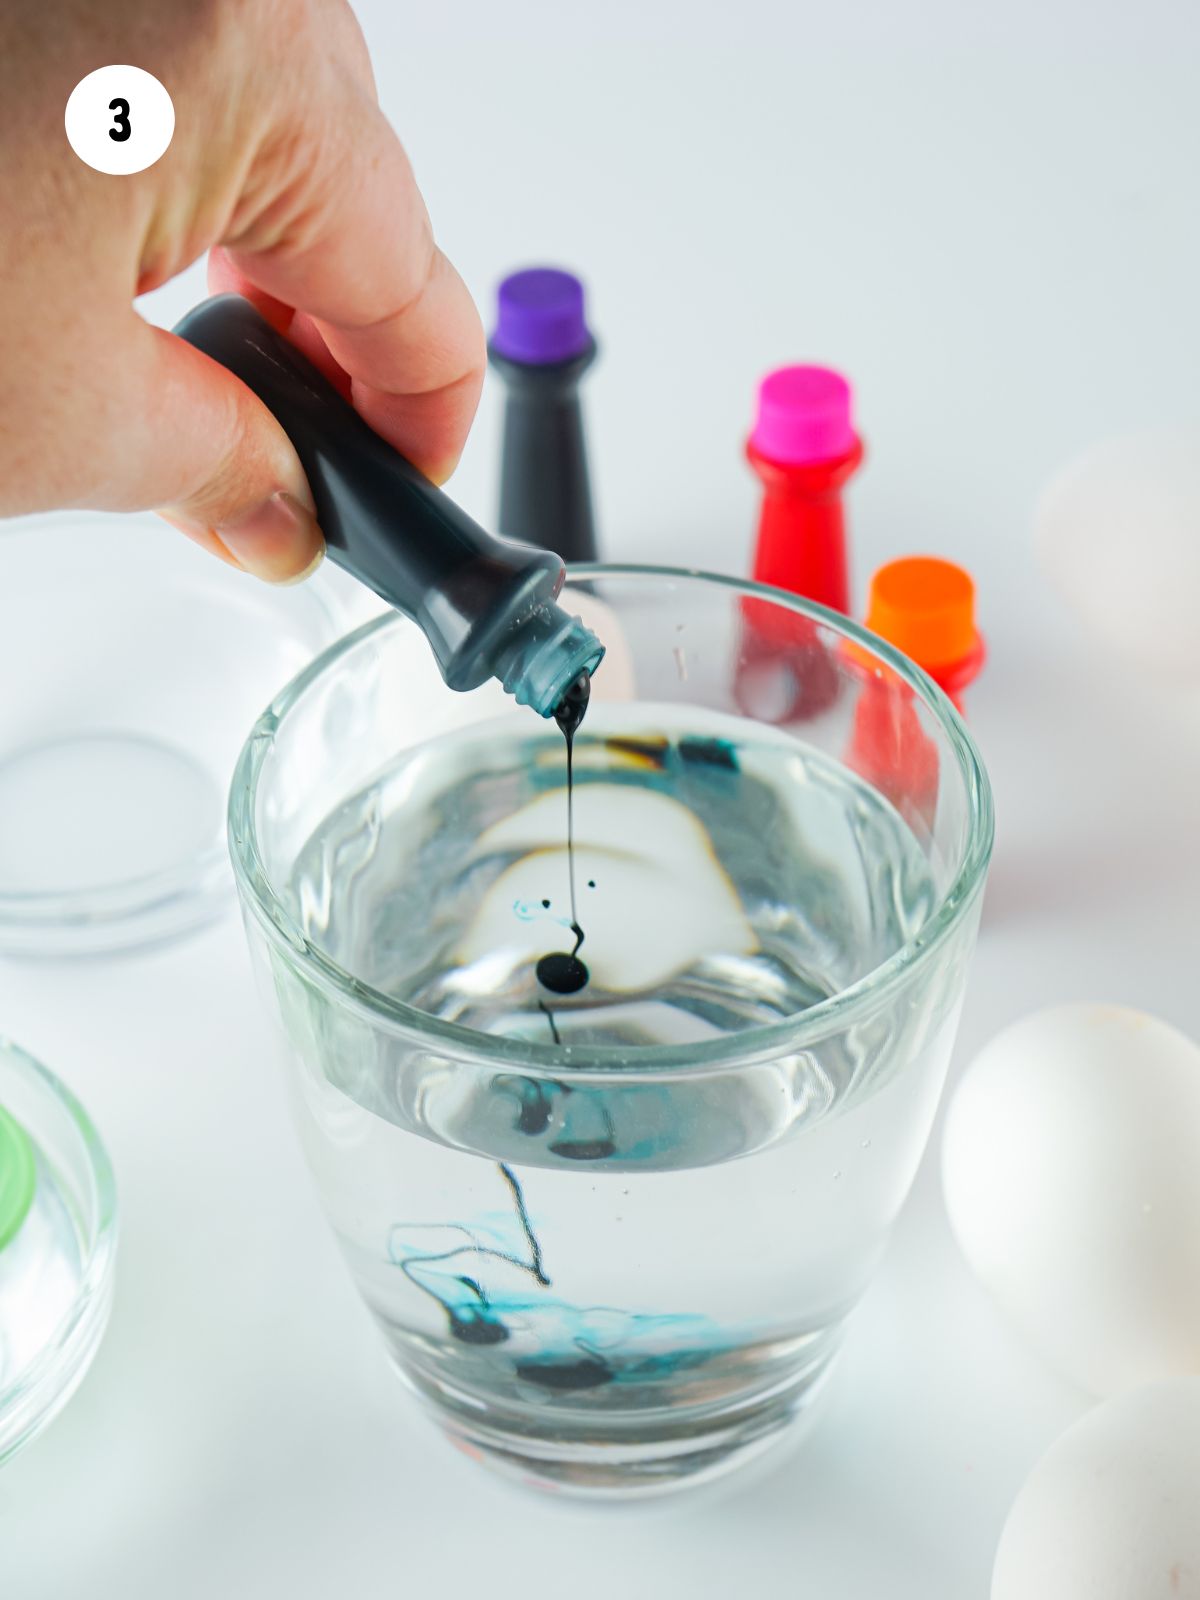
Step 3: Stir in ½ teaspoon of food dye.
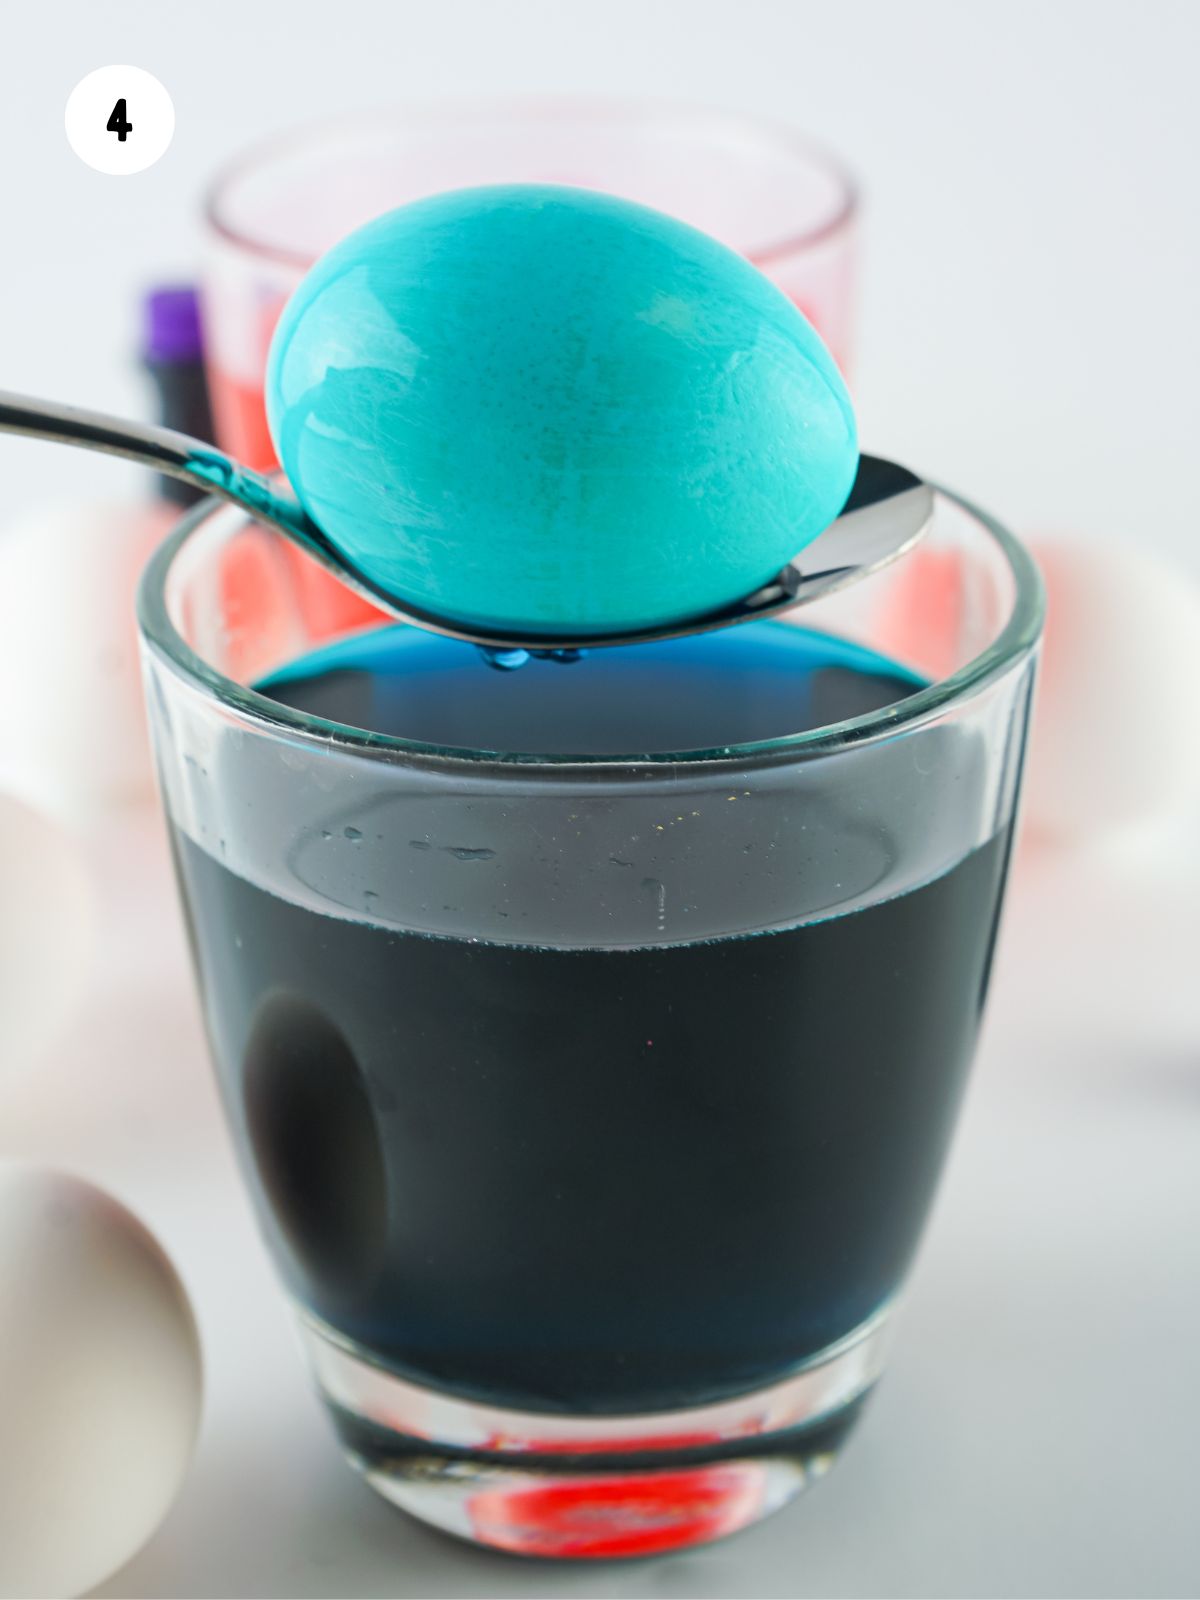
Step 4: Gently place the egg into the dye for about a minute. The longer it sits in the dye, the darker it will get.
Before you Begin!
If you make this recipe, please leave a review and star rating. This helps my business thrive and continue providing FREE recipes.
Is it better to dye Easter eggs hot or cold?
Prior to dipping the eggs in the dye, make sure they are chilled or at room temperature. Cold-dyeing facilitates better adherence of the dye to the shell while preventing over-saturation with color.
Should I refrigerate colored Easter eggs?
Hard-boiled eggs, whether dyed or not, should be refrigerated within two hours of cooking to prevent bacterial growth.
After dyeing your eggs, place them in the refrigerator if you don't plan to eat them immediately.
It's also best to consume refrigerated colored eggs within one week for optimal freshness and safety.
🍶Storage Tips
After dyeing your eggs, place them in the refrigerator if you don't plan to eat them immediately. It's also best to consume refrigerated colored eggs within one week for optimal freshness and safety.
More Recipes You'll Love!
- Check out my post on how to make a Resurrection Garden for Easter Decorating.
- Or you might enjoy this tutorial for How to Make Cool Whip Easter Eggs.
📇How To Card
Dyeing Eggs with Food Coloring
If you forget to pick up an egg dyeing kit, don't worry! Check out this post on Dyeing Eggs with Food Coloring for an equally simple solution!
Materials
- boiled eggs
- 1 cup water
- 1 tablespoon vinegar
- ½ teaspoon gel food dye
Tools
- 10 ounce minimum cups or glasses
- paper towels (optional)
- spoons (optional)
Instructions
- Choose your colors and have a glass for each color.
- Place 1 cup water and 1 tablespoon vinegar in each glass.
- Add ½ teaspoon food dye for each color.
- Stir then place the eggs in the glasses. Using spoons makes it easier to get the eggs in and out.
- Within 1 minute, the eggs will be dyed. The longer you leave the eggs in the dye, the darker they will get.
- Let the eggs rest on paper towels to dry for at least 5 minutes.




Comments
No Comments