

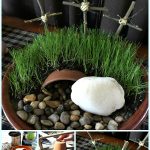
A fun project to do for the family is to plant a Resurrection Garden that will bloom just in time for Easter.
It's also a great way to explain that there is more to Easter than just the bunnies, candy and egg hunts; although those are fun too.
For the past few years, my husband and I have been creating our own Easter garden.
It's always fun to watch the grass sprout and transform into a meaningful centerpiece for our dining room table during Easter Sunday Brunch.
Want to Save This Recipe?
Enter your email & I'll send it to your inbox. Plus, get great new recipes from me every week!
By submitting this form, you consent to receive emails from Walking on Sunshine Recipes.
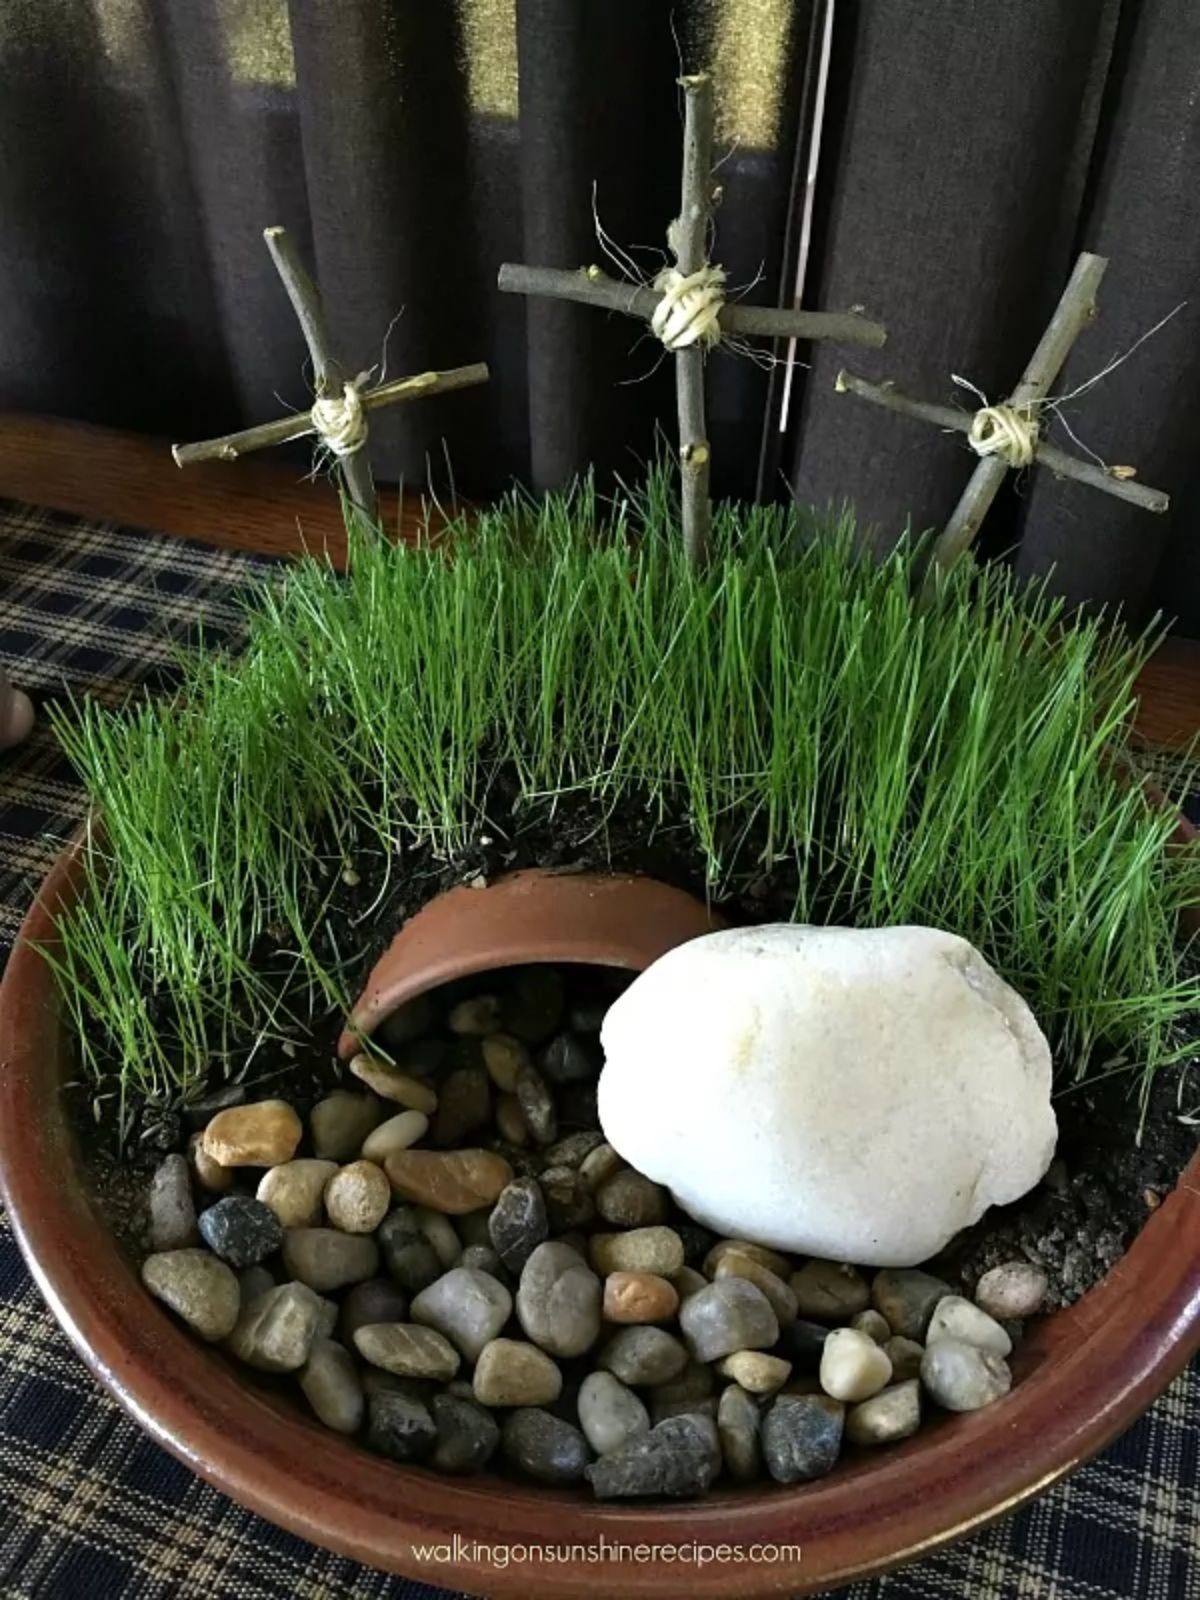
This miniature garden serves as a visual reminder of the journey from death to new life, inviting reflection and contemplation on the central event of the Christian faith.
A diy resurrection garden, with its meticulously arranged features like the tomb, seeds, and crosses, serves as an educational tool, particularly for children, conveying enduring messages of hope, renewal, and victory over death.
The kids are sure to enjoy this project as well as my other project like my Easter Grass Centerpiece.
Table of Contents
- How to make a Resurrection Garden
- When Should You Start a Resurrection Garden for Easter?
- What does an Easter Garden represent?
- Looking for help with Easter Preparation?
- Materials Needed
- Step 1: Cut the Small Clay Pot in Half
- Step 2: Add the Dirt and River Rocks
- Step 3: Water the Seeds
- Step 4: Watch the Grass Grow
- Step 4: Find a Stone
- Step 5: How to Make the Crosses
- Step 6: Display the Garden
- Project Tips
- Try these other Easter Projects and Recipes Next...
- 💬 Comments
How to make a Resurrection Garden
I know the kids would love helping you plant the grass seeds and watering every day as well. The instructions are pretty easy on how to plant a resurrection garden on your own too.
I had originally planned on using our Resurrection Garden as our centerpiece for the dining room table, but then decided to keep it on the sideboard right next to the table. It look great and was the perfect conversation piece when family came over.
When Should You Start a Resurrection Garden for Easter?
Start a Resurrection Garden at least 2-3 weeks before Easter to allow the grass to grow, keeping the soil moist for proper sprouting.
If using fast-growing wheatgrass, you can start 7-10 days in advance, but traditional grass seed needs more time to fill in.
What does an Easter Garden represent?
As you and your children create the Easter Resurrection Garden, take the opportunity to discuss the significance of each element:
- Tomb: Explain how Jesus was buried in a tomb after his crucifixion and how his body was no longer there on the third day.
- Seeds: Talk about how seeds represent new life and how Jesus rose from the dead, bringing new life to all believers.
- Pathways: Discuss the journey to the tomb and the path Jesus walked during his ministry.
- Cross: Reflect on the sacrifice Jesus made on the cross for the forgiveness of sins.
- Plants/Flowers: Consider discussing how Easter represents the beginning of new life and hope.
Looking for help with Easter Preparation?
Click here now to check out my Let's Do Brunch Easter Celebration Digital Cookbook! prepare for a delicious celebration!
It's the ultimate guide to crafting your dream Easter brunch featuring 11 easy-to-make recipes, Prep-Ahead Tips, Planning Checklists, and Fun Kid's Activities!
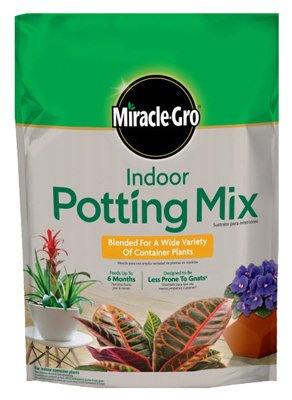
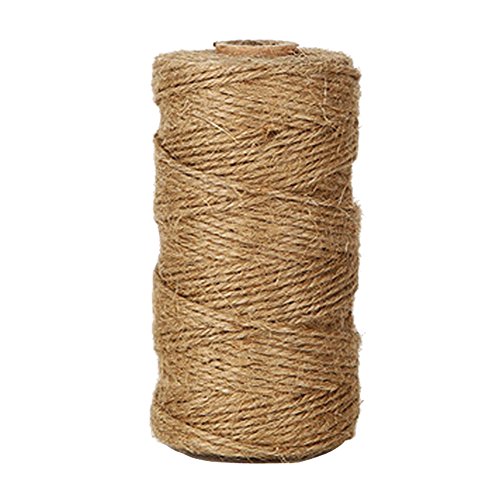
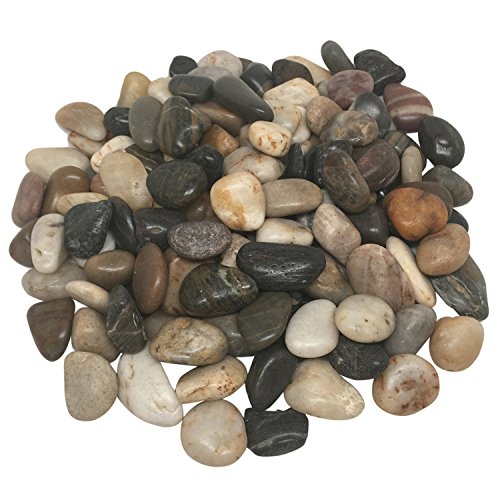
Materials Needed
- Large Tray or Container: This will serve as the base of your garden.
- Potting Soil: Enough to fill the tray/container.
- Small Pot or Cup: This will represent the tomb.
- Small Rocks or Pebbles: For pathways or decoration.
- Garden Rock: This will represent the stone placed in front of the tomb.
- Grass Seed or Wheatgrass Seeds: To represent new life.
- Small Wooden Crosses: To represent the 3 crosses.
- Watering Can or Spray Bottle: For watering the garden.
More InformationMore InformationMore InformationMore InformationMore InformationMore InformationMore Information


Step 1: Cut the Small Clay Pot in Half
Cut the small clay pot in half using a hacksaw to form the tomb's mound. This will shape the structure for your Resurrection Garden.

Step 2: Add the Dirt and River Rocks
Place the clay saucer in the decorative planter dish and then add dirt around the clay pot. Remember, you are forming the ground around the tomb for your garden.
Leave space in front for the river rock. Add the river rock in front of the tomb opening and then add the grass seed.

Step 3: Water the Seeds
Lightly cover the seeds with a little more dirt and then water it regularly using a spray bottle.
Place the garden in a sunny location and water it daily using a spray bottle. Do not use a watering can. You will have a mess on your hands!

Step 4: Watch the Grass Grow
After about a week you will start to see grass shooting up through the dirt. You're going to want to rotate the planter so all the grass doesn't lean or grow towards the sun.
Encourage your children to water the garden regularly and watch as the seeds begin to sprout and grow.
Discuss the parallels between the garden's growth and the story of Easter, reinforcing the themes of new life and resurrection.
After a few weeks you'll have a nice amount of grass growing. And yes, you should trim it using a pair of scissors.

Step 4: Find a Stone
Find a stone that you can use to place in front of the tomb. You can purchase one or just go a hunt in the garden. We found this one at the lake that is near our house.

Step 5: How to Make the Crosses
Form the crosses using twigs found in the yard. Use twine to hold them together.
Place the crosses in the resurrection garden and find the perfect place to display.

Step 6: Display the Garden
I placed our Resurrection Garden in the dining room on the buffet table in front of two nice sized windows.
It continued to grow and was a great conversation starter on Easter Sunday when our family and friends came over for dinner. You could also use this as a centerpiece.

Project Tips
- When Easter was over, we moved the planter outside but the grass soon died.
- Then we placed the planter in the garden shed and left it alone until just a few days ago...because it's time to get ready for Easter again!
- After removing the old grass we put a fresh layer of soil on top and planted new grass seed. I can't wait to see how our garden turns out again this year!


Try these other Easter Projects and Recipes Next...
- How to Make Easter Egg Place Cards
- Fun Ways to Decorate Easter Eggs
- Pretty Spring Wreaths for the Front Door
- How to Make a Grass Centerpiece perfect for Spring and Easter


Rita C at Panoply says
Simply fabulous, Lois! I pinned this. It's a great craft for kids. Thank you!
Julie says
How lovely, what a great activity for the kids to learn about Easter.
Andrea says
How long before Easter should I start this?
Lois says
Start a Resurrection Garden at least 2-3 weeks before Easter to allow the grass to grow, keeping the soil moist for proper sprouting. If using fast-growing wheatgrass, you can start 7-10 days in advance, but traditional grass seed needs more time to fill in. Thank you for visiting! I hope you try the project and your family enjoys it!
Shirley Wood says
I have seen these before and plan to make one. Maybe this year is the time. Love it. So glad you shared with us at Merry Monday. Shared to my FB page.
Kimm Boes says
That really came out nice. What a great teaching project for kids.
Thanks for sharing at Funtastic Friday.