

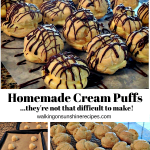


Some people think homemade cream puffs, also known as choux pastry, are one of those complicated desserts to make at home.
In reality, all you need are four simple ingredients that come together quickly to create one of my family’s favorite homemade desserts, and they can even be prepared ahead of time for stress-free entertaining during the holidays.
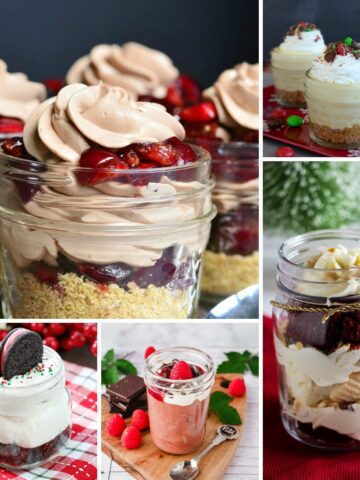
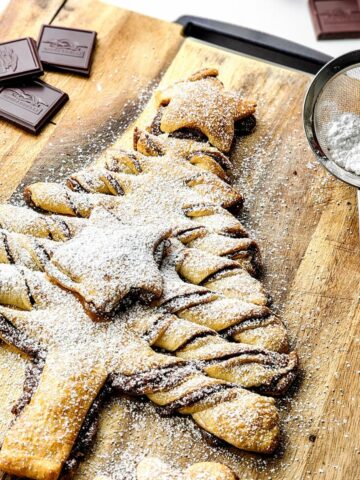
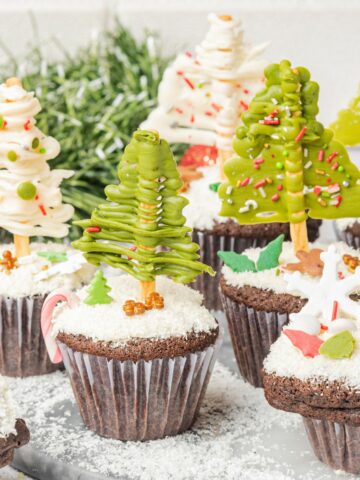
Check out my other holiday easy desserts that are perfect to serve all year round.
Want to Save This Recipe?
Enter your email & I'll send it to your inbox. Plus, get great new recipes from me every week!
By submitting this form, you consent to receive emails from Walking on Sunshine Recipes.
This recipe has been updated since it was first published in 2016 with refreshed photos, clearer instructions, and added tips for making cream puffs ahead of time. I hope you enjoy the updates as much as I enjoyed working on them.
Recipe at a Glance
Prep: 15 min | Cook/Bake: 45 min + Resting Time | Difficulty: Easy
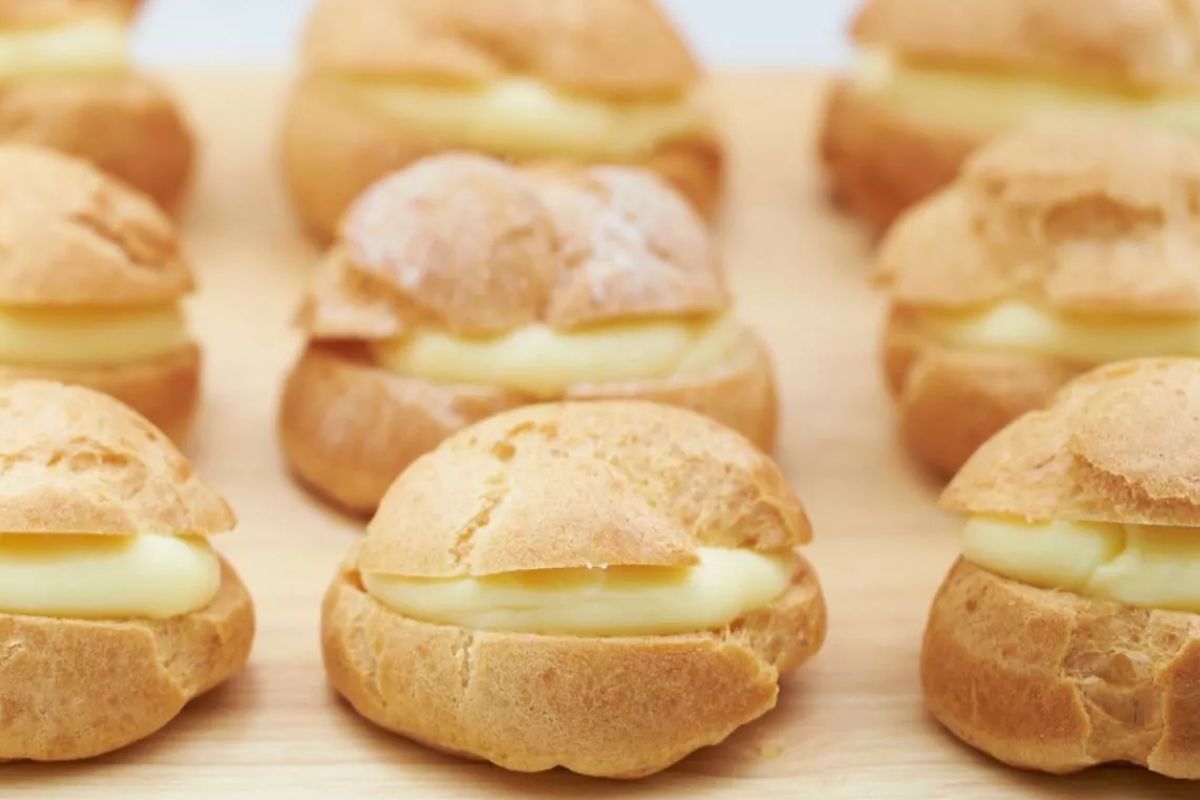
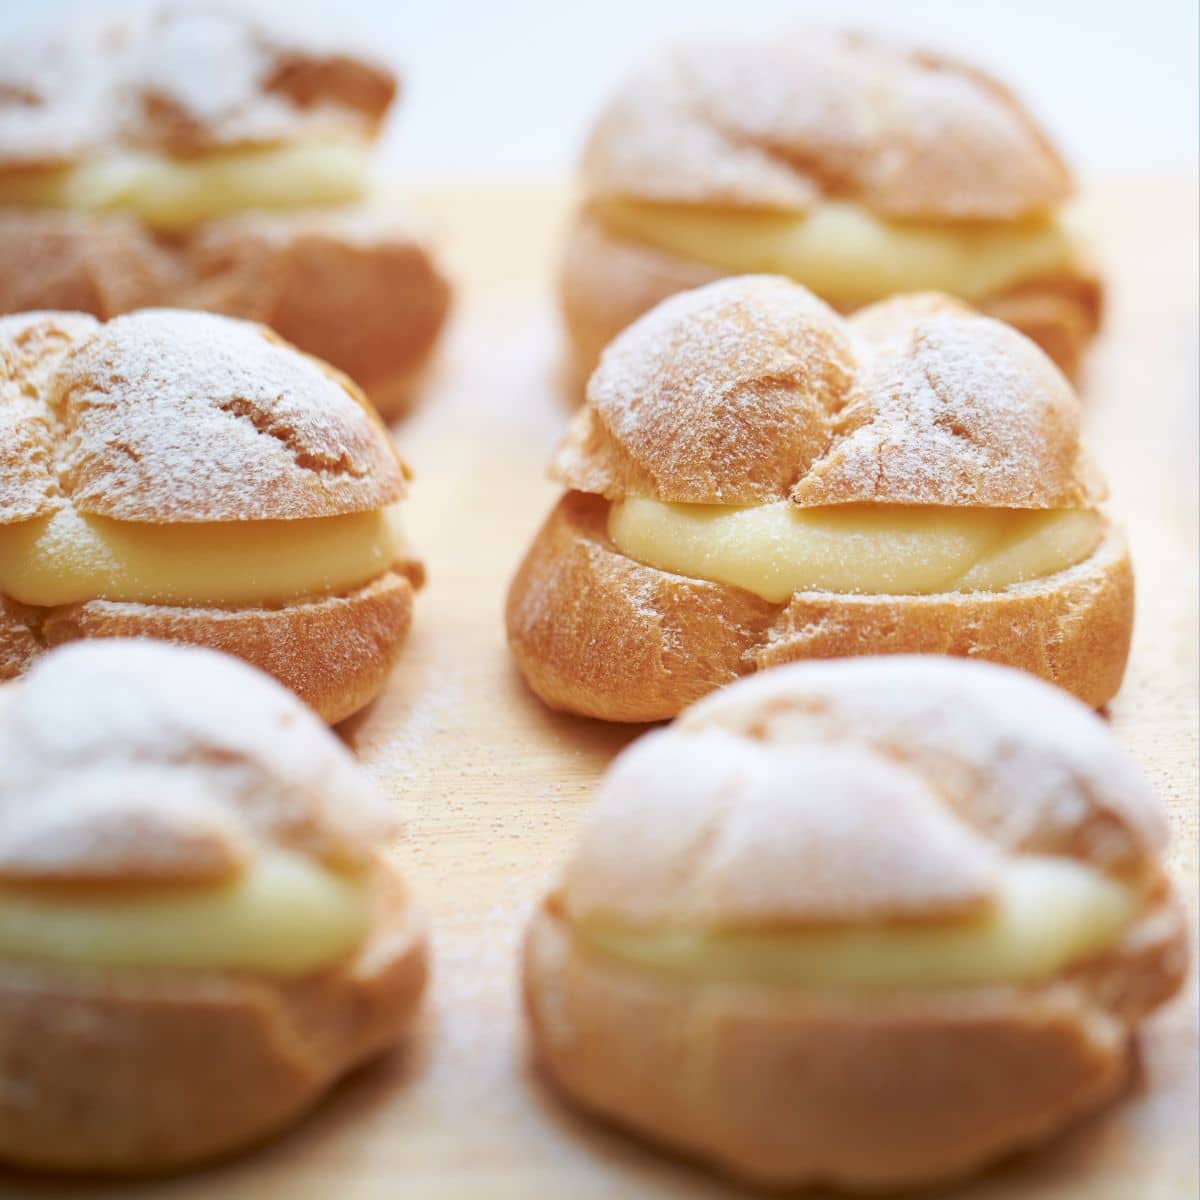
What it is: A classic homemade cream puffs recipe made with simple choux pastry that bakes into light shells and is filled with a smooth, lightly sweet cream.
Why you’ll love it: This recipe uses basic ingredients, comes together quickly, and works well for special occasions and make-ahead planning.
How to make it: Cook the choux dough on the stovetop, pipe or spoon onto a baking sheet, and bake until puffed and golden. Let the shells cool completely before filling, and store filled cream puffs in the refrigerator until ready to serve.
👉 This is the perfect recipe to save using my Ultimate Meal Planner & Recipe Binder to help keep all your favorite recipes organized and ready to use again and again!
Table of Contents
- Recipe at a Glance
- Can you make Cream Puffs Ahead of Time?
- Why My Family Loves This Recipe
- Recommended Kitchen Tools
- My Kitchen Tools Essentials
- Main Ingredients Needed
- Step-by-Step Directions
- How to Form the Cream Puffs
- How Long to Bake Cream Puffs
- Cream Puffs with Vanilla Pudding
- Tips for making Cream Puffs
- Cream Puff Filling
- How to Store Cream Puffs
- Recipe FAQ's
- Try these Dessert Recipes to Impress!
- LOVE this recipe? SAVE it for Later!
- 📖 Recipe Card
- 💬 Comments
Can you make Cream Puffs Ahead of Time?
- Cream puff shells can be made a day in advance and filled shortly before serving.
- Prepare the choux pastry the day before and bake the shells as directed.
- Store the baked shells in a large box lined with fresh parchment paper.
- Keep the box in a cool, dry place such as a pantry or laundry room overnight.
- About 30 minutes before serving, fill the shells with your preferred cream and serve.

Why My Family Loves This Recipe
This cream puff recipe has been a family favorite for years and one we’ve made together for many holidays.
I first learned how to make this recipe from my mom using a simple method that takes the fear out of working with choux pastry.
The photo here shows my mom, my kids, and me in the kitchen years ago, making cream puffs and other family traditions we still bake today.
Recommended Kitchen Tools
For a full list of kitchen tools used in this recipe, be sure to check the recipe card below. You can also browse my Favorite Kitchen Tools by clicking the photo below.

Check out my list...
My Kitchen Tools Essentials
Tools that will make your time easier and faster in the kitchen!
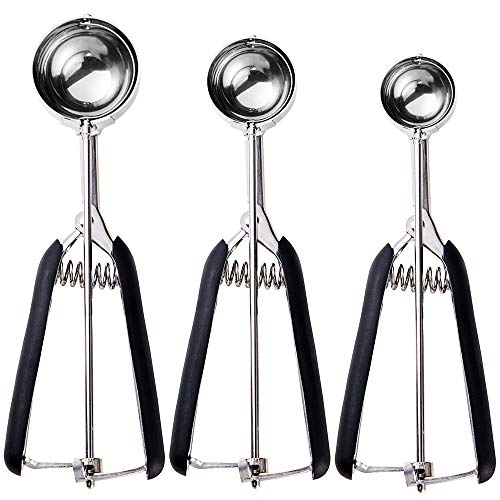
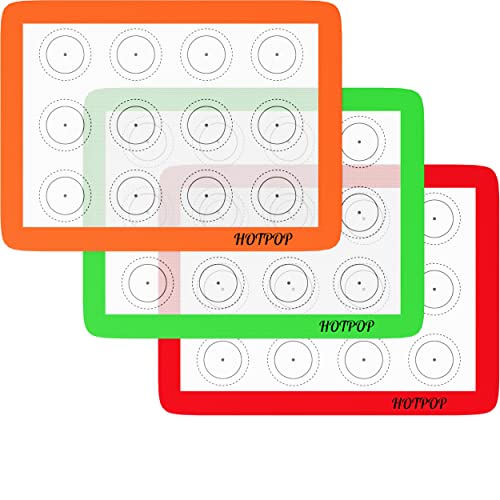
Cookie ScoopStainless Steel, Soft GripMore InformationSilicone Baking Mats - easy uniform sizes!More Information2-Pack Cooling Racks for BakingMore InformationThe Pampered Chef Chocolate DrizzlerMore Information6 Easy Squeeze Applicator BottlesMore Information


Main Ingredients Needed
Here's a quick overview of the ingredients for this recipe. Find the exact amounts and click the Instacart button to easily add them to your cart – all in the printable recipe card below!
- Butter
- Water
- Flour
- 4 large eggs
- 1 teaspoon salt - optional. I don't add the salt because I use salted butter.
Step-by-Step Directions
This section includes step-by-step photos and instructions to guide you through the recipe. For the complete printable version, scroll down to the recipe card below.

Step 1: Bring butter, water, and salt to a boil, then remove from heat and stir in flour until a dough forms. Let the dough cool for 5 minutes before adding it to the bowl of a KitchenAid Stand Mixer .

Step 2: Next, transfer the dough to your stand mixer (or use a hand mixer right in the saucepan!). Add the eggs one at a time, mixing well after each addition until the dough is smooth and silky. Be careful not to overmix!
How to Form the Cream Puffs

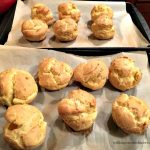
Step 3: Use a cookie scoop to drop dough onto parchment-lined sheets, spacing them out. Smooth tops with a damp finger for a polished look.
How Long to Bake Cream Puffs
I've updated my mother's original recipe with a new baking method that yields perfect cream puffs every time:

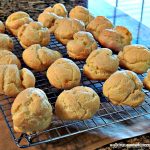
Step 4: Bake at 400°F for 15 minutes, then at 350°F for 30 minutes until golden. Pierce each puff, return to the turned-off oven (door ajar) for 10–15 minutes until hollow-sounding. Cool completely on a rack before filling.
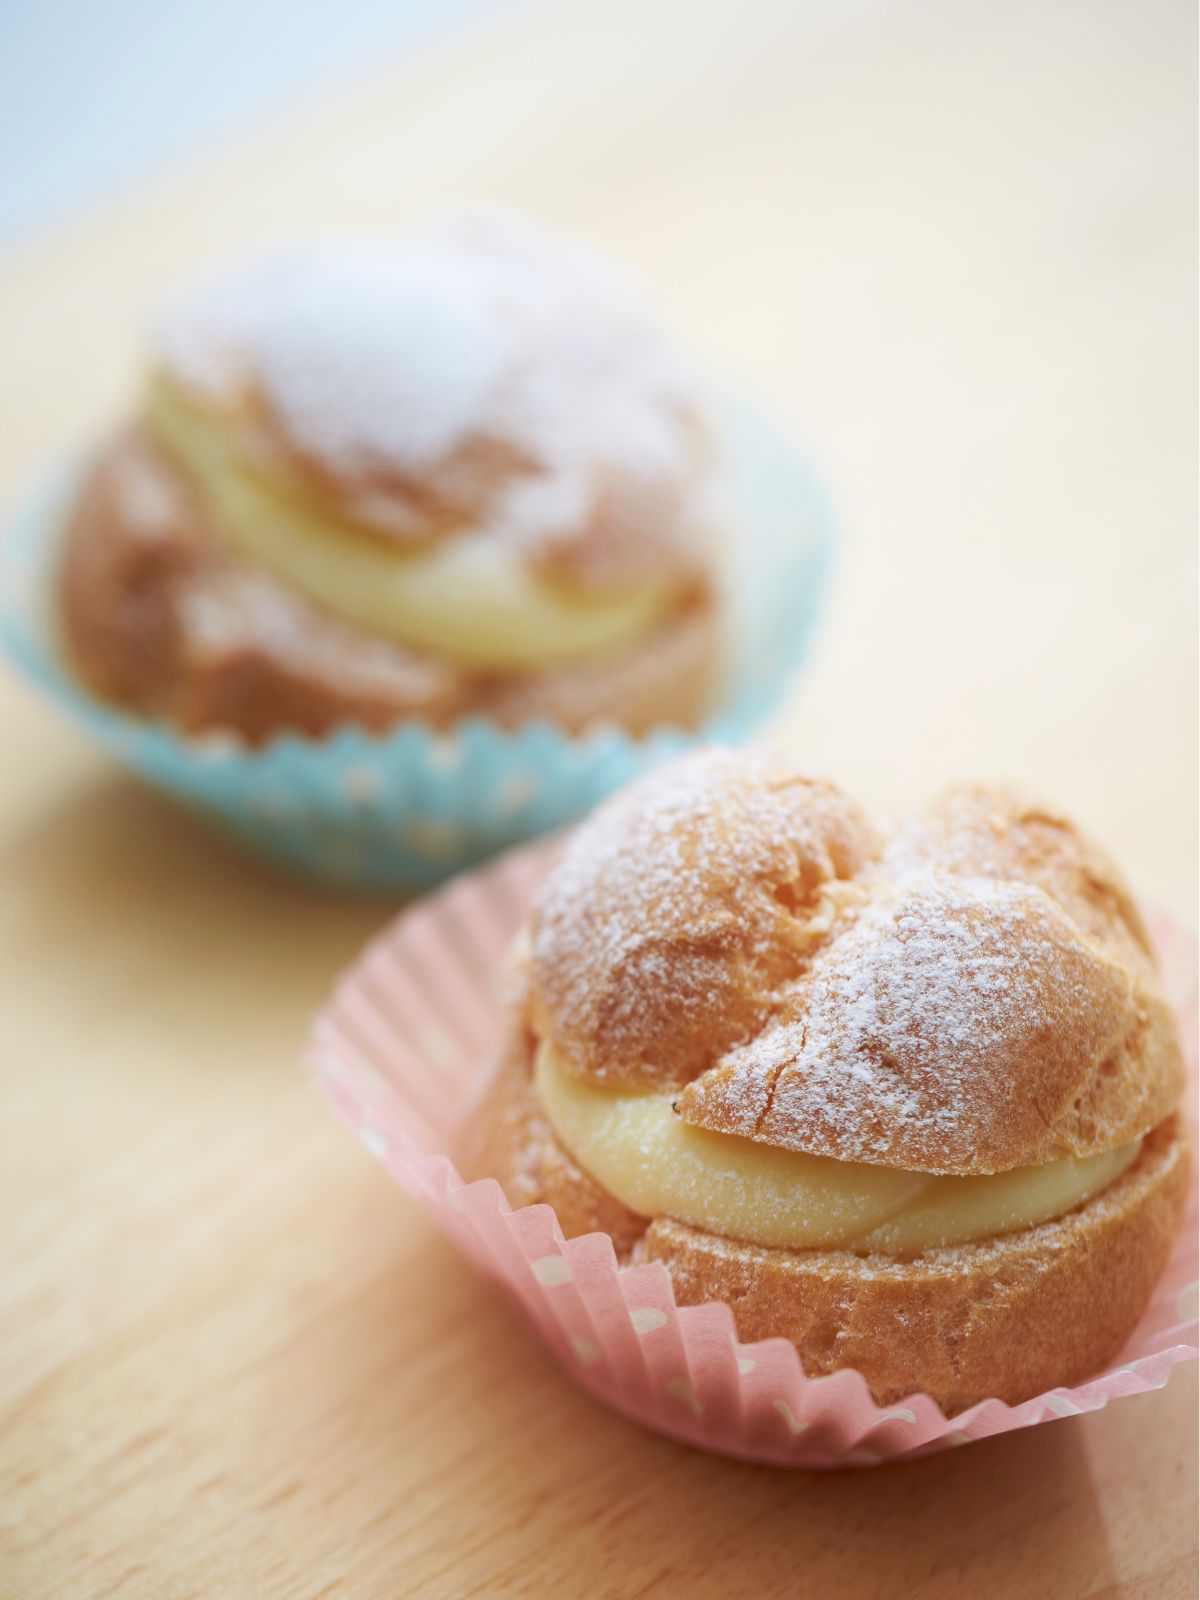
Cream Puffs with Vanilla Pudding

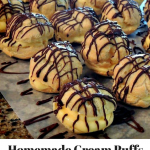
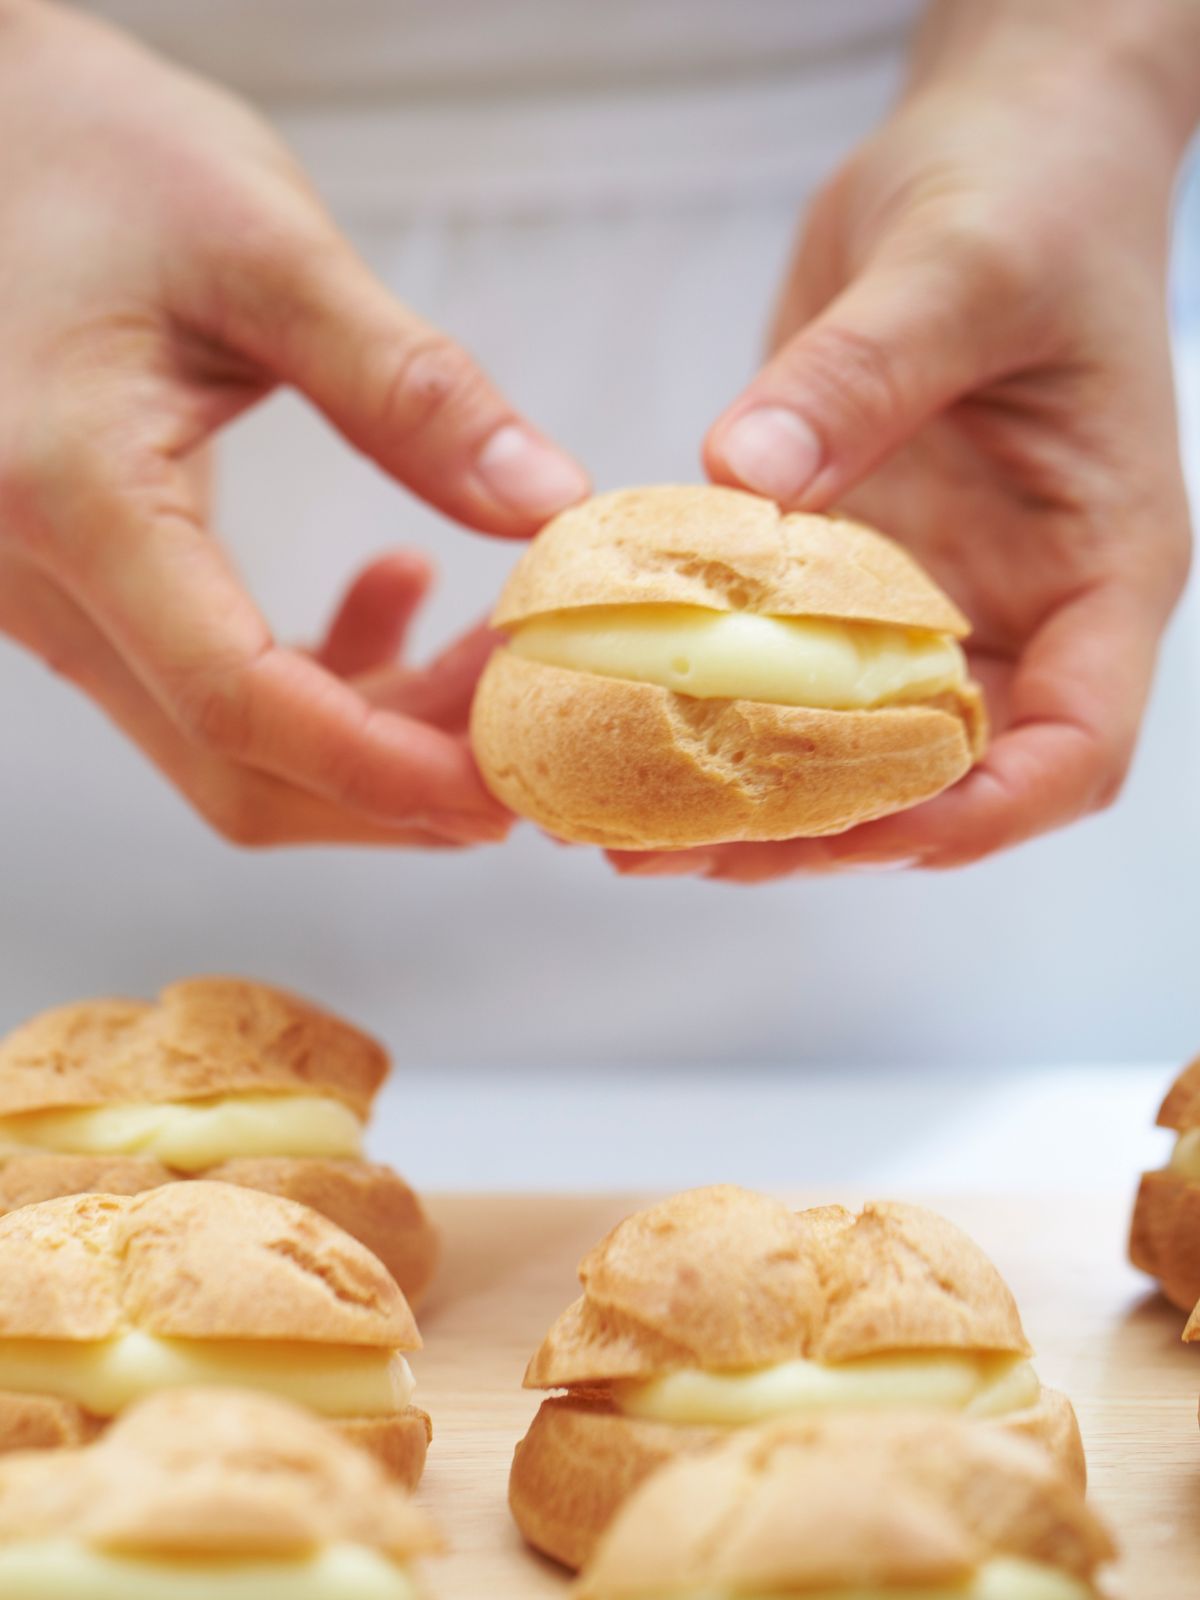
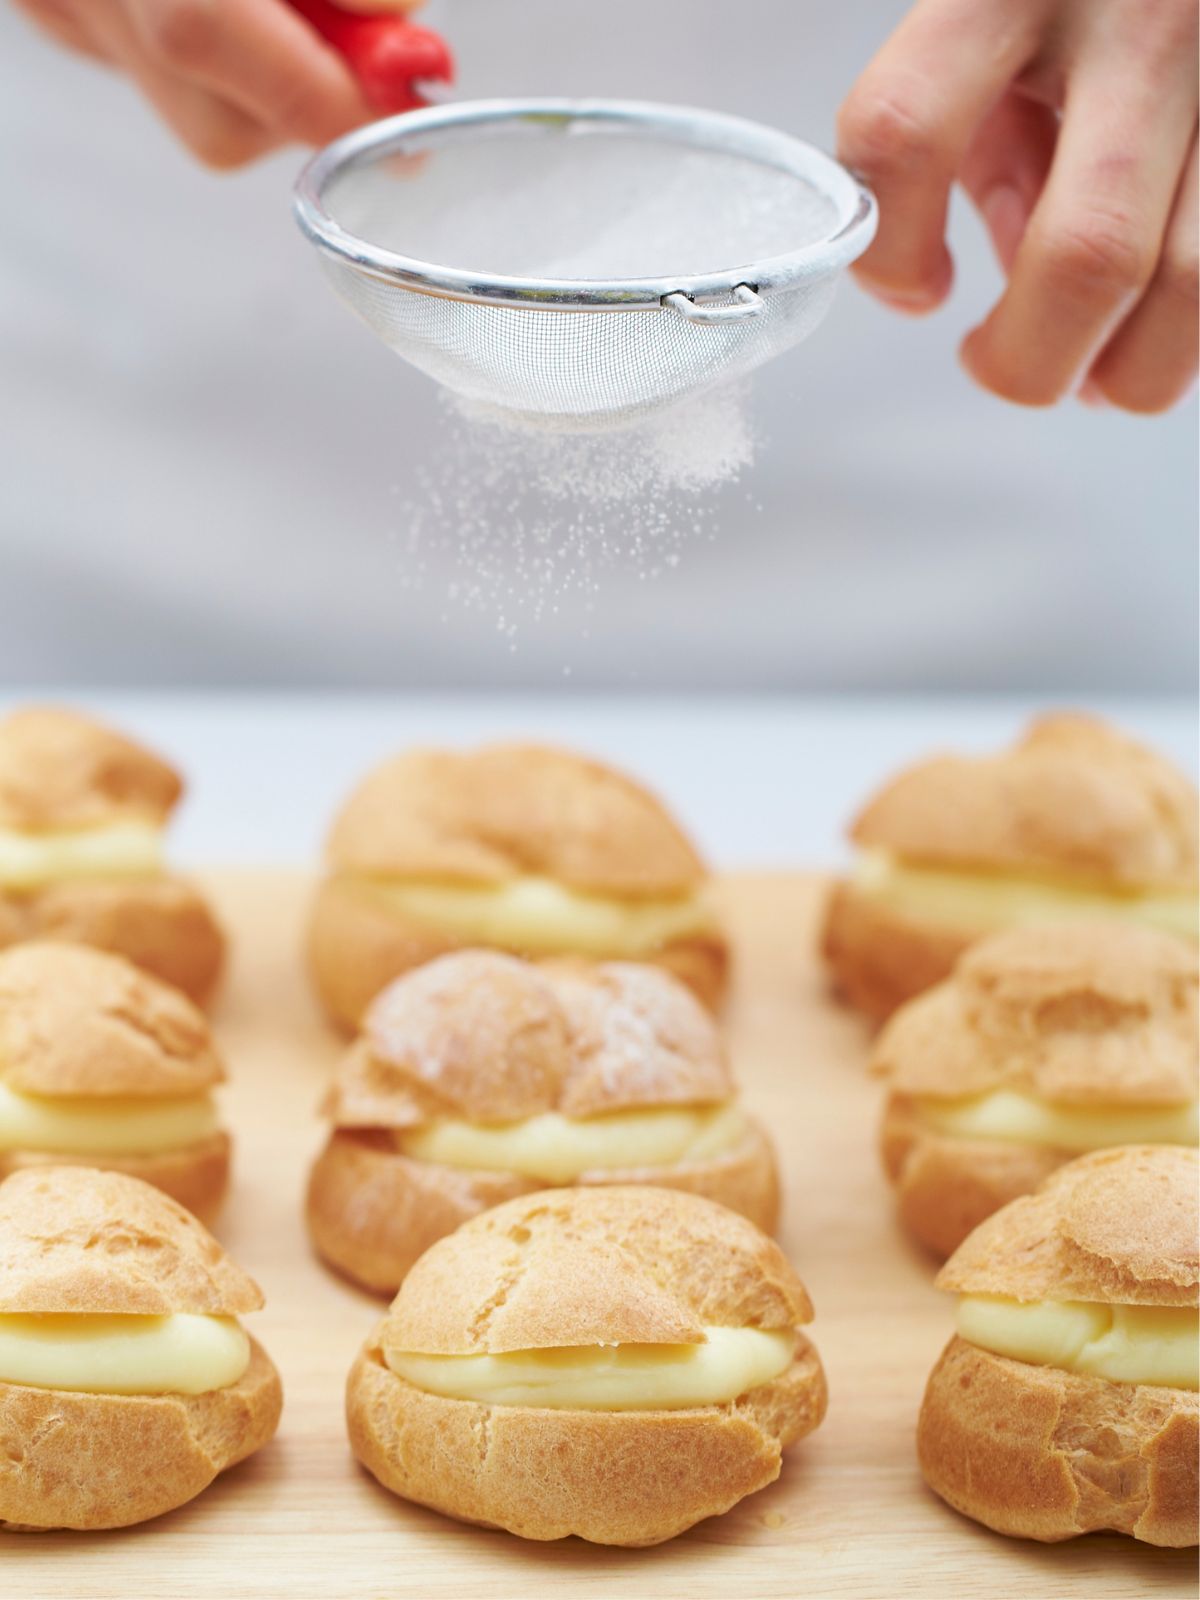
Step 5: Once cooled, slice puffs in half, fill with cream (and optional strawberries), dust with powdered sugar, and drizzle with chocolate if desired.
Tips for making Cream Puffs
- Add the eggs one at a time to create a smooth, silky batter that’s easy to pipe or scoop.
- After forming the dough, dip your finger in water and gently smooth the tops of each mound.
- Use a wooden skewer to poke a couple of holes in each puff so steam can escape during baking.
- Once baked, return the trays to the oven with the oven turned off and the door slightly ajar for 10–15 minutes to help the centers dry.
- Yield will vary based on scoop size, but this recipe typically makes 12–14 cream puffs.
- Do not double this recipe! If you need more, prepare the recipe twice separately for best results.
Cream Puff Filling
Cream puffs can be filled with a variety of simple, classic options depending on your preference and the occasion.
- Vanilla or chocolate pudding prepared using 1 ¾ cups of milk instead of the full 2 cups listed on the package, following the pudding pie directions
- Lightly sweetened whipped cream
- Chocolate whipped mousse cream
- Homemade lemon curd
- Cannoli cream
For serving, dust the filled cream puffs with powdered sugar and add fresh berries on the side for a simple finishing touch.
How to Store Cream Puffs
- Store unfilled cream puff shells at room temperature in a cool, dry place. A baking tray loosely covered with parchment paper or a paper towel works well.
- Avoid airtight containers for unfilled shells, as trapped moisture can soften the pastry.
- Do not refrigerate unfilled cream puffs, since refrigeration can cause them to lose their crisp texture.
- Once filled with pastry cream, pudding, or other cream-based fillings, store leftover cream puffs in the refrigerator.
- Filled cream puffs are best enjoyed within a short time, as the filling will gradually soften the shells.
Recipe FAQ's
To view the answers, simply click on the down arrow (⬇) next to each question. If you have any other questions not answered here, please leave a comment!
To keep cream puffs from getting soggy, store the baked shells unfilled in a cool, dry place and fill them shortly before serving. Moisture from cream fillings softens the shells over time, so waiting to add the filling helps maintain their texture. If needed, shells can be refreshed briefly in the oven and cooled completely before filling.
Unfilled cream puff shells do not need to be refrigerated, as refrigeration can soften the shells over time. Once filled with pudding, pastry cream, or other cream-based fillings, any leftovers should be stored in the refrigerator and enjoyed within a short period for best texture.


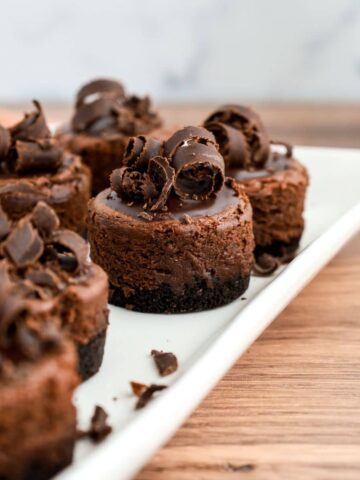
Try these Dessert Recipes to Impress!
Try my Cheesecake Cupcakes or my Strawberries Stuffed with Cheesecake Filling.


LOVE this recipe? SAVE it for Later!
❤️Tap the heart icon in the lower right corner to add the recipe to your recipe box for easy access anytime.
If you made it, leaving a star rating or quick review is always appreciated and helps other readers too.
Want to save this printed recipe? The Ultimate Meal Planner & Recipe Binder helps you keep recipes organized in one easy place.
📖 Recipe Card
Homemade Cream Puffs (Make-Ahead Tips Included)
Ingredients
- ½ cup butter
- 1 cup water
- 1 cup flour
- 4 large eggs
- 1 teaspoon salt; optional
- 2 - 3.4 ounce size packages vanilla instant pudding mix; see note below.
Method
- Preheat the oven to 400 degrees.
- In a saucepan, heat the butter, water and salt over high heat and bring to a rolling boil.
- Remove the pan from the heat and add the flour all at once stirring quickly until the dough comes together and forms a ball.
- Let the dough cool for 5 minutes.
- Add the dough to the bowl of an electric mixer. Or you can just use a hand mixer with the dough still in the original saucepan.
- Add the eggs one at a time mixing in between each addition until the dough is smooth and silky. Be careful not to over mix the dough.
- Scoop or spoon the dough onto cookie sheets that have been lined with parchment paper leaving enough room in between each since they will puff up.
- Dampen your finger into a bowl of water and then smooth out the tops of each mound of dough.
- Bake for 15 minutes in a preheated 400 degree oven.
- Then reduce the oven temperature to 350 degrees and bake for an additional 30 minutes or until they are golden brown.
- Pull the trays out of the oven and using a wooden skewer poke a couple of holes into the sides of each puff. This will allow the steam inside the puffs to escape so they can dry out and bake on the inside.
- Return the trays back to the oven, only turn the oven off, and keep the door ajar for an additional 10 to 15 minutes or until they sound hollow when you tap on them. I use my metal kitchen tongs to keep the door ajar.
- Let the puffs cool completely on a baking rack while you prepare the vanilla pudding.
- Prepare the pudding following the directions on the back of the box; only use 1 ¾ cups of milk not the full 2 cups of milk that the package calls for.
- Once the puffs have cooled, slice them open and fill with the pudding.
- Drizzle with melted chocolate or dust with powdered sugar before serving.
Nutrition
Notes
Nutritional Information:
Nutritional information provided is for the choux pastry only. Nutrition values for fillings such as pudding or whipped cream will vary based on the product used.Tips for Making Choux Pastry:
- This recipe makes about 12–14 cream puffs, depending on the size scoop used.
- Avoid doubling the recipe in one batch. If more cream puffs are needed, prepare the recipe twice separately.
- Cream puff shells can be prepared a day ahead of serving.
- Store unfilled shells lightly covered with waxed paper or a paper towel on a baking rack at room temperature.
- Do not refrigerate or store unfilled shells in an airtight container, as moisture can soften the pastry.
- To fill, slice the puffs in half and spoon the filling inside, or use a pastry bag fitted with a filling tip.
- Once filled, store cream puffs in the refrigerator and enjoy within a short time for best texture.

Ellie B says
I started making choux pastry when I was 10. I found a recipe in my mom's cookbook from the 60s. I made the vanilla custard from scratch and the ganash on top. She lost her cookbook and I haven't found a recipe that comes close. I'll stick with my homemade filling but I now have a new pastry recipe to try!
Lois says
This is my mother's recipe and she's been making it for years...probably the 70's!!! I'm happy you found a recipe to help you recreate your mom's! I will definitely have to try homemade custard! Thanks for visiting!
Marge Monaco says
Can I use cooked pudding for the filling ..I don’t like instant pudding
Lois says
Of course! Cooked pudding would work perfectly! Thank you for visiting.
Pam says
I use a cream pie homemade pudding for the puffs. Top with a thick homemade chocolate icing. I’m 72 and my mom made the the puffs this way in the 50’s. More work but really delicious. I adapted the pudding recipe to make in the microwave
Lois says
That sounds really good! Thanks for leaving a comment.
Barb rhoads says
Make the pie filling on the jello instant pudding box with dream whip. Makes an awesome filler. We prefer the French vanilla one. Goes great with the chocolate drizzle.