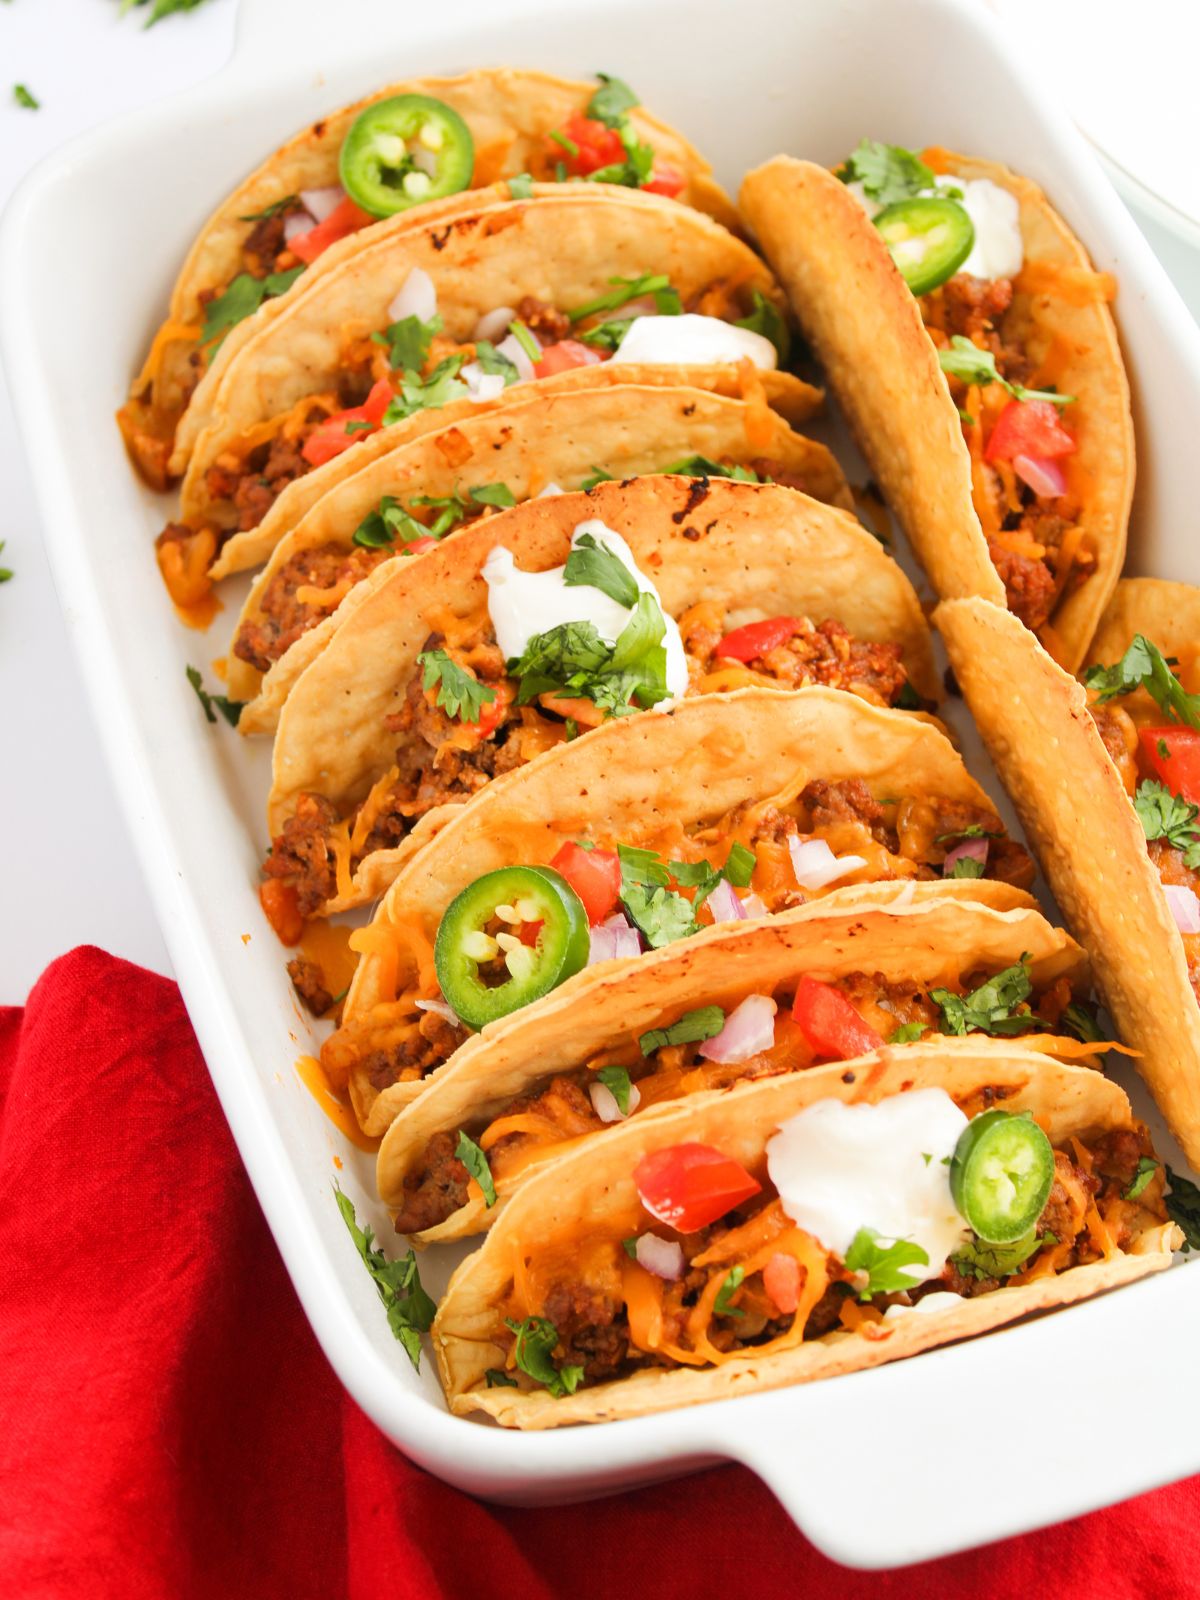
Taco night just got a serious upgrade with these easy baked beef tacos! Perfect for busy weeknights or casual get-togethers, this recipe delivers all the bold flavor you love—without the mess.
Made with seasoned ground beef, melted cheese, and all your favorite toppings and fixings, this recipe comes together in the oven for a quick, crowd-pleasing meal ready in under 60 minutes.
Check out all the other Family Dinner Ideas for even more delicious recipes.
Want to Save This Recipe?
Enter your email & I'll send it to your inbox. Plus, get great new recipes from me every week!
By submitting this form, you consent to receive emails from Walking on Sunshine Recipes.
Whether you're feeding a hungry family or serving a game day crowd, this easy-to-make taco recipe is guaranteed to disappear fast.
You probably already have everything in your pantry to make this for dinner tonight!
And the best part? There's minimal cleanup and maximum flavor.
Looking for more recipes to add to your Weekly Meal Plans? Try my Crock Pot Salsa Chicken, these Steak Fajitas, and even my Easy Chicken Enchiladas. Yum!
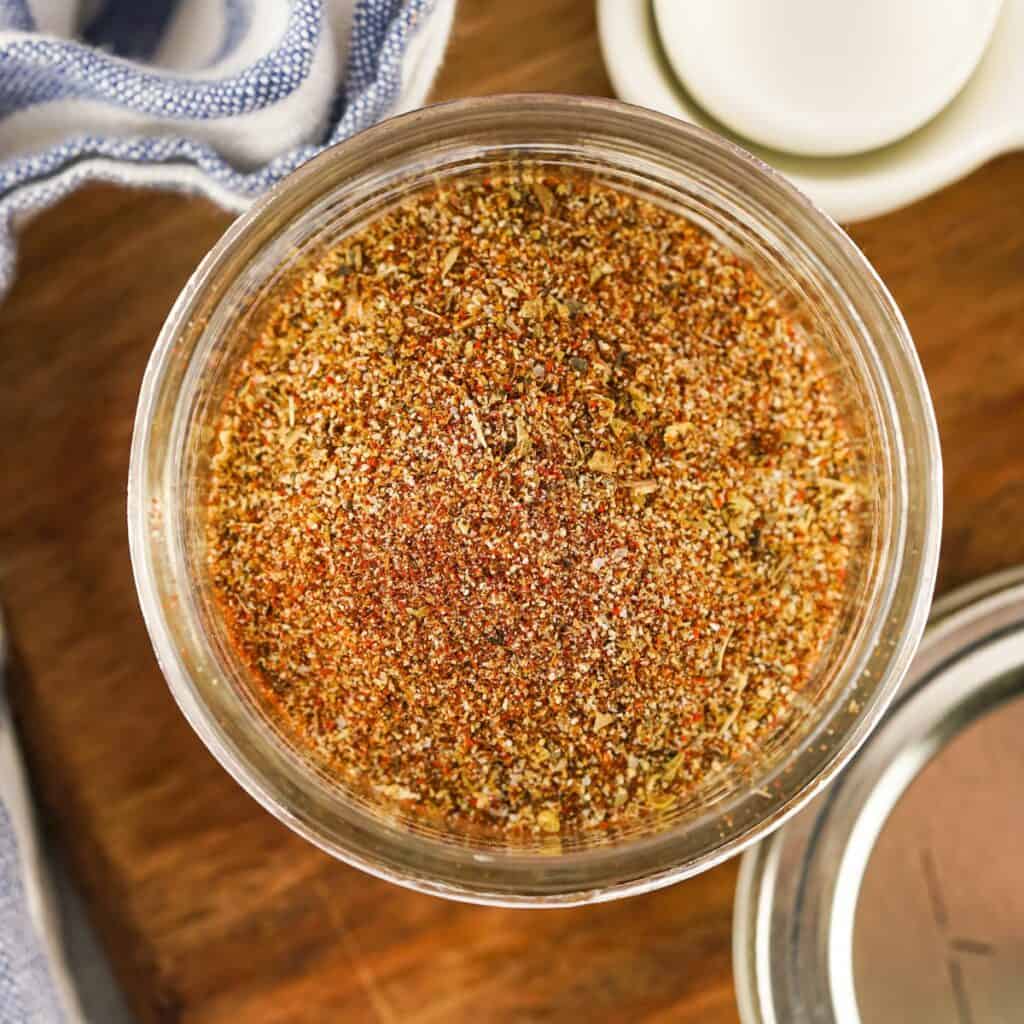
Check out this easy recipe hack!
Homemade Taco Seasoning
Table of Contents
- Homemade Taco Seasoning
- Why my Family LOVED Oven Baked Tacos
- Kitchen Tool Spotlight
- Recipe Ingredients
- Substitutions and Variations
- Step-by-Step Instructions
- Baking Instructions
- LOVE this recipe? SAVE it for Later!
- Recipe Tips that Worked for Me
- Recipe FAQ's
- Storage and Reheating Instructions
- More Recipes You'll Love!
- 📖 Recipe Card
- 💬 Comments
Why my Family LOVED Oven Baked Tacos
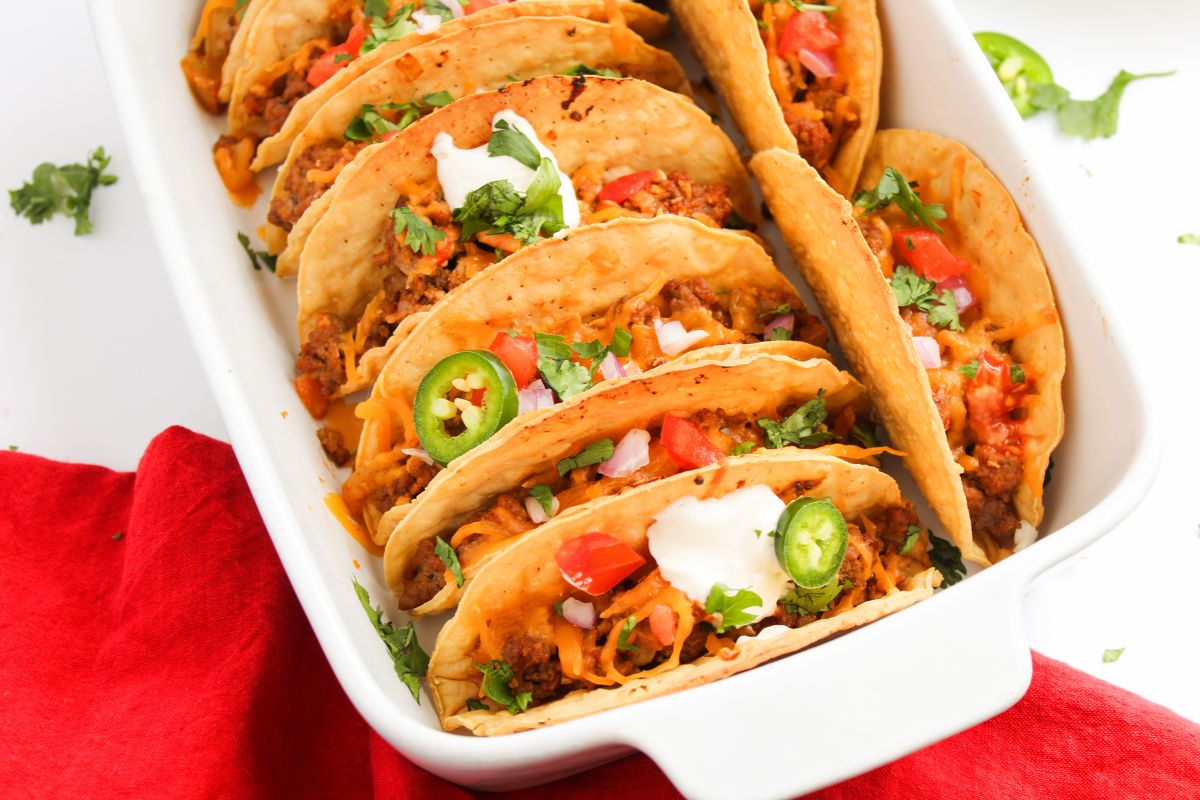
Quick & Easy Dinner Win - Ready in under 60 minutes, which is perfect for our busy weeknights.
Crispy, Not Soggy - Baking the tacos keeps the shells crisp and sturdy—no falling apart at the table!
Cheesy & Satisfying - Melted cheese brings everything together—and let’s be honest, cheese makes everything better.
Customizable for Everyone - My family were able to add their own toppings after baking—perfect for me since I don't care for tomatoes and my husband doesn't care for jalapenos!
Minimal Cleanup - One pan and a quick wipe-down? Yes please!
Kitchen Tool Spotlight
DOWAN Ceramic Casserole Dish for Oven, 9x13 Deep Lasagna Pan, Large Baking Dish with Handles, 4.3 Quarts Durable and Oven Safe Pan, for Roasting and Baking, Alabaster White

Recipe Ingredients
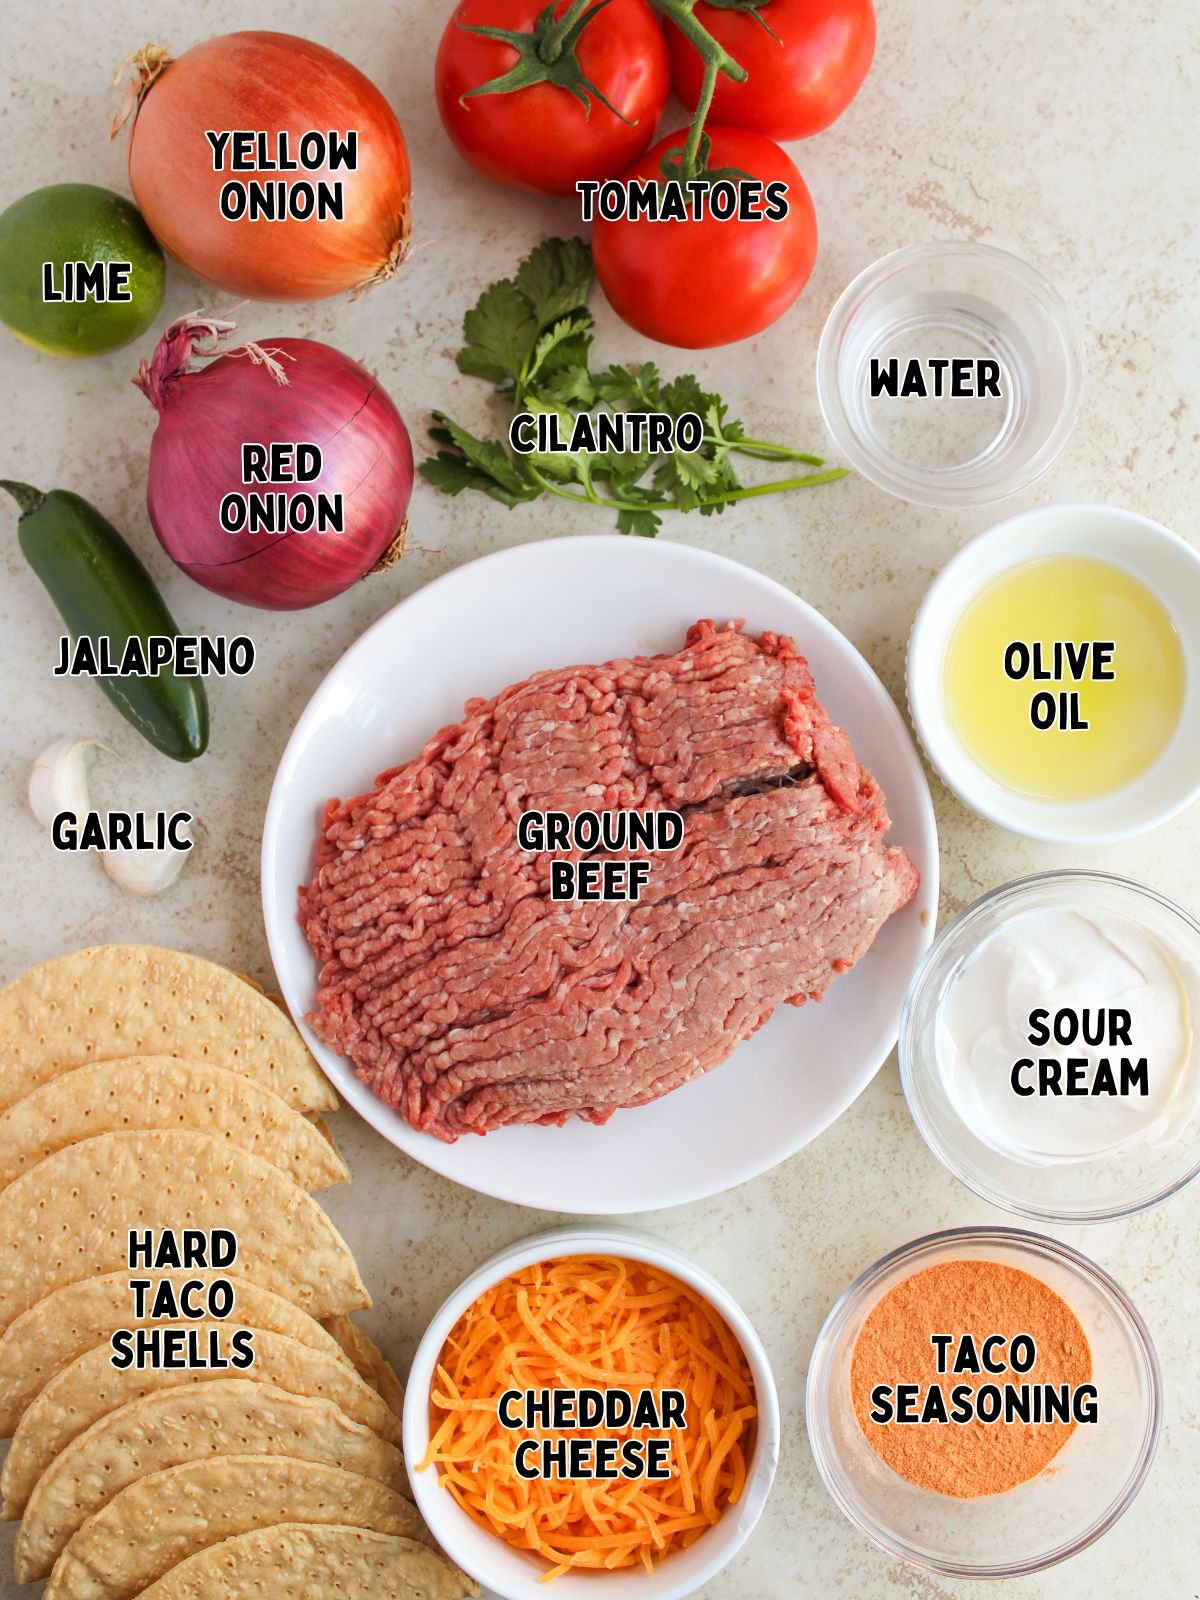
Below is a quick preview of the ingredients you’ll need. For exact amounts, check the recipe card below. You can also use the "Shopping List button" to create a printable shopping list, or the "Get Ingredients button" in the recipe card to order groceries online.
Substitutions and Variations
- If you don't have a premade packet, you can make your own Homemade Taco Seasoning.
- Swap the ground beef with ground turkey or chicken for a leaner option. You could even stop on the way home and get a rotisserie chicken from the grocery store.
- Any melty cheese works! Try Monterey Jack, pepper jack, cheddar, or a Mexican blend.
- Add canned black beans, corn, or diced tomatoes to the beef mixture for more flavor and texture.
- Have leftovers? Check out my collection of Leftover Taco Meat Recipes for more ideas.
This recipe has not been tested with other substitutions or variations. If you replace or add any ingredients, please let us know how it turned out in the comments below!
Step-by-Step Instructions
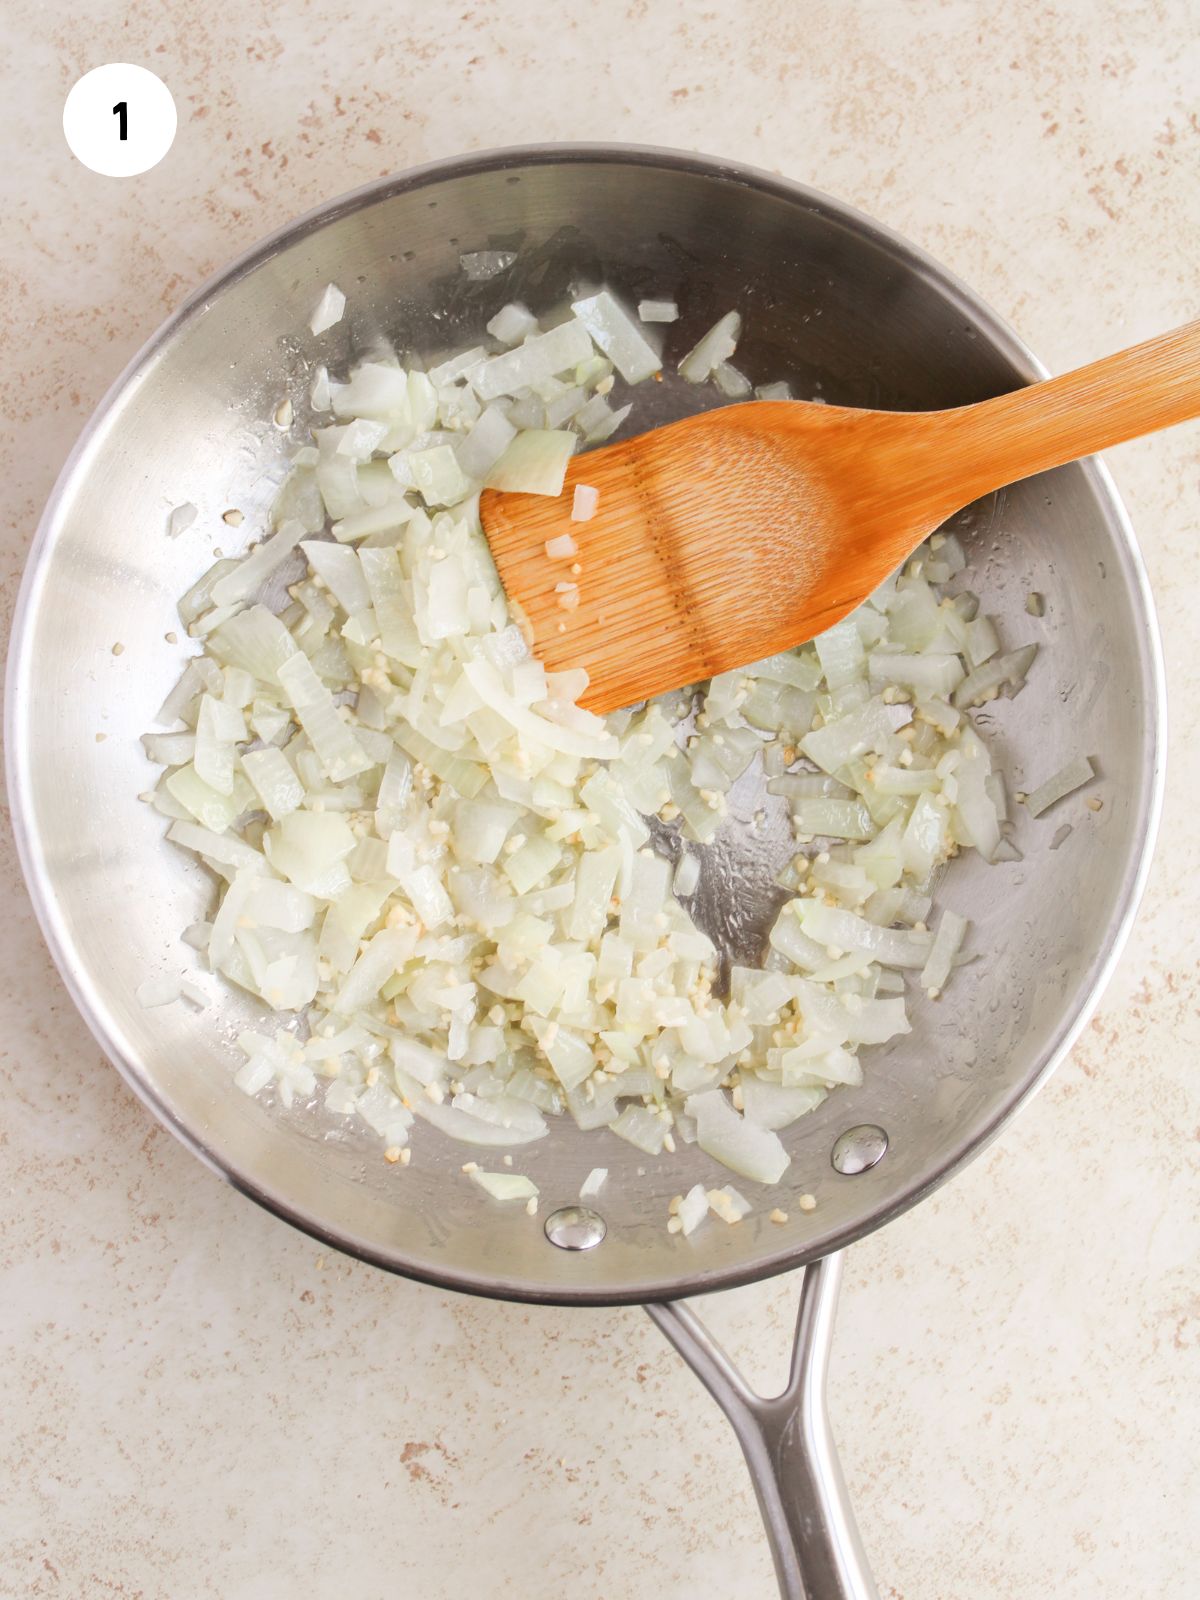
Step 1: Saute the chopped onion and garlic in olive oil over medium heat until the onion is translucent.
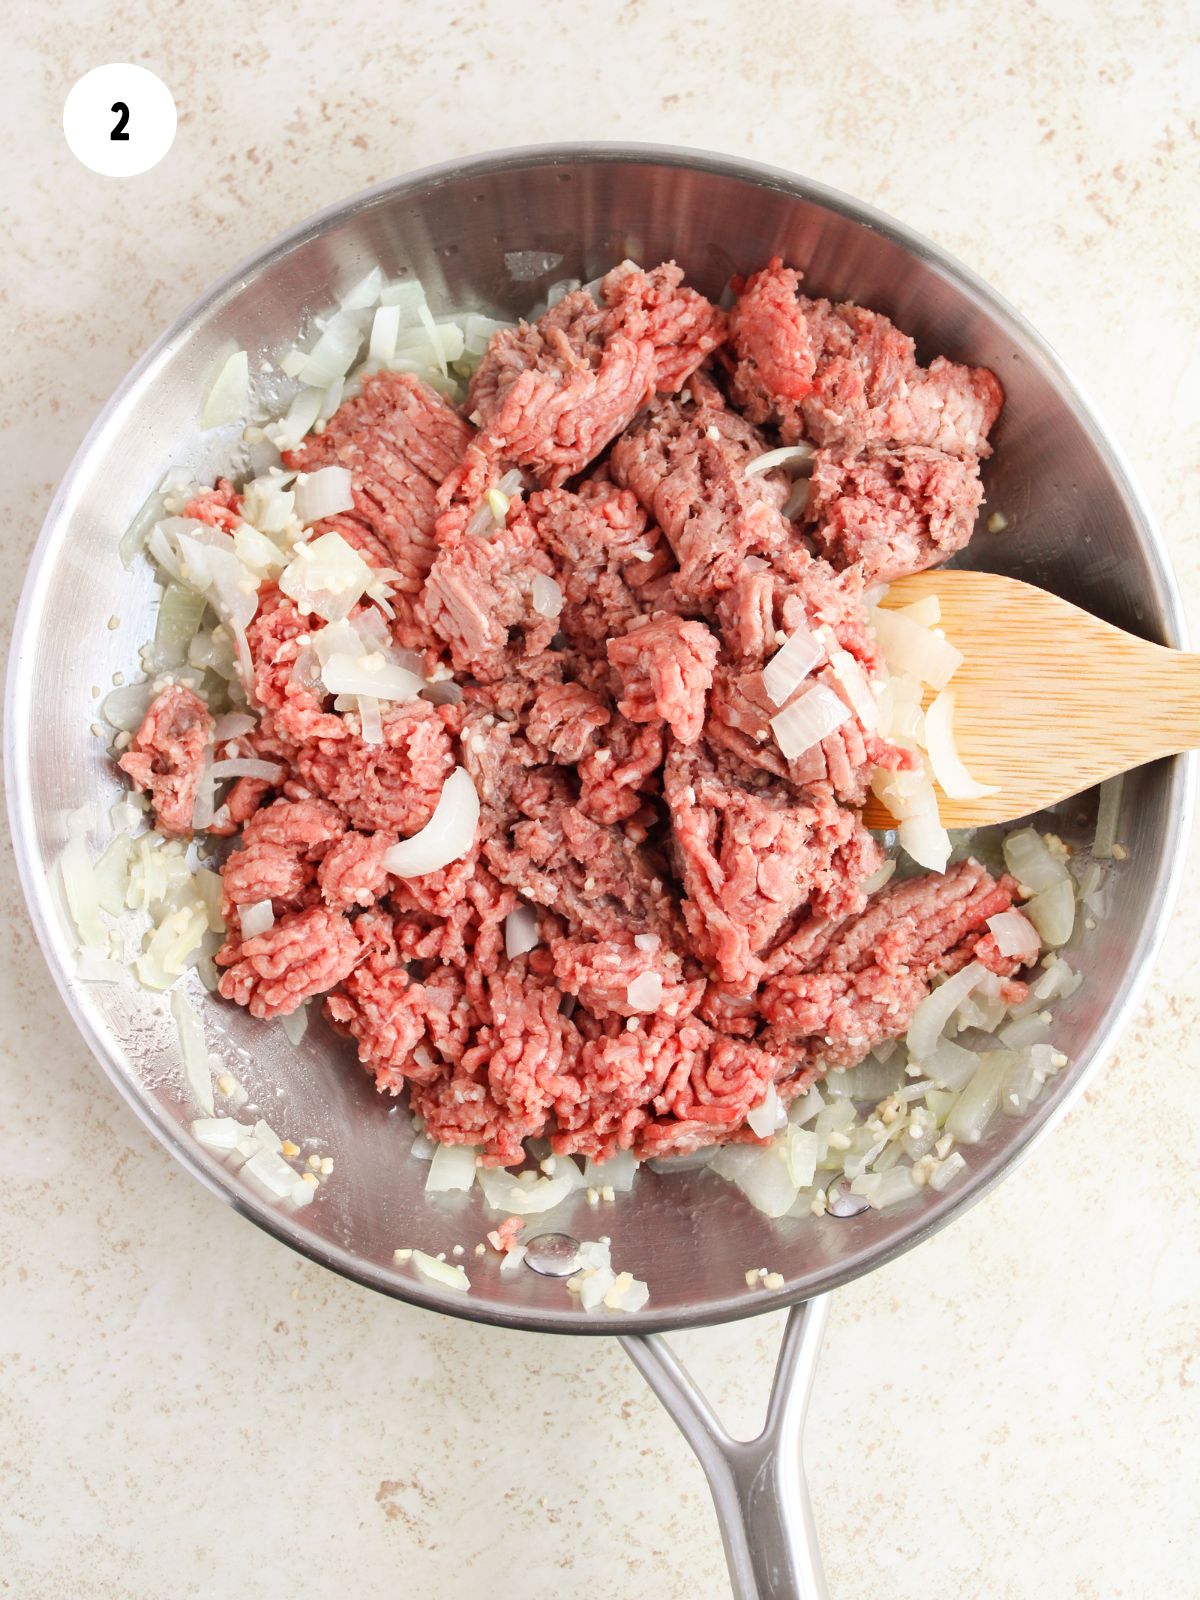
Step 2: Add the ground beef to the onions and garlic.
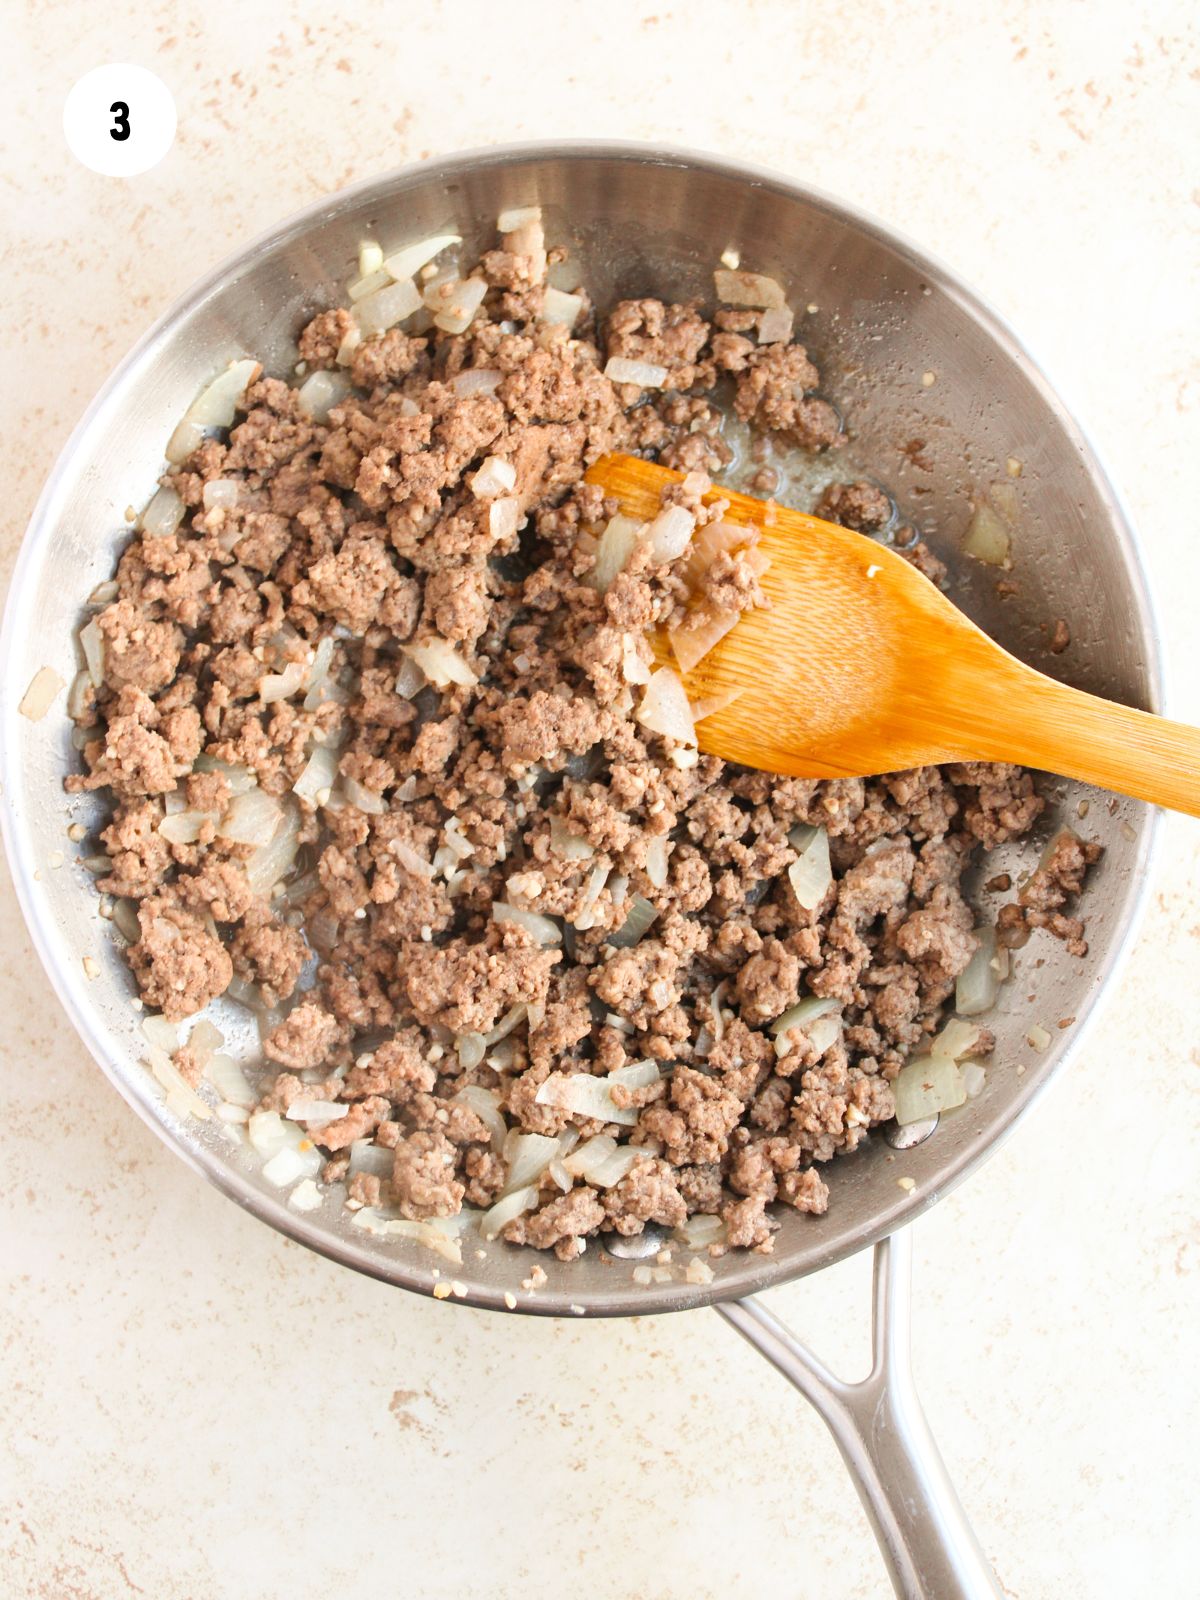
Step 3: Cook for 7-10 minutes until the beef is browned, then drain the grease.
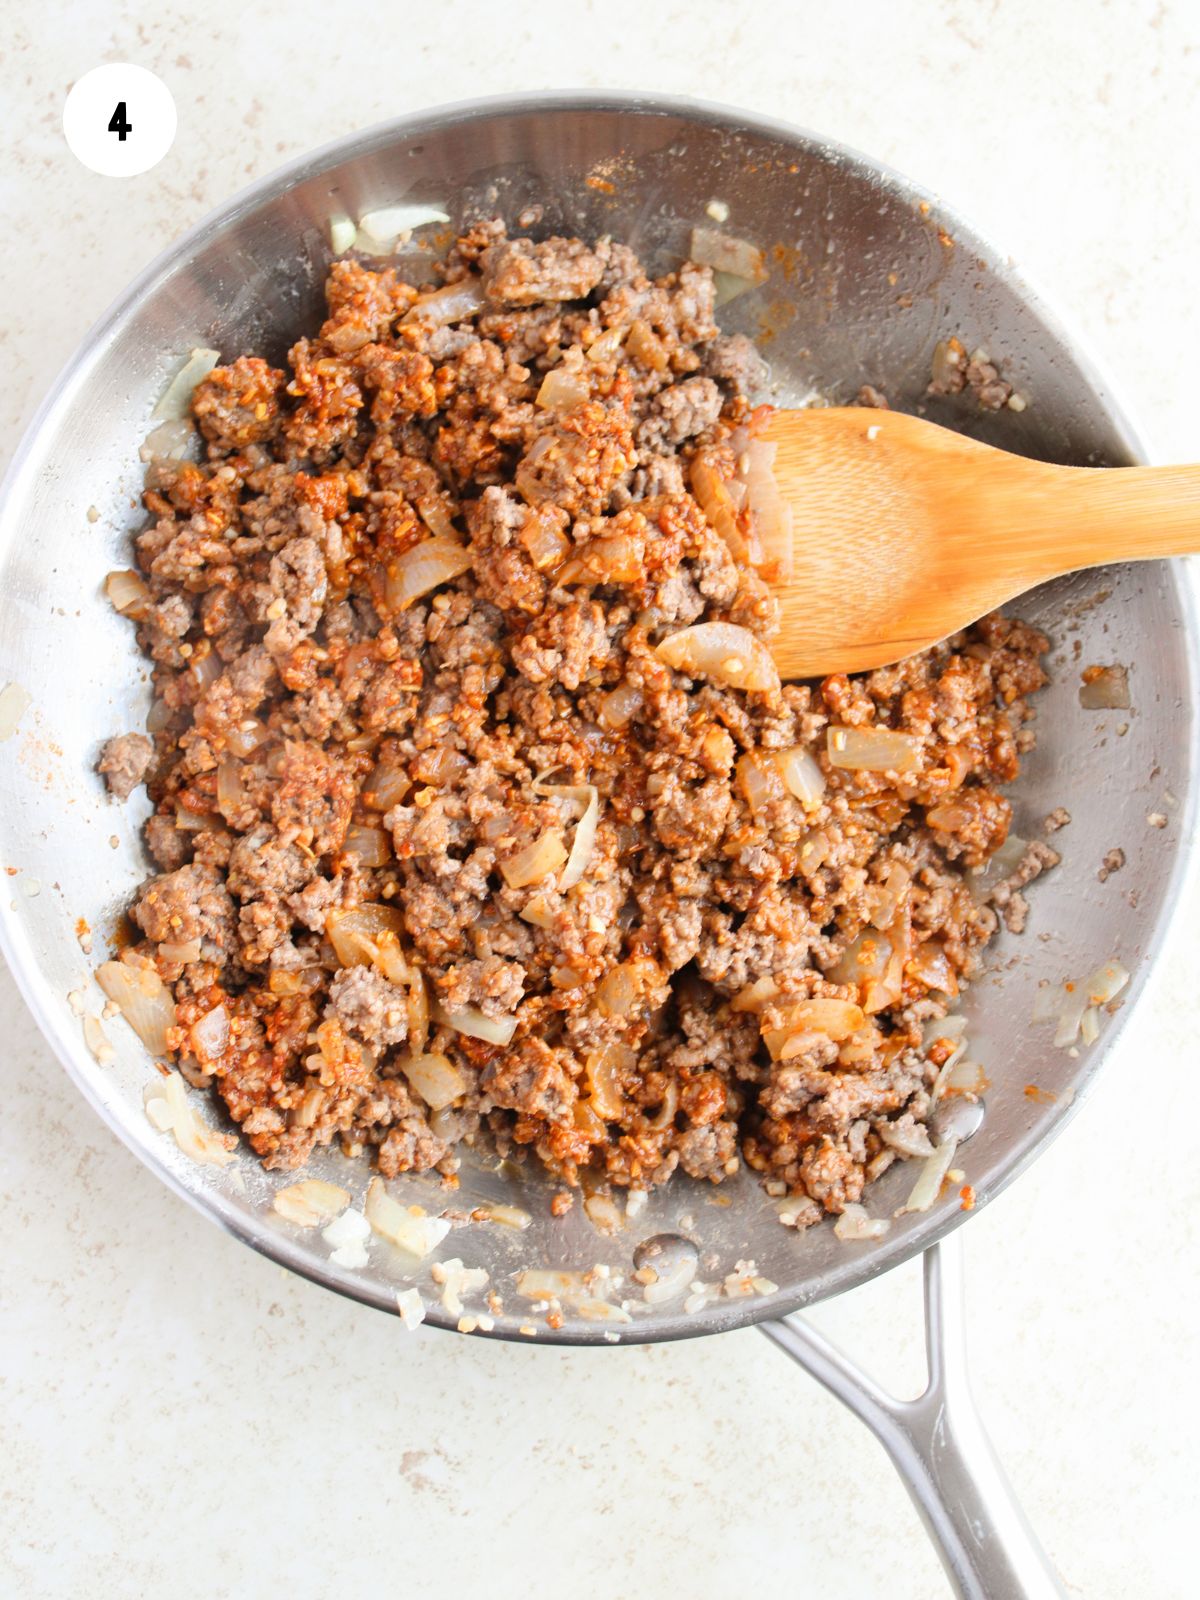
Step 4: Mix in the taco seasoning and water.
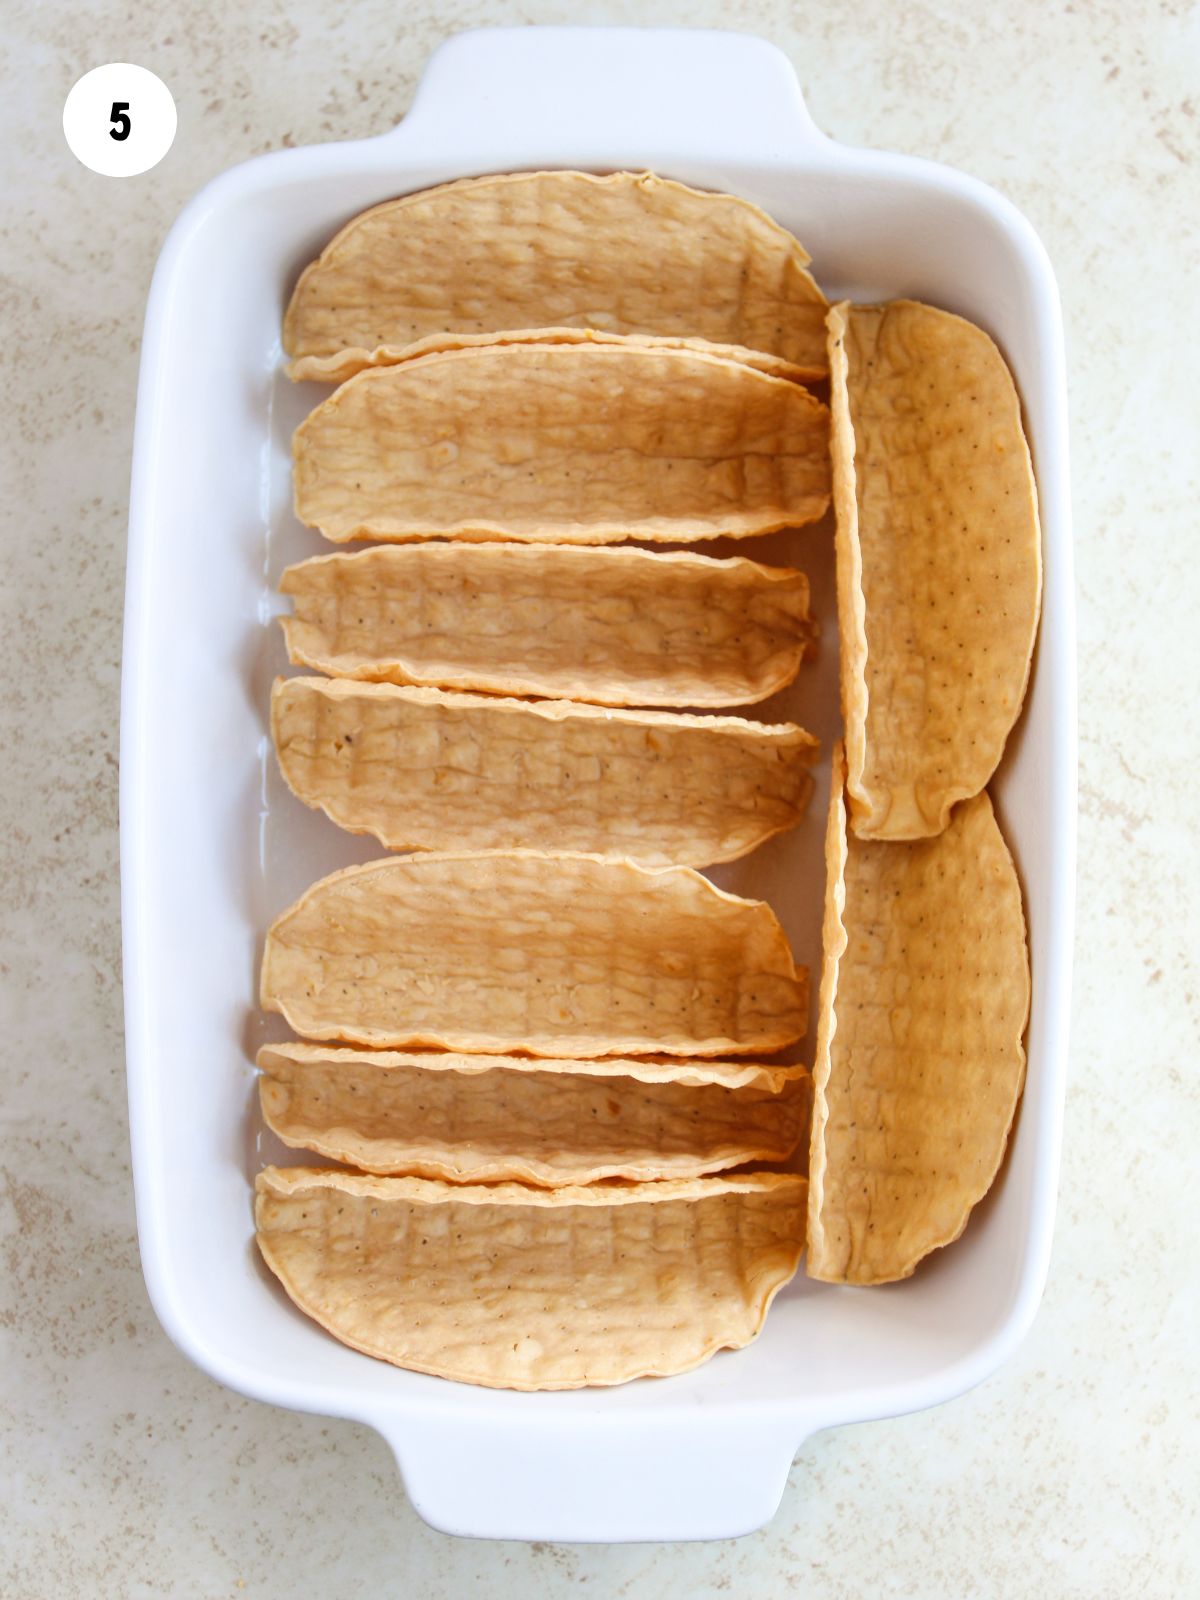
Step 5: Spray a 9x13 baking dish with cooking spray. Fill the pan with taco shells so that they stand up.
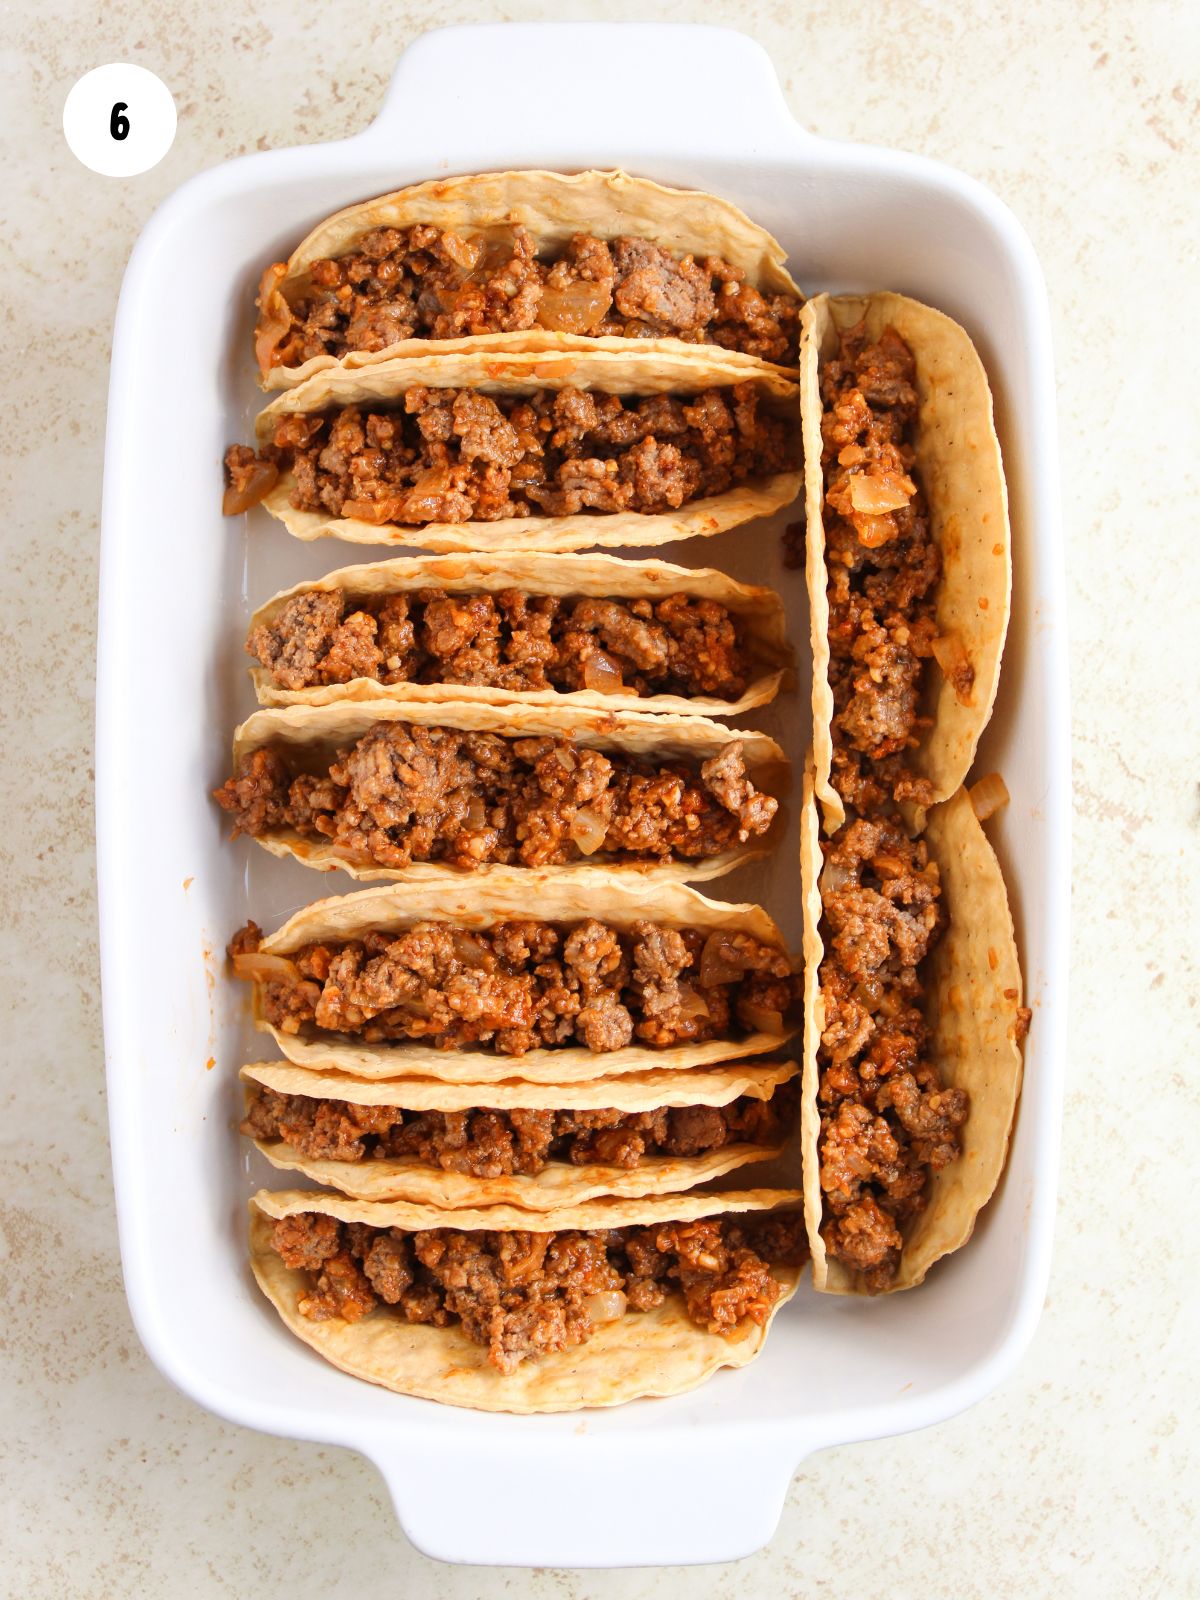
Step 6: Fill the taco shells with the seasoned beef.
Baking Instructions
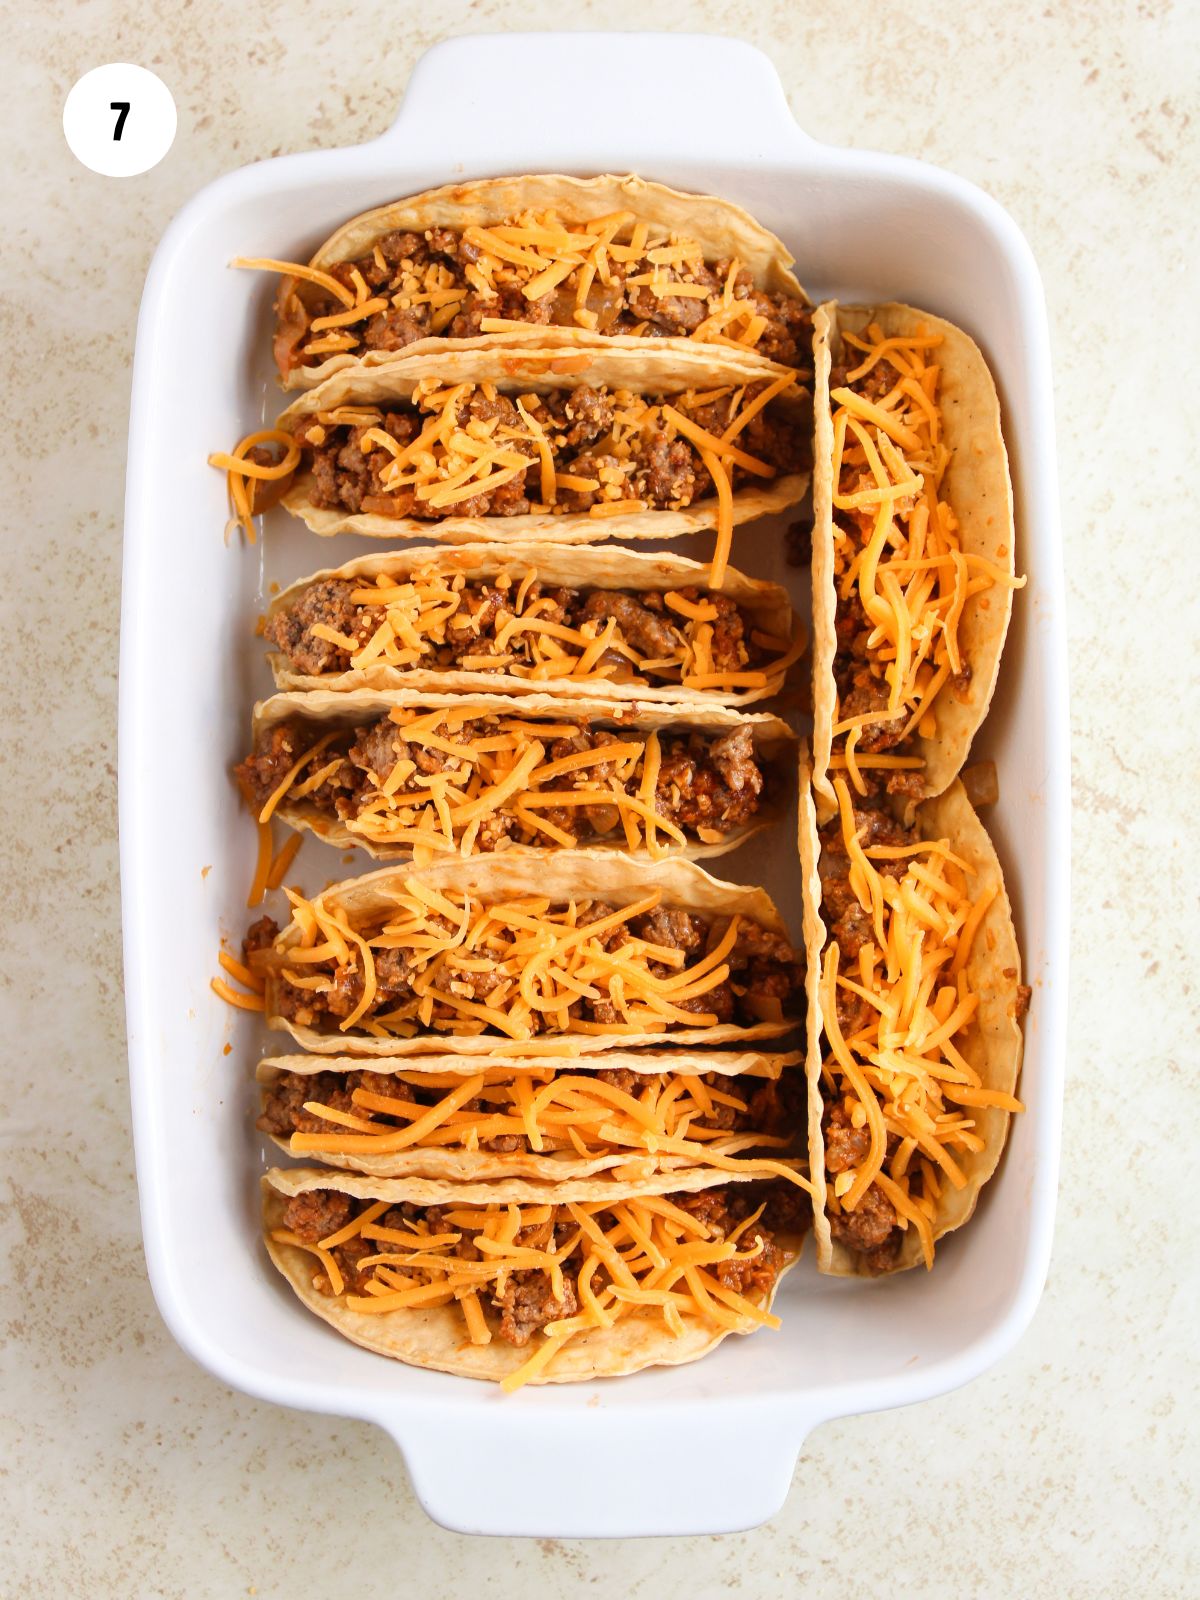
Step 7: Then top with shredded cheese.
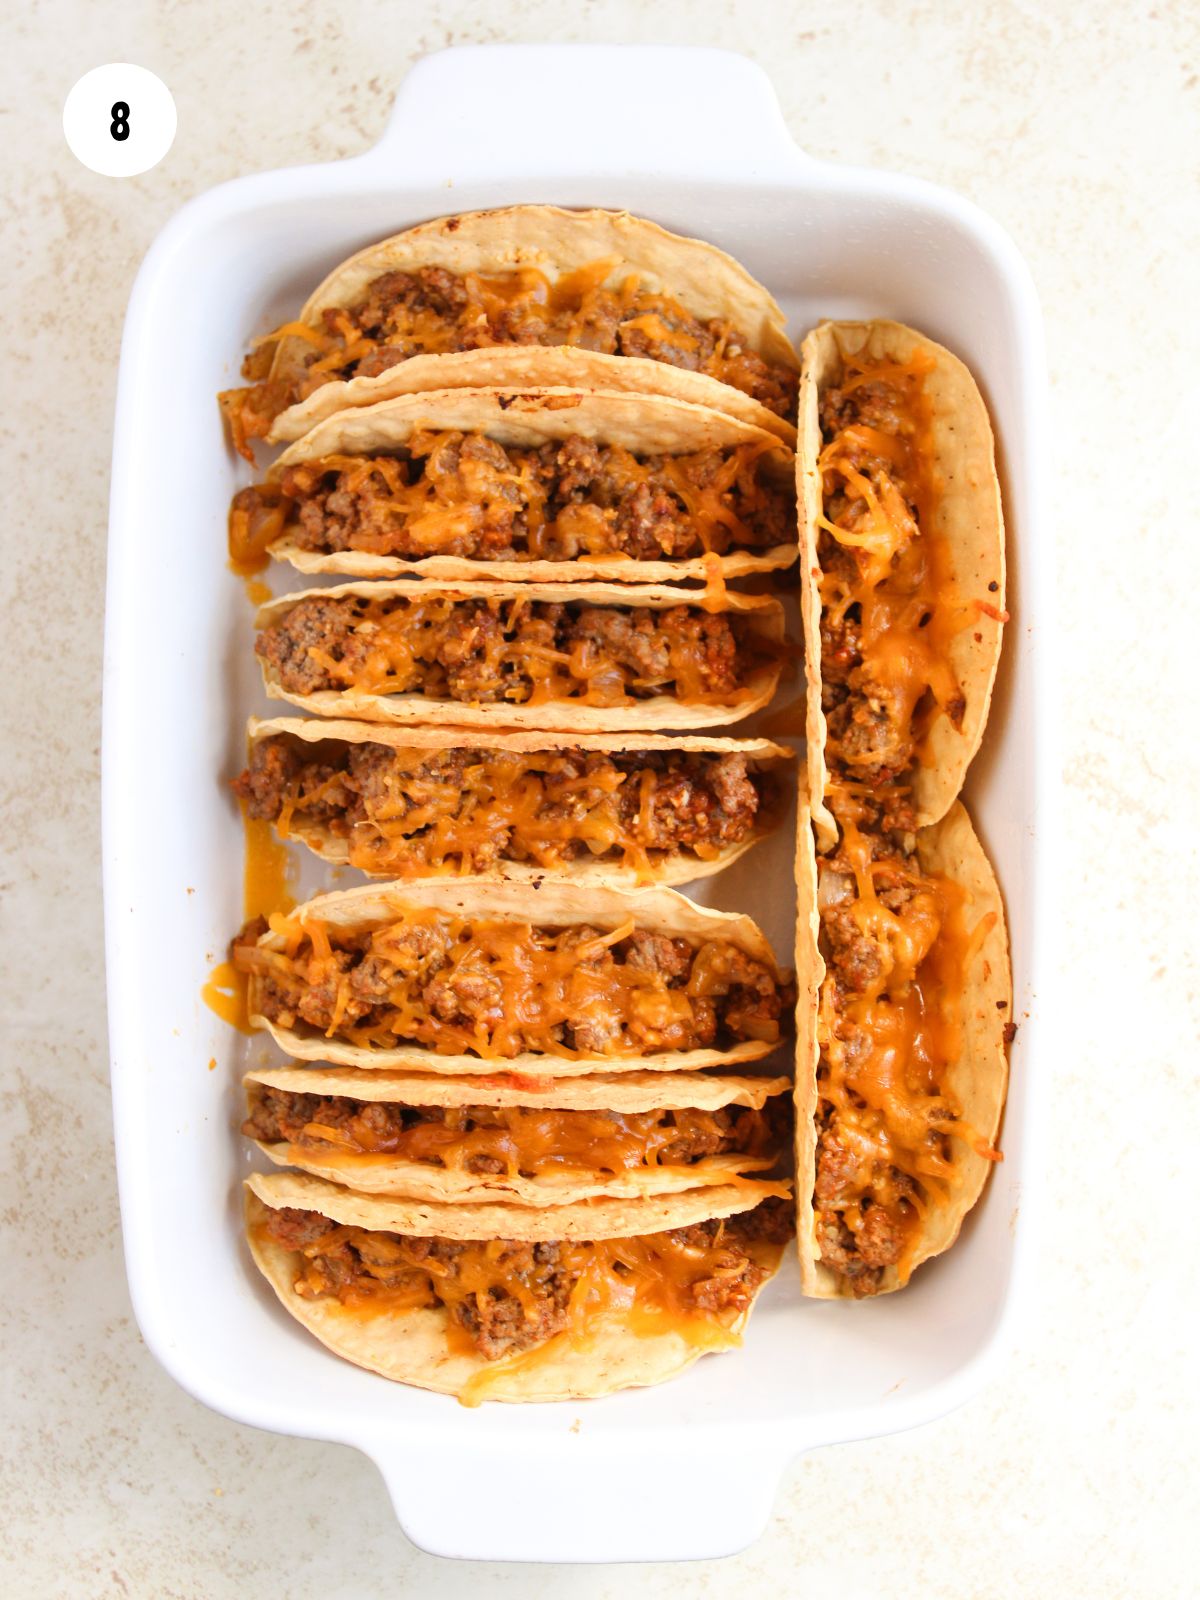
Step 8: Bake uncovered at 400°F for 8-10 minutes until the cheese is melted and the shells are slightly browned.
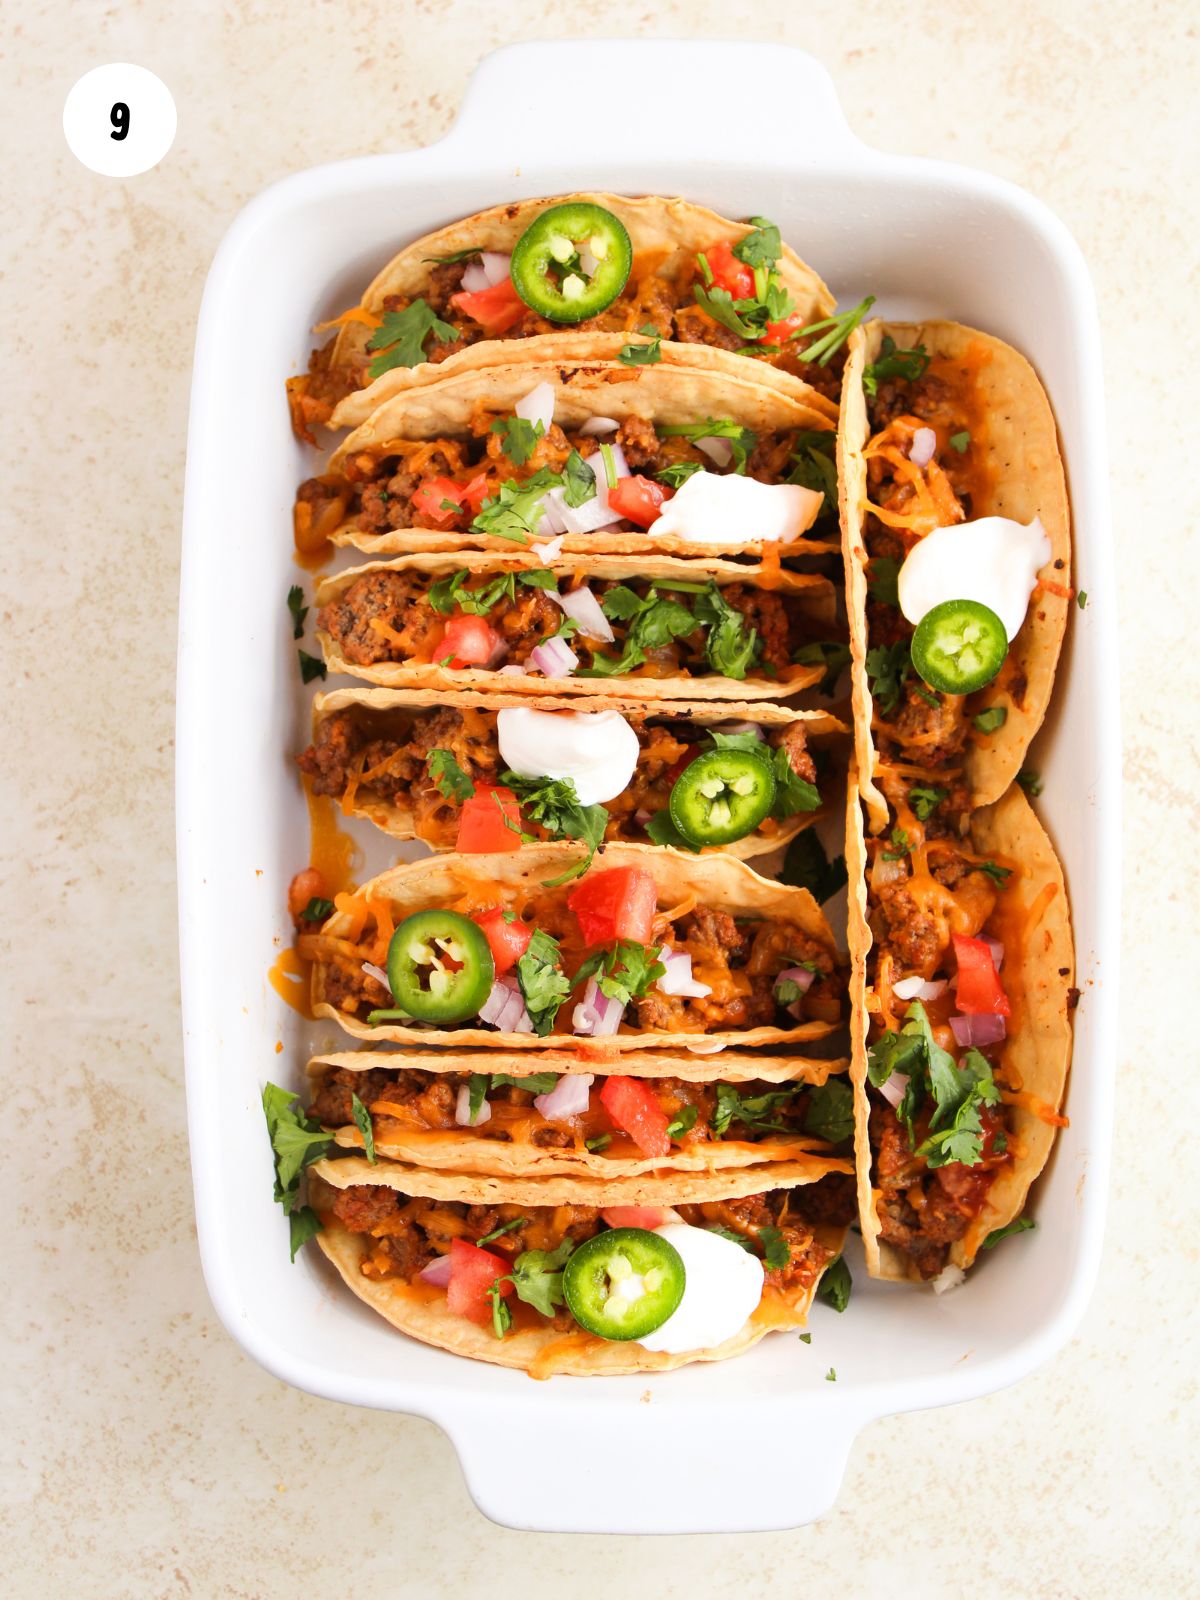
Step 9: Garnish with toppings like chopped tomato, fresh jalapeno, red onion, cilantro, and sour cream. Squeeze fresh lime juice on top if desired.
LOVE this recipe? SAVE it for Later!
❤️Tap the heart icon in the lower right corner to add the recipe to your recipe box for easy access anytime.
If you made it, leaving a star rating or quick review is always appreciated and helps other readers too.
Want to save this printed recipe? The Ultimate Meal Planner & Recipe Binder helps you keep recipes organized in one easy place.
Recipe Tips that Worked for Me
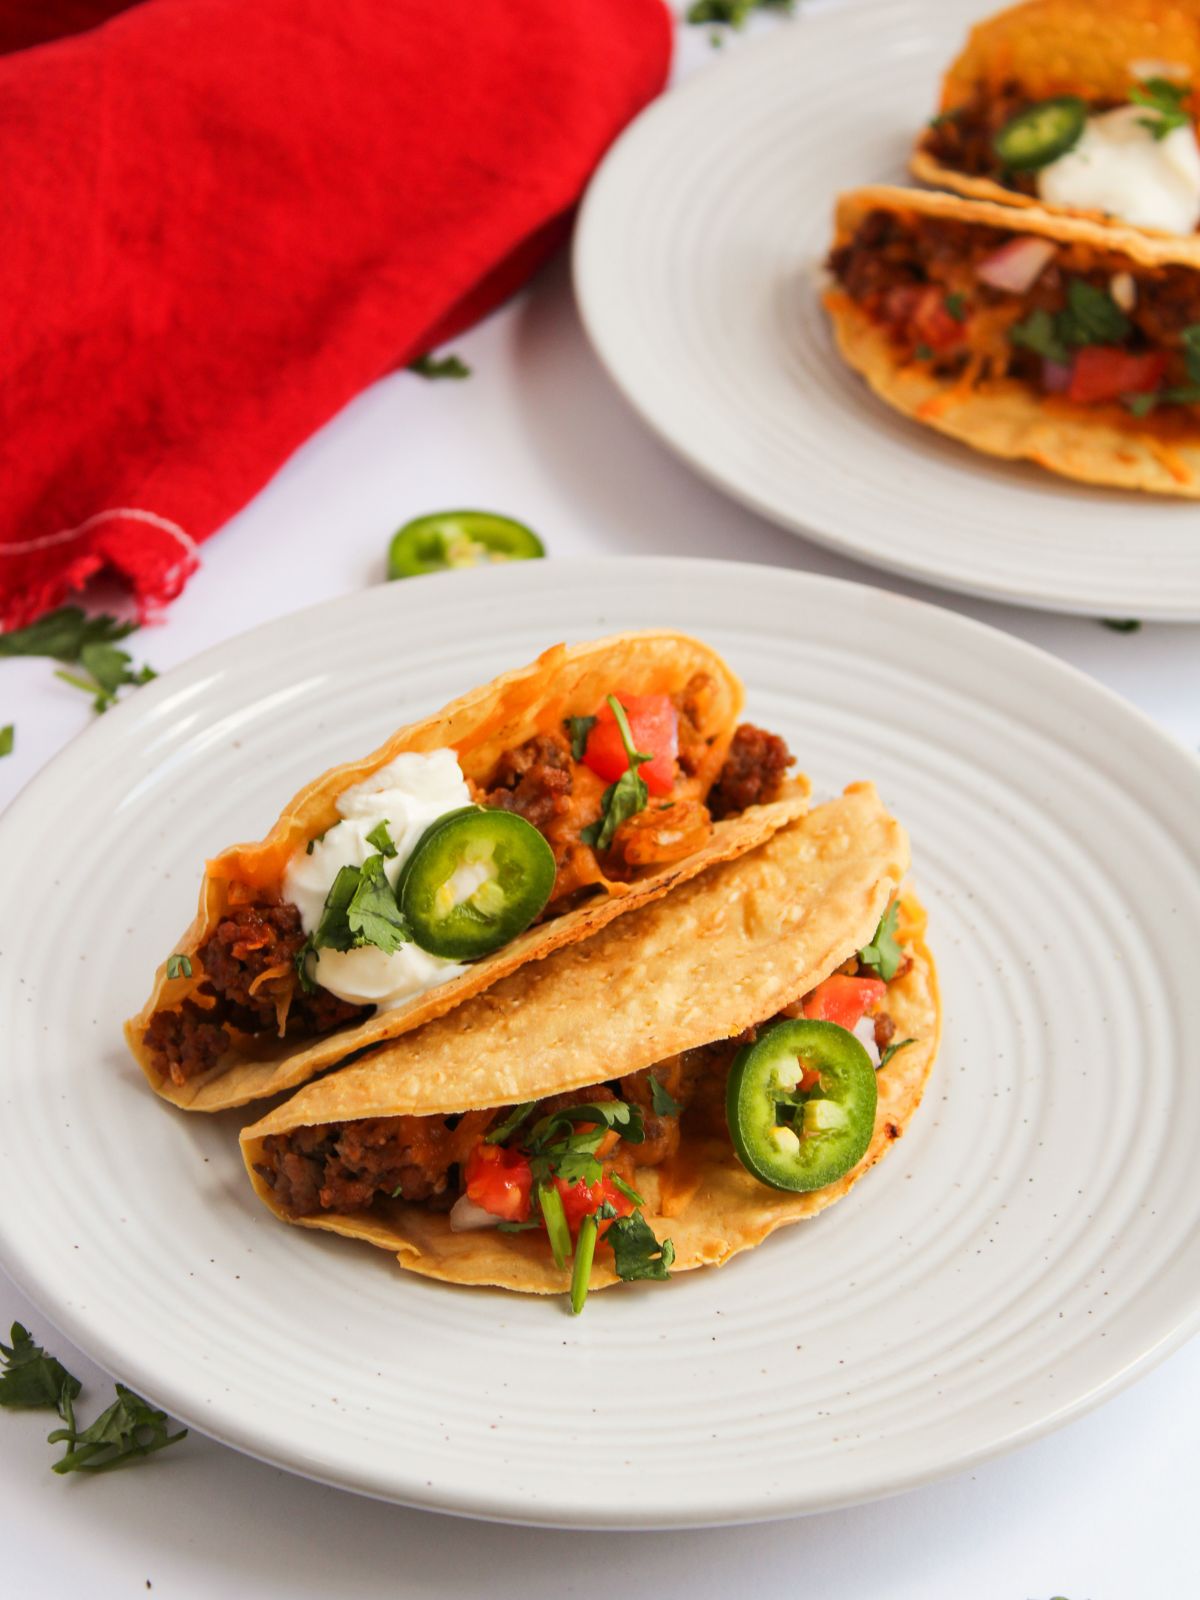
- Use a cookie scoop to help you fill the taco shells without any messes.
- Use a 9X13 pan and make sure you stand the taco shells upright which will help prevent them from tipping while baking.
- Add a little cheese under the beef filling to help seal the bottom of the shell and prevent it from getting soggy.
- Don't overfill the shells. The filling could spill over and get messy as they bake.
- Prep the toppings while the tacos bake so everything is ready to go as soon as you pull the casserole dish out of the oven.
Recipe FAQ's
To view the answers, simply click on the down arrow (⬇) next to each question. If you have any other questions not answered here, please leave a comment!
Yes, you can use flour tortillas instead of hard taco shells. Just tuck them snugly in the baking dish so they hold their shape while baking.
To keep taco shells from getting soggy, add a layer of shredded cheese before the beef to create a barrier. You can also lightly toast the shells before filling.
Storage and Reheating Instructions
Refrigerate: Store leftover tacos in an airtight container for up to 3 days. If possible, store the filling and shells separately to keep the shells from getting soggy.
Freezer: You can freeze the beef filling (not the assembled tacos) in a freezer-safe container for up to 2 months. Thaw in the refrigerator overnight and reheat before using in fresh shells.
Reheat: Reheat in the oven or air fryer at 350°F for 5–10 minutes to help crisp the shells again. The microwave works too, but the shells may soften.
More Recipes You'll Love!
Check out my other recipes for Cheesy Beef Enchiladas or Pollock Fish Tacos. Or you might like this recipe for Instant Pot Chicken Tacos.
📖 Recipe Card
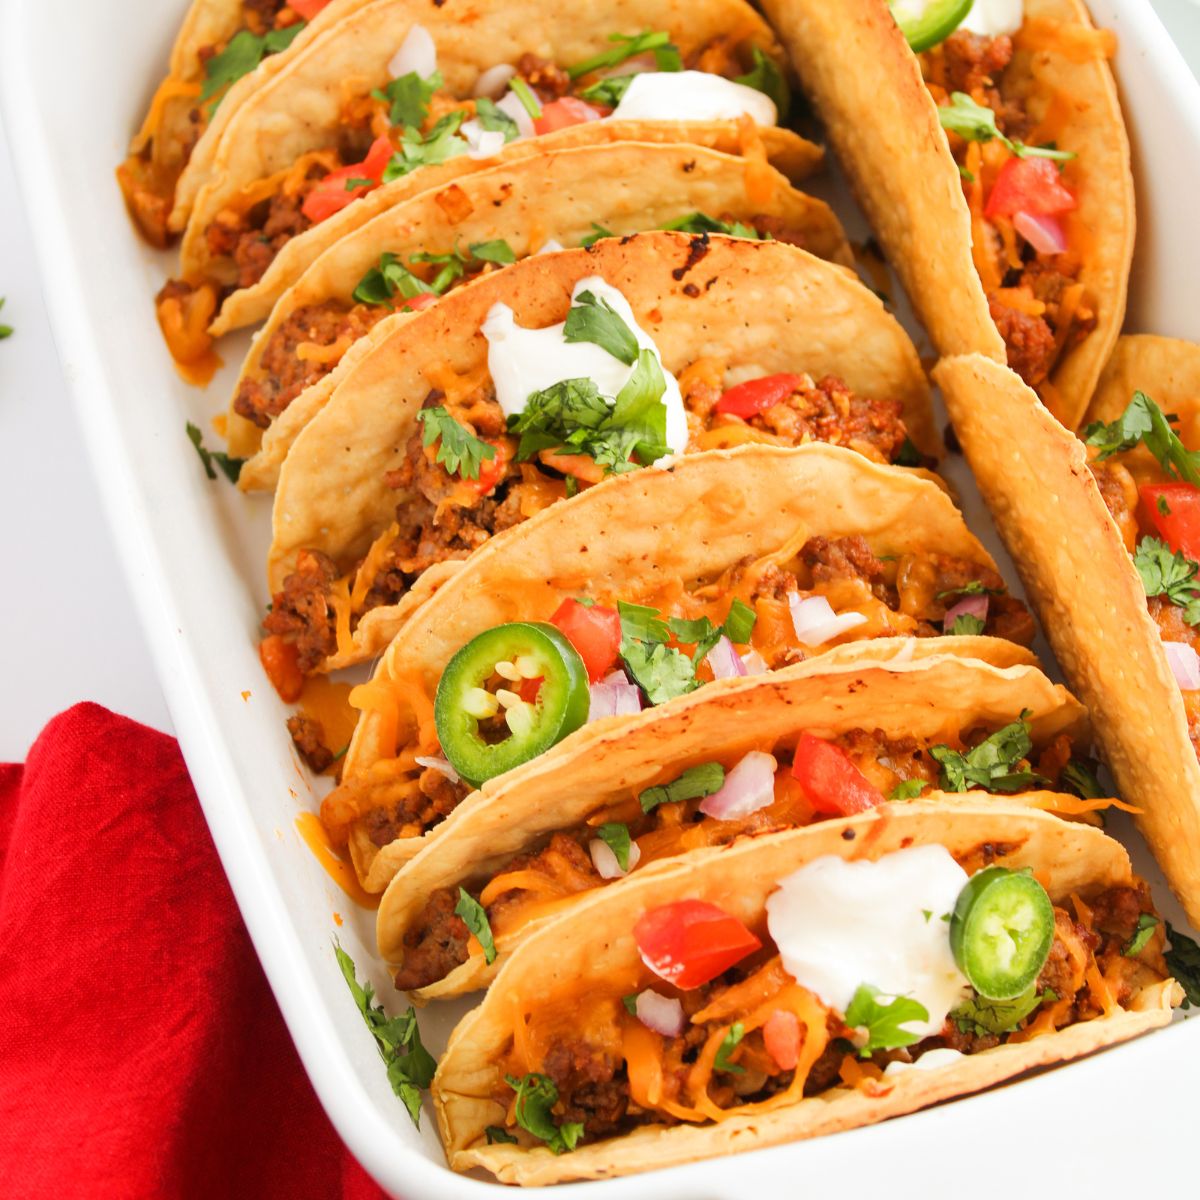
Baked Beef Tacos
Video
Ingredients
- 8 hard taco shells
- 1 pound ground beef
- 1 (1 ounce) packet taco seasoning
- 2 tablespoon water
- 1 tablespoon olive oil
- 1 medium yellow onion
- 2 garlic cloves
- 1 cup shredded cheddar cheese
- 1 medium tomato
- 1 jalapeno
- 1 medium red onion
- 3 tablespoons cilantro
- sour cream
- 1 lime, optional
Method
- Preheat the oven to 400°F.
- Chop the yellow onion and mince the garlic. Heat a large pan over medium heat and add the olive oil. Add the garlic and onion, cooking until the onion is translucent.
- Add the beef and cook until browned, about 7 to 10 minutes. Drain the grease.
- Mix in the water and taco seasoning. Set aside.
- Spray a 9x13-inch pan with cooking spray.
- Arrange all the taco shells in the baking pan, pressed against each other so they stand up. Spoon beef filling into each taco shell and sprinkle with cheese.
- Bake uncovered for 8 to 10 minutes, or until the cheese is melted and the taco shells are slightly browned.
- Prepare the toppings by chopping the tomato, red onion, and cilantro. Slice the jalapeno.
- Remove tacos from the oven and garnish with toppings. Squeeze on fresh lime juice, if desired. Enjoy!
Nutrition
Notes
- Use a cookie scoop to help you fill the taco shells without any messes.
- Use a 9X13 pan and make sure you stand the taco shells upright which will help prevent them from tipping while baking.
- Add a little cheese under the beef filling to help seal the bottom of the shell and prevent it from getting soggy.
- Don't overfill the shells. The filling could spill over and get messy as they bake.
- Prep the toppings while the tacos bake so everything is ready to go as soon as you pull the casserole dish out of the oven.








Comments
No Comments