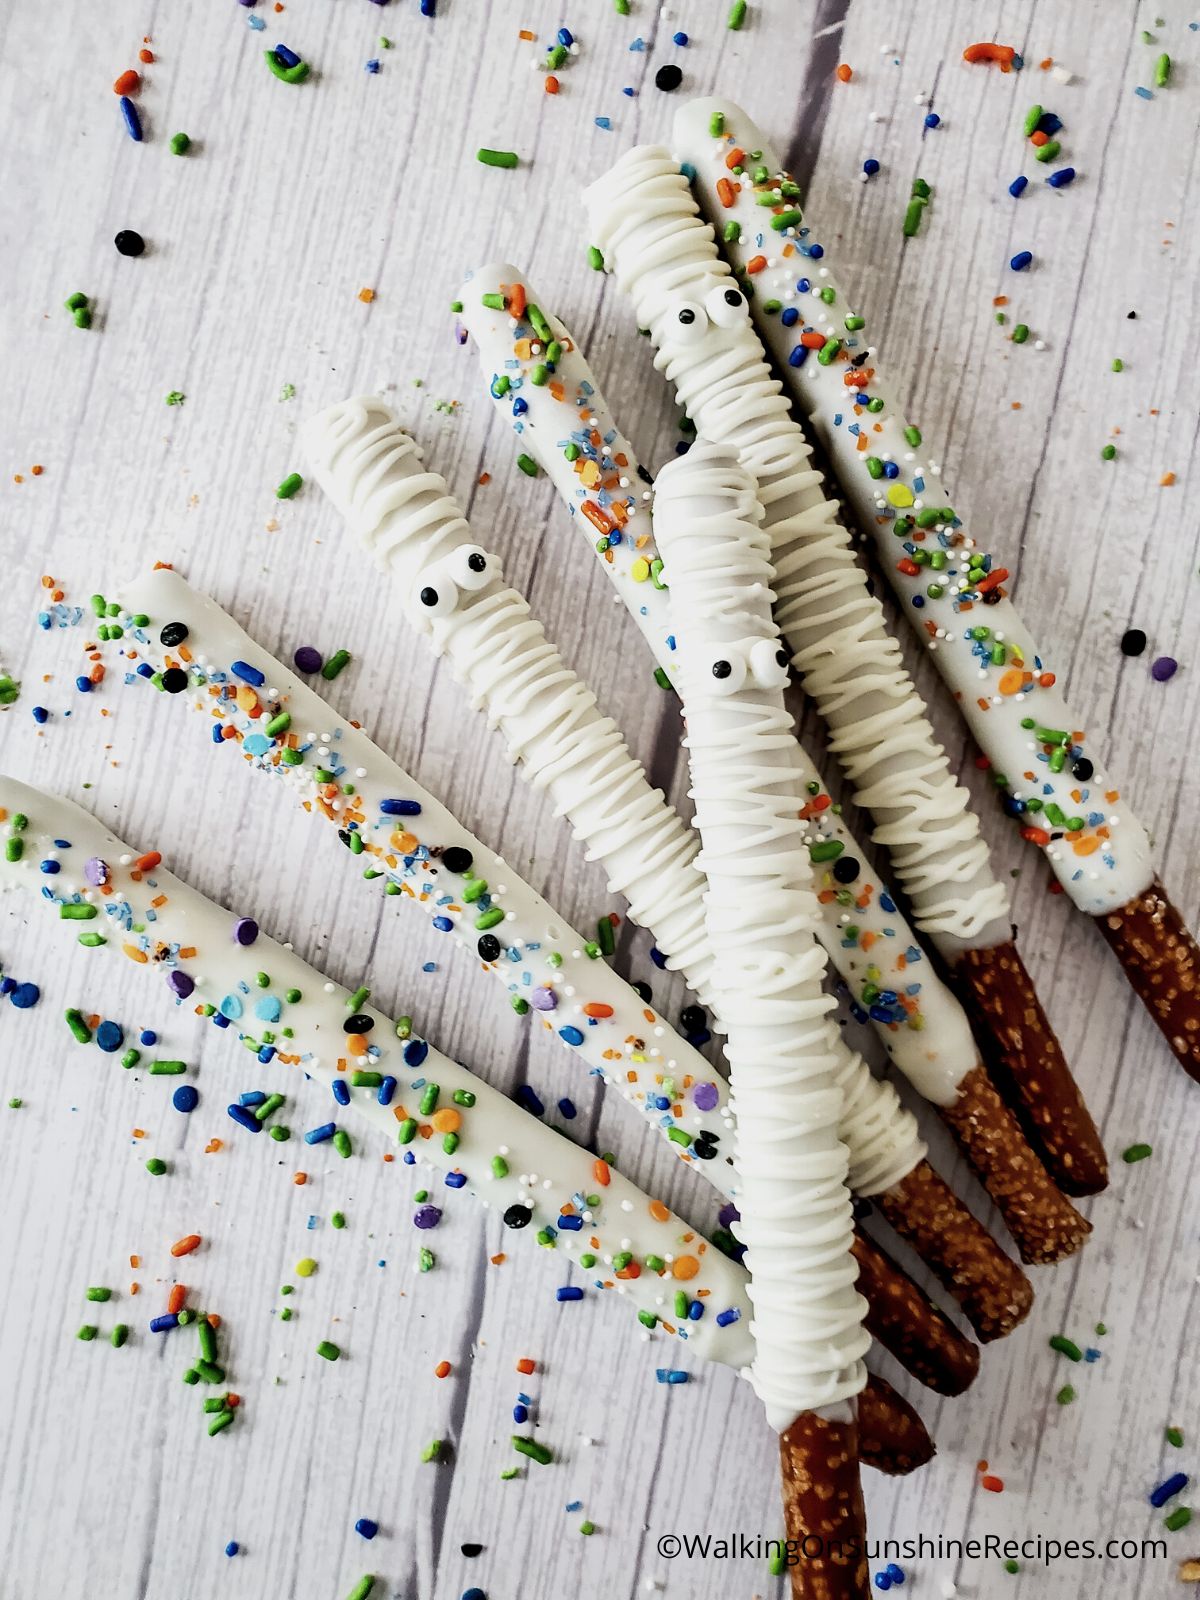
One of the best things about Halloween is all the delicious candy that comes out this time of year. Halloween Pretzel Rods are a perfect example of this.
They are salty, sweet, and crunchy all at the same time. Plus, they are easy to make at home with just a few ingredients. These pretzel rods make a great treat for kids and adults alike. So get creative and have fun with your Halloween treats this year!
Check out all the other Halloween Themed Recipes for more ideas.
Want to Save This Recipe?
Enter your email & I'll send it to your inbox. Plus, get great new recipes from me every week!
By submitting this form, you consent to receive emails from Walking on Sunshine Recipes.
Halloween is one of the best times of year for indulging in sweets. And what could be sweeter than chocolate covered pretzels? These tasty treats are easy to make at home, and they're perfect for satisfying your sweet tooth.
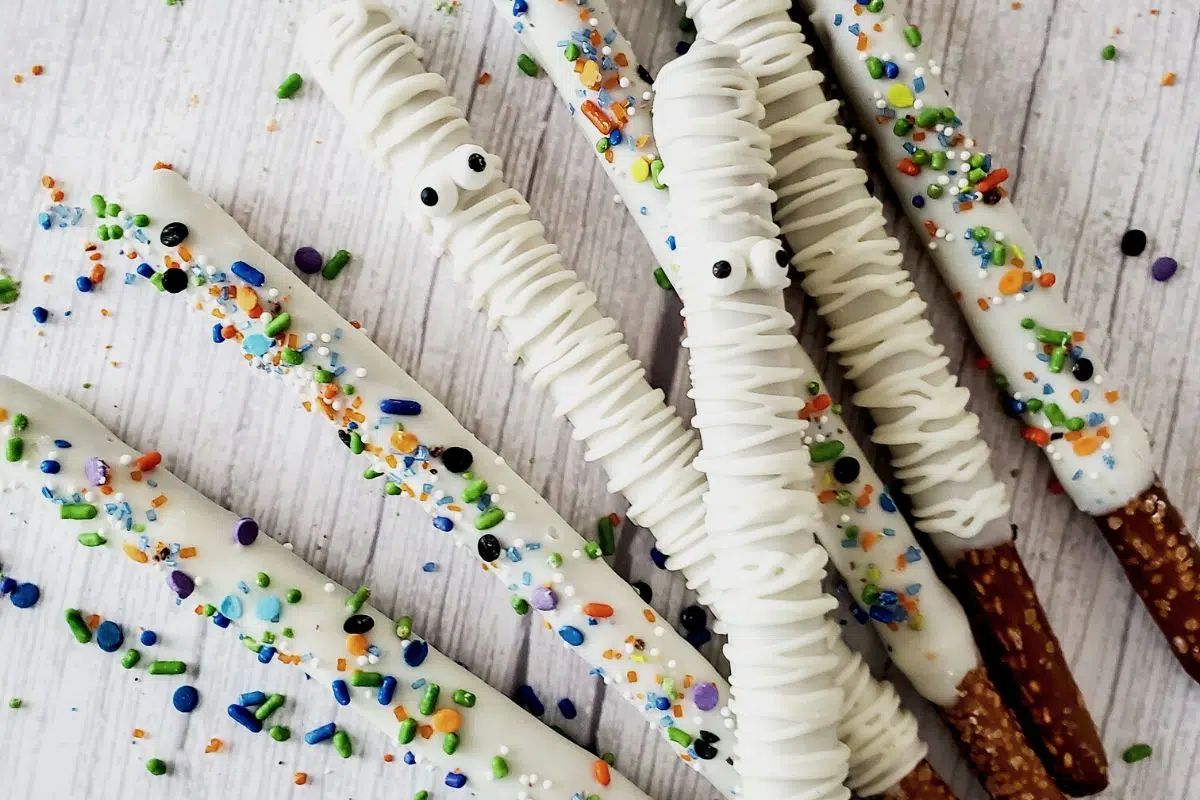
Simply dip pretzel rods into melted chocolate, then let them cool and harden. You can also add a festive touch by decorating them with sprinkles or other Halloween-themed decorations.
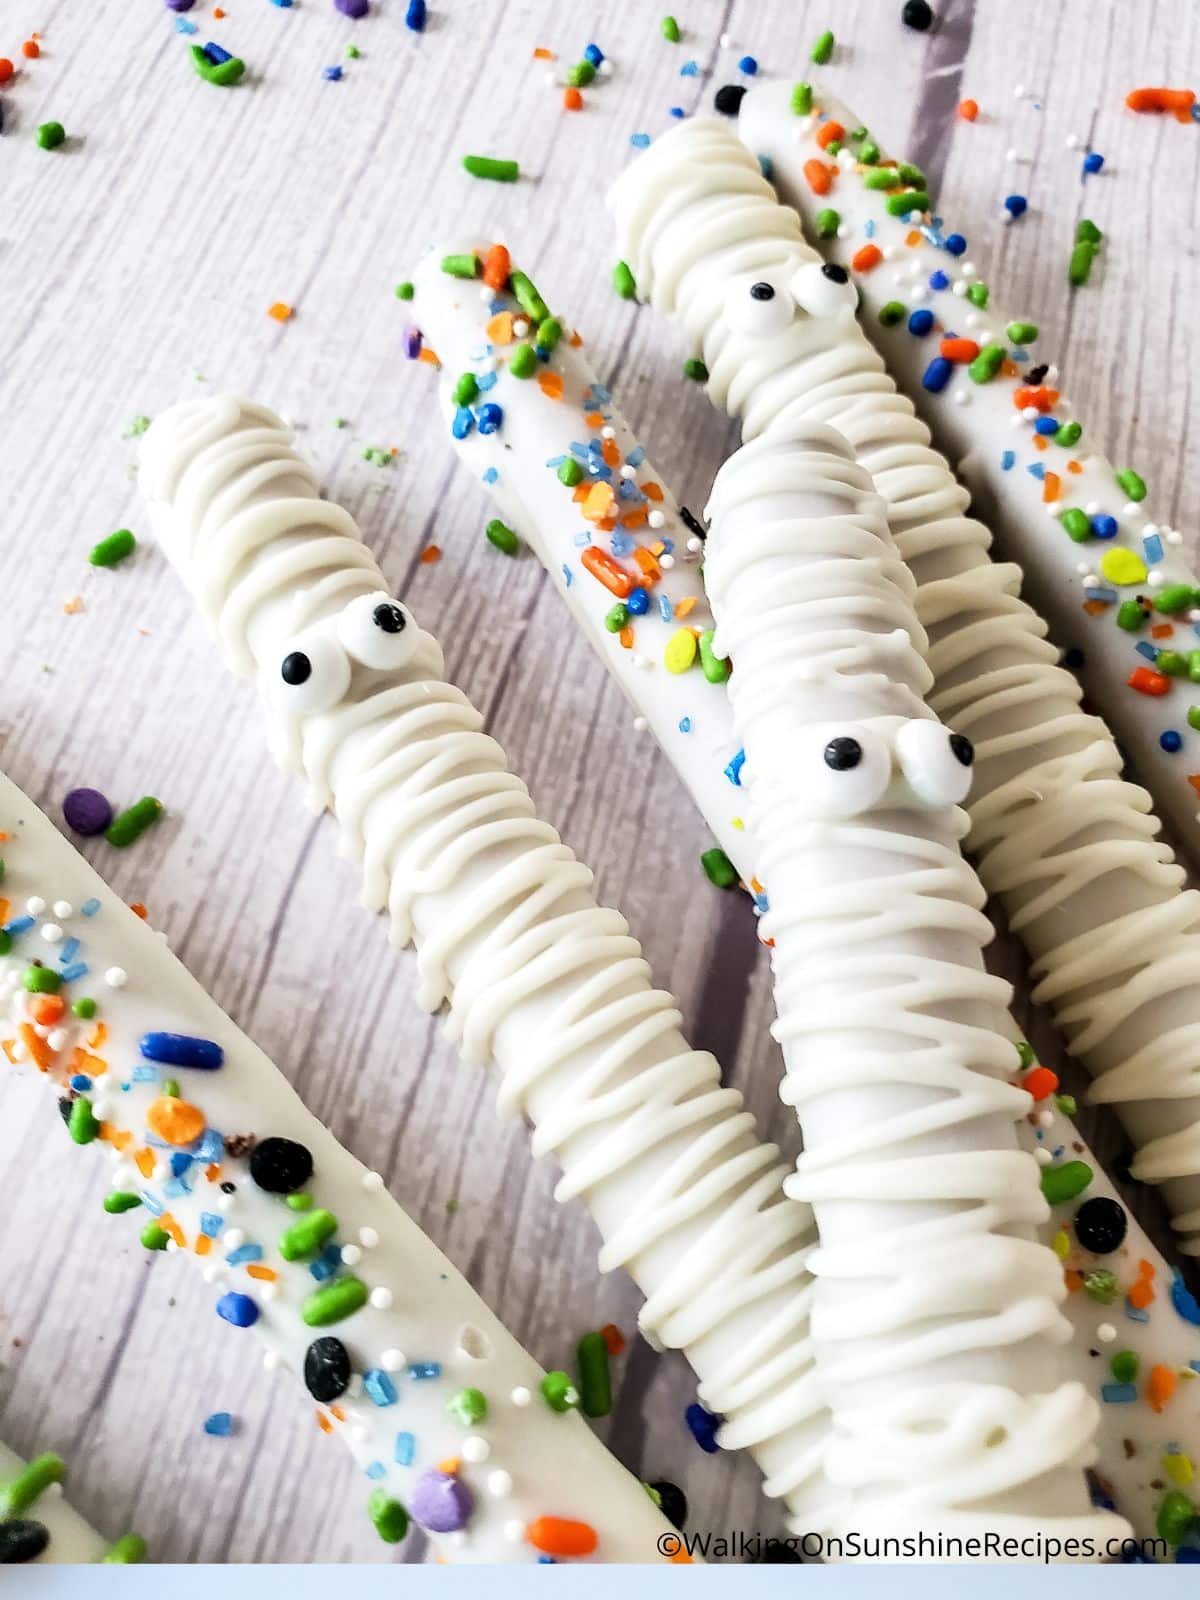
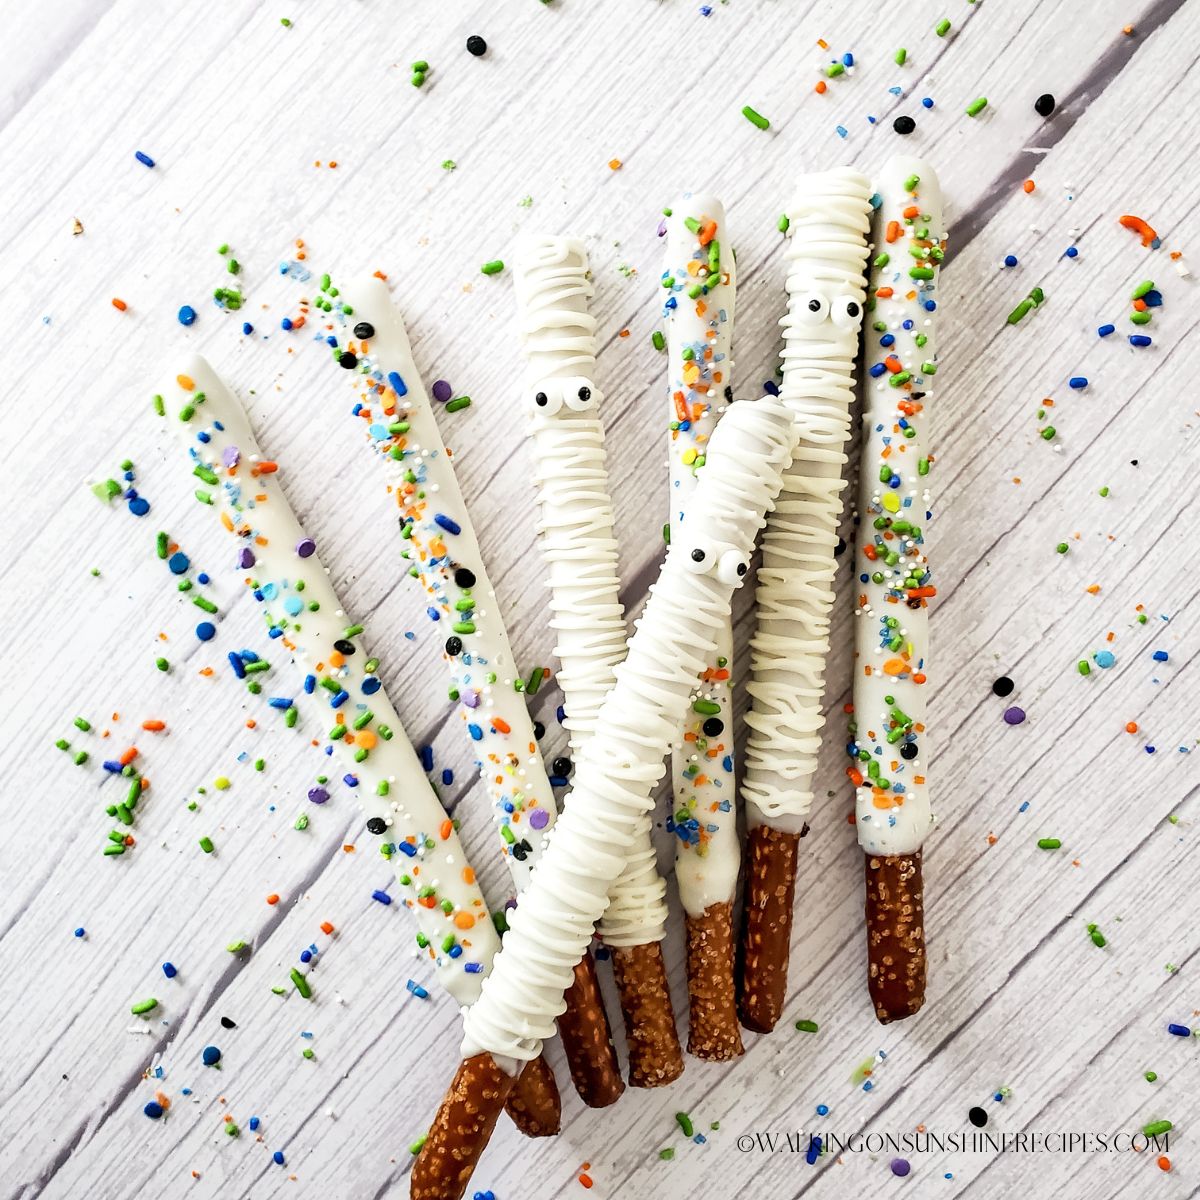
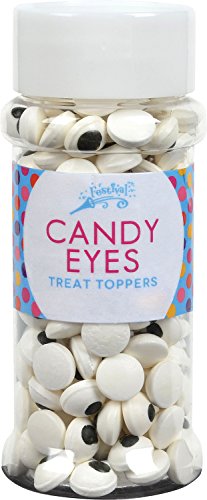
For these pretzels I added fun candy eyes! Chocolate covered pretzels are a delicious and festive way to enjoy Halloween!
Looking for more easy desserts to serve for Halloween? Try my Chocolate Thumbprint Cookies with Googly Eyes, Halloween Cookies with Colorful Candy Pieces or my Nutter Butter Mummy Cookies...yum!
Table of Contents
- How to make chocolate covered pretzel rods with candy melts?
- How to package chocolate covered pretzels?
- 🍽Helpful Kitchen Tools
- Main Ingredients Needed
- Step-by-Step Instructions
- Before You Begin!
- Recipe Variations
- How to store chocolate covered pretzel rods?
- How long do chocolate covered pretzel rods last?
- Scare Up Some Fun with Our Halloween Activity Pack Sale!
- Recipe Card
- 📖 Recipe Card
- 💬 Comments
How to make chocolate covered pretzel rods with candy melts?
For this recipe, I used white chocolate almond bark. But you can use white candy melts. First, you will need to melt them. Follow the directions on the back of the package. I like to use a microwave, but you can also use a special candy melting pot.
Once the chocolate is melted, dip the pretzel rods into the chocolate and place them on a sheet of wax paper to cool. You can also add sprinkles, nuts, or other toppings before the chocolate sets.
How to package chocolate covered pretzels?
If you're going to give these chocolate covered pretzel rods as gifts, you should use cellophane bags that you can easily put the pretzel rods in without breaking them.
It's also nice to add a fun note or even these cute Halloween Gift Tags I shared with everyone here on the site last year. You can print these out and personalize them for classroom parties or to hand out to neighborhood friends.
🍽Helpful Kitchen Tools
More InformationMore InformationMore InformationMore Information
Main Ingredients Needed
Here's a quick overview of the ingredients for this recipe. Find the exact amounts and click the Instacart button to easily add them to your cart – all in the printable recipe card below!
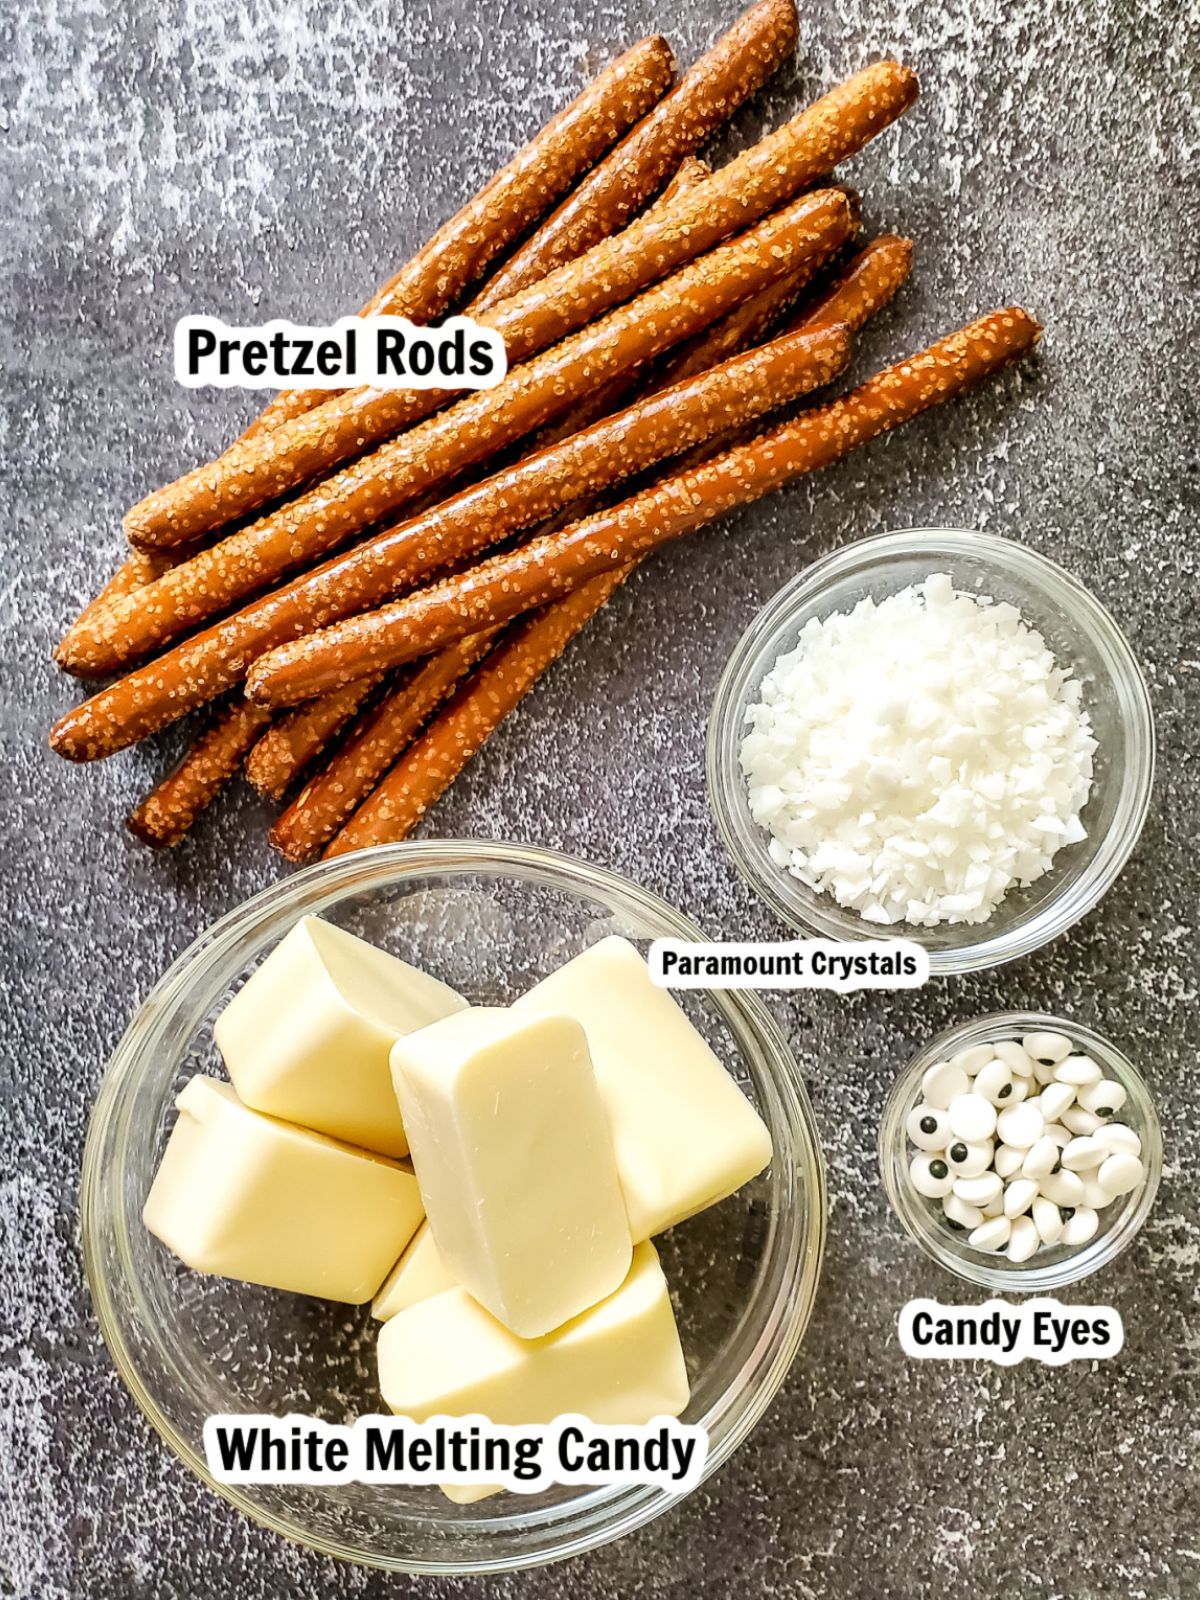
📌What are paramount crystals? When added to melted chocolate, they help keep the chocolate fluid. Paramount crystals are similar to cocoa butter and shortening in chocolate work, except it has no flavor.
Step-by-Step Instructions
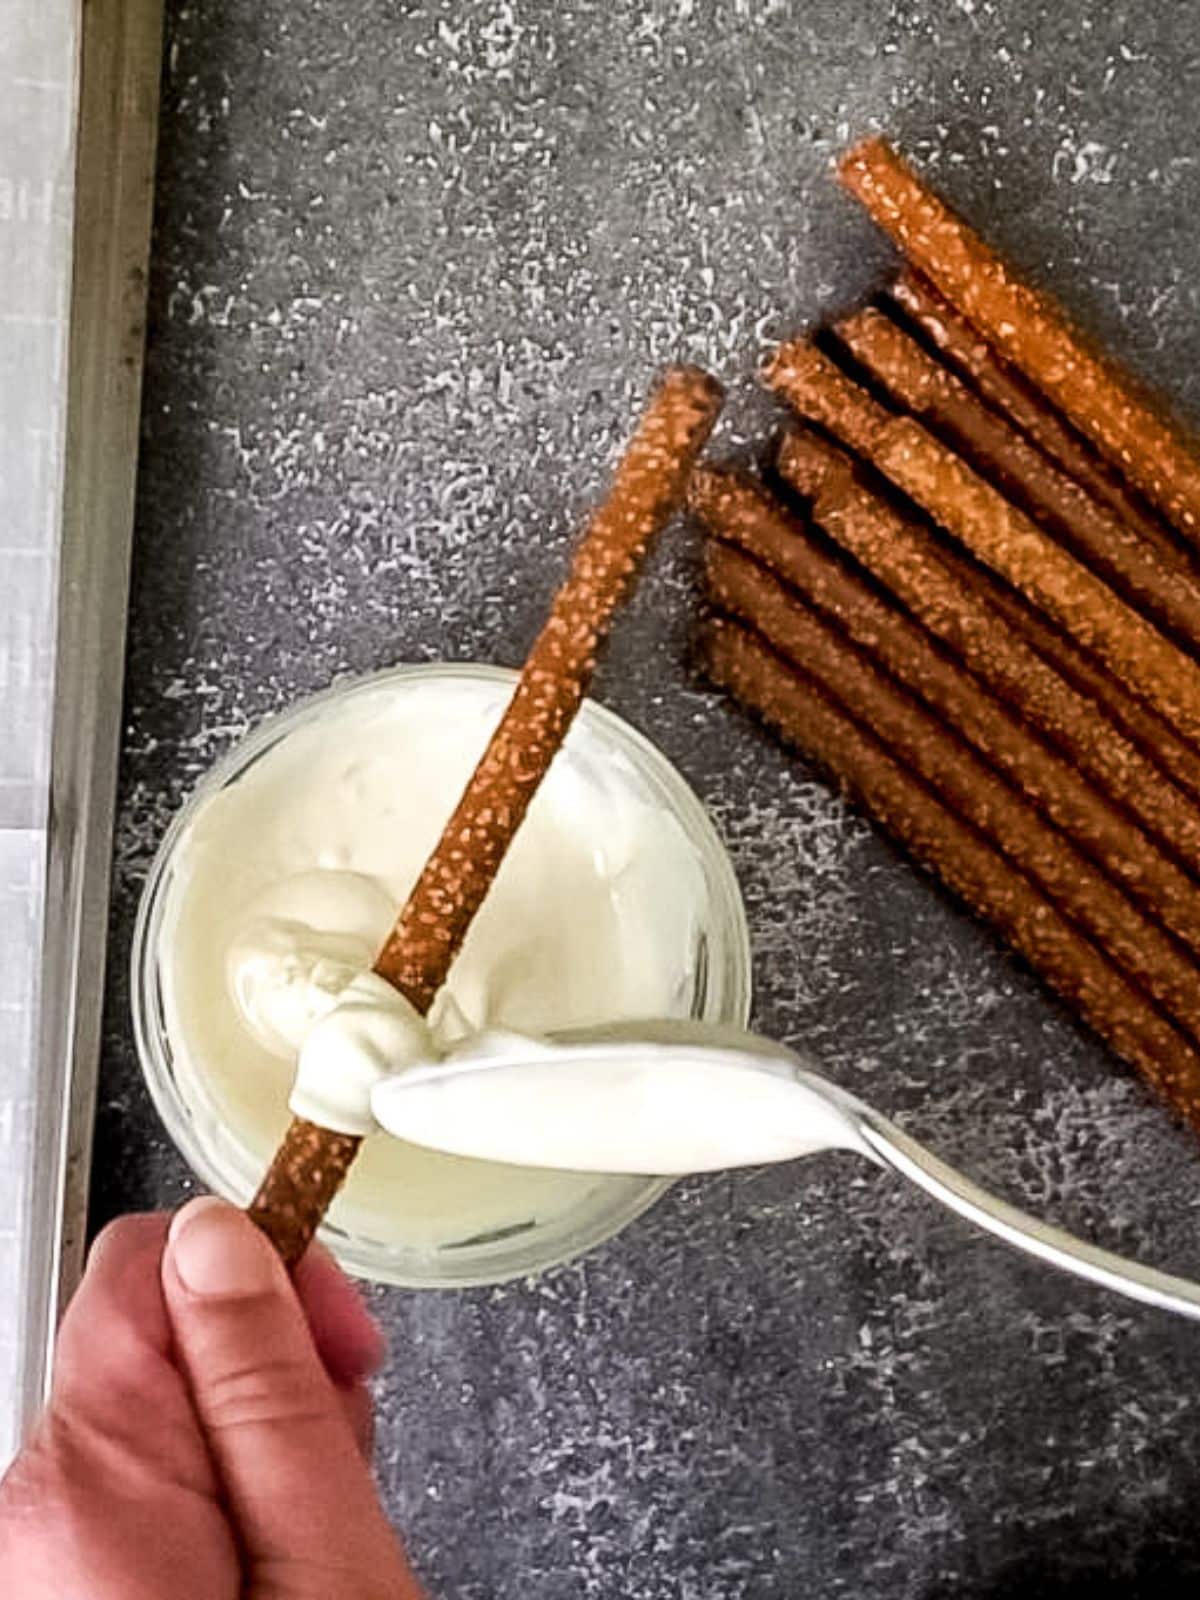
- Step 1: Melt the chocolate in the microwave by microwaving in 30 second increments, stirring in between each session. Remove bowl from microwave just before fully melted. Add paramount crystals and stir until dissolved. This will thin out the chocolate so that it go farther.
- Step 2: Spoon the melted candy melts onto the pretzel rods, and place on the parchment paper to set. You can place it in the fridge for about 20-30 minutes to let it set faster.
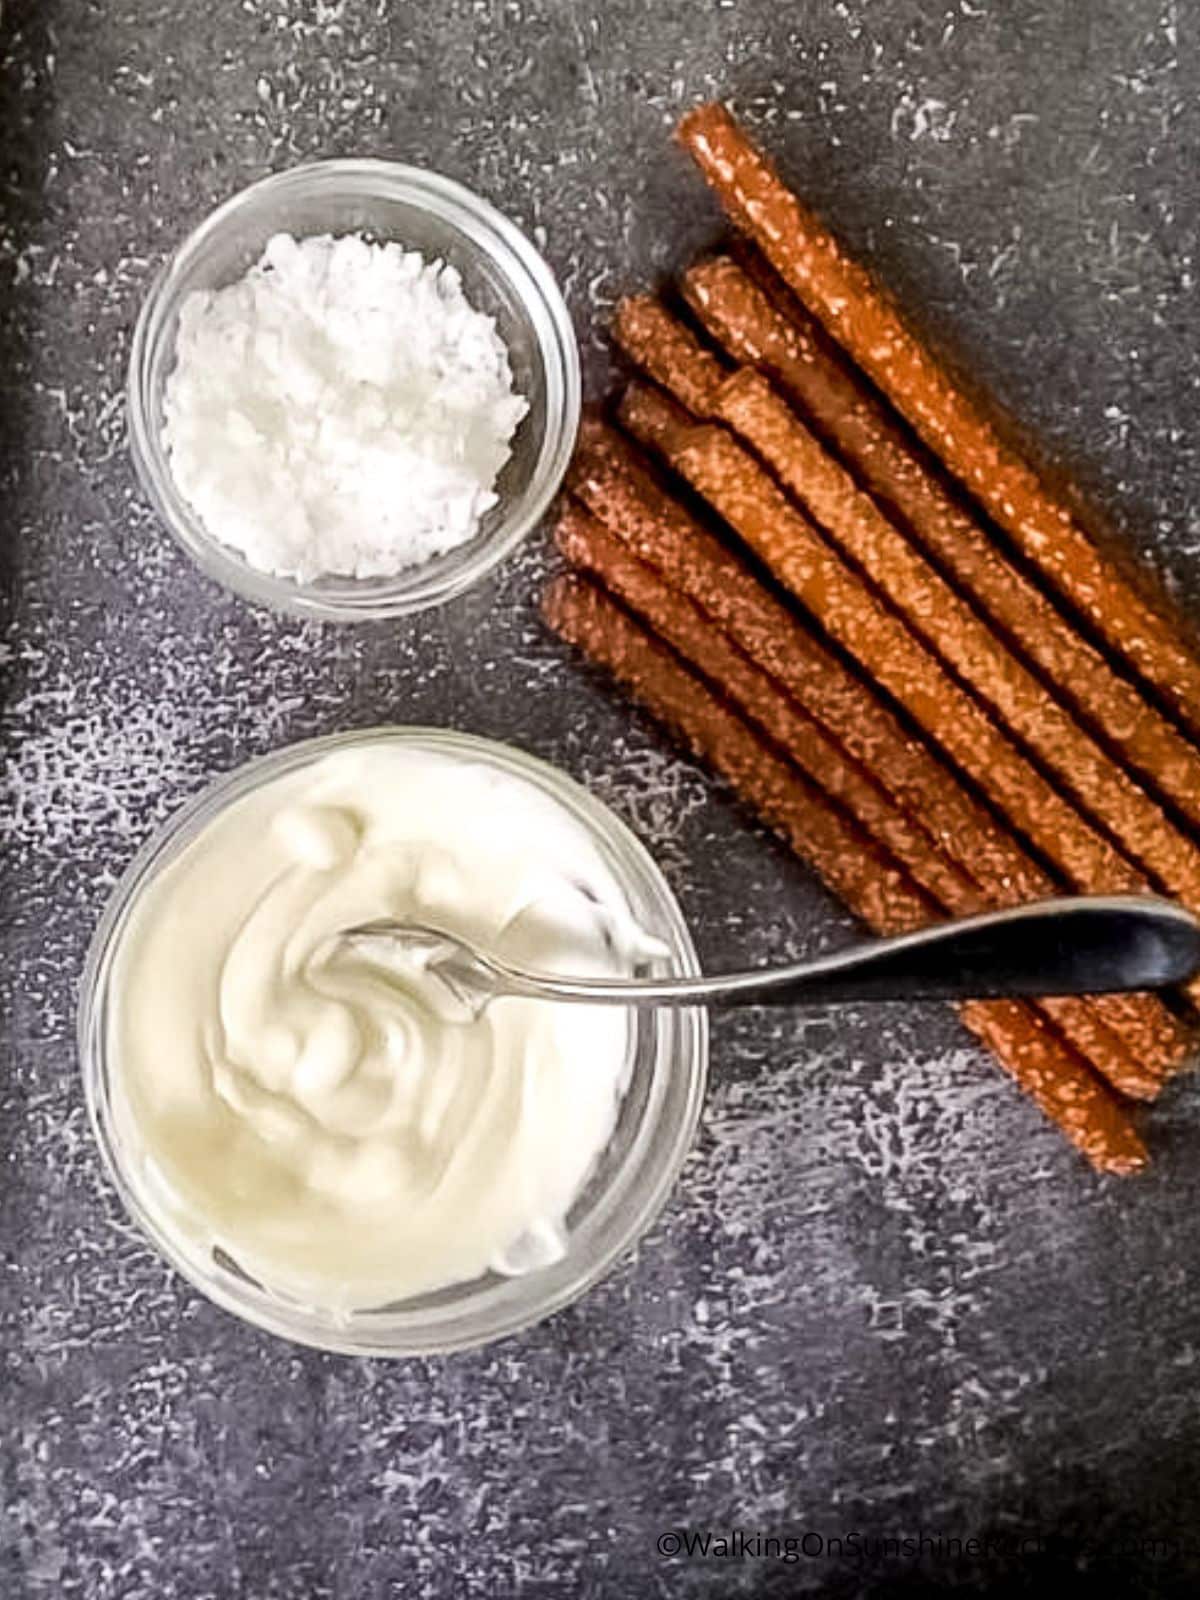
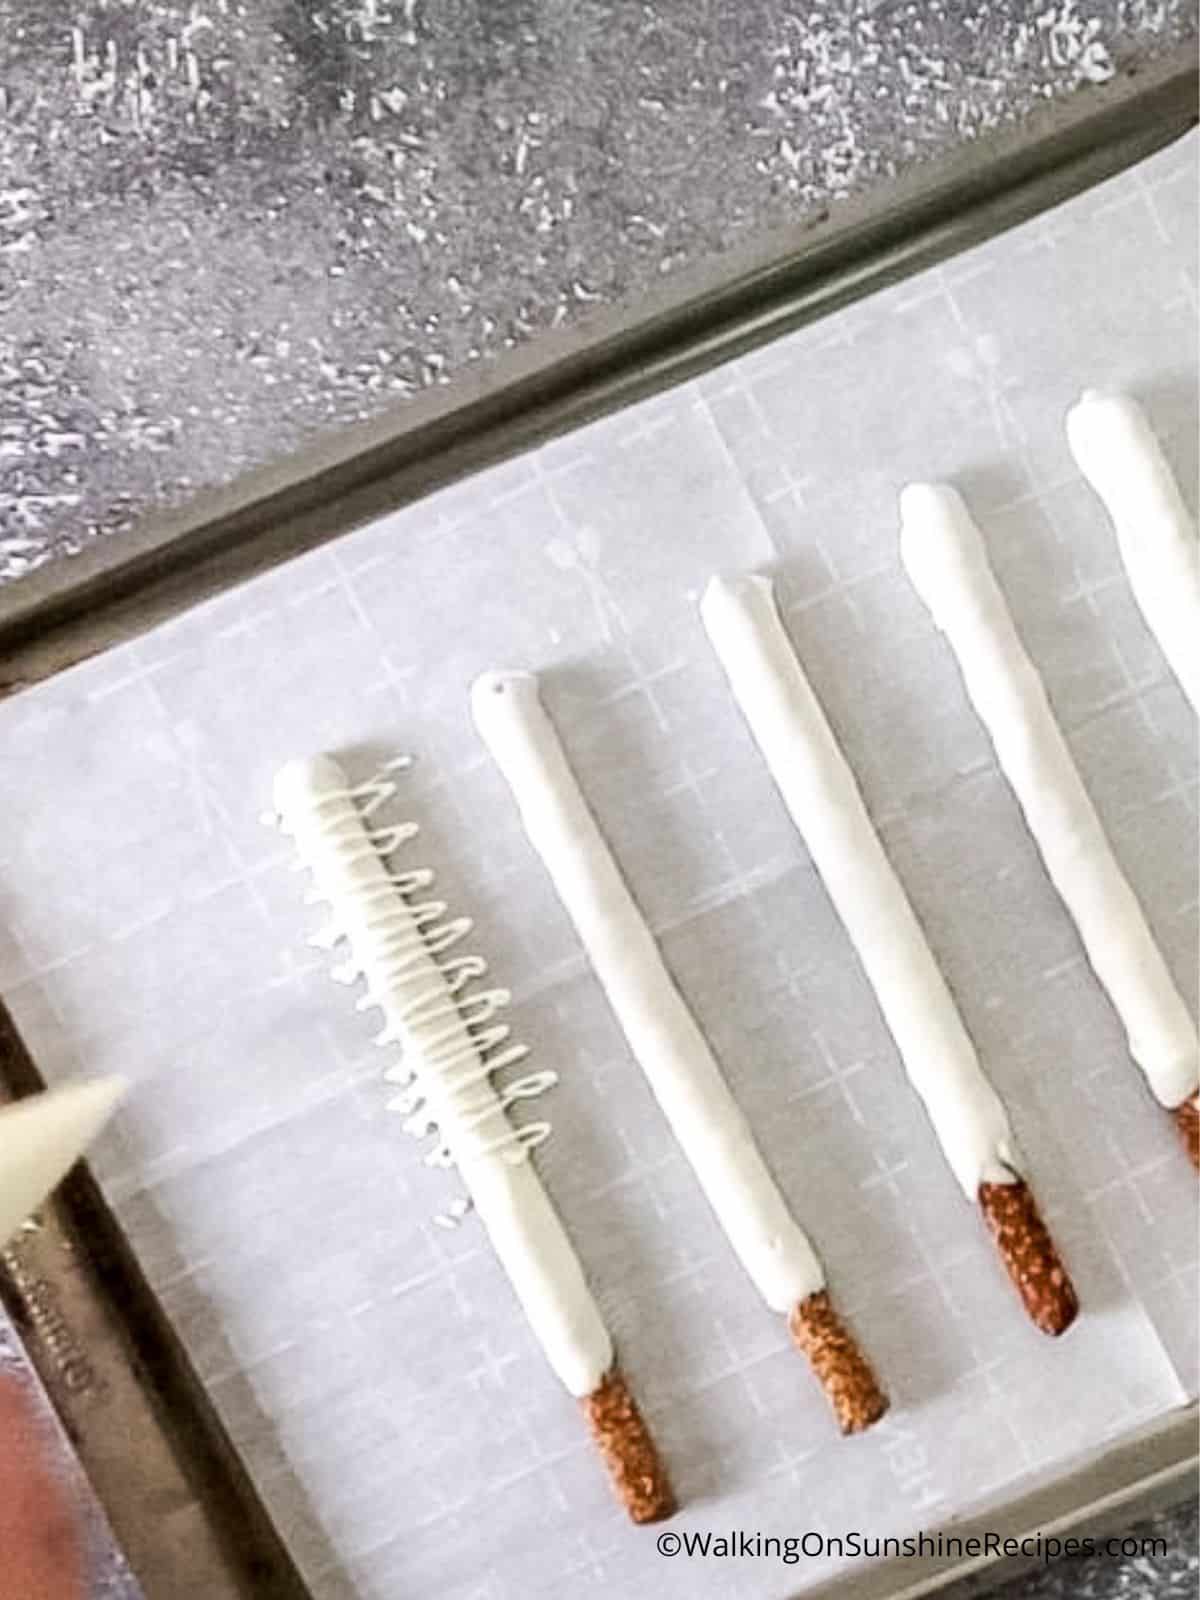
- Step 3: Once set, melt the reserved chocolate.
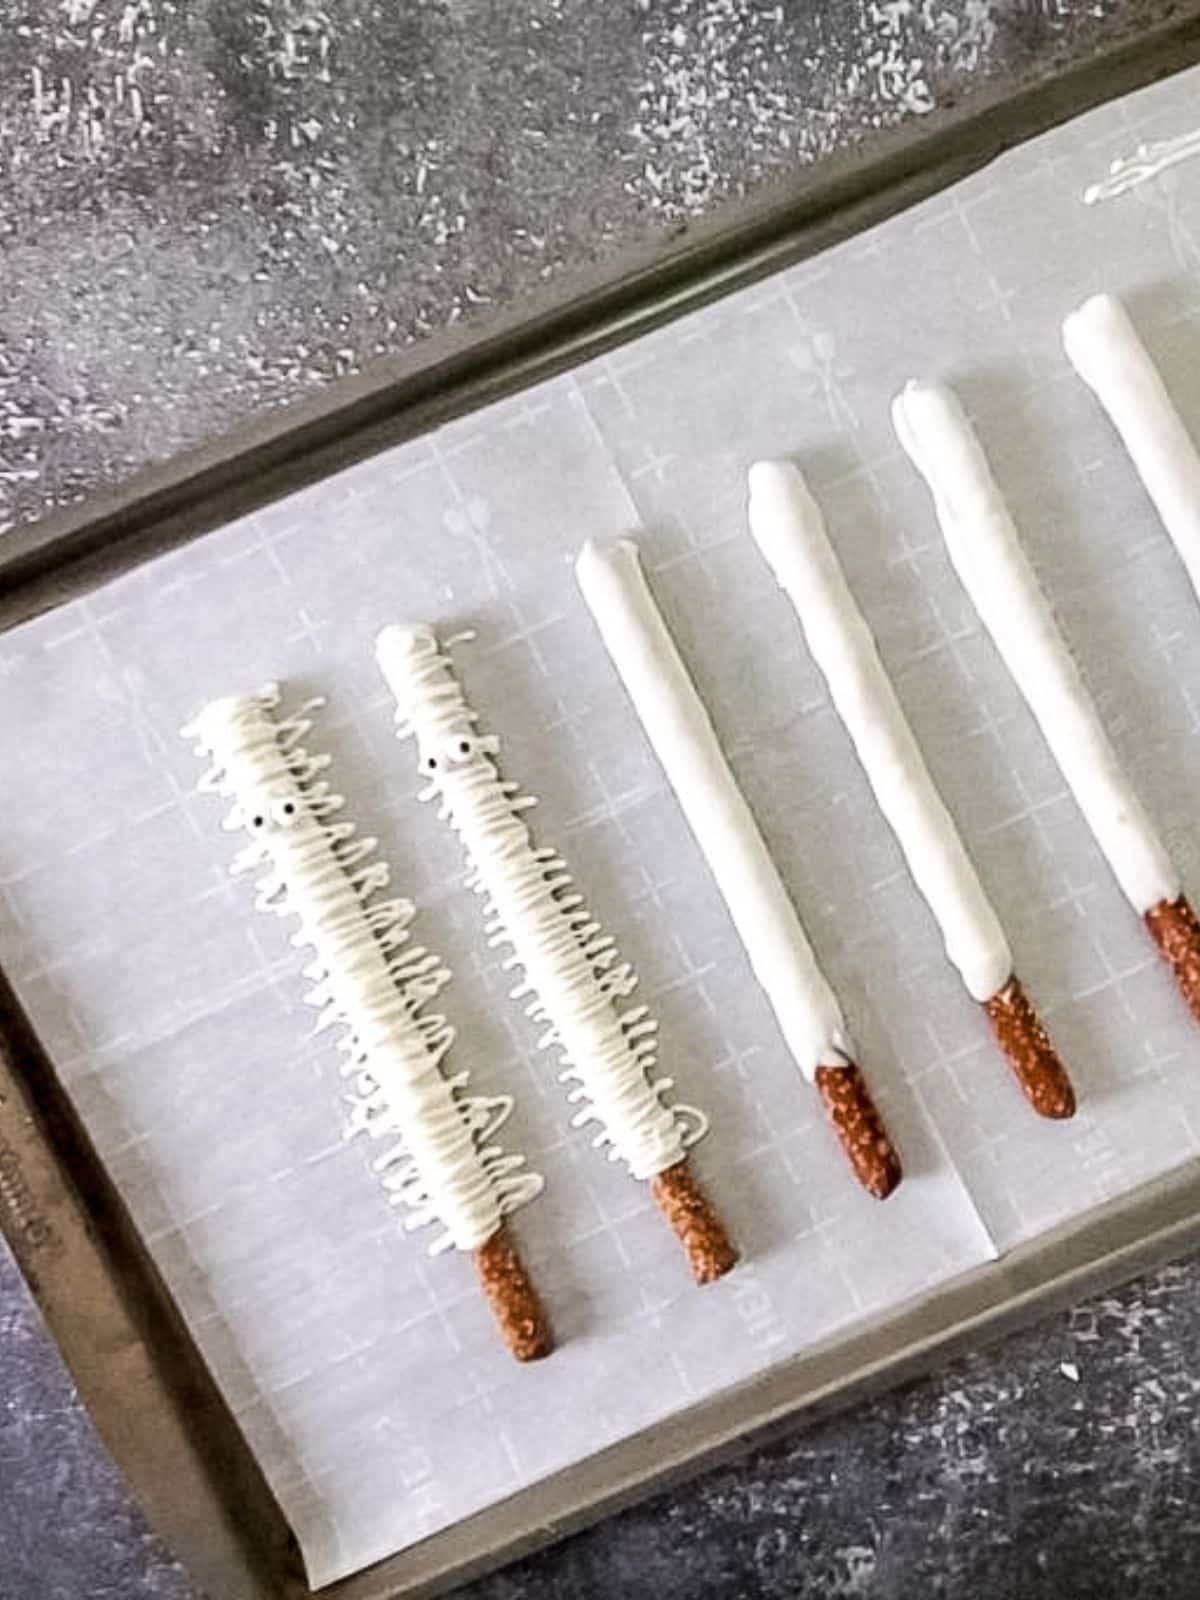
- Step 4: Place the melted chocolate into a piping bag. Cut a small hole in the tip of the bag. Drizzle back and forth over the pretzel rods. Add the candy eyes on top of the white drizzle. You may need to hold the eyes in place for a couple seconds to make sure they stay firm.
Before You Begin!
If you make this recipe, please leave a review and star rating. This helps my business thrive and continue providing FREE recipes.
Recipe Variations
- You can use any color or flavor of chocolate. Even a variety of different colors would be fun for Halloween.
- Check out my other recipes for Reindeer Pretzels, Valentine's Day Pretzels or my Chocolate Covered Pretzels for Christmas.
How to store chocolate covered pretzel rods?
- Pretzel rods can be stored in an airtight container at room temperature for up to two weeks.
- Be sure to line the container with parchment paper or waxed paper to prevent the chocolate from sticking.
- For longer storage, pretzel rods can be placed in the freezer in an airtight container. When you're ready to enjoy a frozen pretzel rod, simply let it thaw at room temperature for about 30 minutes.
How long do chocolate covered pretzel rods last?
- Stored in an airtight container, they will last up to two weeks.
- If you freeze them, they should last for three months. They will last for up to three months.
Recipe Card
📖 Recipe Card
Halloween Pretzel Rods
Ingredients
- 10 pretzel rods
- 1 ½ cup white candy melts
- 1 teaspoon paramount crystals; see note below
- candy eyes
Method
- Melt the chocolate in the microwave by microwaving in 30 second increments, stirring between each session. Remove bowl from microwave just before fully melted. Stir until smooth.
- Add paramount crystals and stir until dissolved. This will thin out the chocolate so that it goes farther.
- Spoon the melted candy melts onto the pretzel rods, and place on the parchment paper to set. You can place it in the fridge for about 20-30 minutes to let it set faster.
- Once set, melt the reserved chocolate.
- Place the melted chocolate into a piping bag. Cut a small hole in the tip of the bag. Drizzle back and forth over the pretzel rods. Add the eyes on top of the white drizzle. You may need to hold the eyes in place for a couple seconds to make sure they stay firm.




Comments
No Comments