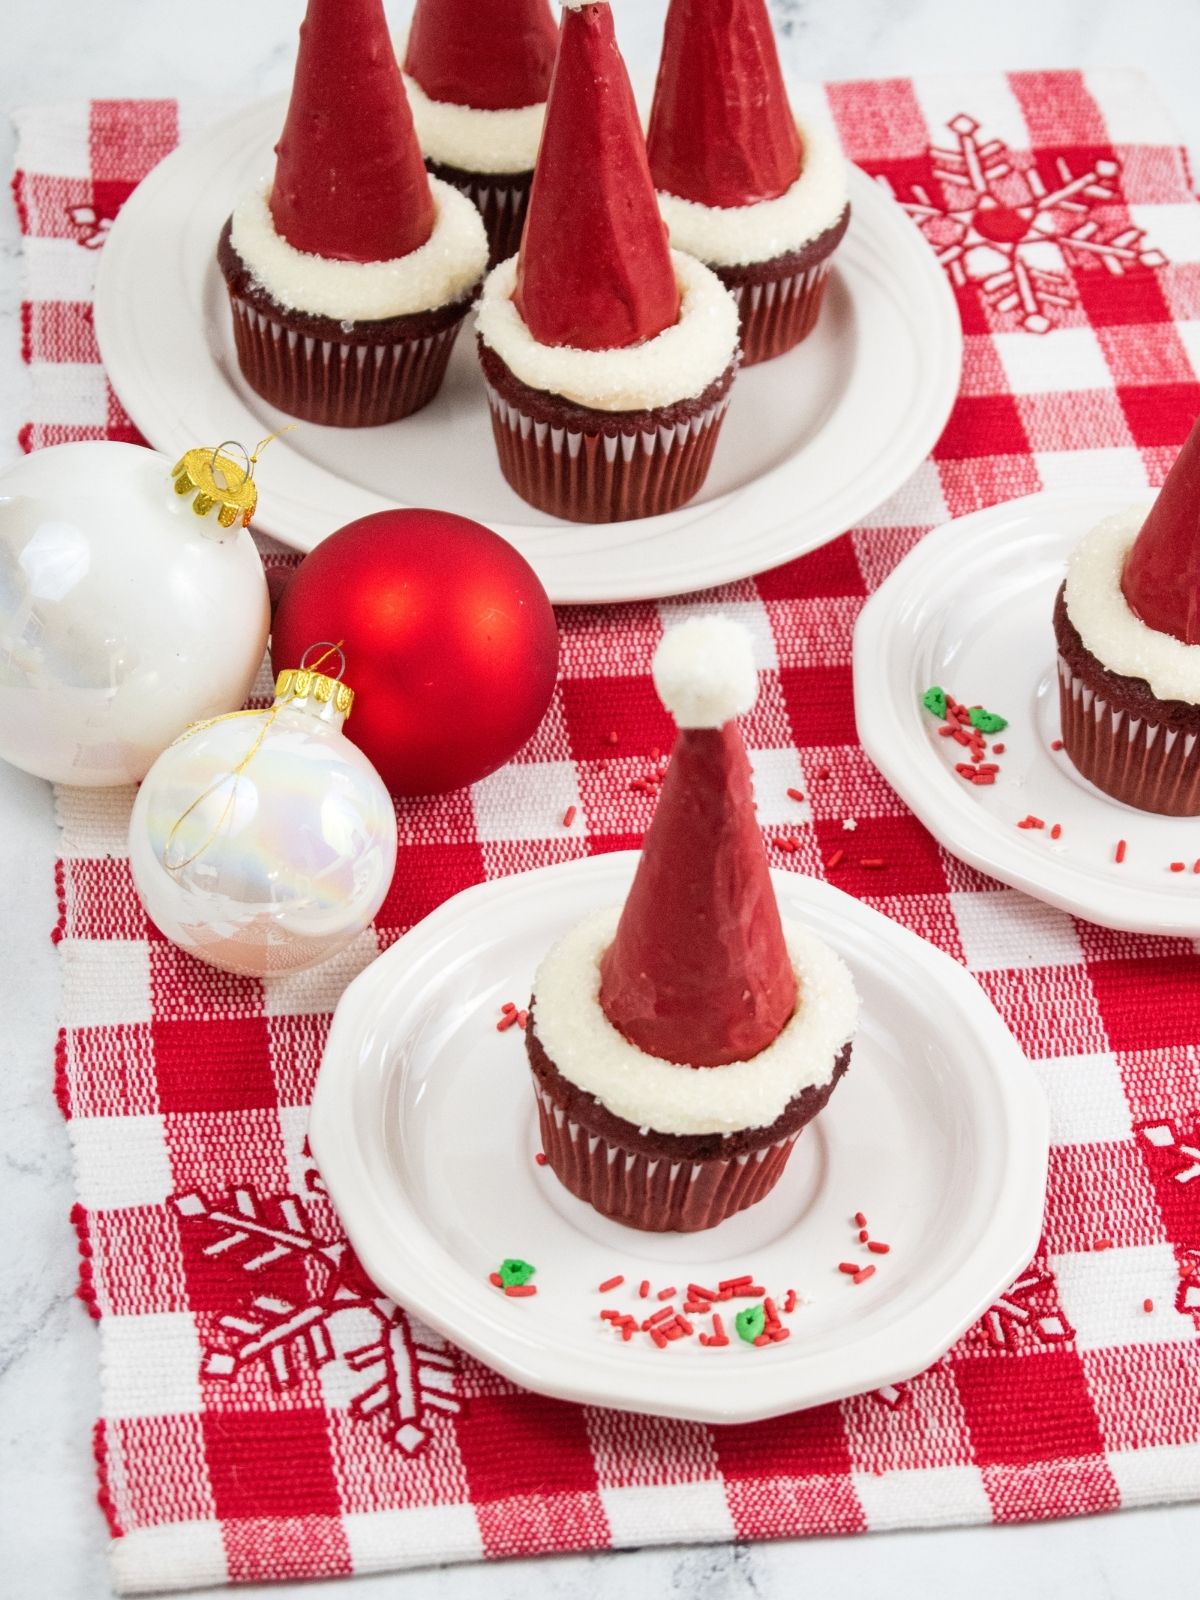
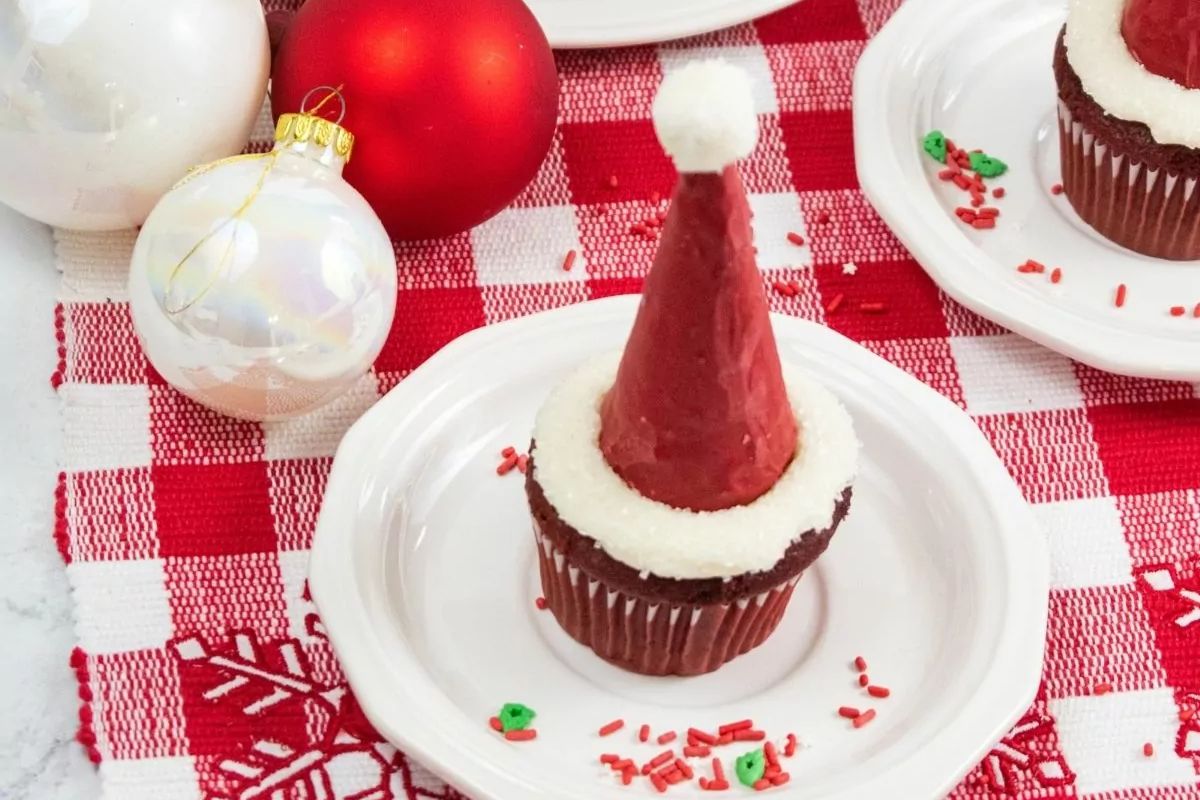
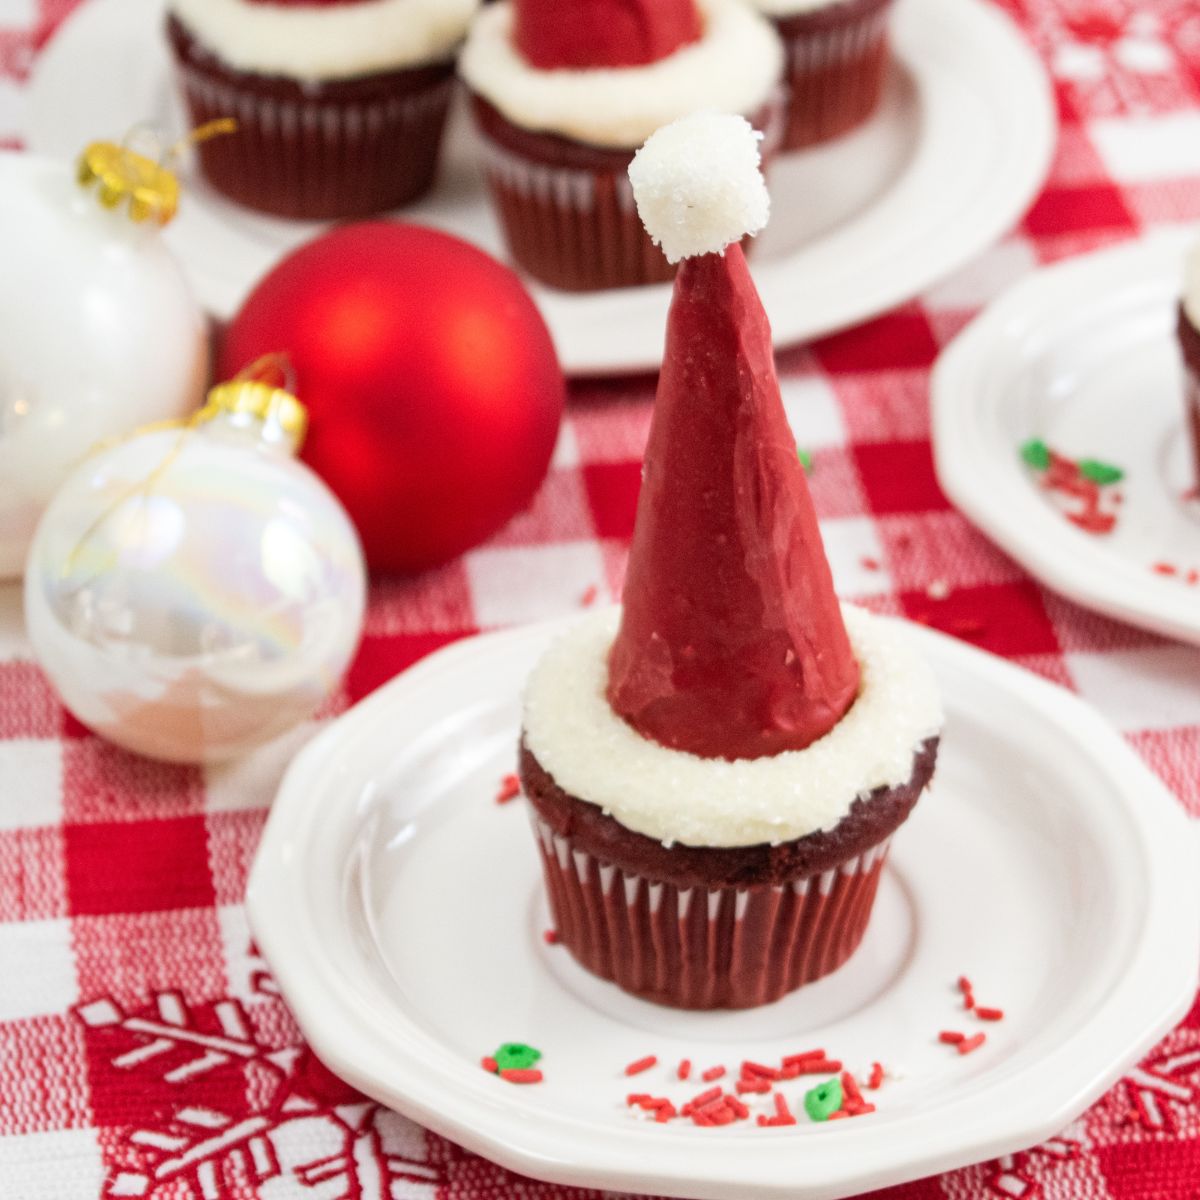
Get ready to spread some Christmas cheer with these adorable Santa Cupcakes!
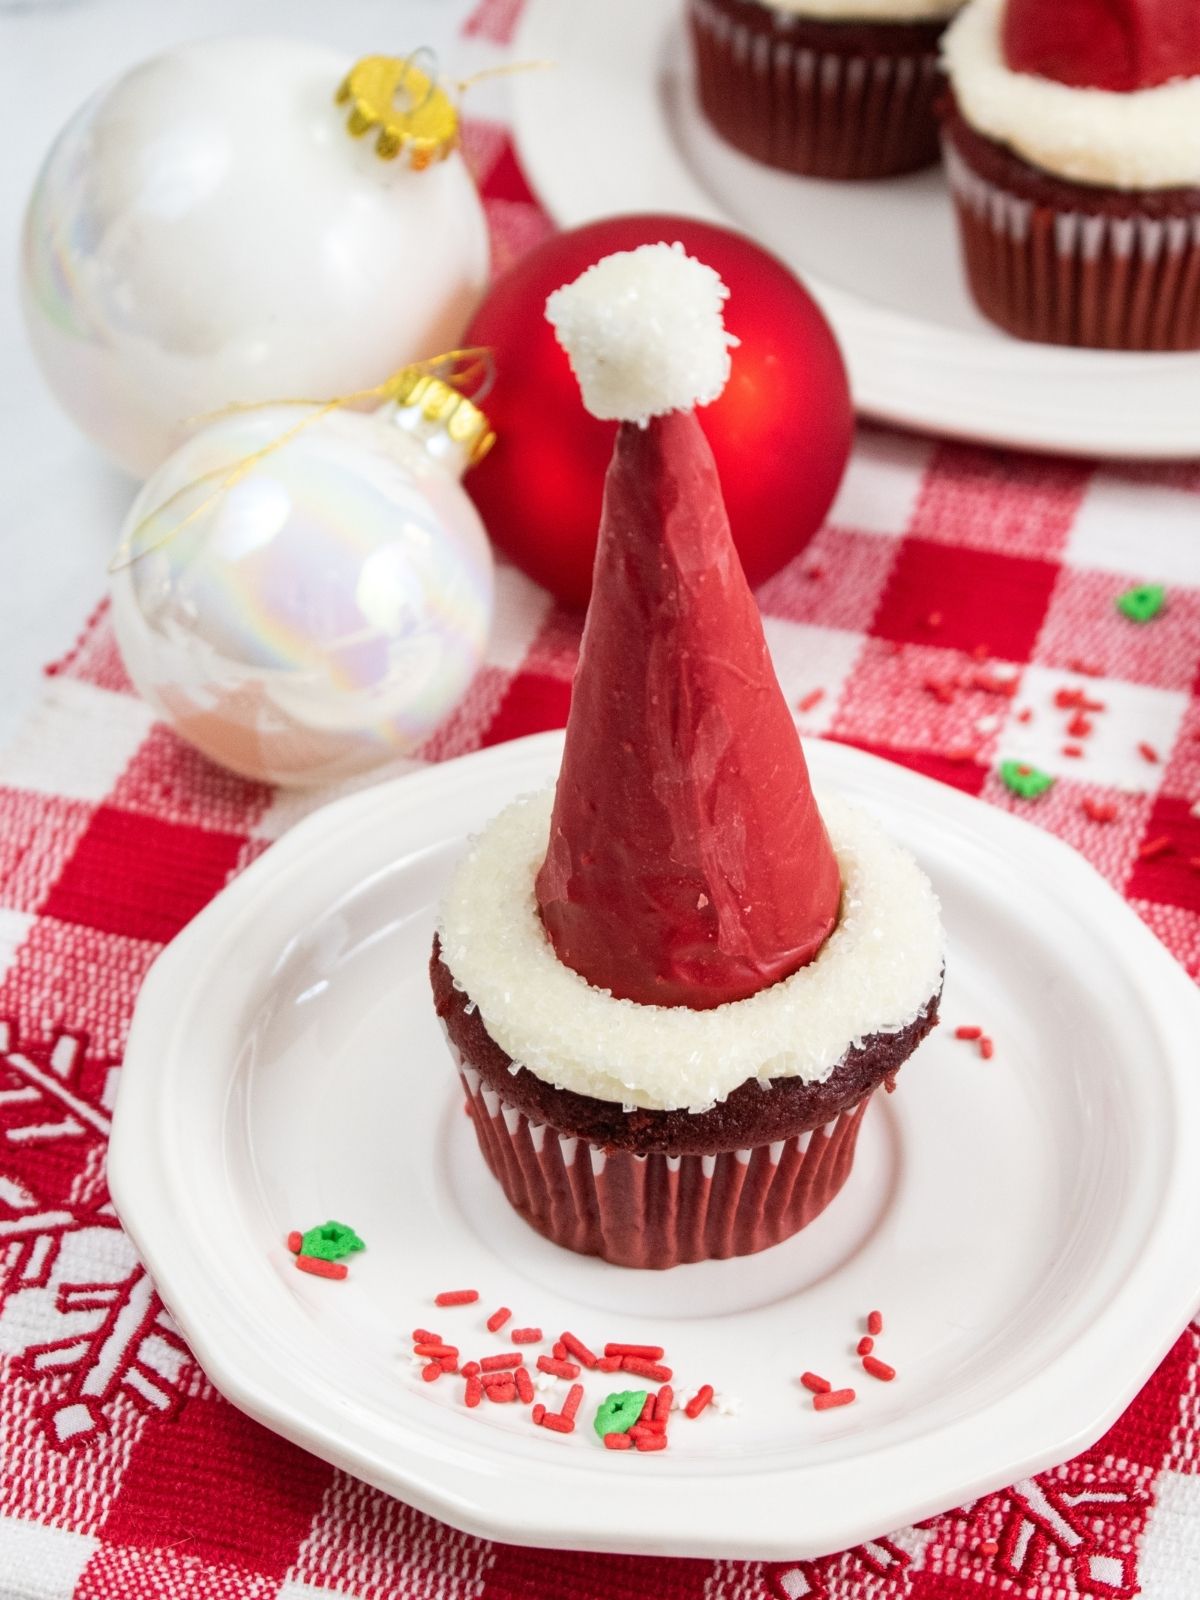
Made with red velvet cupcakes topped with ice cream cones that are decorated with red melting candy turned upside down to resemble Santa's hat.
Perfect for holiday parties and spreading Christmas cheer. Try this easy and fun recipe today!
Check out all the other Christmas Snacks for even more delicious ideas and recipes.
Want to Save This Recipe?
Enter your email & I'll send it to your inbox. Plus, get great new recipes from me every week!
By submitting this form, you consent to receive emails from Walking on Sunshine Recipes.
What makes these Santa Cupcakes really special is the way they are decorated!
Each cupcake is topped with an ice cream cone on top, serving as the perfect base for Santa's hat. The cone is dipped in melted red candy melts, and placed on top of the cupcakes to make them look like Santa's classic fur-trimmed hat!
Instead of the typical frosting swirl, each cupcake is topped with an ice cream cone. The cone serves as the base of Santa's hat and is generously coated with red frosting. The icing is piped in a way that perfectly resembles the fluffy trim of Santa's hat.
Looking for more festive holiday treats? Try my Christmas Chex Mix or my Christmas Trail Mix in a Jar. Want to give some as gifts? Check out all the Mason Jar Gift Ideas.
Table of Contents
- 👩🍳No Bake Christmas Treats
- 🛒Helpful Kitchen Tools
- Looking for MORE treats to make for Santa and his reindeer?
- 📋Ingredients
- 💡 Substitutions and Variations
- Step-by-Step Instructions
- How to Decorate Christmas Cupcakes
- LOVE this recipe? SAVE it for Later!
- 🍶Storage Tips
- ❄️Freezing Tips
- ➡️Top Recipe Tip
- 🌟Try these recipes next...
- 📇Recipe Card
- 📖 Recipe Card
- 💬 Comments
👩🍳No Bake Christmas Treats
Whether you're hosting a festive gathering or simply enjoying some quality time with loved ones, celebrating with easy, no-bake Christmas treats adds an extra layer of magic to the celebrations.
Try my Christmas Trail Mix in a Jar for kids to enjoy to give to their teachers. Or you could make my Oreo Reindeer Cookies for the kids holiday school parties.
You could wrap the decorated Oreo cookies in cellophane and give them to the neighbors or Amazon delivery folks as a way to say Happy Holidays!
🛒Helpful Kitchen Tools
Looking for MORE treats to make for Santa and his reindeer?
Check out my Santa's Treats Digital Cookbook. It's filled with 10 deliciously simple recipes for reindeer treats, cupcakes, pretzels, candies, and hot cocoa. They're perfect for spreading the joy of FOOD this holiday season!
📋Ingredients
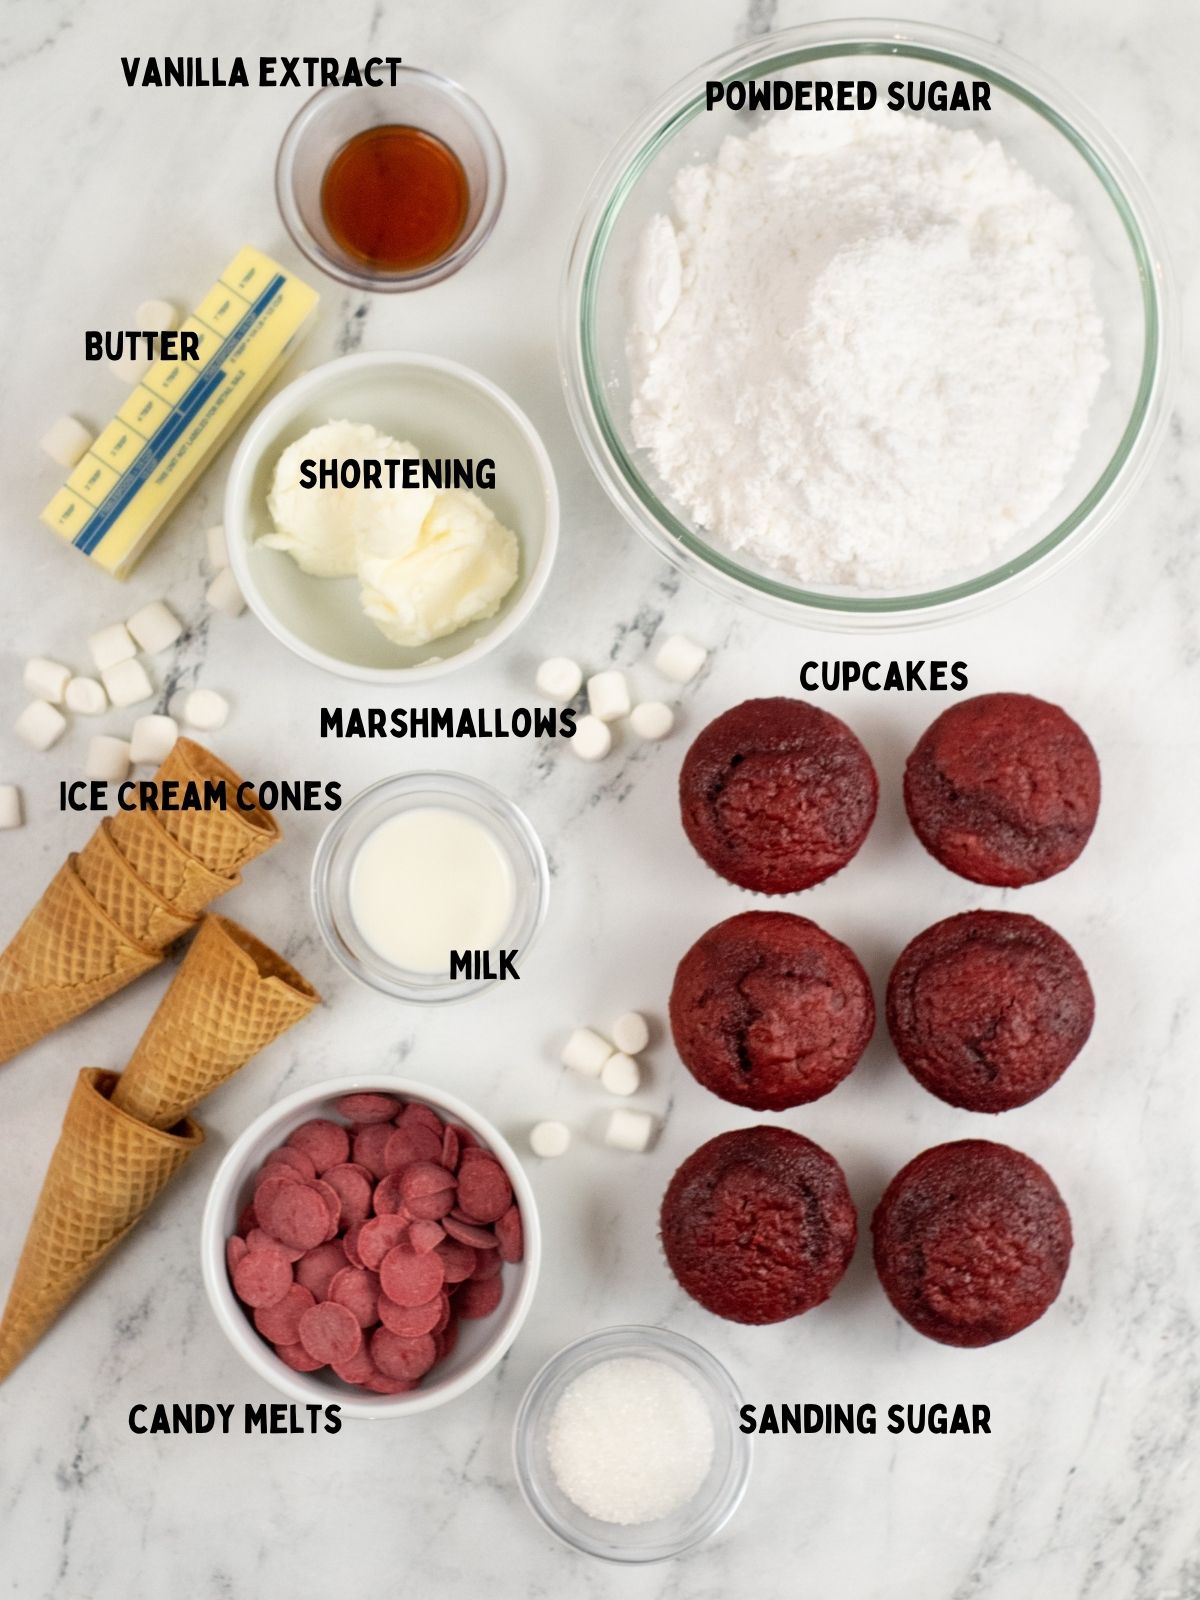
This is an overview of the ingredients and instructions. Be sure to see the recipe card below for exact quantities, detailed instructions and special notes.
💡 Substitutions and Variations
- I used a red velvet cupcake, however, you could substitute your favorite flavor cupcake.
- You could even purchase the cupcakes at your local grocery store.
- If you didn't want to use melted candy for the ice cream cone, you could use cream cheese frosting tinted red.
- If you wanted to save time, you could use store-bought cream cheese or buttercream frosting.
- If you can’t find sanding sugar, you can substitute white sprinkles or even edible glitter.
Step-by-Step Instructions
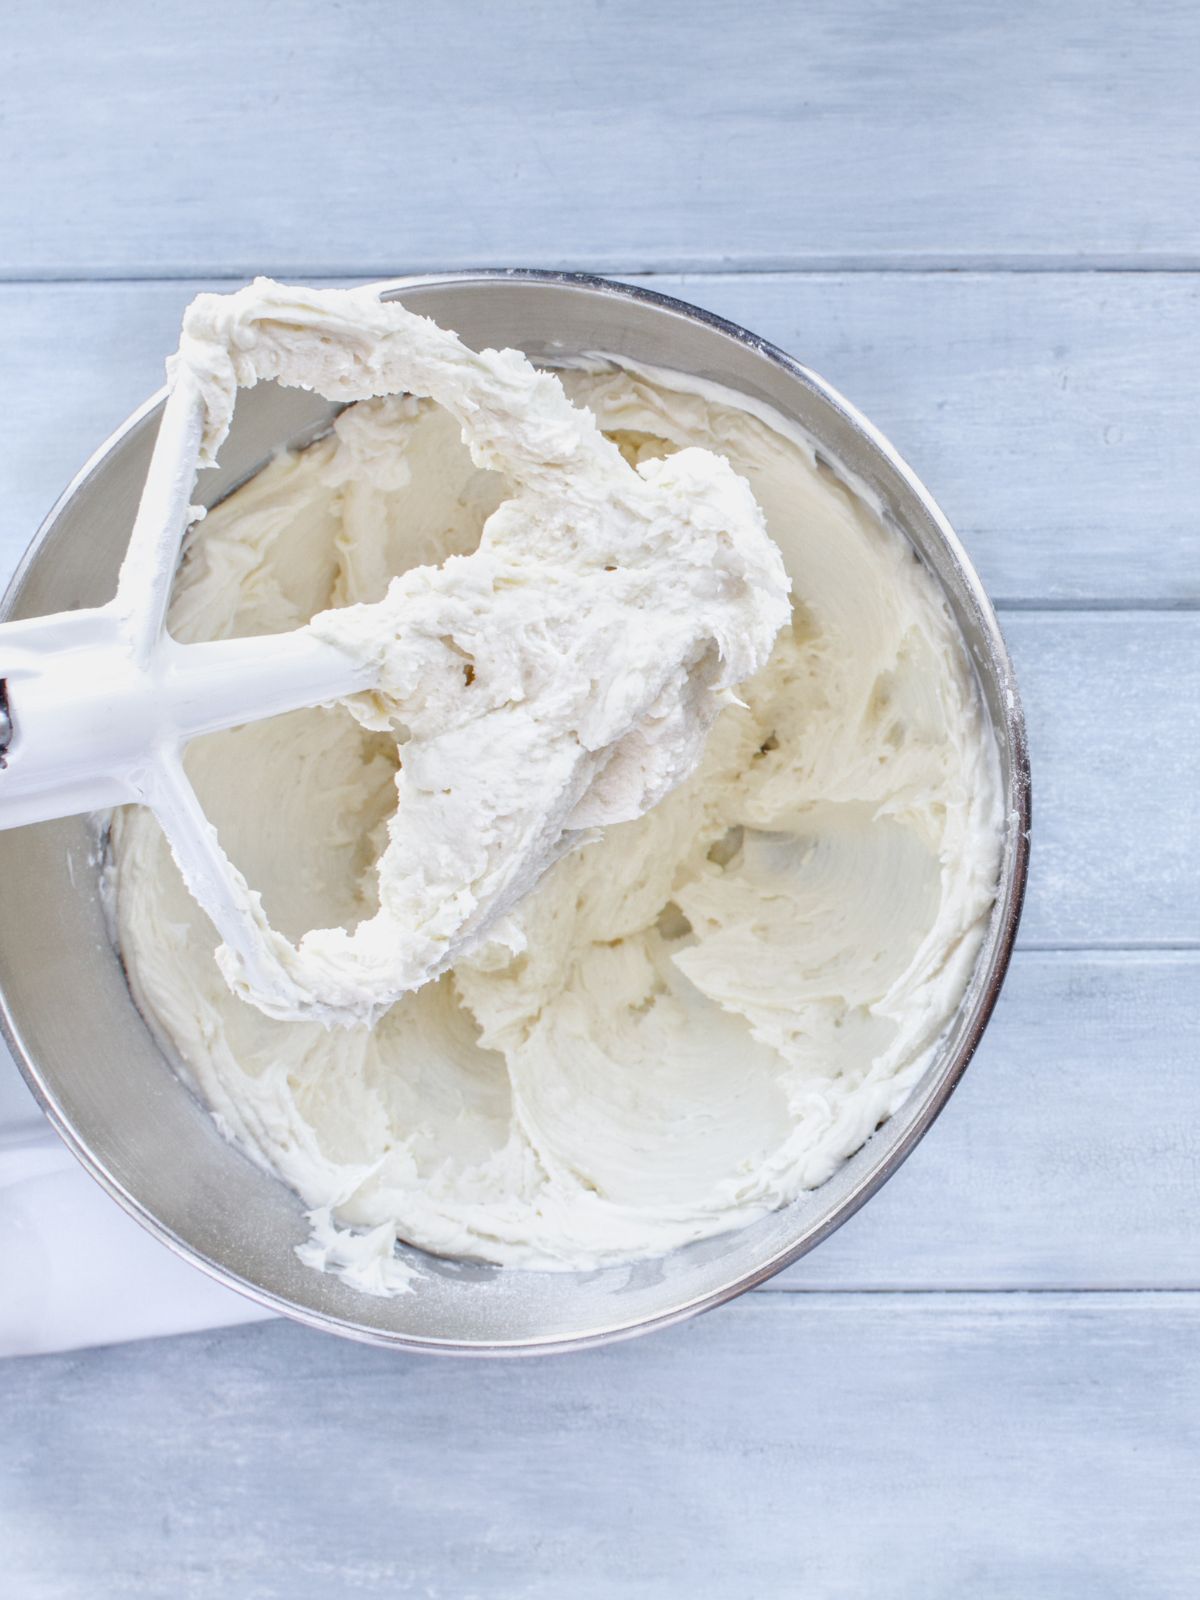
- Begin by making the frosting by beating together in a mixing bowl the butter and shortening until light and fluffy.
- Add in the vanilla extract and milk.
- Gradually add in the powdered sugar until the frosting is combined.
- Set aside while you decorate the ice cream cones.
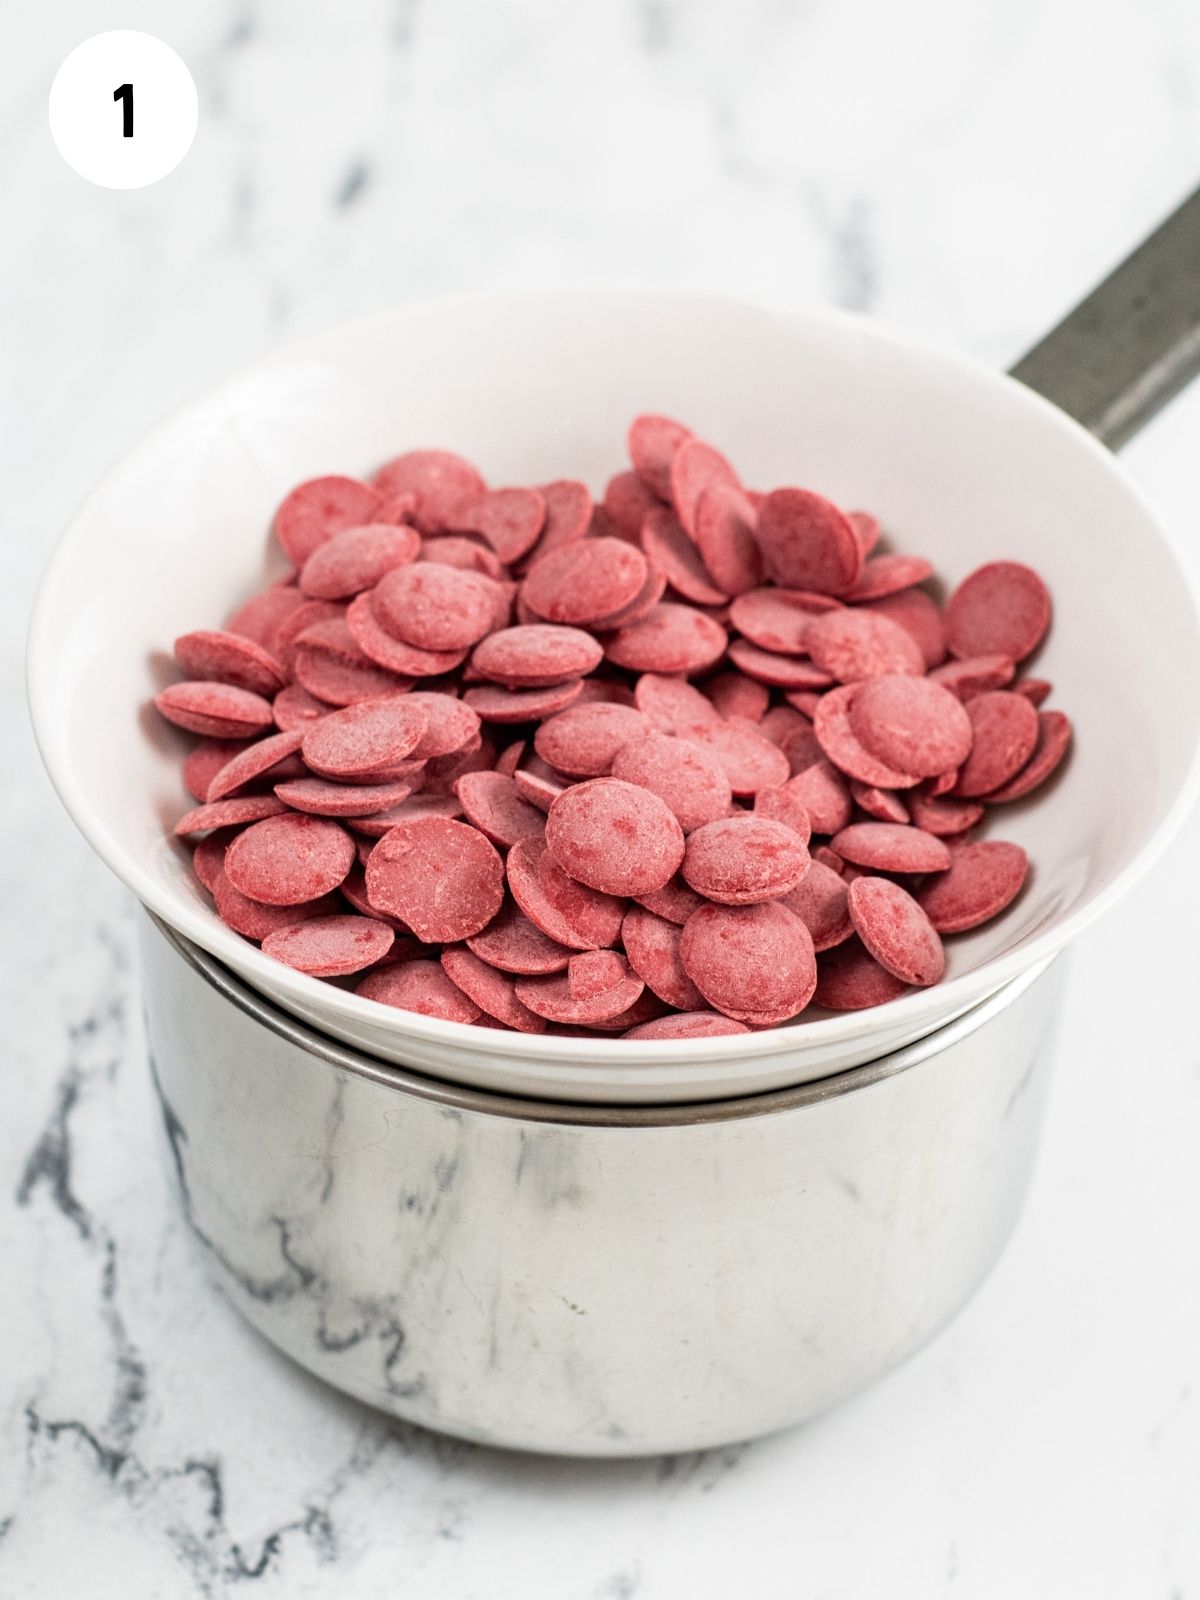
Step 1: In the bowl of a double boiler, melt the red candy melts over medium heat.
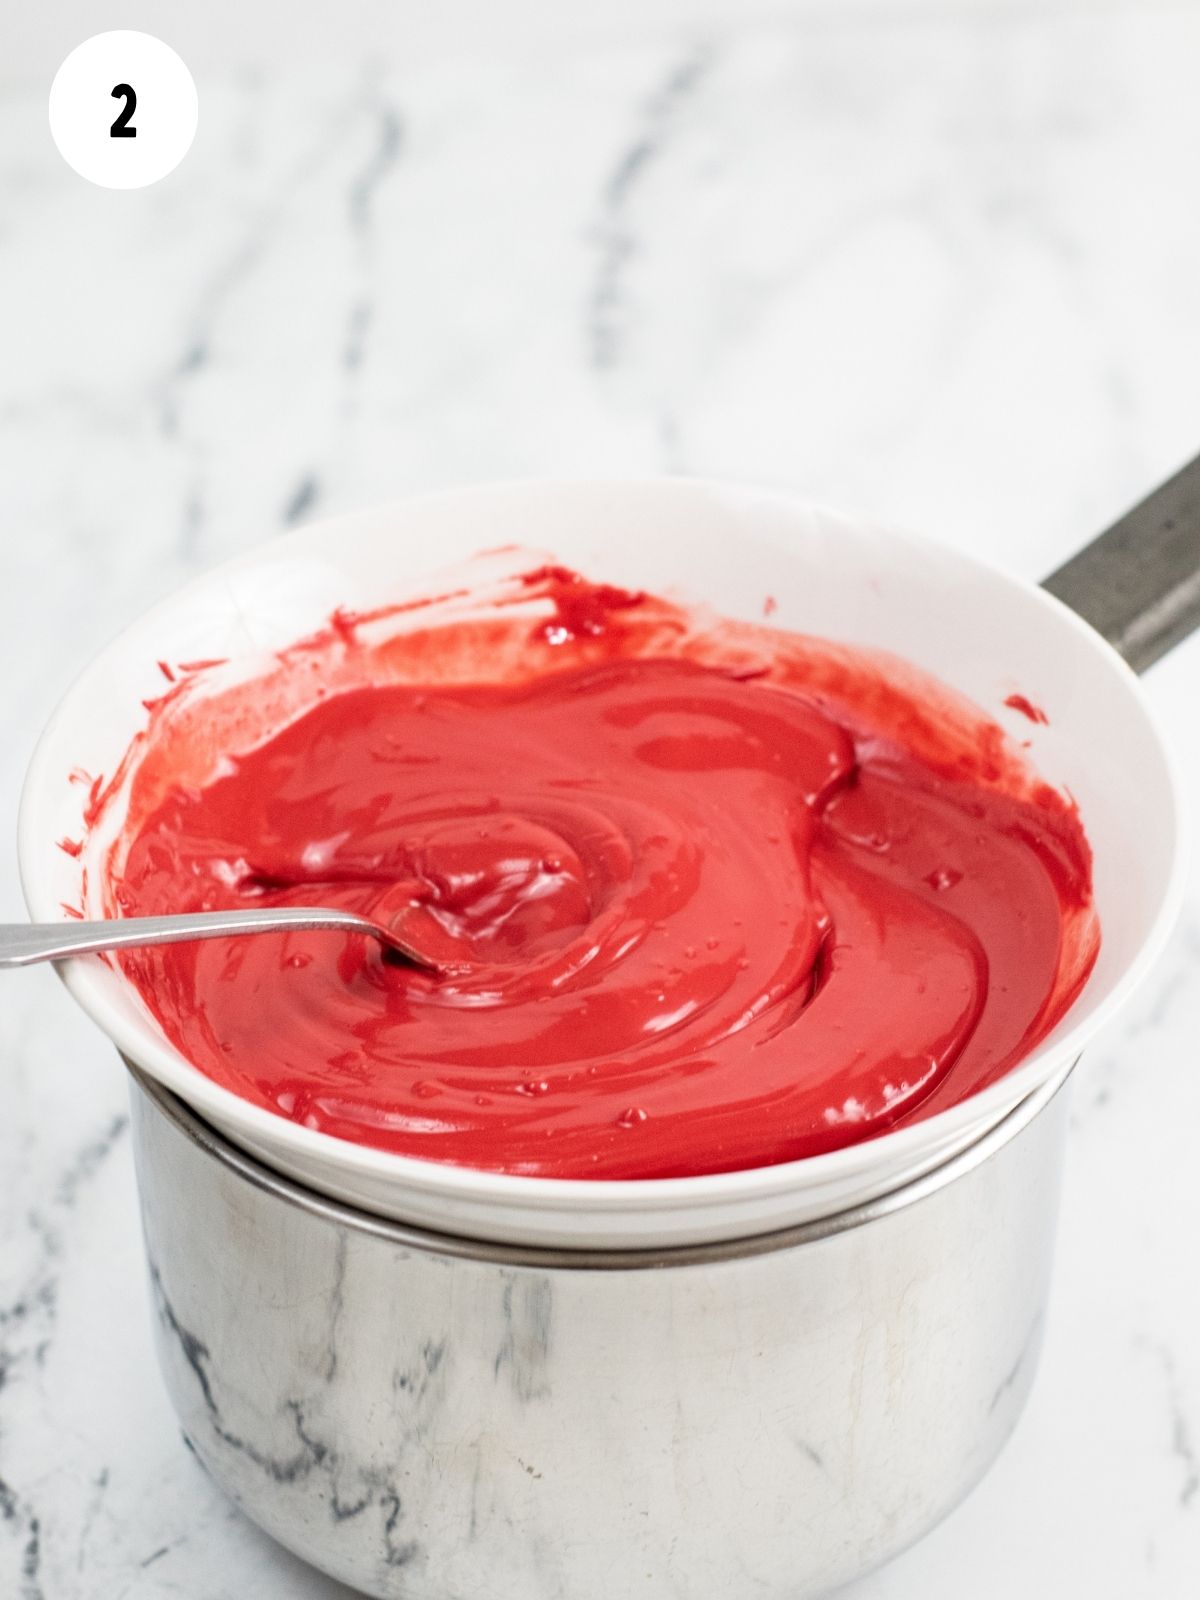
Step 2: Stir until all the candy melts are completely melted.
📌Quick Tip: If you find the chocolate is too thick for dipping or drizzling, one handy trick is to use shortening to thin it out. Add a small amount of shortening to it and stir the mixture thoroughly until the red candy melts gets to the right consistency for dipping.
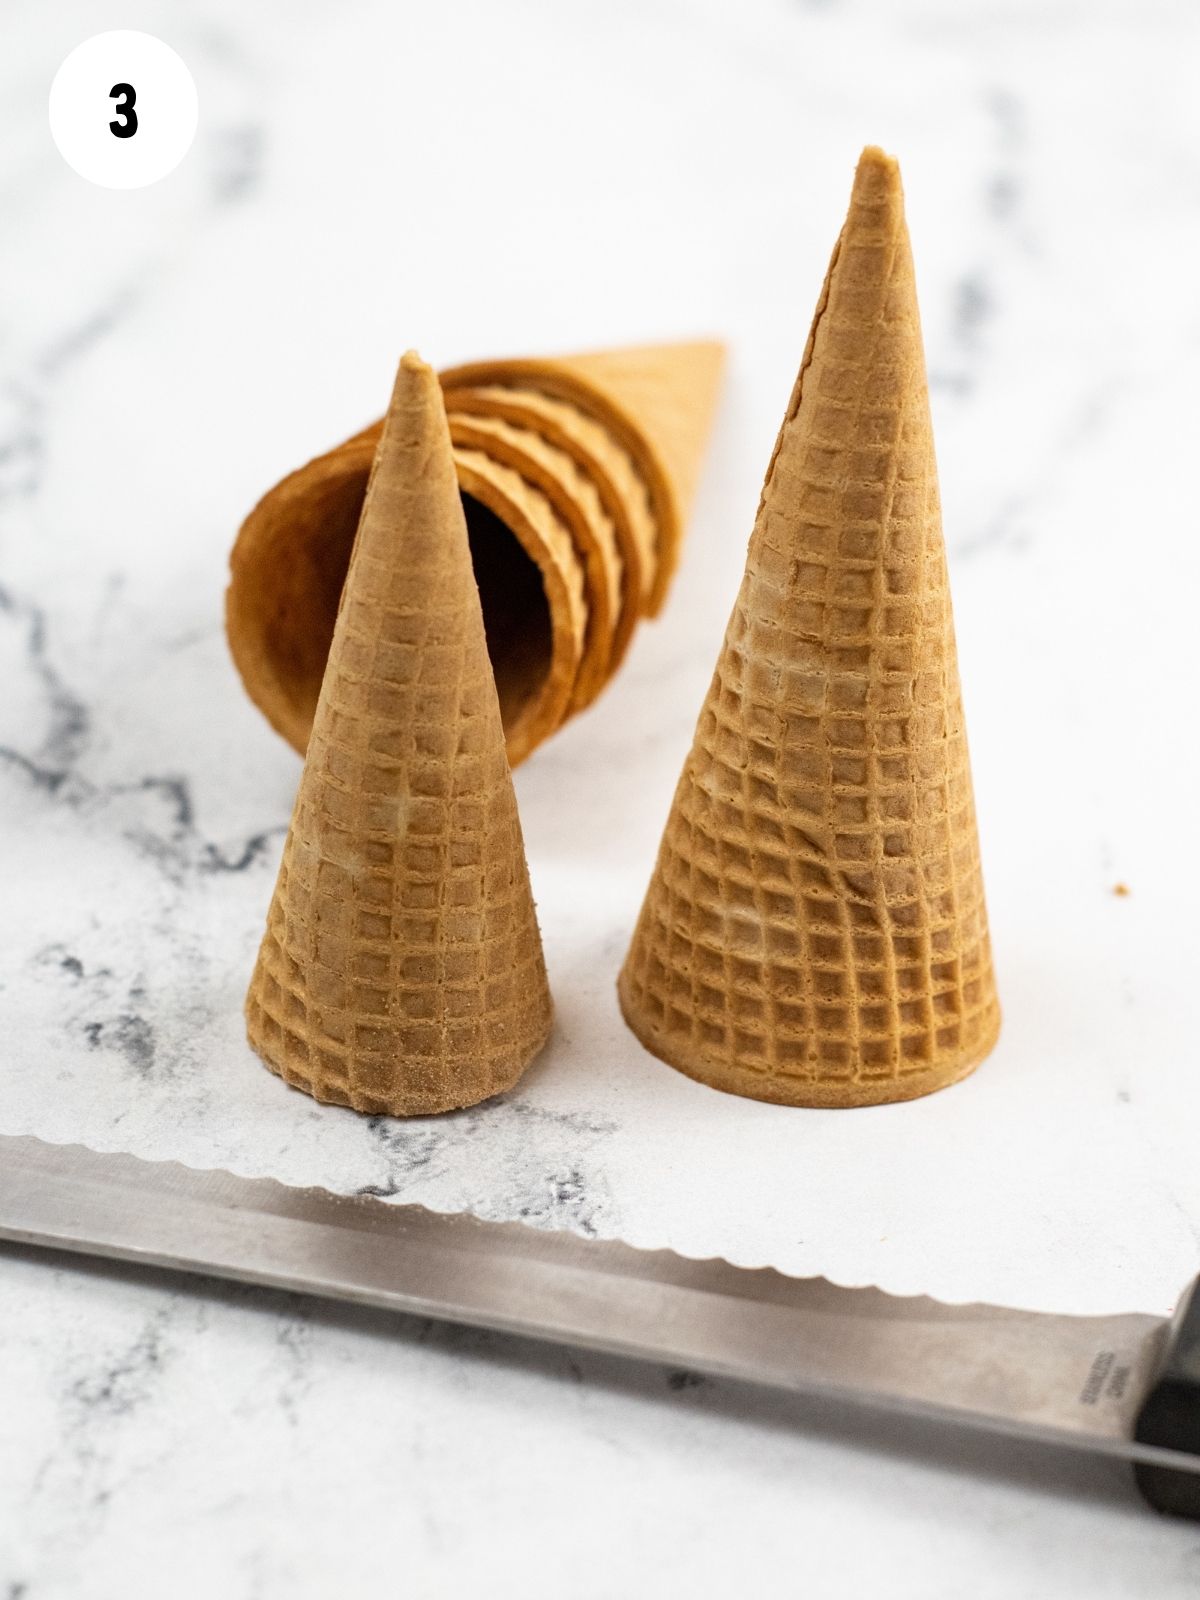
Step 3: Use a bread knife to trim about 1 ½ inch off the open end of each ice cream cone to make them a little bit shorter.
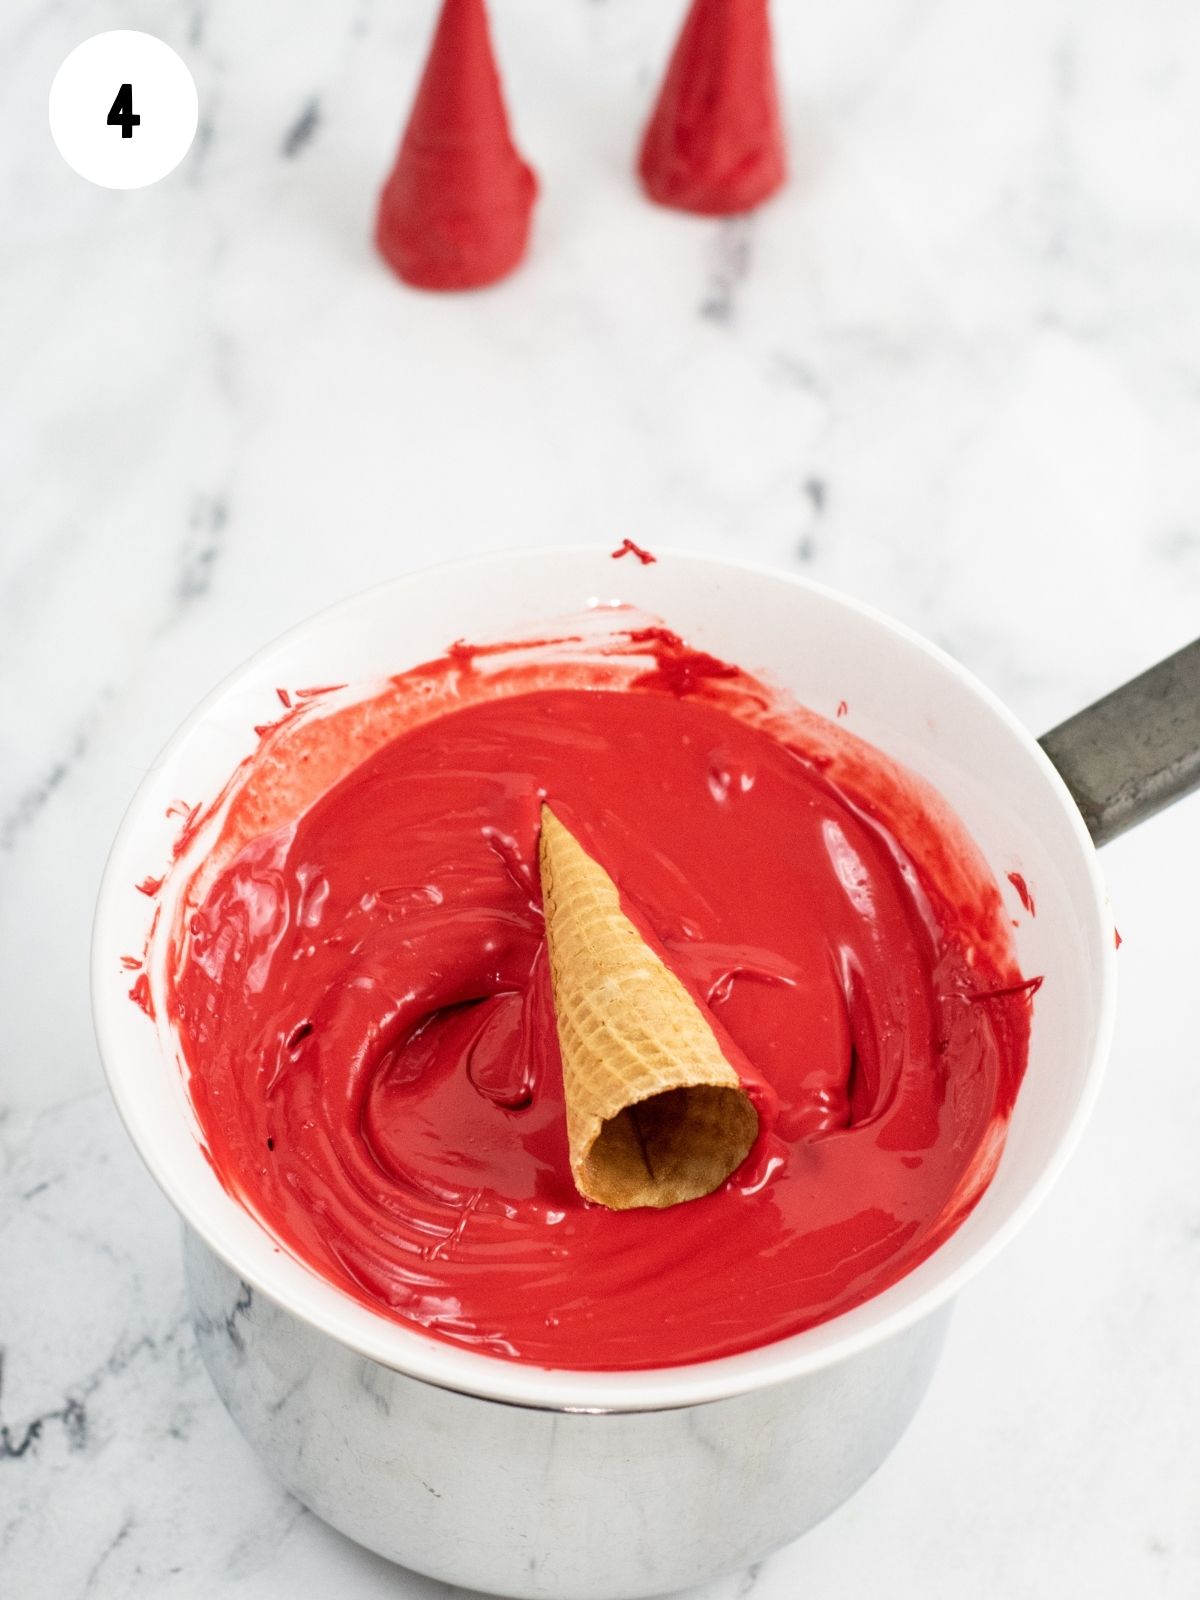
Step 4: Roll each ice cream cone in the melted candy melts to evenly coat the outside. Place on a piece of waxed paper to cool.
How to Decorate Christmas Cupcakes
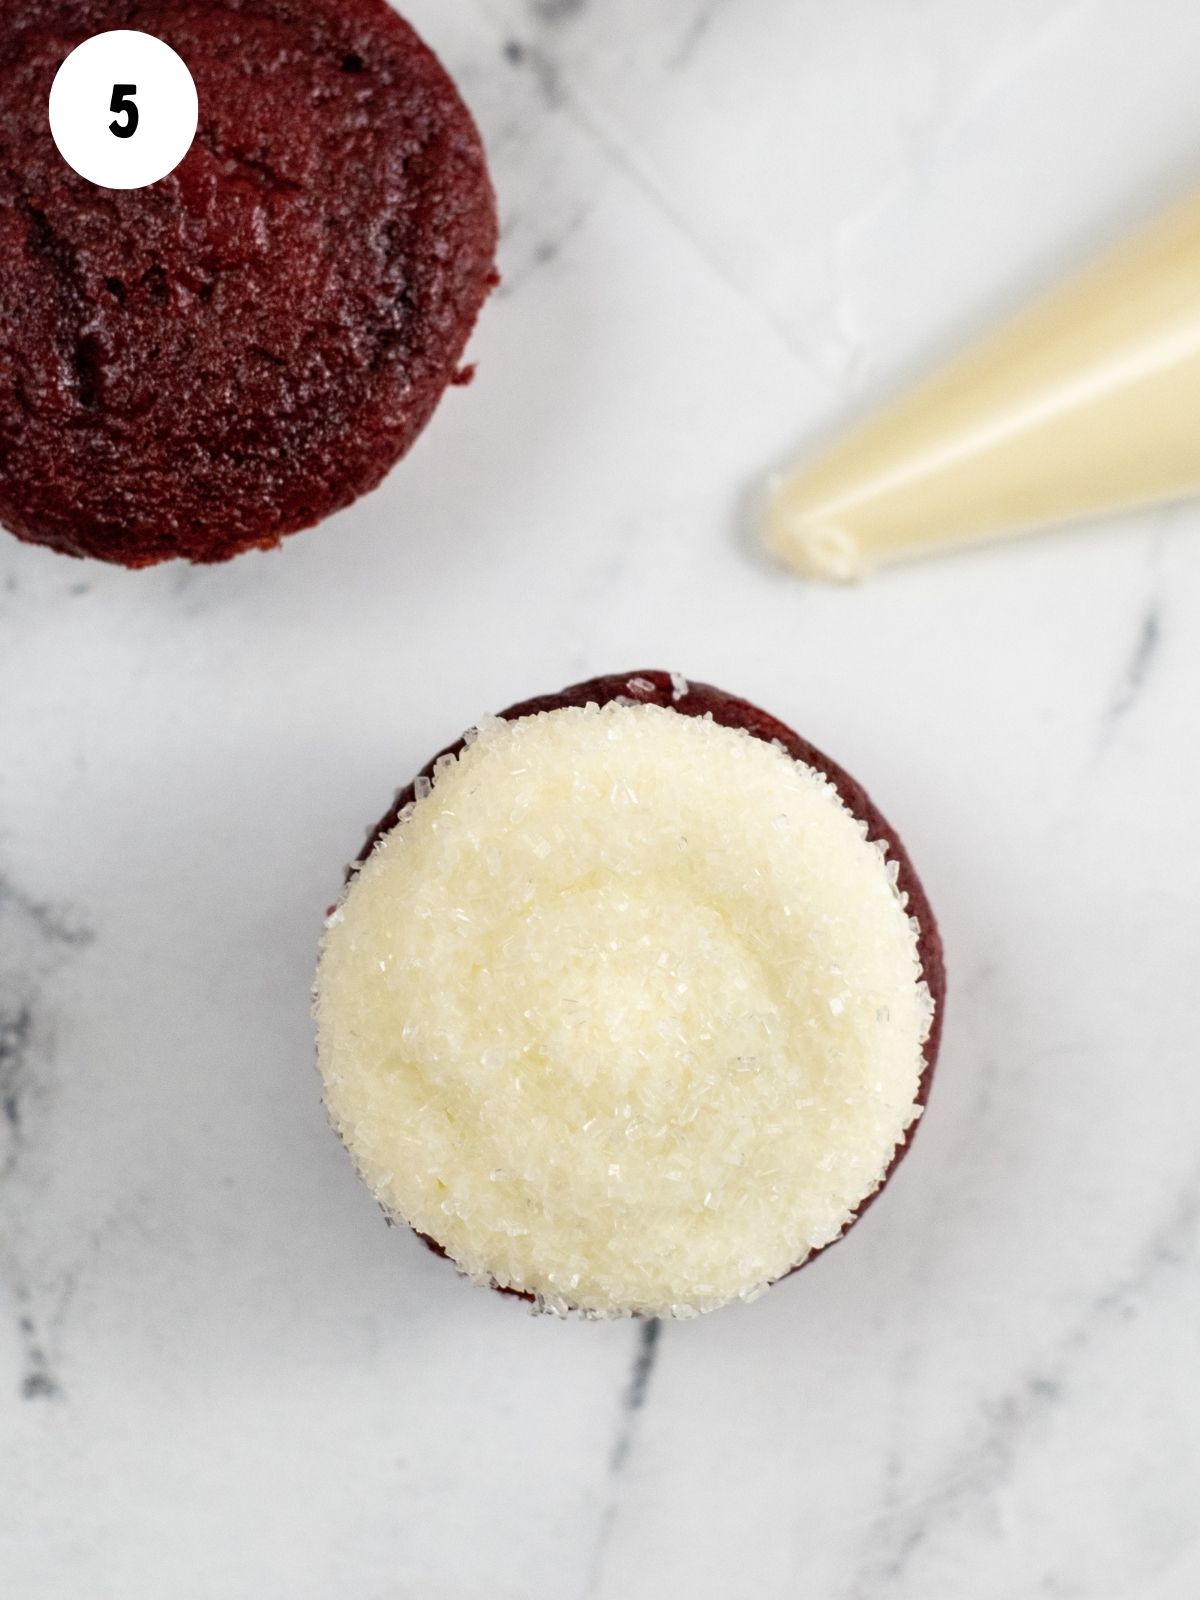
Step 5: Frost the cupcakes. You can use a butter knife to frost or you can add the frosting to a icing bag fitted with a round decorating tip. Place the top of each cupcake into the sanding sugar.
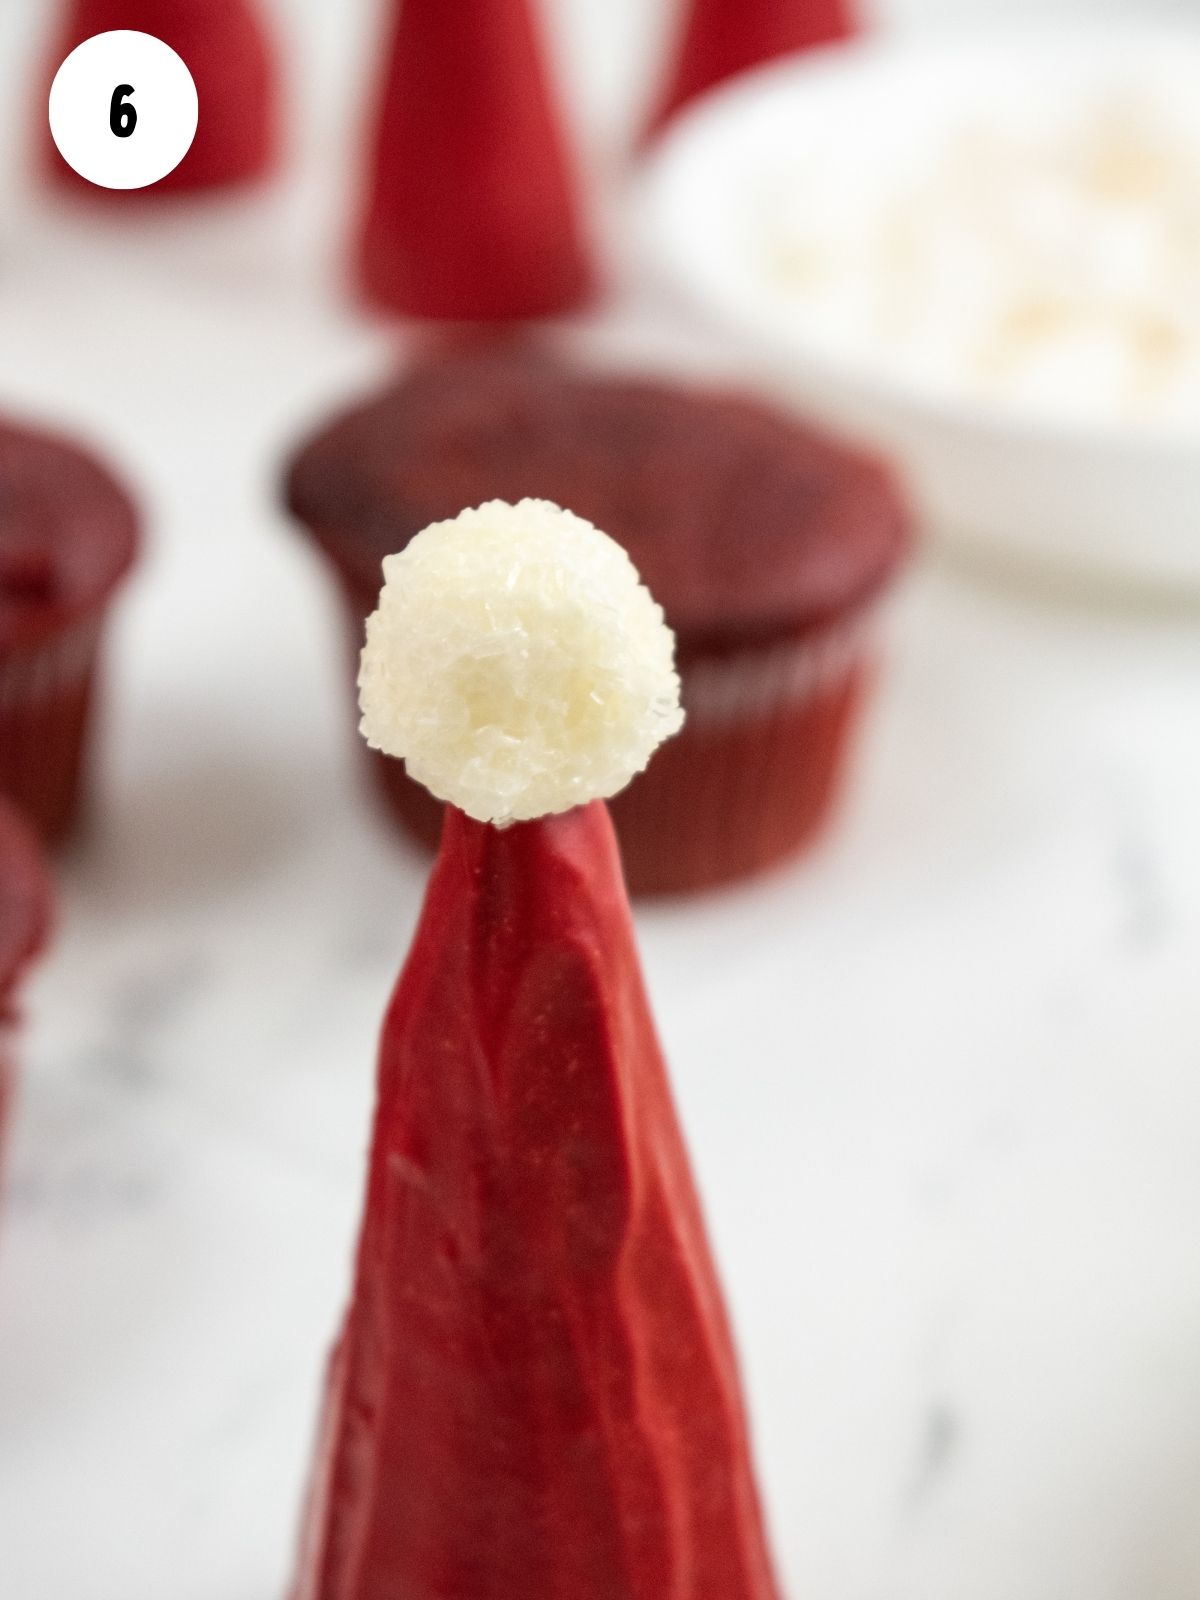
Step 6: Frost the mini marshmallows and dip it also in the sanding sugar. Then adhere the marshmallows to the top of each ice cream cone with a little extra frosting.
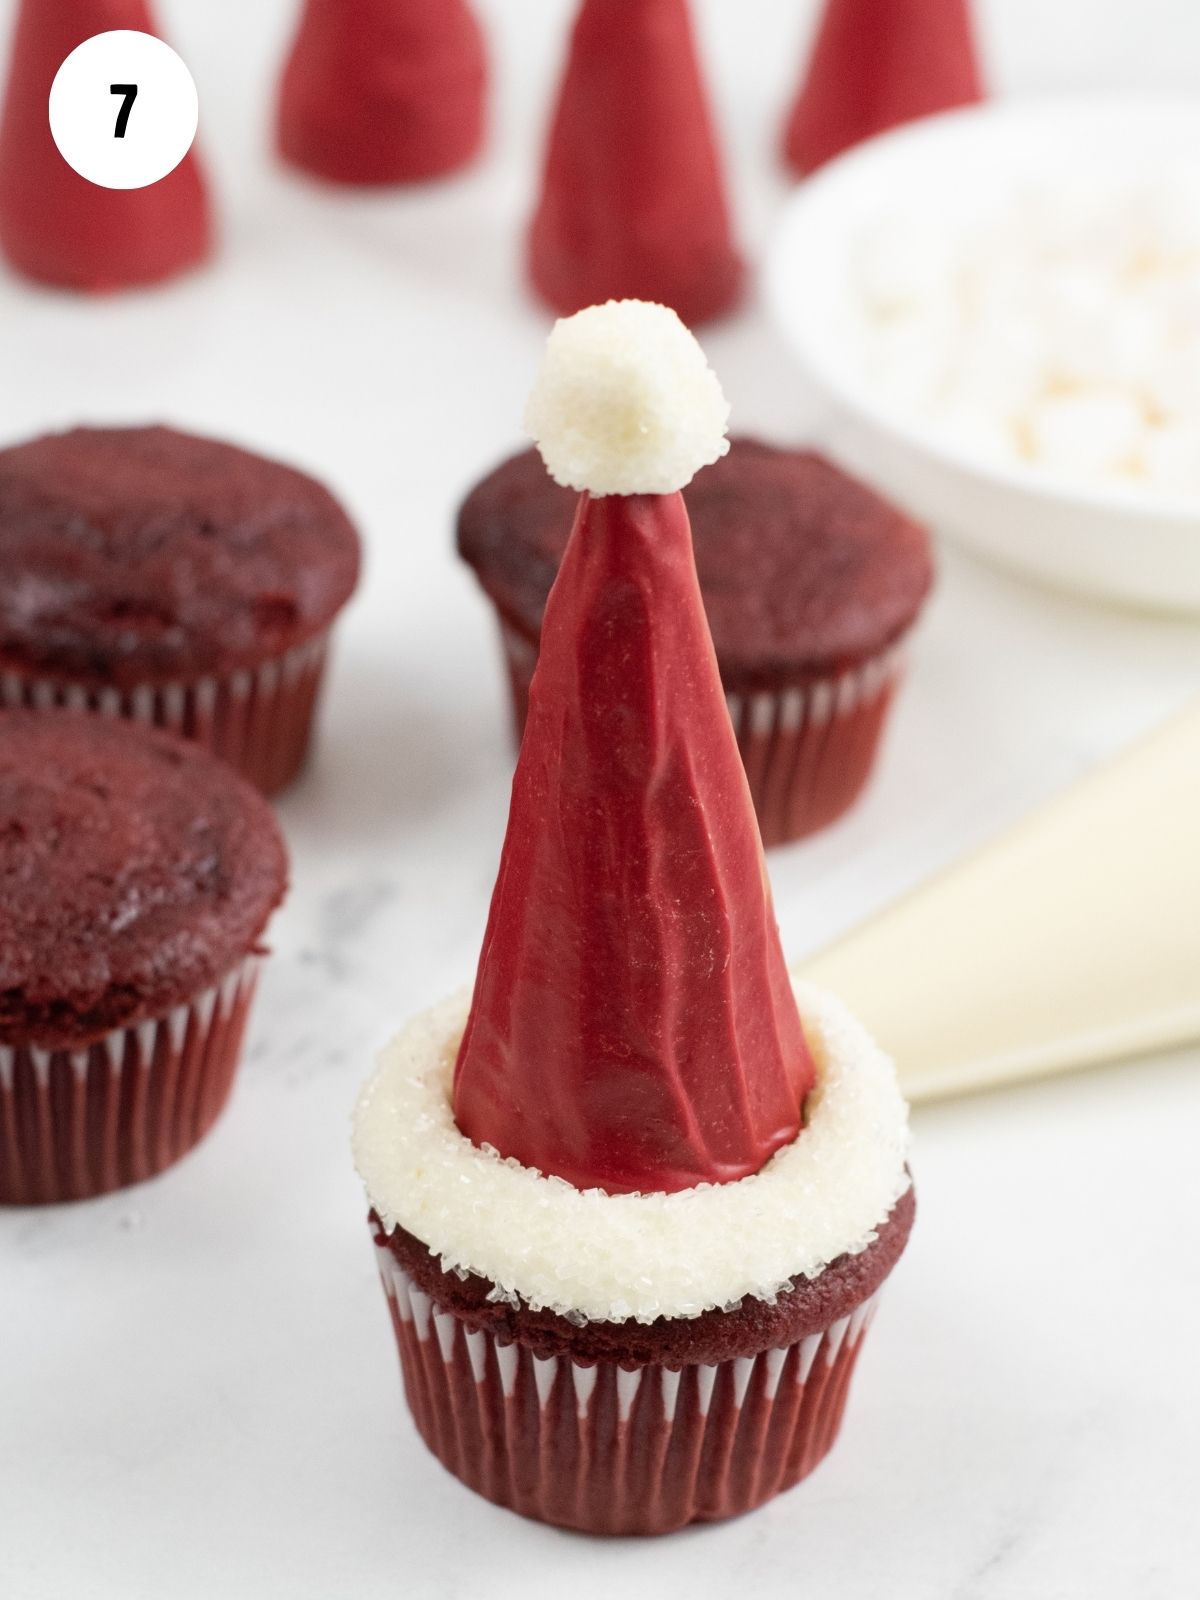
Step 7: Gently press the ice cream cones into the frosting on the cupcakes.
LOVE this recipe? SAVE it for Later!
❤️Tap the heart icon in the lower right corner to add the recipe to your recipe box for easy access anytime.
If you made it, leaving a star rating or quick review is always appreciated and helps other readers too.
Want to save this printed recipe? The Ultimate Meal Planner & Recipe Binder helps you keep recipes organized in one easy place.
🍶Storage Tips
- The best way to store these fun Santa Cupcakes is to remove the decorated ice cream cone.
- Place the cupcakes in an airtight container. Then place the ice cream cones next to the cupcakes in the same container if there's room.
- Store the cupcakes in the refrigerator up to 5 days.
❄️Freezing Tips
- You can freeze the cupcakes, but not the ice cream cones.
➡️Top Recipe Tip
- When making the homemade frosting, make sure the butter is room temperature so it blends nicely with the powdered sugar.
- For the best results, assemble these cupcakes on the same day you plan to serve them, as the sugar cone may become soft over time.
Sanding sugar, also known as decorating sugar or coarse sugar, has larger crystals compared to regular granulated sugar. These larger crystals give sanding sugar a distinct coarse texture that adds sparkle and crunch to baked goods. Granulated sugar has fine crystals that dissolve easily. It is the most common form of sugar used in everyday cooking and baking.
🌟Try these recipes next...
- Check out my other recipe for Red Velvet Sandwich Cookies or my Red Velvet Cake Mix Cookies.
- Or you might enjoy this recipe for Red Velvet Donuts!
📇Recipe Card
📖 Recipe Card
Santa Cupcakes
Video
Ingredients
- 12 baked and cooled red velvet cupcakes
- ½ cup butter; softened
- ½ cup shortening
- 3-4 cups powdered sugar
- 1 ½ teaspoon vanilla extract
- 2 tablespoons milk
- 12 mini marshmallows
- 12 sugar ice cream cones
- 2 cups red candy melts
- 1-2 tablespoons shortening; if needed
- Sanding Sugar or White Sprinkles
Method
- Cream together the butter and shortening with an electric mixer until well blended, light and fluffy.
- Add in the vanilla extract and milk.
- Continue to mix until incorporated.
- Gradually add in the powdered sugar mixing well after each addition until you have added in 3 cups of powdered sugar. The frosting should be soft but hold its shape in stiff peaks, if necessary add up to one more cup of sugar to get the desired texture.
- Set finished frosting aside.
- In the bowl of a double boiler, melt the red candy melts over medium heat. If necessary to create a smooth texture, add 1-2 tablespoons of shortening.
- Place parchment paper on your countertop.
- Roll the cones in the melted candy melts to evenly coat the outside. Place them on the parchment paper to cool.
- Place the sanding sugar or white sprinkles in a shallow dish.
- Add the frosting to an icing bag fitted with a round tip. Pipe the frosting onto the top of the cupcakes.
- Gently dip the frosted cupcakes into the sanding sugar to coat the frosting.
- Coat the mini marshmallows in the frosting.
- Then dip it into the sanding sugar as well to coat the frosting.
- Put a small dot of frosting on the tip of the ice cream cone and gently press the marshmallow into place. Repeat until all of the cones have mini marshmallows attached.
- Finally gently press the ice cream cones on top of the cupcakes.
Nutrition
Notes
- You might find it easier to place the mini marshmallows on a toothpick or bamboo skewer when frosting.
- The cupcakes are best assembled right before you serve them.







Comments
No Comments