

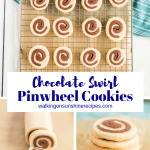
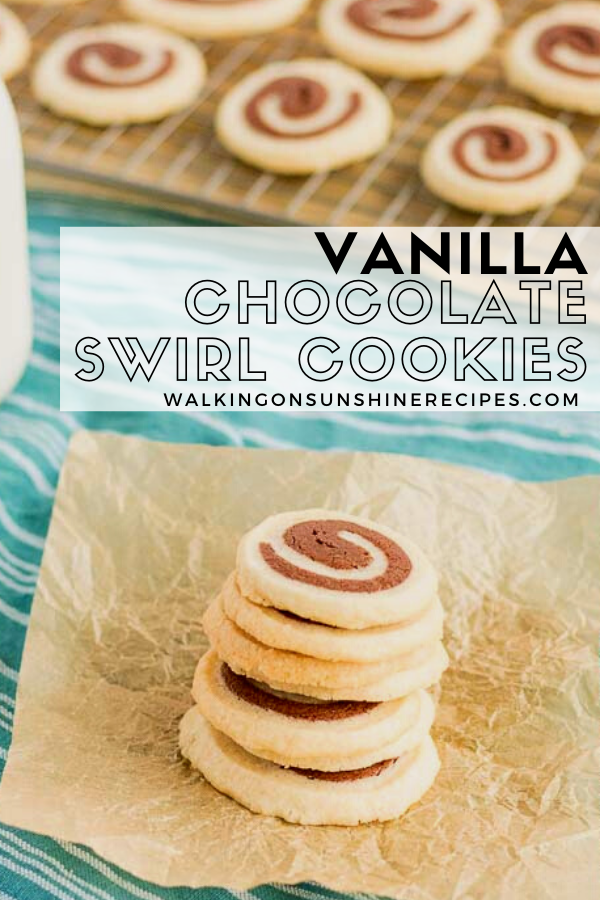
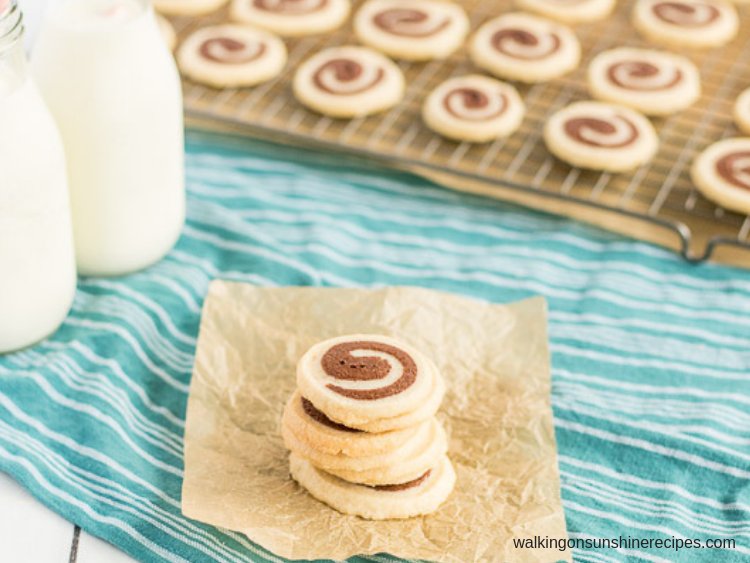
These Vanilla Chocolate Swirl Cookies are a fun slice and bake cookie in a pinwheel design. Another one of our easy cookie recipe I know you're family is going to enjoy all year round.
Want to Save This Recipe?
Enter your email & I'll send it to your inbox. Plus, get great new recipes from me every week!
By submitting this form, you consent to receive emails from Walking on Sunshine Recipes.
I hope you're enjoying the new Christmas cookie recipes I'm sharing with you. Today continues with Vanilla Chocolate Swirl Cookies. Don't let the swirl in these cookies make you think they're difficult to make.
Check out my other Colorful Christmas Cookies recipe for another fun spiral slice and bake cookie.
Table of Contents
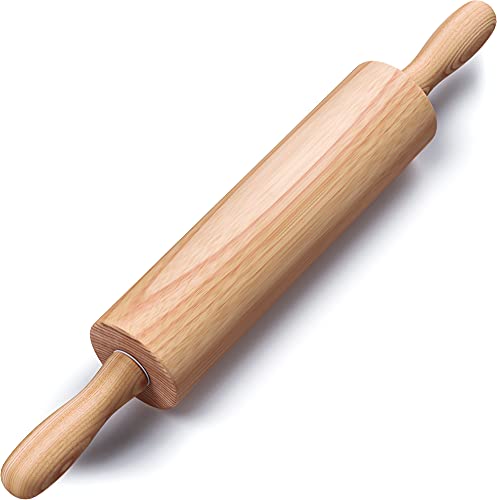
Helpful Kitchen Tools:
Affiliate Disclosure: This post may contain affiliate links. As an Amazon Associate I earn from qualifying purchases. For more information, click here.
- Baking Trays
- KitchenAid Mixer - really any mixer will do. Even a hand-held mixer. But I love my KitchenAid and think it would make a lovely gift this time of year.
- Parchment Baking Sheets
More InformationMore InformationMore InformationMore Information


Main Ingredients Needed
Exact measurements are listed below in the recipe card. Make sure you scroll down to print and save the recipe for later!
- Butter softened
- Confectioner's sugar
- Granulated sugar
- Vanilla extract
- All-purpose flour
- Salt
- Baking powder
- Unsweetened cocoa powder
Step-by-Step Directions
Step 1 | Prepare the Ingredients
- In the bowl of a stand mixer fitted with the paddle attachment, cream the butter until it's smooth. Then add the sugars and blend until light and fluffy, about 5 minutes.
- Once the sugars are blended, add the vanilla extract and beat for another minute or until it is combined.
- Finally, add the dry ingredients to the creamed mixture one third at a time, stirring well after each addition until the dough is evenly blended.
- Divide the dough in half, keeping one half of the dough in the mixer and setting the other half aside while you prepare the chocolate layer.

Step 2 | Prepare the Chocolate Layer
- Add the unsweetened cocoa powder to the mixer and combine until it is fully incorporated.
- This may take a few minutes, but take your time and make sure the cocoa powder is full incorporated into the vanilla dough so you get a true chocolate color.

Step 3 | Chill the Dough
- Remove the chocolate dough from the mixer and divide the chocolate dough into TWO pieces.
- Form each chocolate piece of dough into ½ inch thick squares and wrap them individually in plastic wrap.
- Divide the vanilla dough into TWO pieces, form each vanilla piece of dough into ½ inch thick squares and wrap them individually in plastic wrap.
- You should now have two squares of chocolate dough and two squares of vanilla dough all wrapped individually. Refrigerate all four squares of dough until firm; about one to two hours.

Step 4 | Form the Vanilla and Chocolate Layers
- Unwrap one piece of the chilled vanilla dough leaving it on top of the plastic wrap.
- Cover it with a second piece of plastic wrap, then using a rolling pin, roll out the vanilla dough into a rectangle measuring about 9X12 inches. If the dough gets too soft and difficult to roll, simply slide it onto a baking sheet and refrigerate until it's firm again; no longer than 10 minutes.
- Unwrap one piece of the chilled chocolate dough, leaving it on top of the plastic wrap. Cover it with a second piece of plastic wrap, and roll it out into a 9X12 inch rectangle shape as well.
- Remove the top pieces of plastic wrap from both the vanilla rolled dough and the chocolate rolled dough. Carefully invert the chocolate dough on top of the vanilla dough. Remove the top piece of plastic wrap from the chocolate dough.
- Gently roll over the top of both layers with a rolling pin to make the doughs slightly stick together.

Step 5 | Cookie Dough into a Log Shape
- Starting at one end, lift the vanilla dough up by the plastic wrap underneath and roll up the doughs into one big log, pressing gently as you roll to help adhere both layers together and peeling the plastic wrap away as you roll.
- Wrap the log in a fresh piece of plastic wrap and refrigerate for another 2 hours. Repeat this process with the remaining piece of vanilla and chocolate dough.
Baking Tip: You can place the cylinder of slice and bake cookie dough in the freezer for up to three months.
Step 6 | Slicing Instructions
- Remove the logs from the refrigerator and remove the plastic wrap.
- Then lay the log on a cutting board and slice into ¼ inch thick rounds.

Step 7 | Baking Instructions
- Place the cookie slices onto a baking sheet that's been lined with parchment paper.
- Bake in a preheated 350 degree oven for about 13 minutes.
- The cookies will still be a little soft to the touch and slightly brown on the edges.
- Let cool slightly on a baking rack before enjoying!

Before You Begin!
If you make this recipe, please leave a review and star rating. This helps my business thrive and continue providing FREE recipes.

Recipe Tips:
Please don't let the lengthy instructions for this recipe scare you away. It's really an easy recipe to prepare!
- Make sure you allow the cocoa powder to mix completely with the vanilla dough so it does not have a marbled look.
- Allow the dough to chill the recommended time. When you try to roll out the layers and the dough is warm dough, you will have a mess.
- If the dough starts to crack while you are rolling the layers together, don't worry! Just pinch the dough together and keep rolling.
- Allow the dough to chill a second time before slicing.
Freezing Tips for Slice and Bake Cookies
- Once the dough has been rolled up into log shapes, wrap it in plastic wrap and then add the logs to a freezer safe plastic bag.
- You can freeze it for up to three months.
- When you're ready to bake, remove the logs from the freezer and allow to sit on the counter for about 10 to 15 minutes or until you're able to slice them.
- Bake according to the directions above. You may need to add on a few extra minutes if the dough is still a little frozen when adding the trays to the oven.
Ready for More Cookie Recipes?
- Raspberry Thumbprint Cookies
- White Chocolate No-Bakes
- Ginger Snowball Cookies
- Chocolate Marshmallow Peppermint Cookies
- Shortbread Cookies – my favorite cookies all year long!
- Heart Shaped Short Bread Cookies
- Slice and Bake Colorful Swirl Cookies
- Classic Oatmeal Cookies
📖 Recipe Card
Vanilla and Chocolate Swirl Cookies
Ingredients
- 1 ½ cups butter; softened
- 1 cup confectioner's sugar
- ⅔ cup granulated sugar
- 1 tablespoon vanilla extract
- 3 cups flour
- 1 teaspoon salt
- 1 teaspoon baking powder
- ¼ cup unsweetened cocoa powder
Method
- In a medium sized bowl, combine the flour, salt and baking powder together.
- Set aside.
- In the bowl of a stand mixer fitted with the paddle attachment, cream the butter until it's smooth.
- Add the sugars and blend until light and fluffy, about 5 minutes.
- Then add the vanilla extract and beat for another minute or until it is combined.
- Now add the dry ingredients to the creamed mixture one third at a time, stirring well after each addition until the dough is evenly blended.
- Divide the dough in half, keeping one half of the dough in the mixer and setting the other half aside while you prepare the chocolate layer.
- Add the unsweetened cocoa powder to the mixer and combine until it is fully incorporated. This may take a few minutes.
- Remove the chocolate dough from the mixer and divide the chocolate dough into TWO pieces.
- Form each chocolate piece of dough into ½ inch thick squares and wrap them individually in plastic wrap.
- Divide the vanilla dough into TWO pieces, form each vanilla piece of dough into ½ inch thick squares and wrap them individually in plastic wrap.
- You should now have two squares of chocolate dough and two squares of vanilla dough all wrapped individually.
- Refrigerate all four squares of dough until firm; about one to two hours.
- Unwrap one piece of the chilled vanilla dough leaving it on top of the plastic wrap.
- Cover it with a second piece of plastic wrap, then using a rolling pin, roll out the vanilla dough into a rectangle measuring about 9X12 inches.
- If the dough gets too soft and difficult to roll, simply slide it onto a baking sheet and refrigerate until it's firm again; no longer than 10 minutes.
- Unwrap one piece of the chilled chocolate dough, leaving it on top of the plastic wrap.
- Cover it with a second piece of plastic wrap, and roll it out into a 9X12 inch rectangle shape as well.
- Again, if the dough gets too soft and difficult to roll, simply slide it onto a baking sheet and refrigerate until it's firm again.
- Remove the top pieces of plastic wrap from both the vanilla rolled dough and the chocolate rolled dough.
- Carefully invert the chocolate dough on top of the vanilla dough.
- Remove the top piece of plastic wrap from the chocolate dough.
- Gently roll over the top of both layers with a rolling pin to make the doughs slightly stick together.
- Starting at one end, lift the vanilla dough up by the plastic wrap underneath and roll up the doughs into one big log, pressing gently as you roll to help adhere both layers together and peeling the plastic wrap away as you roll.
- Wrap the log in a fresh piece of plastic wrap and refrigerate for another 2 hours.
- Repeat this process with the remaining piece of vanilla and chocolate dough.
- Preheat the oven to 350 degrees.
- Remove the logs from the refrigerator and remove the plastic wrap.
- Lay the log on a cutting board and slice into ¼ inch thick rounds.
- Place the slices onto a baking sheet that's been lined with parchment paper.
- Bake in a preheated 350 degree oven for about 13 minutes.
- The cookies will still be a little soft to the touch and slightly brown on the edges.
- Let cool slightly before enjoying.
Nutrition
Notes
Tried this recipe?
Let us know how it was!This recipe has been updated since it first appeared in 2011 with new photos and a new printable recipe card that includes nutritional information. I hope you enjoy the updates as much as I enjoyed working on them!

kelly ballard says
Love all the inspiration you give!! I can't wait to try these!
Lois says
Thank you for visiting Kelly and your kind comment.
Jennifer says
Absolutely love the swirl in these cookies!!
Lois says
Thanks for visiting Jennifer! Loved joining the blog hop with you today.
Linda Neely says
These cookies are the best of both worlds! I especially want to try the chicken recipe. Thanks for sharing & for participating in the give-away.
Katherine | Love In My Oven says
These are SO pretty! They'd make for a lovely addition to any Christmas cookie plate 🙂 Thanks for blog hopping with me!
Lois says
Thank you Katherine! I'm so happy to be included this year in the blog hop!
Lindsay Eidahl says
This is the cutest cookie and they sound wonderful! Thank you for sharing! It was fun touring with you this week! Pinning!
Lois says
Thank you Lindsay! I really enjoyed the blog hop as well.
CoCo says
Lois these chocolate swirl cookies look amazing! I've always wanted to make swirl cookies but the recipes seemed kind of complicated so I'm excited to try all your tips and tricks. Thanks so much for the recipe and the easy to follow instructions. Hugs, CoCo
Lois says
Thank you! I always thought they were hard to make as well until I finally decided to try them and was so happy I did. Thanks for visiting!
Cheryl @ The Farmer's Daughter says
Hi Lois, these look so pretty and good! And I've bookmarked this page so I can try out the chicken enchiladas, they will be good for those days when I have some leftover chicken. Thanks for the recipe!
Life is good! says
those cookies look fun to make, i may have to try them! isn't pinterest "the bomb"? i'm addicted.
A Hint of Home says
They look yummy! All your recipes do!
It will be interesting and close-- what happens tomorrow in the primary!
Have a great weekend!
Sharon says
Those sure do look yummy!! I love anything with choc. I have the coffee on so I guess I am ready for one LOL
Hugs