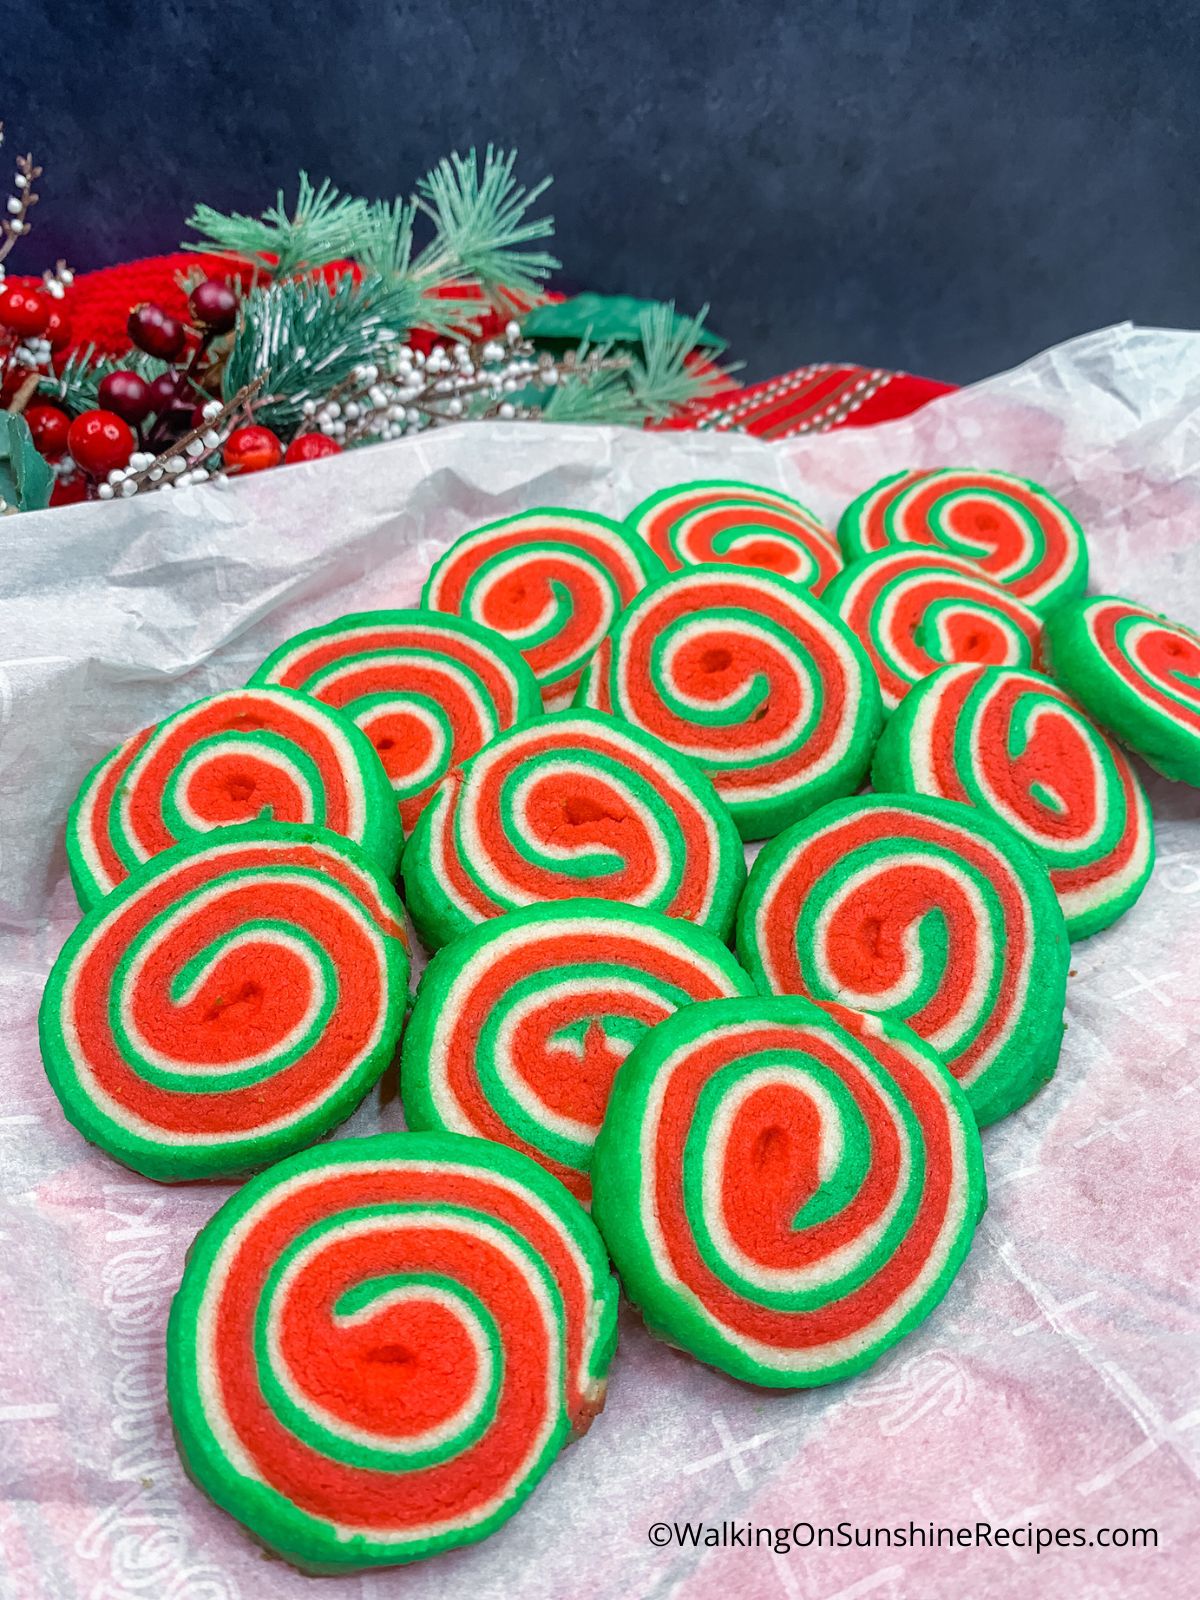
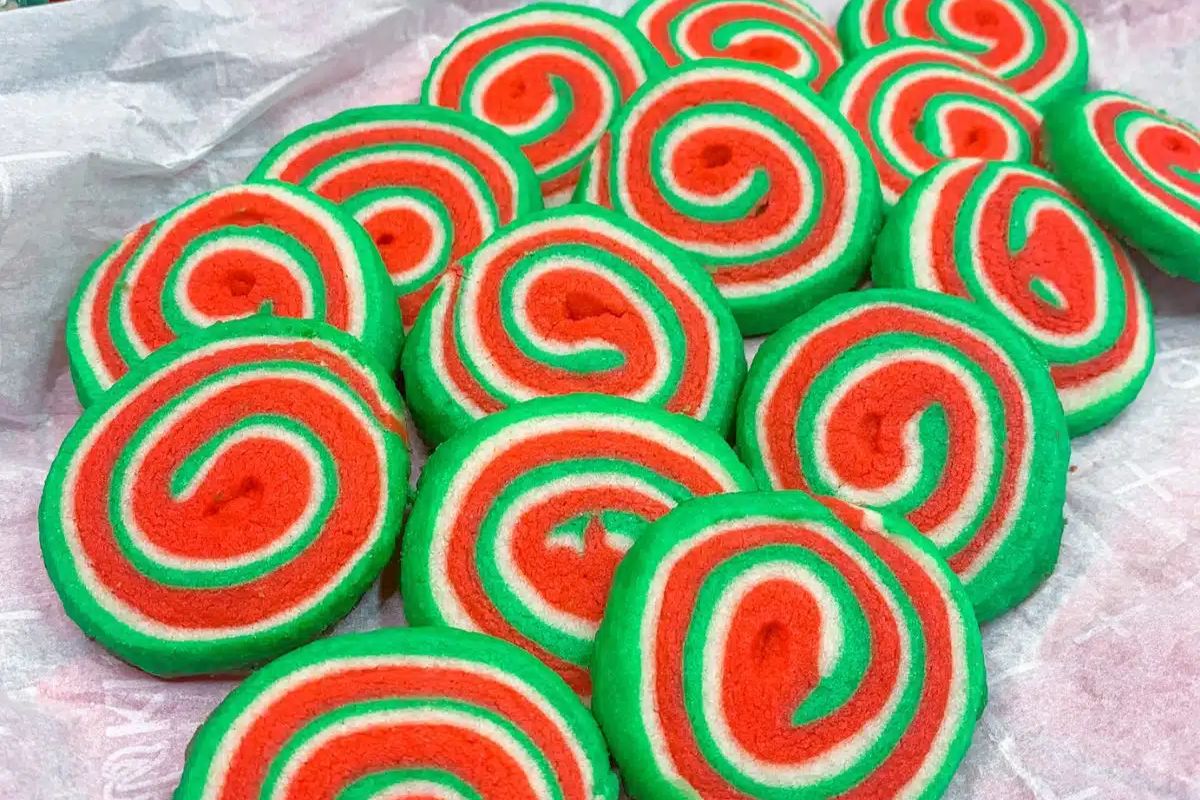
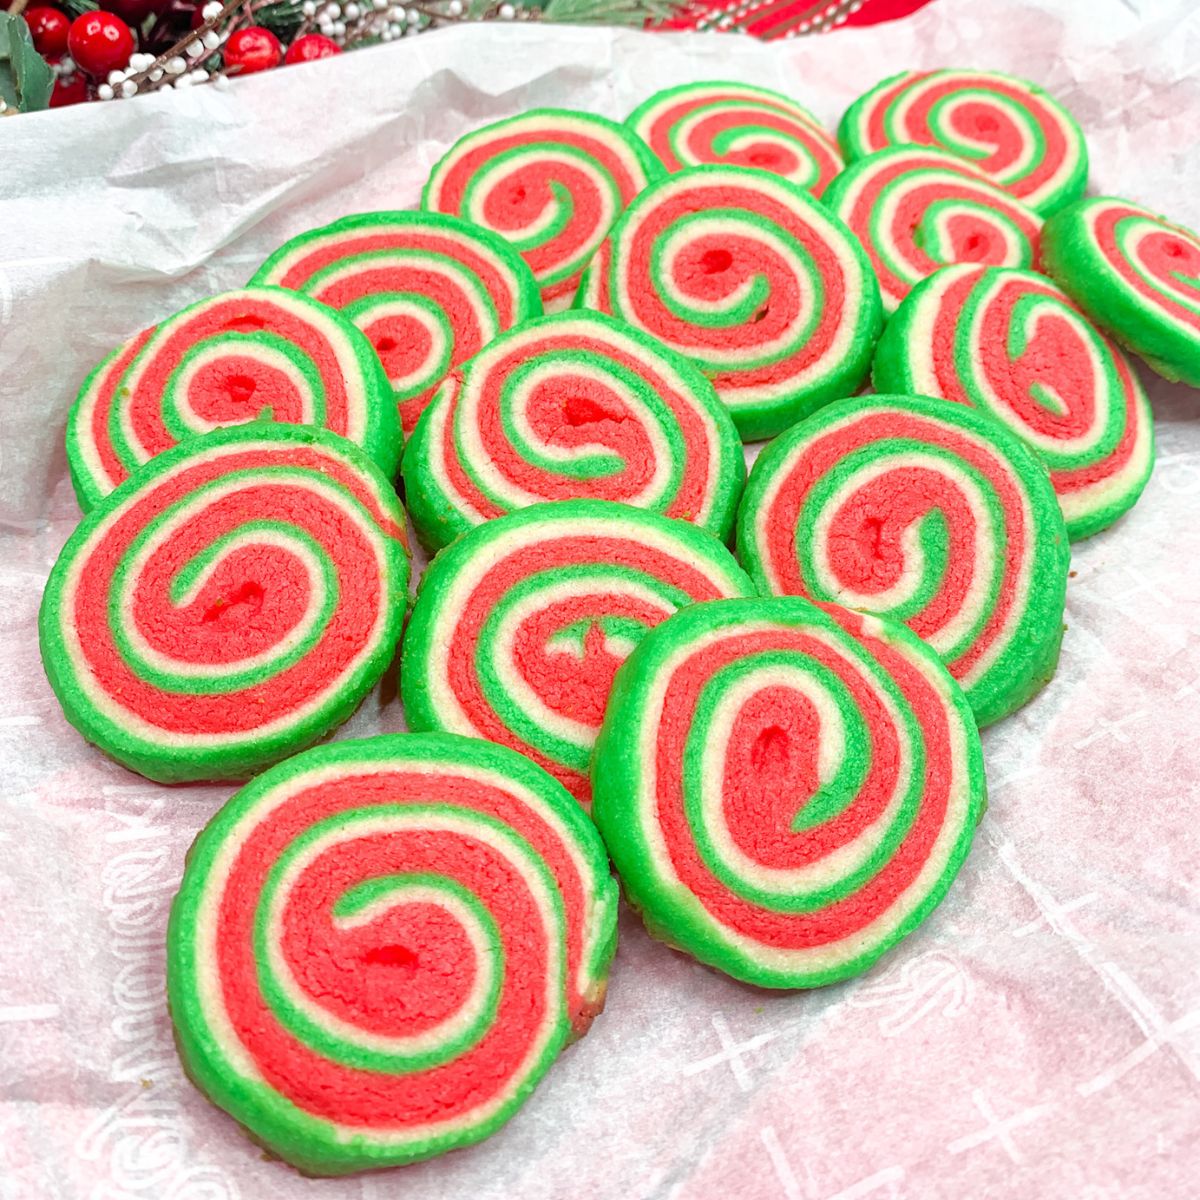
These Colorful Christmas Cookies are a fun slice and bake cookie recipe to make for the holidays. They start out with a simple sugar cookie dough, with red and green layers made using food coloring.
The layers are then rolled up into a cylinder, sliced to get that beautiful spiral affect. These cookies will make your house smell amazing! Well, almost any cookie recipe this time of year has the affect, right?
Let me show you another Christmas Cookie Recipe you need to bake this holiday season..
Want to Save This Recipe?
Enter your email & I'll send it to your inbox. Plus, get great new recipes from me every week!
By submitting this form, you consent to receive emails from Walking on Sunshine Recipes.
There's nothing quite like the smell of fresh baked cookies in your house during the holidays. All the cookie recipes I share here are relatively easy to bake with step-by-step instructions.
This recipe may look a little difficult, but it's really not. It's the same concept of other slice and bake cookies, except the layers of the dough are colored with food coloring.
If you're looking for more holiday slice and bake cookies, try my Valentine's Day Swirl Cookies, Vanilla and Chocolate Swirl Cookies, and my Easy Slice and Bake Cookies with sprinkles.
All those recipes create a swirl design with different flavorings and colors for the cookies.
Table of Contents
Looking for more Easy Desserts and Christmas Cookies? Try my Chocolate Christmas Cookies, Reindeer Desserts or my Christmas Refrigerator Cookies
💭How to make slice and bake cookies
These cookies are made by shaping the dough into a log, chilling it, and then slicing and baking the individual rounds. The dough can be flavored with spices such as cinnamon or nutmeg, or you can add chocolate chips, like I do with my Refrigerator Cookies, dried fruit, or nuts for a more festive cookie.
Slice and bake cookies are a great option if you're short on time, as they only need to be baked for 10-12 minutes. Plus, they can be made ahead of time and stored in the freezer so that you always have fresh cookies on hand.
One of my favorite recipes is Chocolate Christmas Cookies that are dipped in melted white chocolate.
So whether you're looking for a last-minute Christmas cookie recipe or simply want an easy way to bake up a batch of homemade cookies, slice and bake cookies are the perfect option.
💭What are pinwheel cookies?
A pinwheel cookie is a type of sugar cookie that is rolled up, with the dough spiraling around a central point. The cookies are then cut into slices, revealing the beautiful spiral pattern.
Pinwheel cookies are usually decorated with icing or sprinkles. You can also spread jam on one of the layers before rolling the dough up. I like to use my shortbread recipe to make Slice and Bake Shortbread Cookies.
They make a lovely addition to any Christmas cookie platter and are perfect for Holiday Cookie Exchange parties.
🛒Helpful Kitchen Tools
2-Pack Cooling Racks for Baking


📋Main Ingredients Needed
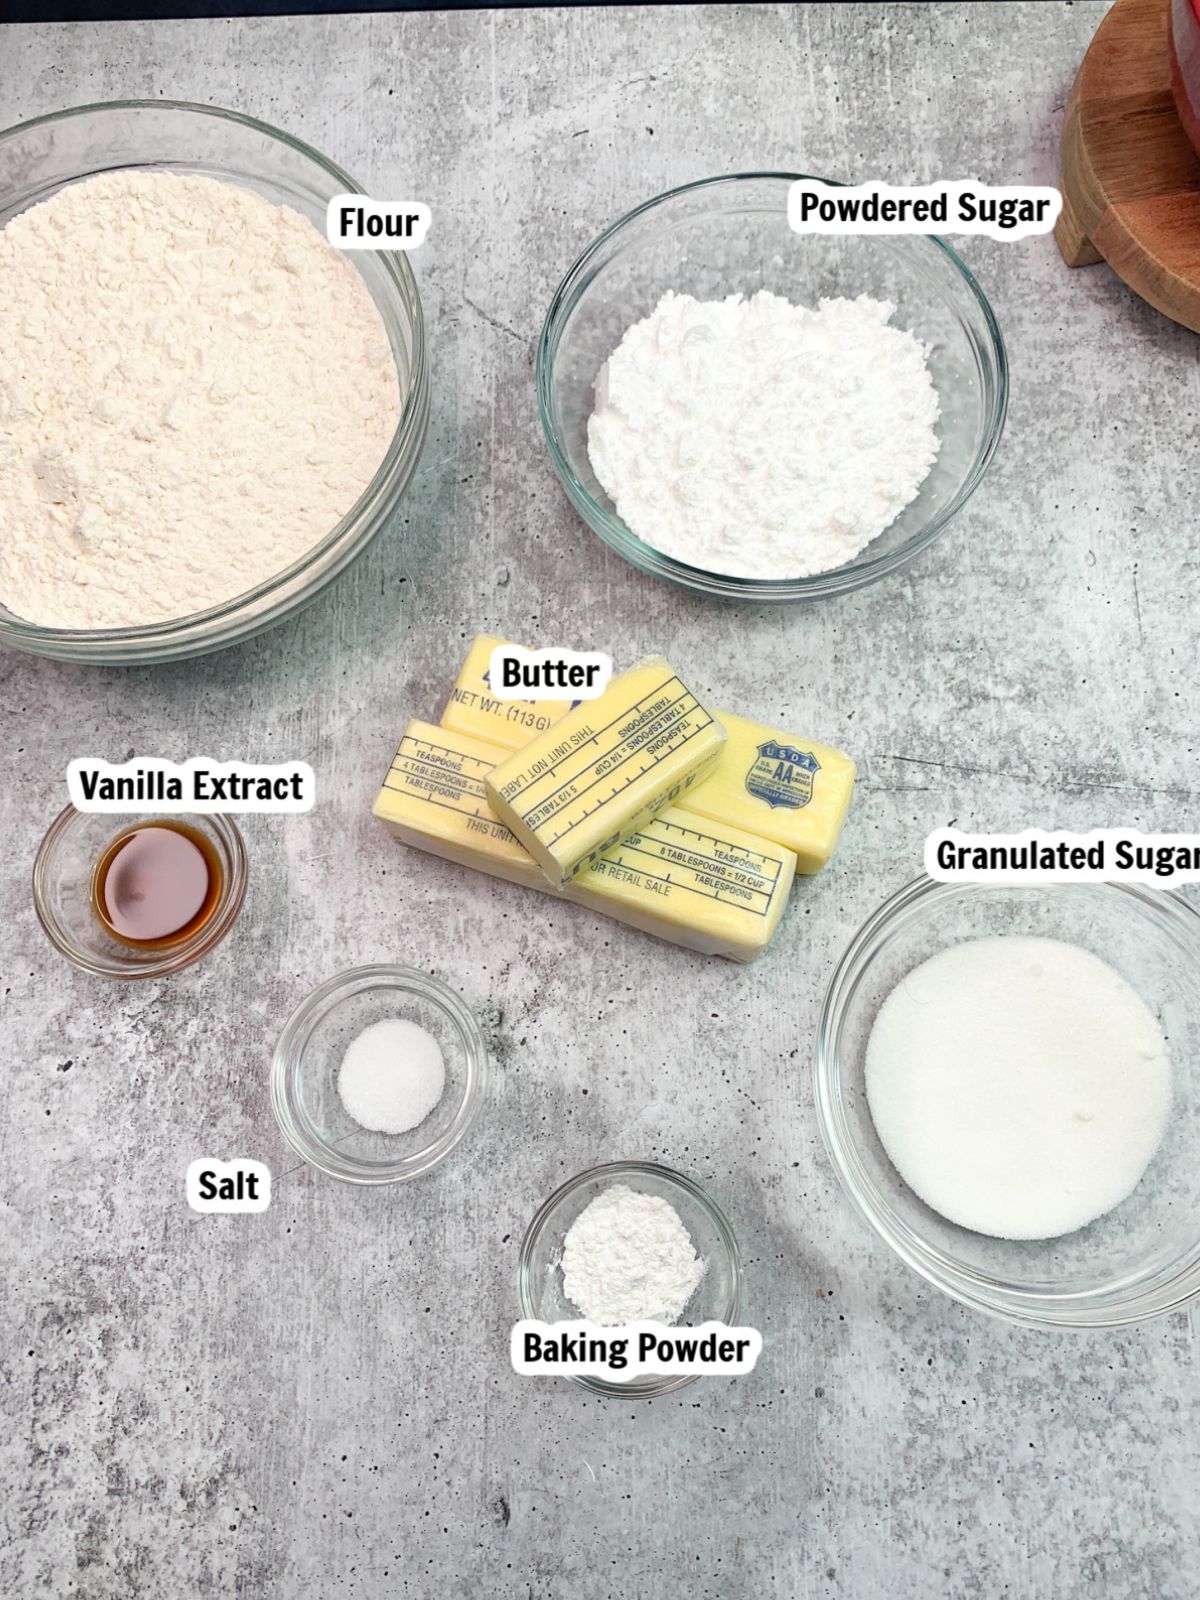
Here's a quick overview of the ingredients for this recipe. Find the exact amounts and click the Instacart button to easily add them to your cart – all in the printable recipe card below!
🔪Step-by-Step Instructions
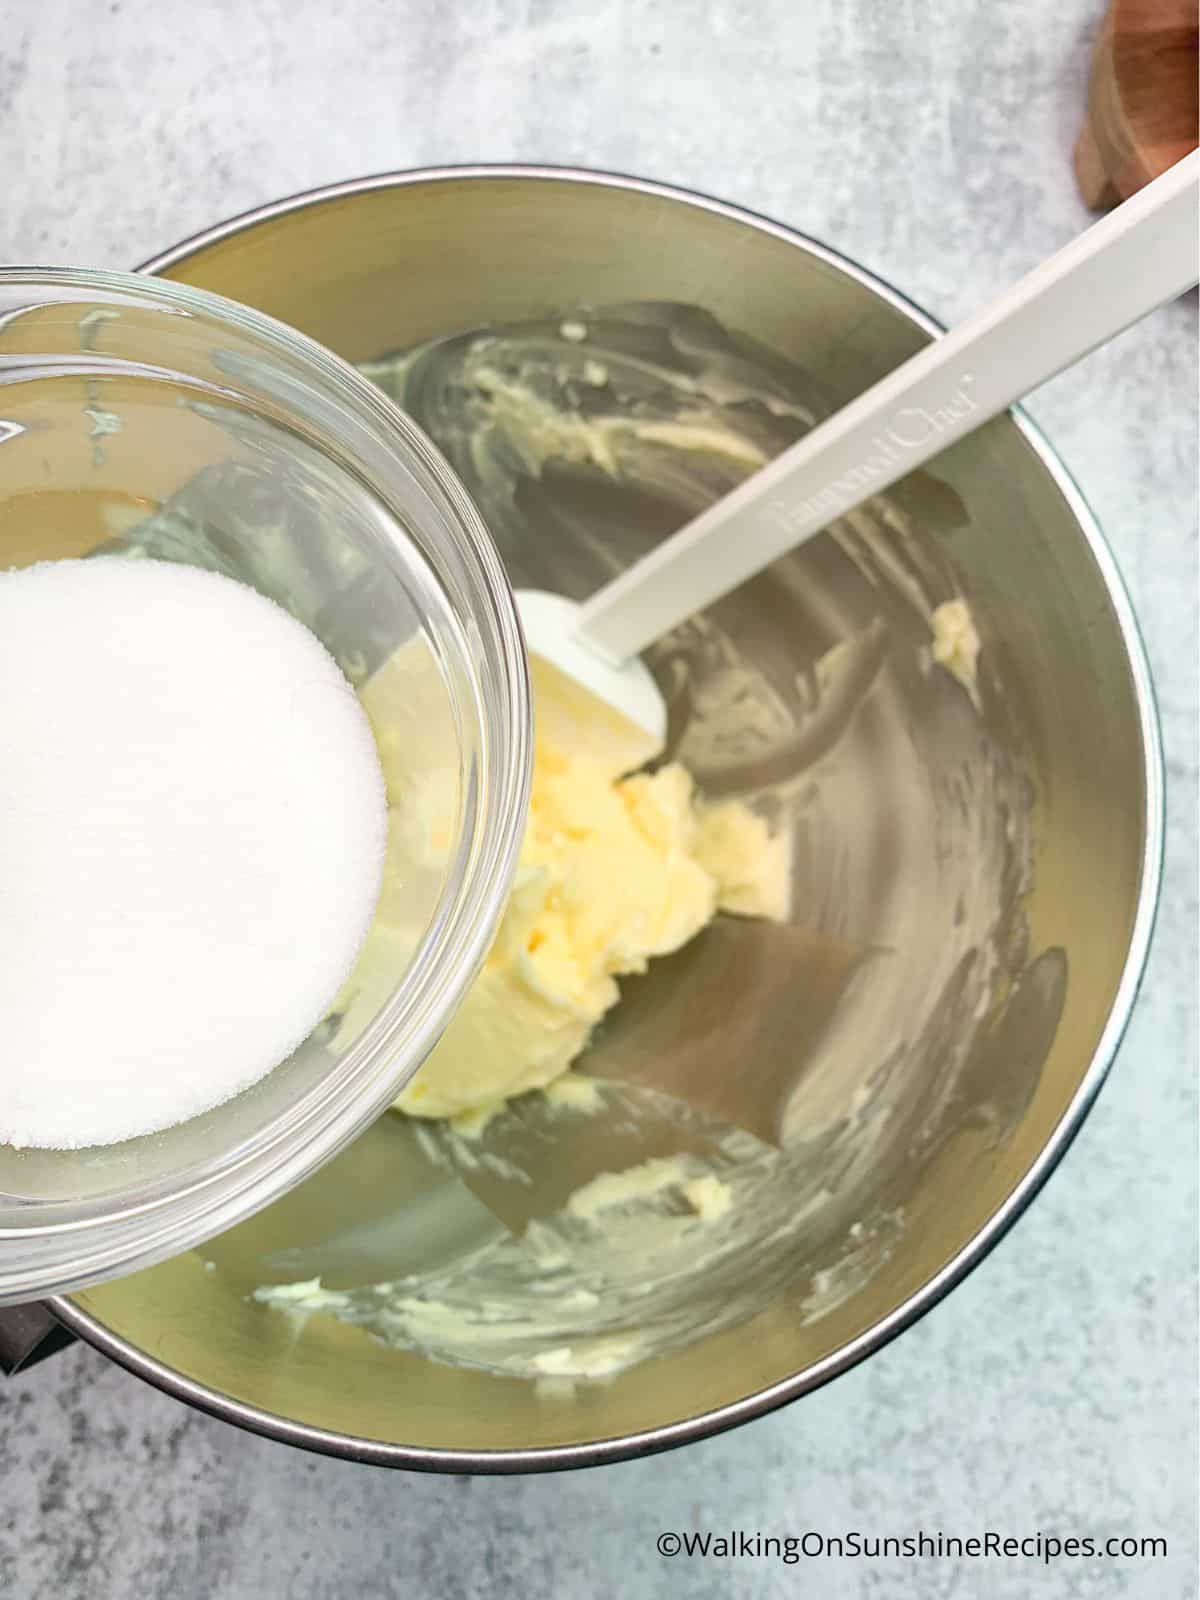
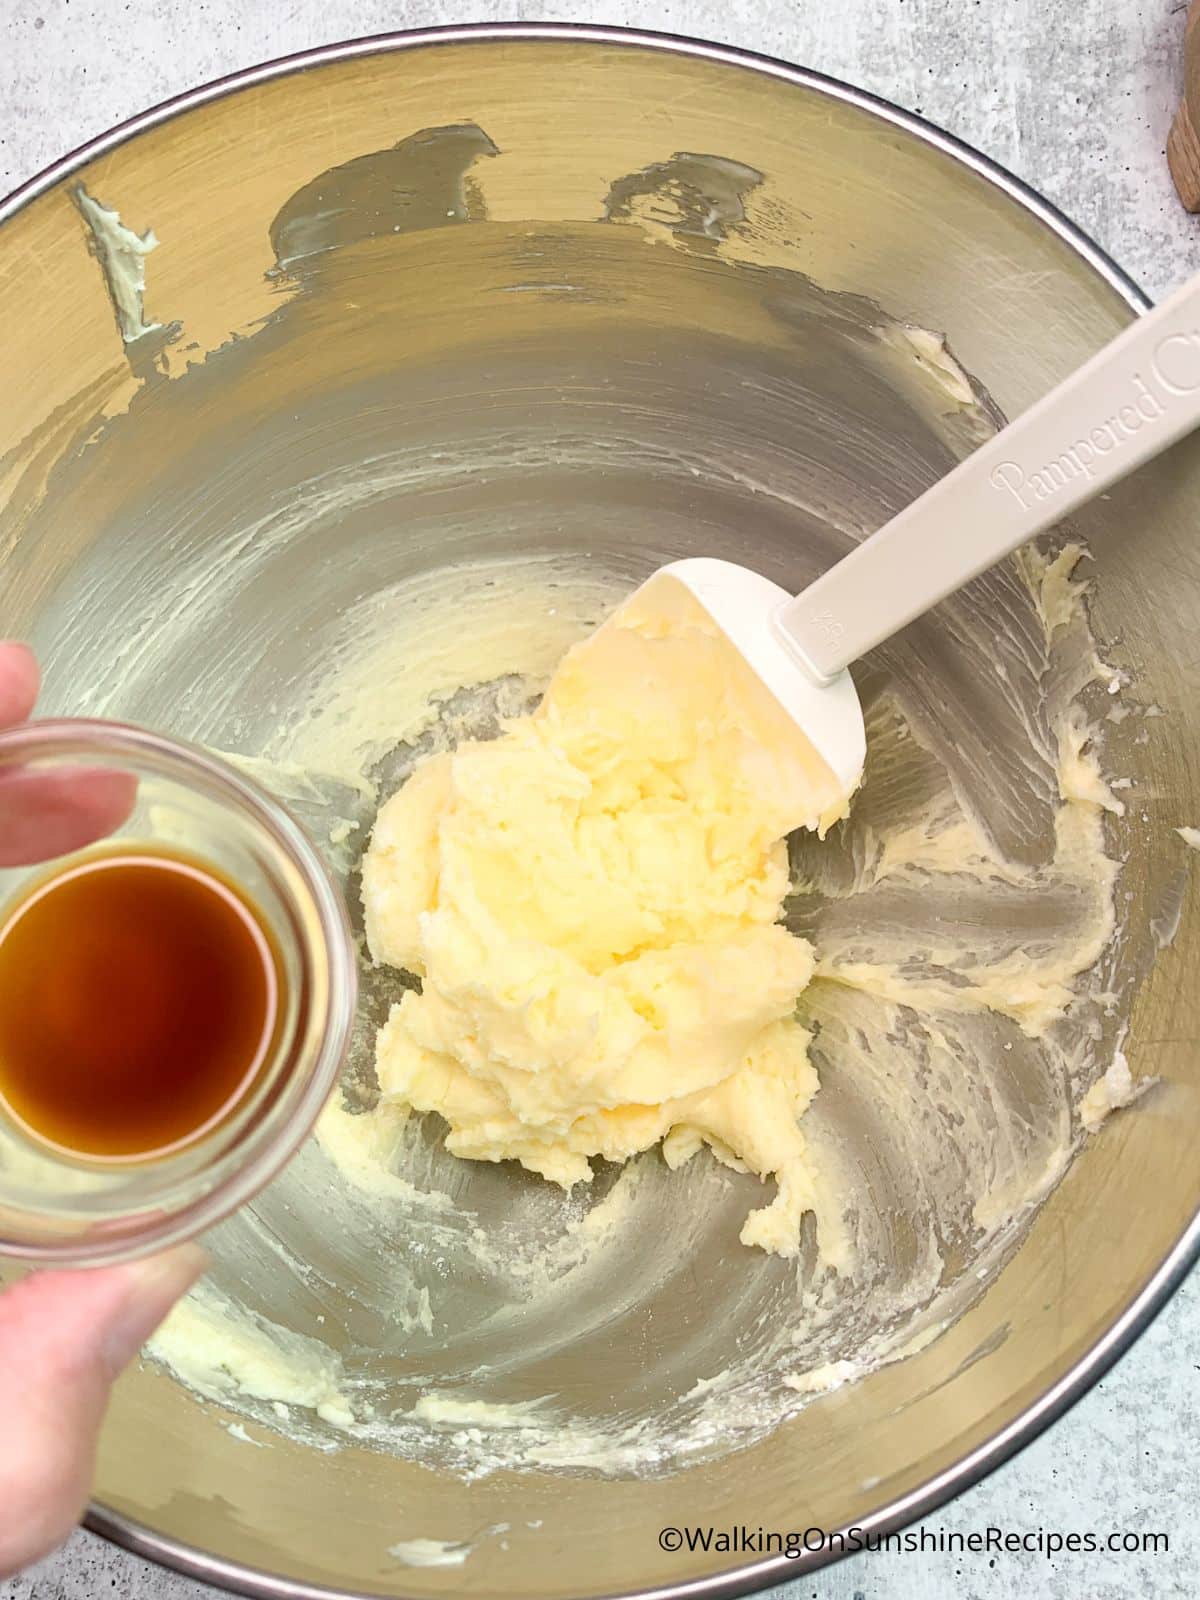
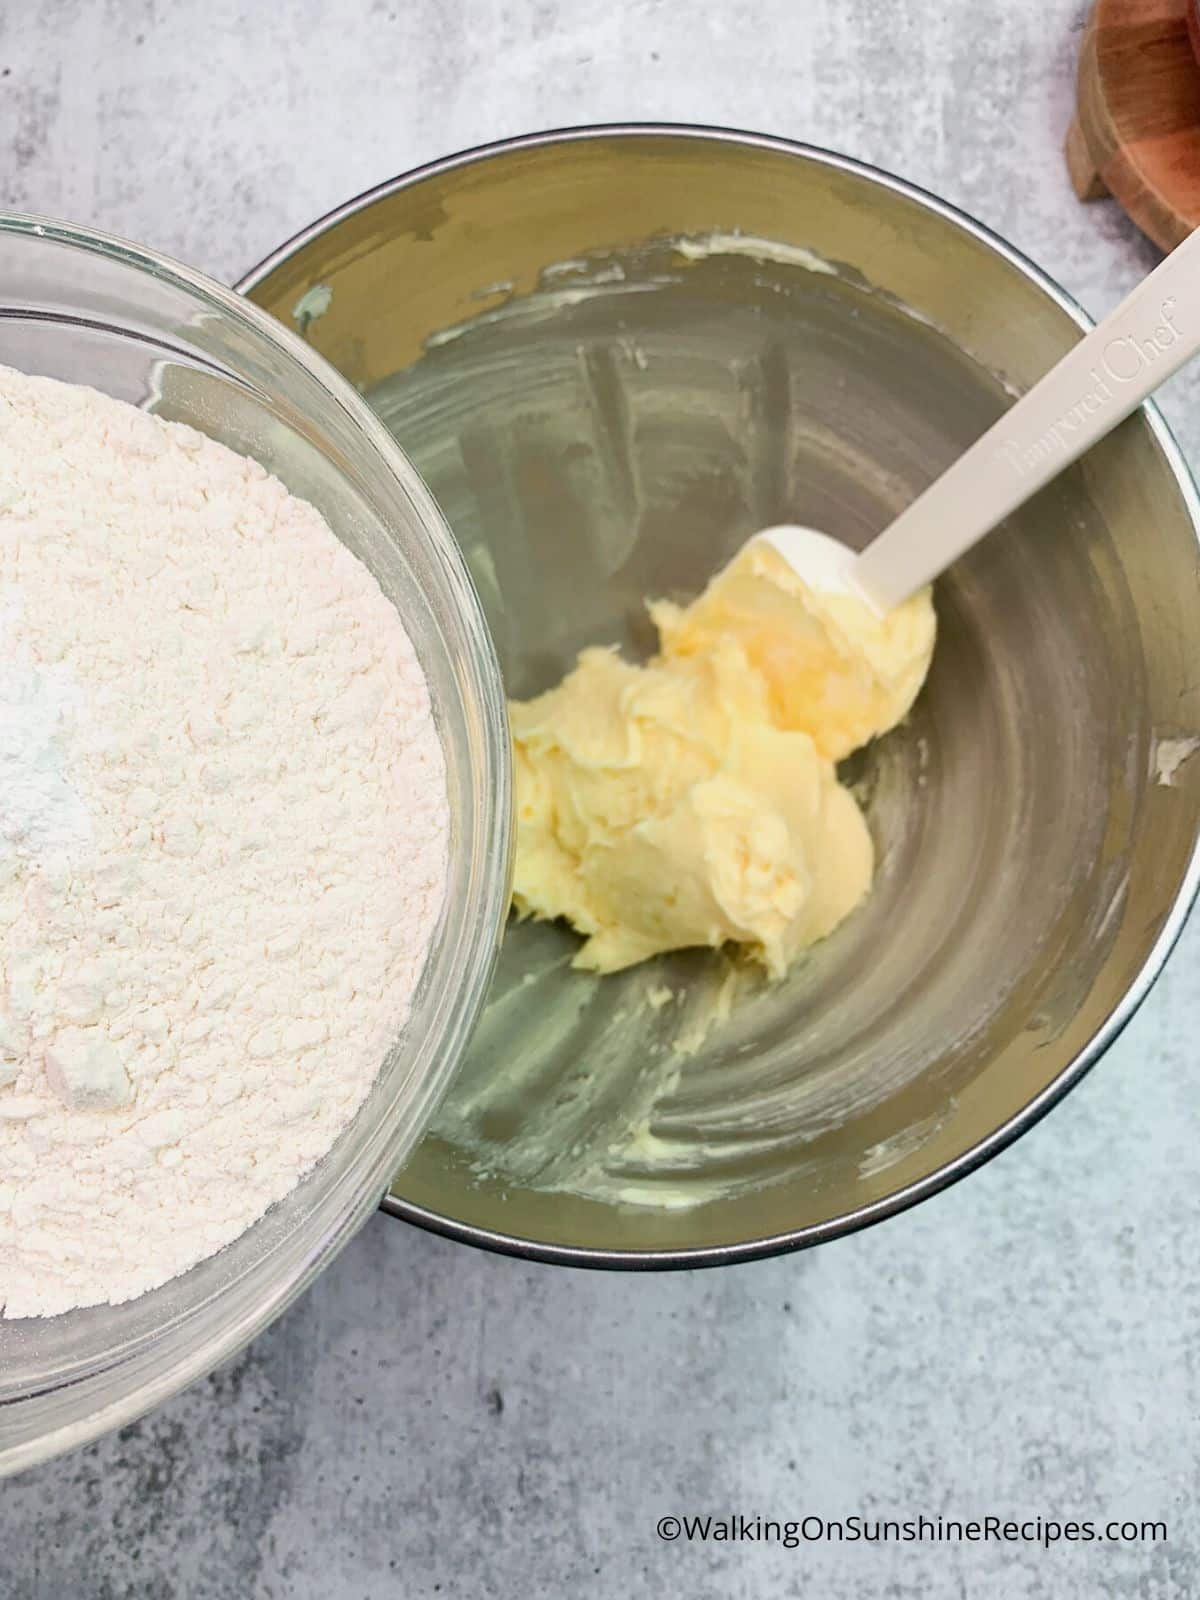
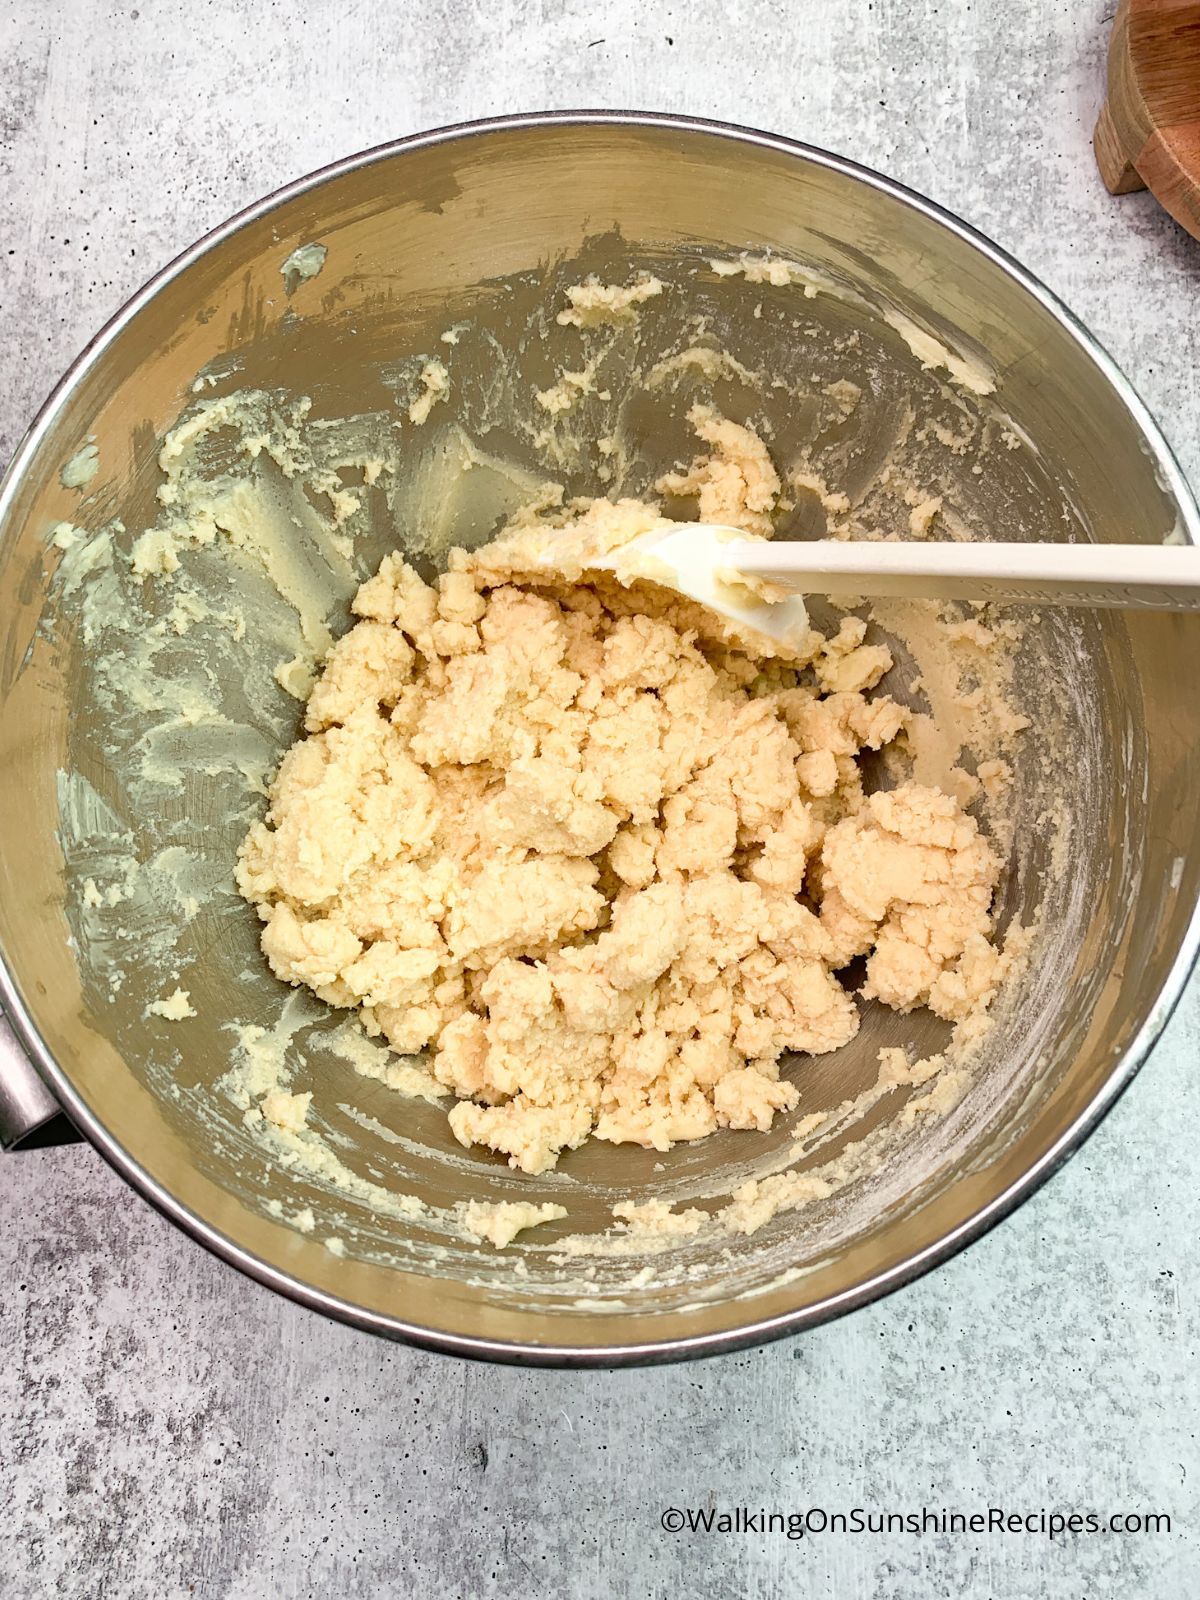
Step 1 | Combine the Ingredients
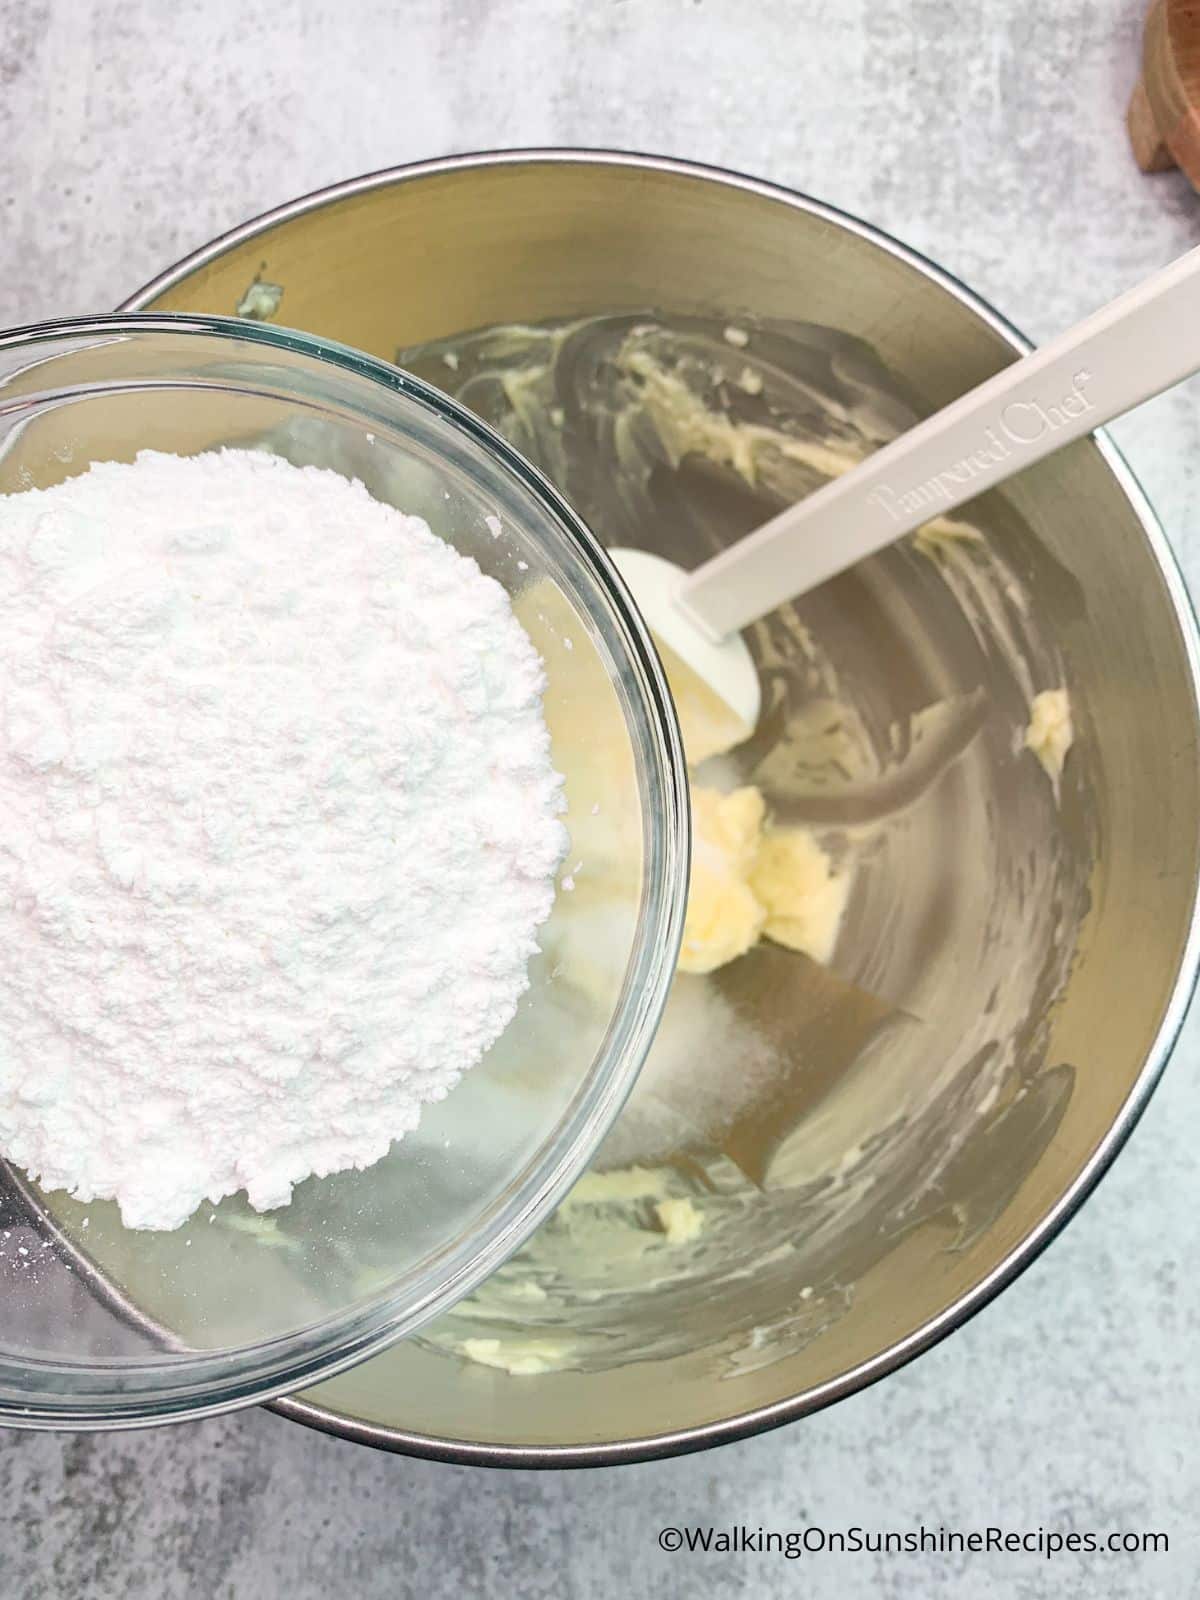
- In a stand mixer, beat the butter. Then add the powdered sugar and combine followed by the granulated sugar.
- Mix in the vanilla.
- Finally add in the dry ingredients that have been combined together in a separate bowl.
Step 2 | Add the Food Coloring
- Press the dough together and separate into 3 equal pieces.
- Add one piece back to the mixture and add a few drops of the green food coloring. Use the mixer to combine the food coloring into the dough. Once the food coloring is mixed throughout evenly, remove it from the bowl and wrap it in plastic wrap.
- Repeat the process with the red food coloring.
- Leave one dough plain.
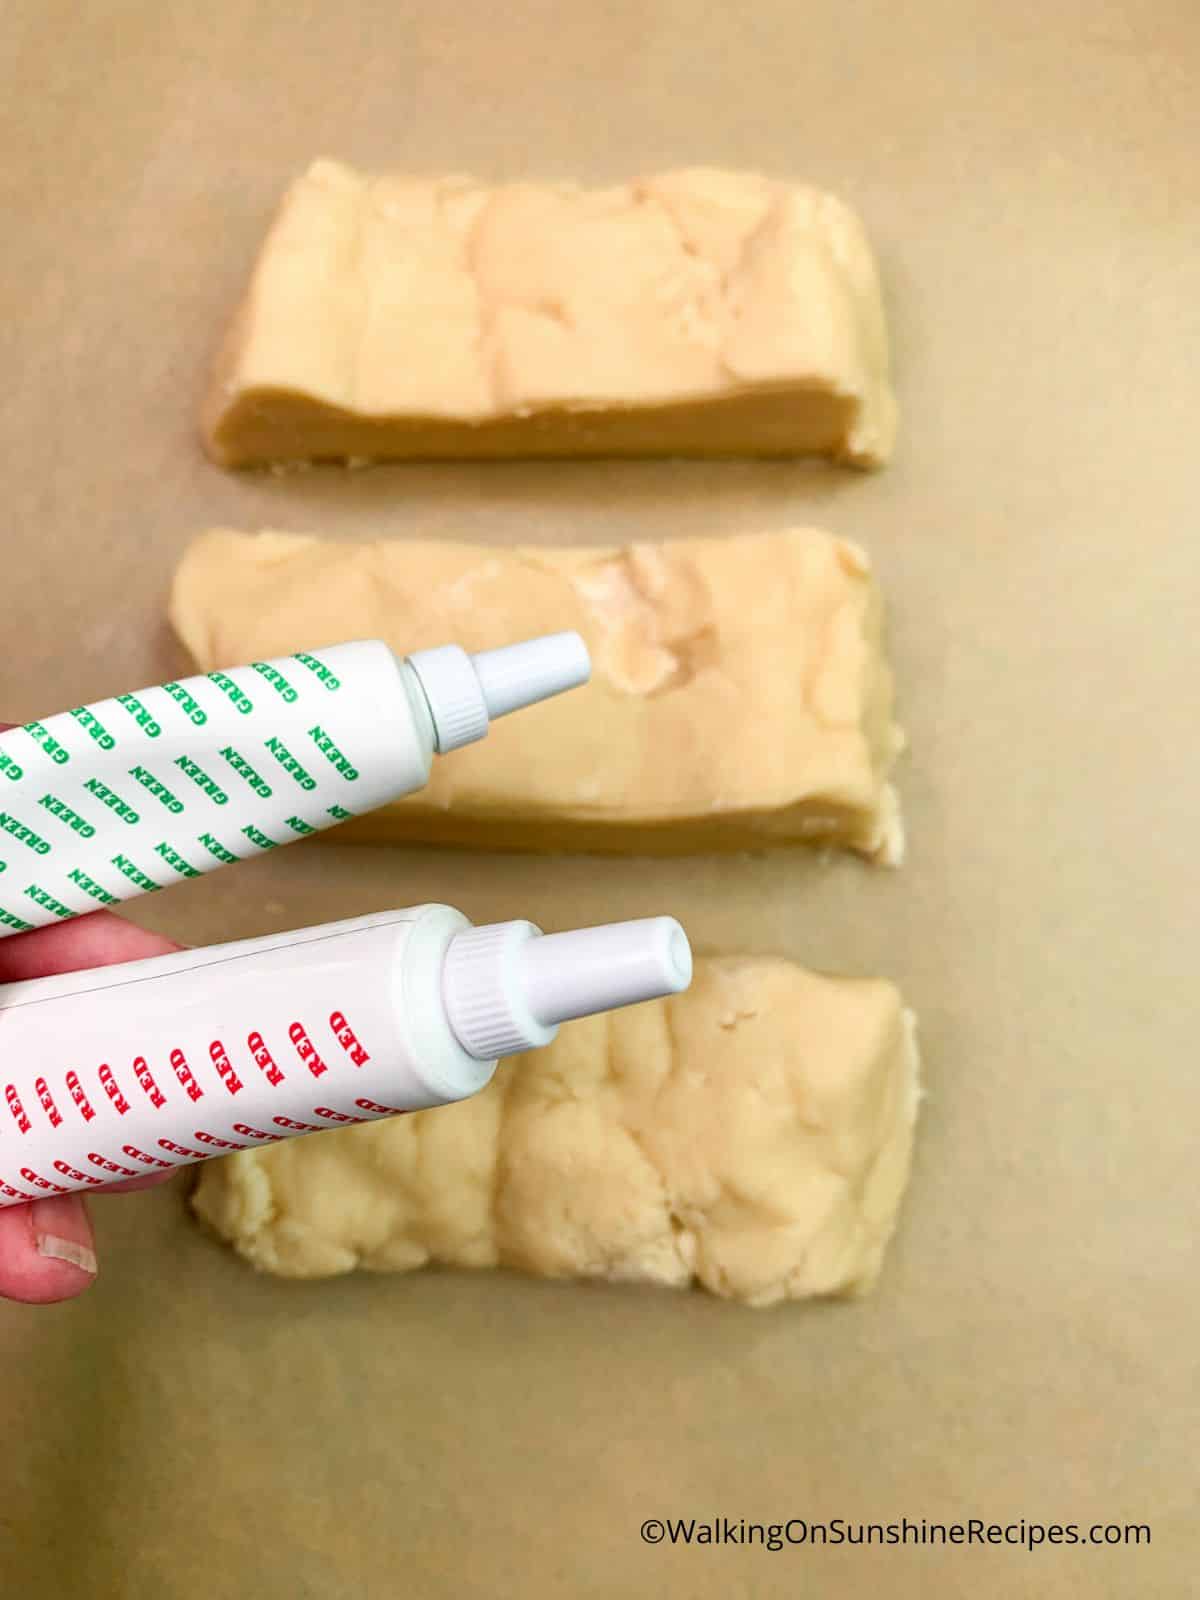
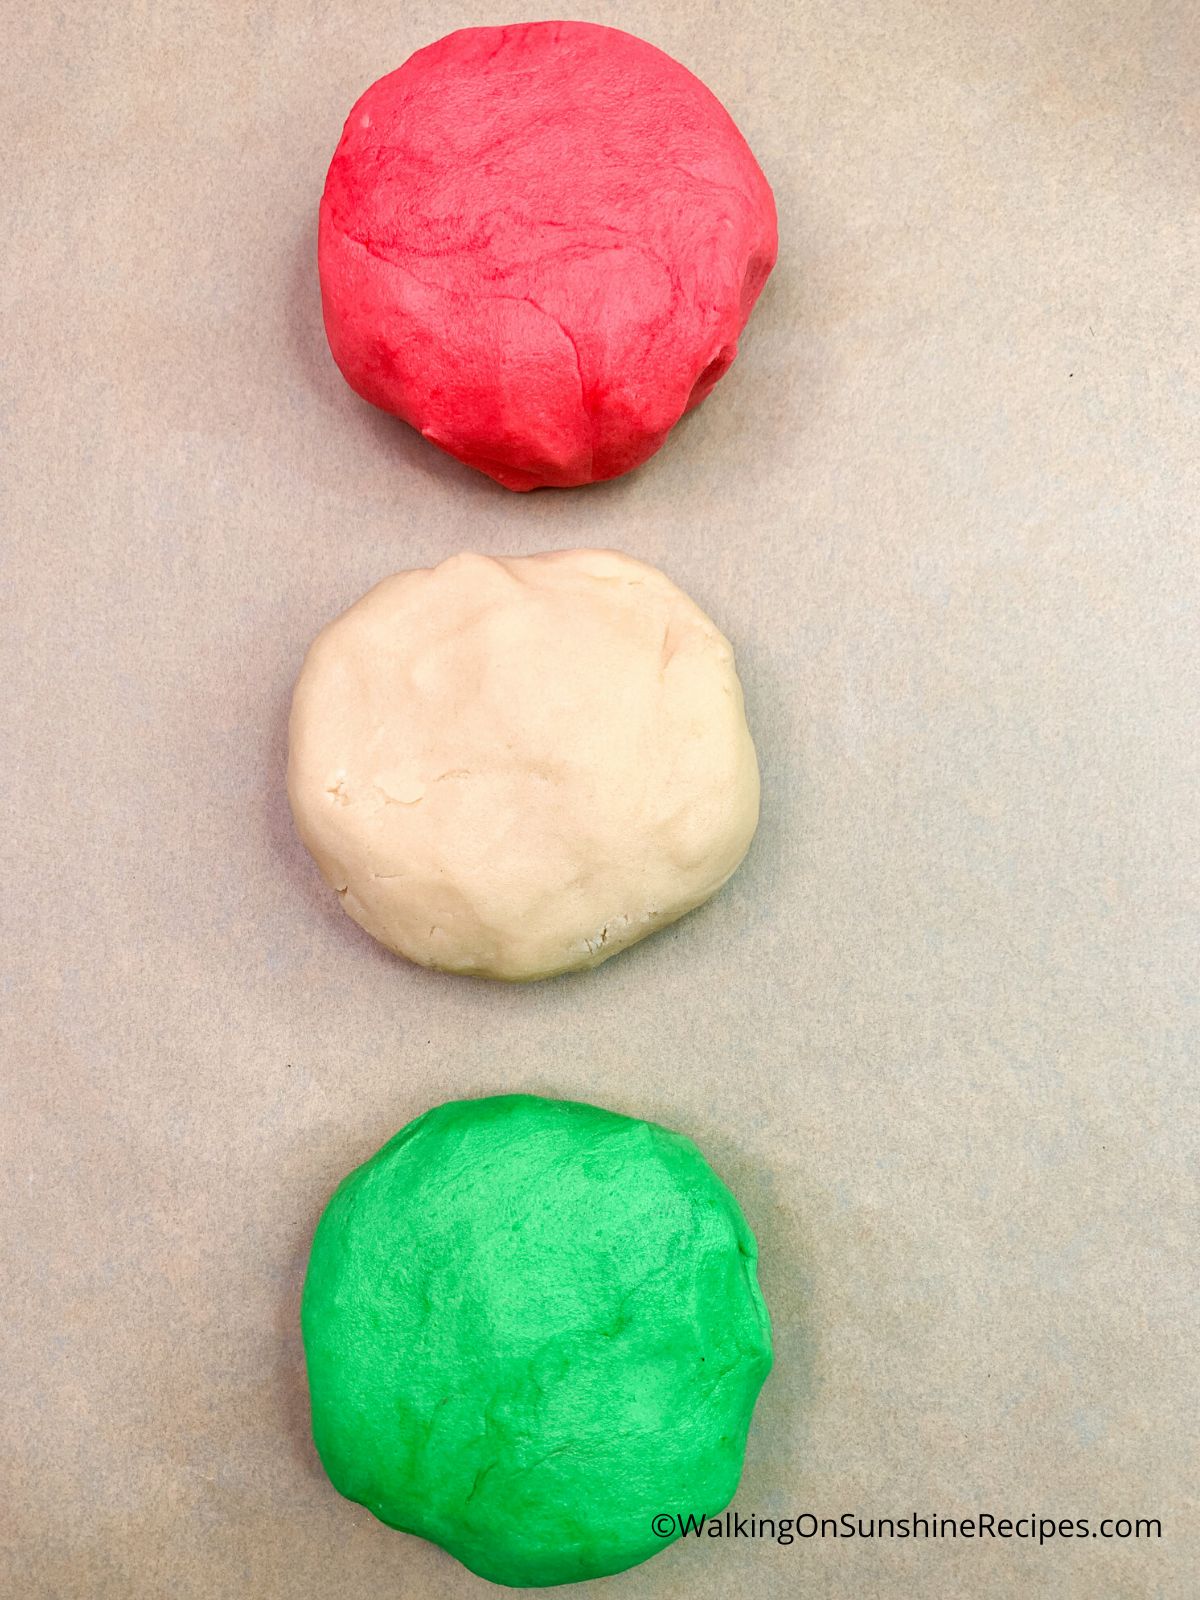
Baking Tip: If you see that the dough is too "wet" after you add the food coloring, add another tablespoon of flour. Sometimes adding food coloring to cookie dough will make it too wet and difficult to roll out, so adding a tablespoon of flour at a time helps!
Step 3 | Roll out the Cookie Dough
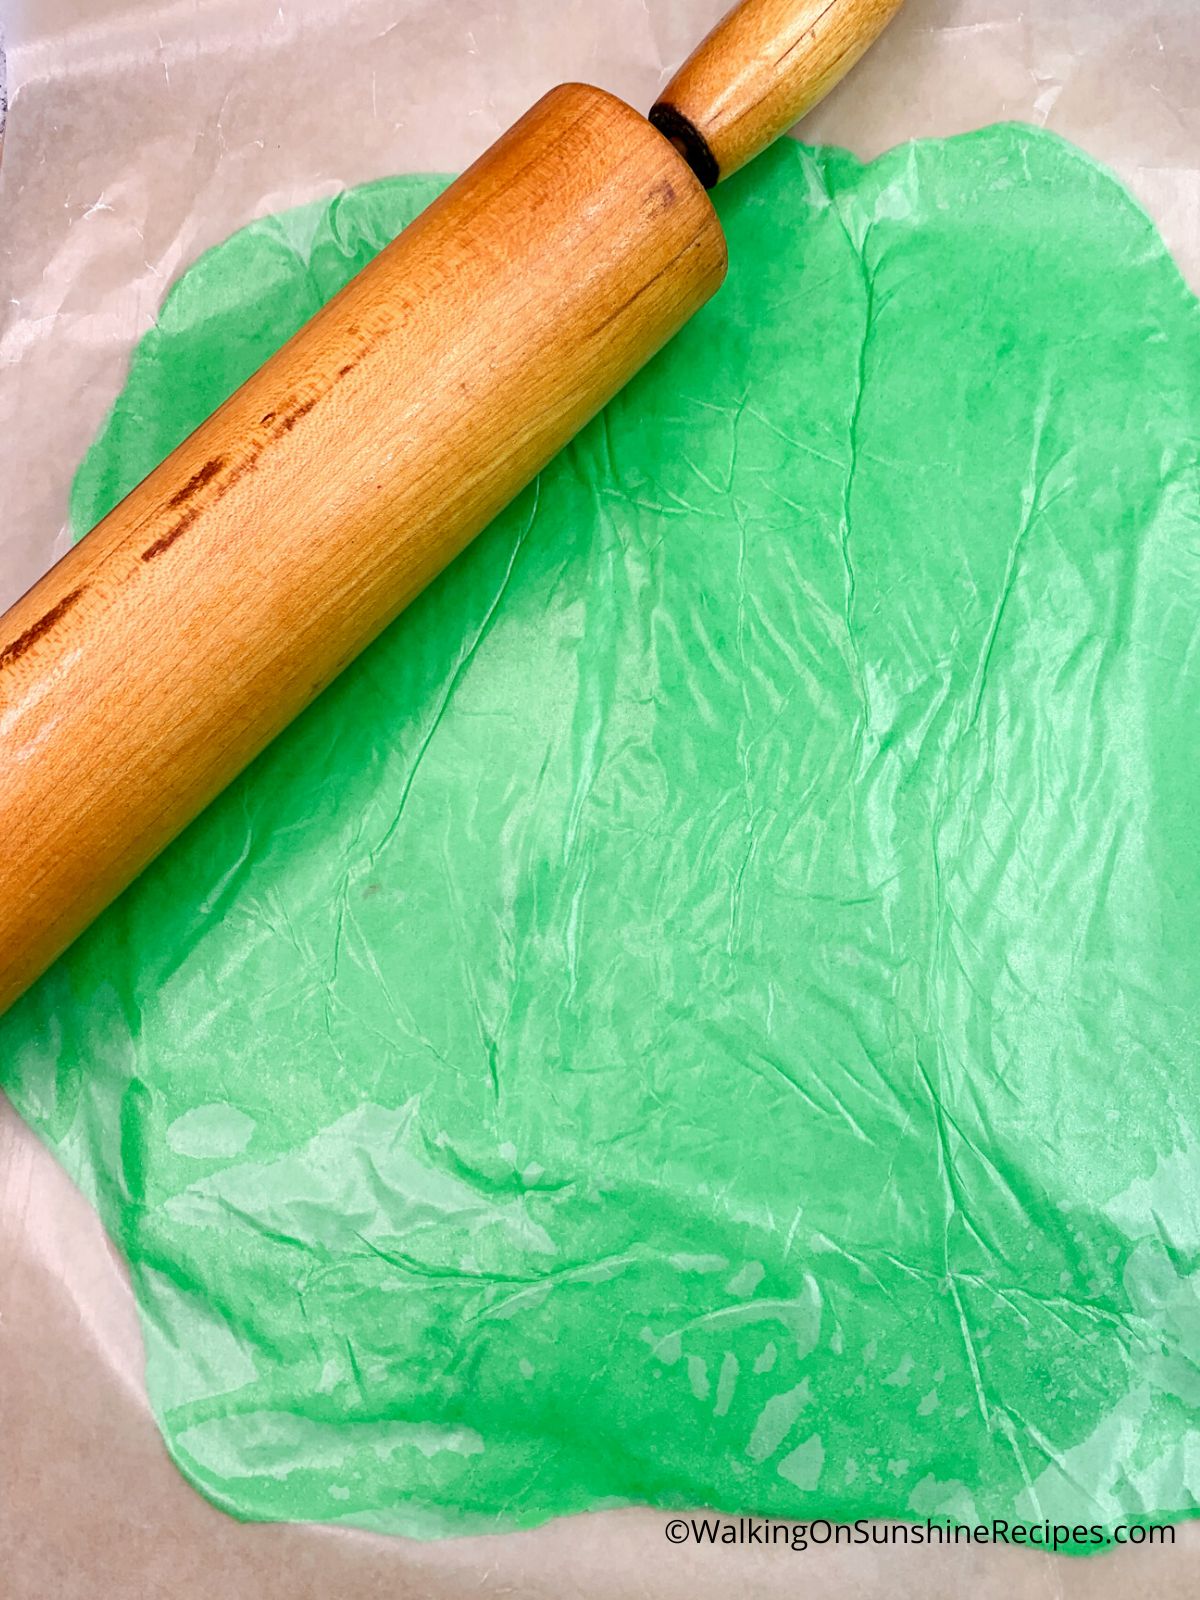
- Roll out each portion of dough on top of parchment paper and with a piece of waxed paper on top. This will help the dough from sticking to the rolling pin.
- Refrigerate all three layers of dough on baking sheets for about 30 minutes.
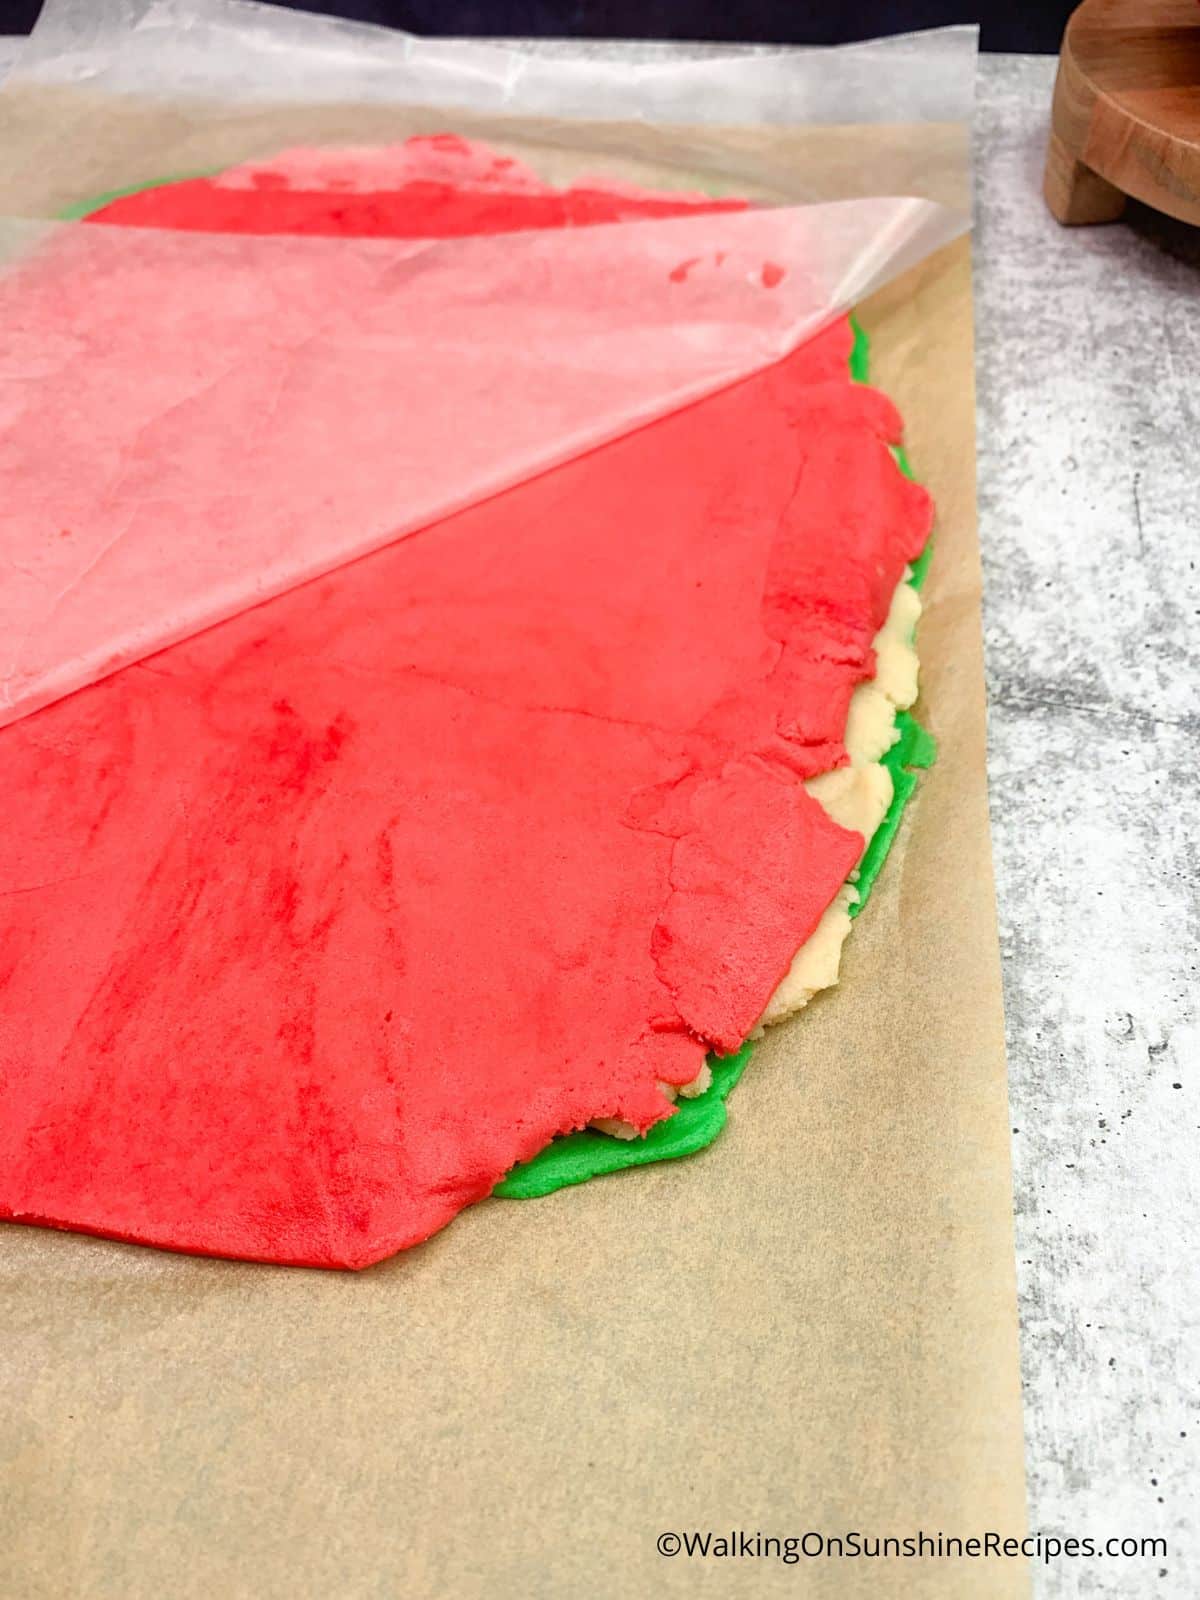
- When firm, remove from the refrigerator and layer all three sheets of dough on top of each other pressing them together slightly to seal. (Make sure you remove all the waxed paper.)
Step 4 | Trim the Cookie Dough
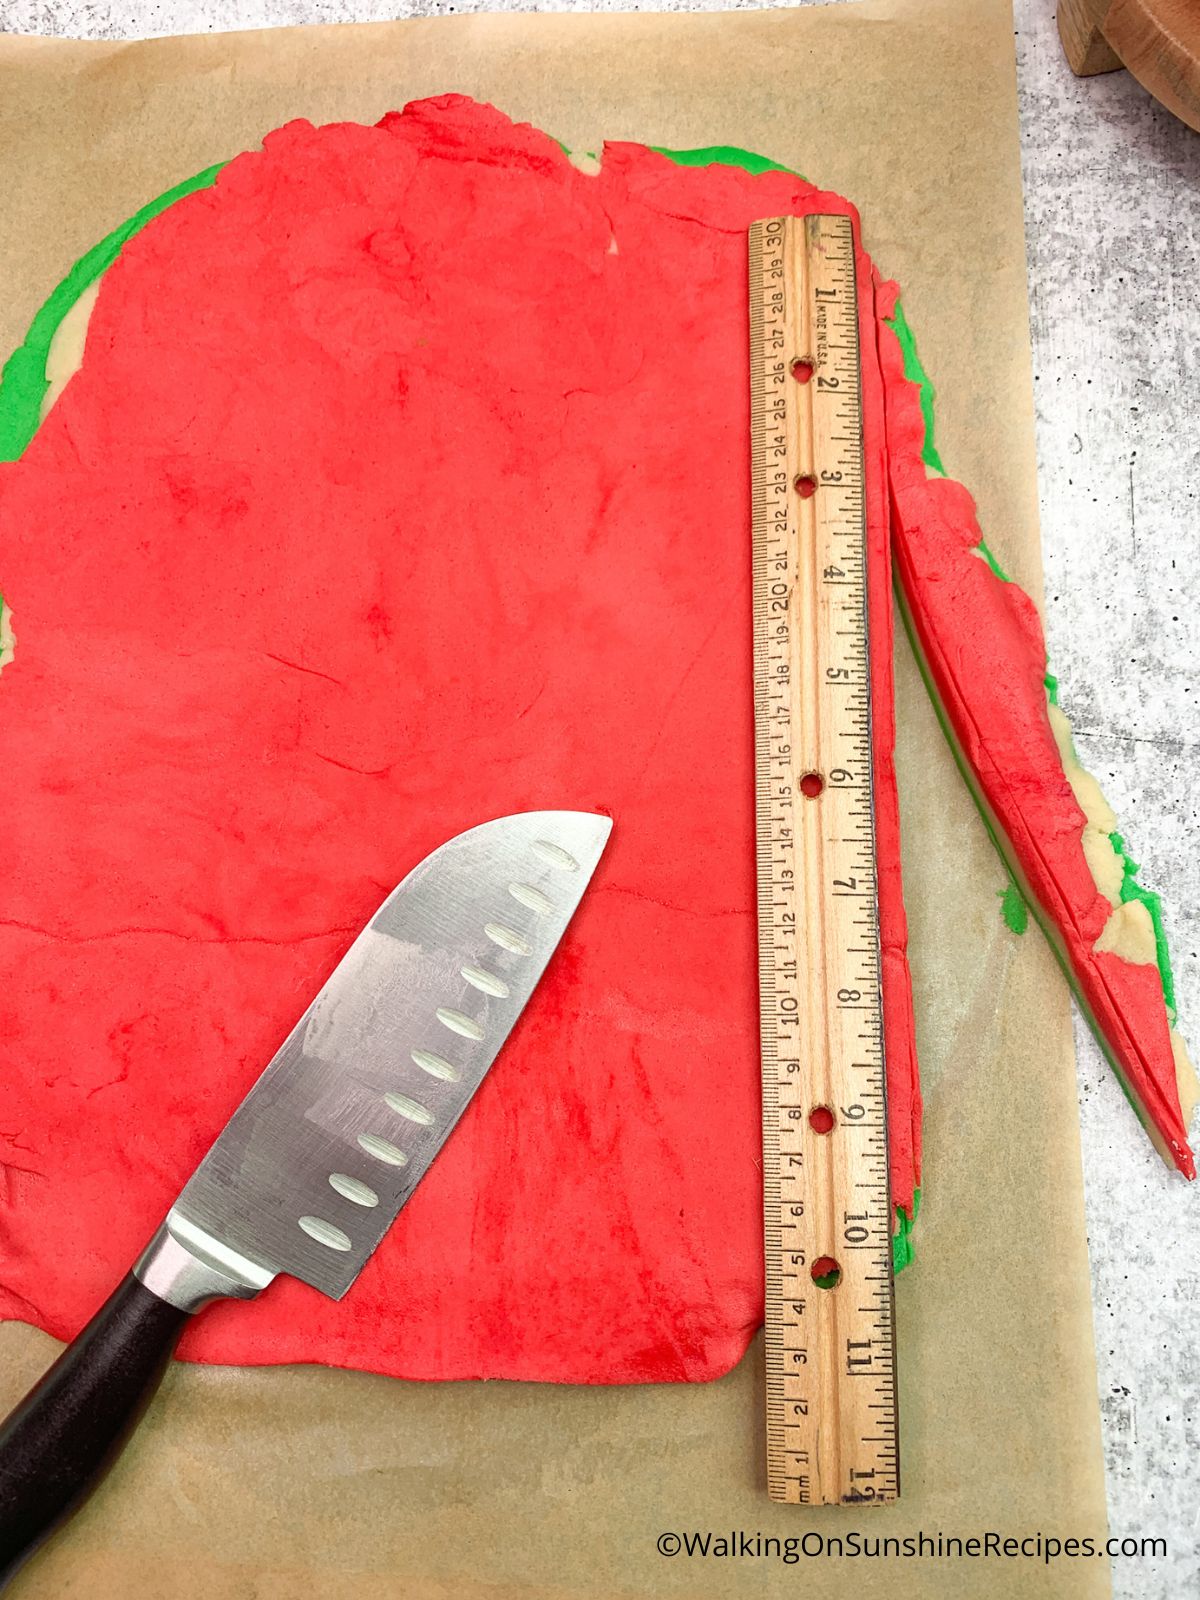
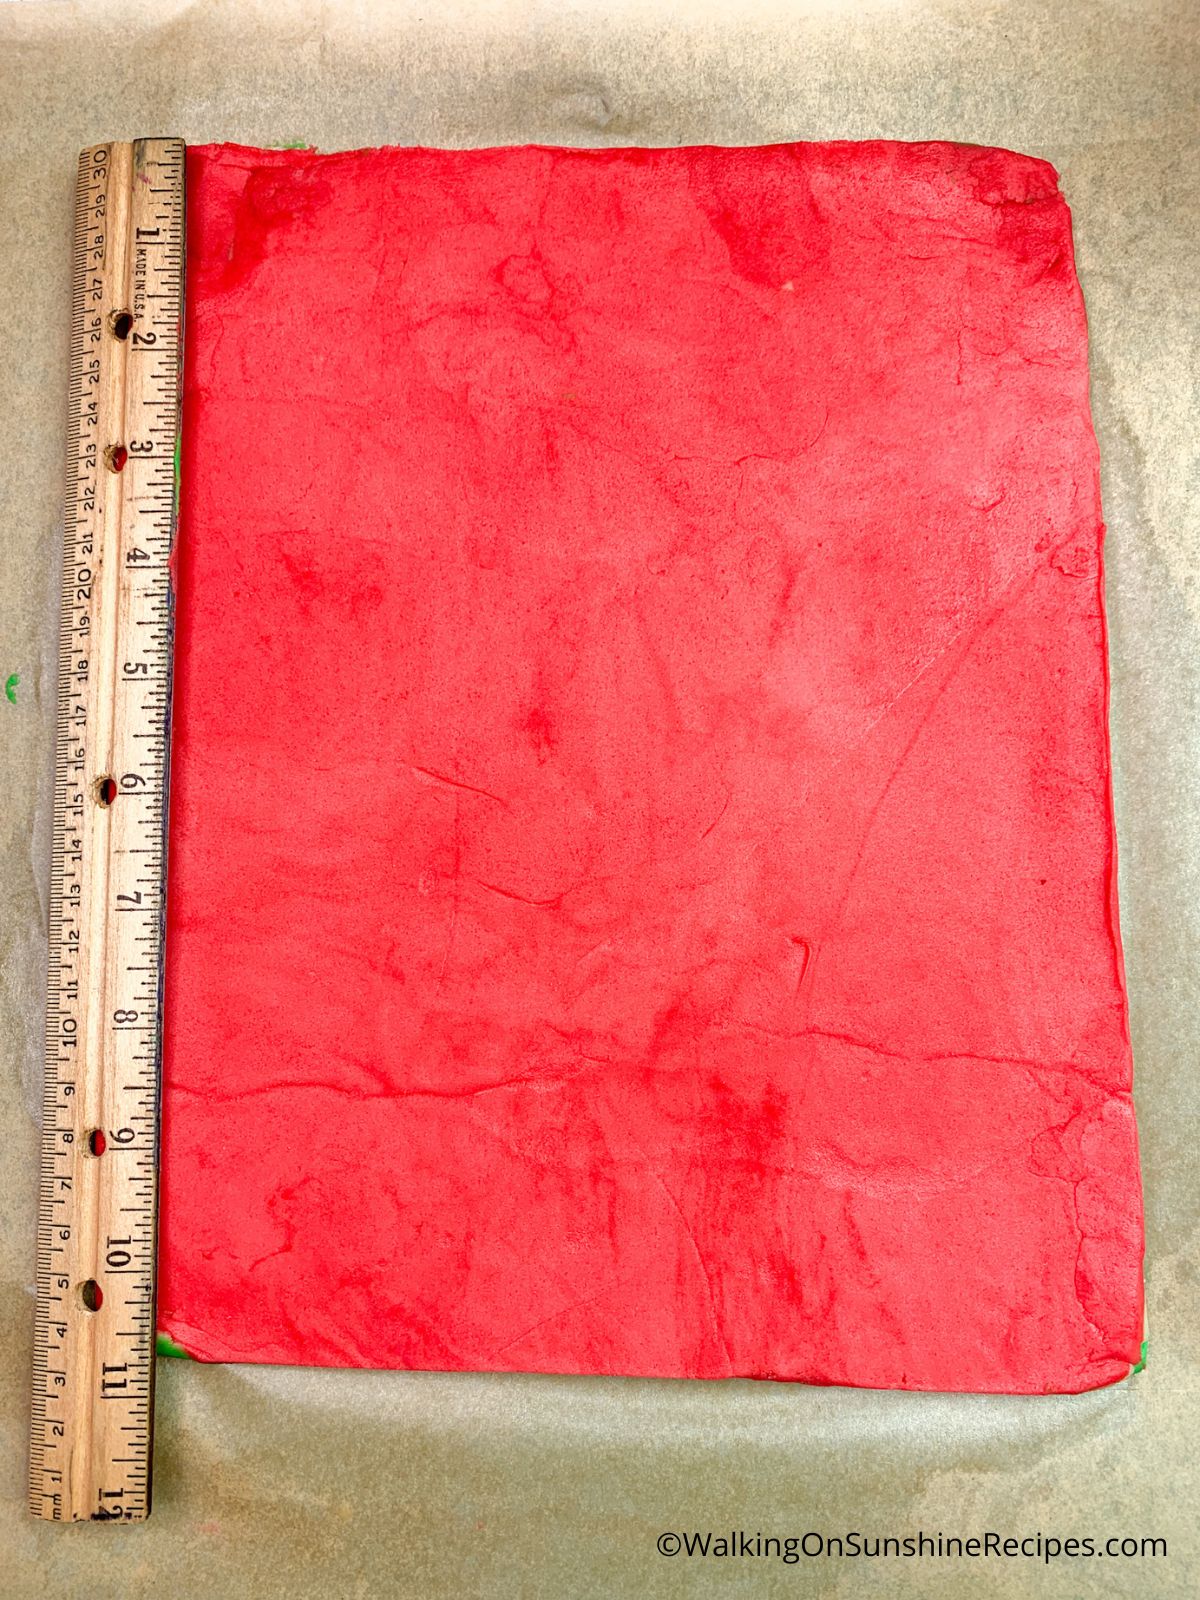
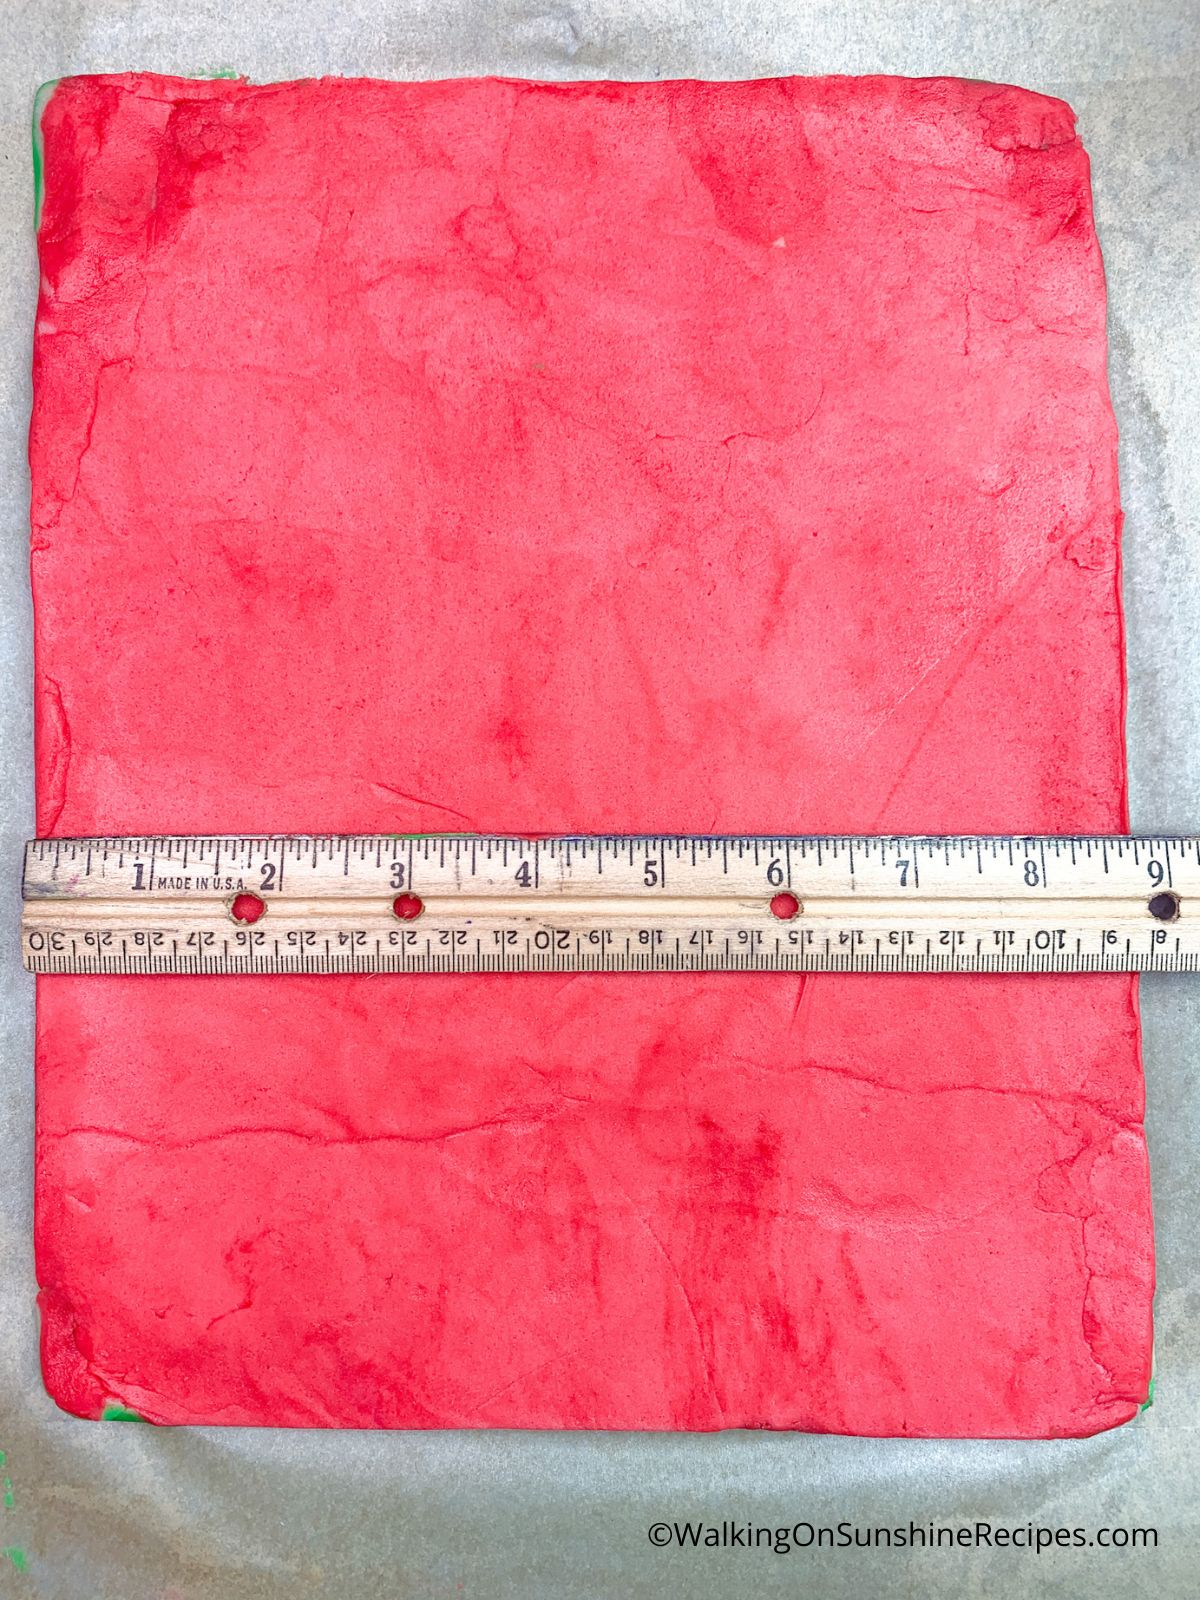
- Using a knife, trim the edges of the dough until they're even.
- You can see I trimmed my dough to about 11x9 inches.
Step 5 | Slice and Bake Cookies
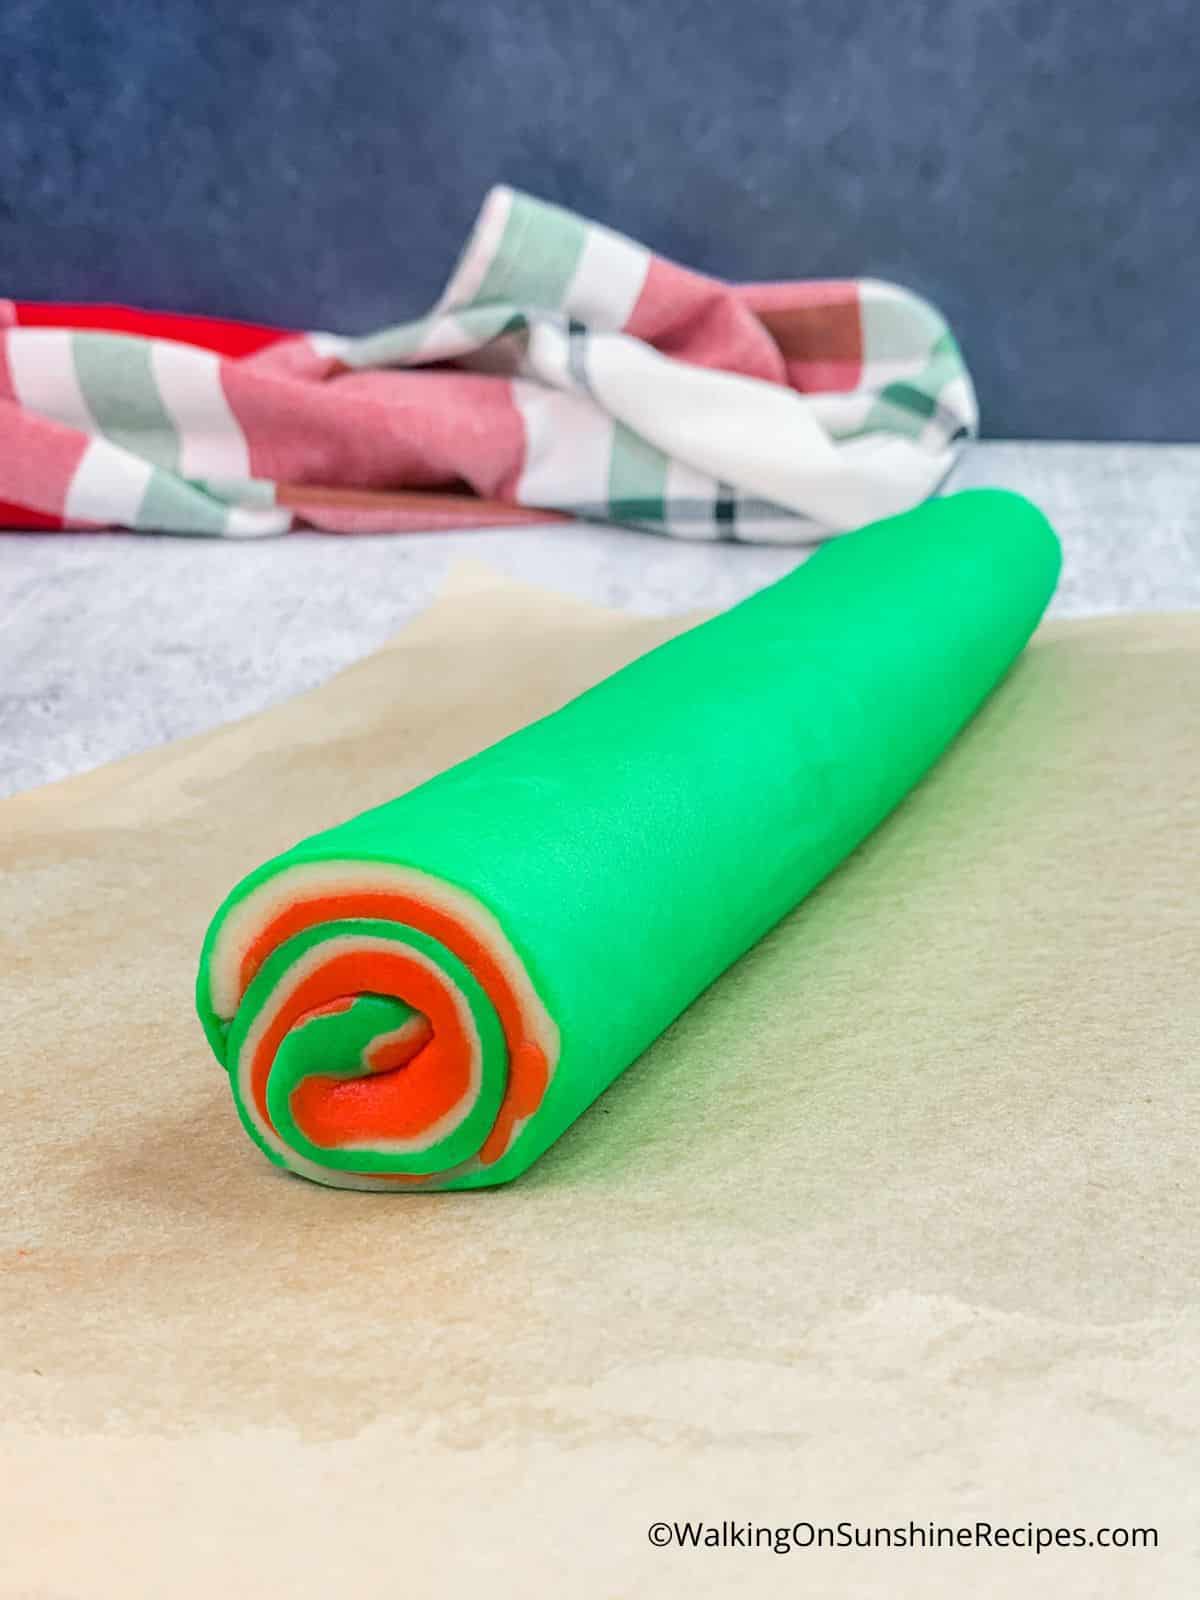
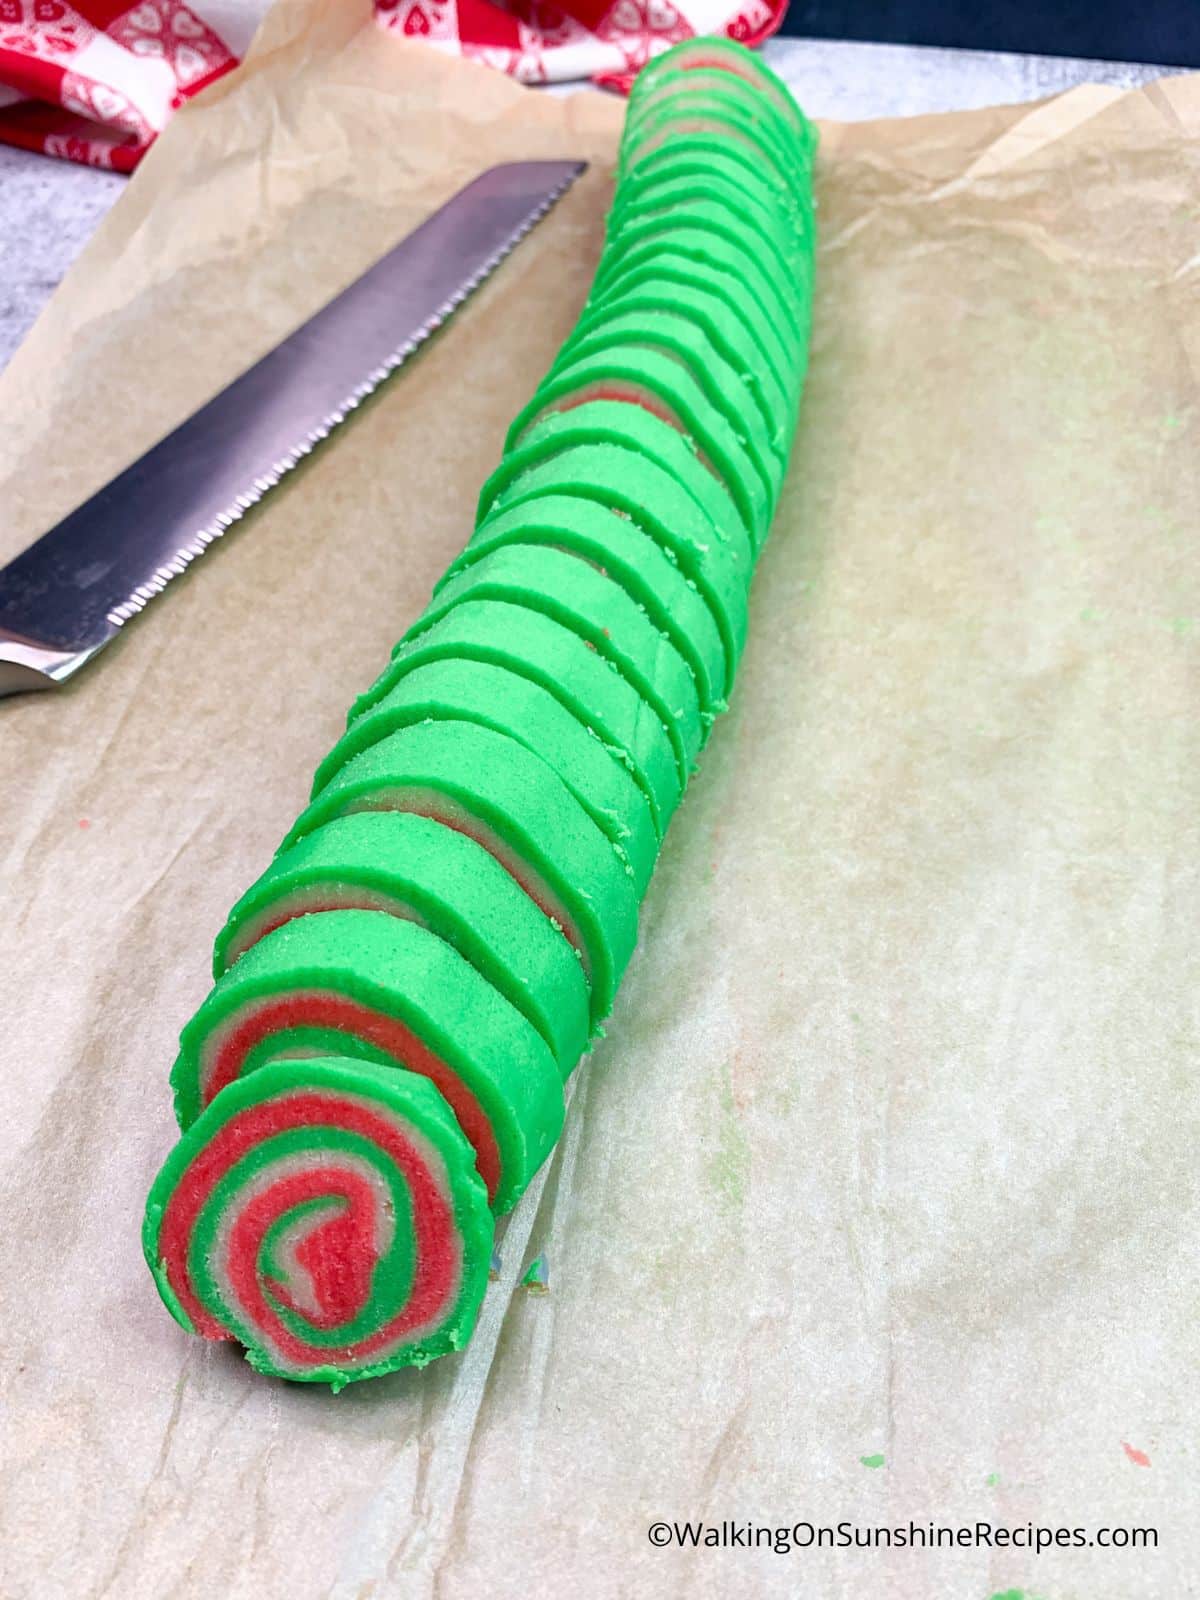
- Starting at the long side of the dough and roll the dough up into jelly-roll style. This is how we get the swirl design.
- Wrap the dough again and chill for another 30 minutes.
- Remove from the refrigerator and then slice the dough.
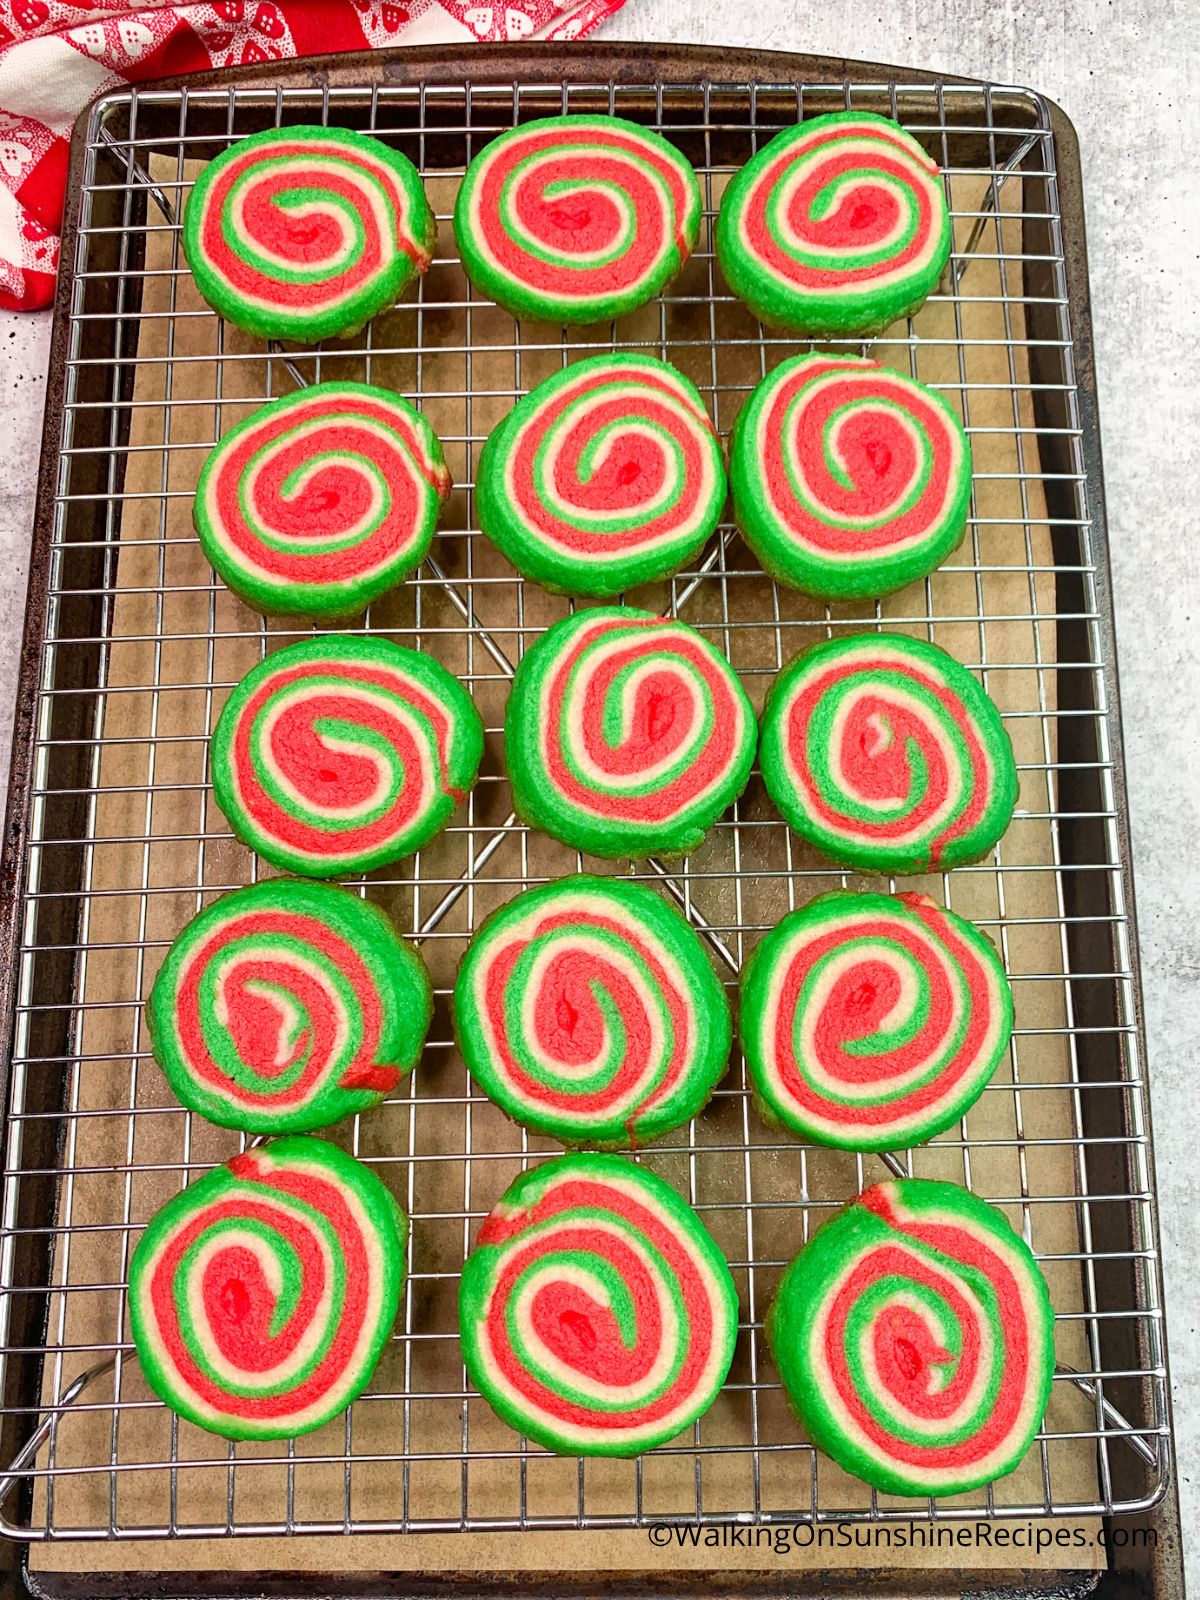
- Place on a baking sheet lined with parchment paper. Bake in a preheated 350°F oven for 12 minutes or until the edges are starting to turn golden brown.
- Let the cookies rest on the baking sheet for about 5 minutes before moving them to a wire rack to finish cooling.
Before You Begin!
If you make this recipe, please leave a review and star rating. This helps my business thrive and continue providing FREE recipes.
Cookie Baking Tips
- When mixing the dough, if you see it is too "wet" from the food coloring, add another tablespoon of the flour.
- After you have all three colored layers of dough on top of each other, trim them to make sure they're all the same size. Otherwise the spiral look of the cookies will be off. You can save the excess dough to make extra cookies.
- Once you have the dough rolled out, make sure it is chilled before even trying to roll the two layers together.
- Make sure you chill the dough again before slicing and then again before baking. Chilling the dough allows the butter to harden again so the cookies don't spread too much while baking. It's worth the extra steps of chilling!
💭Recipe Variations
- You can easily change the food coloring for any occasion you're celebrating.
- Swap out the vanilla extract for mint or almond extract.
- Check out my other recipe for Easy slice and Bake Cookies.
💭Storage Tips
- Allow the cookies to cool completely to room temperature before storing in an airtight container at room temperature for up to one week.
💭Freezing Tips
- Once you have the dough layered and rolled up, wrap them in plastic wrap.
- Place the wrapped logs in a freezer safe bag and then place in the freezer making sure you date them.
- The dough can be frozen for up to a month.
- When you're ready to bake cookies, remove the logs from the freezer to defrost on the counter for about 30 minutes before slicing. Continue with baking directions above.
💭Freezing Unbaked Cookies
This is a great cookie recipe to prep ahead and freeze to bake at a later time. One way to freeze slice and bake cookies is to freeze the cookie dough rounds after slicing:
- After you have sliced the cookies, place them on a baking tray that's been lined with parchment paper.
- Place the baking tray in the freezer to flash freeze the cookies for about 20 to 30 minutes.
- Once frozen, remove the cookies from the tray and place them in a freezer safe container with parchment paper layered in between.
- The unbaked frozen cookie dough slices can be frozen for up to two months.
💭Top Recipe Tip
- Chill the dough as directed.

My Favorite Baking Trays: 3-piece nonstick cookware set includes the small, medium, and large size. These are non-stick carbon steel bakeware set with red silicone handles.
📖 Recipe Card
Colorful Christmas Cookies
Ingredients
- 2 cups flour plus possibly a few more tablespoons
- ½ teaspoon baking powder
- ¼ teaspoon salt
- ⅔ cup powdered sugar
- ¼ cup granulated sugar
- 2 ½ sticks unsalted butter cut into chunks
- 1 teaspoon vanilla
- ½ teaspoon red food coloring
- ½ teaspoon green food coloring
Method
- In the bowl of a stand mixer, cream the butter then add both the sugars, one at a time.
- Add in the vanilla extract.
- Combine the flour, baking powder and salt together in a separate bowl. Then add it to the butter/sugar mixture. Blend on medium until fully combined.
- Remove all the dough and divide into three equal parts.
- Return one portion back into the mixer and add the red food coloring.
- Mix until the color is spread out evenly.
- Repeat with the other portion of dough and the green food coloring.
- One portion will remain "white."
- Roll out each portions of your dough, between sheets of waxed paper until it reaches about 11x9 inches and is ¼ inch thick.
- Slide the three rolled out sheets of dough onto cookie sheets and chill in the refrigerator for at least 30 minutes.
- When firm, remove the top sheets of waxed paper and then layer all three sheets of dough on top of each other.
- Press the edges lightly with your fingertips to seal them together.
- Using a small knife, trim the edges of the dough to make straight, even lines.
- Be sure your dough is still cold, but flexible. Once it's ready, begin rolling the long side of the dough into a swirl, jelly-roll style.
- Wrap in plastic wrap and chill for another 30 minutes. You can freeze the dough for up to three months at this point.
- Slice the dough into ¼ inch slices and bake on parchment lined baking sheets in a preheated 350°F oven for 10 to 12 minutes or until the edges are starting to turn golden brown.
- Let the cookies rest on the baking sheet for about 5 minutes, then move them to a wire rack to finish cooling.
Nutrition
Notes
- The recipe calls for 2 cups of flour plus a few more tablespoons. If you see that the dough is too "wet" after you add the food coloring, add another tablespoon of flour.
- Sometimes adding food coloring to cookie dough will make it too wet and difficult to roll out, so adding a tablespoon of flour at a time helps!


Beth says
LOVE this recipe Lois! We will be featuring you starting Wednesday at the Creative Crafts Linky Party!
Creatively, Beth
Linda Primmer says
These are such pretty cookies. My grands would love these. I am happy to feature these colorful cookies at Love Your Creativity.