

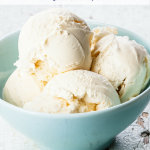


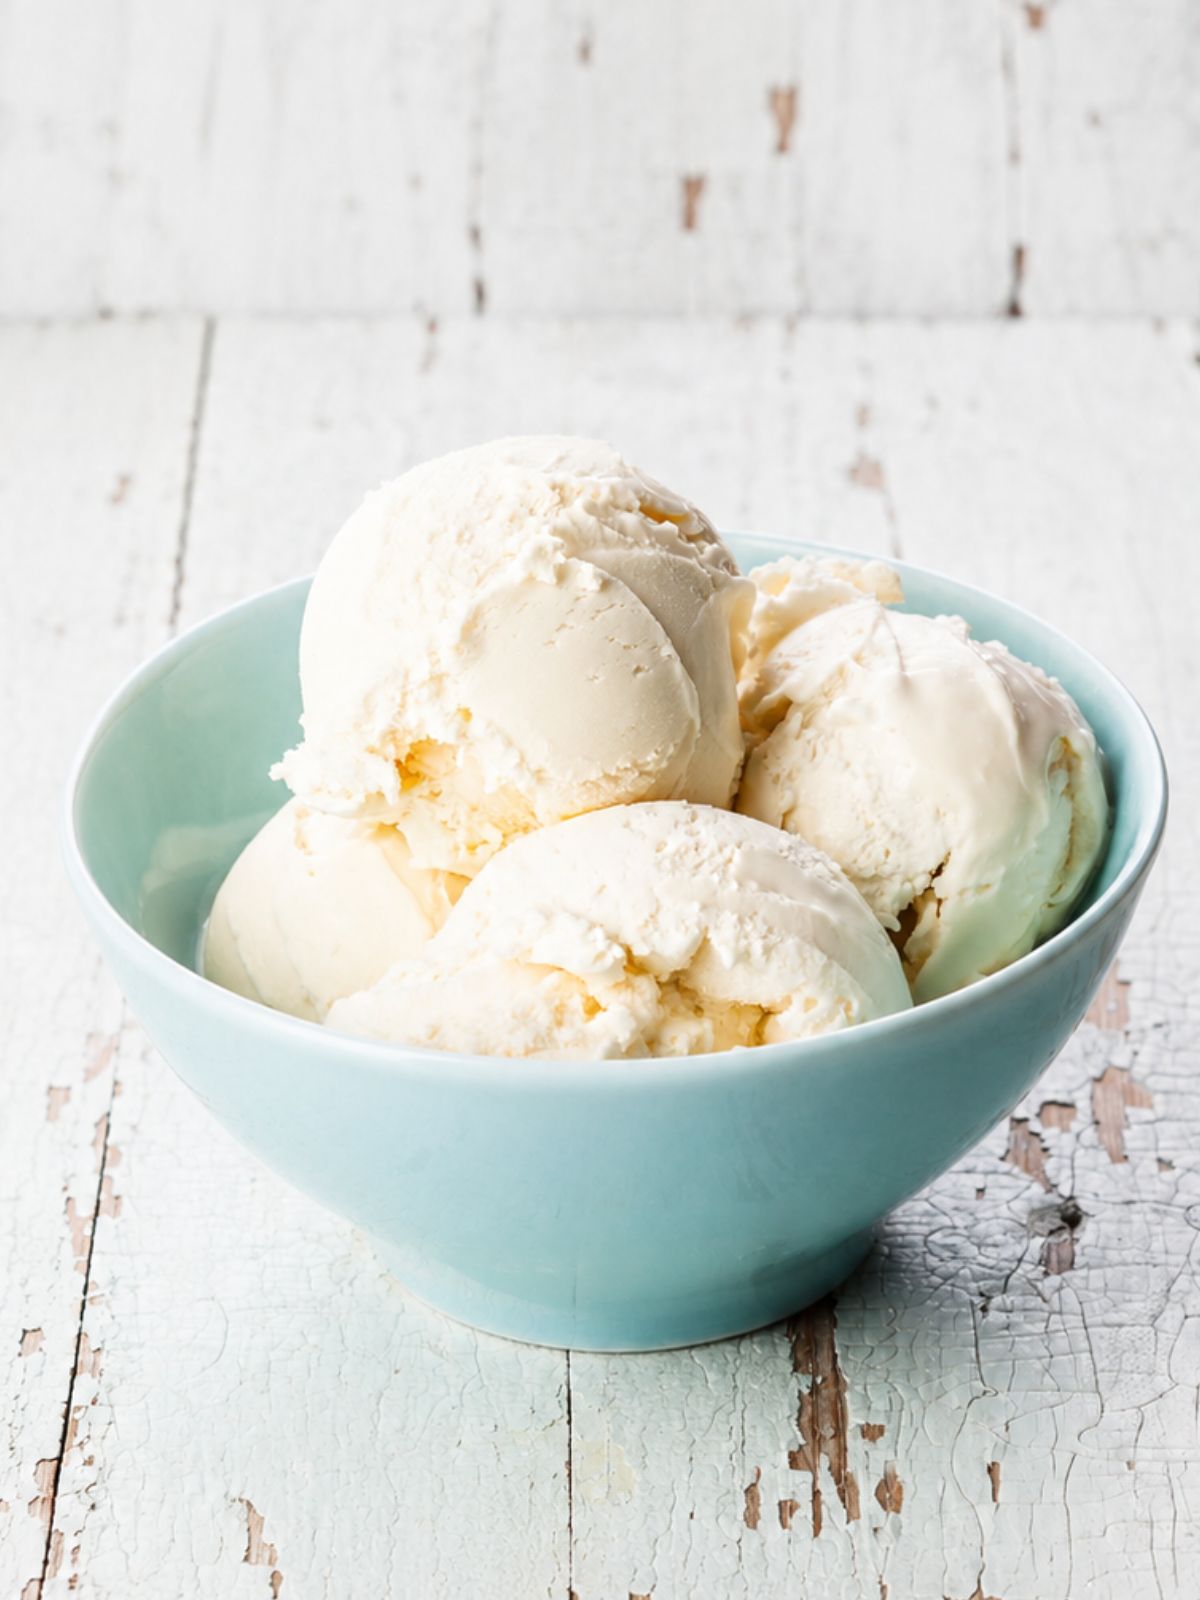
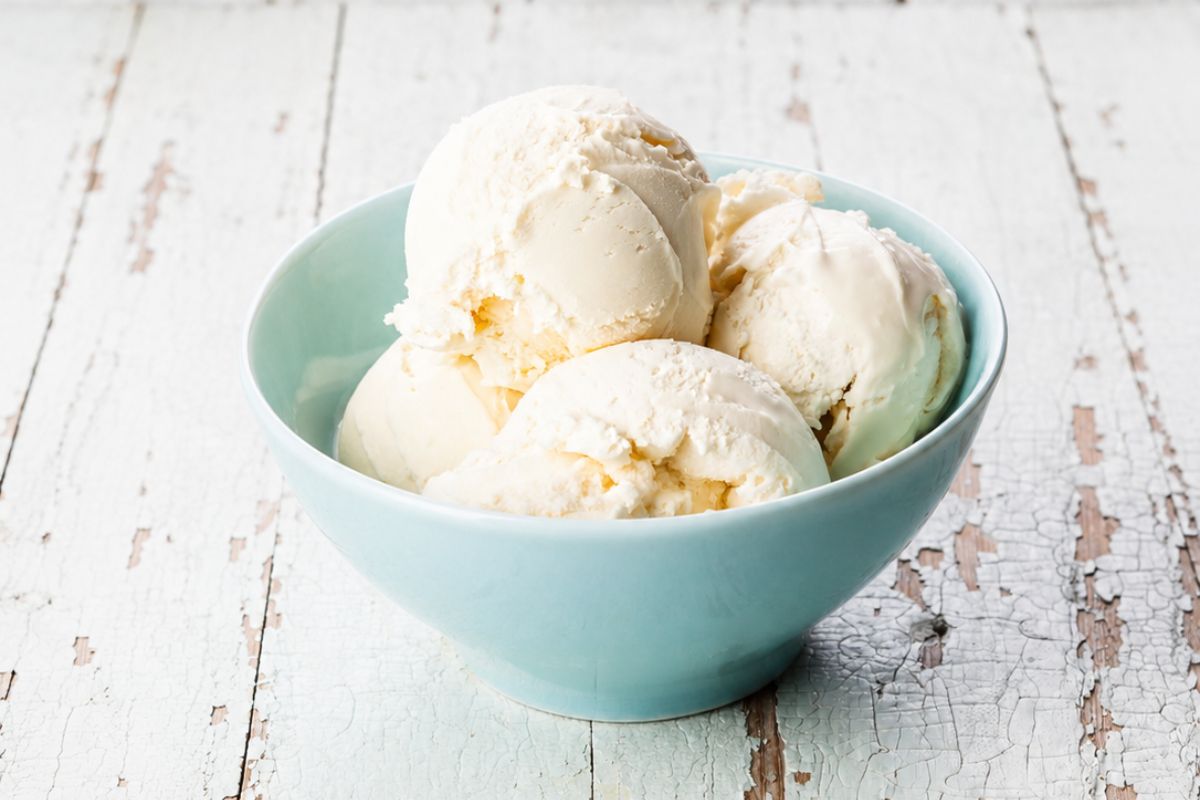
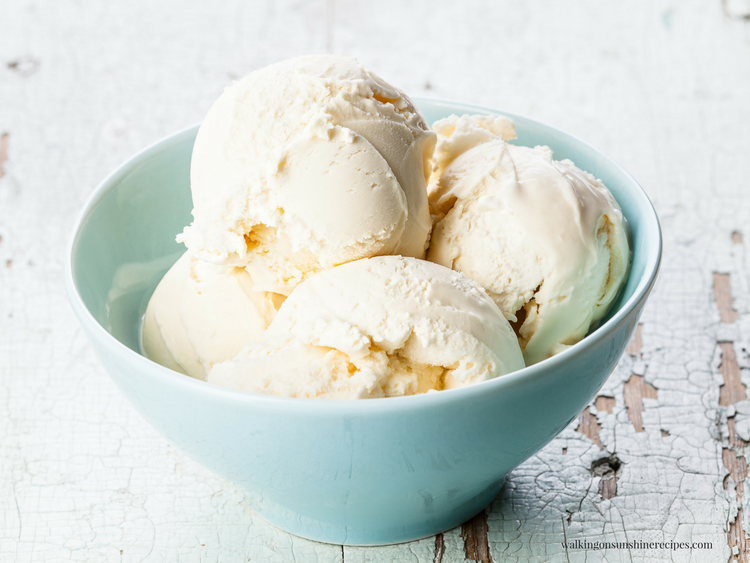
There's nothing quite like homemade vanilla ice cream. Rich, creamy and delicious, it's an easy dessert and treat that's worth the time and effort.
Made with just five simple ingredients, this recipe churns up perfectly in a 4-quart ice cream maker and is delicious served on its own or with your favorite desserts.
Want to Save This Recipe?
Enter your email & I'll send it to your inbox. Plus, get great new recipes from me every week!
By submitting this form, you consent to receive emails from Walking on Sunshine Recipes.
This post was originally sponsored by Hamilton Beach in 2018. It has been updated, and all opinions and experiences are my own.
Table of Contents
- Recipe at a Glance
- Hamilton Beach Ice Cream Maker Recipes
- 4 Quart Ice Cream Maker Recipes
- Main Ingredients Needed:
- Step-by-Step Directions
- Chilling Homemade Ice Cream
- Insider Tips from My Kitchen to Yours
- Storage Tips
- Recipe FAQ's
- Cookie Recipes to Serve with Vanilla Ice Cream
- LOVE this recipe? SAVE it for Later!
- 🗒️Shopping List
- 📖 Recipe Card
- 💬 Comments
Recipe at a Glance
Prep: 5 min | Churn: 30 min | Chill: 2 hrs or longer | Difficulty: Easy | Servings: 8
Main Ingredients: whipping cream, whole milk, granulated sugar, vanilla extract, lemon juice
Why You’ll Love It: Made with simple ingredients and churned in a 4-quart ice cream maker for a rich, creamy texture.
Best For: Summer desserts, family gatherings, and serving with pies, cobblers, and other homemade treats.
Equipment Needed: 4-Quart Ice Cream Maker, Rock Salt
Hamilton Beach Ice Cream Maker Recipes
To show you how easy it is to make homemade ice cream, I'm using one of the recipes included with the Hamilton Beach 4-quart ice cream maker.
4 Quart Ice Cream Maker Recipes
If you're new to making homemade ice cream, the recipe booklet included with a 4-quart ice cream maker is a great place to start.
It includes several classic flavors and easy-to-follow instructions. For my first batch, I chose the homemade vanilla ice cream recipe because it's simple, creamy, and perfect for serving on its own or with your favorite desserts.
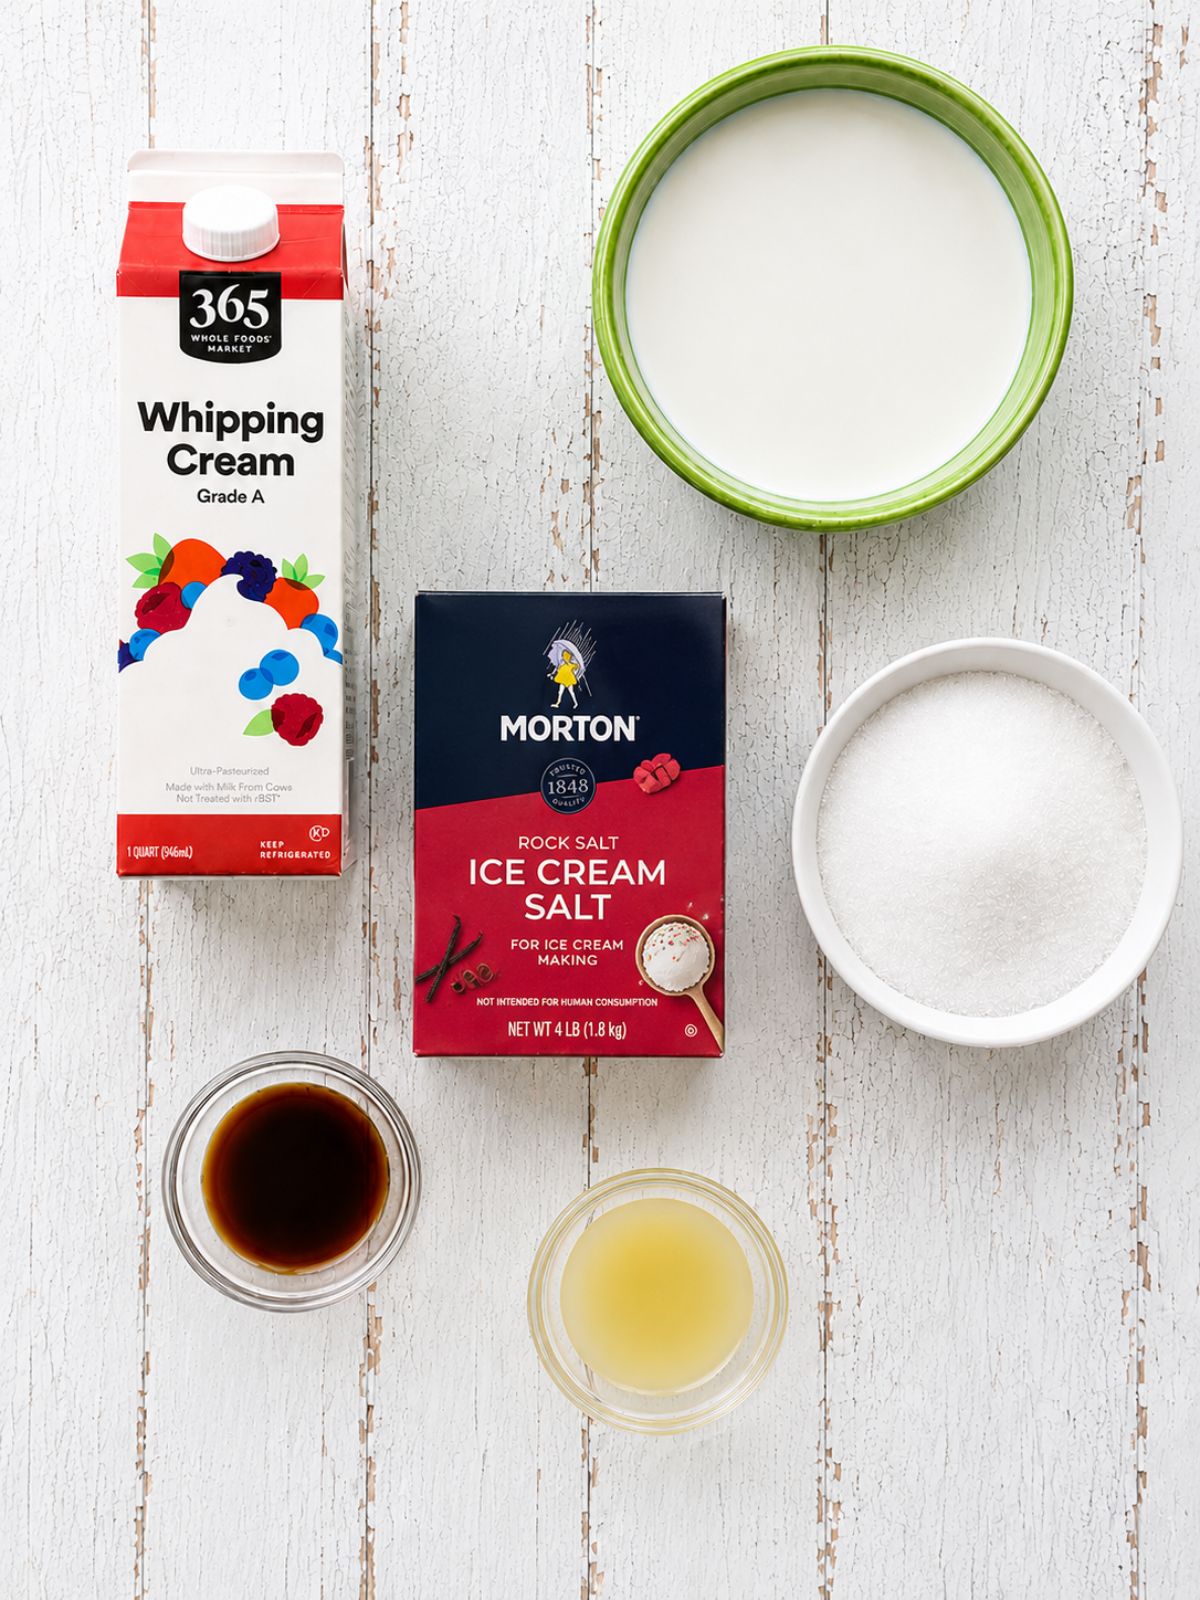
Main Ingredients Needed:
Here's a quick overview of the ingredients for this recipe. Find the exact amounts and click the Instacart button to easily add them to your cart – all in the printable recipe card below!
Step-by-Step Directions
This section includes step-by-step photos and instructions to guide you through the recipe. For the complete printable version, scroll down to the recipe card below.
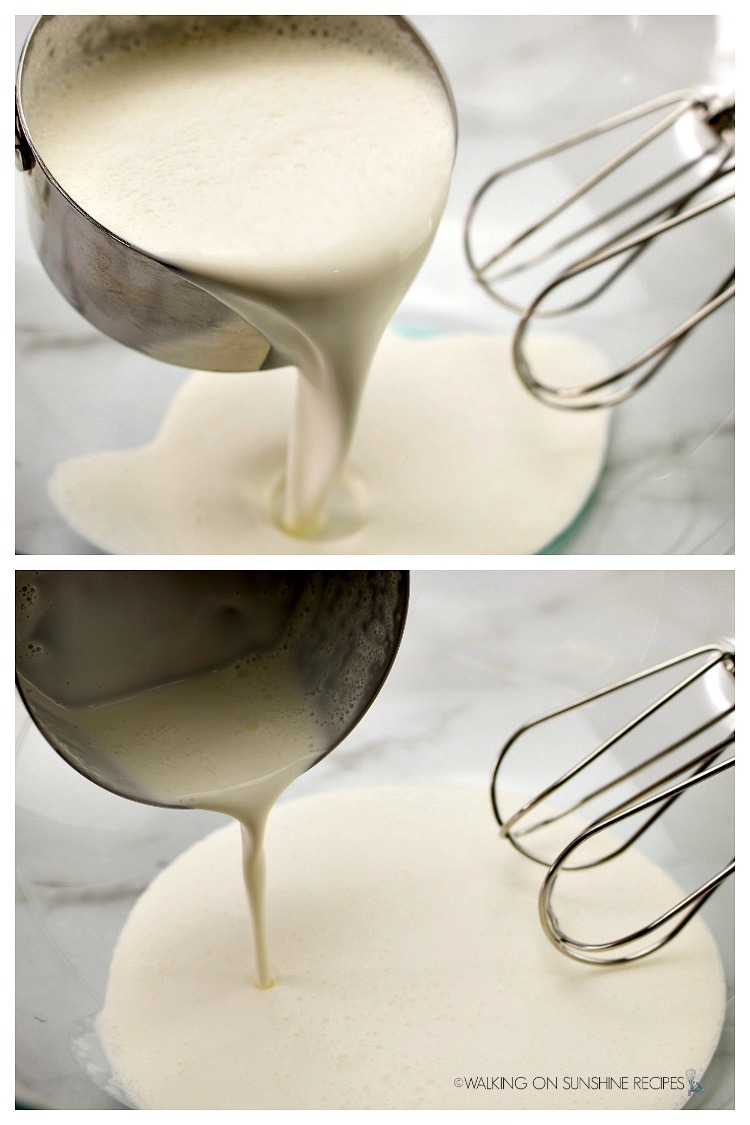
Step 1: In a large mixing bowl, add the sugar, milk, cream, vanilla extract, and a squeeze of lemon juice. Whisk the ingredients together until well mixed.

Step 2: Carefully pour the mixture into the ice cream canister. Insert the dasher and secure the lid tightly.

Step 3: Now, follow the instructions in your machine's manual to add the ice and rock salt. Start the churning process and let it work its magic!

Step 4: After about 40 minutes, you'll notice the machine starting to slow down, signaling your delicious ice cream is almost ready.
Chilling Homemade Ice Cream

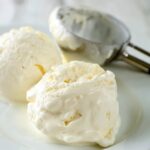
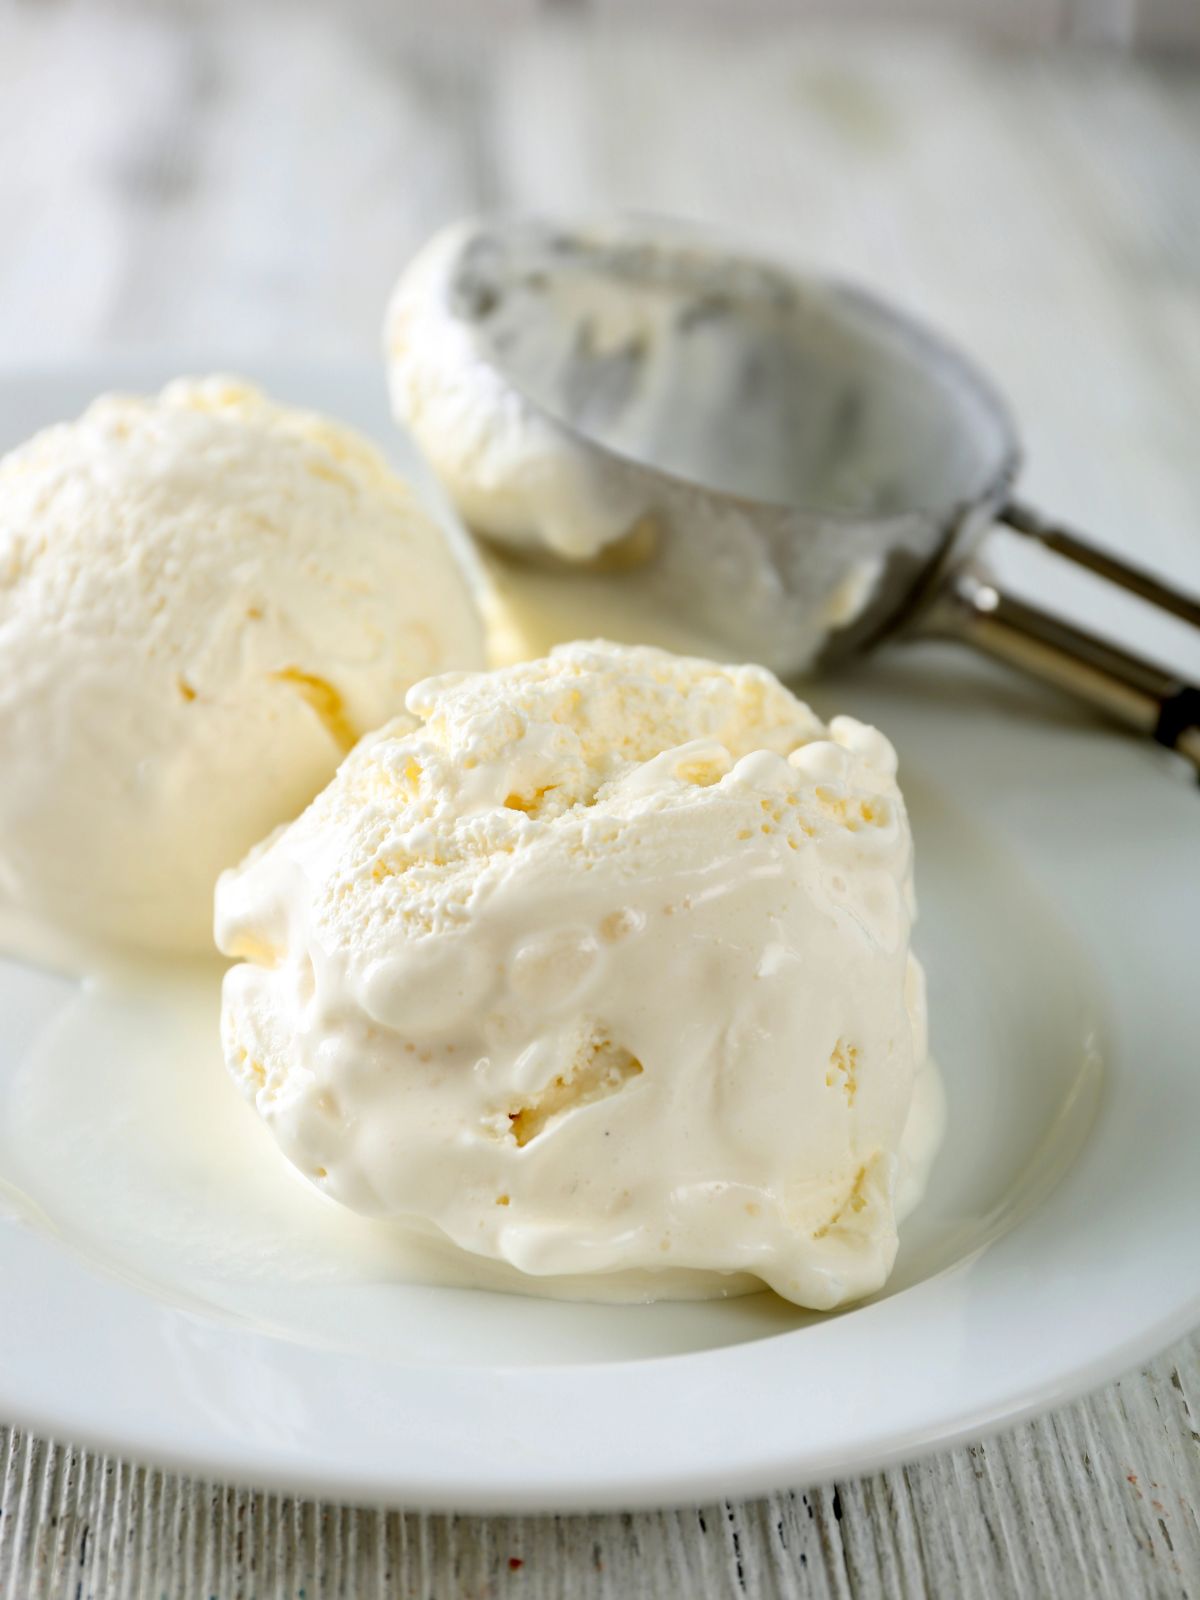
Step 5: Look how delicious! Now comes the hard part...waiting. Put the ice cream into a freezer safe container and freeze for about one to two hours before serving.
Insider Tips from My Kitchen to Yours
✔️ DO keep extra ice and rock salt nearby so you can replenish the bucket as needed during churning.
❌ DO NOT skip the freezer time after churning; the ice cream needs time to firm up for the best scooping texture.
Storage Tips
Homemade ice cream is best enjoyed fresh, but proper storage will help keep it creamy and delicious for days to come:
- Freezer-safe plastic container.
- Specially made ice cream containers.
- Loaf pans - yes a standard 9×5-inch loaf pan you use bake bread in works great! Cover first with plastic wrap and then aluminum foil.
Recipe FAQ's
To view the answers, simply click on the down arrow (⬇) next to each question. If you have any other questions not answered here, please leave a comment!
While the preparation only takes a few minutes, homemade ice cream needs time to churn and freeze. Plan on about 30 minutes for churning in the ice cream maker and at least 2 hours of freezing time before serving. For the best texture, many people prefer to freeze it overnight.
Whether you need rock salt depends on the type of ice cream maker you're using. Traditional 4-quart ice cream makers often require a mixture of ice and rock salt around the canister to help the ice cream freeze properly. Always follow the manufacturer's instructions for your specific machine.
Ice cream makers that use ice and salt typically call for ice cream salt or rock salt. The salt helps lower the freezing temperature of the ice, allowing the ice cream mixture to freeze as it churns.
Rock salt or ice cream salt is recommended because the larger crystals melt more slowly and work best in traditional ice cream makers. While table salt can be used in a pinch, it dissolves more quickly and may not provide the same results.
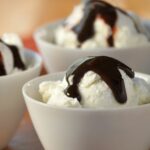
Cookie Recipes to Serve with Vanilla Ice Cream
A scoop of homemade vanilla ice cream turns an ordinary cookie into a special dessert. Try one of these cookie recipes the next time you're serving homemade ice cream.
- Chocolate Sugar Cookies - oh my word...how about putting a scoop of this homemade vanilla ice cream between two chocolate sugar cookies? That sounds yummy, right?
- Or try this recipe for M&M Cookies to make an ice cream sandwich.
- Red Velvet Sandwich Cookies would taste great with homemade vanilla ice cream spread between the two yummy layers.
- You might be tempted to make ice cream sandwiches using my recipe for Jumbo Chewy Chocolate Chip Cookies.


LOVE this recipe? SAVE it for Later!
❤️Tap the heart icon in the lower right corner to add the recipe to your recipe box for easy access anytime.
If you made it, leaving a star rating or quick review is always appreciated and helps other readers too.
Want to save this printed recipe? The Ultimate Meal Planner & Recipe Binder helps you keep recipes organized in one easy place.
🗒️Shopping List
Click the button below to instantly create a shopping list for this recipe.
📖 Recipe Card
Homemade Vanilla Ice Cream
Equipment
Ingredients
Ingredients for the Ice Cream Base
- 3 cups granulated sugar
- 3 cups whole milk
- 6 cups whipping cream
- 1 tablespoon vanilla extract
- 2 tablespoon lemon juice
Ingredients for the Ice Cream Maker
- 8 lbs ice
- 3 cups rock salt
Instructions
- In a large mixing bowl, combine the sugar, milk, cream, vanilla extract and lemon juice. Whisk until mixed through.
- Pour the mixture into the canister, insert the dasher, and secure the lid tightly.
- Place the canister into the center of the bucket. Assemble the motor over the canister with the dasher shaft inserted into the hole in the bottom of the motor.
- Turn the motor counter clockwise to lock the motor onto the bucket.
- Place the bucket into the sink.
- Plug in the power cord. Allow the mixture to churn for a couple minutes before adding ice to the bucket.
- Unplug the motor. Add about 2 inches of ice to the bottom of the bucket and sprinkle on about a ½ cup of the rock salt. Repeat the layers until the bucket is completely full.
- Plug the motor back in and allow the ice cream to churn for 20 to 40 minutes, or until the machine slows or stops on its own. Add additional ice and rock salt as needed during churning.
- Remove the canister. If desired, stir in mix-ins such as fresh berries, chocolate chips, cookie pieces, or chopped nuts using a long-handled rubber spatula.
- Replace the lid, insert the storage plug, and place the canister in the freezer for at least 2 hours before serving.
Notes
Tips
- Use cold milk and whipping cream for the best texture and consistency.
- Mix the ingredients until the sugar is completely dissolved before pouring the mixture into the ice cream maker.
- Keep extra ice and rock salt nearby so you can replenish the bucket as needed during churning.
Storage & Make Ahead
- Transfer the finished ice cream to a freezer-safe container and freeze for at least 2 hours before serving.
- Store covered in the freezer for up to 2 weeks.
- Let the ice cream sit at room temperature for a few minutes before scooping if it becomes too firm.
This recipe has been updated since it first appeared in 2018 with new photos, information and a new printable recipe card that includes nutritional information. I hope you enjoy the updates as much as I enjoyed working on them!


Lily says
These all looks so good!! I actually got an ice cream maker for my birthday few years ago, and I ain’t gonna use it until I move out, and this really inspired me! 🙂 can’t wait til I can start making my own ice creams, because I also love it all year around 😀
Linda on Poinsettia Drive says
Thank you sharing your link on the Classy Flamingos Blog Party we've enjoyed it. Come back soon. poinsettiadr.com
Ann says
This looks so amazing🙌🏻 Thanks so much for sharing w/ Wall to Wall DIY Wednesday🤗
Lois says
Thank you for visiting! Love joining your parties.
Linda Quigley says
Oh my which one first. I think that I would start off with vanilla with lots of toppings for my Grandchildren. While I am making that first batch, I would be searching for lots of Ice Cream flavors and types. I would also want to try and make some gelato,
Kenia says
I would make charcoal ice cream.
Brenda Haines says
First I would make marionberry ice cream sandwiches. Thanks for the chance!
Lois says
I have never heard of that flavor! Sounds yummy. Thanks for joining!
Cheryl Rahkonen says
I would make pistachio ice cream.
Lois says
Thanks for visiting and joining!
Anjum Chopra says
Hi..i am just seems to be lucky to find this blog.You have excellent content here.I have just gone through how to make home made vanilla ice cream,this is just amazing.I will try this today at home.
Lois says
Thanks for visiting and joining!
KATHY STODOLAK says
I would love to try a chocolate with caramel ribboned through it.
Lois says
Oh that sounds amazing!
marissa c says
I would make peppermint ice cream which is my favorite!
Lois says
That's one of my favorites too! Thanks for joining!