


Skip the pizza delivery this week and let me show you how to make this easy recipe for homemade pizza dough that also includes easy freezing tips. Use my homemade tomato sauce to for a perfect tasting recipe everyone will love.
Want to Save This Recipe?
Enter your email & I'll send it to your inbox. Plus, get great new recipes from me every week!
By submitting this form, you consent to receive emails from Walking on Sunshine Recipes.
This recipe I'm sharing with you today is a very traditional pizza recipe. I have a few other pizza recipes here on the site that you will love as well, a few are homemade like the Beer Dough Pizza Recipe and a few are semi-homemade like the Pizza Braid Recipe that starts out with a refrigerator pizza dough.
A Family Tradition
My family loves homemade pizza. Maybe it's because my grandmother made the very best pizza...ever. When we would make the trip out to Ohio from New York to visit with my grandmother, my sister and I would call her up and put in our requests for her homemade pizza.
I can't even tell you how many pizzas she would make for our visit. All I know is her freezer was full and we had pizza every single day during our visits.
Grandma would make her own dough and put the pizzas together with sauce, cheese and all the toppings, however, she wouldn't, bake them. They were wrapped, labeled and frozen. They were the original "frozen pizza" and they were amazing.
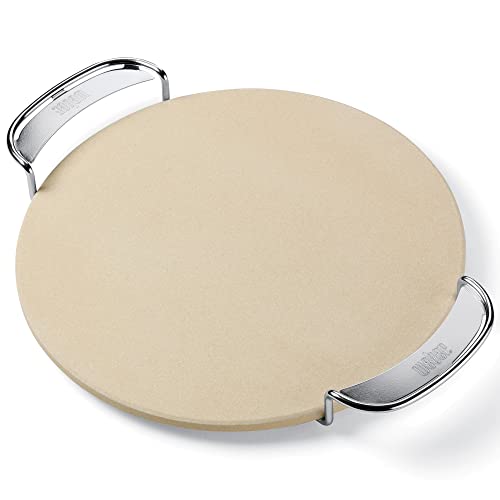
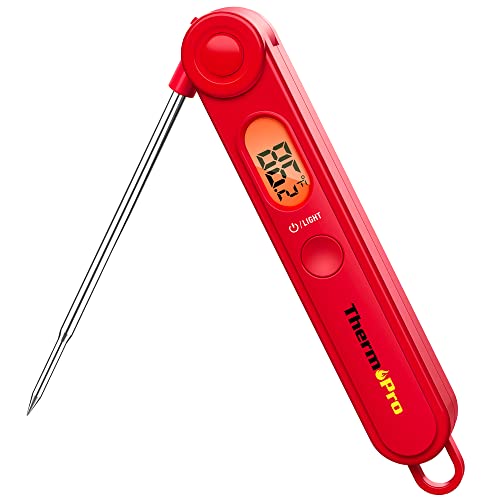
Unicook Large Pizza Stone 20 Inch, RectangularMore InformationWeber Gourmet BBQ System Pizza Stone withMore InformationThermoPro TP03 Digital Instant Read Meat ThermometerMore InformationReynolds Kitchens Cookie Baking Sheets, Pre-Cut ParchmentMore Information


Main Ingredients Needed
Here's a quick overview of the ingredients for this recipe. Find the exact amounts and click the Instacart button to easily add them to your cart – all in the printable recipe card below!
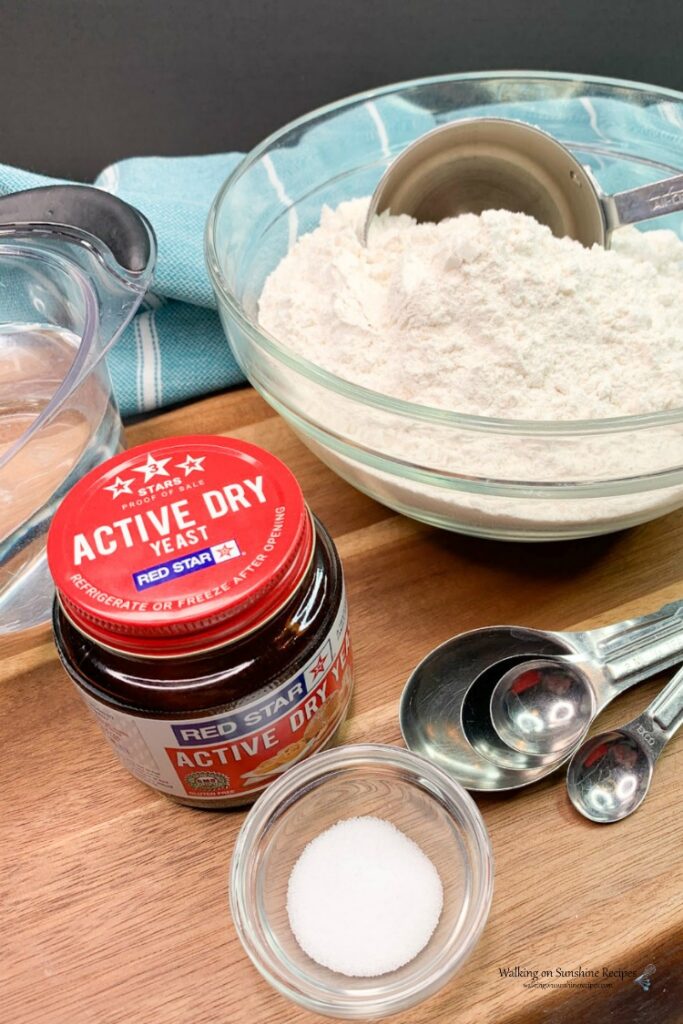
- Active dry yeast
- 1 cup warm water; 105 - 110 degrees
- All purpose flour
- Olive oil
- Salt
- White sugar
Directions
Step 1 | How to make the Dough
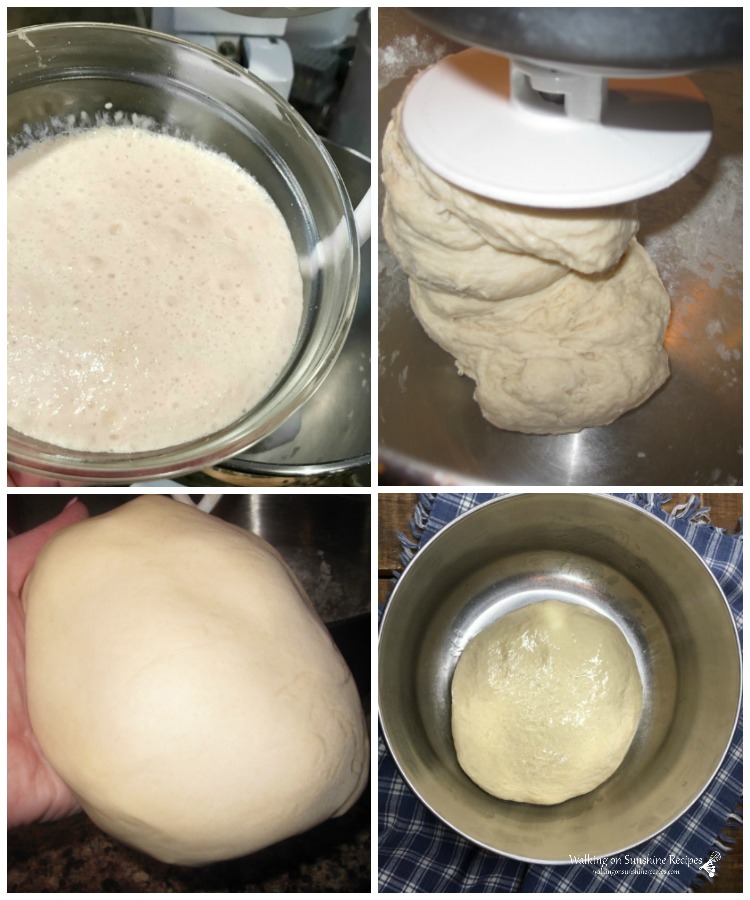
- In a small bowl, add the yeast to the 1 cup of warm water. Use a digital meat thermometer to make sure the water is somewhere between 105 and 110 degrees. Stir and set aside for about 5 minutes to proof.
- I like to put a plate over the bowl which helps capture the heat of the water and grow the yeast. When the yeast starts to get bubbly and foamy, it’s ready.
Step 2 | How to form the dough
- In the bowl of a KitchenAid Mixer, add the salt, sugar and olive oil with the dough hook attached. Then add the proofed yeast to the bowl as well.
- Begin by adding one cup of flour while the mixer is on low speed until it is combined with the wet ingredients. Then add the second cup of flour.
- The mixture should start to come together into a ball that is just a bit sticky.
- Set a timer for 5 minutes and let the machine continue to mix or knead the dough on low speed.
- If the dough starts sticking to the sides of the mixer, add a little more flour. After 5 minutes you should have a nice smooth ball of dough that is slightly tacky and springs back when you poke it.
Step 3 | Let the Dough Rise
- Now, add a little oil to another clean bowl and swirl it around so it covers the sides of the bowl. Add the dough to the bowl and cover with plastic wrap. Place in a warm area until the dough has doubled in size; about 1 to 2 hours.
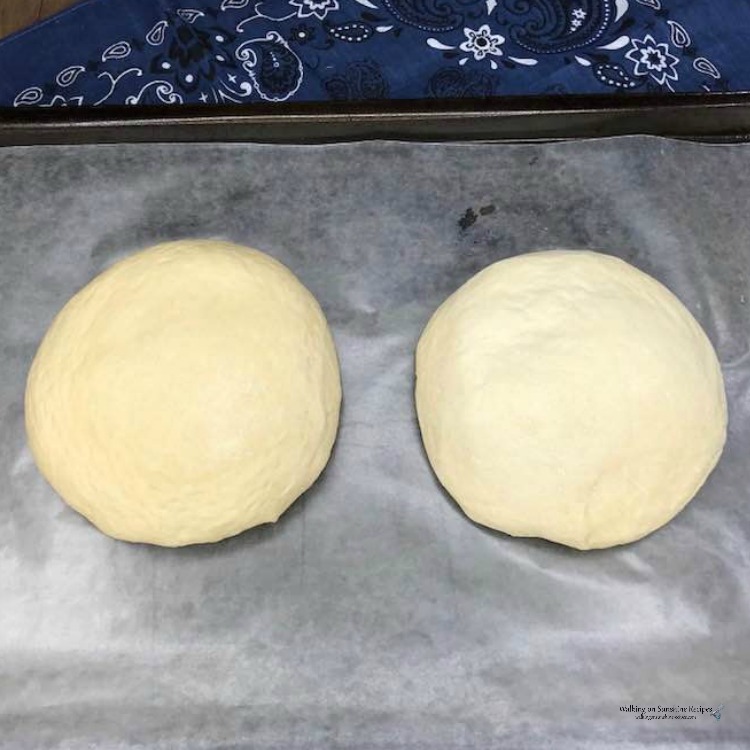
- Look how much the dough has grown within two hours! That's the power of yeast. This dough is ready to divide and make into pizza.
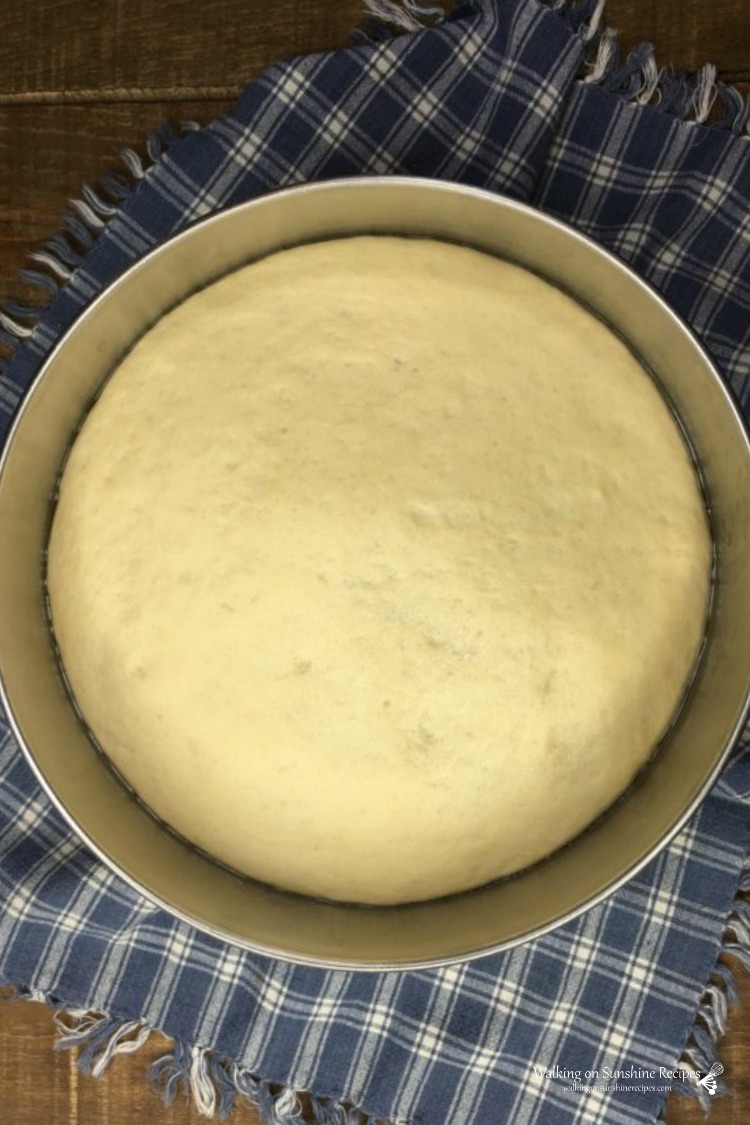
- After the dough has risen, lightly “punch the dough” and then turn it out on a floured surface to prepare for pizza or you can freeze the dough at this point.

Step 4 | How to Make Pizza
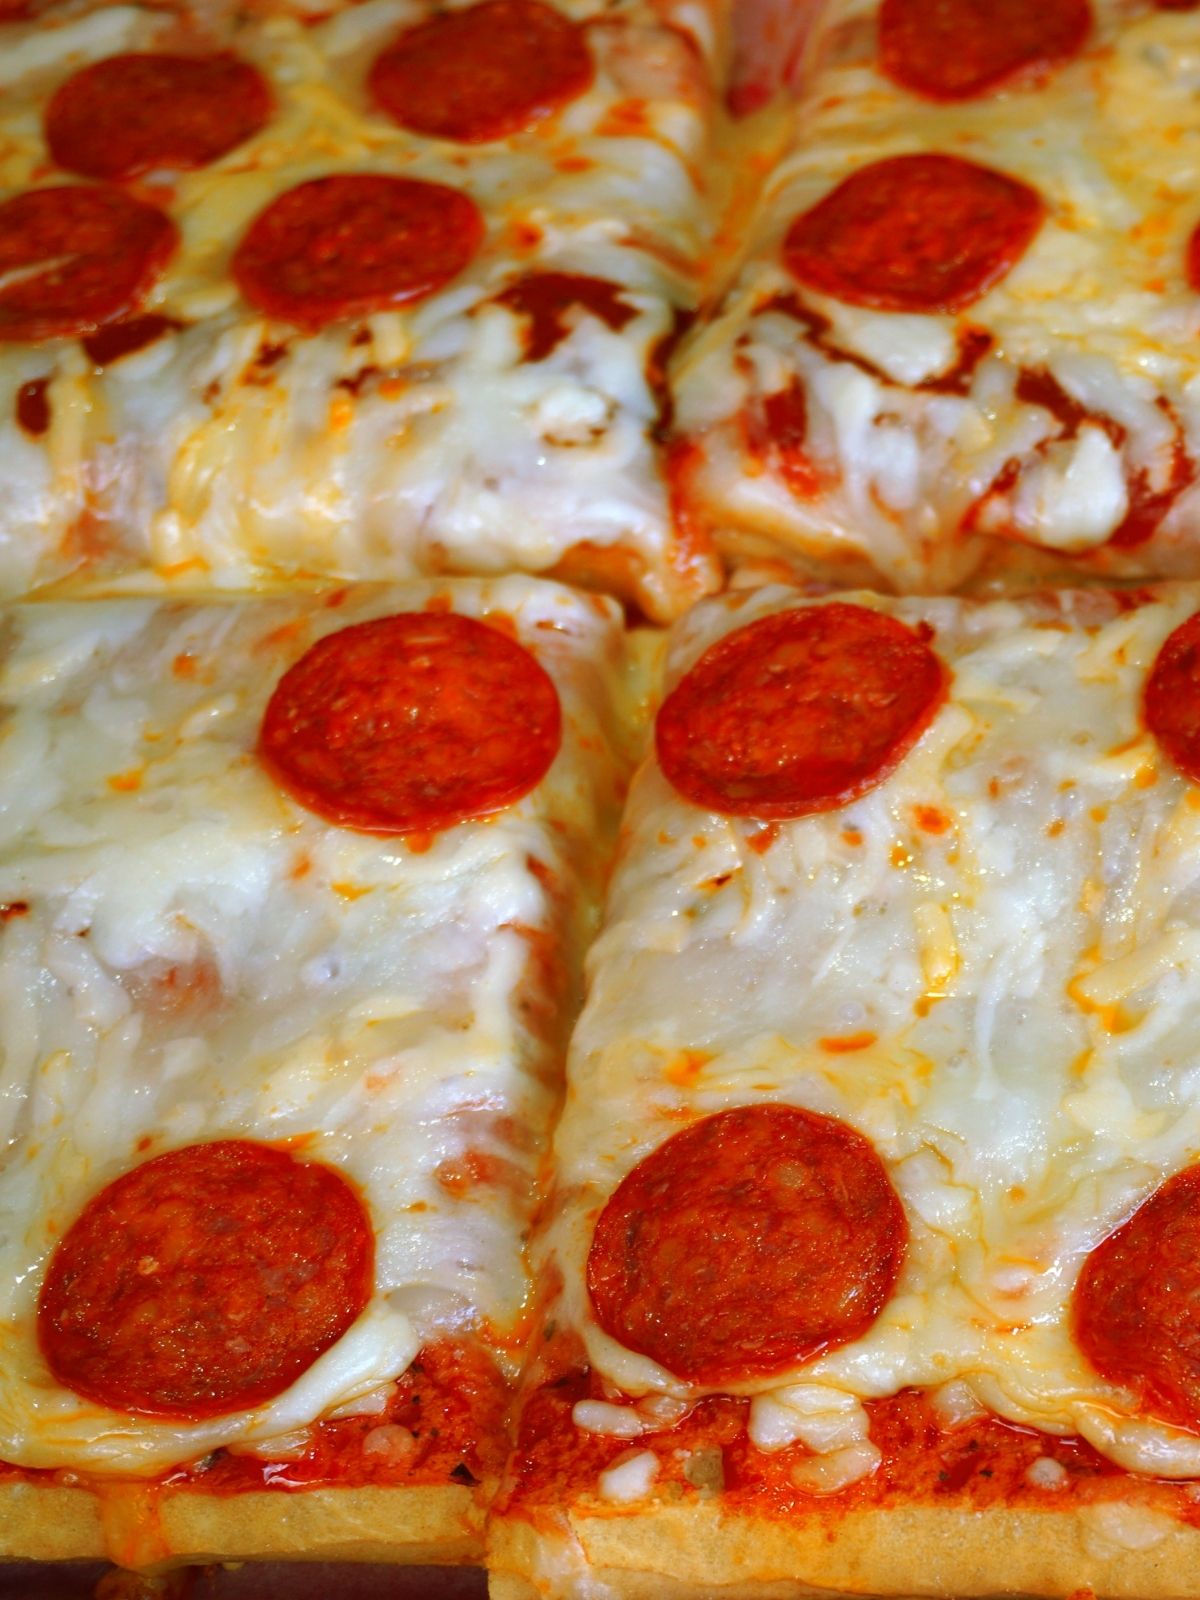
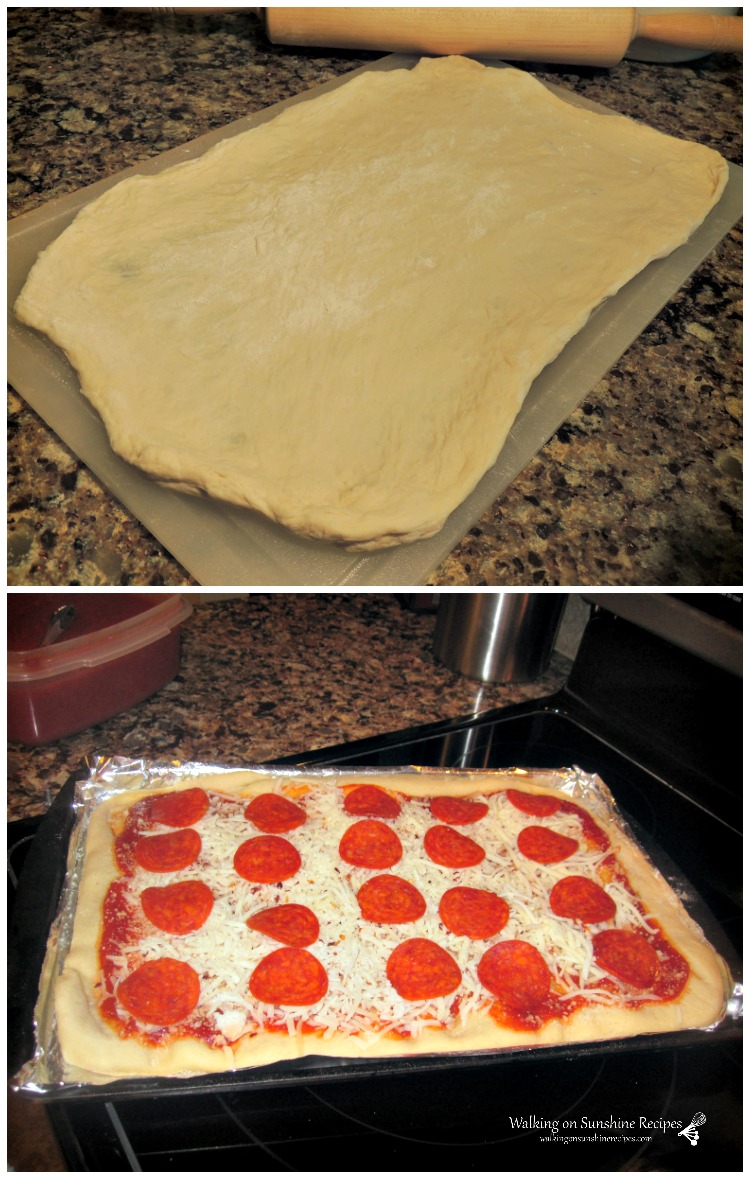
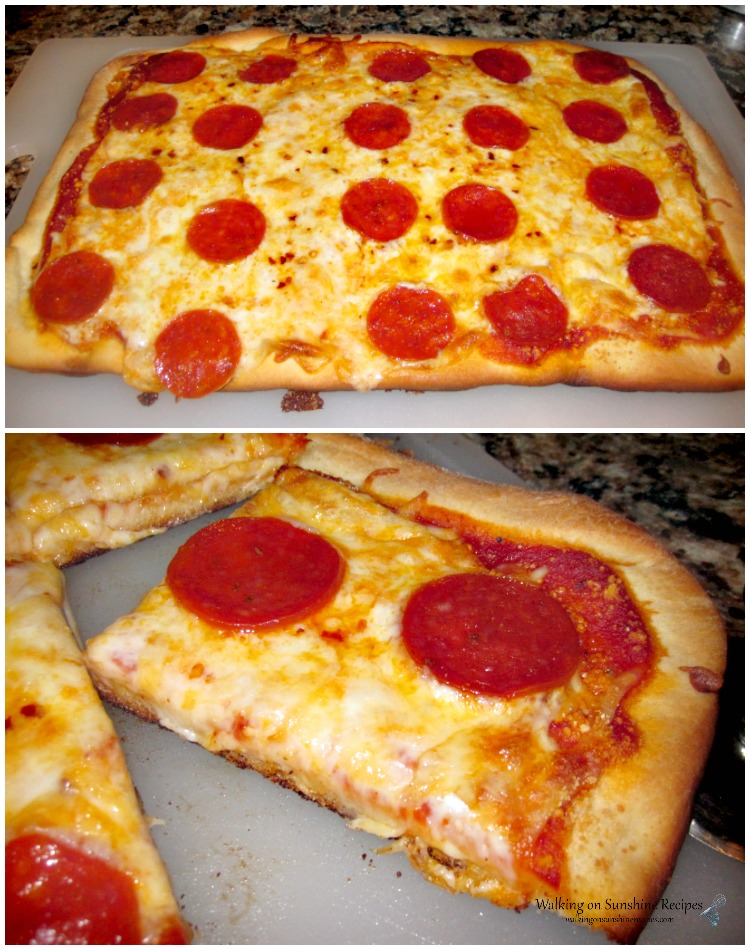
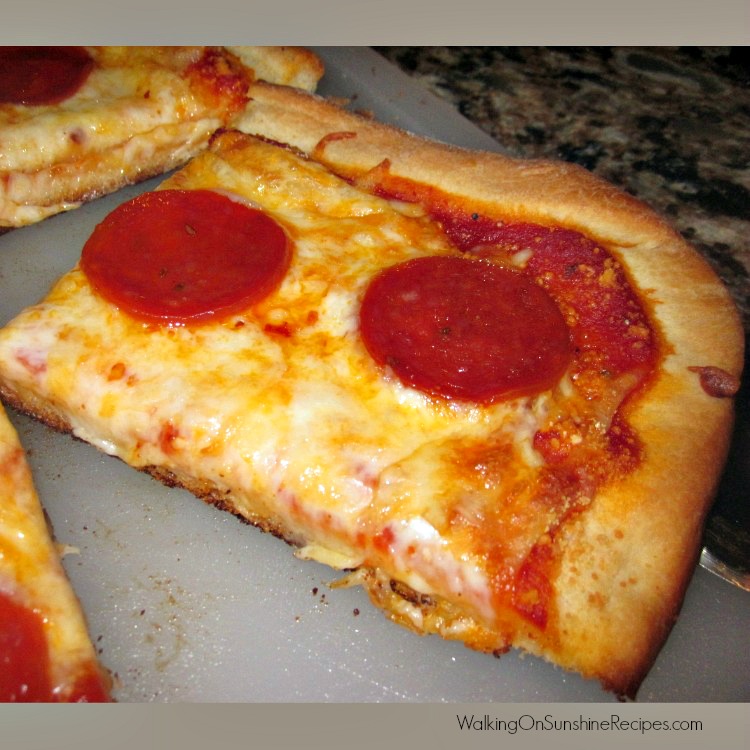
- For this traditional pizza dough, I chose to make it into a rectangle shape, because that's how my grandmother always made her pizzas. You can choose to bake your pizza on a pizza stone or baking trays.
- If you choose to use a pizza stone, you need to preheat it for about 30 minutes in a 435 degree oven. Be careful when removing it from the oven because it will be very hot.
- Spread out the dough into a rectangle shape. You can do this with a rolling pin; or just use your hands. I like to use my hands to stretch and shape the dough, my hubby likes to use a rolling pin. It’s really up to you.
- Spread the marinara sauce on top followed by cheese and your favorite pizza toppings.
Step 5 | Baking Instructions
- Place the baking tray or pizza stone in the preheated 435 degree oven and bake for about 15 to 18 minutes or until the pizza crust is browned and the cheese is melted and bubbly.
Can you freeze store bought pizza dough?
- If for some reason you don't feel like making this easy recipe, you can freeze store bought pizza dough as well. I've frozen purchased pizza dough from my local pizza restaurant, grocery store and even Walmart. They all defrost nicely and bake delicious pizza.
Can you freeze homemade pizza dough?
- Yes! This recipe will make two loaves of pizza dough and I always make one pizza for dinner and freeze the other one for a later time.
- I've even made a few recipes of homemade pizza dough in one day to freeze them all for a later time...especially when the kids will be coming home. It's always good to have homemade pizza dough in the freezer when my kids are coming home for a visit.
This recipe will make two loaves of pizza dough. You can use them both for dinner or you can make one pizza and freeze the other dough for another time.
- After you have divided the dough into the 2 equal parts, you can place the dough rounds on a parchment or waxed paper lined baking sheet.
- Place the baking sheet into the freezer and flash freeze the dough for about 30 minutes.
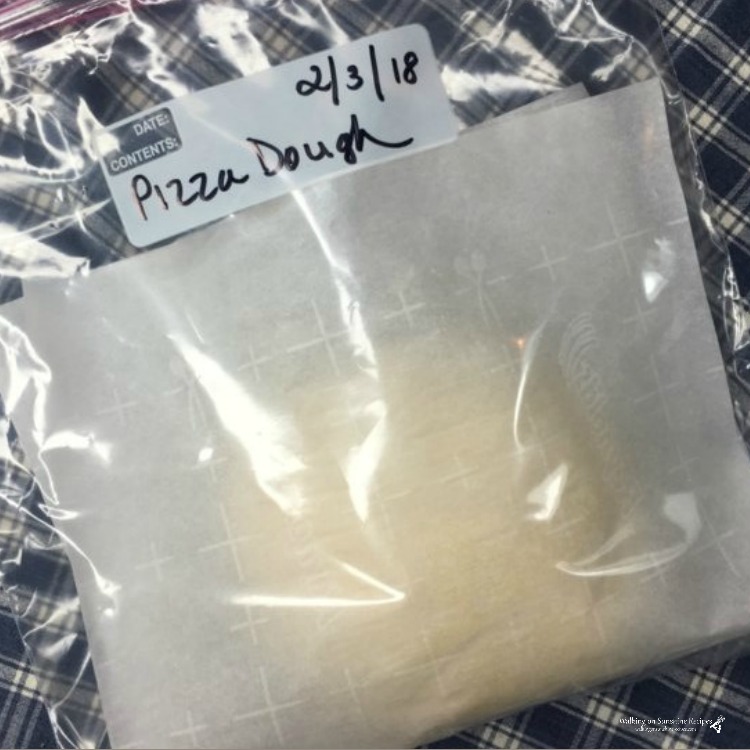
- Remove the dough rounds from the baking sheet and wrap individually in either plastic wrap or parchment paper.
- Place each dough round into a large freezer safe plastic bag and freeze for up to two months.
- When you are ready to use, take the frozen dough round out of the freezer and let it come to room temperature.
- Once defrosted, prepare the pizza as instructed below.
Ready for more great pizza recipes?
- Homemade Pizza Dipping Sauces - I had no clue dipping sauces were so popular until I tasted them a few years ago. These sauces are amazing!
- Mini Pizza Appetizers - use cookie cutters to cut out adorable shapes to make cute mini pizzas for parties, bridal showers or movie night with the family.
- Bacon and Spinach Alfredo Pizza - a new delicious twist on pizza made with a refrigerator pizza dough.
LOVE this recipe? SAVE it for Later!
❤️Tap the heart icon in the lower right corner to add the recipe to your recipe box for easy access anytime.
If you made it, leaving a star rating or quick review is always appreciated and helps other readers too.
Want to save this printed recipe? The Ultimate Meal Planner & Recipe Binder helps you keep recipes organized in one easy place.
🗒️Shopping List
Click the button below to instantly create a shopping list for this recipe.
📖 Recipe Card
Homemade Pizza Dough
Ingredients
- 2 ¼ teaspoons active dry yeast or a .25 ounce packet
- 1 cup warm water 105 - 110 degrees
- 2 to 3 cups flour
- 2 tablespoons olive oil
- 1 teaspoon salt
- 2 teaspoons white sugar
Method
- How to Prepare the Dough
- In a small bowl, add the yeast to one cup of warm water, stir and set aside for about 5 minutes to proof.
- When the yeast starts to get bubbly and foamy, it’s ready.
- In the bowl of a KitchenAid Mixer, add the salt, sugar and olive oil with the dough hook attached. Then add the proofed yeast to the bowl as well.
- Begin by adding one cup of flour while the mixer is on low speed until it is combined with the wet ingredients. Then add the second cup of flour.
- The mixture should start to come together into a ball that is just a bit sticky.
- How to Knead the Dough
- You can do this two ways, by hand or let the mixer do it. I prefer to use the mixer. Set a timer for 5 minutes and let the machine continue to mix the dough on low speed.
- If the dough starts sticking to the sides of the mixer, you can add a little more flour.
- After 5 minutes you should have a nice smooth ball of dough that is slightly tacky and springs back when you poke it.
- How to Let the Dough Rise
- Add a little oil to another clean bowl. Swirl the oil around so it covers the sides of the bowl.
- Add the dough to this bowl and cover with plastic wrap. Place in a warm area until the dough has doubled in size; about 1 to 2 hours.
- After the dough has risen, lightly “punch the dough” and then turn it out on a floured surface.
- Shape the dough to fit the pan you are using and then prepare the pizza by adding your favorite marinara sauce, cheese and pizza toppings.
- How to Bake the PizzaPlace the baking tray or pizza stone in a preheated 435 degree oven and bake for about 15 to 18 minutes or until the pizza crust is browned and the cheese is melted and bubbly.
Nutrition
Notes
Tried this recipe?
Let us know how it was!
This recipe has been updated since it first appeared in 2017 with new photos and a new printable recipe card that includes nutritional information. I hope you enjoy the updates as much as I enjoyed working on them!


Deborah Adney says
Excellent crust, will make this my go to pizza crust.
Lois says
Thank you for the comment and 5-star rating! This is the recipe I use every week for our Saturday pizza night!
Donna @ Modern on Monticello says
Not only am I now craving pizza but I am inspired to give this recipe a try for our next pizza night. Thanks for sharing with us this week at #HomeMattersParty
Young Adventures... says
I was one of those people that was afraid of yeast for a very long time. I think part of it was that my Mom never made yeast breads so I never saw how it was done. I finally got over my fear of yeast in the last few years, and I am so glad that I did! Your pizza looks so yummy Lois, and I love that you have a Saturday night tradition. Enjoy the rest of your weekend!
Rachel