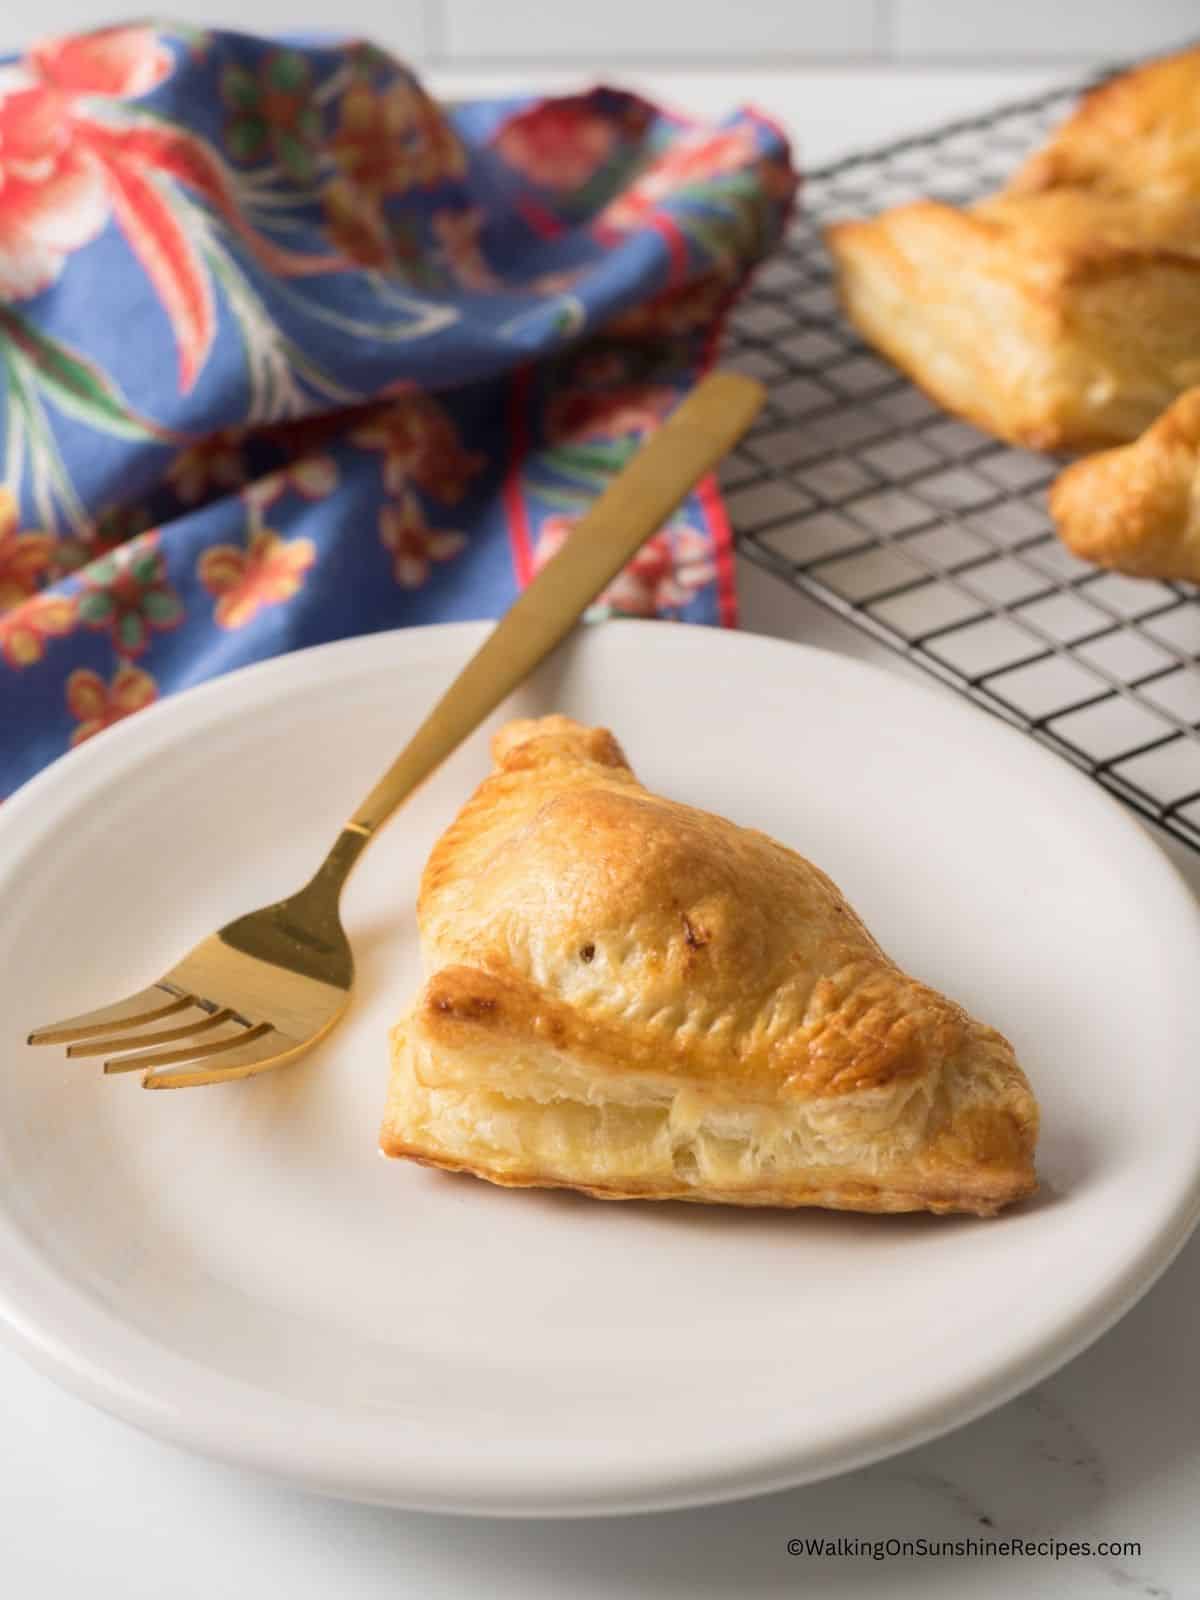
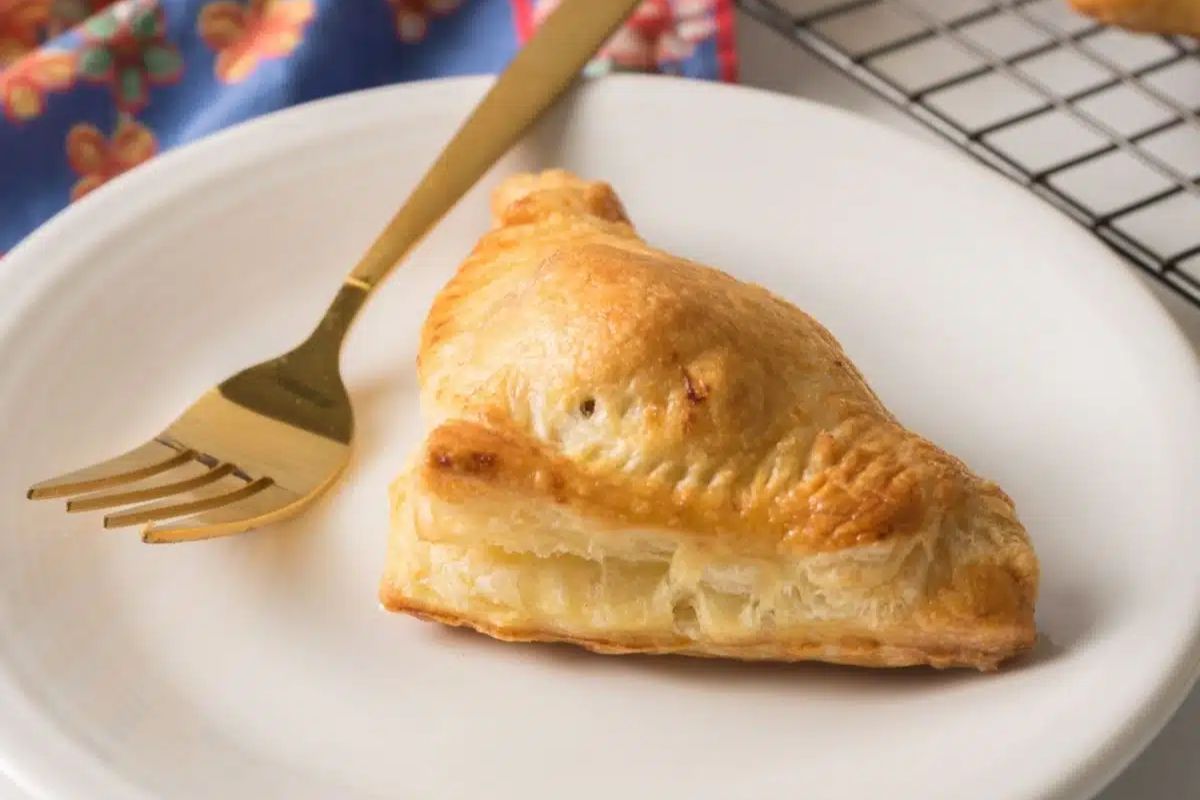
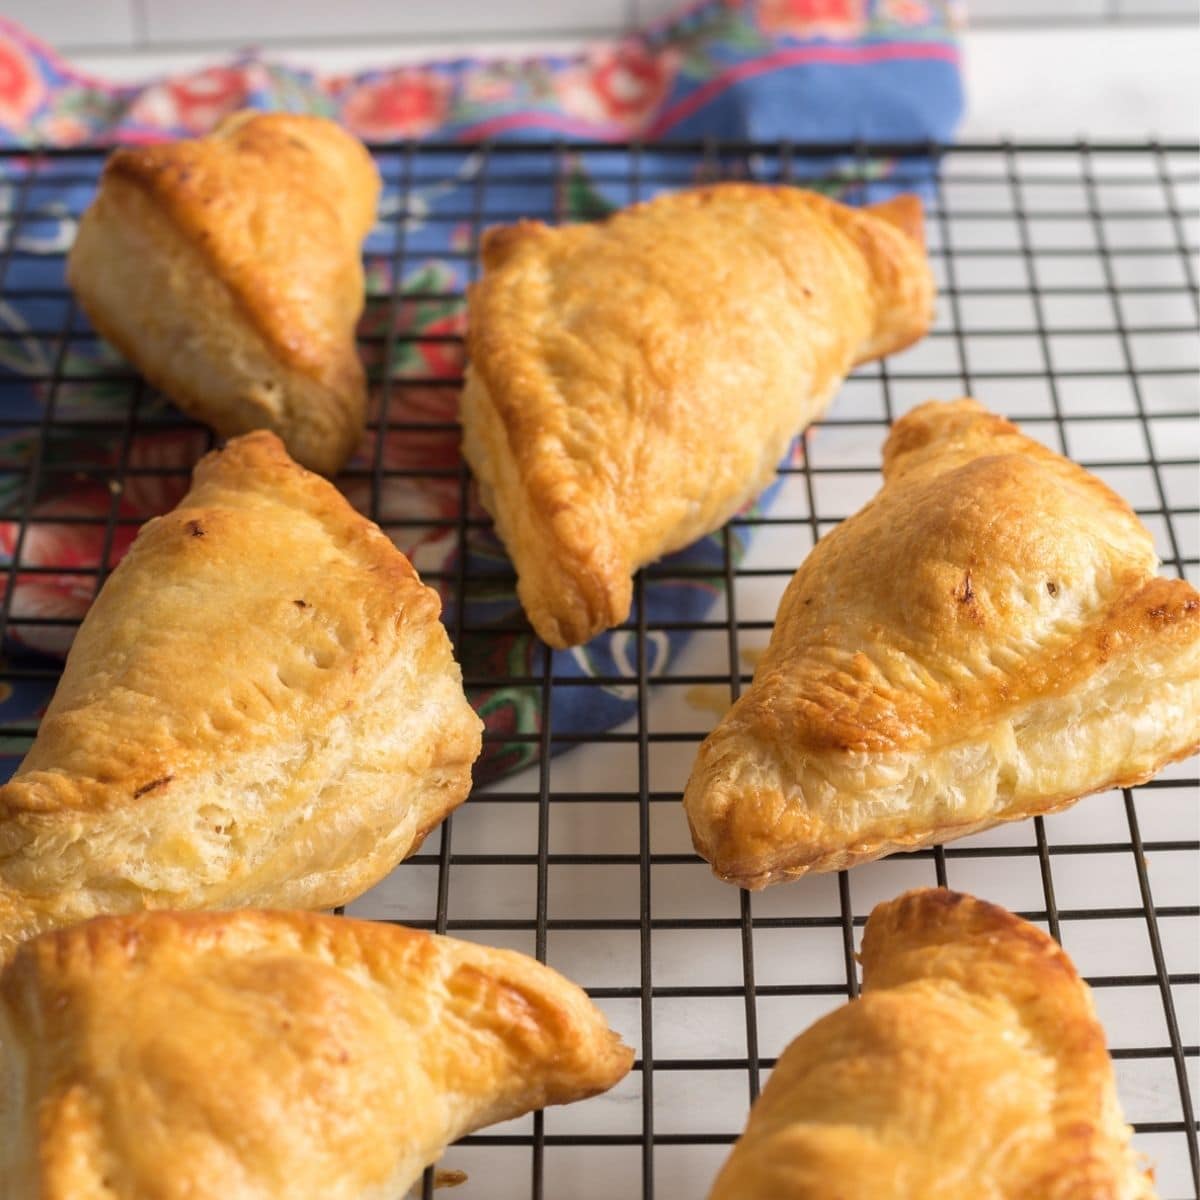
Filled with shredded chicken, cream cheese, mozzarella cheese, and bacon, these Chicken Puff Pastry Pockets are perfect for a quick dinner recipe.
These "homemade hot pockets" are a simple recipe yet they're full of flavor! The ingredients are wrapped in flaky, buttery sheets of puff pastry.
This clever recipe is a great way to get dinner on the table without slaving away in the kitchen for hours. Add a tossed salad and dinner is served!
Another savory puff pastry recipe that will taste like you spent all day in the kitchen cooking!
Want to Save This Recipe?
Enter your email & I'll send it to your inbox. Plus, get great new recipes from me every week!
By submitting this form, you consent to receive emails from Walking on Sunshine Recipes.
My son loved Hot Pockets when he was in high school. So I knew he would really enjoy this homemade version I created a few years ago.
Using puff pastry instead of traditional pie crust dough is key to making this recipe work! Puff pastry is very versatile and easy to work with!
It creates a light, buttery and flaky dough that's crispy when you bite into. I've never tried to make it on my own though. I always use store-bought frozen puff pastry dough...and you should too!
Looking for more Puff Pastry Savory Recipes? Try my Tomato and Mozzarella Puff Pastry Bites, or my Asparagus and Cheese Puff Pastry Tart.
Table of Contents
- How to Cut Puff Pastry
- 🛒Helpful Kitchen Tools
- 📋Ingredients
- Recipe Substitutions and Variations
- 🥣Step-by-Step Instructions
- How to Form the Puff Pastry Pockets
- Expert Tip
- Brush with Egg Wash
- Baking Instructions
- LOVE this recipe? SAVE it for Later!
- 🍽 Make it a Meal
- Prep Ahead Tips
- Storage Tips
- Freezing Tips
- Thawing and Reheating Tips
- Recipe FAQ's
- More Recipes to Love
- Mouth-Watering Recipes Ready in 30 Minutes for Busy Weeknights
- 📖 Recipe Card
- 💬 Comments
How to Cut Puff Pastry
The best way to cut puff pastry is with a sharp knife. pastry cutter or a pizza cutter. Using a dull blade will result in uneven edges and misshapen pieces.
Gently roll the puff pastry out onto a lightly floured surface.
Place your chosen shape onto the pastry and then use your knife to carefully trace around the shape, making sure not to press too hard.
Then, carefully lift off the excess pastry away from the desired shape, place it on another piece of parchment paper, and bake according to recipe instructions.
🛒Helpful Kitchen Tools
More InformationMore InformationMore InformationMore InformationMore InformationMore Information
📋Ingredients
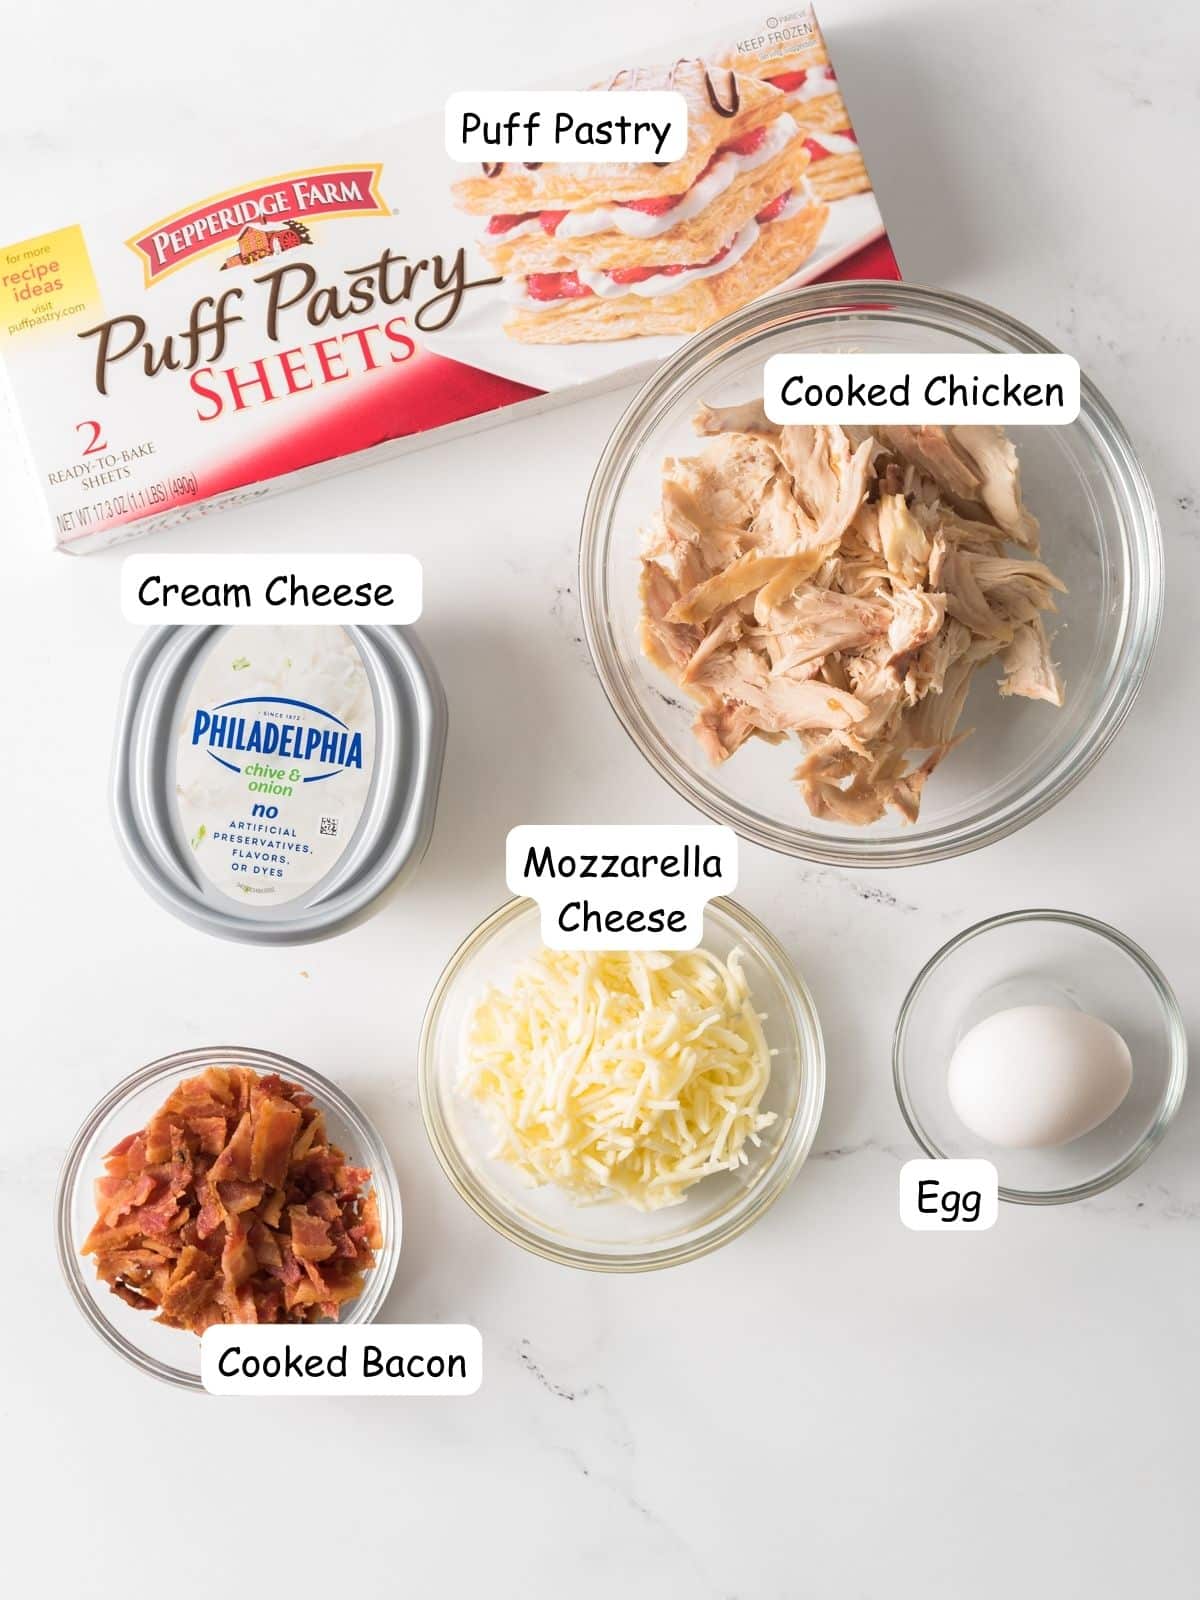
Here's a quick overview of the ingredients for this recipe. Find the exact amounts and click the Instacart button to easily add them to your cart – all in the printable recipe card below!
Recipe Substitutions and Variations
- There are so many ways you can make this recipe your own!
- Make your own pizza pockets by using your favorite tomato sauce and pizza toppings.
- Try making a chicken pot pie version! Place a spoonful of my homemade chicken pot pie filling into the puff pastry and continue with the recipe as directed.
- Cooked Chicken - You can use leftover roast chicken, which is what I usually do. Or you can poach chicken on the stove or cook a larger batch in the instant pot. Another easy way is to use a pre-cooked rotisserie chicken, simply remove the skin and bones from the chicken before shredding.
- Chive and Onion Cream Cheese - For this recipe I used a flavored cream cheese. You can use plain cream cheese if you prefer or even a different flavor. The chive and onion flavor is very mild, but adds a really nice taste to the recipe.
🥣Step-by-Step Instructions
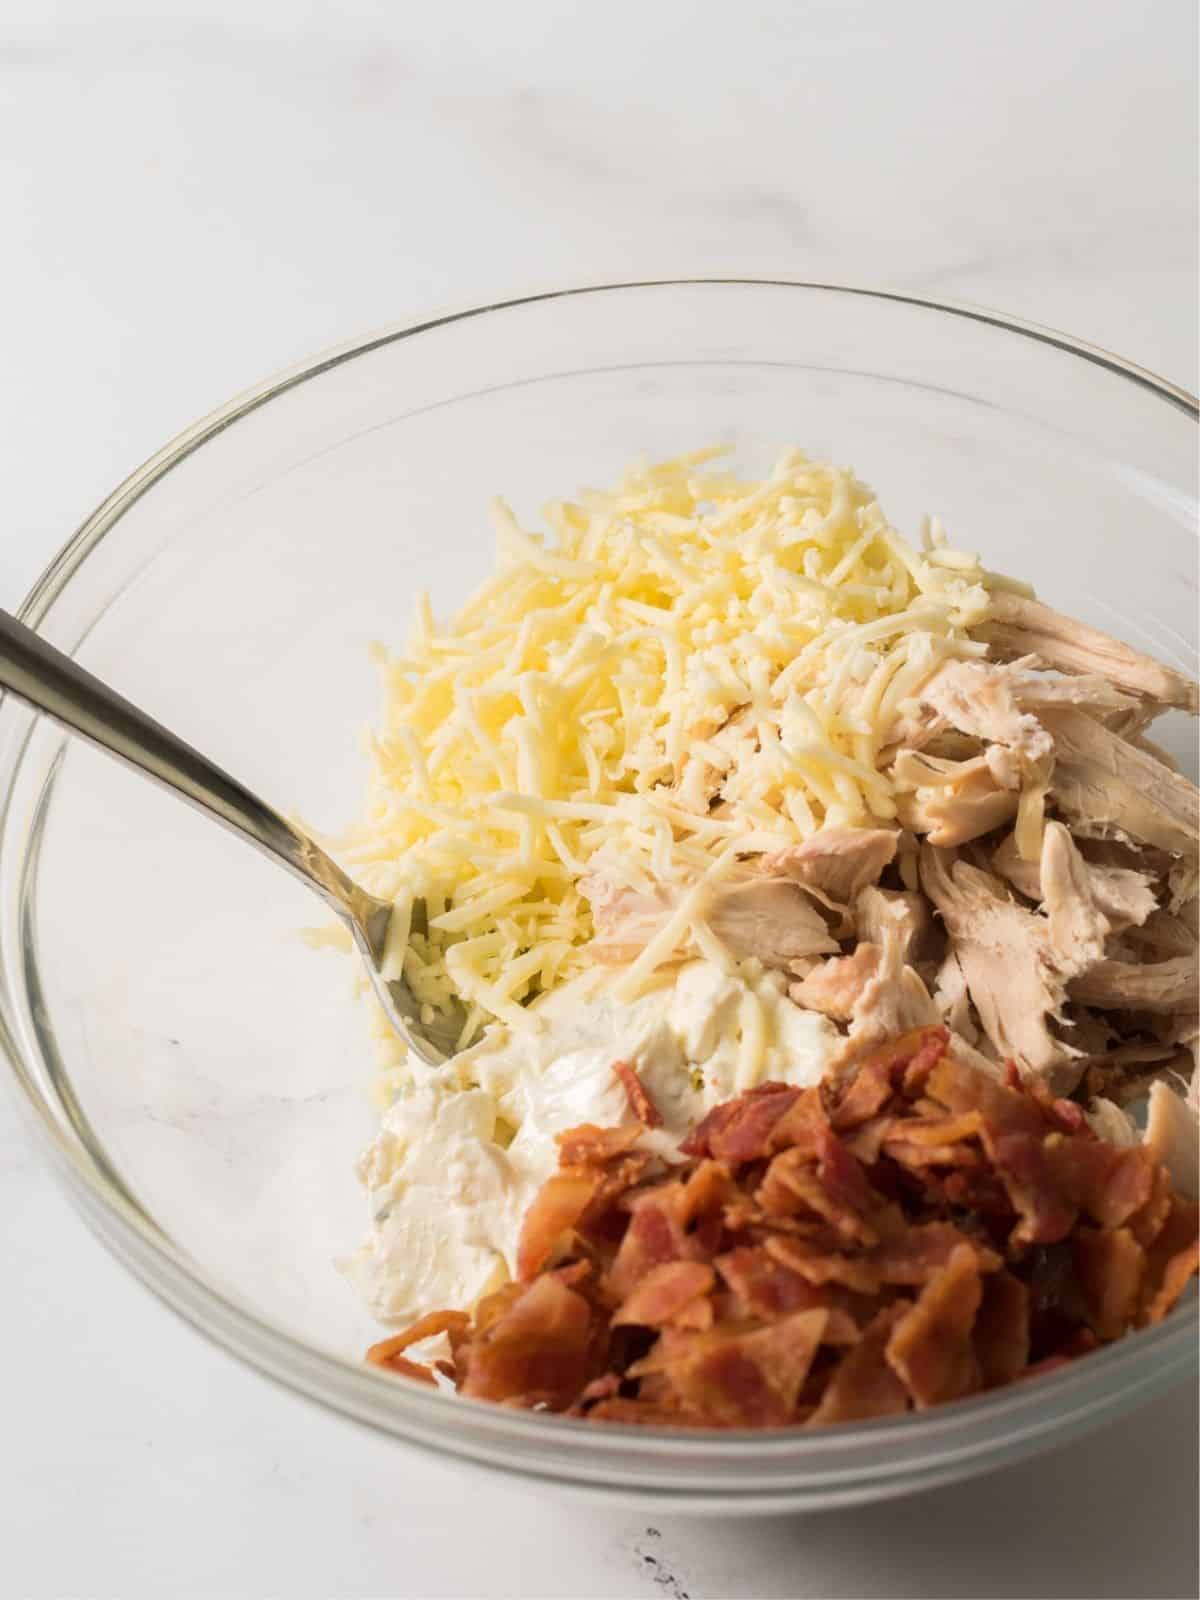
Step 1: Place the cream cheese in a microwave-safe bowl and microwave on high for 15-30 seconds. This will soften the cream cheese, making it easier to mix with other ingredients.
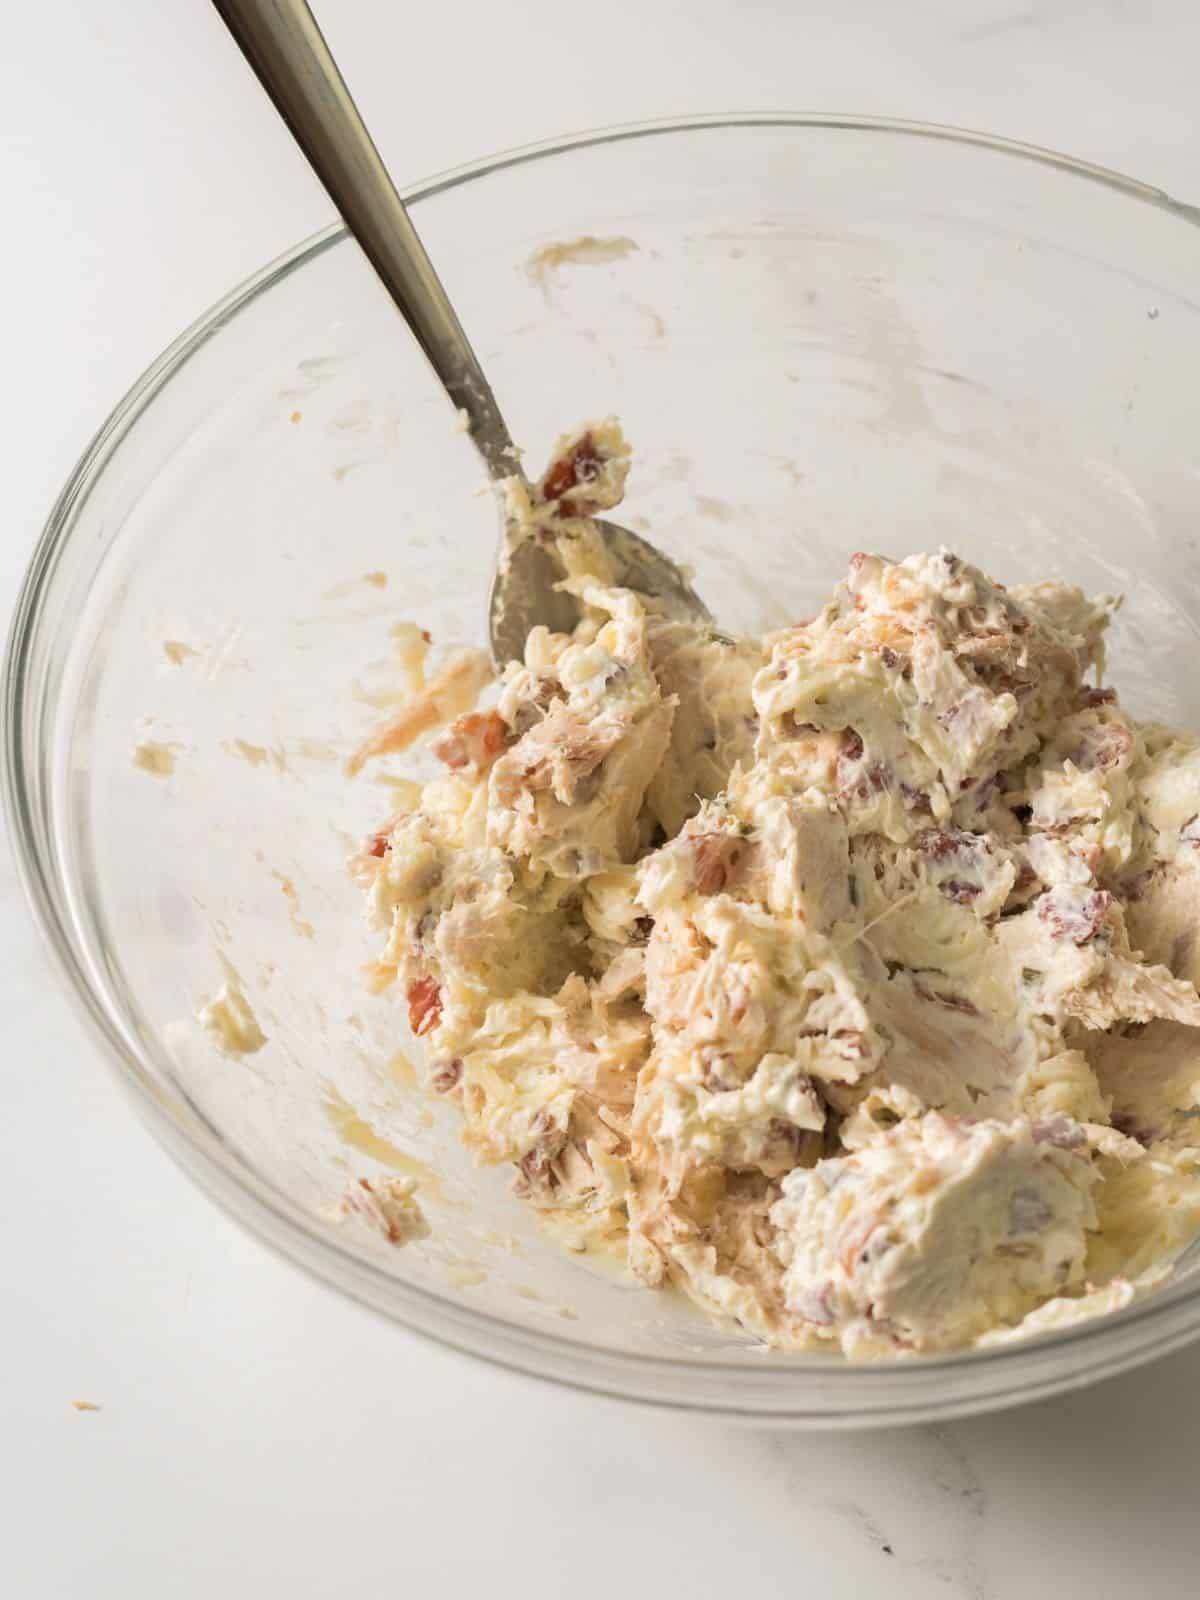
Step 2: Mix the shredded chicken, bacon, and mozzarella cheese into the cream cheese. Set aside while you prepare the puff pastry.
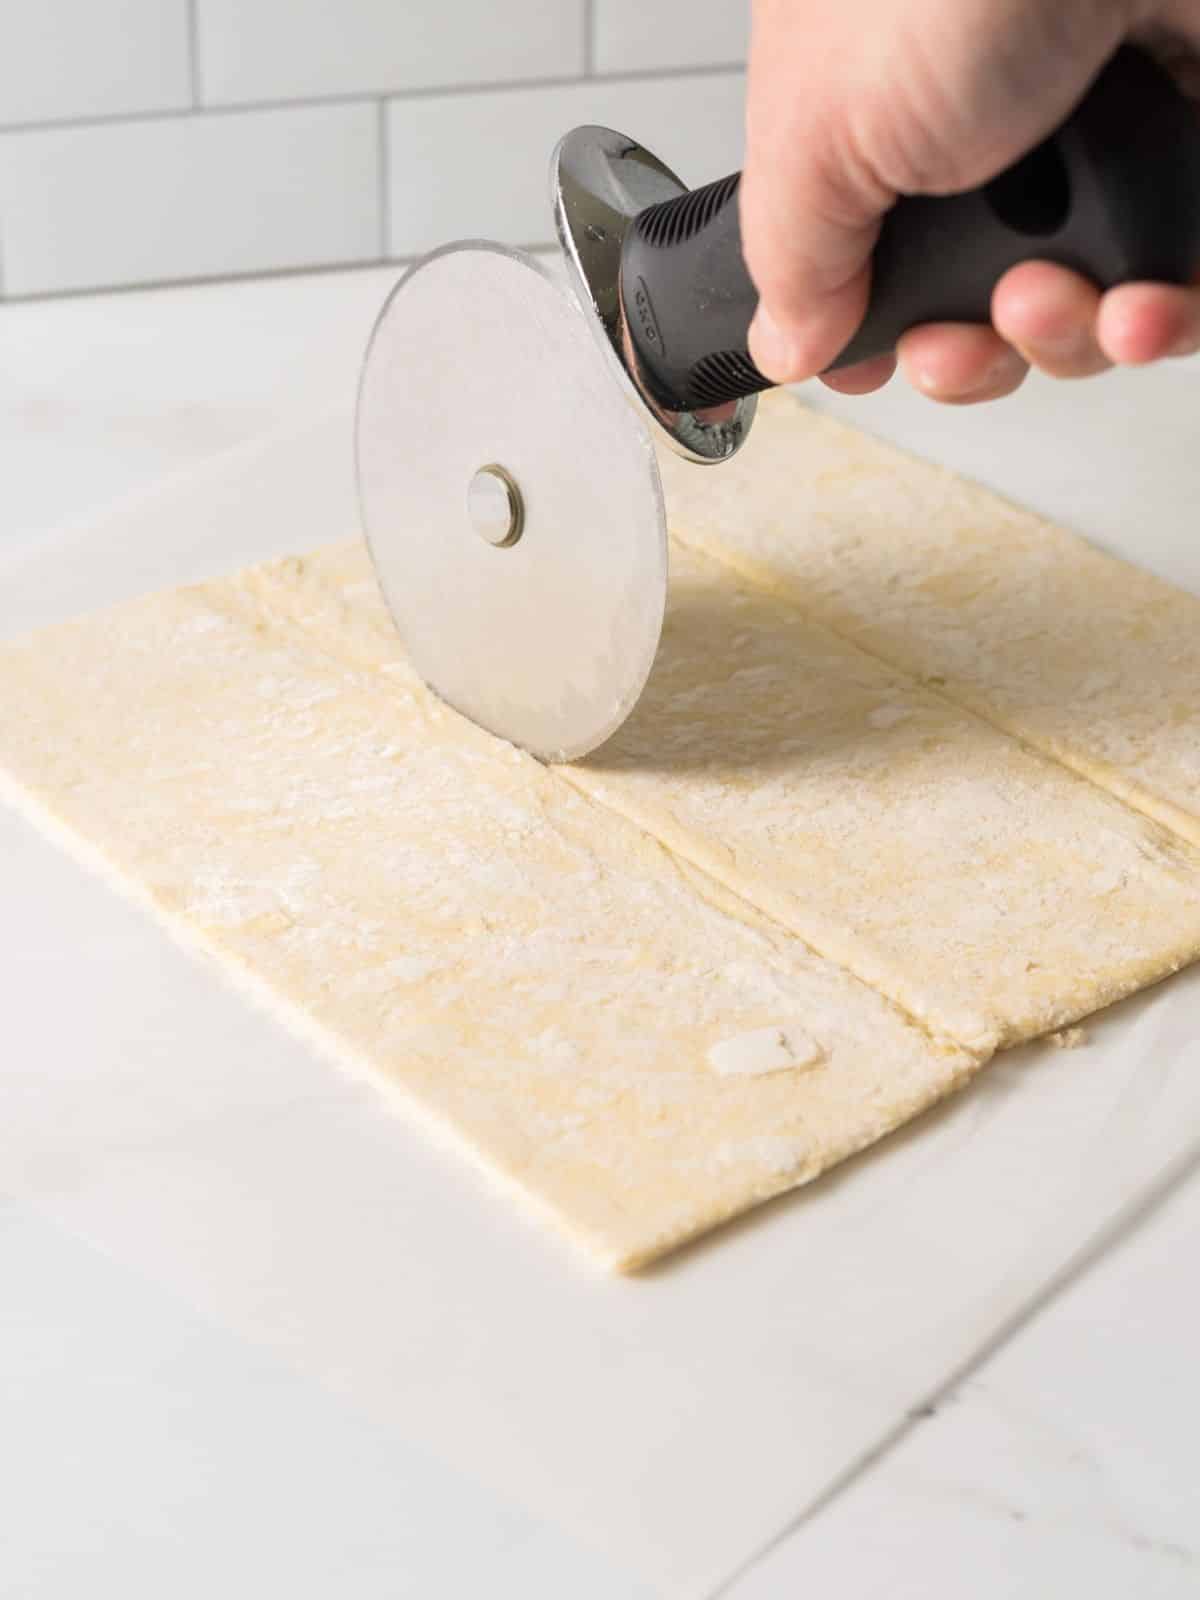
Step 3: Lightly dust your work area with flour. Roll out one sheet of puff pastry until it forms a 12x12 square.
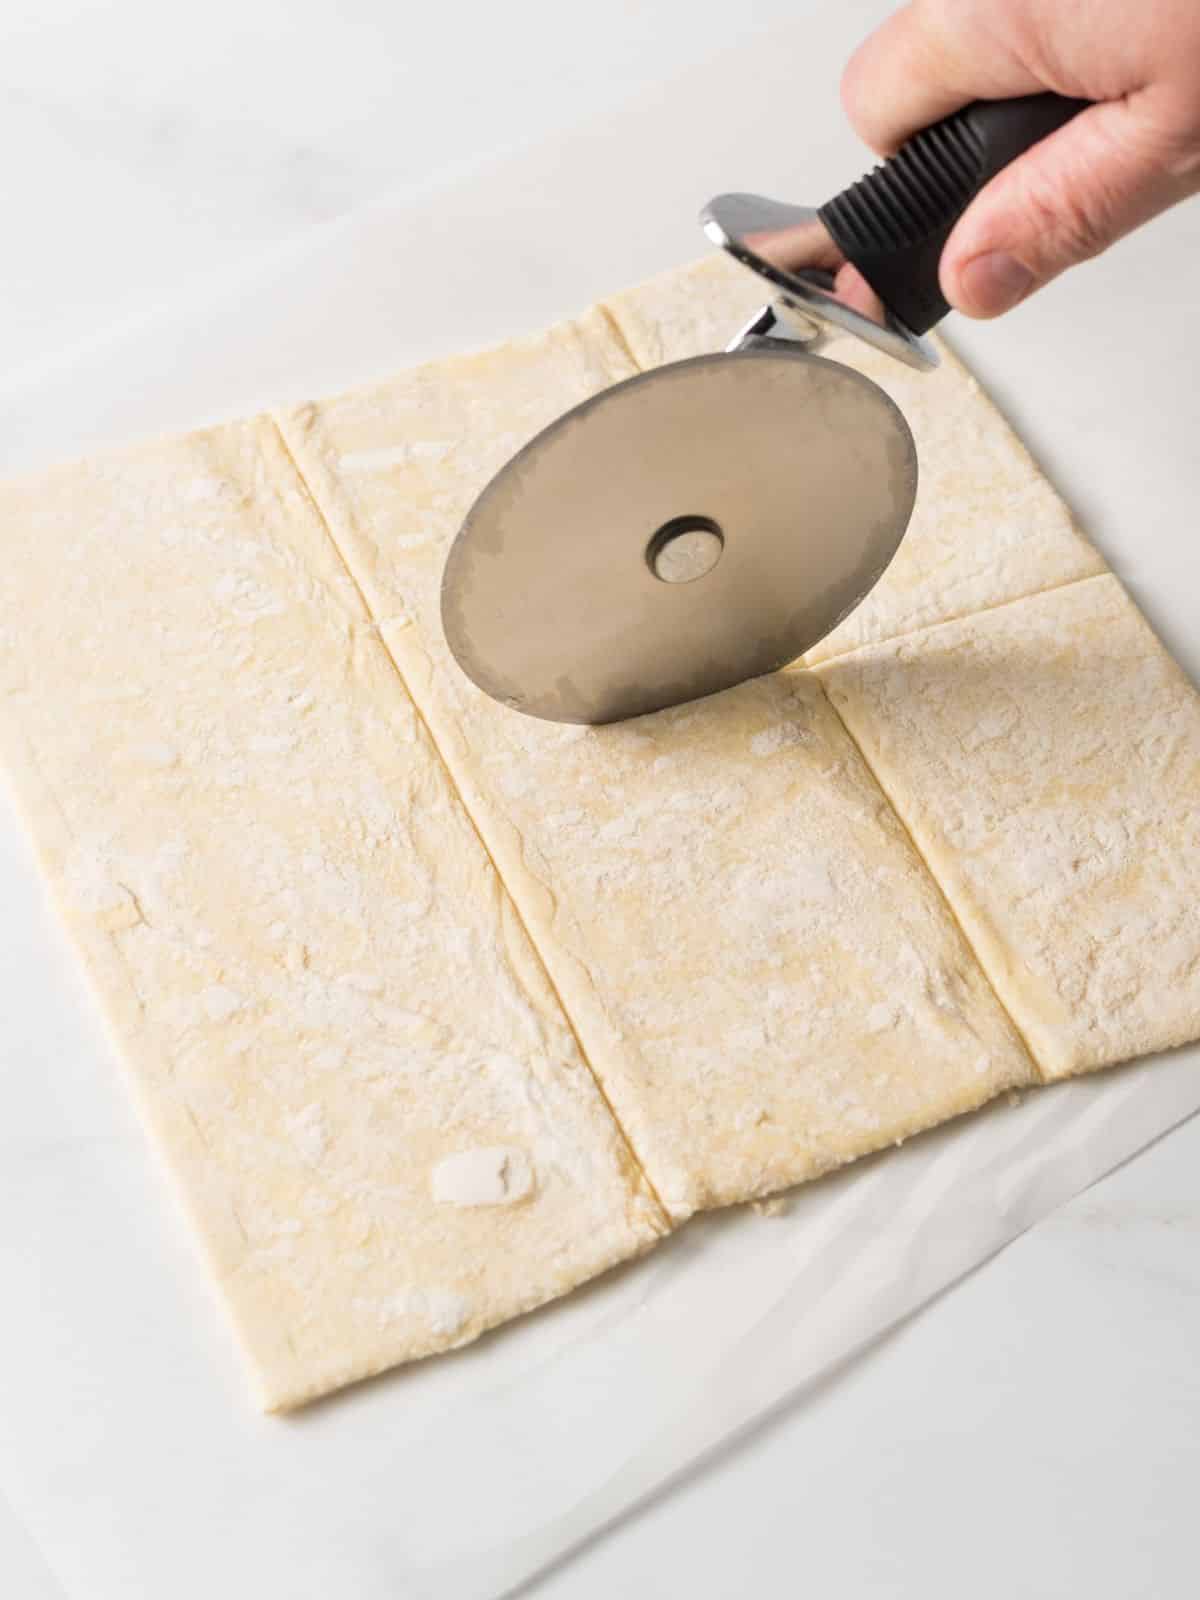
Step 4: Using a sharp knife or a pizza cutter. Carefully cut the puff pastry square into six squares of equal size.
How to Form the Puff Pastry Pockets
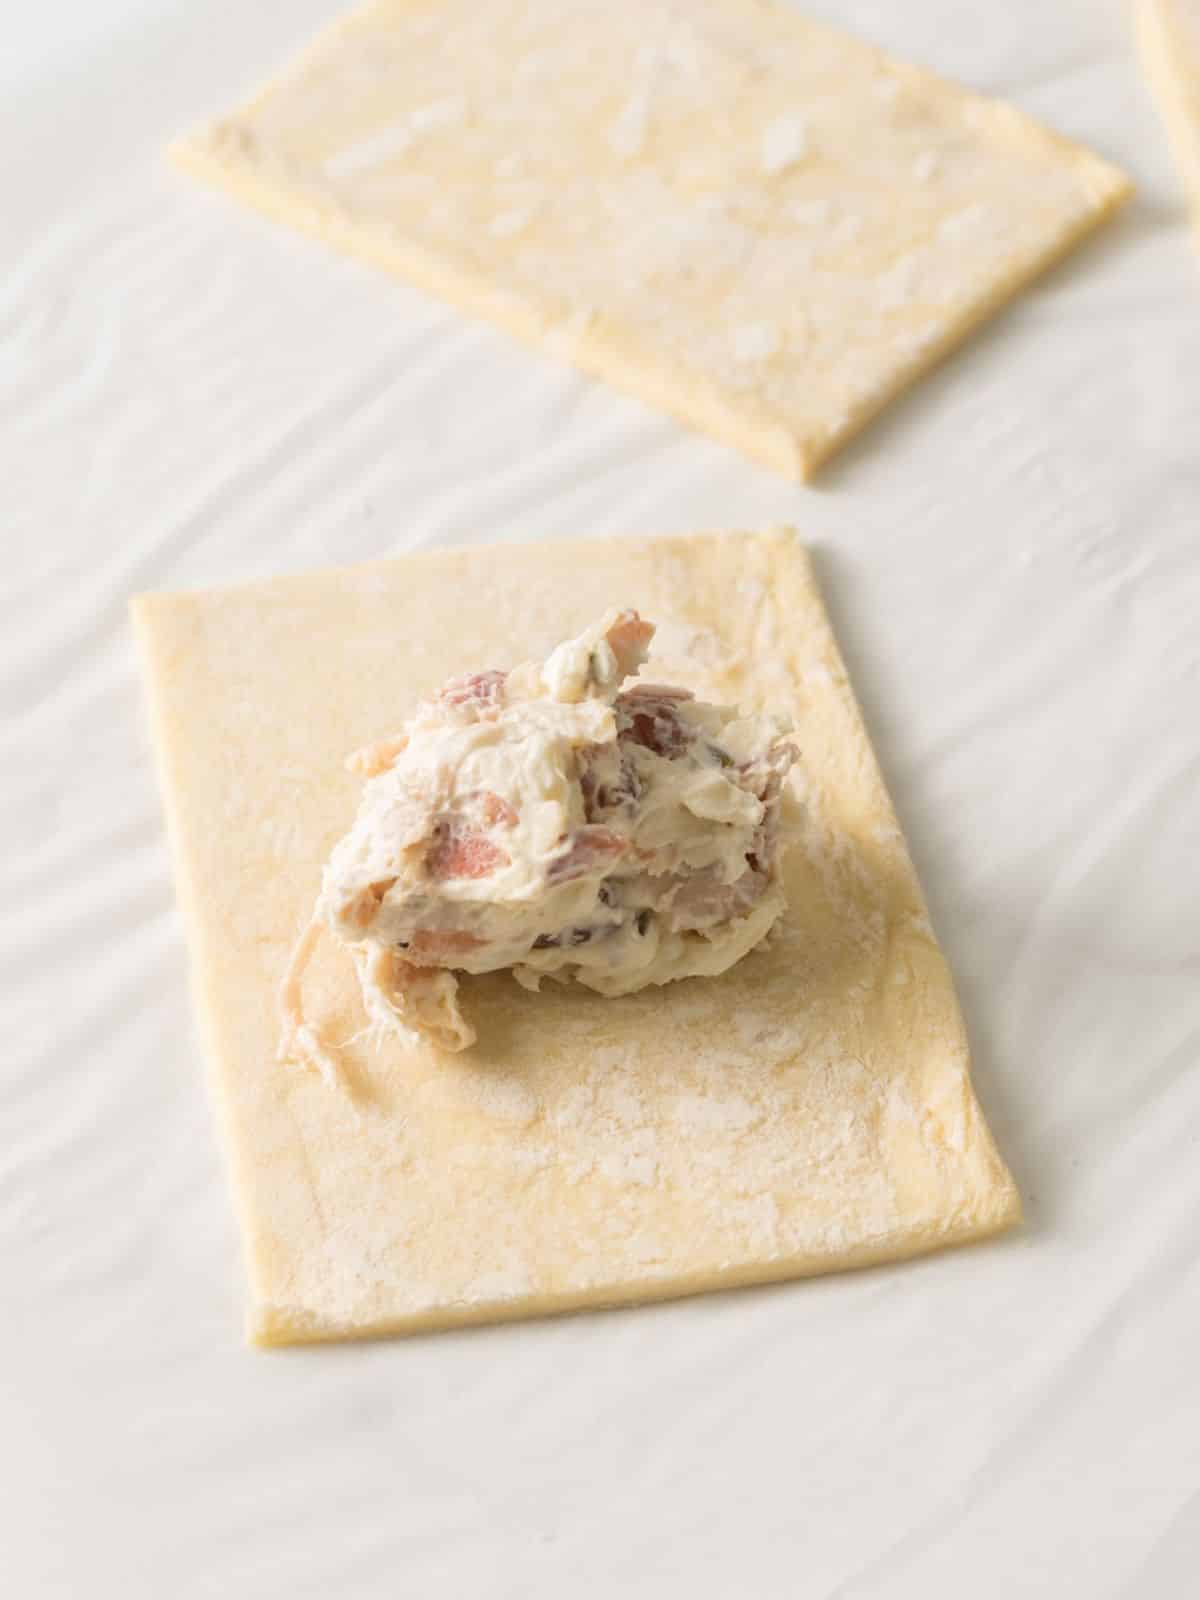
Step 5: Place about 2 tablespoons of the chicken and cheese mixture in the center of each square. Aim for a generous amount, but avoid overfilling to help with sealing later.
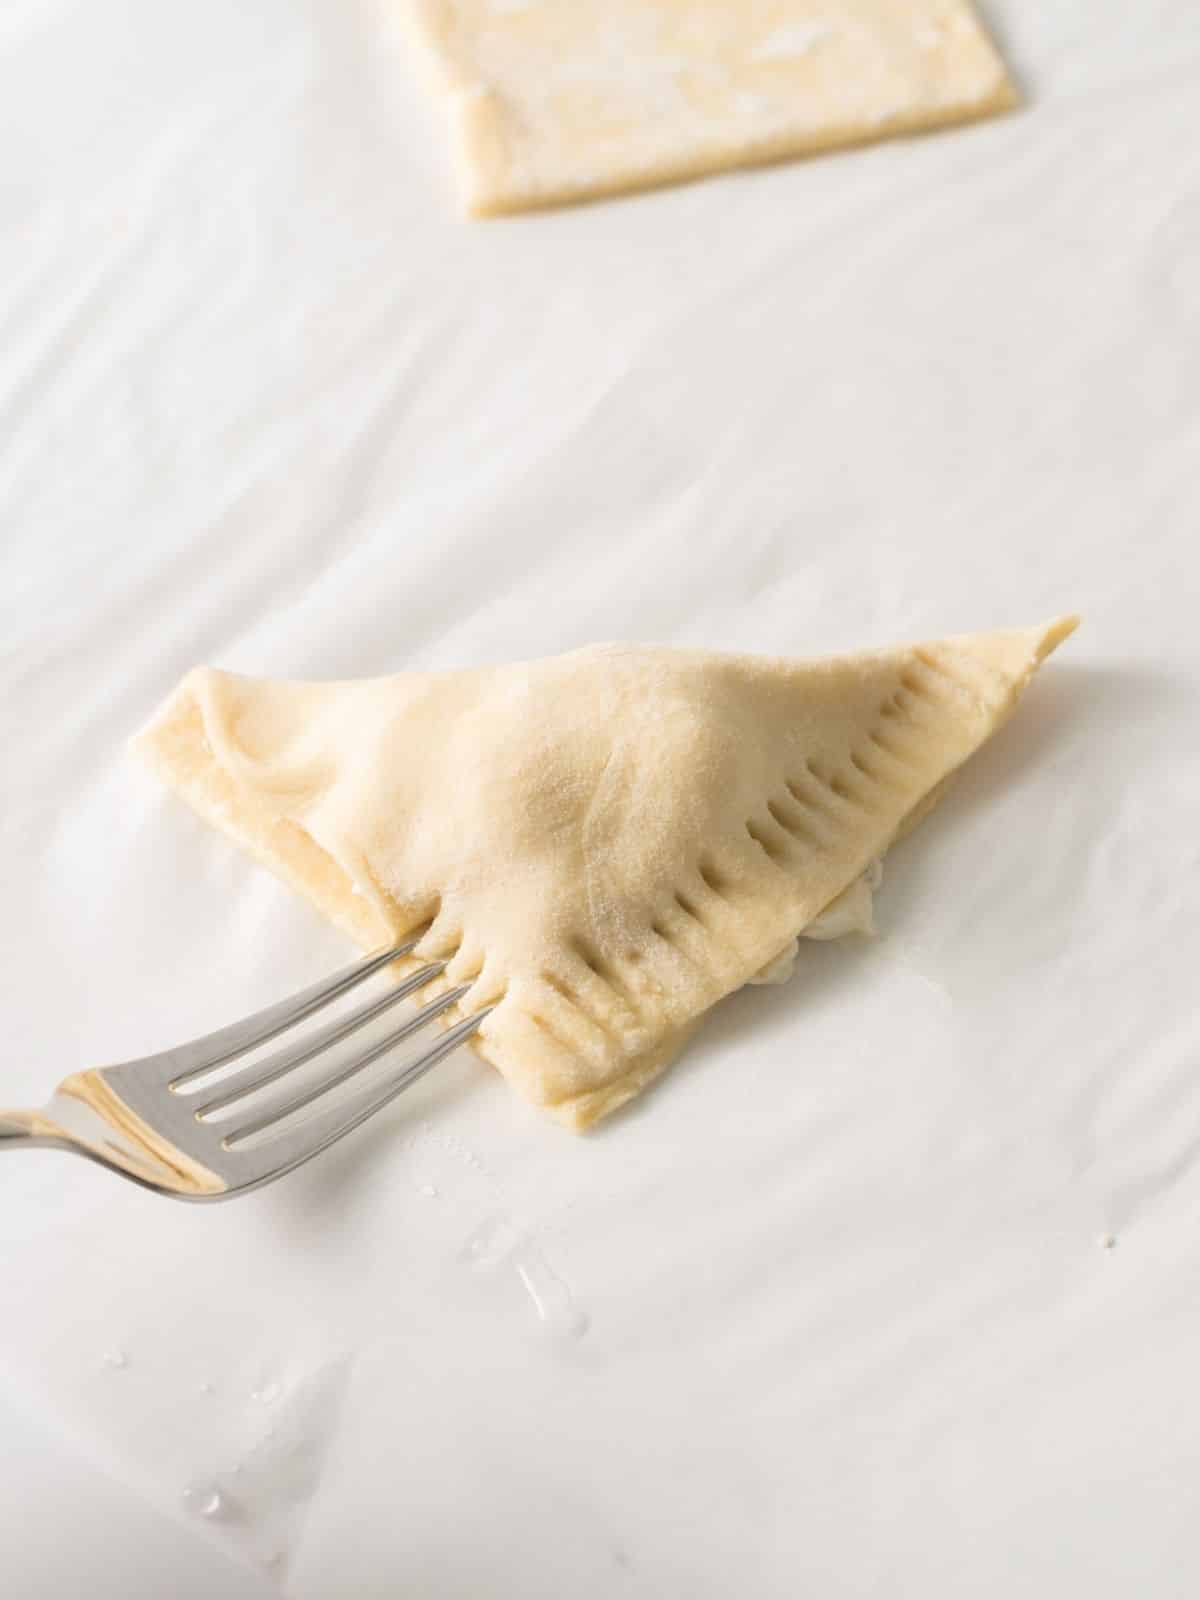
Step 6: Dip a pastry brush in water and lightly brush the edges of two sides on each square. Fold those sides together to make triangles. Use a fork to pinch the edges shut.
Expert Tip
Placing the baking tray in the refrigerator or even freezer to chill the puff pastry one more time before placing it in the hot oven will help chill the butter in the layers and give the recipe a better "puff" as it bakes.
Brush with Egg Wash
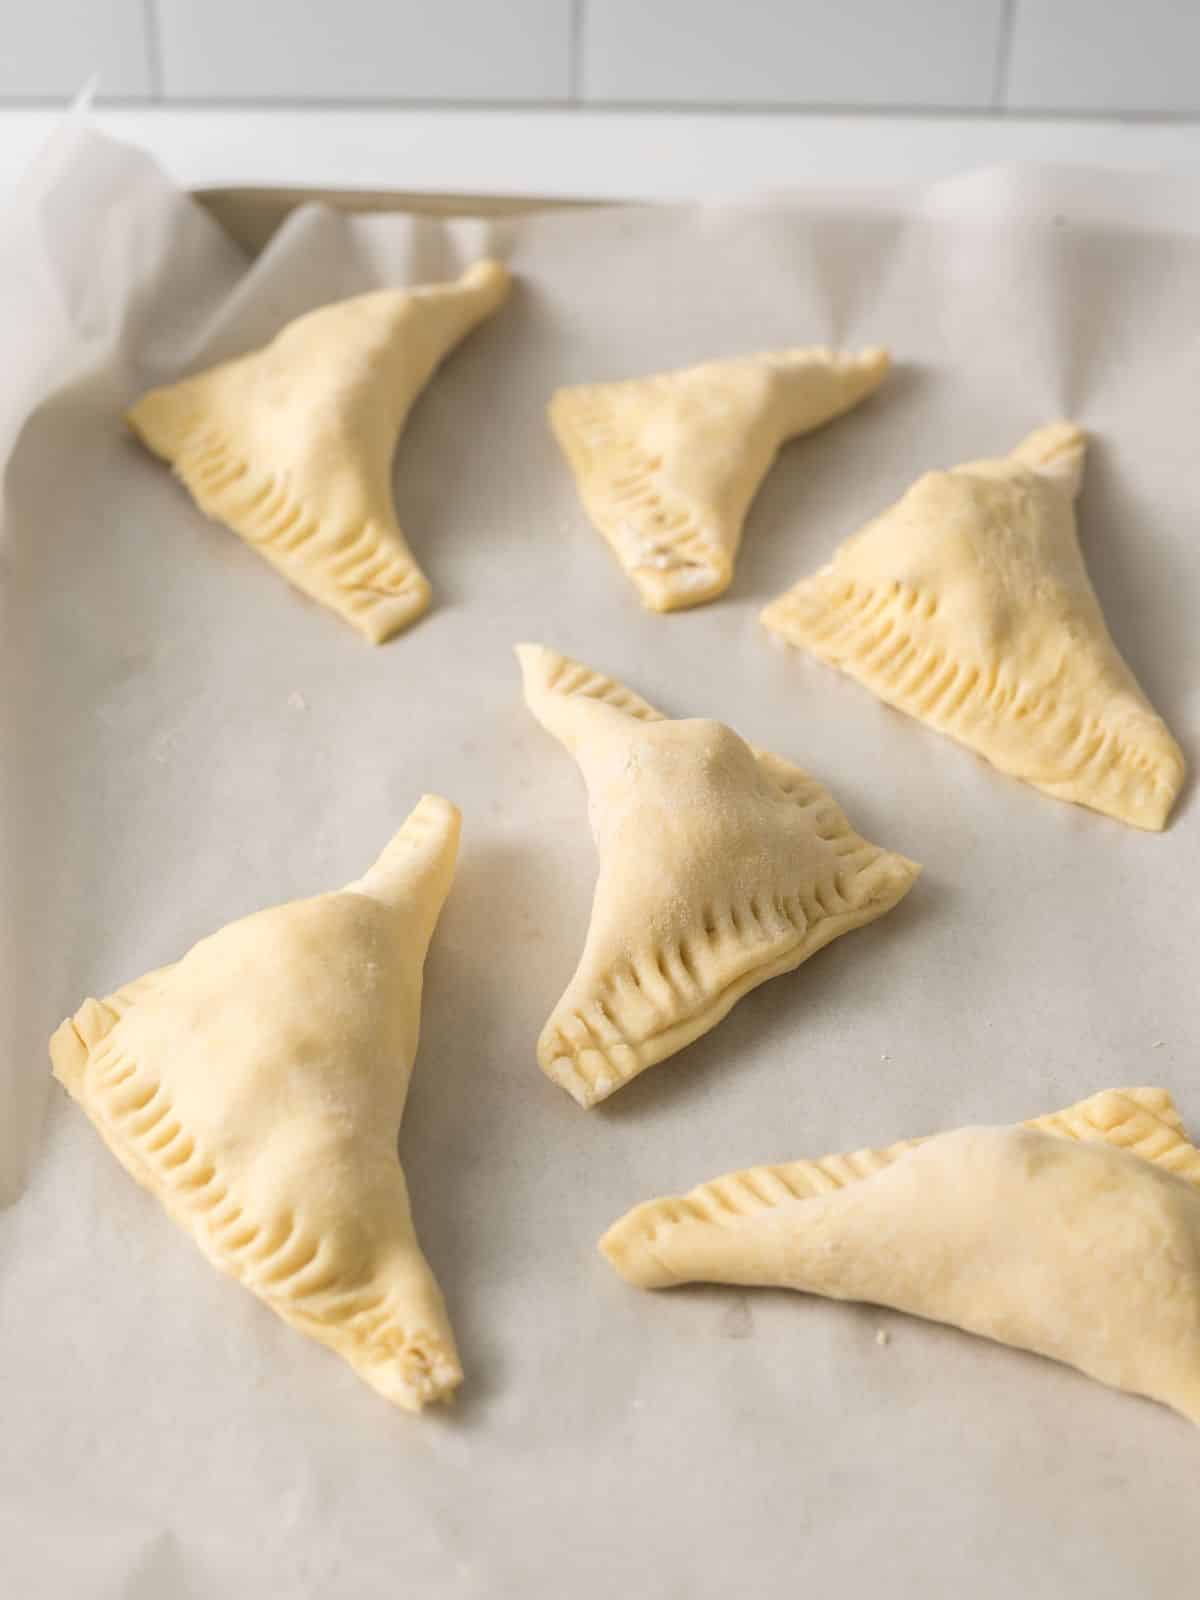
Step 7: Line a baking sheet with parchment paper. Arrange the puff pastry pockets on the prepared baking sheet.
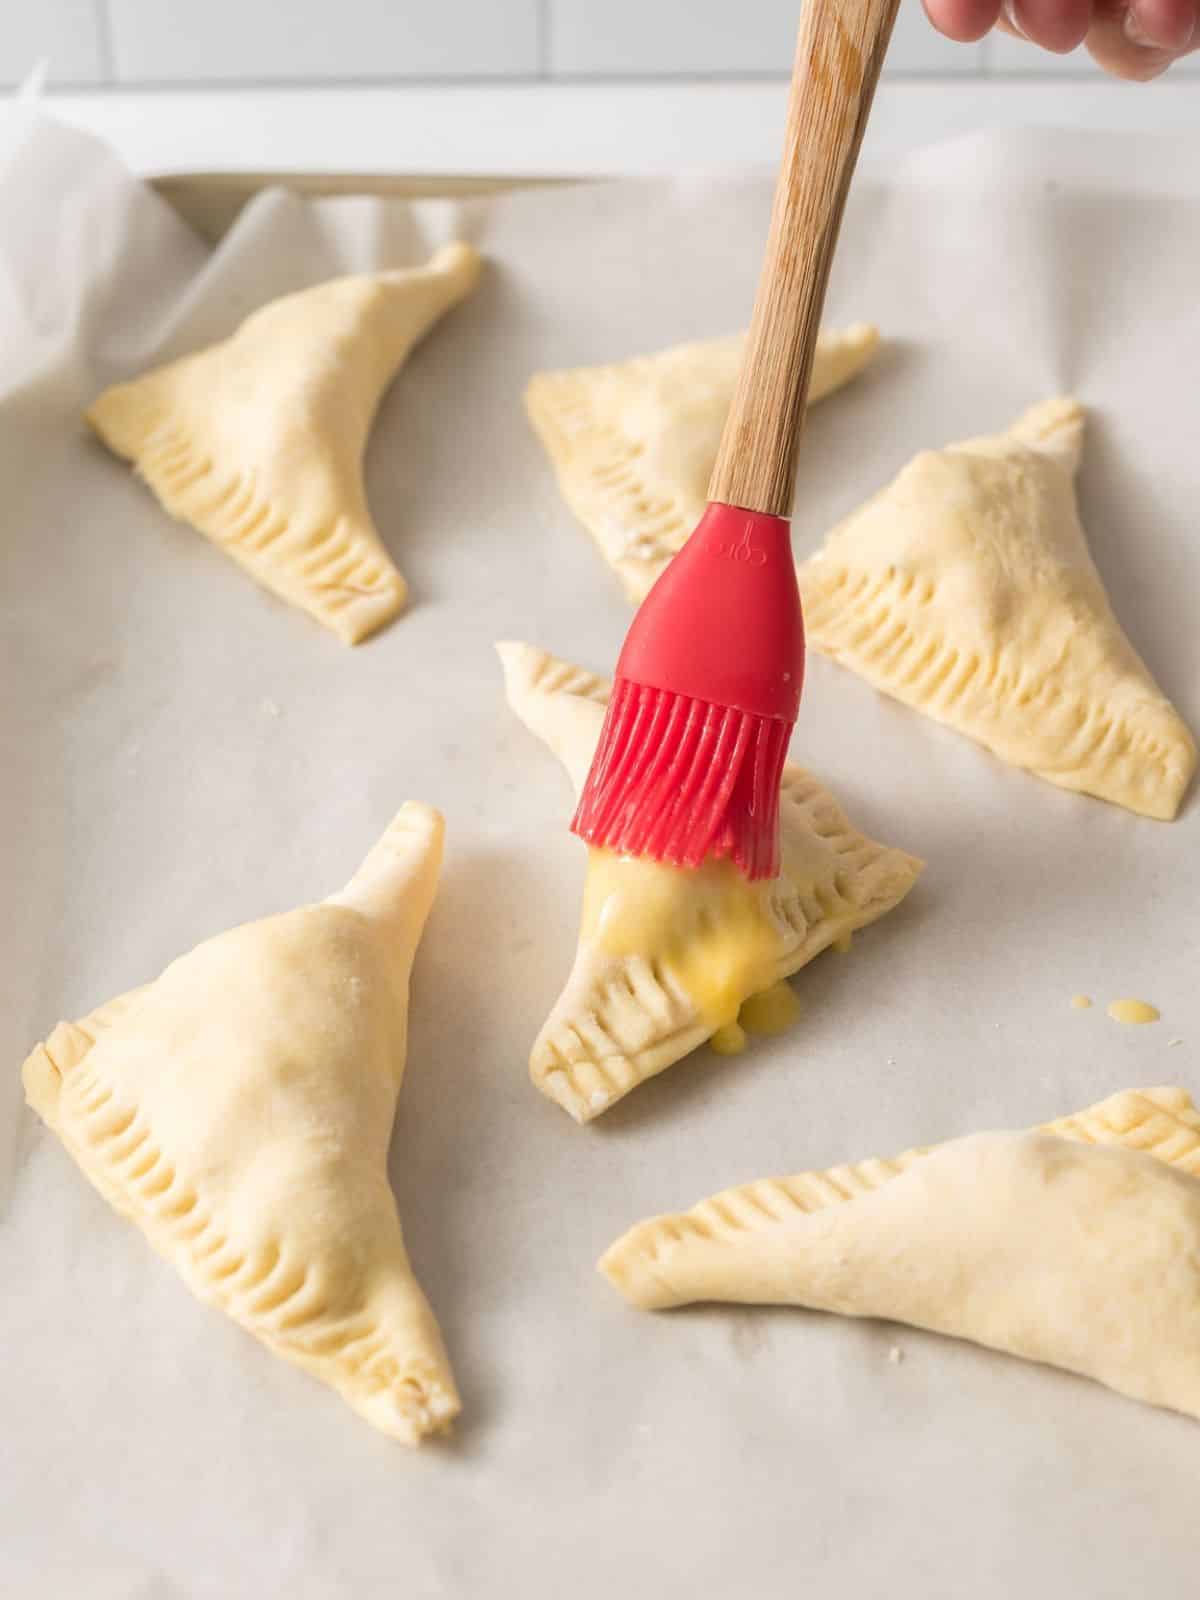
Step 8: Then place the tray in the refrigerator to chill for 30 minutes. Remove the tray and brush each pocket with the egg wash.
Baking Instructions
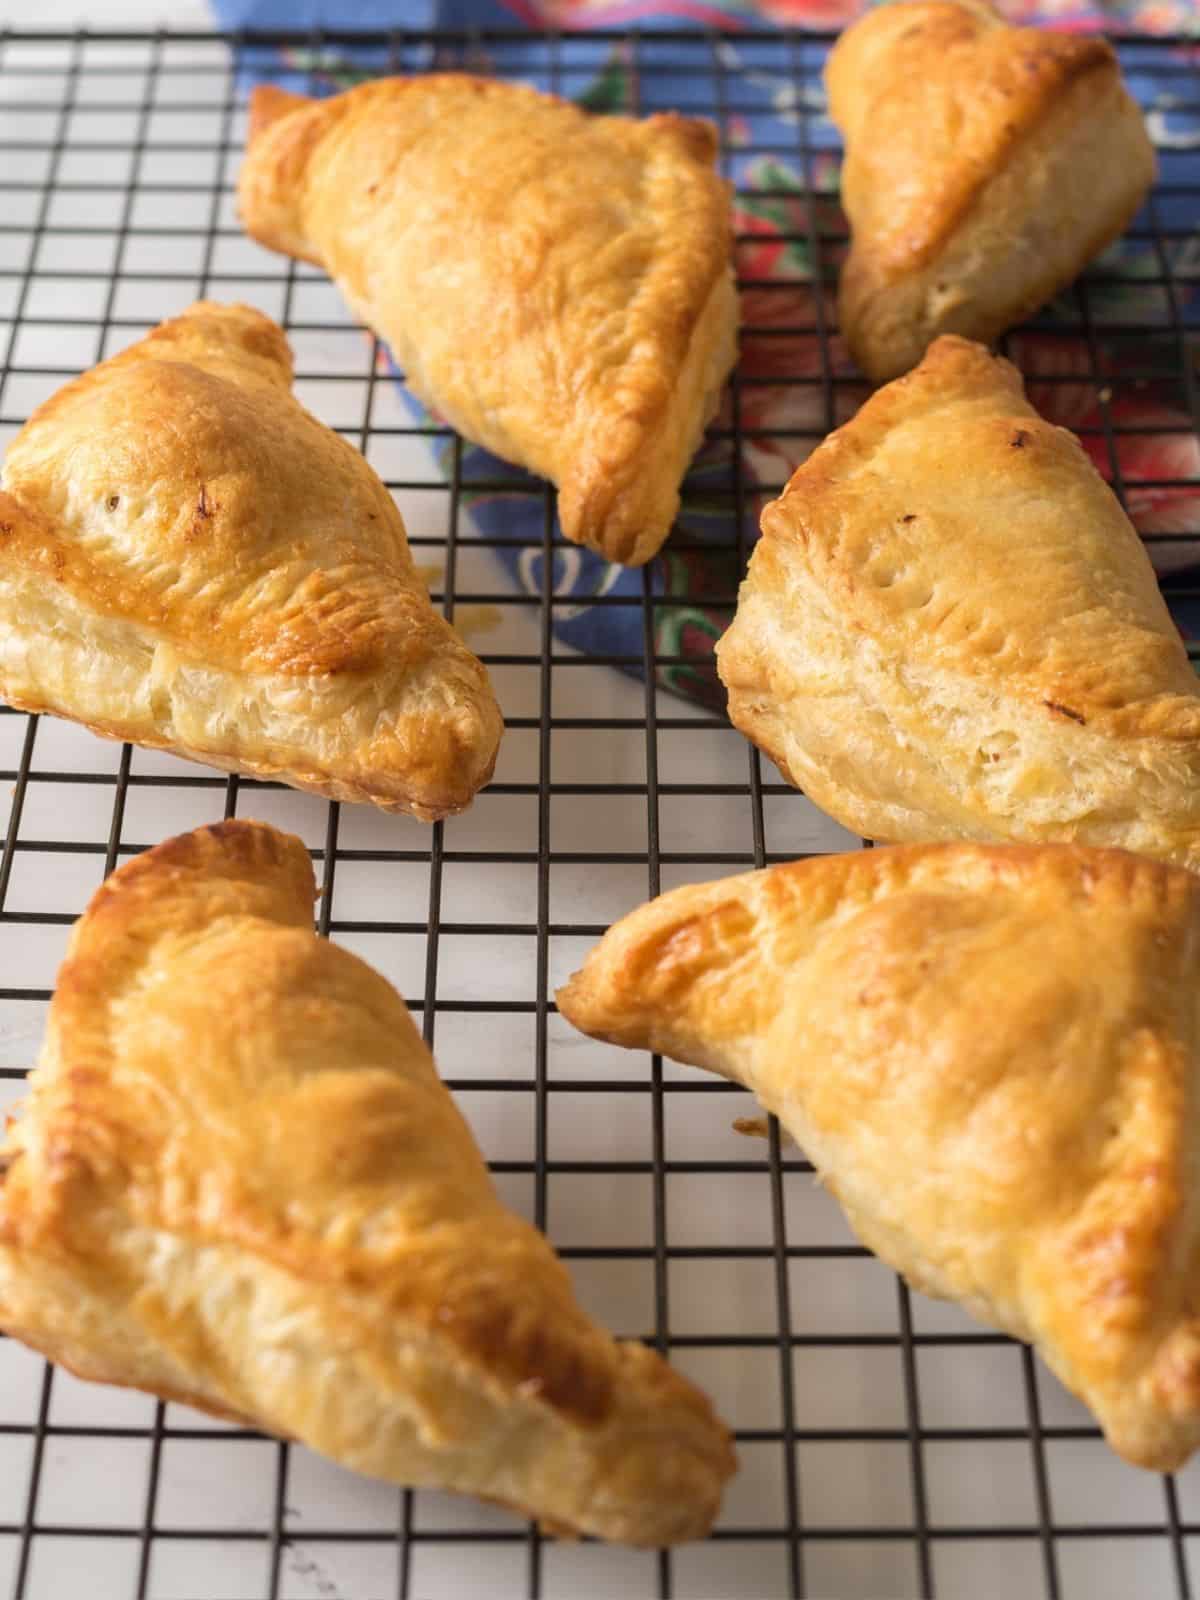
Step 9: Place the baking sheet with your puff pastry pockets into your preheated 400°F oven. Bake for 20 to 25 minutes, or until the pastry is a deep golden brown and looks delicious!
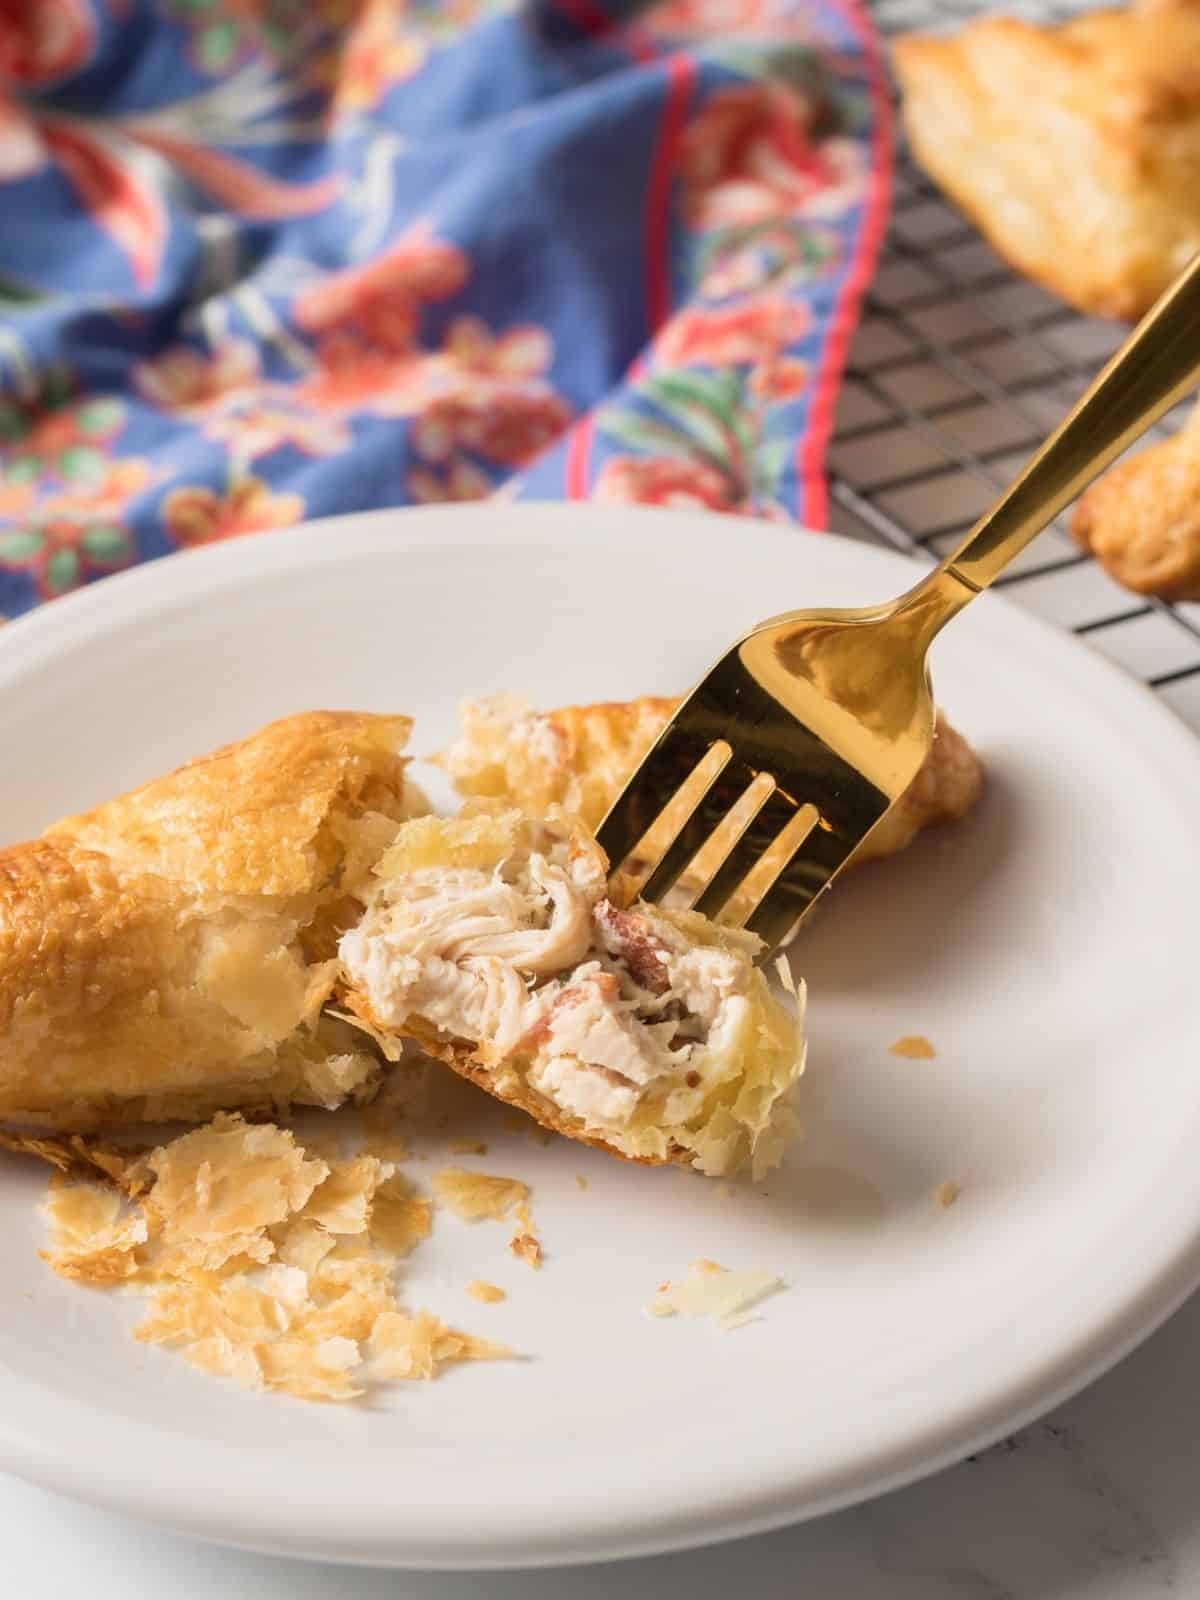
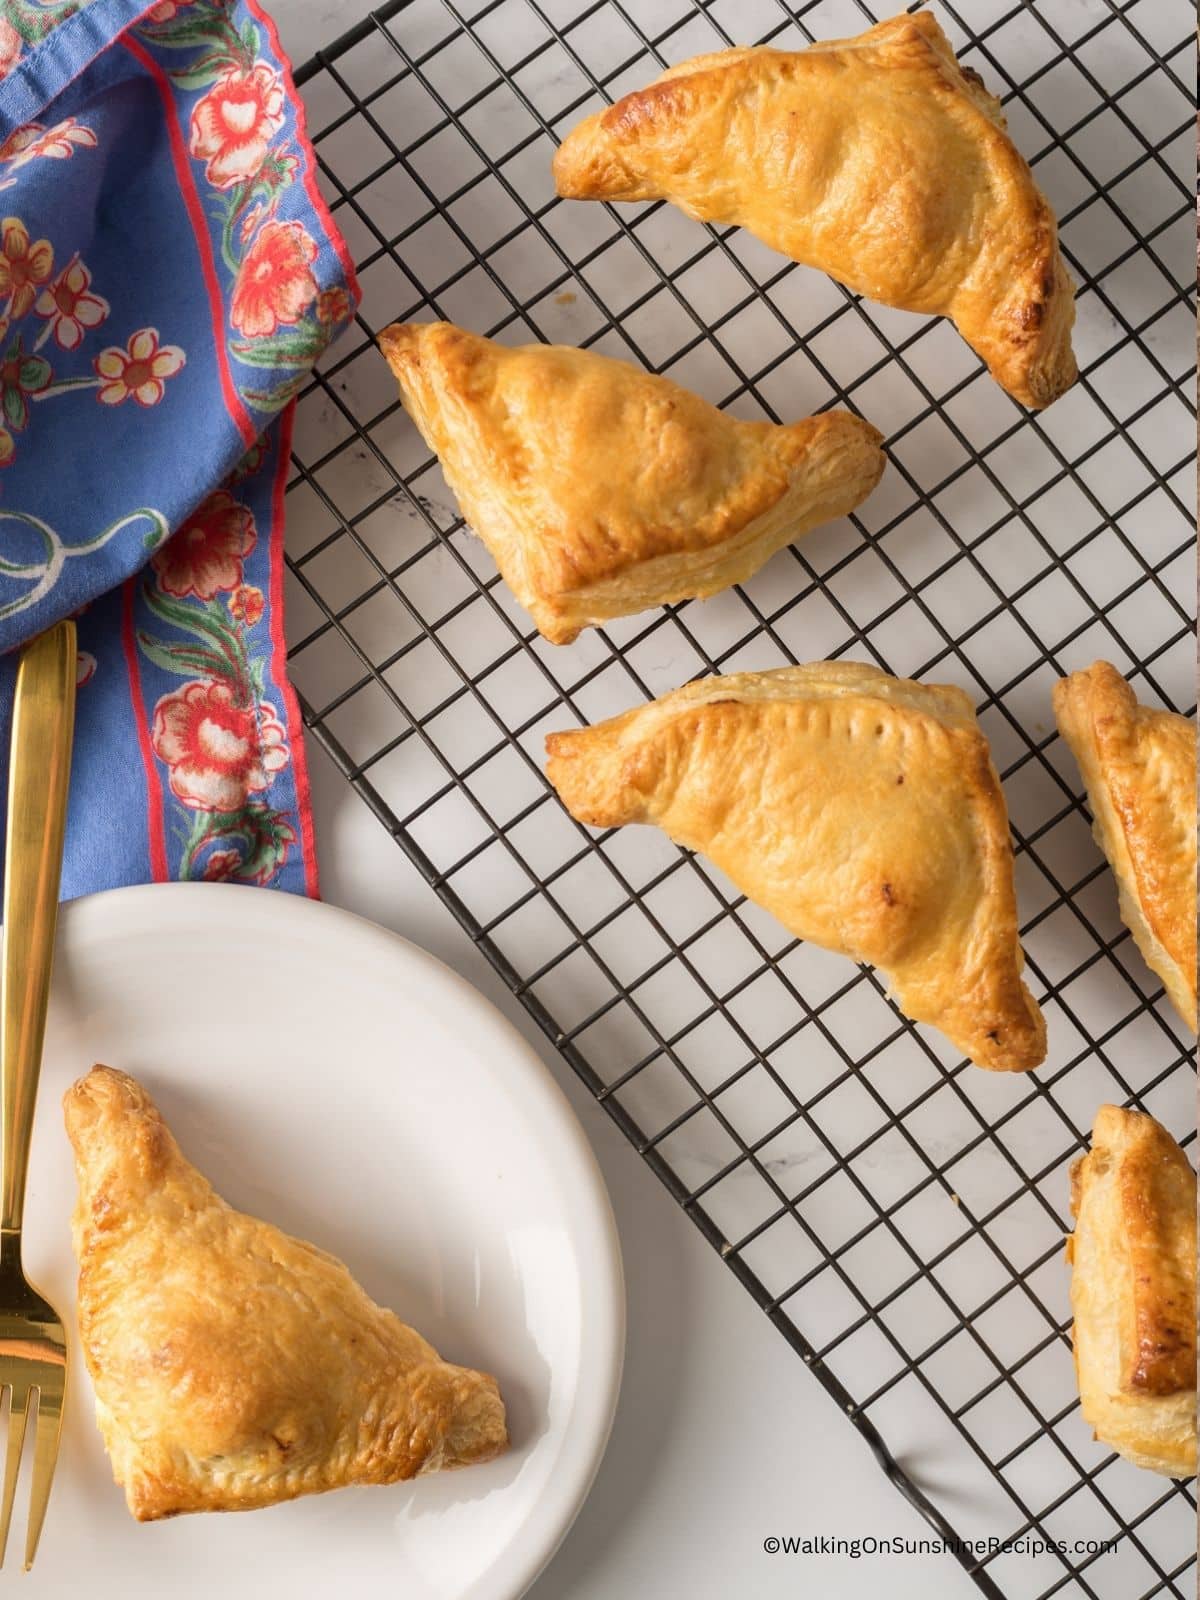
Step 10: Once they're out of the oven, carefully transfer the pockets to a wire rack. Let them cool for a few minutes before serving – this helps them firm up a bit and makes them easier to enjoy.
LOVE this recipe? SAVE it for Later!
❤️Tap the heart icon in the lower right corner to add the recipe to your recipe box for easy access anytime.
If you made it, leaving a star rating or quick review is always appreciated and helps other readers too.
Want to save this printed recipe? The Ultimate Meal Planner & Recipe Binder helps you keep recipes organized in one easy place.
🍽 Make it a Meal
Try making my Creamy Pasta Salad to serve with these homemade hot pockets.
Check out my recipe for Fresh Tomato Salad which makes a nice side dish.
Prep Ahead Tips
Follow the directions for putting the puff pastry pockets together.
Place the pockets on the baking tray and cover with plastic wrap and place the tray in the refrigerator.
You can refrigerate them overnight and bake the next day according to the directions.
You can also flash freeze them to bake at a later time. See the Freezing Tips section below.
Storage Tips
Any leftovers should be stored in airtight containers in the refrigerator for up to 5 days.
Freezing Tips
You can freeze the puff pastry pockets before baking by simply flash freezing them on a sheet pan in the freezer for a few hours.
Then place them in a freezer safe bag and keep in the freezer for up to 3 months.
Thawing and Reheating Tips
Allow the frozen homemade puff pastry pockets to defrost in the refrigerator overnight.
Reheating leftover frozen homemade puff pastry chicken pockets in a preheated 350°F oven for about 10 minutes or until they are warmed.
You can also reheat them in an air fryer for 5 - 8 minutes set at 350°F., but not the microwave as that will make the dough soggy.
They can be reheated while frozen as well; but it will take a longer!
Make sure to check that the internal temperature of the chicken is 165 degrees Fahrenheit before serving.
Recipe FAQ's
How to defrost puff pastry fast?
The quickest way to defrost puff pastry is to place the frozen sheets on a lightly floured work surface and let thaw at room temperature which would take around 30 minutes. If you need to use the puff pastry sooner, you could use the defrost setting in the microwave oven. Make sure that the pastry stays cool while it’s being defrosted, or else it may start to become overly soft and difficult to handle. Once defrosted, use immediately as needed for recipes.
Can I re-freeze thawed puff pastry?
While you can re-freeze puff pastry that has previously been thawed, I do not recommend it. The butter will break down, resulting in a less flaky product. If you have thawed puff pastry that you no longer need, store it in the refrigerator and use within 24 hours.
More Recipes to Love
📖 Recipe Card
Chicken Puff Pastry Pockets
Equipment
Ingredients
- 2 sheets frozen puff pastry defrosted according to package directions.
- 8 ounce container Philadelphia Chive and Onion Flavored Cream Cheese
- ½ cup shredded mozzarella cheese
- 1 ½ cup cooked shredded chicken breast
- ⅓ cup cooked crumbled bacon
- 1 egg mixed with 1 tablespoon water
- 1 tablespoon additional water
Instructions
- Preheat the oven to 400°F.
- Empty the cream cheese into a microwave-safe bowl. Warm the cream cheese in the microwave for 15 – 30 seconds. This will help soften the cream cheese which will make it easier to combine the other ingredients together.
- Add the shredded chicken, crumbled bacon, and shredded
mozzarella to the same bowl as the cream cheese and stir to combine. Set it aside while you prepare the puff pastry. - Defrost the puff pastry sheets according to the package
directions on the back of the box. See notes below for tips on how to defrost puff pastry. - On a lightly floured area, roll one sheet at a time into a
12x12 square. Using a sharp knife or a pizza cutter, cut one puff pastry dough into three equal pieces. Cut each of the three pieces in half so you have six square pieces of dough. - Repeat with the other sheet of puff pastry dough. You should now have 12 pieces of dough.
- Add about 2 tablespoons of the chicken and cheese mixture to the center of each square. Try not to overfill.
- Use a pastry brush and add a little water to the edge of two sides of the dough.
- Fold the dough into a triangle. Then using a fork, crimp the edges.
- Place all the triangle pockets on a baking sheet lined with parchment paper.
- Place the tray in the refrigerator to chill the dough for 30 minutes.
- Remove the tray and brush the triangle pockets with the egg wash.
- Bake in the preheated 400°F oven for 20 to 25 minutes or until the pastry is a deep golden brown.
- Remove the pockets to a wire rack and let cool for 5 minutes before serving.
Video
Notes
- Be sure to re-chill the puff pastry dough after assembling the pockets so that the butter layers can chill again and then puff up while baking in the hot oven.
This recipe has been updated since it first appeared in 2012 with new photos, information and a new printable recipe card that includes nutritional information. I hope you enjoy the updates as much as I enjoyed working on them!




Tiffanee says
The chicken pockets look amazing! I'm so making them. I am so excited you finally have a normal life! I do have to say thanks to you, your hubby and family for your sacrifice on my behalf!!
Thistle Cove Farm says
I love normal; it's seriously under-rated. Your supper looks great; I had a quick brunswick stew tonight. Not as tasty as yours but I did eat mean and vegs...smile.
Please tell the Col. "thanks for serving"; I'm grateful.
Sue says
We are enjoying our boring life too, Lois! ~ smile~ God is so faithful! I am amazed at how Michael has grown so much so fast. He is so handsome!
Thanks for sharing the recipe, puff pastry so yummy!
Enjoy your week.
Hugs,
Sue
Debbie says
I can't tell you how much I love popping by here and reading what you are having for dinner for some reason, haha...these chicken pockets look really yummy. I can just imagine the appreciation you have now for a simple week-end...so happy for you. I'll be back to tomorrow to see what's cooking! HUGS
Christine says
Hi Lois, glad you all enjoyed the weekend!
The chicken pockets look sooooo good I'm going to have to make them soon!
Best wishes
Christine