


Easy step-by-step photo instructions for how to make pie crust from scratch that will have you making homemade pie dough in minutes!
All it takes is four basic ingredients and a little patience to make this pie crust from scratch.
But it's worth the effort because you'll find it typically flakier and more tender than pre-made crusts, adding an extra layer of indulgence and flavor to your homemade pies.
Ditch the bland, store-bought crust and check out all the other easy desserts made with my foolproof homemade pie dough recipe!
Want to Save This Recipe?
Enter your email & I'll send it to your inbox. Plus, get great new recipes from me every week!
By submitting this form, you consent to receive emails from Walking on Sunshine Recipes.
For some people making homemade pie crust is a scary process. It was for me also until a few years ago when I decided I was going to conquer my fears and learn to make my own pie crust.
I found a video online and set my computer on the kitchen counter and worked right alongside the video and my pie crust came out terrific...the very first time.
I'm hoping that after today you'll know how to make pie crust and see for yourself how easy this recipe is.
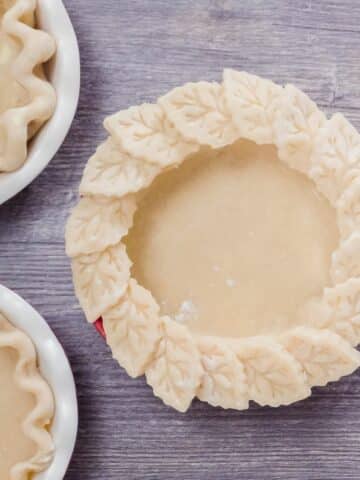
And then you can check out my post on how to decorate a pie using cookie cutters and fancy crust techniques.
Table of Contents
- How to Make Pie Crust
- Helpful Kitchen Tools
- Main Ingredients Needed
- Step-by-Step Instructions
- Add the Ice Water
- Top Tip
- Chill the Pie Crust
- How to Roll Out the Pie Crust
- LOVE this recipe? SAVE it for Later!
- Prep Ahead Tips
- How to Freeze Pie Dough
- More Recipes to Love
- Indulge in Flavor, Not Ads - Get Your Ad-Free Digital Cookbook Today!
- 📖 Recipe Card
- 💬 Comments
How to Make Pie Crust
Homemade pie, whether sweet like my Apple Crumb Pie or savory like my Chicken Pot Pie Recipe tastes so much better with homemade pie crust.
And yes, I have used refrigerator pie dough plenty of times. I use it always for my Mini Quiche Recipe.
I'm hoping that after today you'll know how to make pie crust and see for yourself how easy this recipe is.
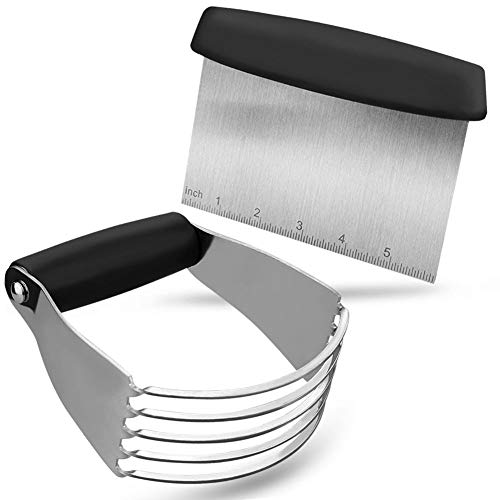
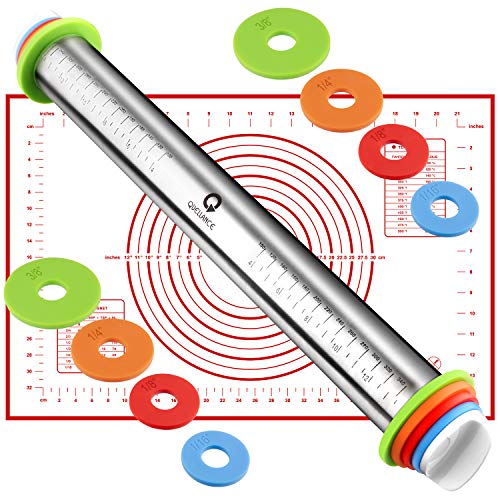
Helpful Kitchen Tools
More InformationMore InformationMore InformationMore Information


Main Ingredients Needed
Make sure you print out the recipe below and save it for later!
- Flour
- Salt
- Shortening
- Ice cold water
Step-by-Step Instructions

Step 1: Add the shortening to the flour and salt. Then using a pastry cutter work the shortening into the flour until it resembles cornmeal.
Add the Ice Water

Step 2: Beginning with one tablespoon slowly start to incorporate the water into the flour and shortening mixture. Keep adding the water one tablespoon at a time until it begins to form a ball and pull away from the sides of the bowl. If it doesn't, you need to add more water. Do not dump everything on the counter and try to knead the dough into a shape.
Top Tip
For a flaky pie crust, it is crucial to use water that is very cold. This will help achieve the desired texture and consistency in the crust.
Chill the Pie Crust

Step 3: Once you have a ball of pie dough, flatten out the ball into a disc shape. Wrap in plastic wrap and place in the refrigerator until you are ready to use. You can also freeze the pie crust at this point.
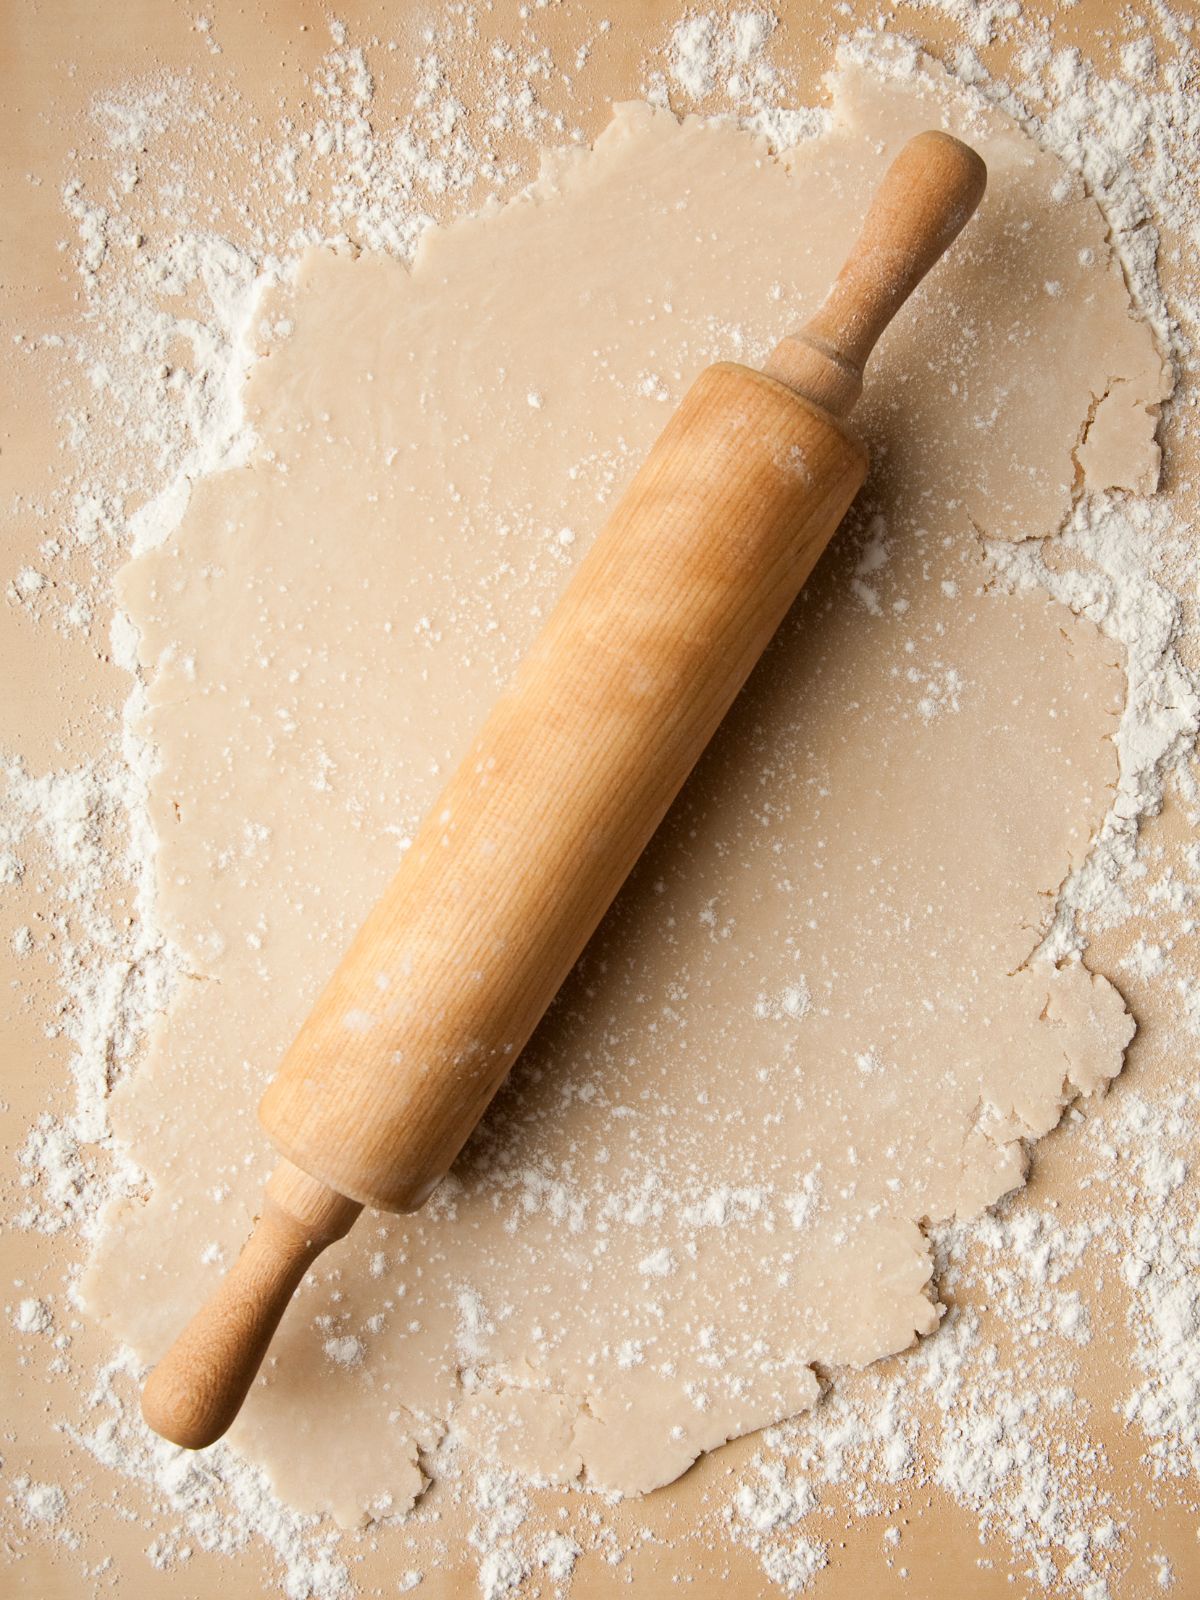
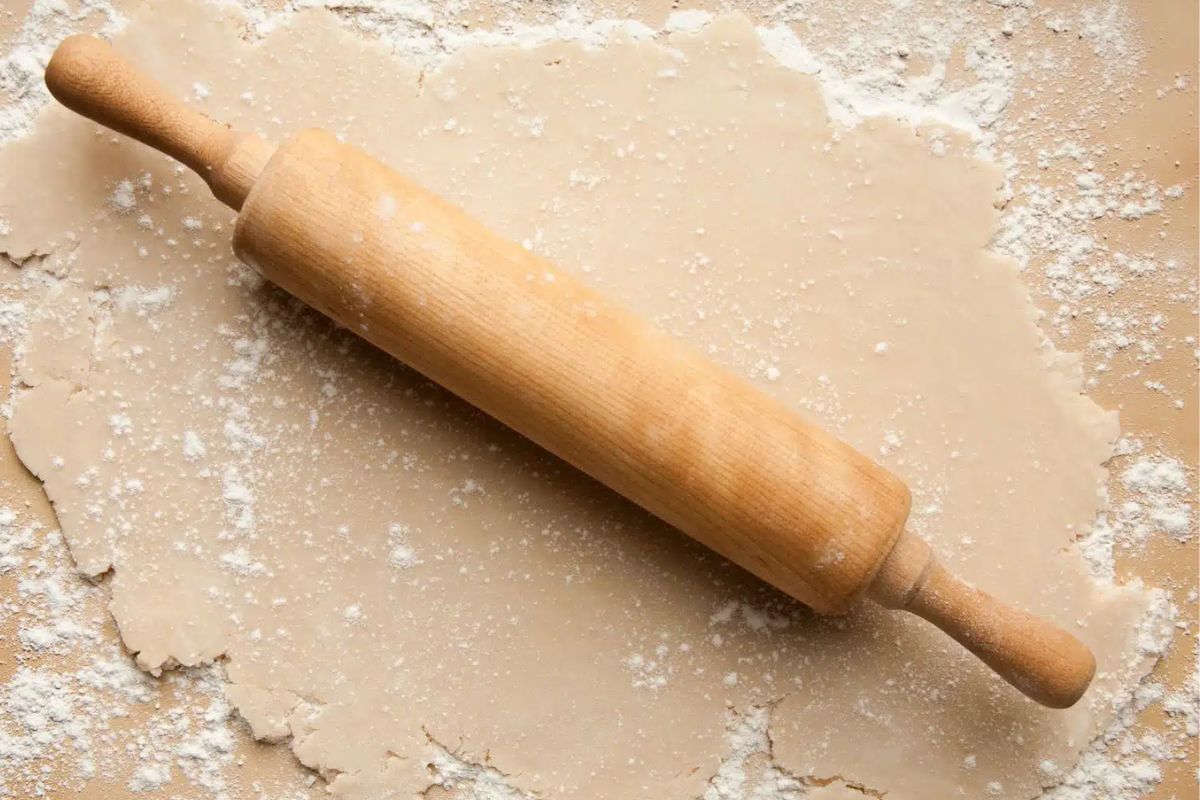
How to Roll Out the Pie Crust
Step 4: On a lightly floured surface, roll the chilled dough from the center outwards, rotating occasionally, until it's slightly larger than your pie plate.
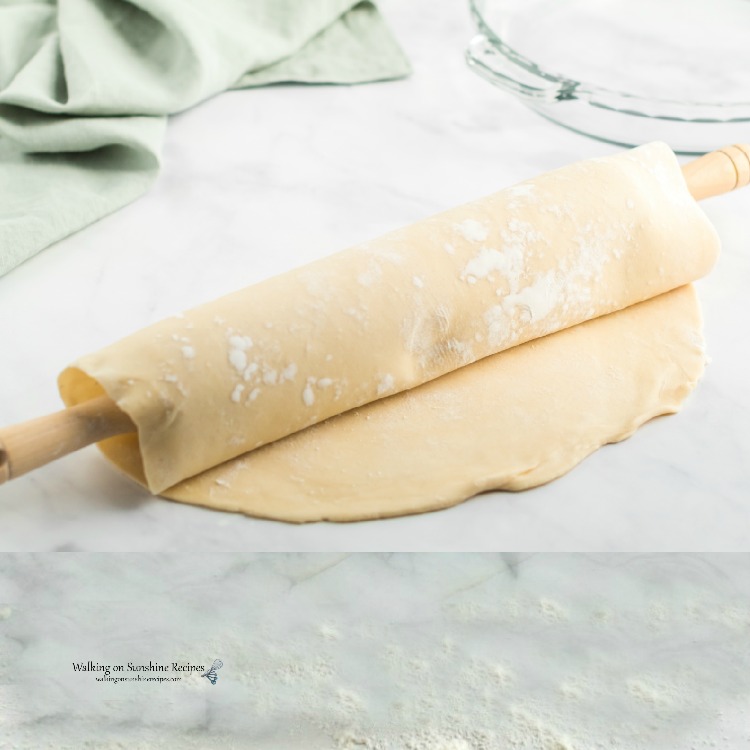

Step 5: Carefully transfer the dough to the pie plate using the rolling pin. Gently press it into place, trim any excess, leaving about a ½-inch overhang for crimping. You are now ready to bake your favorite pie!
LOVE this recipe? SAVE it for Later!
❤️Tap the heart icon in the lower right corner to add the recipe to your recipe box for easy access anytime.
If you made it, leaving a star rating or quick review is always appreciated and helps other readers too.
Want to save this printed recipe? The Ultimate Meal Planner & Recipe Binder helps you keep recipes organized in one easy place.

Prep Ahead Tips
- Once the dough comes together, divide it into two equal portions and shape each portion into a disk.
- Wrap each disk tightly in plastic wrap.
- Label the wrapped dough with the date and store it in the refrigerator for up to 3 days.
- When you're ready to use the dough, remove it from the refrigerator and let it sit at room temperature for about 10-15 minutes to soften slightly. This will make it easier to roll out.
- Roll out the dough on a lightly floured surface to fit your pie dish. Transfer the rolled-out dough to the pie dish, trim any excess, and shape the edges as desired.
- Fill the crust with your desired pie filling and bake according to your recipe's instructions.
How to Freeze Pie Dough
One of the most often asked questions is "Can I freeze pie dough?" The answer is YES!
- Put together the above recipe for your pie crust.
- Form the dough into a flatten disc.
- Wrap the disc in plastic wrap and then place it inside a freezer-safe plastic bag.
- Store the pie dough in the freezer for up to three months.
- Remove the pie dough from the freezer to defrost overnight in the refrigerator.
- Roll out the dough as directed above.

More Recipes to Love
Looking for more yummy recipes? Try my Homemade Pumpkin Pie, Apple Pie Recipes for Thanksgiving, Peach Pie Recipe or you might enjoy this Banana Cream Pie Recipe.

Indulge in Flavor, Not Ads - Get Your Ad-Free Digital Cookbook Today!

📖 Recipe Card
How to Make Homemade Pie Crust Recipe - Pie Crust Basics Part One
Ingredients
- 1 cup flour
- ¼ teaspoon salt
- ⅓ cup shortening
- Ice cold water about three to four tablespoons
Method
- Combine the flour and salt together.
- Using a pastry blender or two forks combine the shortening into the flour until it looks like cornmeal.
- Using a fork, add the water one tablespoon at a time and incorporate the water into the flour/shortening mixture.
- Keep adding the water, one tablespoon at a time, and keep stirring until the dough begins to come together, pulling away from the sides of the bowl and forming a ball of dough.
- Remove the ball of dough from your bowl and shape it into a flat disc.
- Wrap in plastic wrap and chill for about an hour before using.
- Place the chilled dough in the center of your counter that has been dusted with flour.
- Dust the rolling pin with flour also.
- Place the rolling pin in the center of the disc of pie dough and begin rolling the dough away from you.
- Turn the disc a little and continue rolling it out.
- Continue turning and rolling until the dough is a little bigger than the pie plate you want it to fit into.
- Roll the dough up around the rolling pin to make it easier for you to transfer the dough to the pie plate.
- Gently fit the dough into the pie plate pressing the dough in place.
- Trim any excess dough with a paring knife making sure to leave enough overhang so you can crimp the edge of the dough.
- Your pie dough is now ready to bake and be used in your favorite recipe.
Nutrition
Notes
- For a flaky pie crust, it is crucial to use water that is very cold. This will help achieve the desired texture and consistency in the crust.
- I like to have a bowl of water with ice cubes in the refrigerator ready to use once the shortening and flour is combined completely. That way I know the water is as cold as it can be.
Tried this recipe?
Let us know how it was!This recipe has been updated since it first appeared in 2013 with new photos and a new printable recipe card that includes nutritional information. I hope you enjoy the updates as much as I enjoyed working on them!


Donna @ Modern on Monticello says
You make this look so easy. I need to make a pie this year for Thanksgiving so I have pinned this for tips. Thanks for sharing at #HomeMattersParty
Lois says
Thank you for visiting!
Anita Trippi says
My mom made the best pie crust ever and I have not been able to duplicate. I am going to try again. Thanks for the clear directions and inspiration!
Lois says
I hope you have success using this recipe. Please let me know and come back to leave a followup comment. Thank you for visiting!
Erica says
I almost never make pies because I hate making pie crust. My goal this fall is to change that. Thanks for all of the tips I am saving this post to try later. Thanks for sharing to Mix It Up Monday.
Lois says
I hope you have success making your own pie dough using this recipe! Thanks for visiting and for your weekly parties.
Kathy Johnston says
Can you double this recipe?
Lois says
Yes, you can double a pie dough recipe by simply doubling each ingredient. Just remember to watch the dough consistency and add a touch more flour if needed when working with the larger quantity. Personally, I find it difficult to work with that much dough at once and prefer to make two separate batches. Thank you for visiting!