Indulge in chocolate bliss with these Chocolate Chocolate Chip Muffins Recipe for the ultimate sweet treat!
Made with pantry ingredients, cocoa powder and semi-sweet chocolate chips for plenty of delicious flavor! They're easy to make and are ready in just about 30 minutes.
Whether they're for a leisurely weekend breakfast, quick morning snack or a special treat, these muffins will be sure to hit the spot!
Check out all the other Breakfast Ideas for even more delicious recipes to help you start your day.
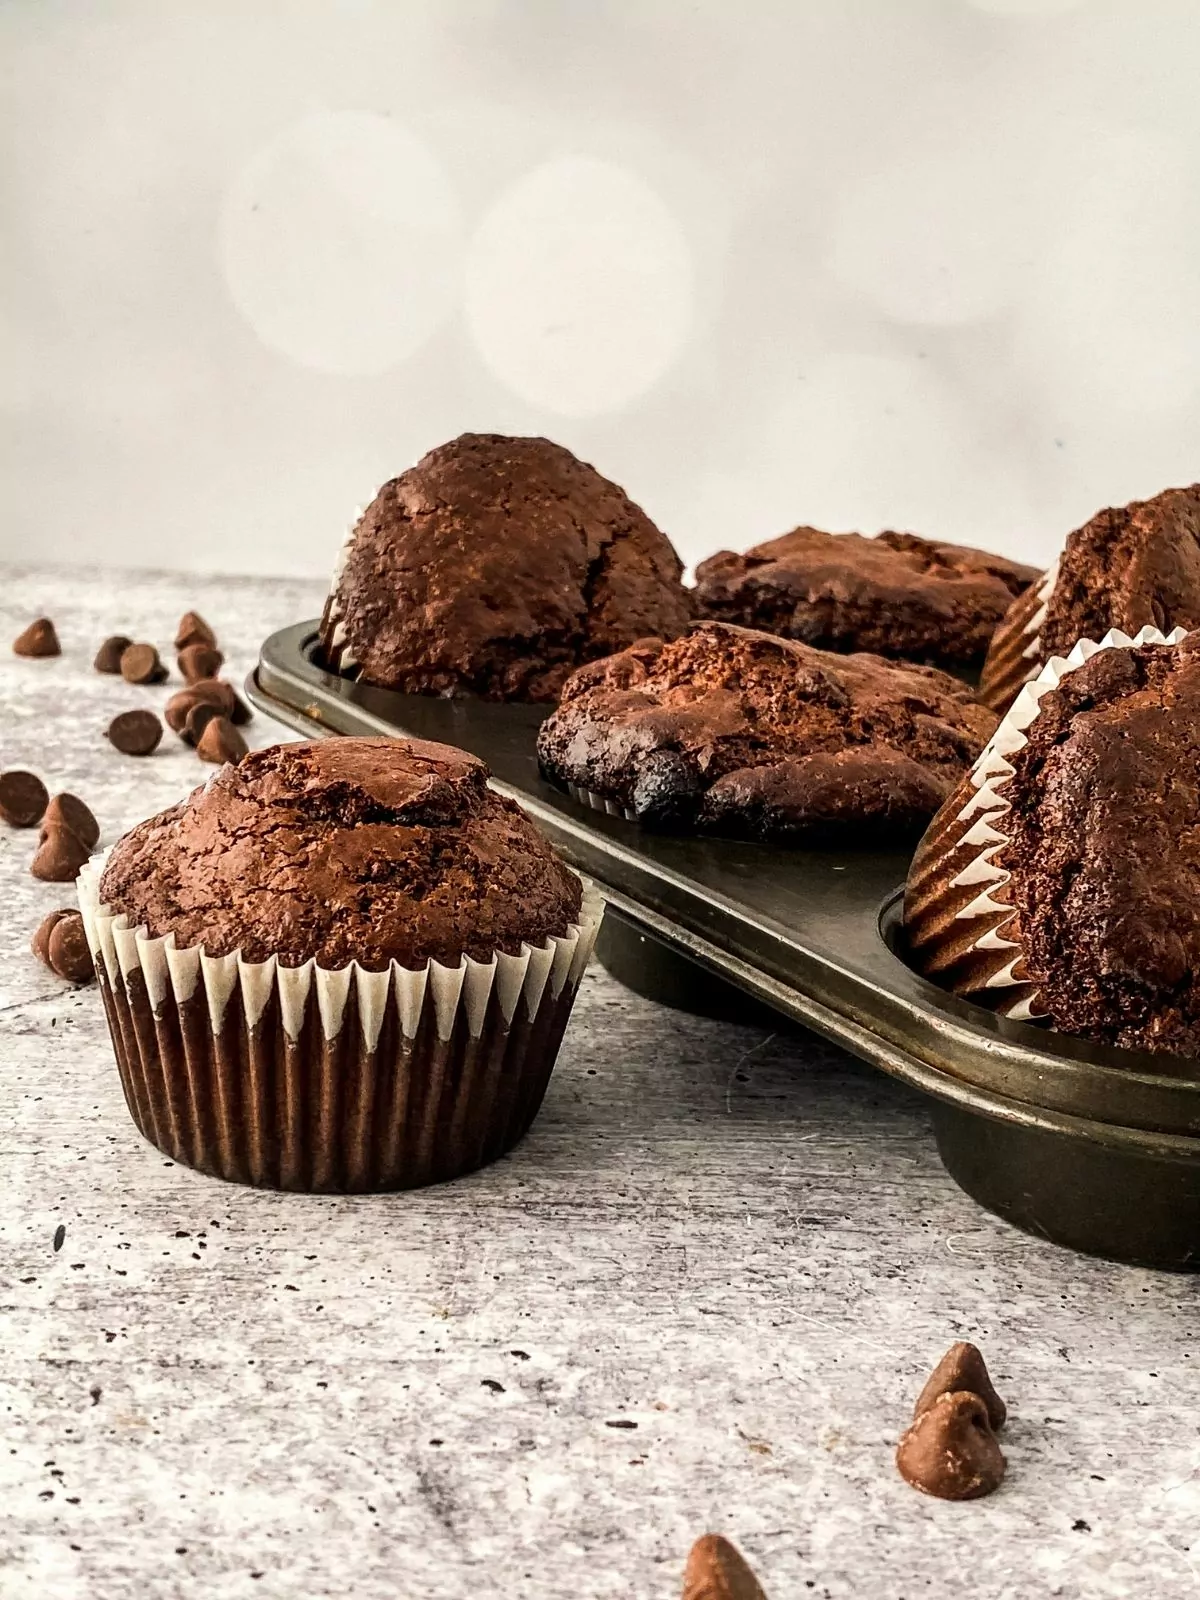
Make your mornings special with this easy-to-follow recipe for Chocolate Chocolate Chip Muffins. With a moist and tender texture and rich cocoa flavor, these muffins will make every breakfast feel like a special occasion.
This easy-to-follow recipe takes only minutes of prep work before sinking your enjoying the double chocolate goodness of the muffins.
This recipe was inspired by the popularity of my Chocolate Chunk Muffins that are made from a cake mix. I thought it was time to share a homemade version of that recipe.
Check out the recipe notes and variations following the step-by-step photos for any possible substitutions or tips on making the recipe your own.
Looking for more Muffin Recipes? Try my Pumpkin Muffins, Blueberry Streusel Muffins, and even my Party Muffins Recipe. Yum!
Table of Contents
- 👩🍳Recipe Notes
- ❄️Can you freeze muffins?
- ➡️Can you freeze muffins in paper liners?
- 🛒Helpful Kitchen Tools
- 📋Ingredients
- Substitutions and Variations
- Step-by-Step Instructions
- Top Tip
- Baking Instructions
- Before You Begin!
- 🍶How to Store Homemade Muffins
- ➡️Top Recipe Tip
- Can you make muffins out of cookie mix?
- How to store muffins in freezer?
- What to add to cake mix to make muffins?
- 🌟Try these recipes next...
- 📇Recipe Card
- 📖 Recipe Card
- 💬 Comments
👩🍳Recipe Notes
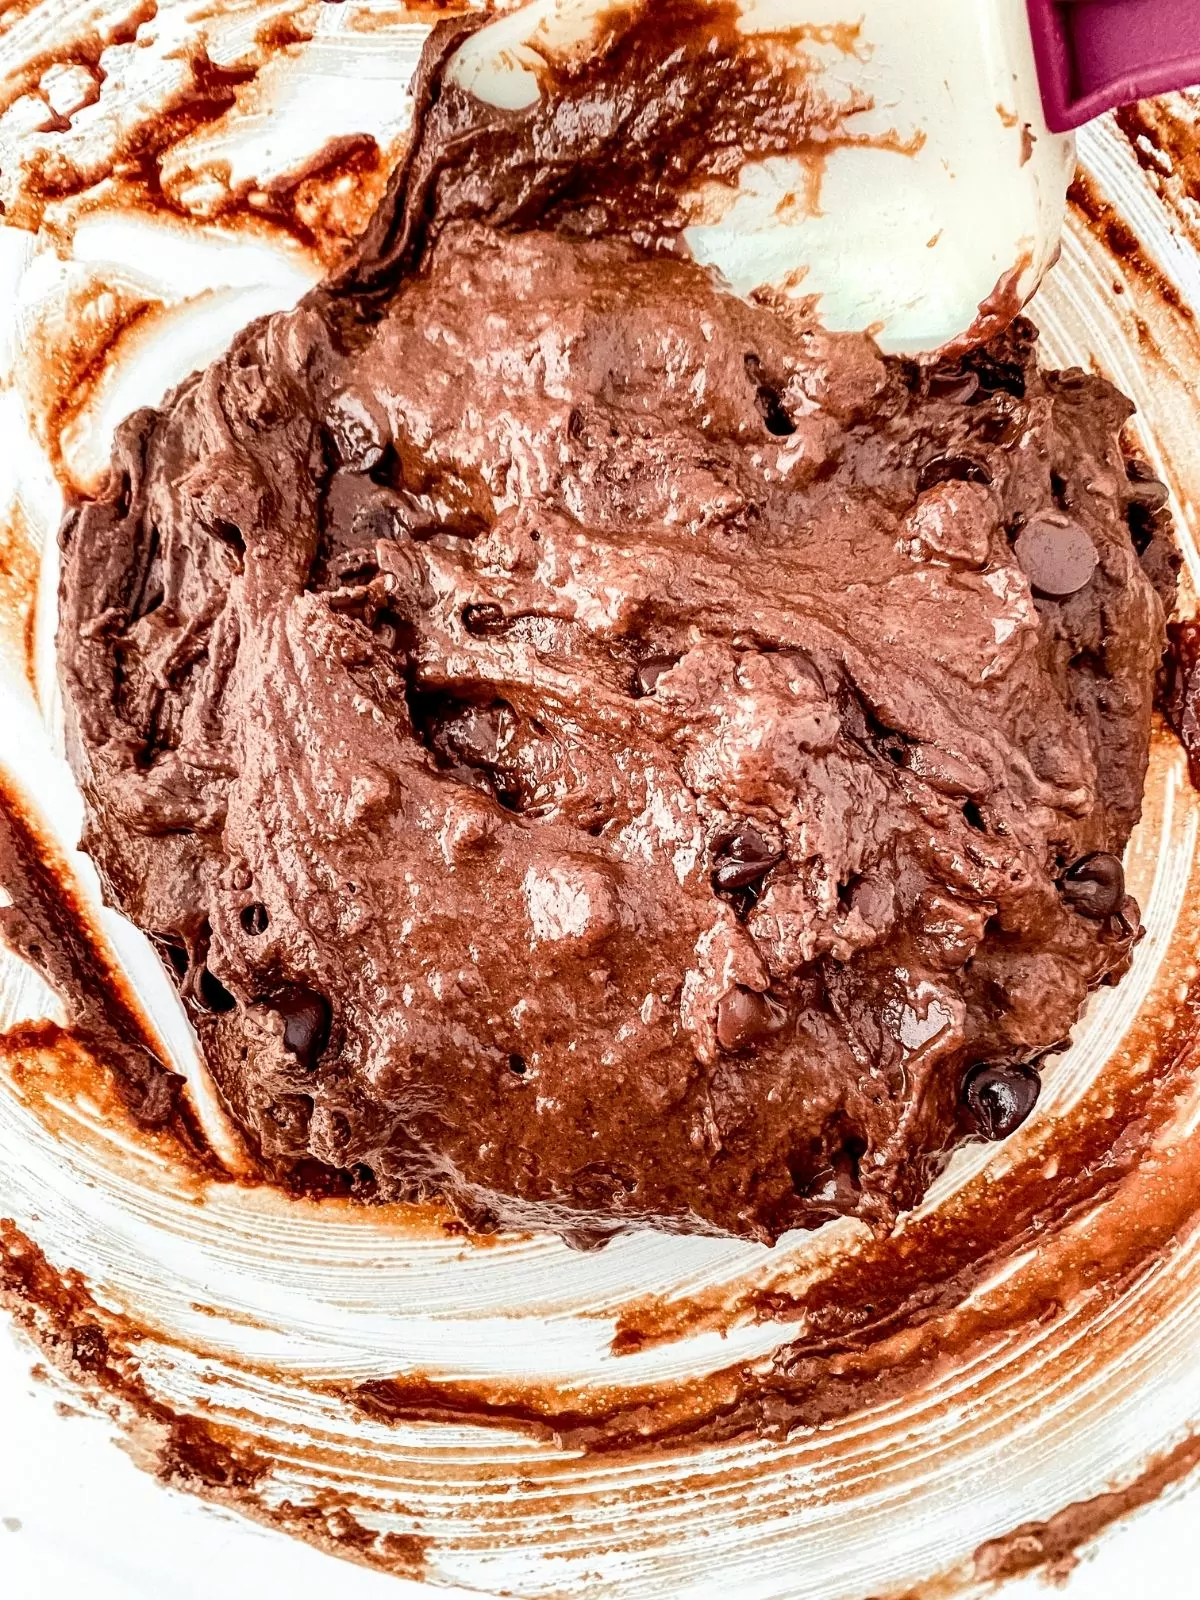
- To achieve light and fluffy muffins, it's important to avoid overmixing the batter.
- Simply mix the ingredients until they are just combined, as overmixing can result in dense and tough muffins.
- Remember, less is more when it comes to mixing!
- Make sure to fill the muffin cups up to two-thirds of their capacity to leave enough space for the batter to rise without spilling over the sides.
- Check for doneness by inserting a toothpick into the center of a muffin – if it comes out clean or with a few crumbs, they're ready.
- Allow the muffins to cool in the pan for a few minutes before transferring them to a wire rack to cool completely. This prevents them from becoming soggy.
❄️Can you freeze muffins?
Freezing muffins offers the benefit of preserving their freshness, allowing you to enjoy homemade treats at any time without worrying about them going stale:
- Allow the muffins to cool completely after baking.
- Individually wrap each muffin tightly in plastic wrap or place them in airtight freezer bags.
- You can also place a layer of parchment paper between each muffin to prevent them from sticking together.
➡️Can you freeze muffins in paper liners?
Freezing muffins in their paper liners is a great way to protect them and preserve their shape for storage. When you're ready to enjoy them, simply take out the desired number of muffins from the freezer and allow them to thaw at room temperature, or if you prefer, reheat them in the oven for a warm and delicious treat.
🛒Helpful Kitchen Tools
Non-Stick Texas Muffin Pan


📋Ingredients
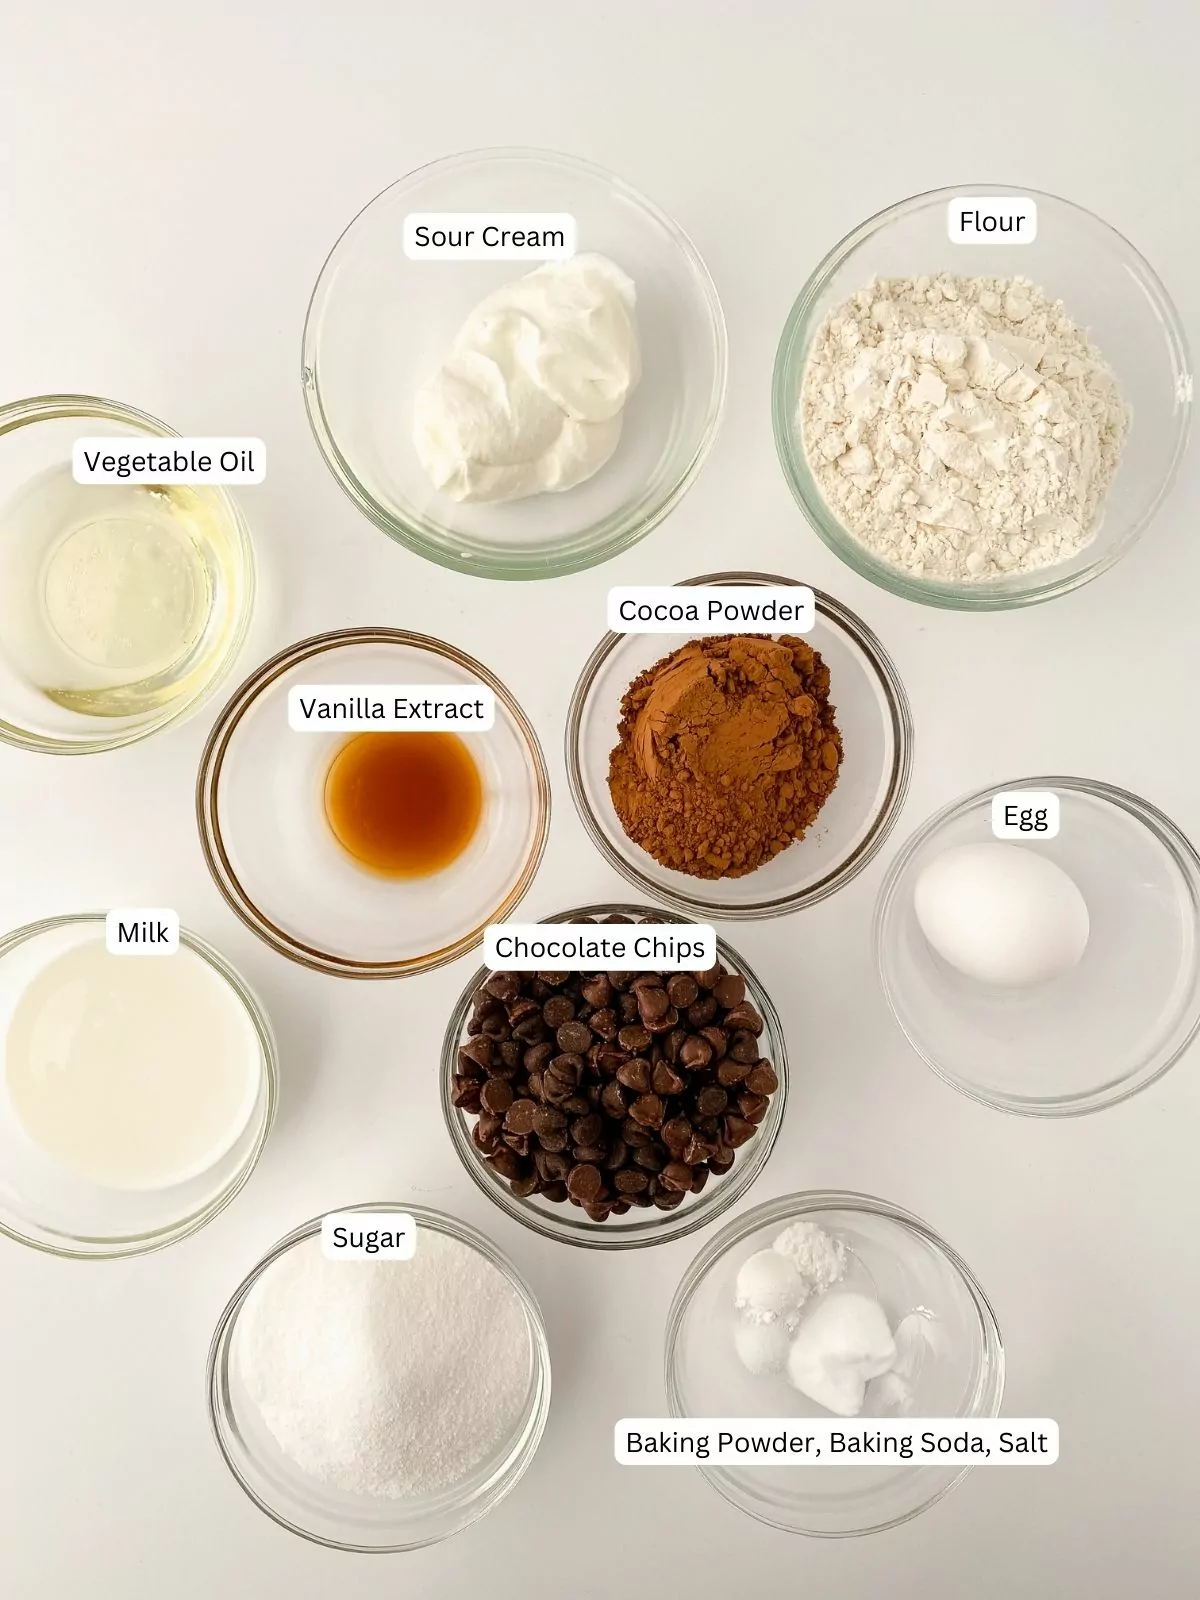
This is an overview of the ingredients and instructions. Be sure to see the recipe card below for exact quantities, detailed instructions and special notes.
Substitutions and Variations
- Full fat sour cream is best, but you can substitute it for full fat yogurt.
- Canola oil can be used in place of the vegetable oil.
- I used semi-sweet chocolate chips, but you can also use milk chocolate, dark chocolate, or even white chocolate chips!
Step-by-Step Instructions
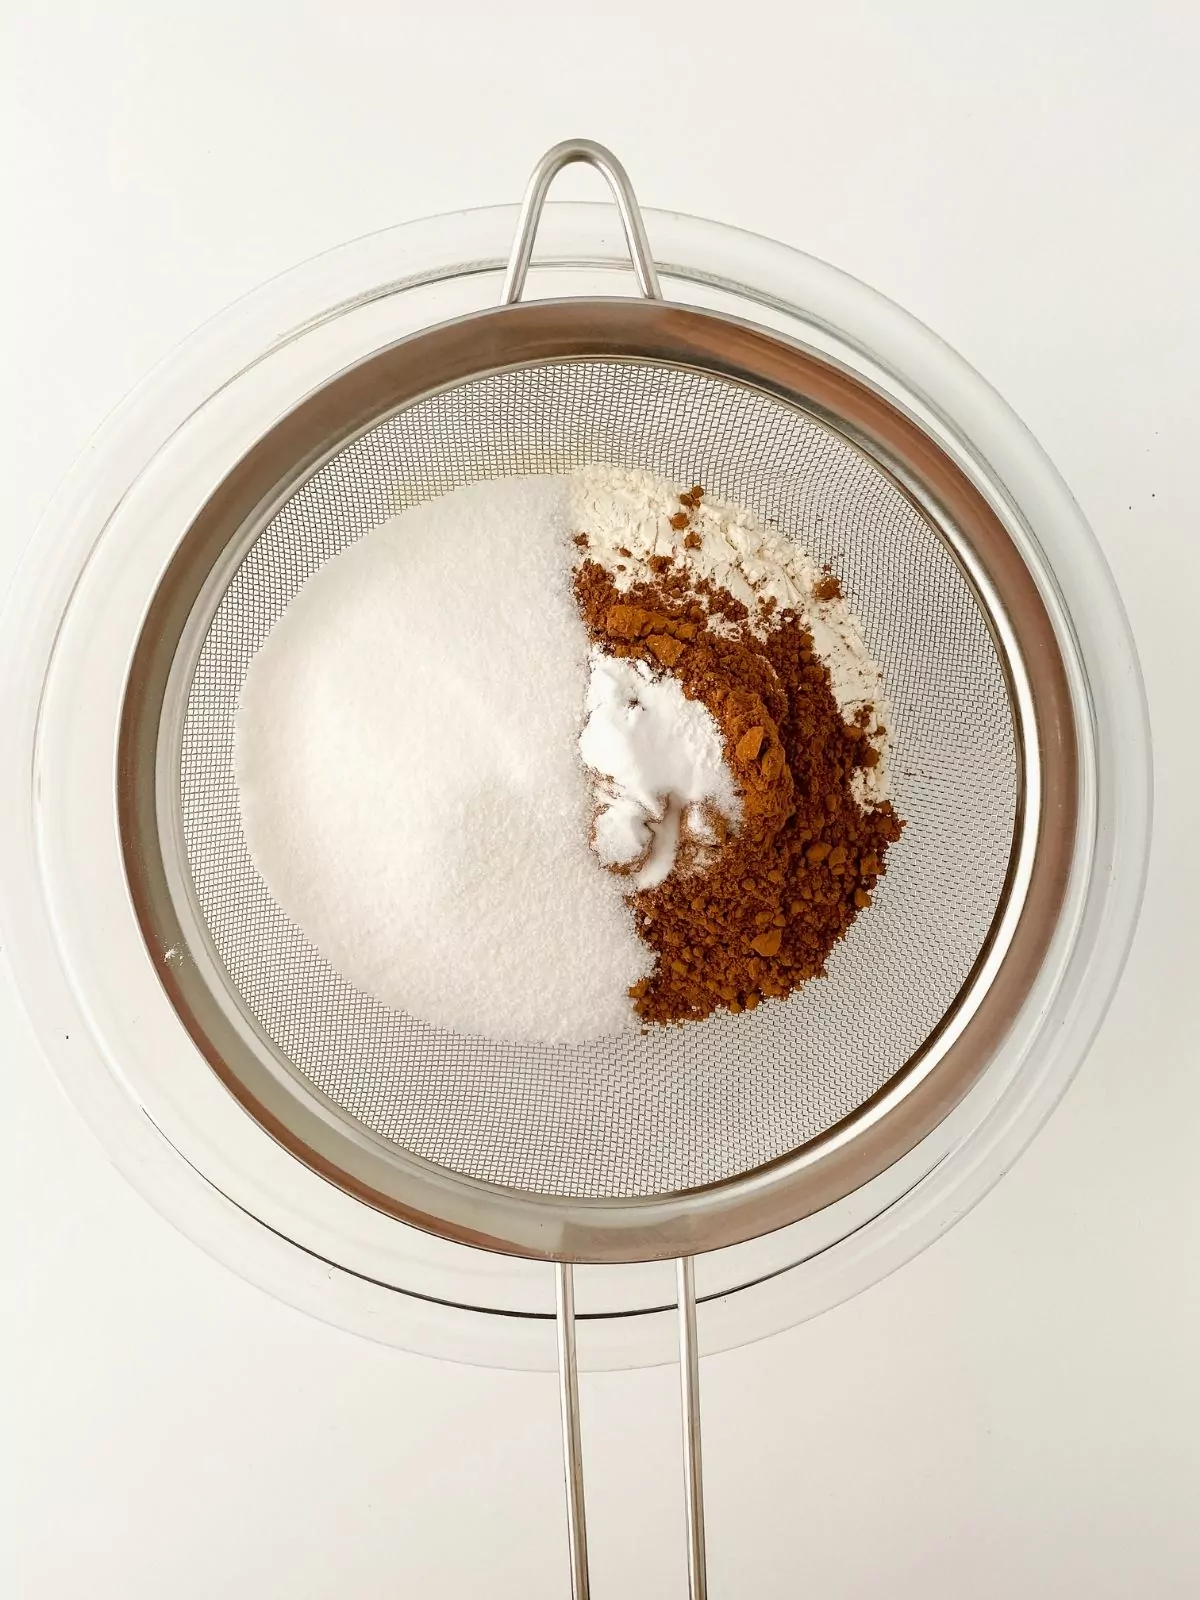
Step 1: In a large bowl, sift the dry ingredients using either a fine-mesh sieve or a specialized flour sifter.
- INCLUDED: The Cuisinart set of strainers comes in 3 sizes from 3-⅛-inch, 5-½-inch and 7-⅞-inch sizes
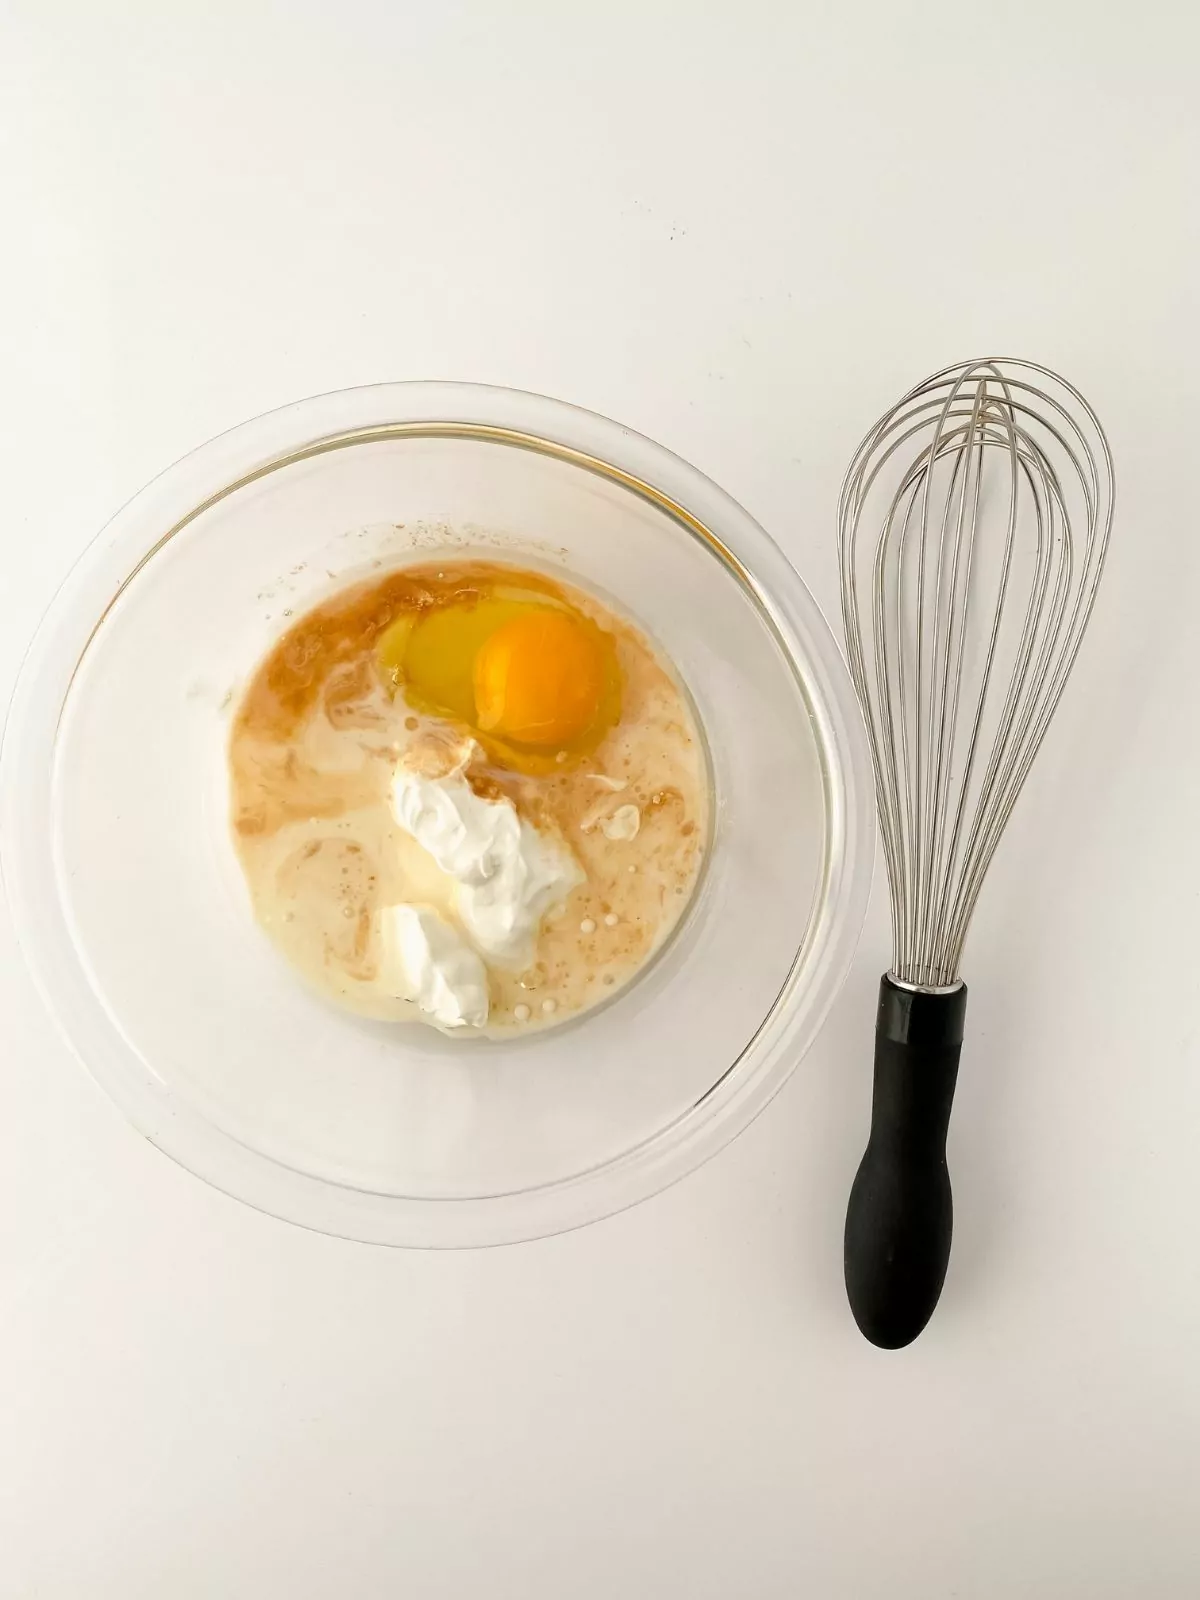
Step 2: In another bowl, whisk together the egg, oil, sour cream, and vanilla. Combine the wet mixture with the dry ingredients, adding half of the chocolate chips.
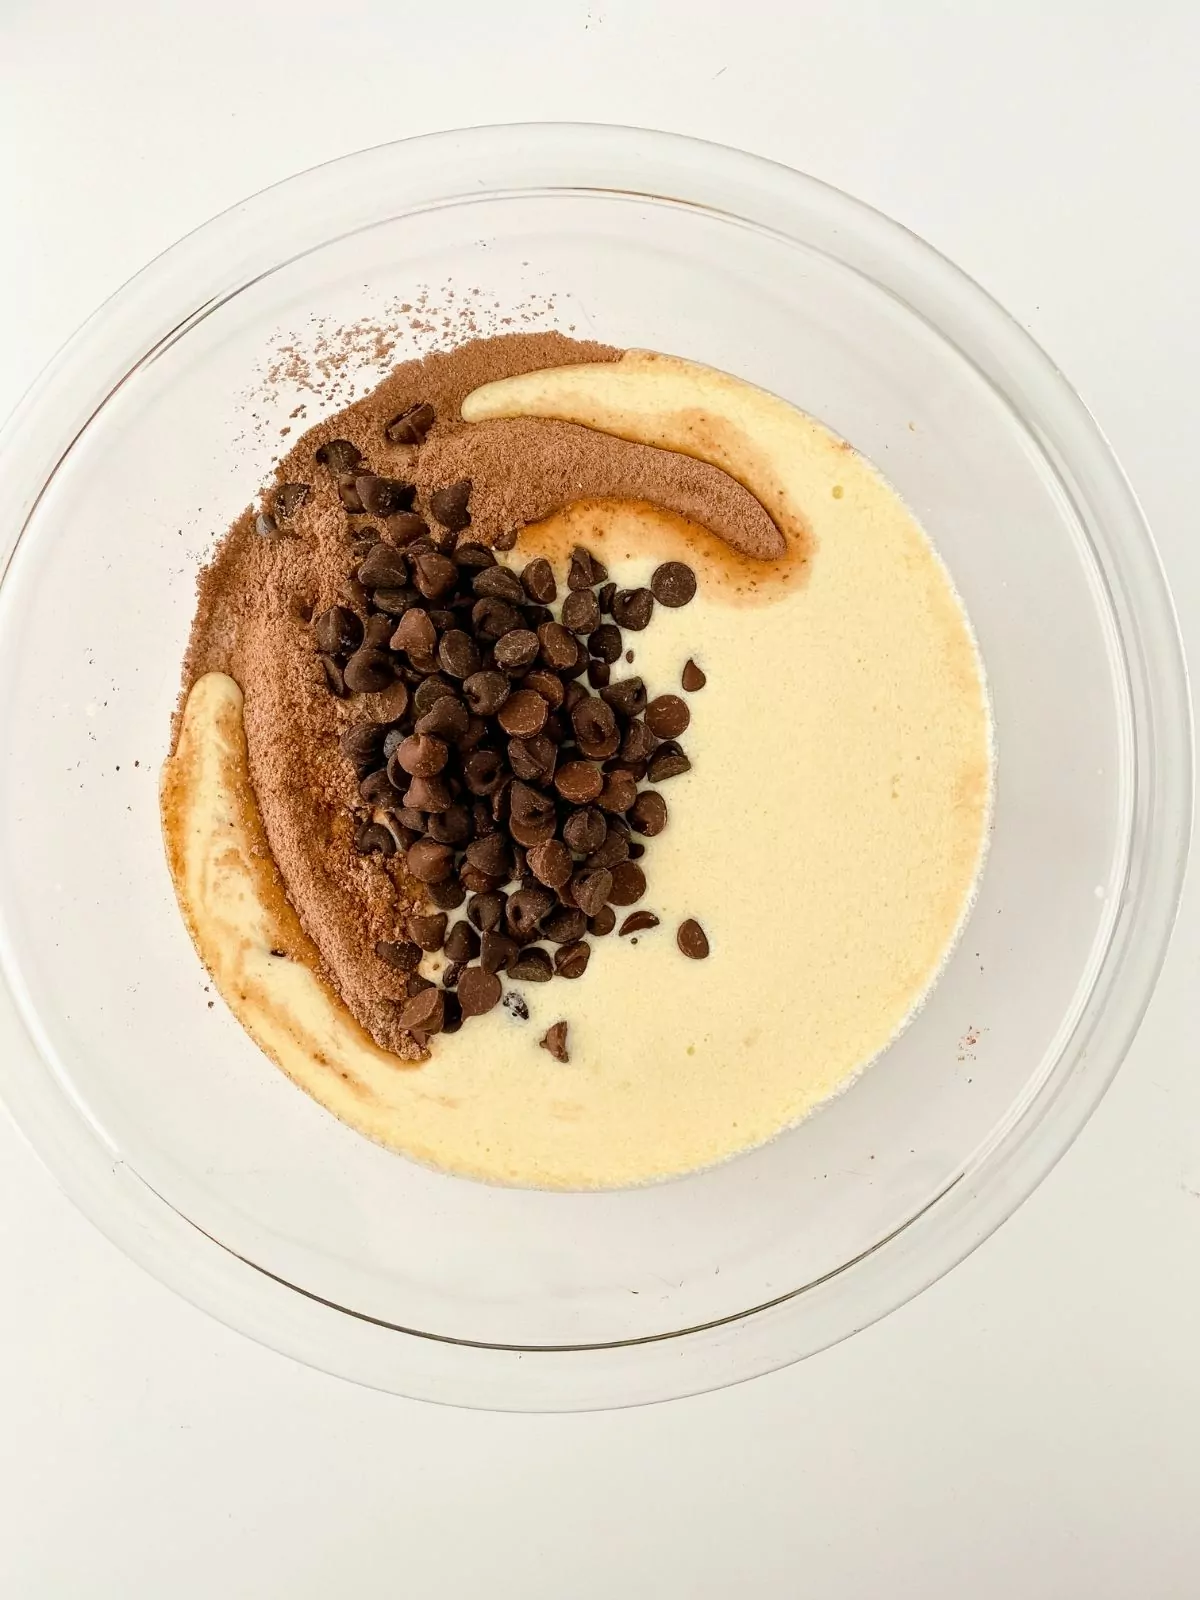
Step 3: Stir until ingredients are just mixed. Then, gently fold in the remaining chocolate chips.
Top Tip
Using a cookie scoop allows you to measure out the same amount of batter for each muffin. This ensures that all the muffins bake evenly and have a uniform size...plus it helps prevent spills and keeps the muffin batter from dripping and sticking to the pan.
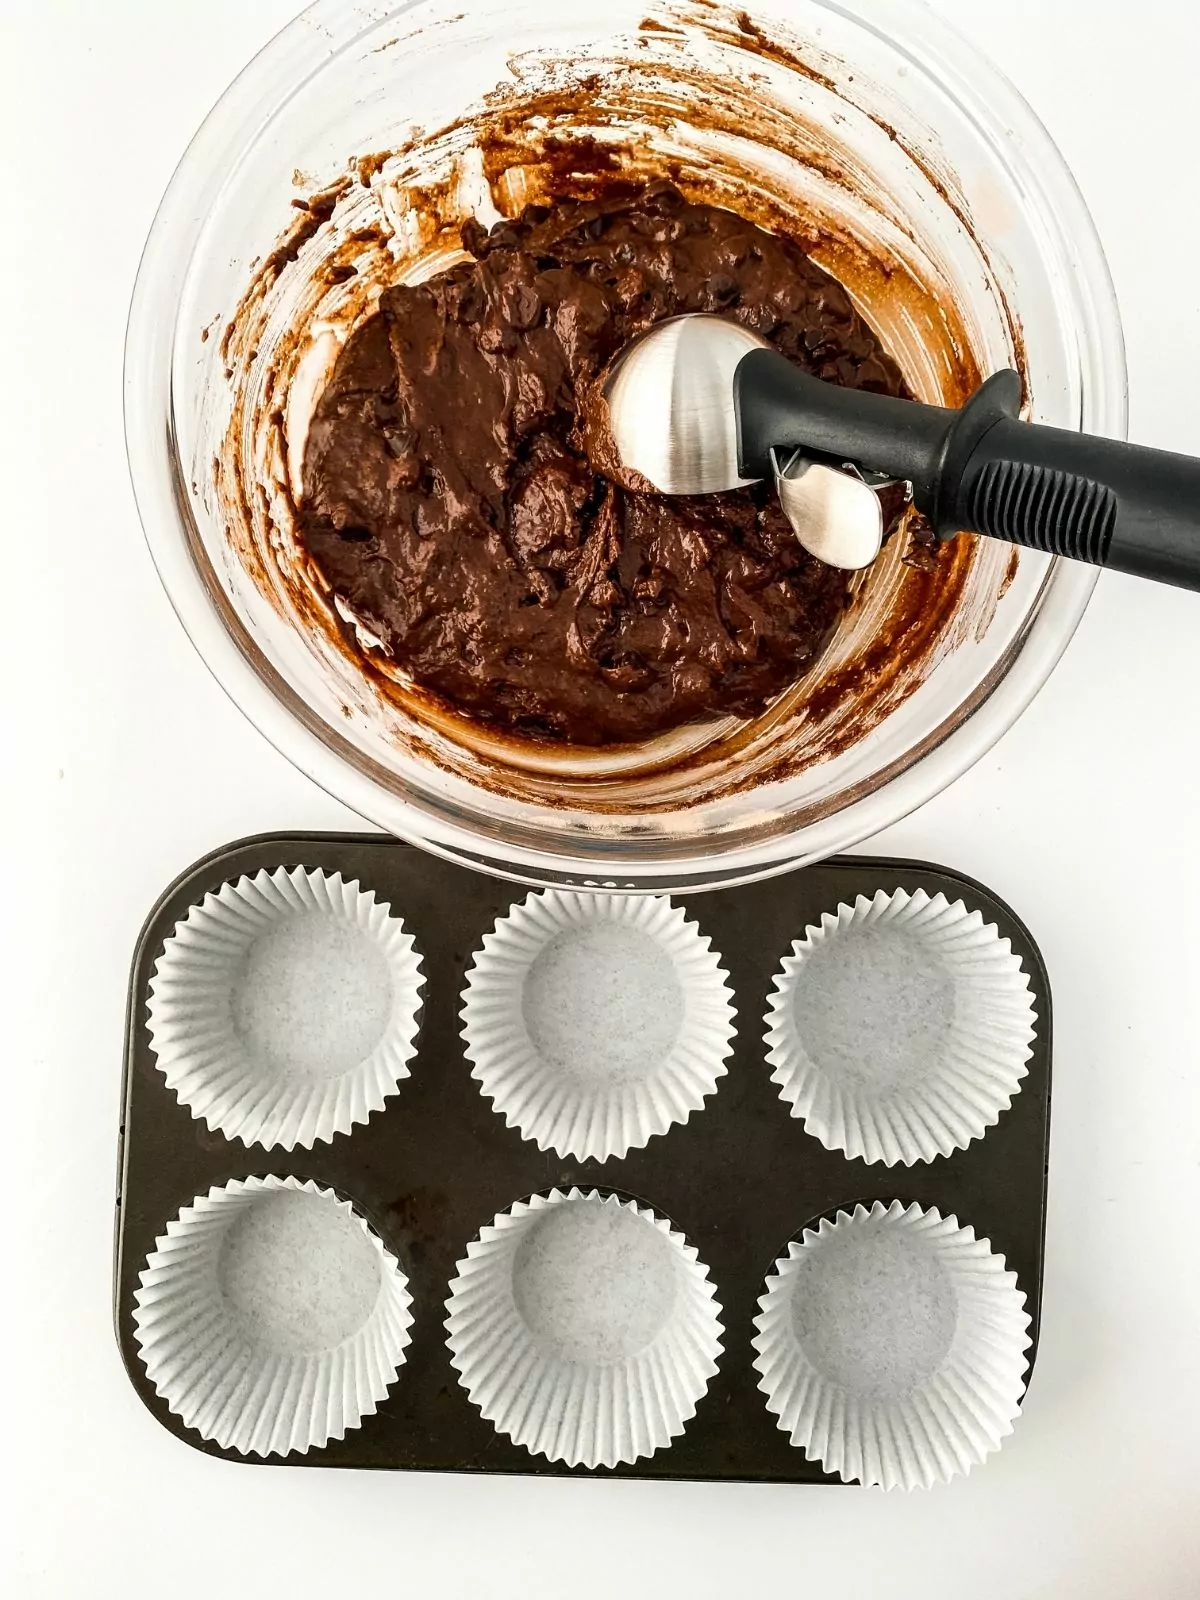
Step 4: Utilize a cookie scoop to portion the batter into a prepared muffin tin.
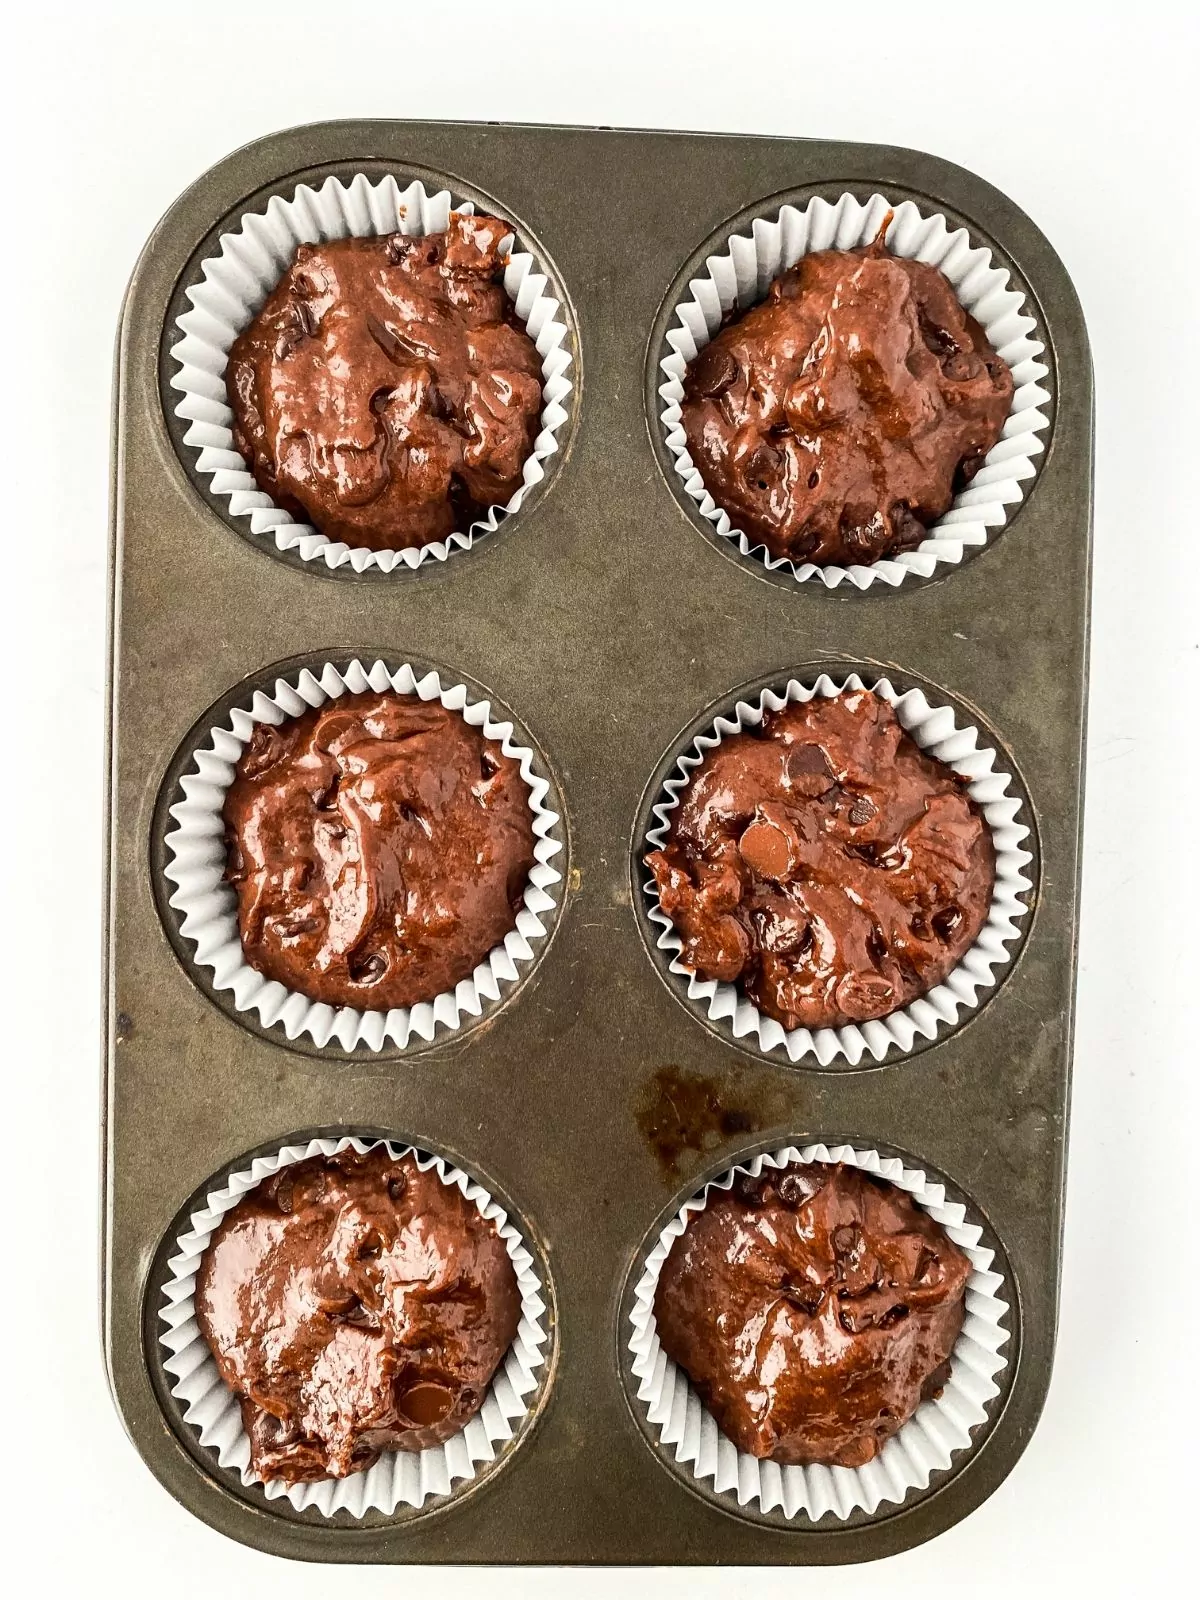
Step 5: Spraying muffin liners with non-stick baking spray helps prevent sticking, making it easier to remove the muffins from the liners after baking.
Baking Instructions
- Bake for 14-17 min or until a toothpick or skewer comes out clean.
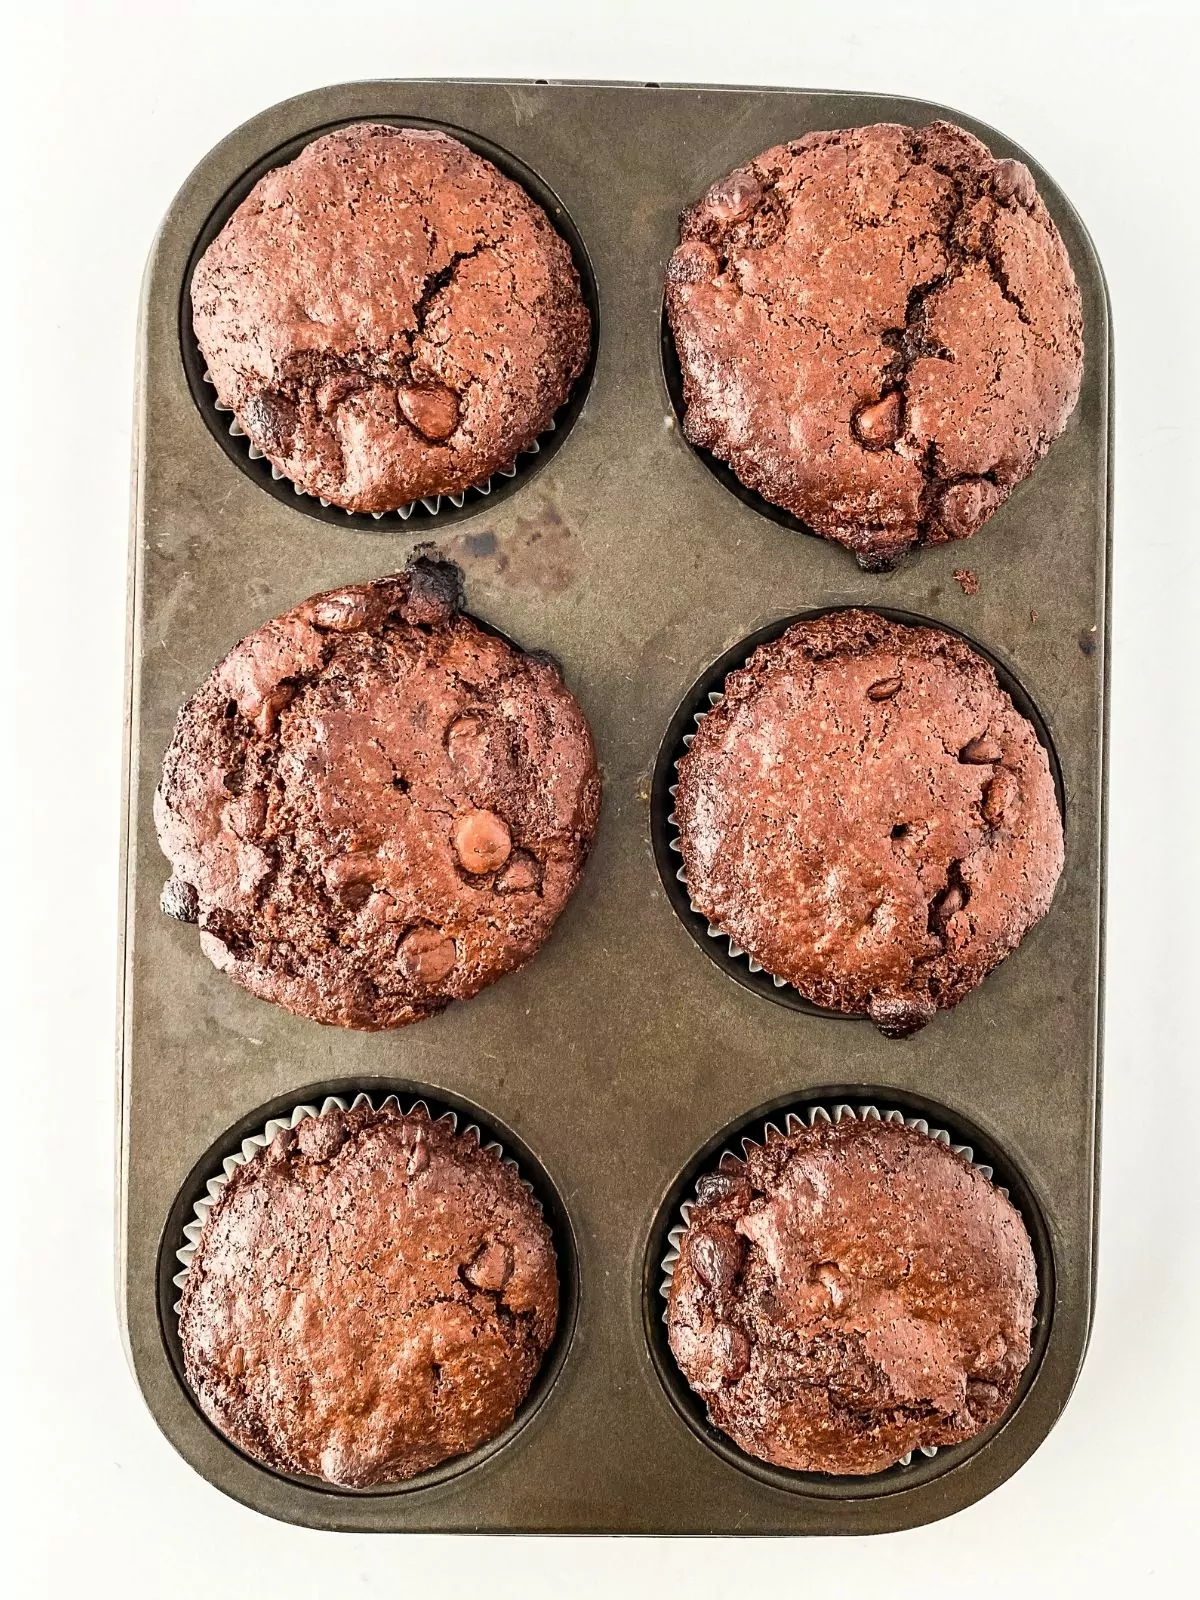
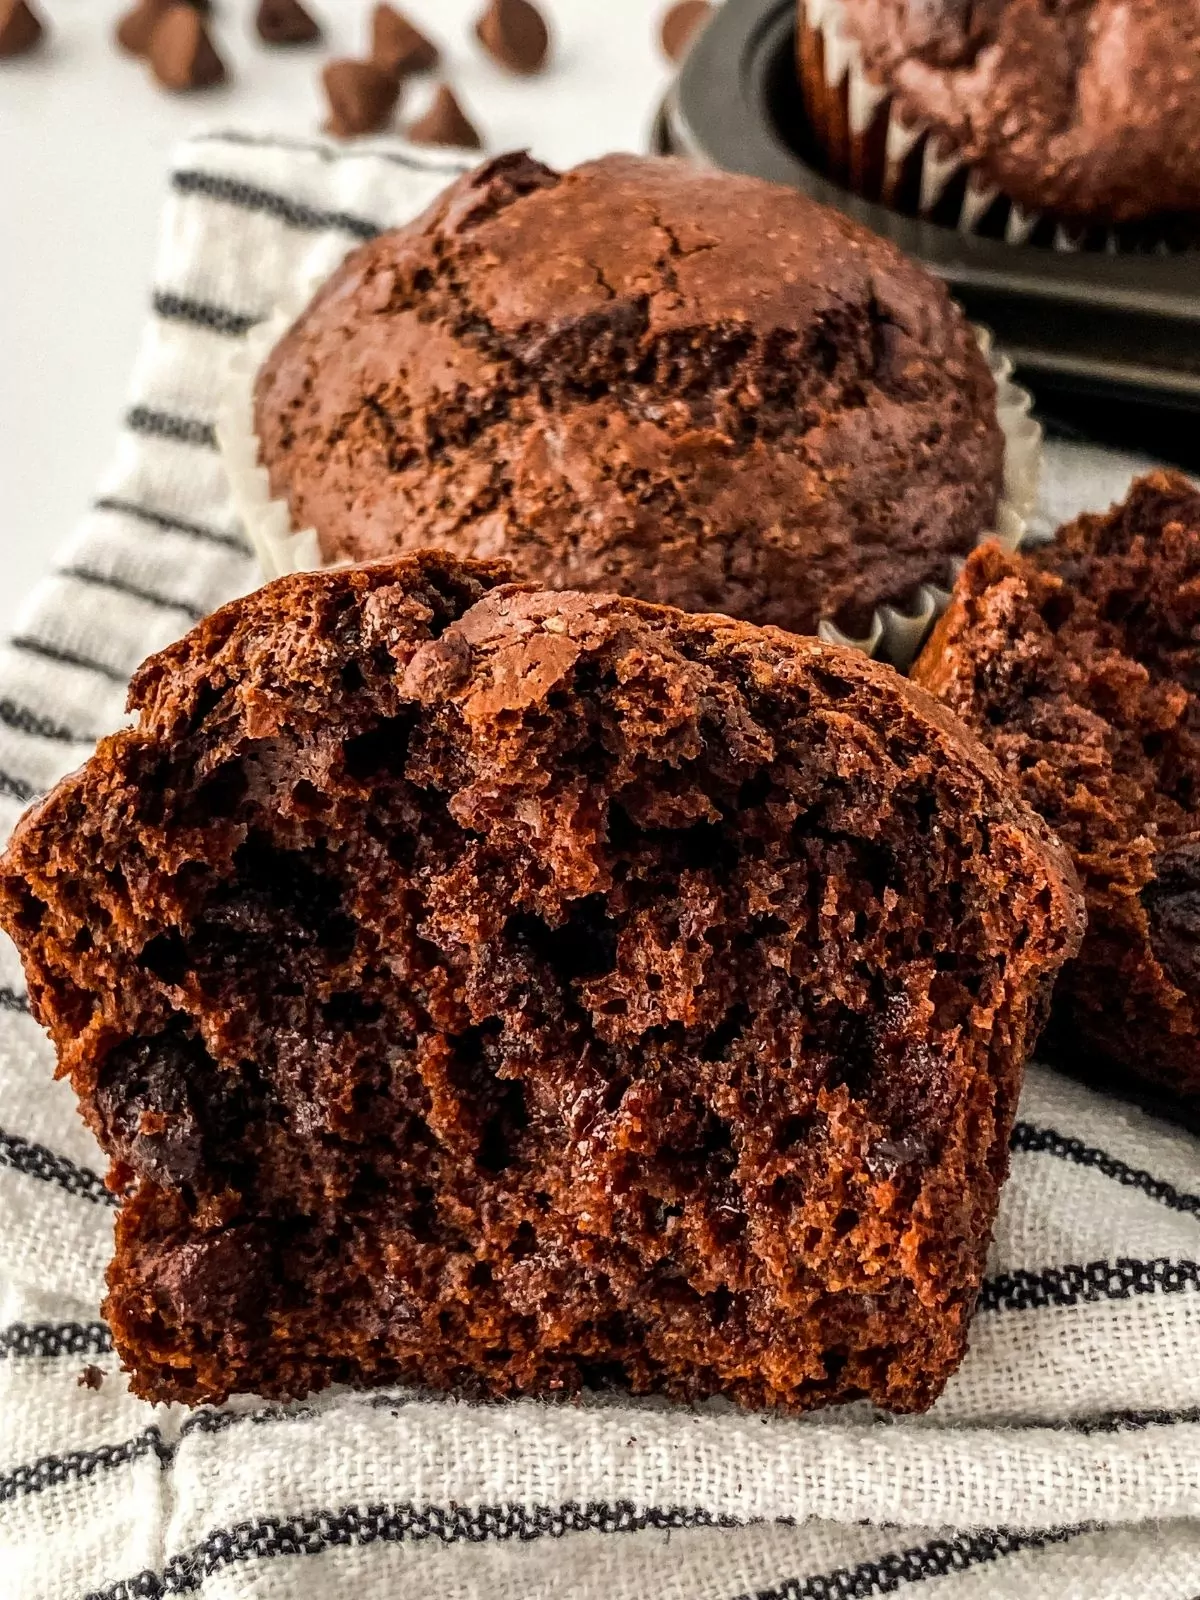
- Allow the muffins to cool in the pan for about 5-10 minutes after removing them from the oven. This helps them set and prevents them from falling apart when transferring.
- Use a butter knife or offset spatula to gently loosen the edges of each muffin from the pan. This will make it easier to remove them without sticking.
- Carefully transfer the muffins from the pan to a wire cooling rack.
Before You Begin!
If you make this recipe, please leave a review and star rating. This helps my business thrive and continue providing FREE recipes.
🍶How to Store Homemade Muffins
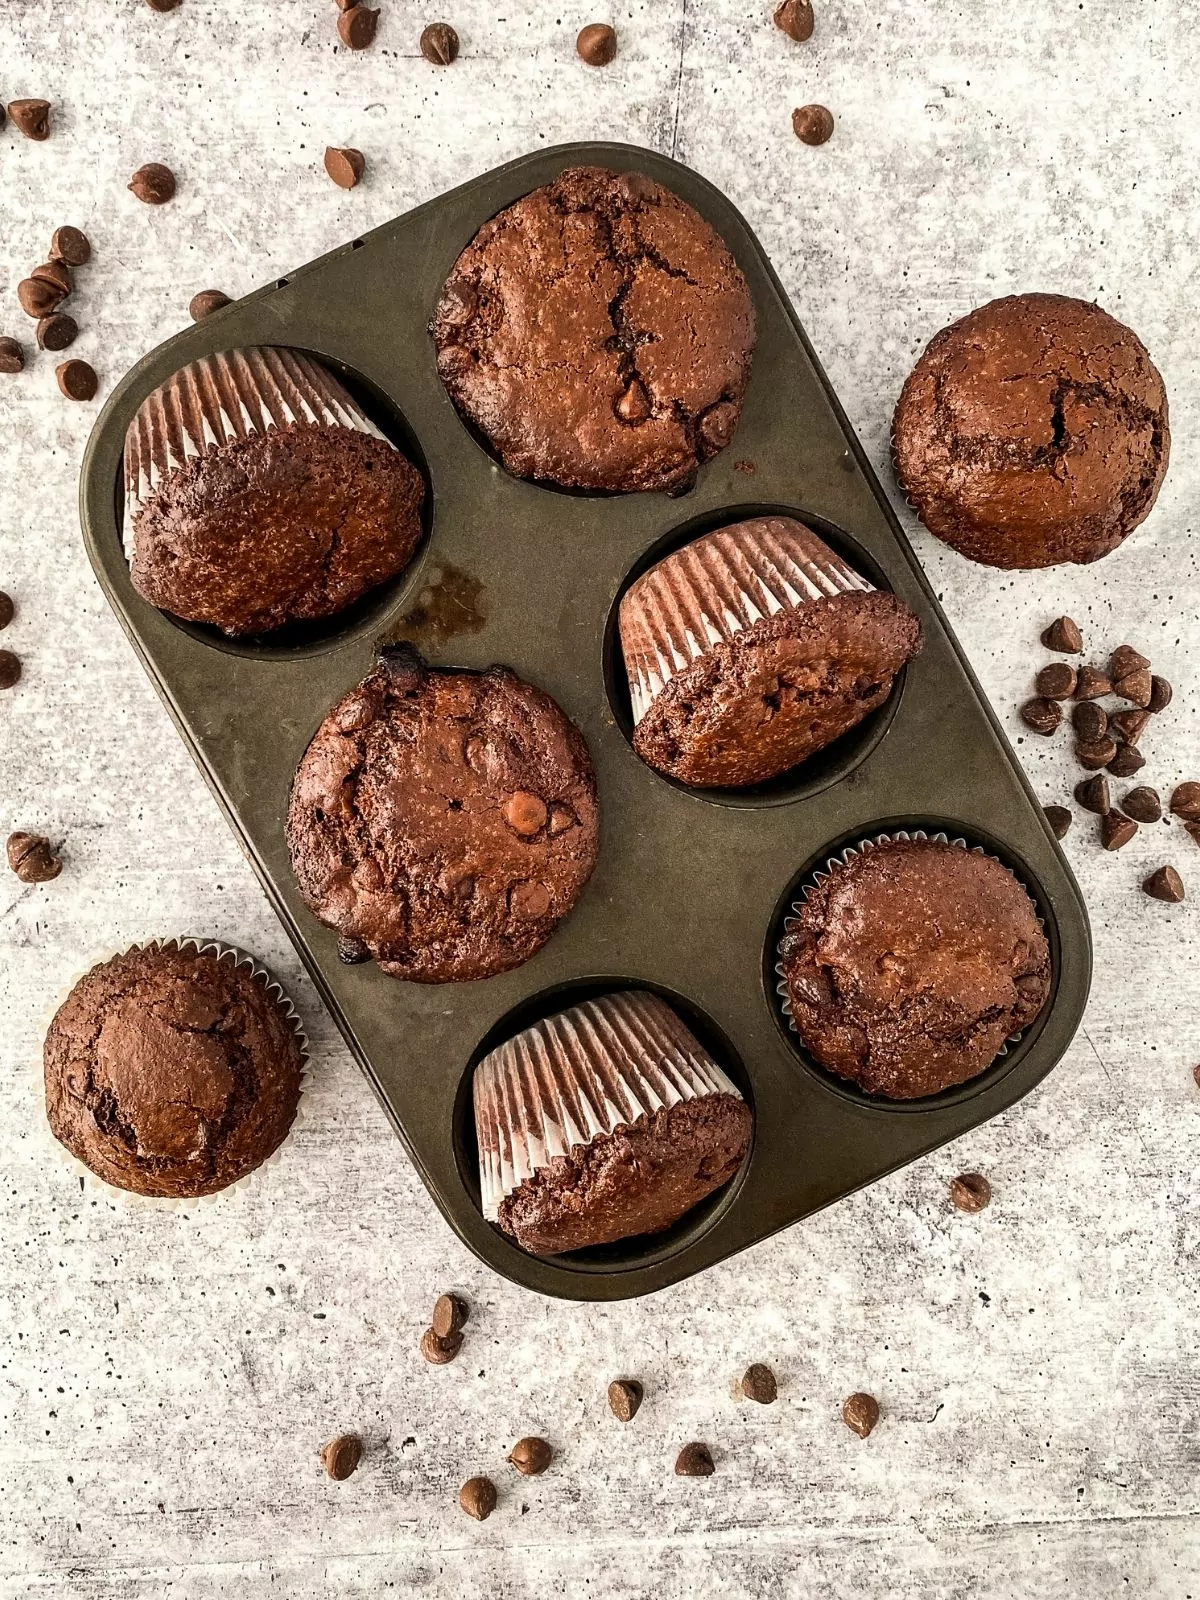
- Store leftovers in an airtight container. You can leave them on the counter, but if your house is warm, store them in the refrigerator for up to 5 days.
➡️Top Recipe Tip
- Use full fat ingredients for the best flavor and texture.
Can you make muffins out of cookie mix?
Yes, you'll need to adjust the ratios of leavening, liquid, and fats. Try this recipe for Chocolate Chip Muffins made from a cookie mix.
How to store muffins in freezer?
Allow the muffins to completely cool, then wrap each muffin in plastic wrap then place them in a zip top freezer bag or air-tight container.
What to add to cake mix to make muffins?
Add extra eggs, milk, and baking powder to make the consistency more like a muffin like in my Chocolate Chunk Muffins from a Cake Mix.
You can also mix in nuts or chocolate chips or even make a crumb topping like in my Pumpkin Muffins with Crumb Topping.
🌟Try these recipes next...
- Check out my other recipe for Cheesecake Chocolate Chip Muffins.
- Or you might enjoy this recipe for Banana Chocolate Chunk Muffins.
Good Morning Sunshine Breakfast eBookClick HERE for More Information
📇Recipe Card
📖 Recipe Card
Want to Save This Recipe?
Enter your email & I'll send it to your inbox. Plus, get great new recipes from me every week!
By submitting this form, you consent to receive emails from Walking on Sunshine Recipes.
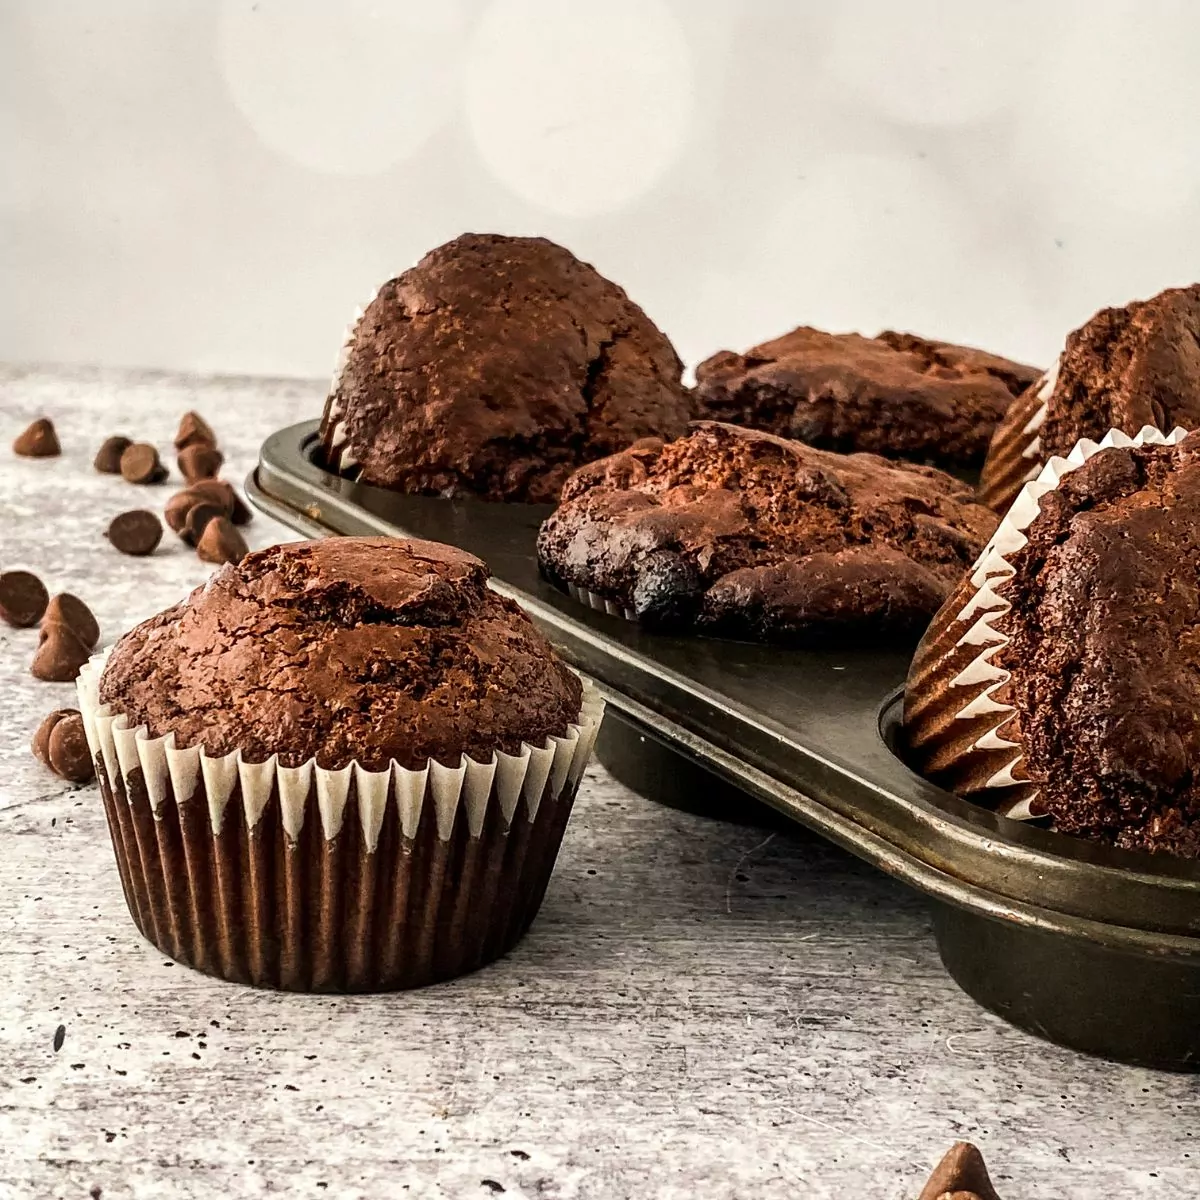
Chocolate Chocolate Chip Muffins
Ingredients
- 1 cup all-purpose flour
- ⅓ cup unsweetened cocoa powder
- ⅔ cup sugar
- ¾ teaspoon baking powder
- ½ teaspoon baking soda
- ¼ teaspoon salt
- 1 large egg
- ¼ cup vegetable oil
- ¼ cup milk
- ⅓ cup sour cream
- 1 teaspoon vanilla extract
- 1 cup semi-sweet chocolate chips
Instructions
- Preheat the oven to 425°F.
- Sift sugar, flour, cocoa powder, baking powder, baking soda, and salt into a large bowl.
- Add the egg, oil, sour cream, and vanilla to a separate bowl and whisk together.
- Pour the wet mixture into the dry with half of the chocolate chips, and use a spatula or wooden spoon to mix until combined. Do not over mix.
- Add the remaining chocolate chipes and lightly mix.
- Scoop into prepared muffin tin.
- Bake for 14-17 minutes or until a toothpick comes out clean.
- Allow the muffins to cool in the pan for about 5-10 minutes after removing them from the oven.
- Use a butter knife or offset spatula to gently loosen the edges of each muffin from the pan.
- Carefully transfer the muffins from the pan to a wire cooling rack.
- Serve and enjoy!
Notes
- Use a cookie scoop to measure out the same amount of batter for each muffin. This ensures that all the muffins bake evenly and have a uniform size...plus it helps prevent spills and keeps the muffin batter from dripping and sticking to the pan.
- Use full fat ingredients for the best flavor and texture.
Nutrition
Nutritional estimates are provided using an online calculator and is an estimate per serving. Calorie accuracy isn't guaranteed.






Comments
No Comments