

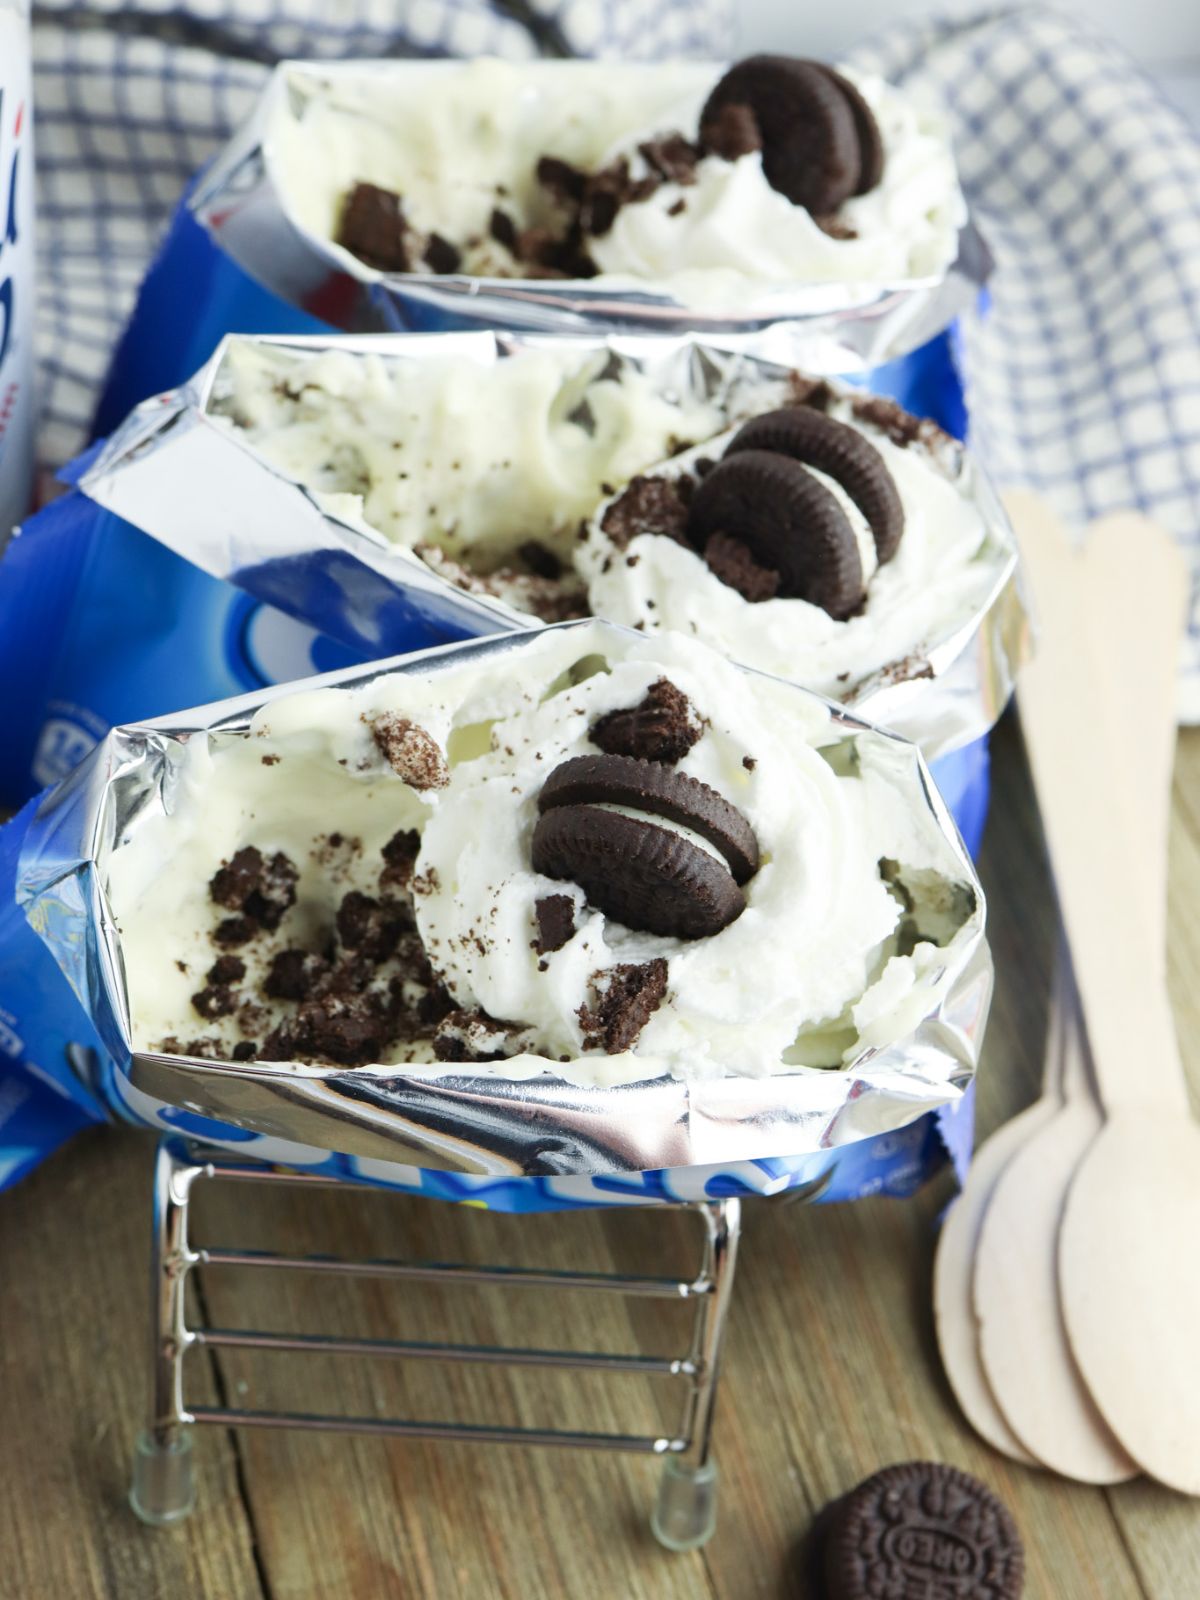
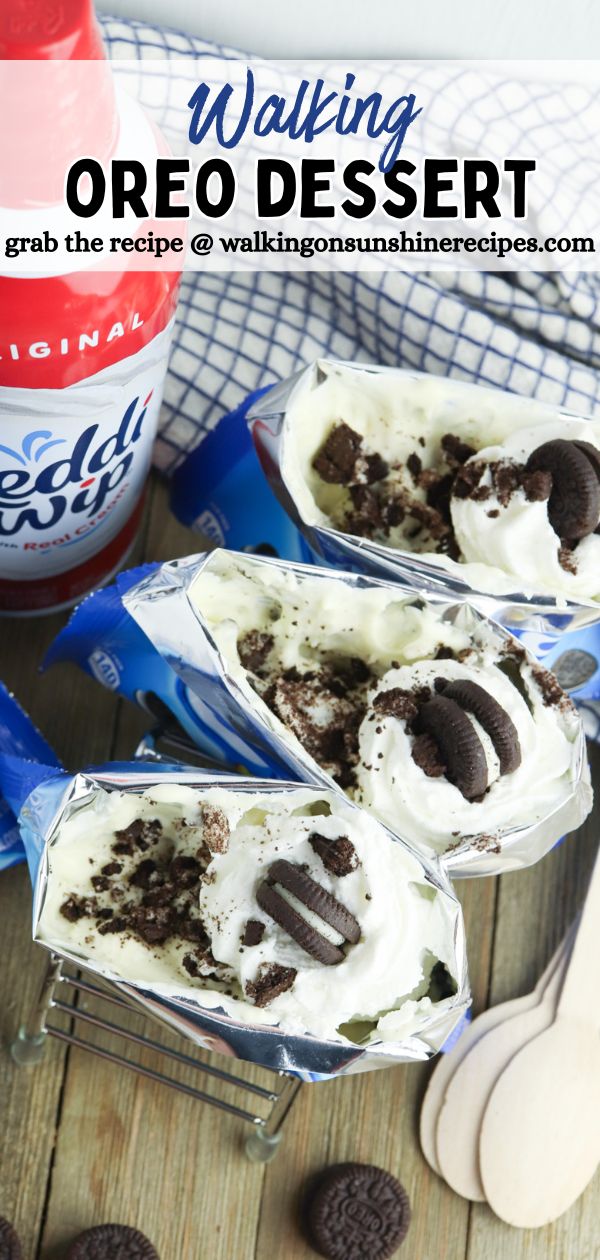
This Walking Oreo Dessert is the ultimate No Bake Treat for parties, cookouts, or after-school fun—easy to make and impossible to resist.
Made with individual snack packs and a no-bake cheesecake filling, it’s a hands-on dessert that’s easy to assemble and even more fun to eat.
Kids love the playful twist, and cleanup is a breeze—no plates or bowls required!
Want to Save This Recipe?
Enter your email & I'll send it to your inbox. Plus, get great new recipes from me every week!
By submitting this form, you consent to receive emails from Walking on Sunshine Recipes.
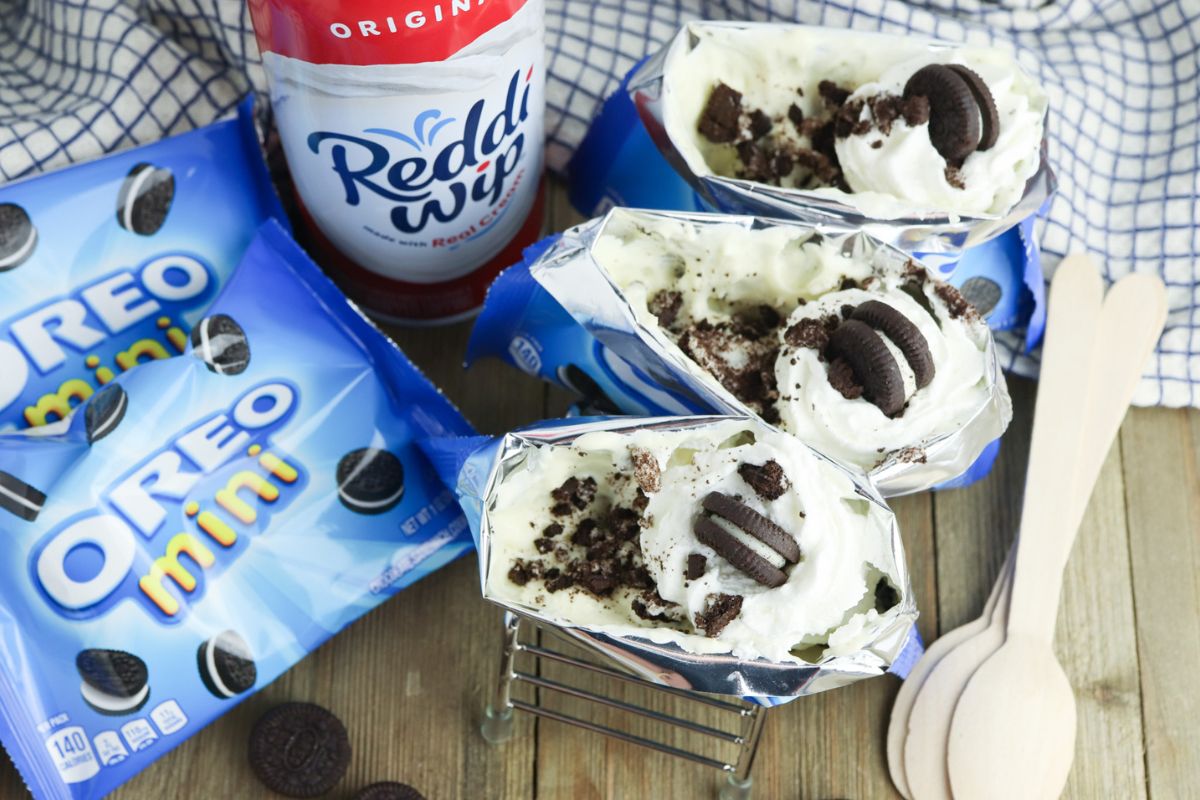
Individual mini Oreo cookie treat bags are the base of this fun, grab-and-go dessert.
However, unlike other versions, this recipe uses a no-bake cheesecake filling, adding a rich, creamy layer that takes the flavor and texture to the next level.
It’s a simple upgrade that makes each bite taste like a mini Oreo cheesecake—no baking needed.
Just open the bag and layer in the no bake cheesecake filling and whipped cream for an easy, creamy treat everyone will love.
Looking for more Easy Desserts? Try my Mini Oreo Cheesecakes, No Bake Peanut Butter Bars, and even my Berry Trifle. Yum!
Want to dress it up a bit? Go with the classic version instead…
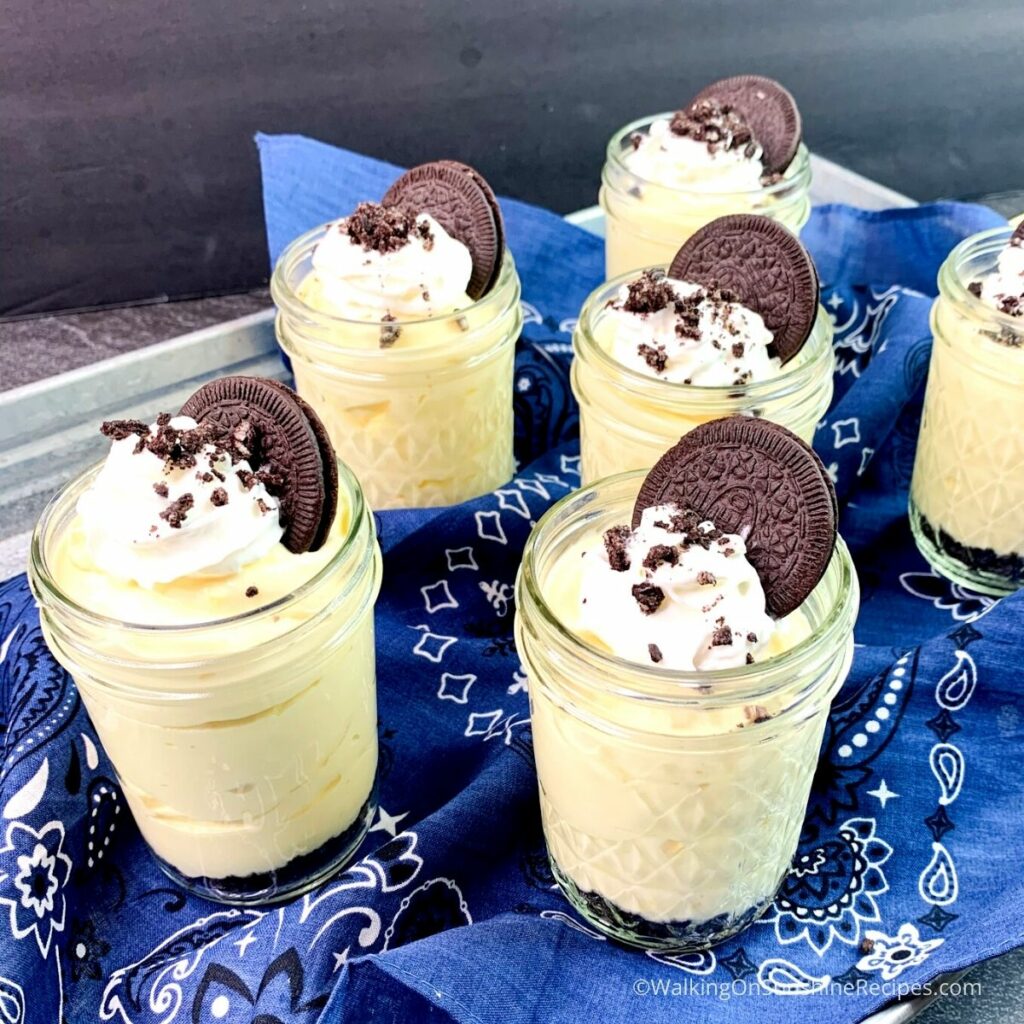
Oreo Cheesecake Pudding
Table of Contents
- Oreo Cheesecake Pudding
- Walking Dessert Tips for Easy Prep and Serving
- Recommended Kitchen Tools
- My Kitchen Tools Essentials
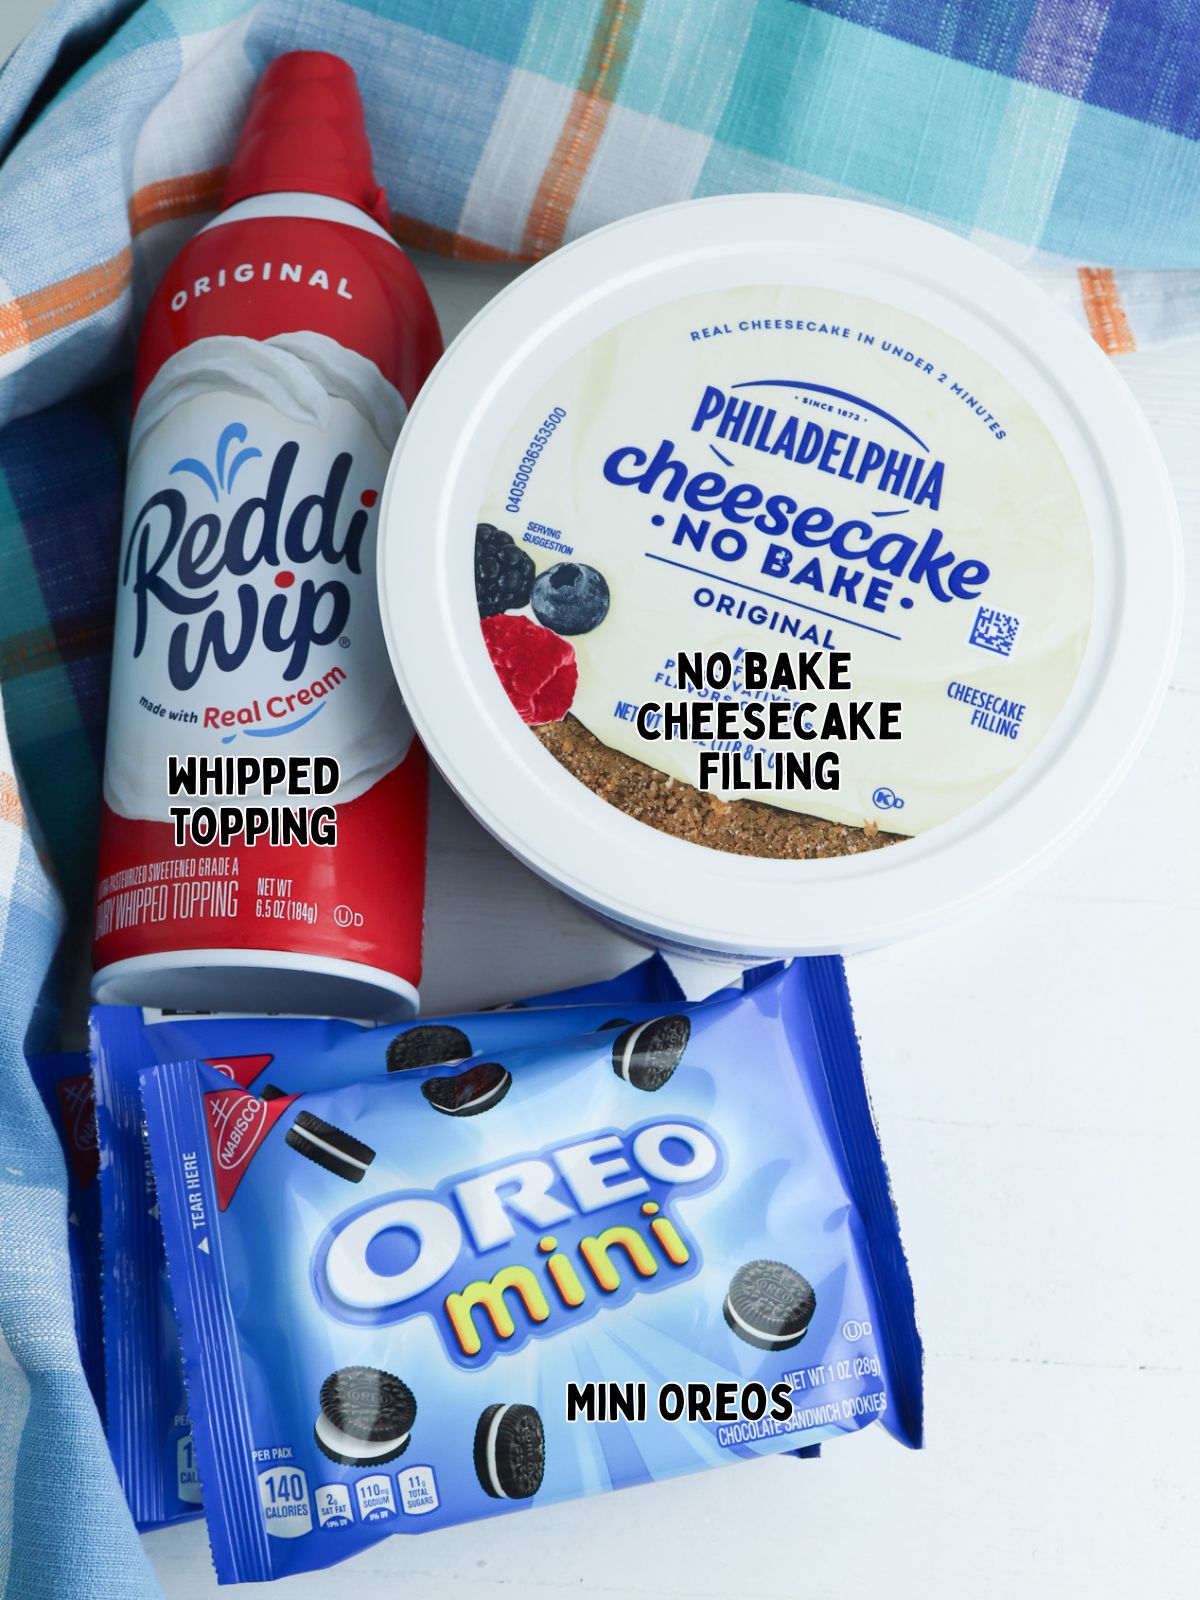
- Main Ingredients Needed
- Substitutions and Variations
- Step-by-Step Instructions
- LOVE this recipe? SAVE it for Later!
- Insider Tips from My Kitchen to Yours
- Recipe FAQ's
- How to Store Walking Desserts
- More Recipes You'll Love!
- 📖 Recipe Card
- Food Safety Tips:
- 💬 Comments
Walking Dessert Tips for Easy Prep and Serving
- Unless your kitchen is especially warm, let the cheesecake filling sit at room temperature for about 15 minutes before assembling. This softens it slightly, making it easier to scoop and layer into the cookie bags.
- For parties or gatherings, set up an easy assembly station with mini Oreo bags, cheesecake filling, whipped topping, and fun extras like sprinkles or mini chocolate chips so everyone can create their own.
- If you’re assembling them ahead of time, keep the finished treats in the refrigerator until serving to maintain freshness and texture.
- Consider using a Taco Holder Stand to keep the dessert bags upright and neatly displayed on a buffet table.
Recommended Kitchen Tools
For a full list of kitchen tools used in this recipe, be sure to check the recipe card below. You can also browse my Favorite Kitchen Tools by clicking the photo below.

Check out my list...
My Kitchen Tools Essentials
Tools that will make your time easier and faster in the kitchen!
Main Ingredients Needed
Below is a quick preview of the ingredients you’ll need. For exact amounts, check the recipe card below. You can also use the "Shopping List button" to create a printable shopping list, or the "Get Ingredients button" in the recipe card to order groceries online.
Substitutions and Variations
Pudding instead of cheesecake filling – Use instant chocolate or vanilla pudding for a quicker option.
Homemade whipped cream – Swap the frozen topping with freshly whipped cream if you prefer.
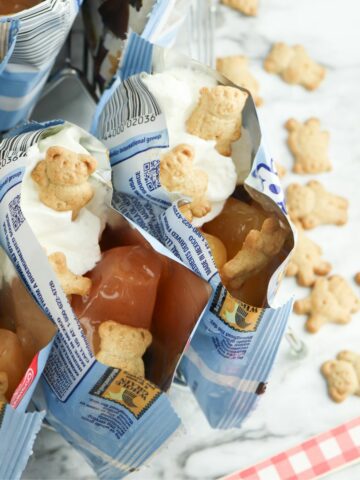
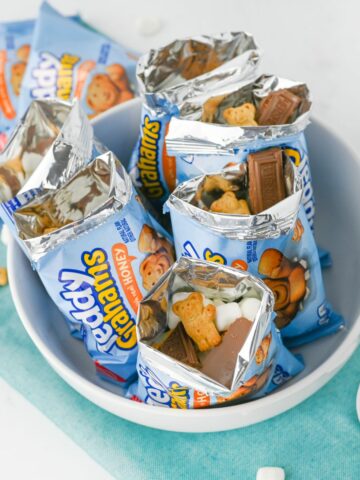
Try different cookie bags – Use mini Chips Ahoy, Nutter Butters, or even Teddy Grahams for a fun twist.
Add toppings – Sprinkle with mini chocolate chips, crushed candy bars, or a drizzle of chocolate syrup.
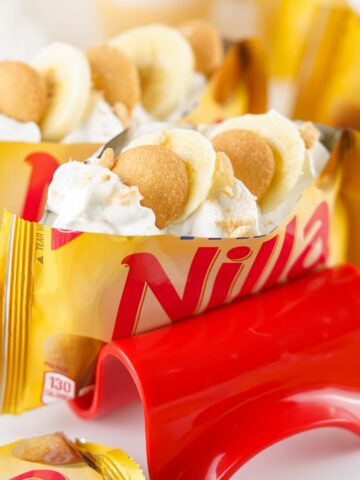
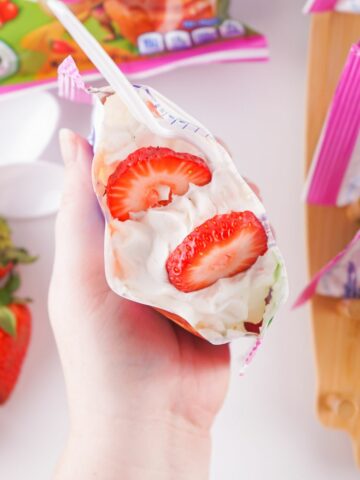
✔️Looking for more portable treats? Try my Walking Smores, Walking Banana Pudding, Walking Strawberry Shortcake or my Walking Apple Pie recipe.
This recipe has not been tested with other substitutions or variations. If you replace or add any ingredients, please let me know how it turned out in the comments below!
Step-by-Step Instructions
This section provides step-by-step photos and instructions to guide you through the recipe. For the complete printable version, scroll down to the recipe card below.

Step 1: Use a rolling pin to crush the Oreos inside the bag.
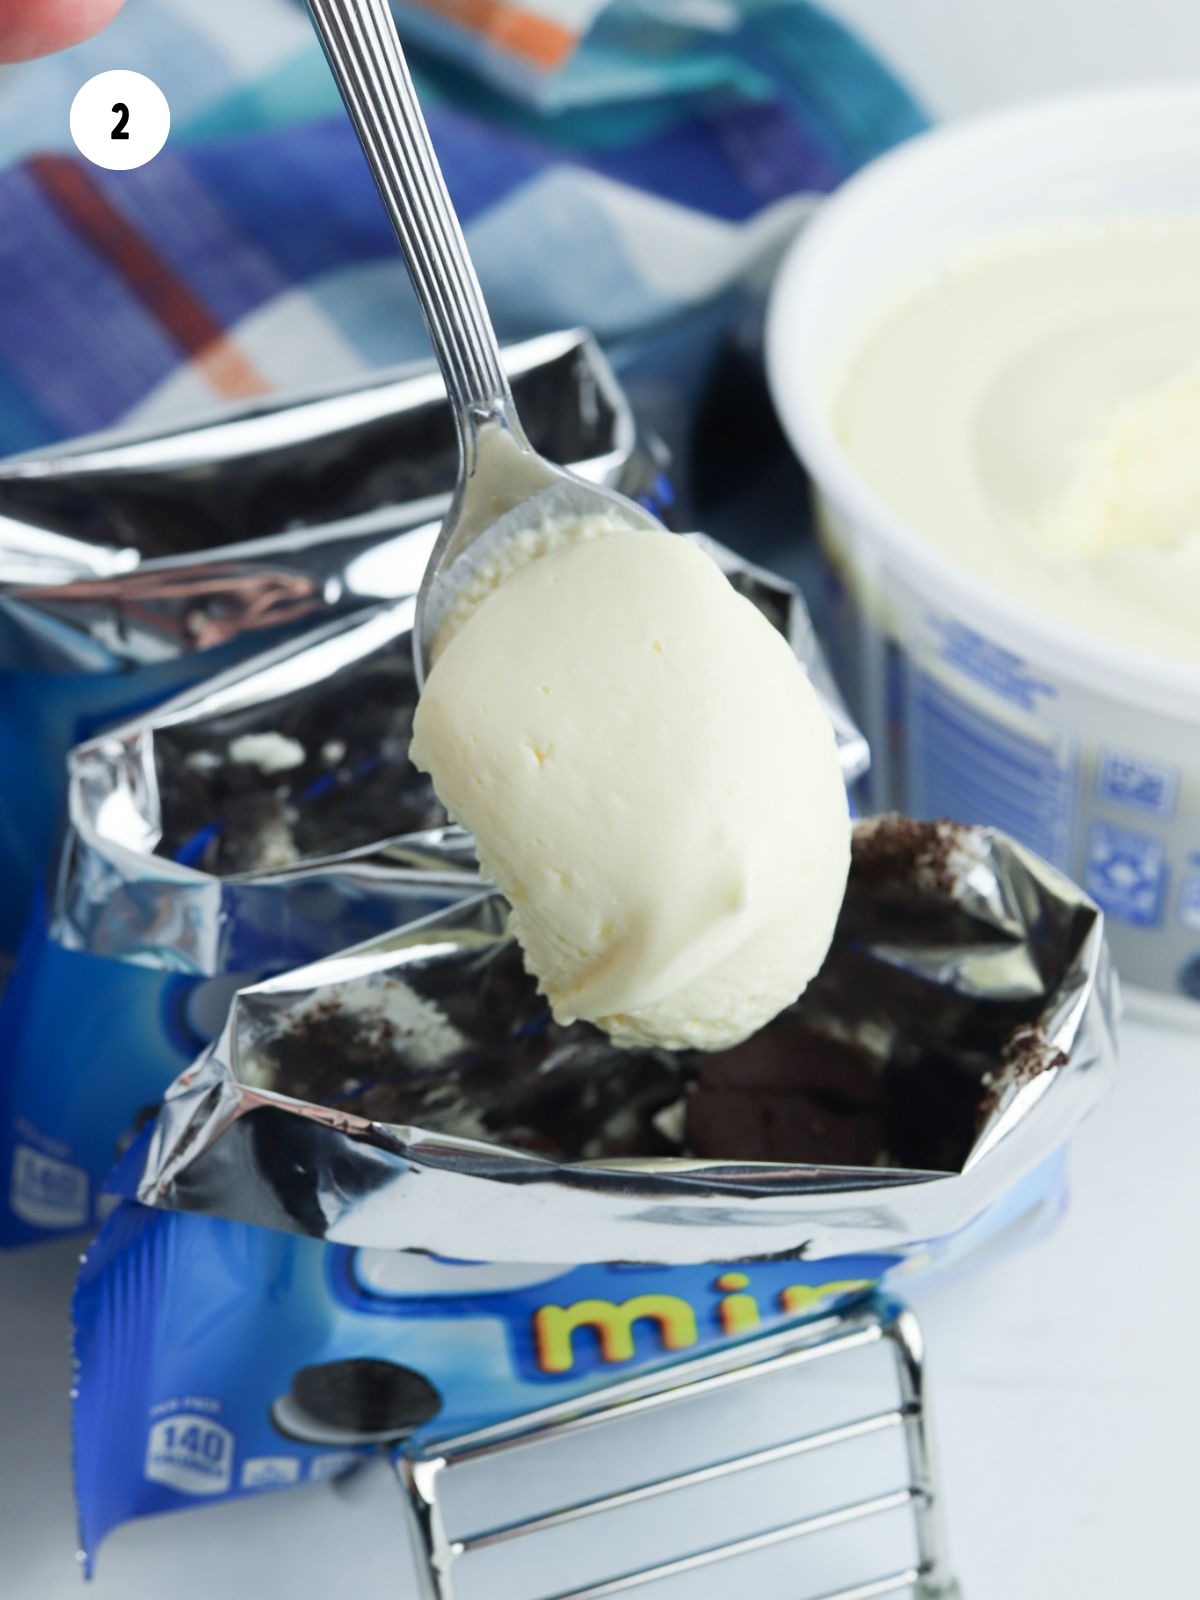
Step 2: Spoon the cheesecake filling into the bags of crushed Oreos.

Step 3: Mix the cheesecake filling with the crushed Oreos.
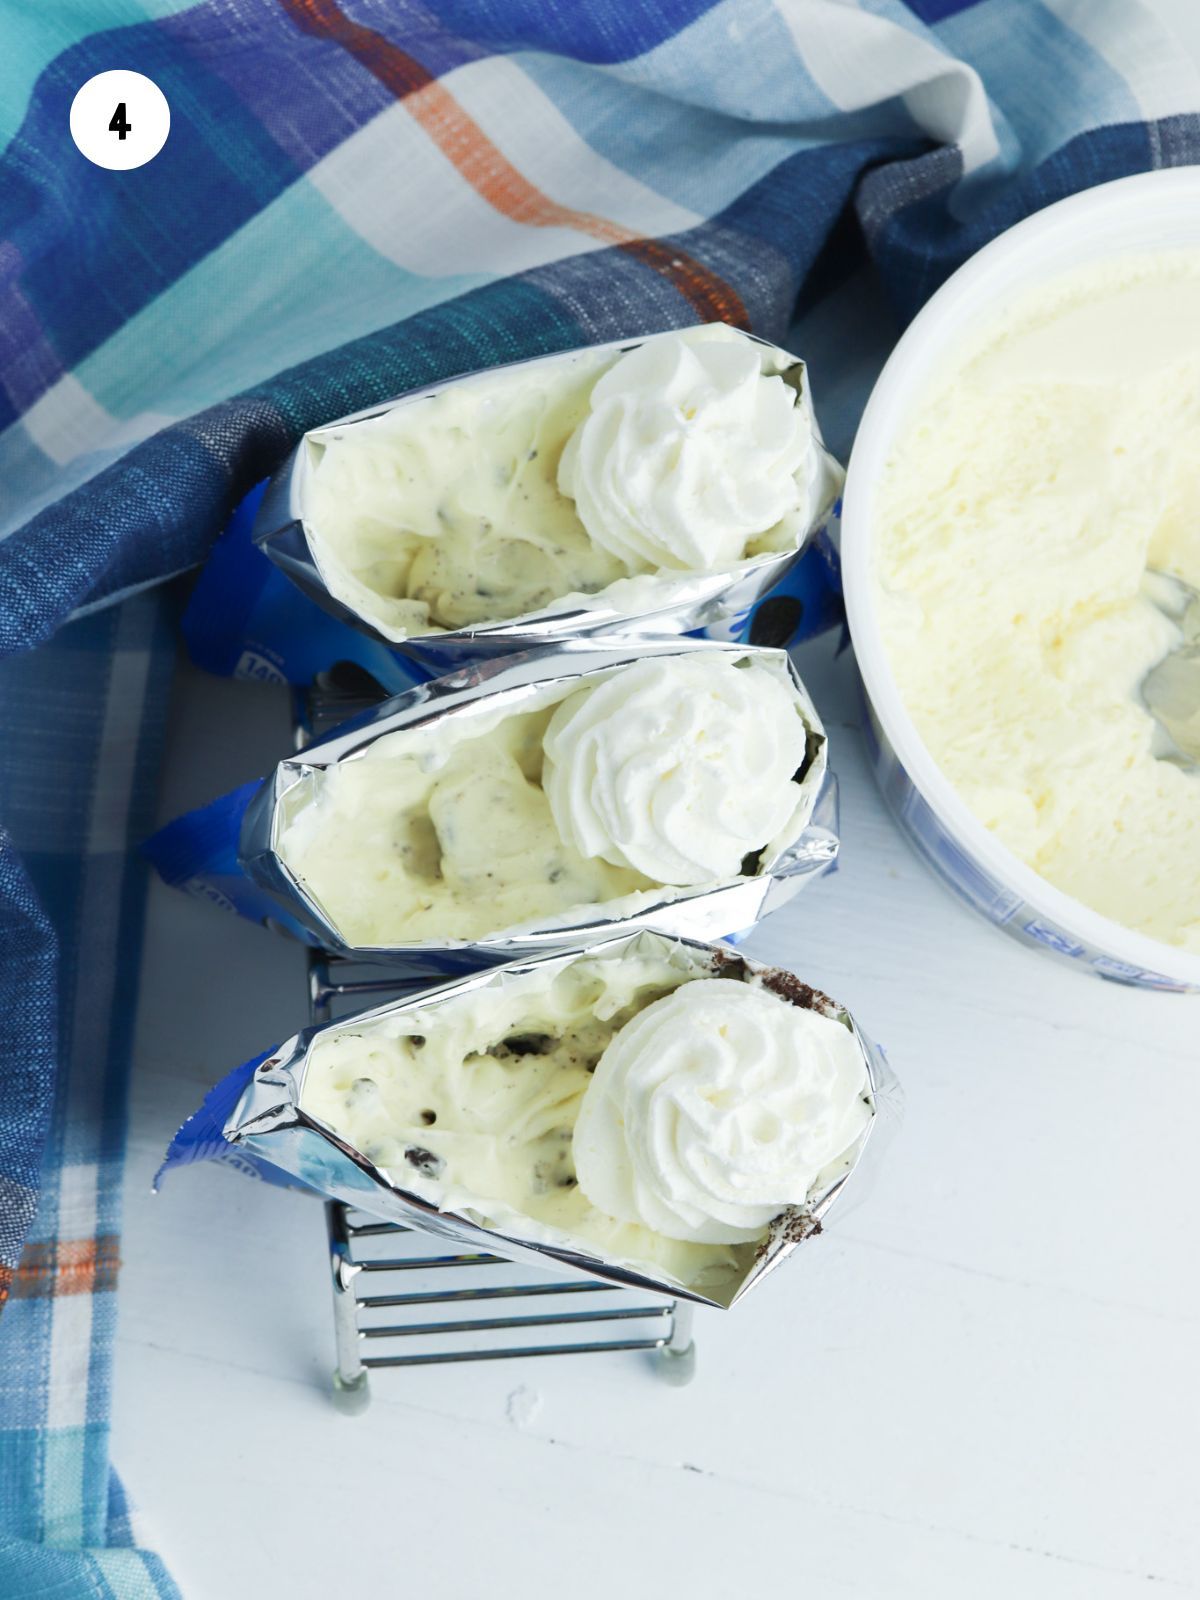
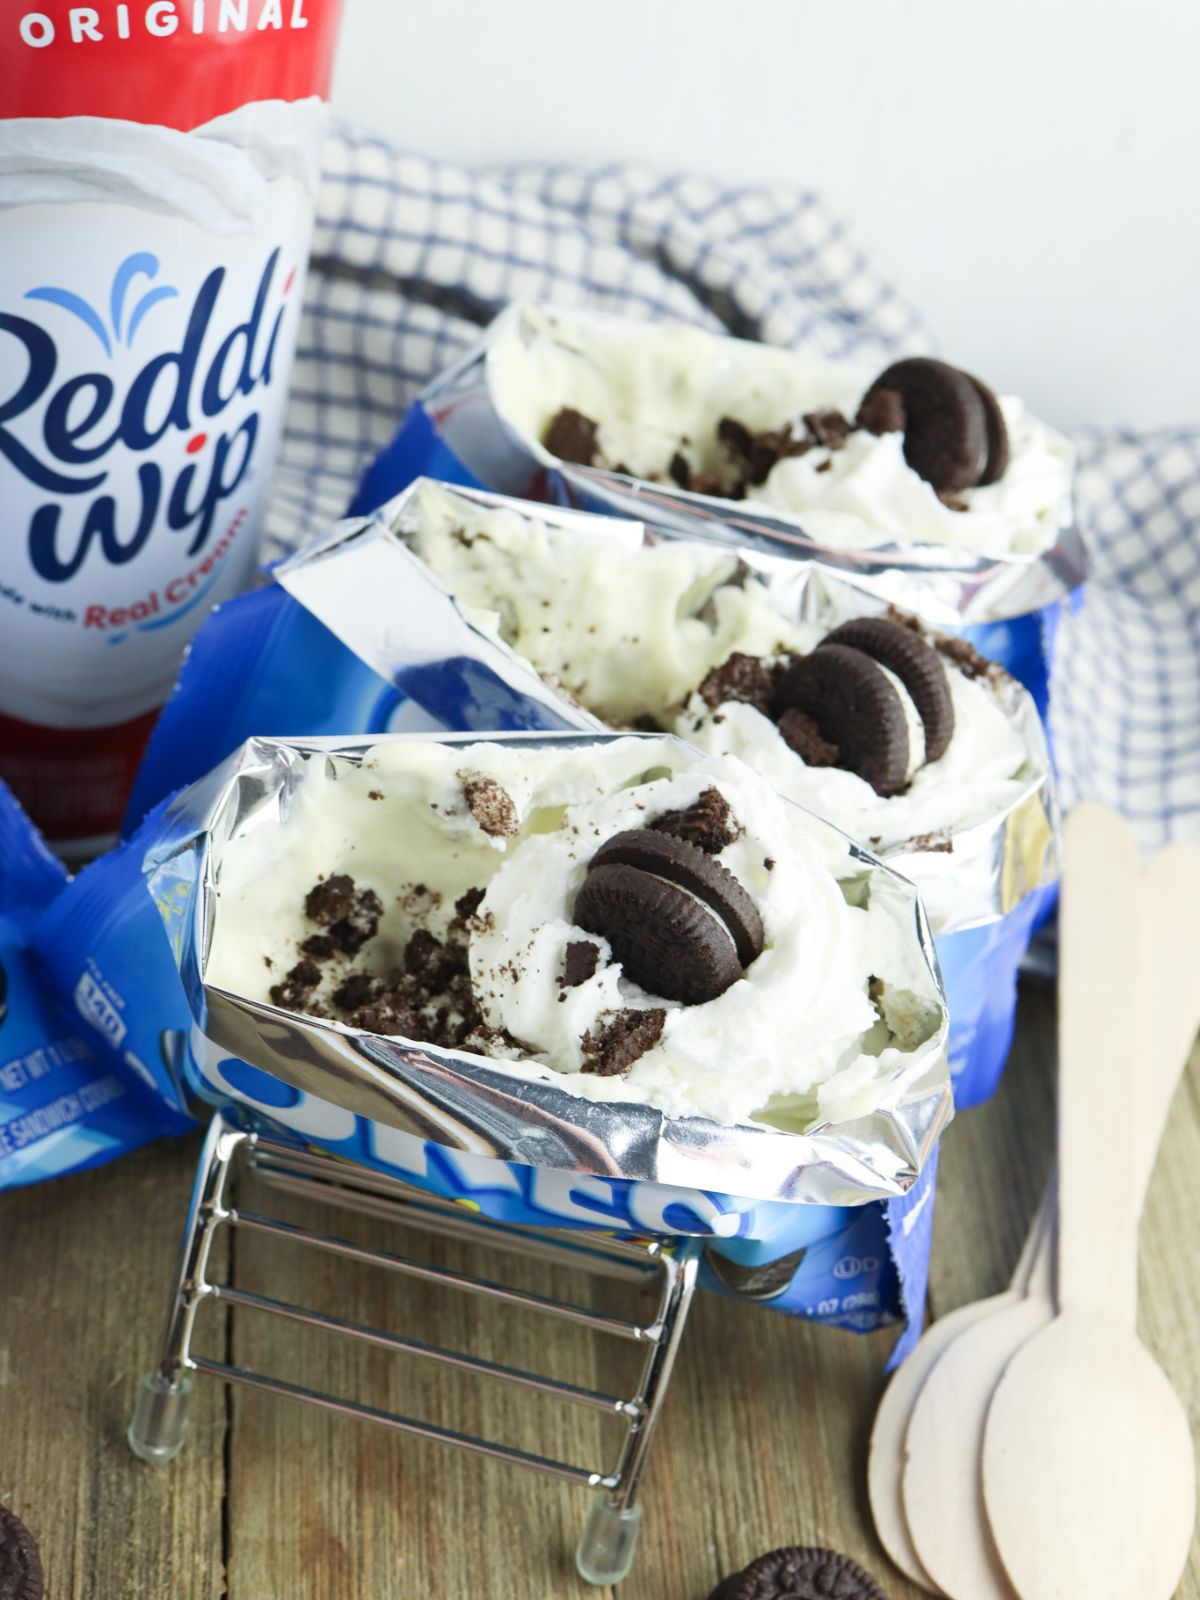
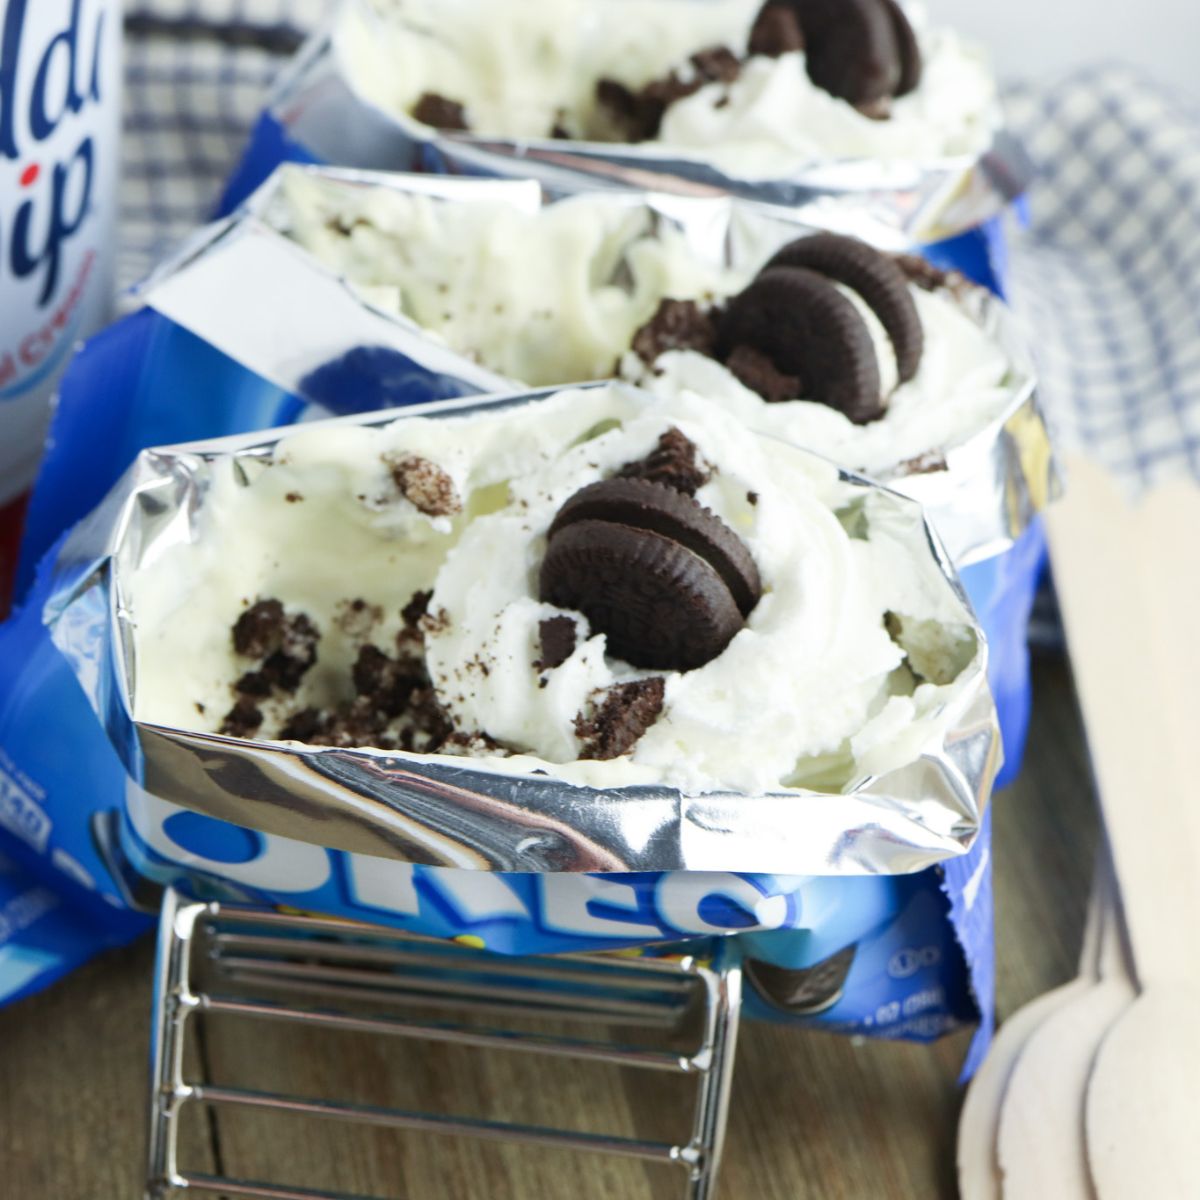
Step 4: Add a dollop of whipped cream on top.
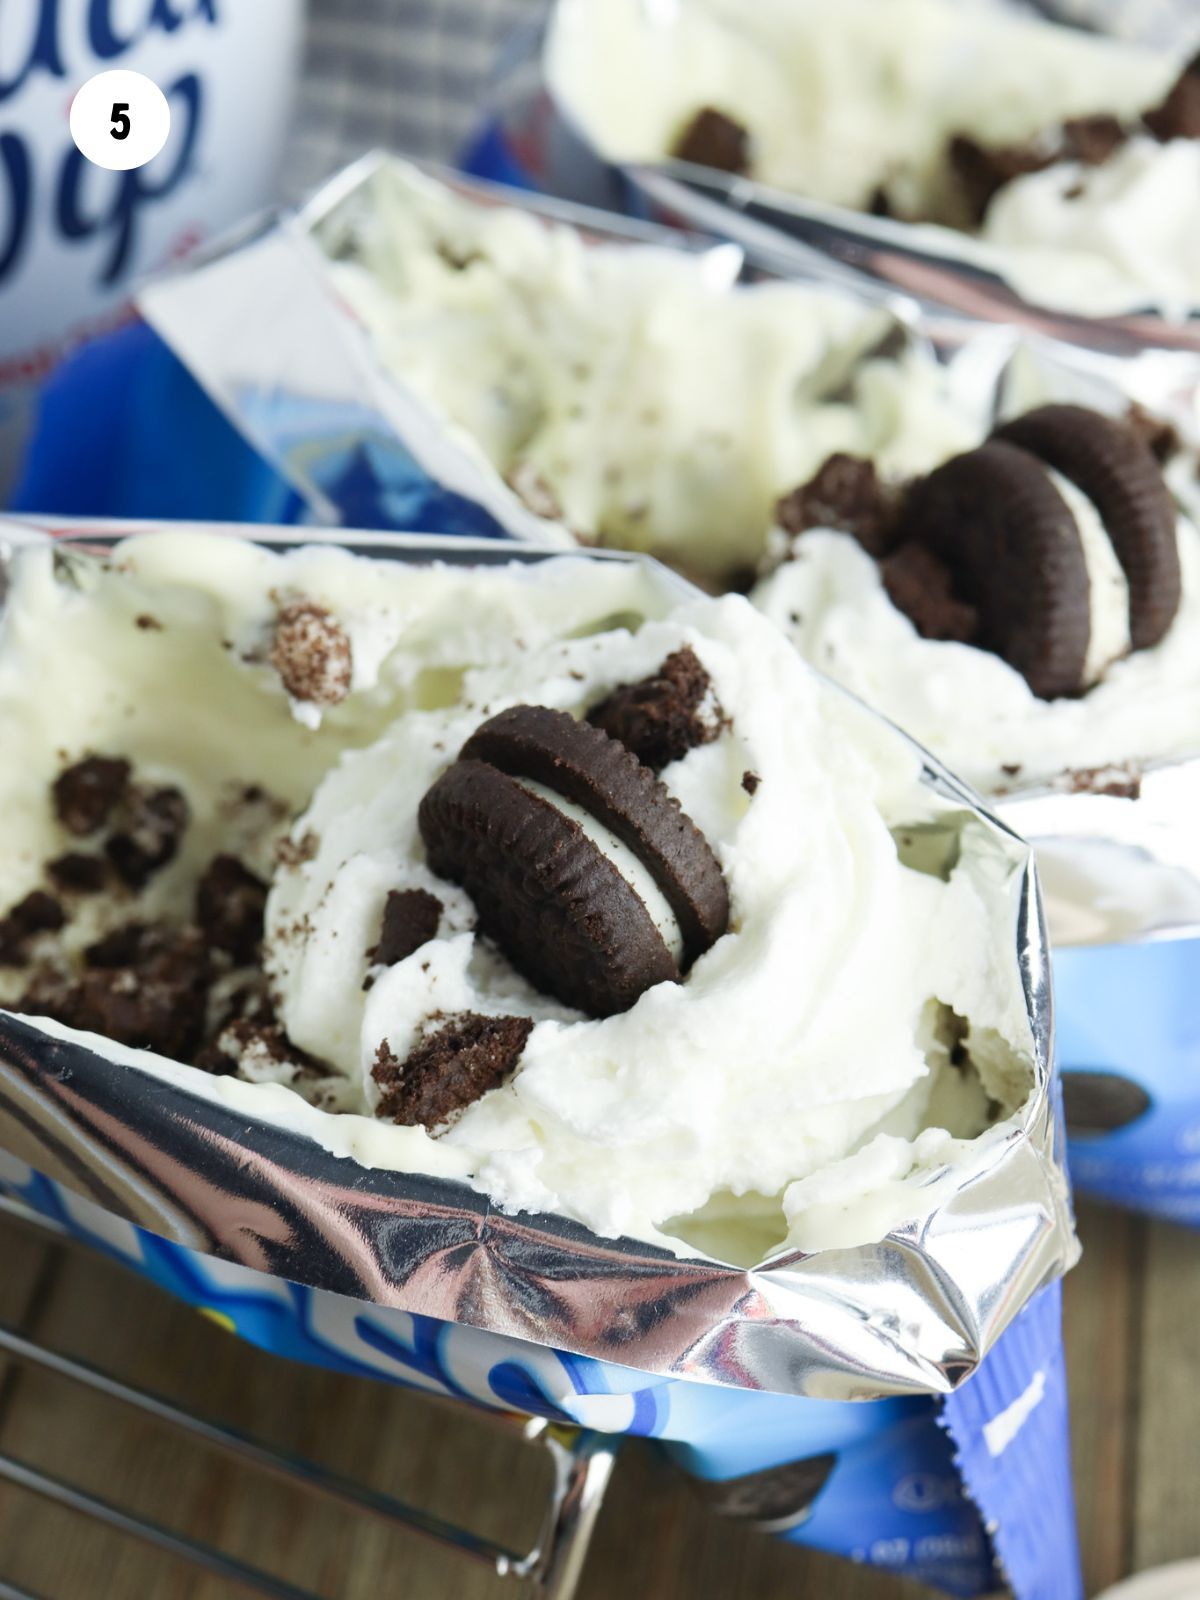
Step 5: Use a reserved bag to add whole mini Oreos and extra crumbs for the topping.
LOVE this recipe? SAVE it for Later!
❤️Tap the heart icon in the lower right corner to add the recipe to your recipe box for easy access anytime.
If you made it, leaving a star rating or quick review is always appreciated and helps other readers too.
Want to save this printed recipe? The Ultimate Meal Planner & Recipe Binder helps you keep recipes organized in one easy place.
Insider Tips from My Kitchen to Yours
Want to make this recipe even better? Don’t miss my favorite tips below for boosting flavor, perfecting texture, and saving time in the kitchen!
✔️ DO: Let the cheesecake filling sit out briefly before assembling—this makes it much easier to layer into the cookie bags smoothly.
❌ DO NOT: Assemble the treats too early or they may become soggy. Wait until just before serving or keep components separate until it’s time to enjoy.
Recipe FAQ's
To view the answers, simply click on the down arrow (⬇) next to each question. If you have any other questions not answered here, please leave a comment!
Yes, if you assemble the dessert too far in advance, the cookies can start to soften from the moisture in the filling and whipped topping. For the best texture, assemble shortly before serving or keep everything separate and let guests build their own just before enjoying.
If you make them ahead of time, it's best to keep them chilled in the refrigerator until you're ready to serve. This helps maintain the texture of the filling and topping—just note that the longer they sit, the softer the cookies will become.
How to Store Walking Desserts
Refrigerate: Transfer the contents from the bags into an airtight container and refrigerate. It’s best enjoyed within 1–2 days, as the cookies will continue to soften.
Freezer: I do not recommend freezing any leftovers.
More Recipes You'll Love!
Check out my other recipe for Oreo Cheesecake Pudding. Or you might like this recipe for Oreo Cheesecake Filling.


📖 Recipe Card
Walking Oreo Dessert
Video
Ingredients
- 10 individual packages Oreo Minis
- 1 container Philadelphia cheesecake filling
- whipped cream
Method
- Use a rolling pin to crush the cookies inside each bag.
- Cut the top of each bag and carefully roll the top of the bag down to help hold it open.
- Spoon around ⅓ cup of cheesecake filling into each bag, then stir to mix.
- Top with a dollop of whipped cream.
Nutrition
Notes
- Let the cheesecake filling rest at room temperature for 10–15 minutes before using to make it easier to spoon into the bags.
- For a fun party idea, set out the ingredients and let guests build their own dessert with toppings like sprinkles or mini candies.
- If preparing in advance, store the assembled treats in the fridge to keep them fresh and the texture just right.
- You can reserve a bag of Oreos to add a whole Oreo mini and crumbs to the tops of each Walking Oreo Dessert.
- Consider using a Taco Holder Stand to keep the dessert bags upright and neatly displayed on a buffet table.
Tried this recipe?
Let us know how it was!Food Safety Tips:
- Use separate utensils and surfaces to prevent cross-contamination when handling raw ingredients.
- Wash hands thoroughly after working with raw ingredients like eggs or dough.
- Avoid leaving no-bake treats or raw components at room temperature for extended periods.
- Ensure all utensils, bowls, and surfaces are clean before starting.
- Store no-bake recipes, such as pudding pies and candy, in the refrigerator to keep them fresh and safe.
- Provide good ventilation when using a gas stove for melting or heating chocolate, butter or other ingredients.

Loida Behr says
This looks like such a fun recipe to make for summer pool parties!
Lois says
I hope you try the recipe this summer and come back to leave a further review! Thank you!