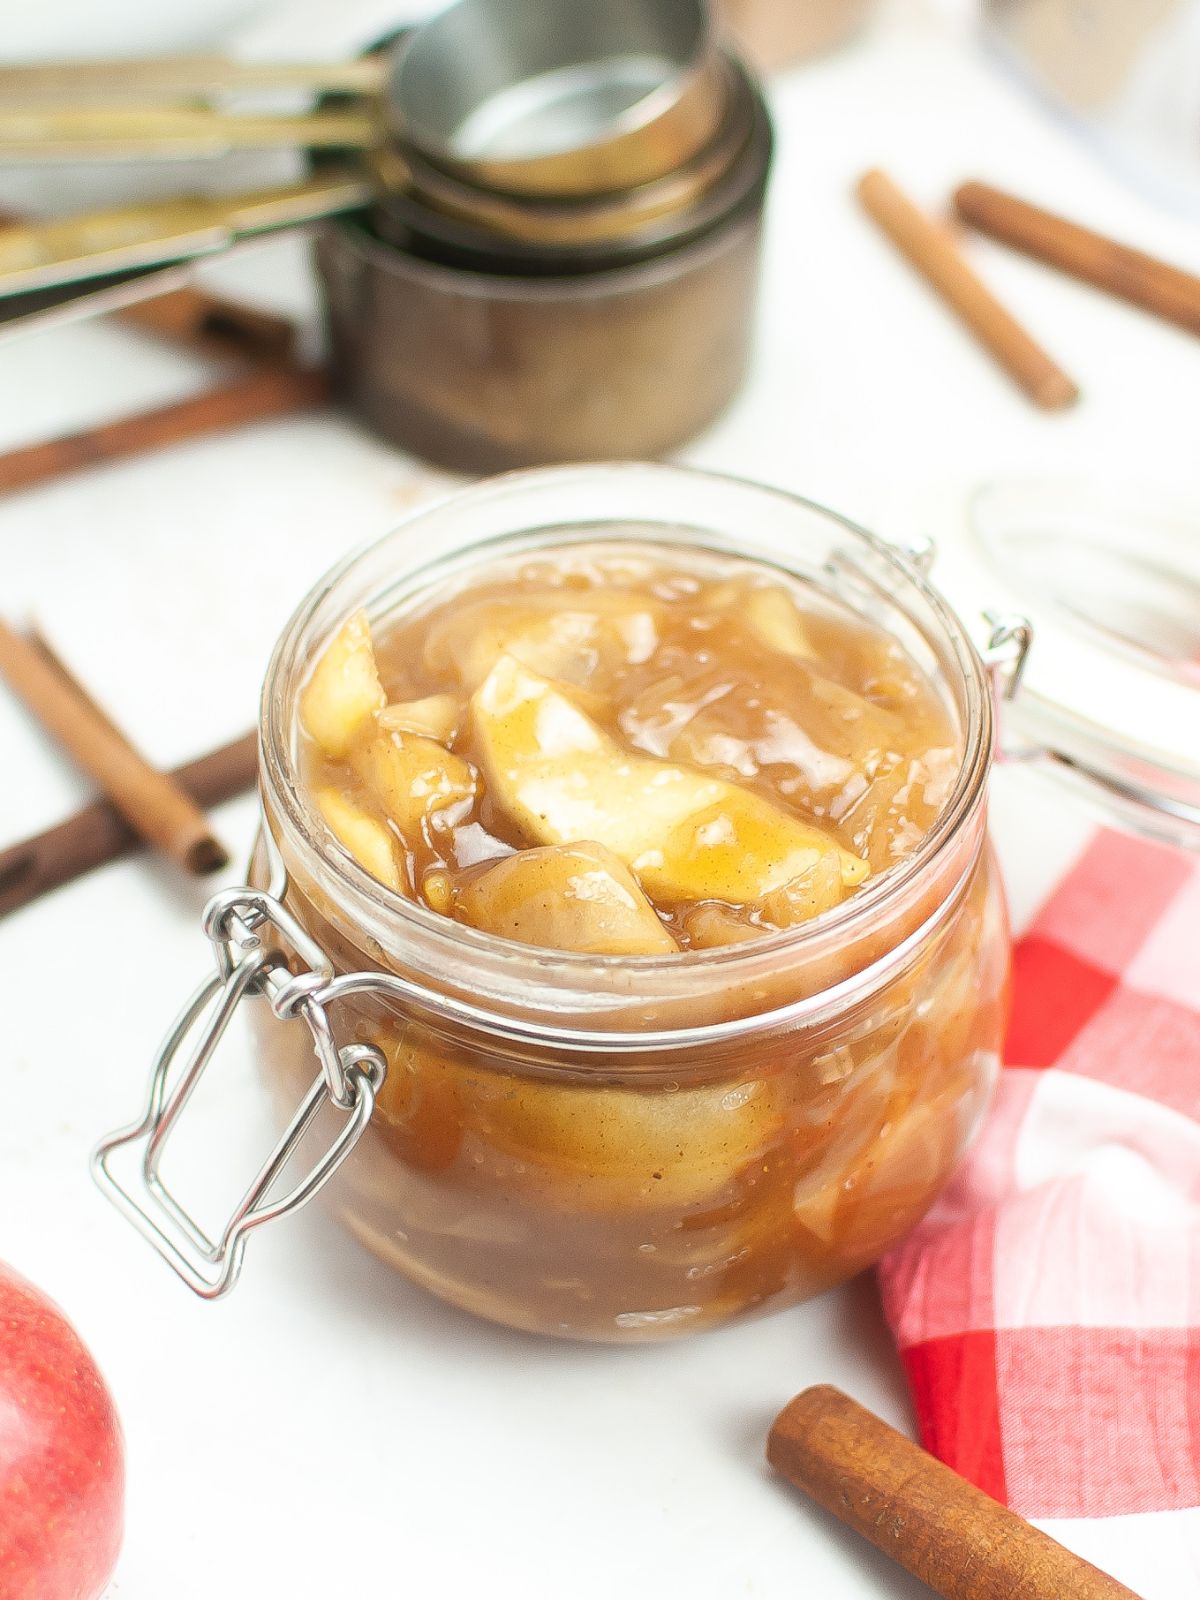
Forget the canned version; this Homemade Apple Pie Filling is perfectly sweetened, spiced, and ideal for baking an apple pie!
Made with a combination of sweet apples, brown sugar, spices and apple cider vinegar this recipe is sure to be a crowd-pleaser! It's not only delicious, but it's economical and healthier!
Use it to make a fresh warm apple pie or spread it over homemade pancakes for breakfast.
Check out my full list of apple dessert recipes for even more ideas.
Want to Save This Recipe?
Enter your email & I'll send it to your inbox. Plus, get great new recipes from me every week!
By submitting this form, you consent to receive emails from Walking on Sunshine Recipes.
There's nothing better than a freshly-baked apple pie on the table to bring everyone together! But when you can't use fresh apples, the next best thing is reaching for a jar of Homemade Apple Pie Filling.
Making it at home not only offers convenience and savings compared to store-bought versions, but it also provides the reassurance that the ingredients used are natural which is so much better for you than the processed alternatives you can purchase in the grocery store.
Looking for more Easy Dessert Recipes? Try my Air Fryer Apple Recipes, Apple Dump Cake or my family's favorite Apple Crisp Recipe.
Table of Contents
👩🍳What to make with Canned Apple Pie Filling?
Try serving this homemade canned apple pie filling over a plate of freshly made Buttermilk Pancakes. Try warming it first and then adding a sprinkle of cinnamon on top.
You can also add this apple pie filling to oatmeal or try stirring a little into Greek yogurt. Sprinkle crushed walnuts or homemade granola on top for a little added crunch.
For a sweet treat at the end of the day stir a spoonful or two into applesauce that's been warmed up in the microwave. You can also make my Cinnamon Rolls with Apples for a sweet breakfast treat.
🛒Helpful Kitchen Tools
Wide Mouth Mason Jars 16 oz [5 Pack] With mason jar lids and Bands, mason jars 16 oz - For Canning, Fermenting, Pickling - Jar Décor - Microwave/Freeze/Dishwasher Safe![Wide Mouth Mason Jars 16 oz [5 Pack] With mason jar lids and Bands, mason jars 16 oz - For Canning, Fermenting, Pickling - Jar Décor - Microwave/Freeze/Dishwasher Safe](https://images-na.ssl-images-amazon.com/images/G/01/associates/remote-buy-box/buy3.gif)


📋Ingredients
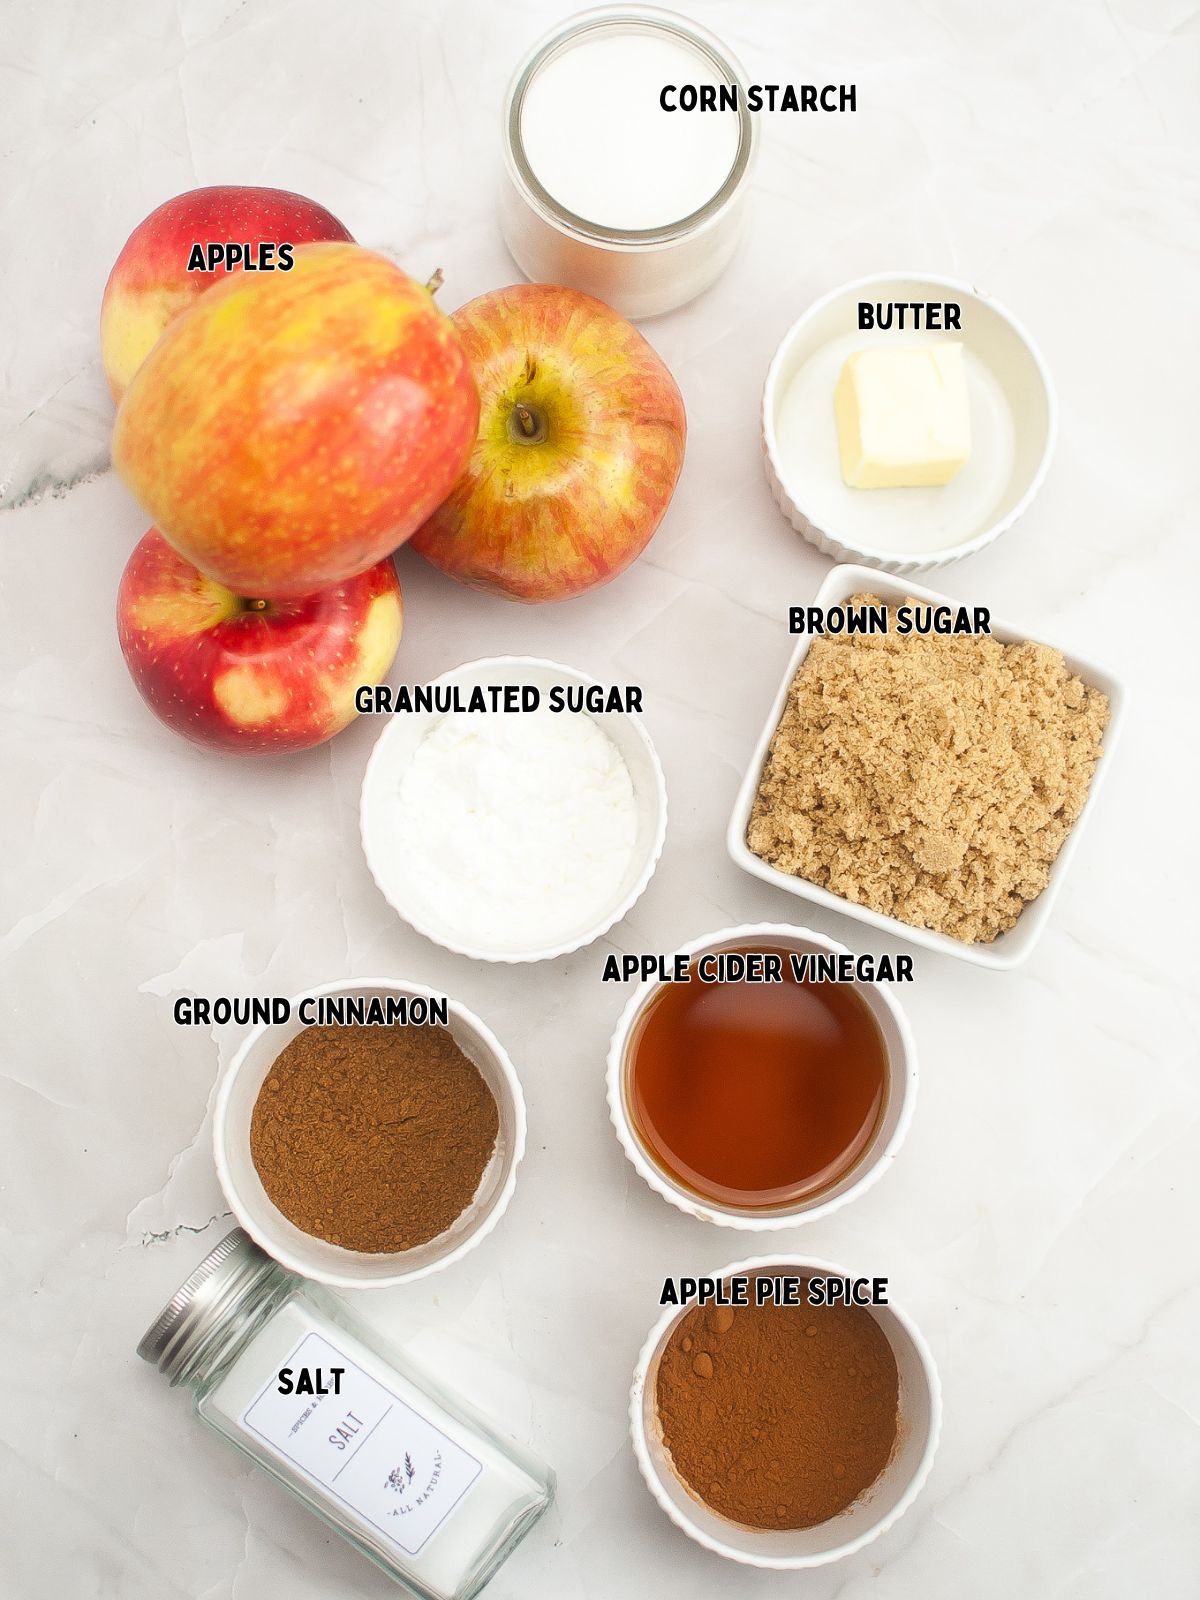
This is an overview of the ingredients and instructions. Be sure to see the recipe card below for exact quantities, detailed instructions and special notes.
💡 Substitutions and Variations
- For this delicious homemade apple pie filling recipe, the ideal choice of apple is Granny Smith, but you can also use your favorite apple.
- I also love using Gala or Honeycrisp apples!
Step-by-Step Instructions
📌Quick Tip: Not sure which type of apples to use for this Homemade Canned Apple Pie Filling? Check out my post on The Best Apples for Baking and Eating.
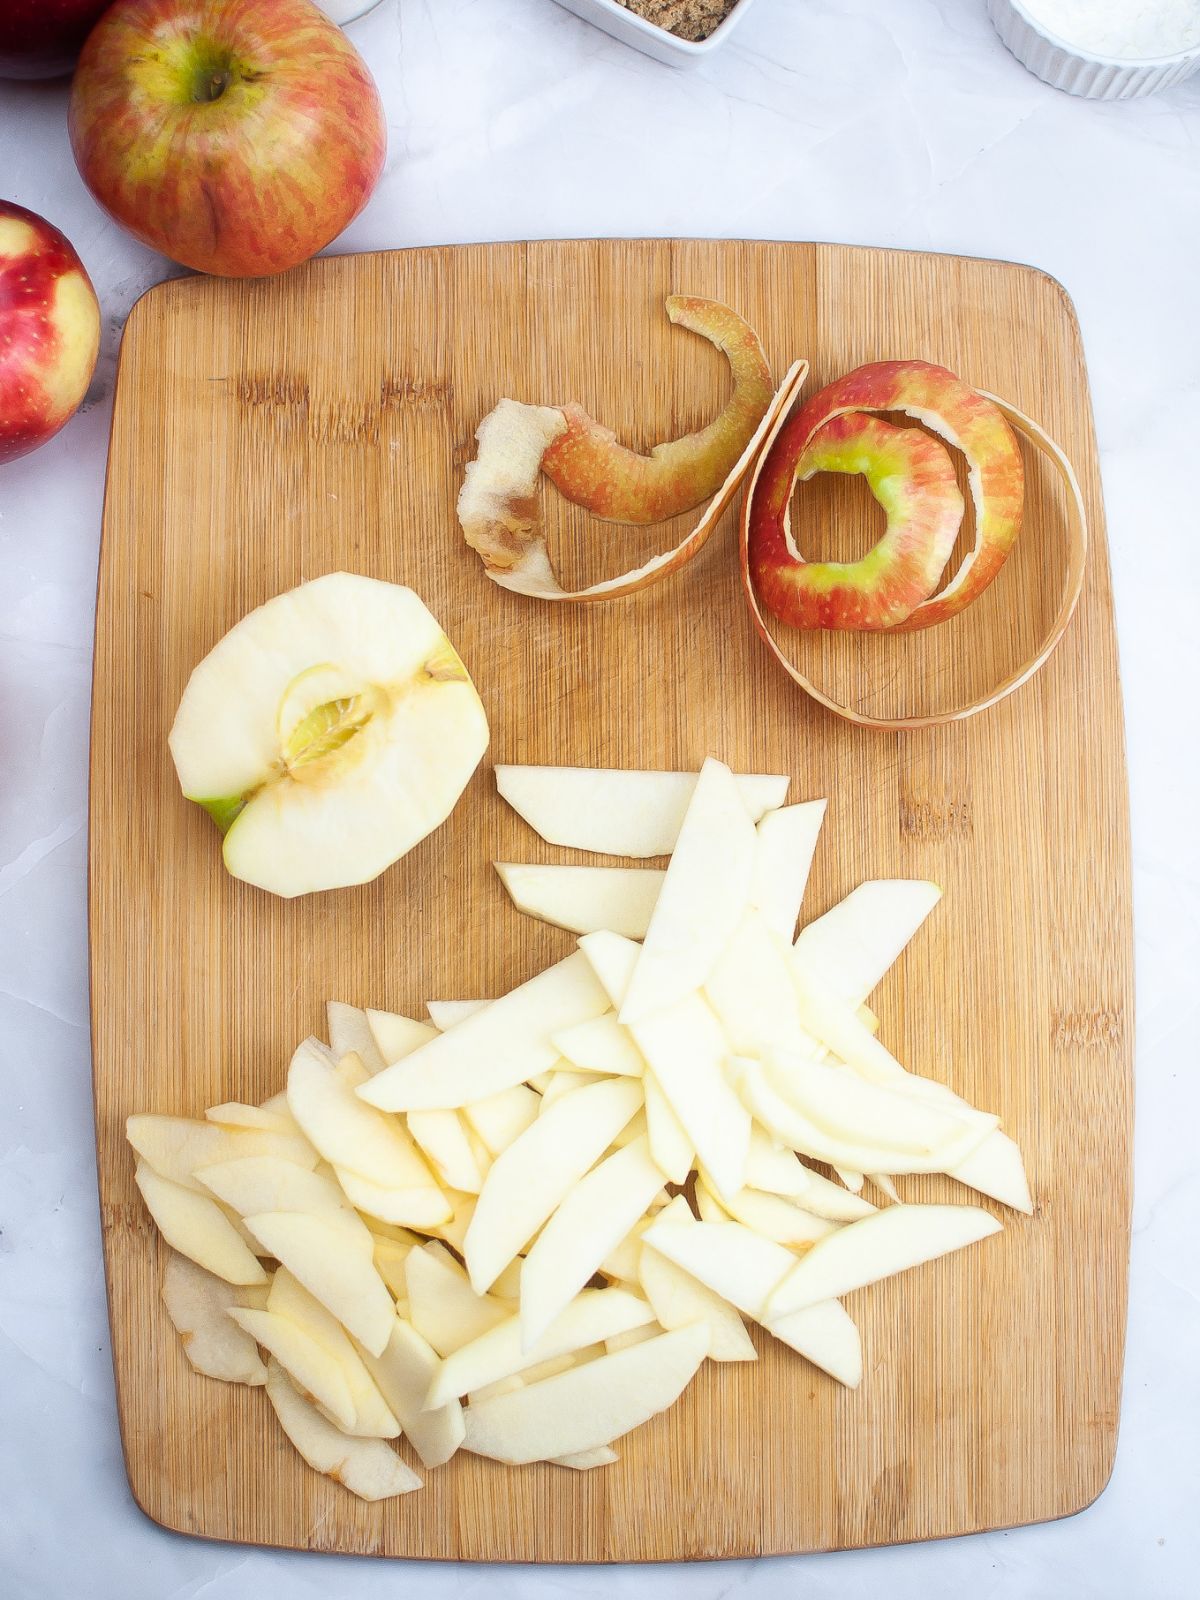
- Step 1: Peel, core, and thinly slice the apples. You can also cut the apples into chunks if you prefer.
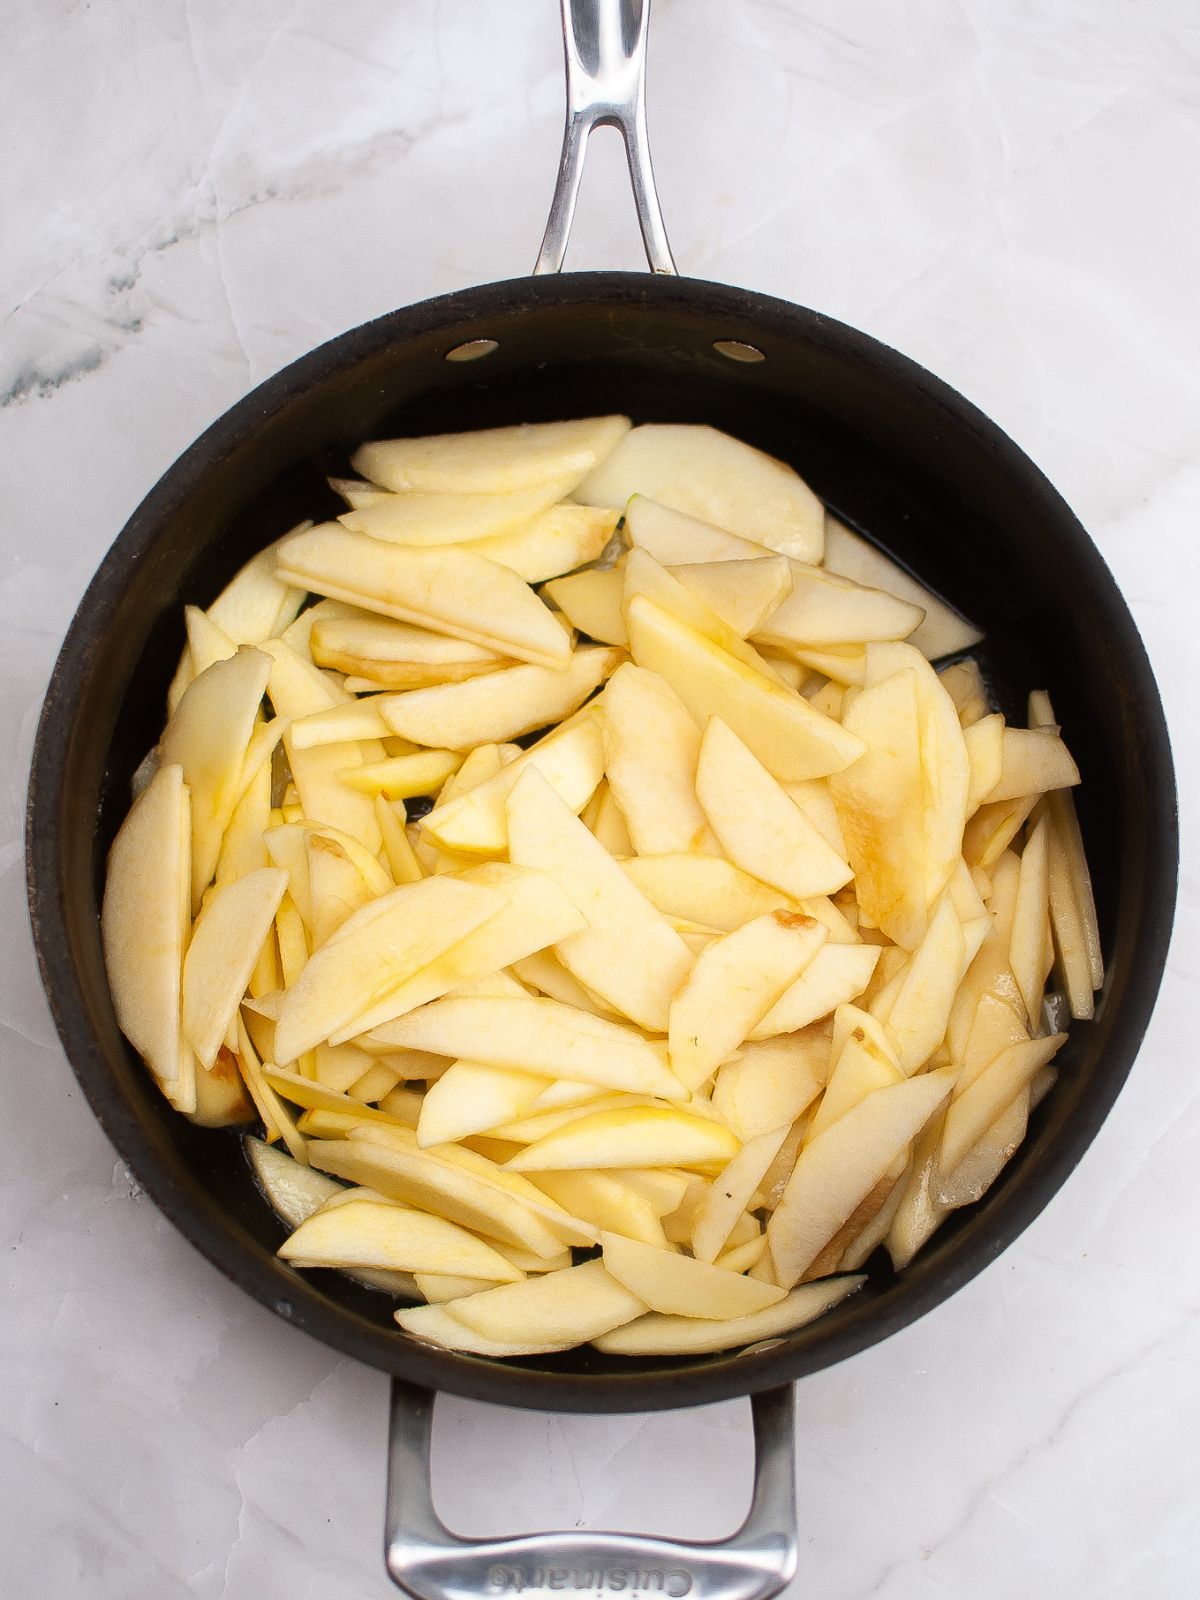
- Step 2: Then, in a large sauce skillet, add butter and the sliced apples and sauté them until they become tender.
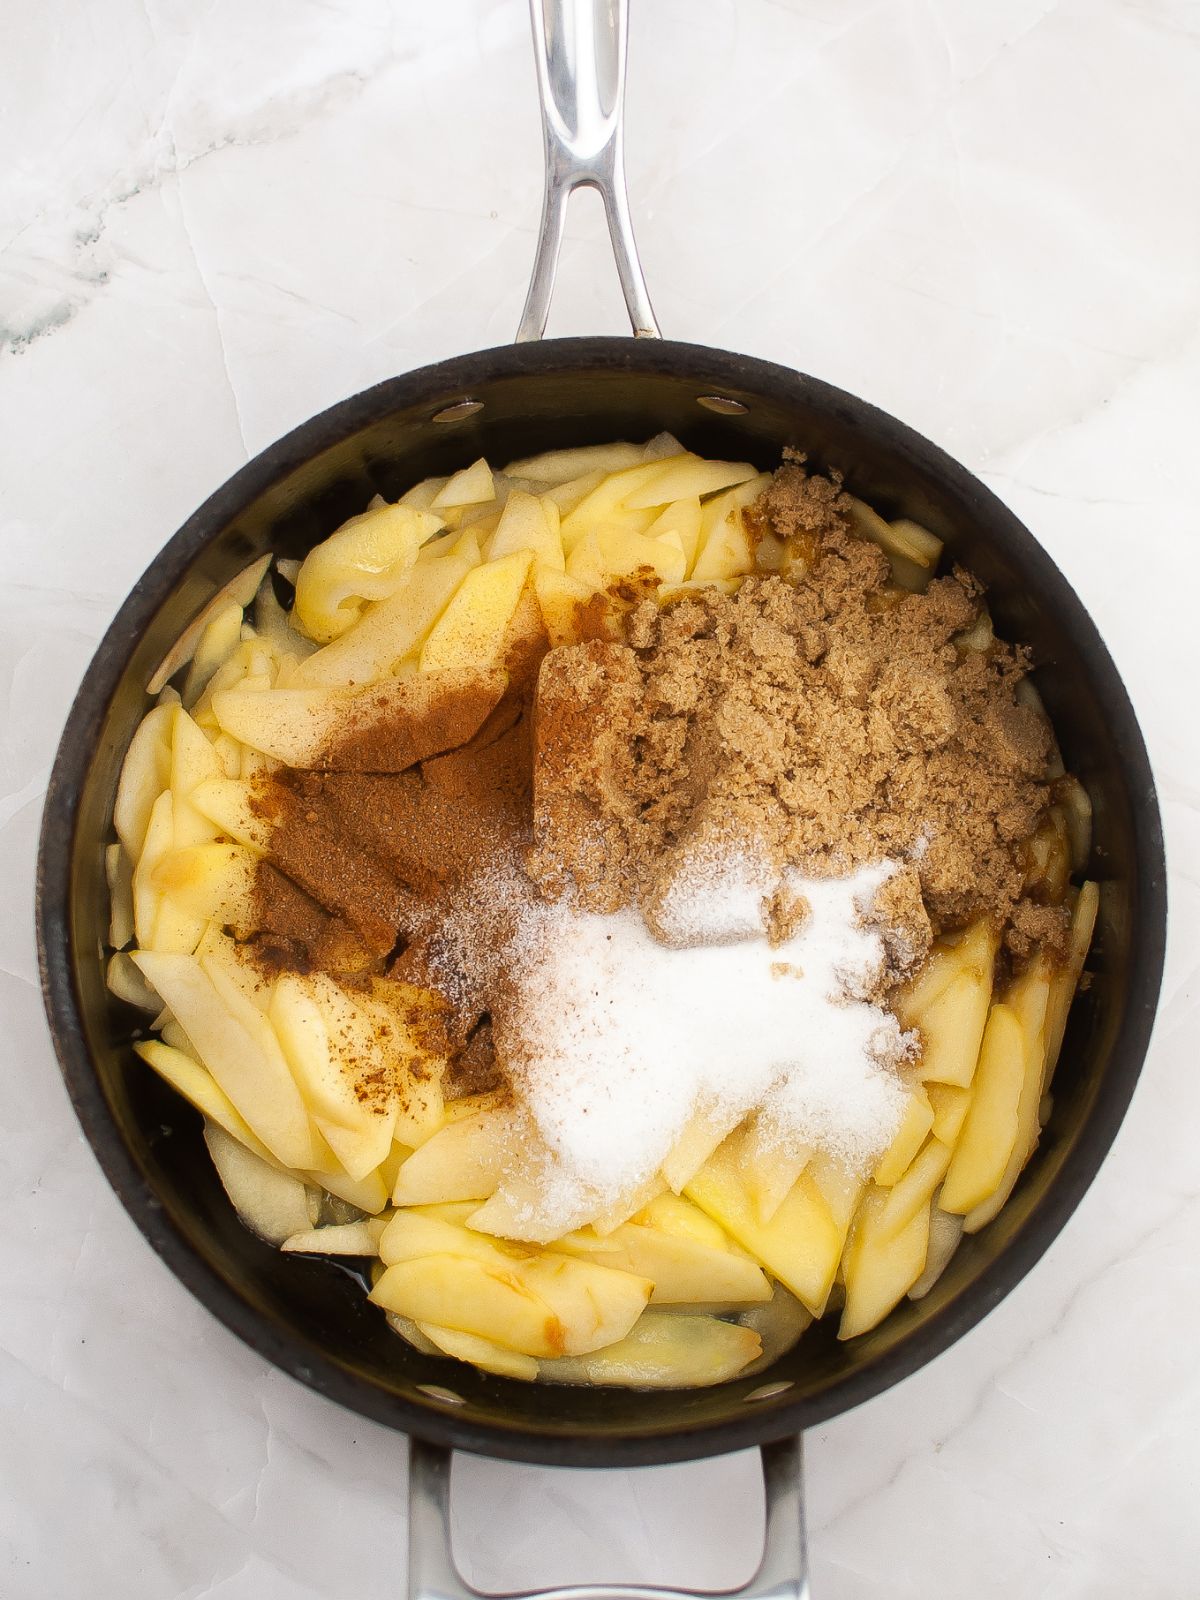
- Step 3: Next, add the sugars and spices and continue sautéing until the sugars have dissolved and the mixture is simmering.
📌Quick Tip: The cornstarch is used to help thicken the mixture. This is especially important if you're using a slightly sweeter apple like a Honeycrisp or even a Pink Lady.
- Step 4: In a separate bowl, whisk together cornstarch, water, and vinegar until the cornstarch has dissolved.
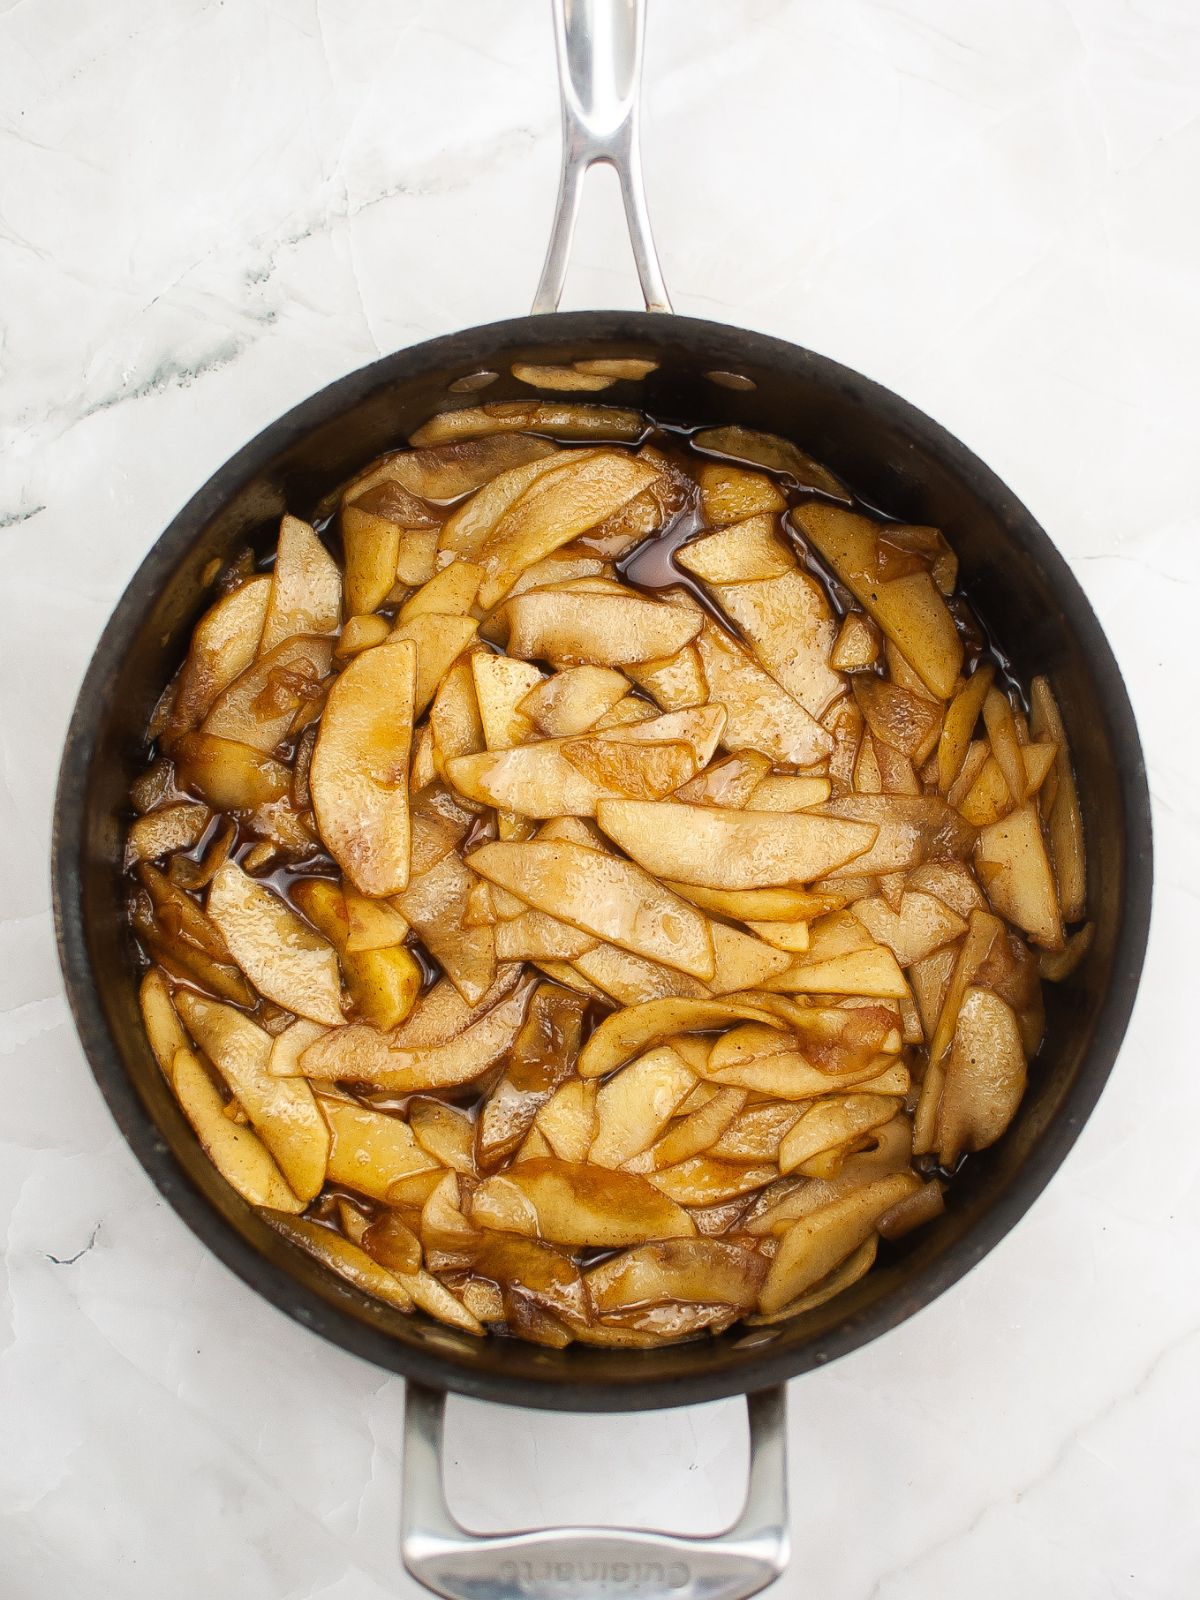
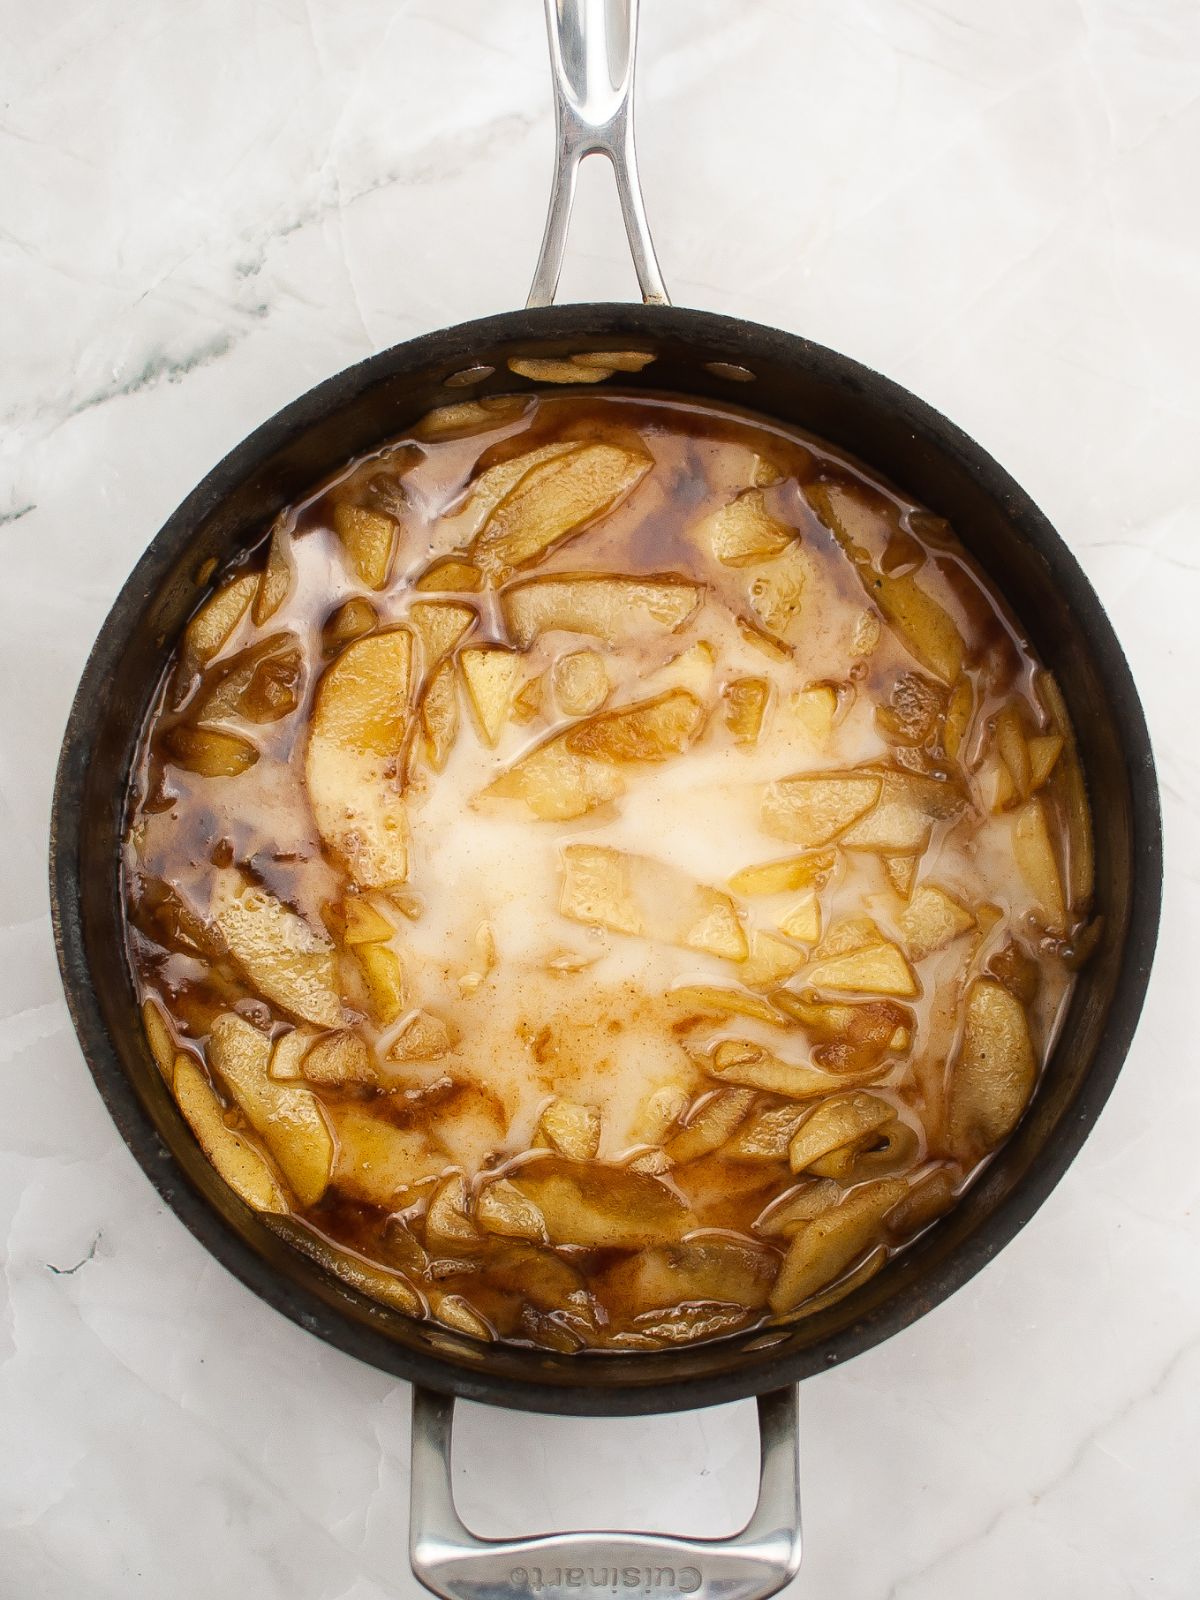
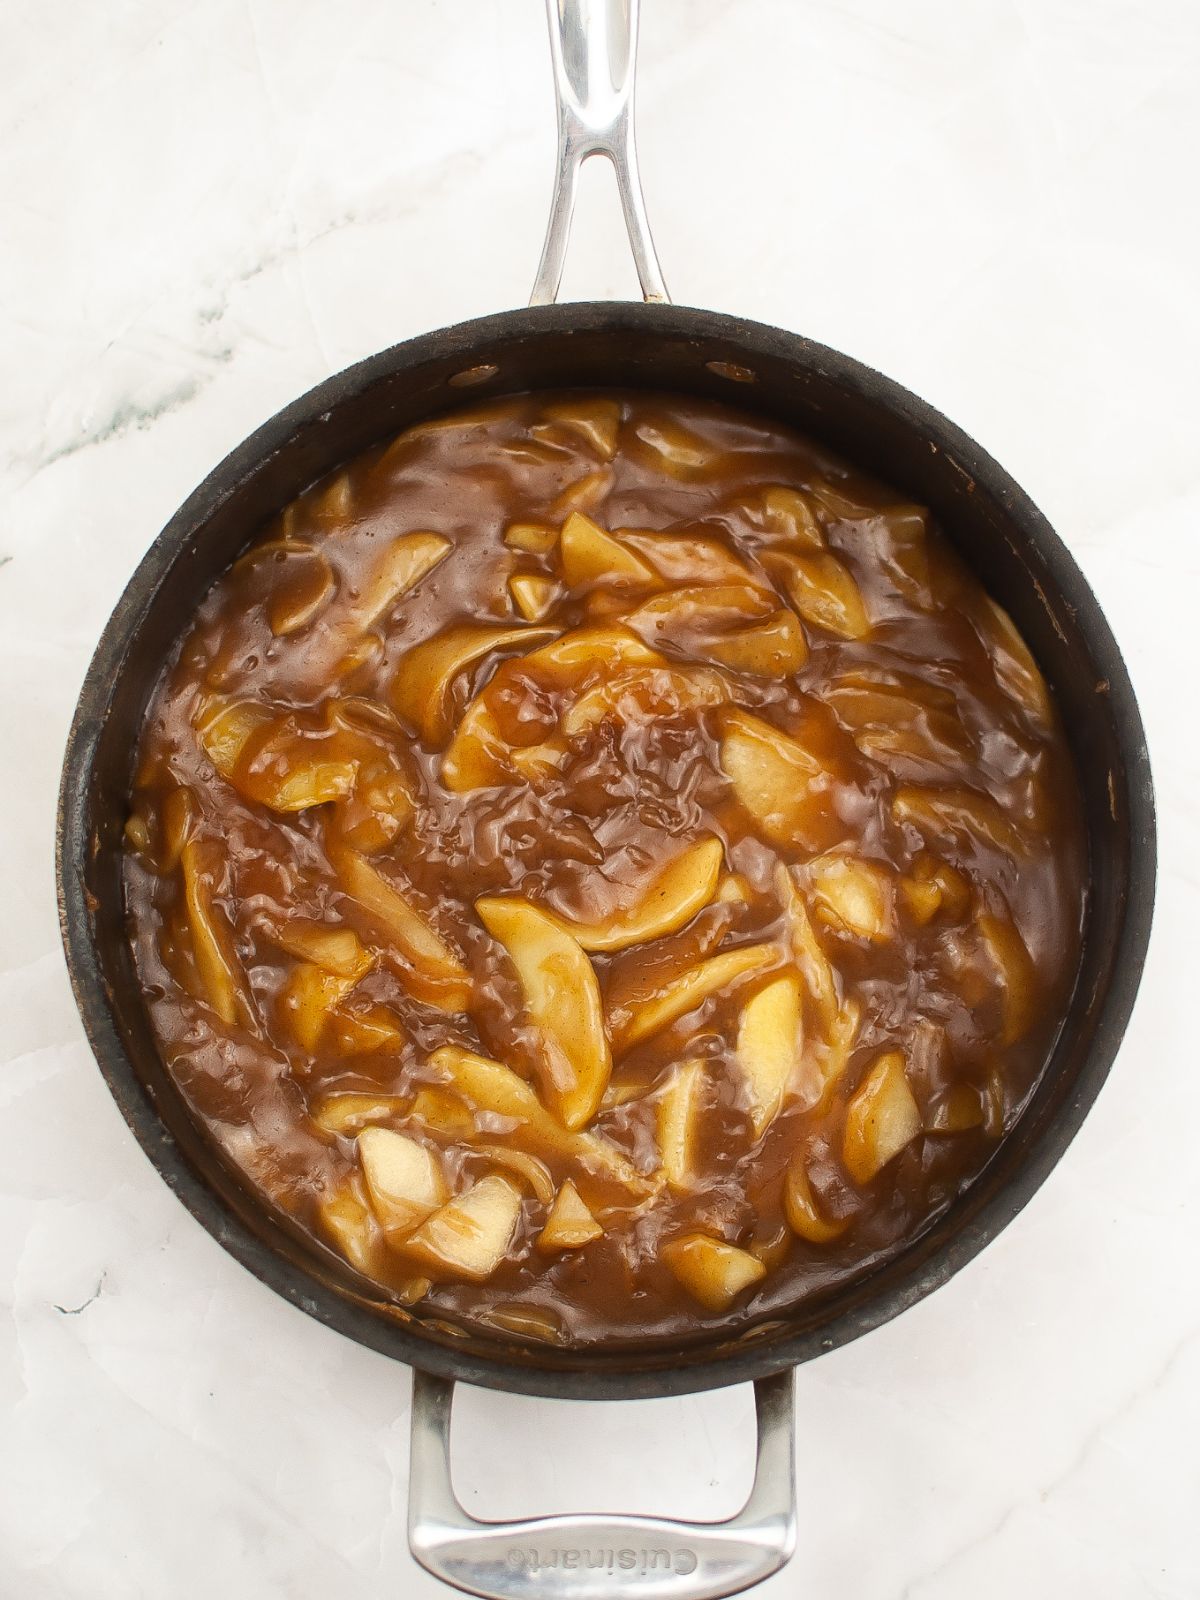
- Step 5: Add this wet mixture to the apples and gently stir to combine. Bring the mixture to a simmer and allow the filling to thicken.
- Step 6: Once the desired thickness is reached, remove from heat and let it cool before canning or storing. If using immediately, let it cool slightly before using.
Canning Instructions
- Clean and sanitize the mason jars by washing them in hot, soapy water. Rinse them thoroughly.
- Boil the jars in a pot of water for about 15 minutes to ensure they are sterilized. Make sure the jars are completely dry before using them.
- Once your filling has cooled down, begin filling the jars. A wide mouth funnel works great!
- Leave about ¼ inch of space at the top of each jar to allow the filling to expand during the sealing process.
- After filling the jars, use a clean, damp cloth to wipe off any excess filling from the rims. This helps create a tight seal.
- Place the lids on the jars, ensuring they are centered and flat.
- Twist on the screw bands until they are comfortably tight, but avoid over-tightening as air needs to escape during the canning process.
- Place the filled jars back into a boiling water bath using canning tongs, ensuring they are submerged by at least one inch of water.
- Boil the jars for the recommended times based on their size that can be found in the National Center for Home Food Preservation.
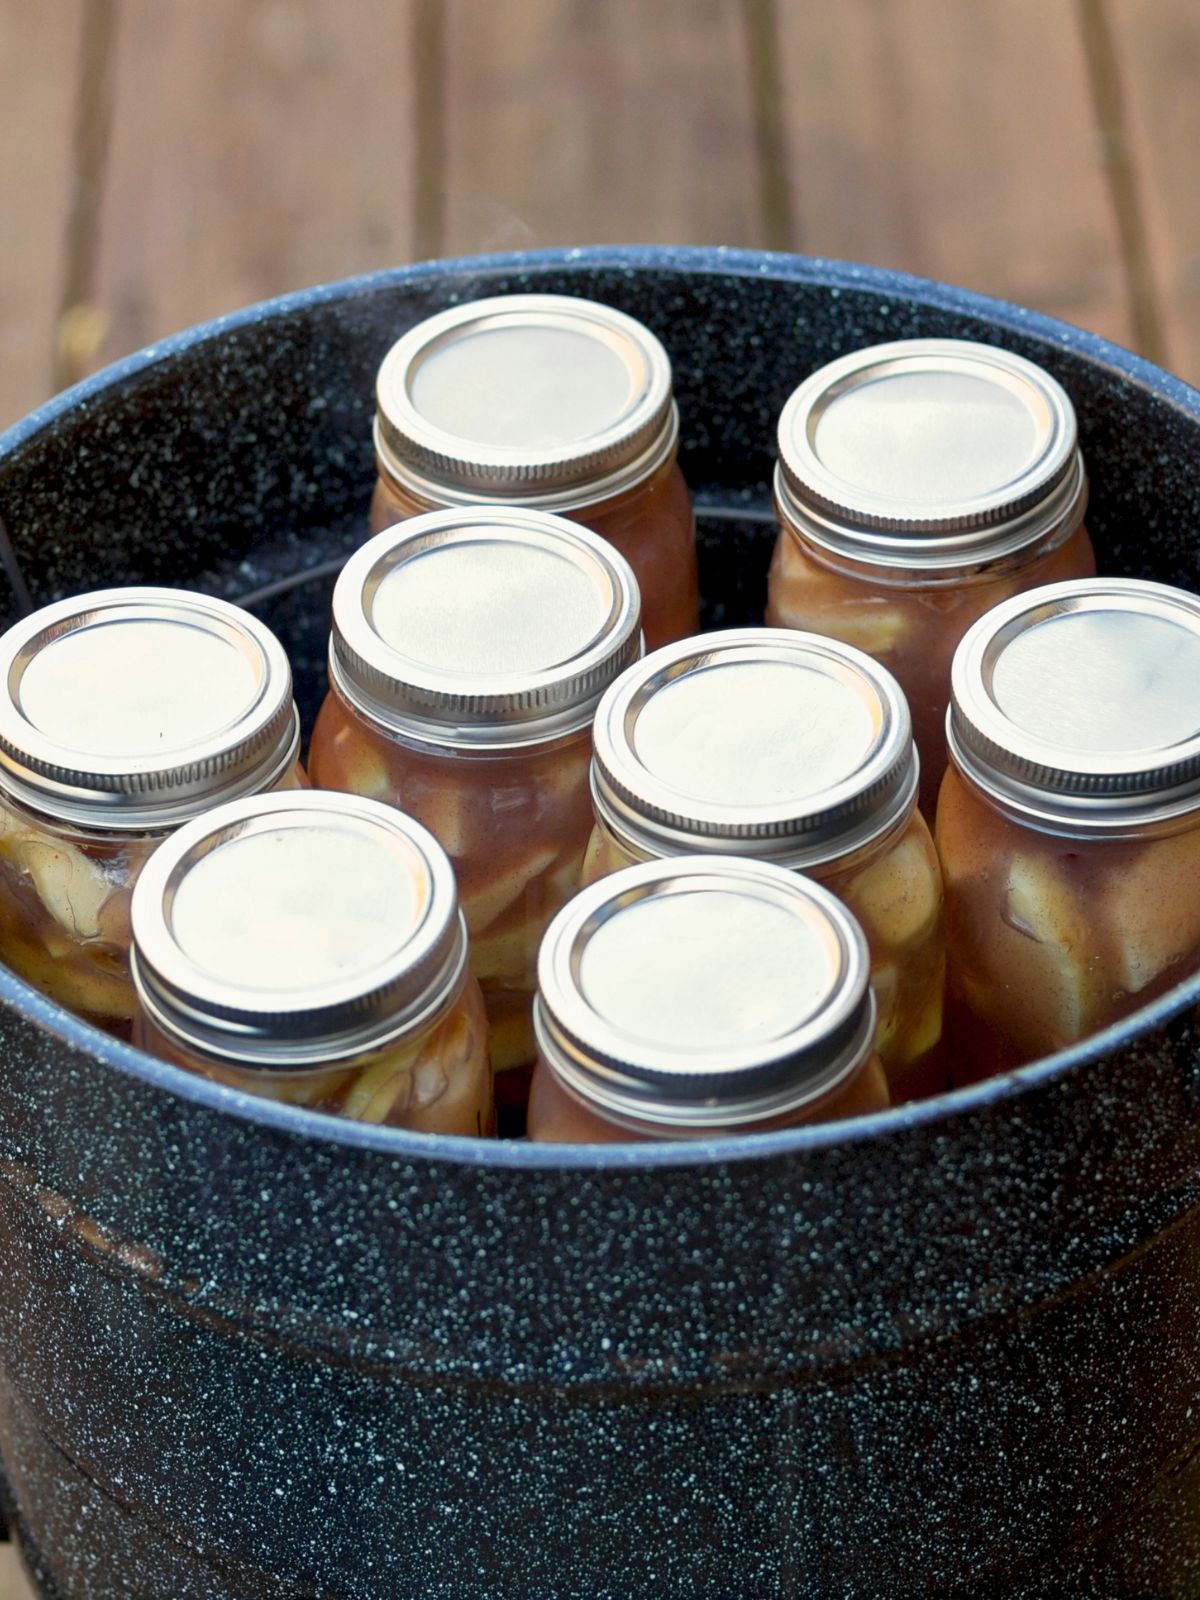
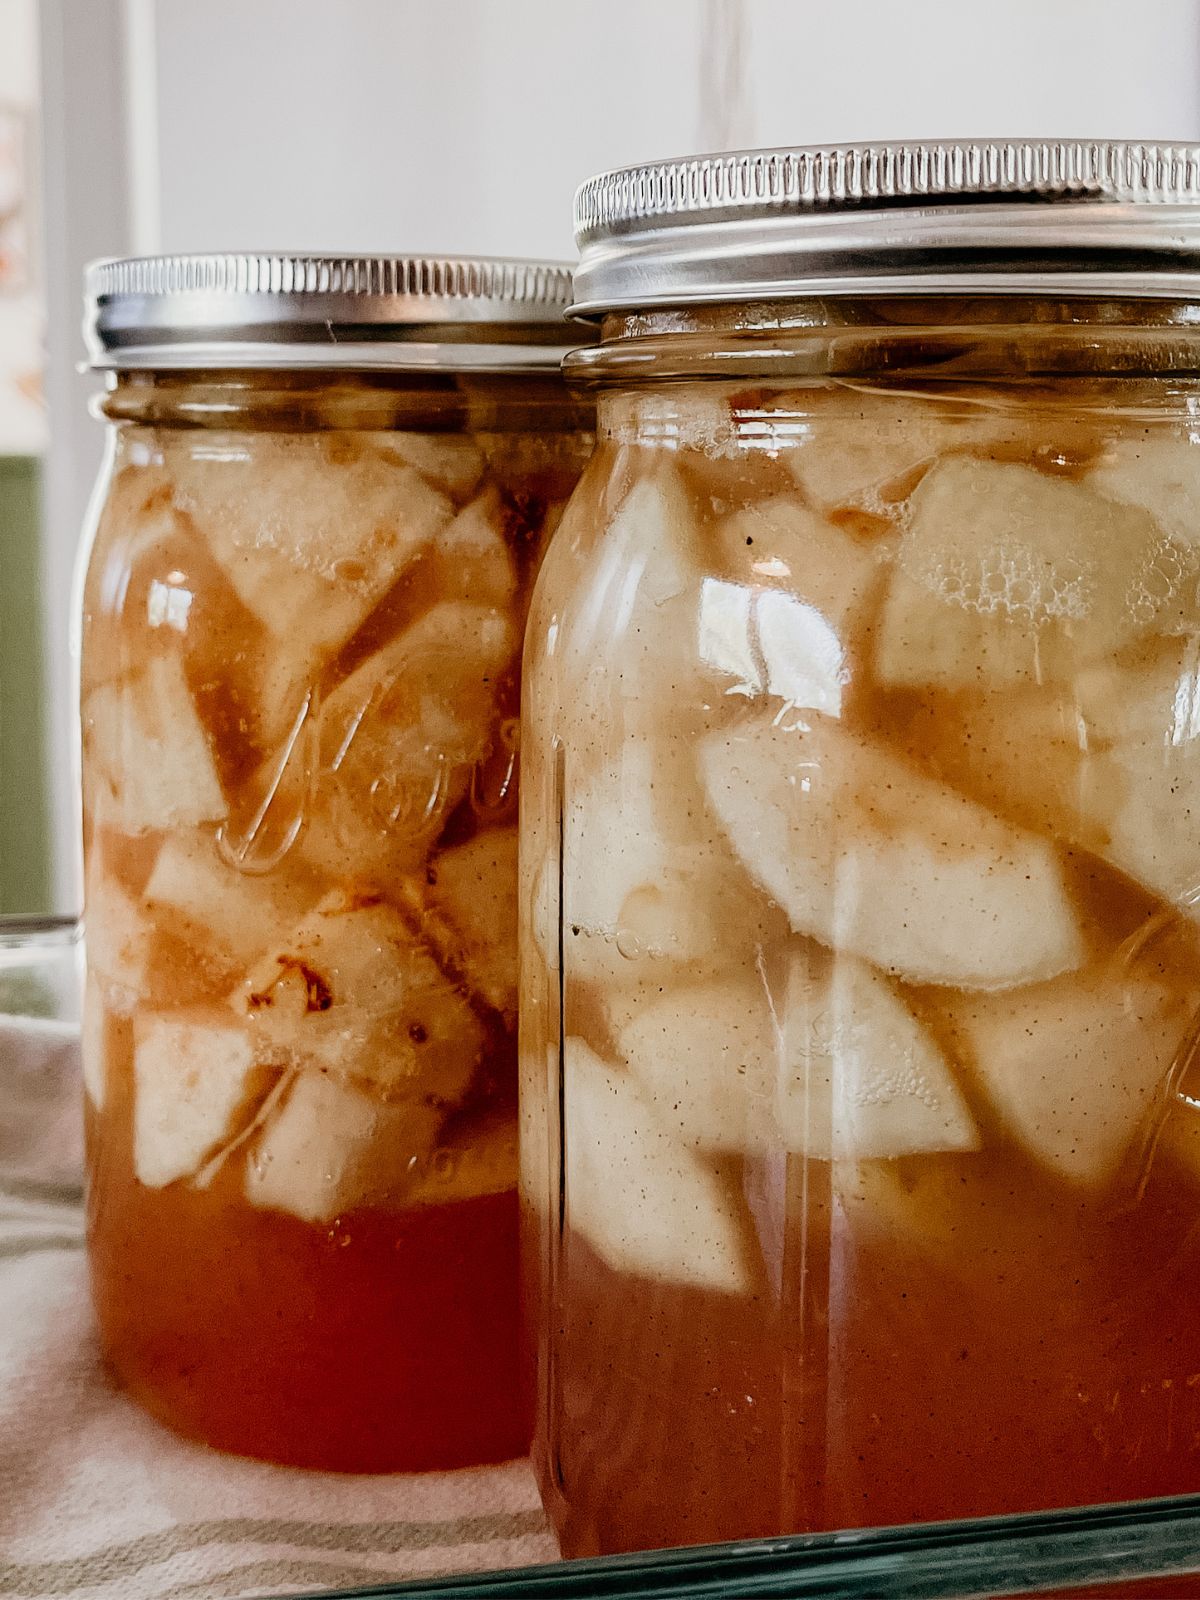
- Use the canning tongs to remove the jars from the water bath and let them cool on a towel or rack for about 24 hours.
- After cooling, check each jar to ensure it has sealed properly. Press on the center of the lid. If it pops up, refrigerate and use that jar first.
LOVE this recipe? SAVE it for Later!
❤️Tap the heart icon in the lower right corner to add the recipe to your recipe box for easy access anytime.
If you made it, leaving a star rating or quick review is always appreciated and helps other readers too.
Want to save this printed recipe? The Ultimate Meal Planner & Recipe Binder helps you keep recipes organized in one easy place.
🍶Storage Tips
- Store the sealed jars that have been processed in a water bath in a cool, dry place for approximately two weeks. This allows the flavors to develop. Properly stored, your jam can last up to a year.
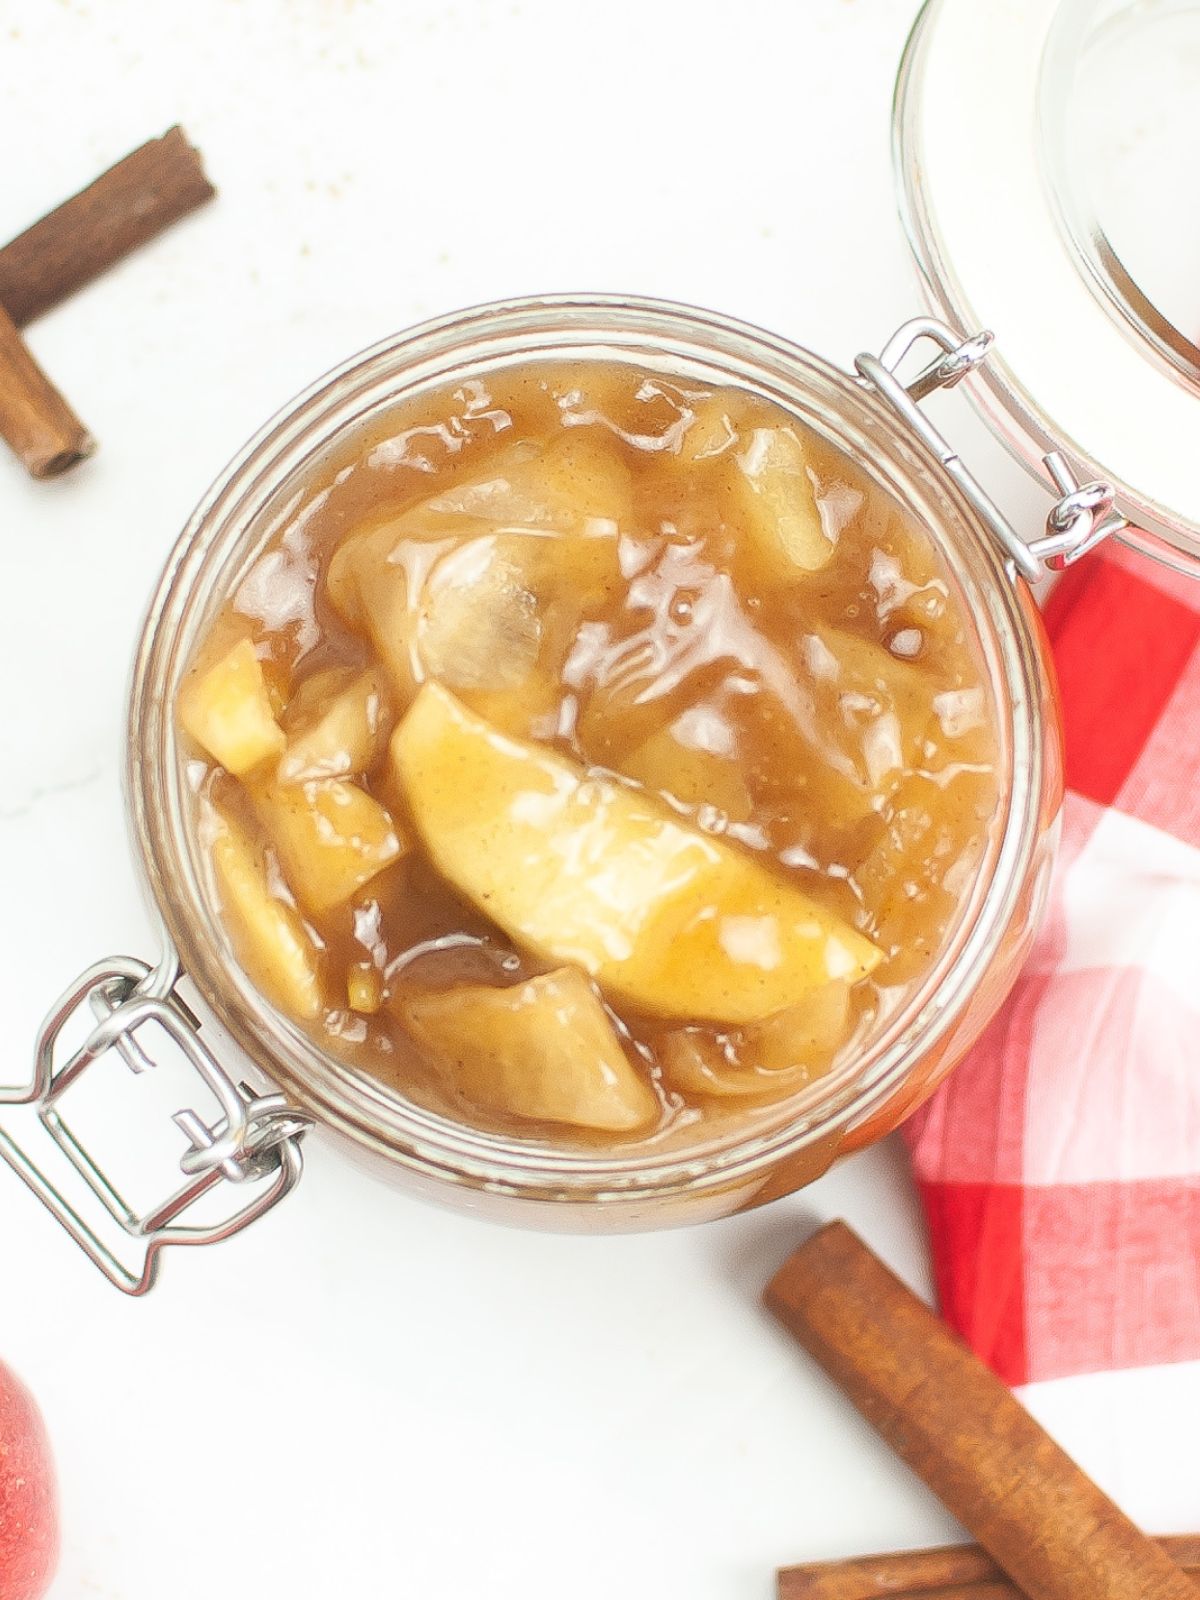
- Store the cooled homemade pie filling without processing in an airtight container or mason jar in the refrigerator for up to 10 days.
❄️Freezing Tips
- You can also freeze homemade apple pie filling.
- Add it to airtight containers that are freezer safe, label and store in the freezer for up to 6 months.
➡️Top Recipe Tip
- The addition of cornstarch will help thicken the mixture after the apples are cooked.
In my opinion, the best apples to use for homemade apple pie filling is Granny Smith, but you could also use Gala or Honeycrisp apples which will give you a more sweeter filling.
🌟Try these recipes next...
- Check out my recipe for Homemade Apple Pie or Crescent Rolls with Apple Pie Filling and Cream Cheese.
- Or you might enjoy this recipe for Apple Compote.
📇Recipe Card
📖 Recipe Card
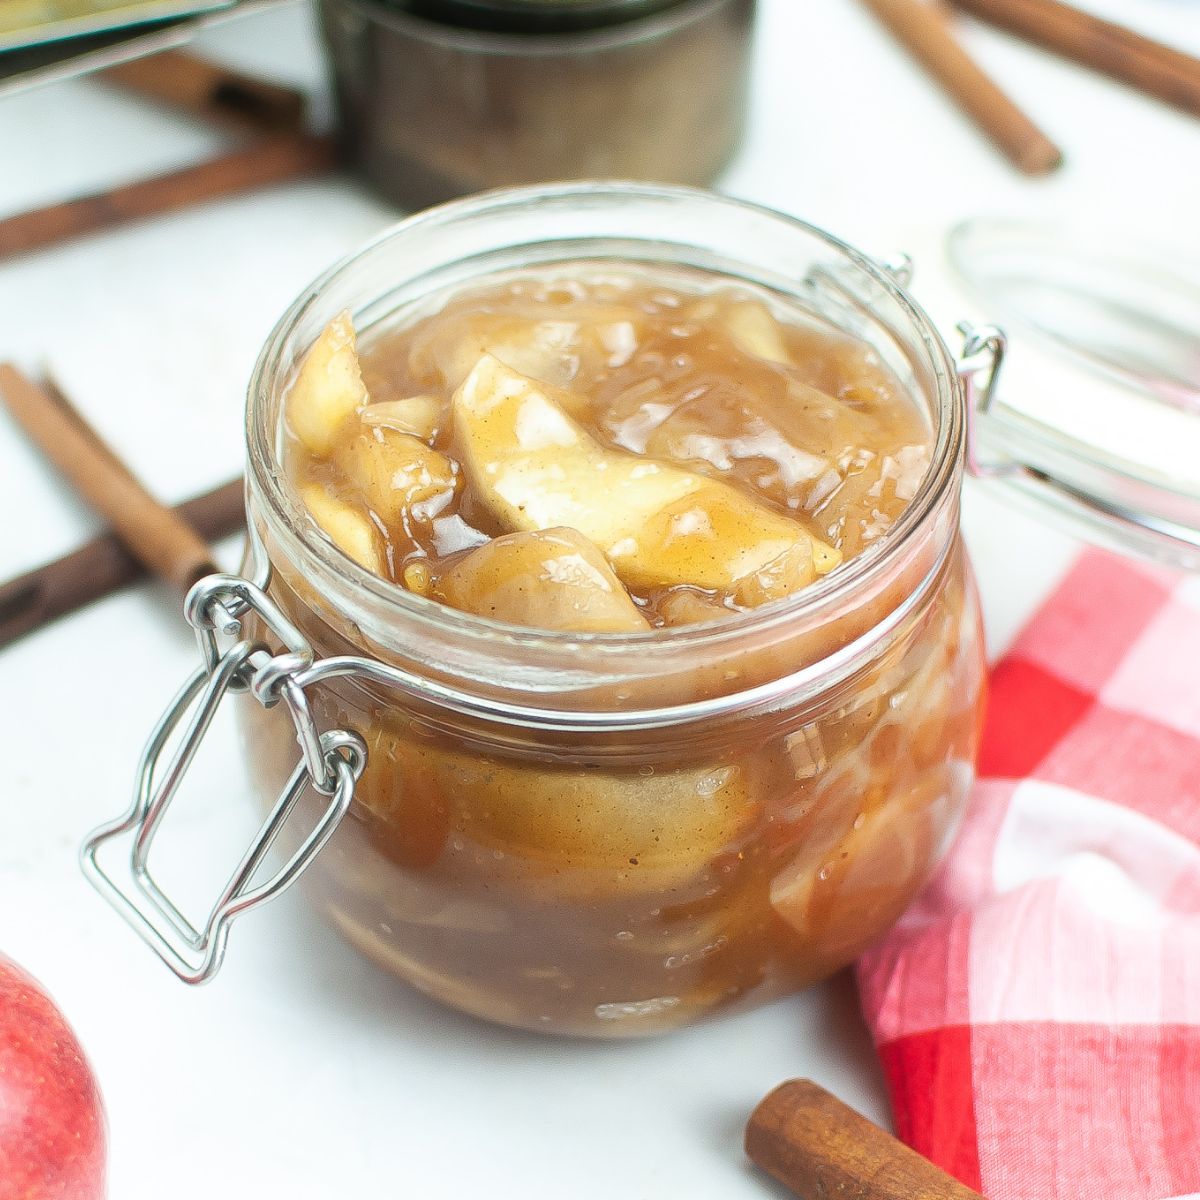
Homemade Apple Pie Filling
Ingredients
- 2 tablespoons butter
- 5 large apples peeled, cored and thinly sliced; about 10-15 medium-sized apples.
- ¾ cup brown sugar packed
- ¼ cup granulated sugar
- 1 teaspoon ground cinnamon
- 1 teaspoon apple pie spice
- ⅛ teaspoon salt
- 6 tablespoons cornstarch
- 2 ½ cups water
- 2 teaspoons apple cider vinegar
Method
- After the apples have been peeled, cored, and sliced thin, add the butter then apple slices to a large sauce skillet and sauté the apples until they are tender.
- Add the sugars and spices and continue to sauté until the sugars have dissolved and simmering.
- Add the cornstarch to water and vinegar and whisk until cornstarch has dissolved.
- Add the wet mixture to the apples and gently stir to mix. Bring to a simmer and allow the filling to thicken.
- Once you have reached the desired thickness, remove from the heat and let cool before canning or storing. If you are using it immediately, let it cool slightly before using it.
- Add the cooled apple pie filling to mason jars and store in the refrigerator for up to 10 days.
- Clean and sterilize the jars by washing them in hot, soapy water. Rinse them well, then boil them in a pot of water for about 15 minutes. Make sure the jars are completely dry before filling them.
- Once your filling has cooled, start filling your jars. Leave about ¼ inch of space at the top for the filling to expand during the sealing process.
- After filling the jars, wipe off any excess filling from the rims using a clean, damp cloth. This ensures a tight seal.
- Place the lids on the jars, ensuring they are centered and flat. Twist on the screw bands until they are comfortably tight. Do not over-tighten, as air needs to escape during the canning process.
- Put the filled jars back into the boiling water bath, making sure they are covered with at least one inch of water. Boil the jars for the recommended times based on their size, adding 2 minutes for every 1,000 feet above sea level.
- Once the jars have finished processing, use a jar lifter to remove them from the water. Let them cool on a towel or rack for about 24 hours.
- After cooling, check each jar to ensure it has sealed properly. Press on the center of the lid - if it pops up, refrigerate and use that jar first.


![Wide Mouth Mason Jars 16 oz [5 Pack] With mason jar lids and Bands, mason jars 16 oz - For Canning, Fermenting, Pickling - Jar Décor - Microwave/Freeze/Dishwasher Safe](https://m.media-amazon.com/images/I/51m1cU3Sx1L._SL500_.jpg)


Comments
No Comments