


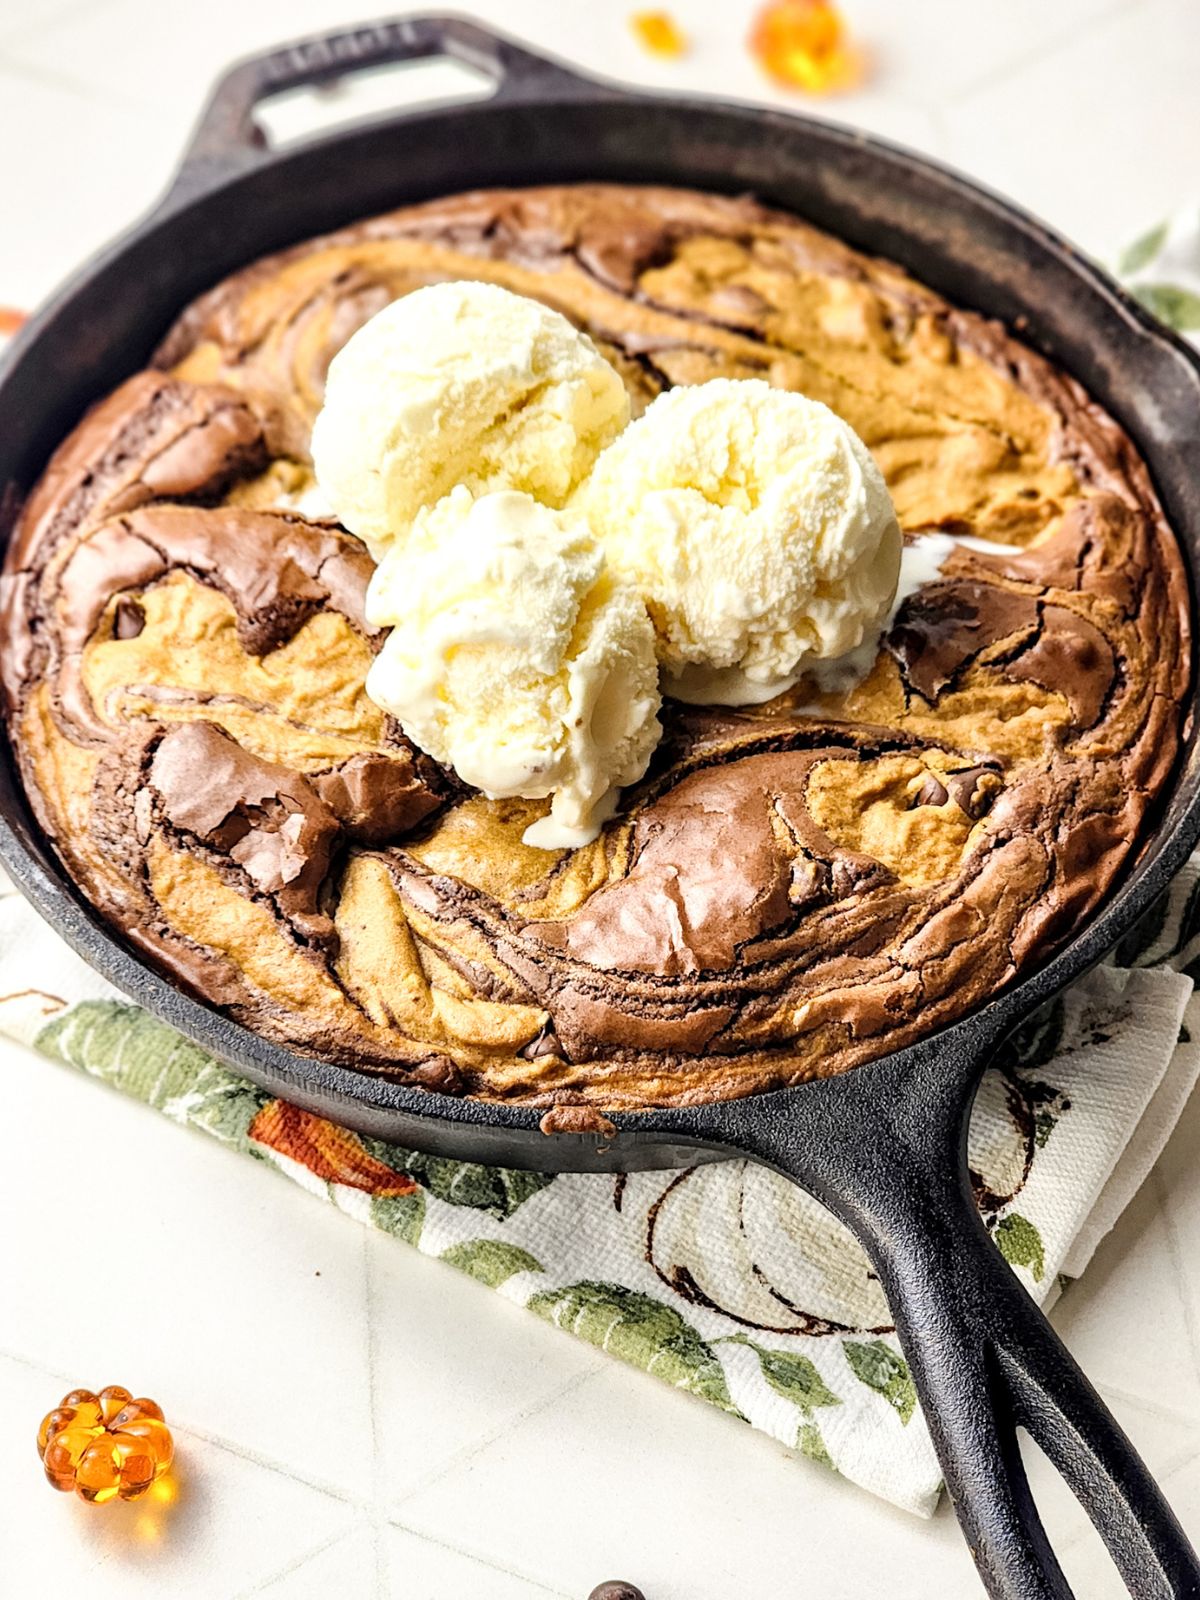
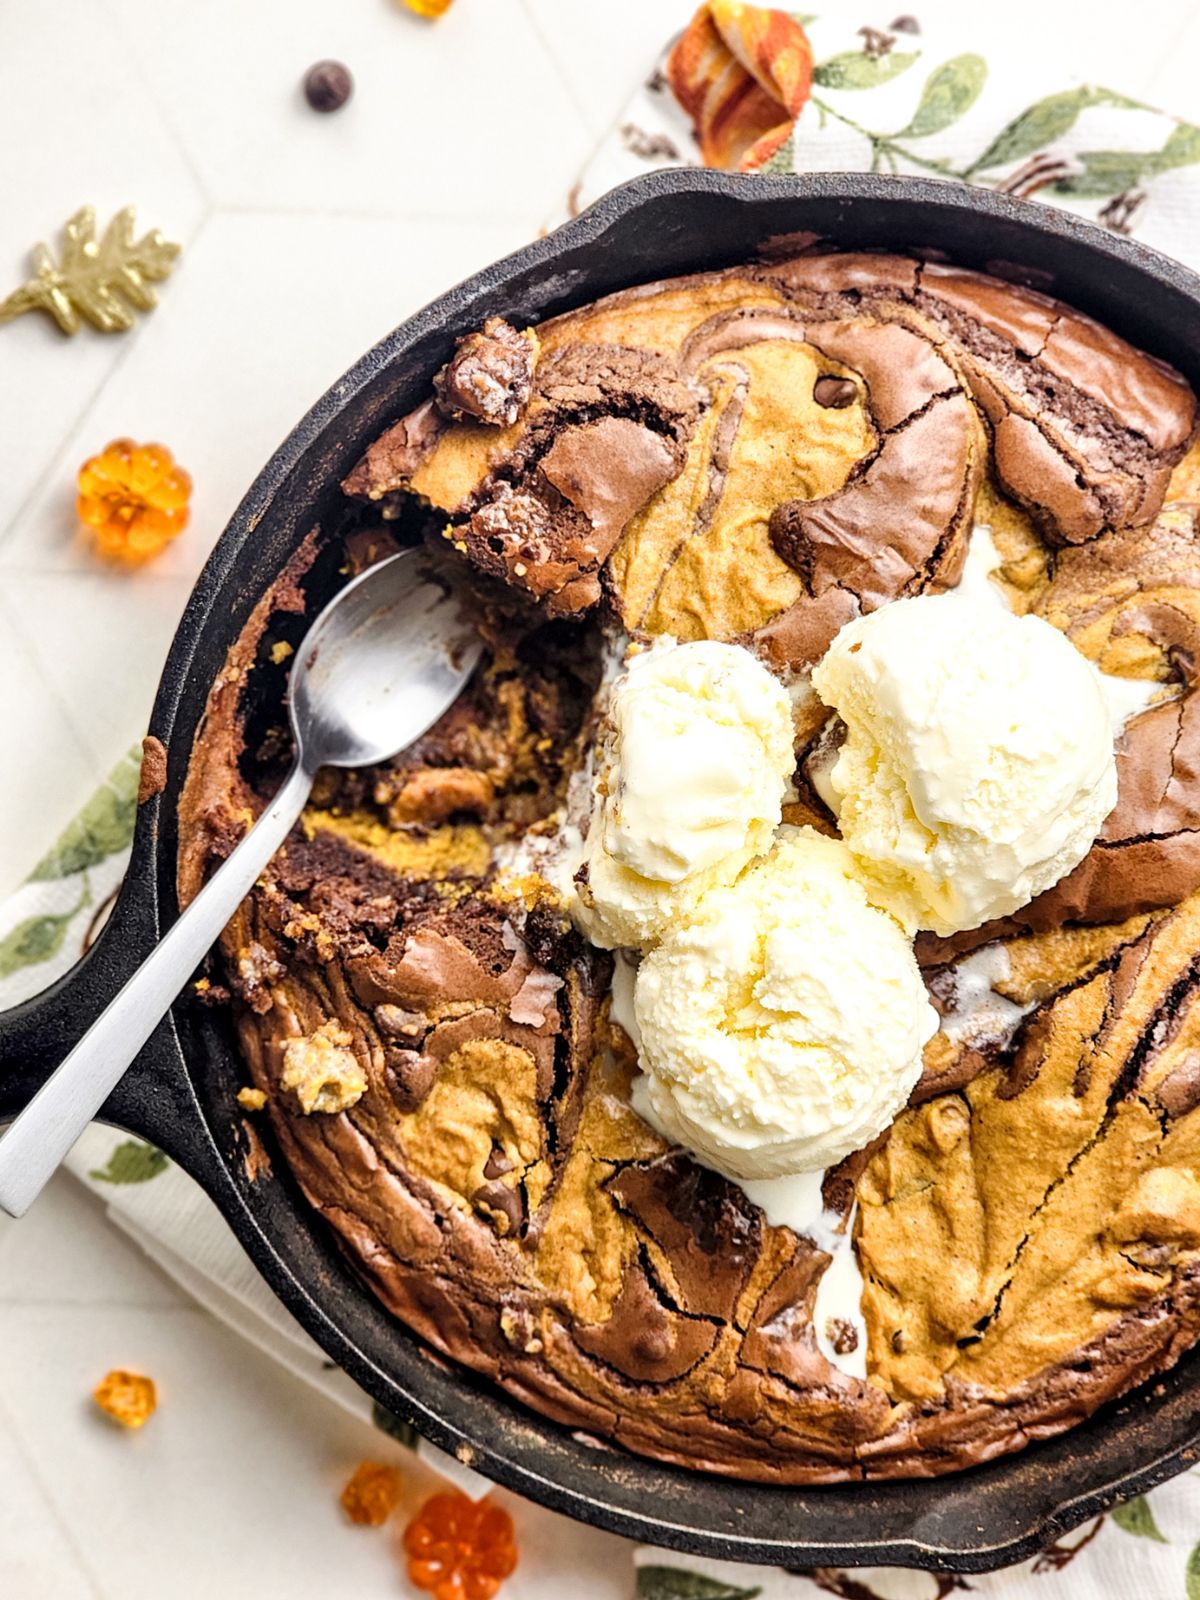
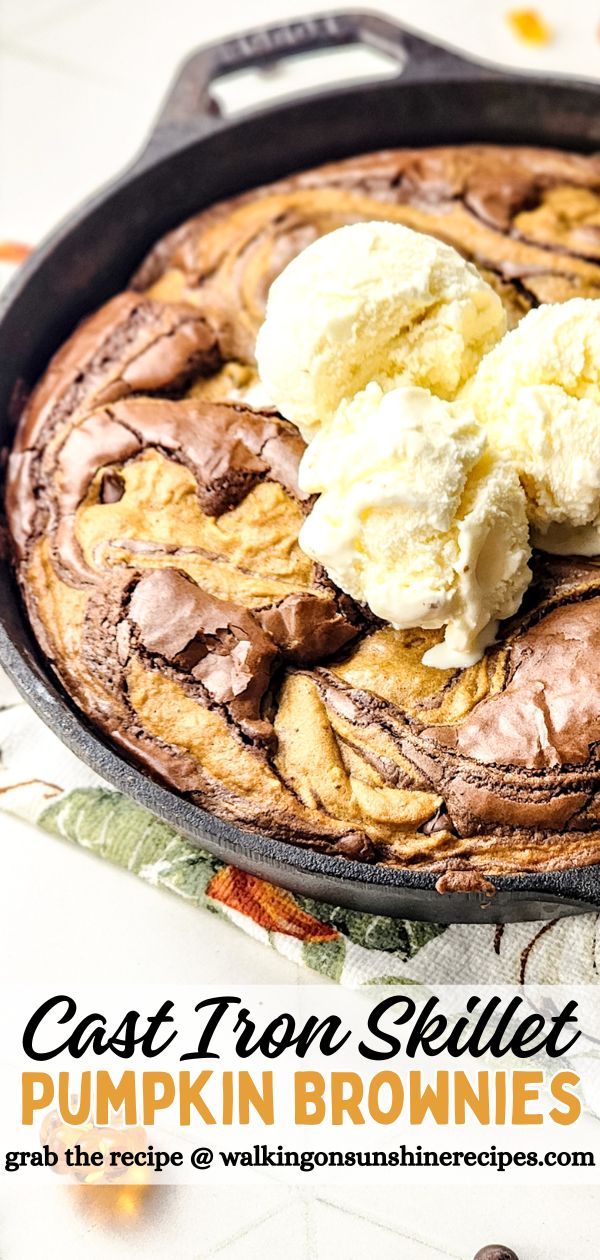
These Cast Iron Skillet Pumpkin Brownies are the ultimate fall dessert!
This semi-homemade recipe starts with a simple boxed mix, then gets a seasonal upgrade with rich warm spices, and a gorgeous marbled swirl.
This an impressive yet easy dessert for autumn gatherings, Thanksgiving, or a cozy night in.
Want to Save This Recipe?
Enter your email & I'll send it to your inbox. Plus, get great new recipes from me every week!
By submitting this form, you consent to receive emails from Walking on Sunshine Recipes.
Recipe at a Glance
Prep: 10 min | Cook/Bake: 35–40 min | Difficulty: Easy
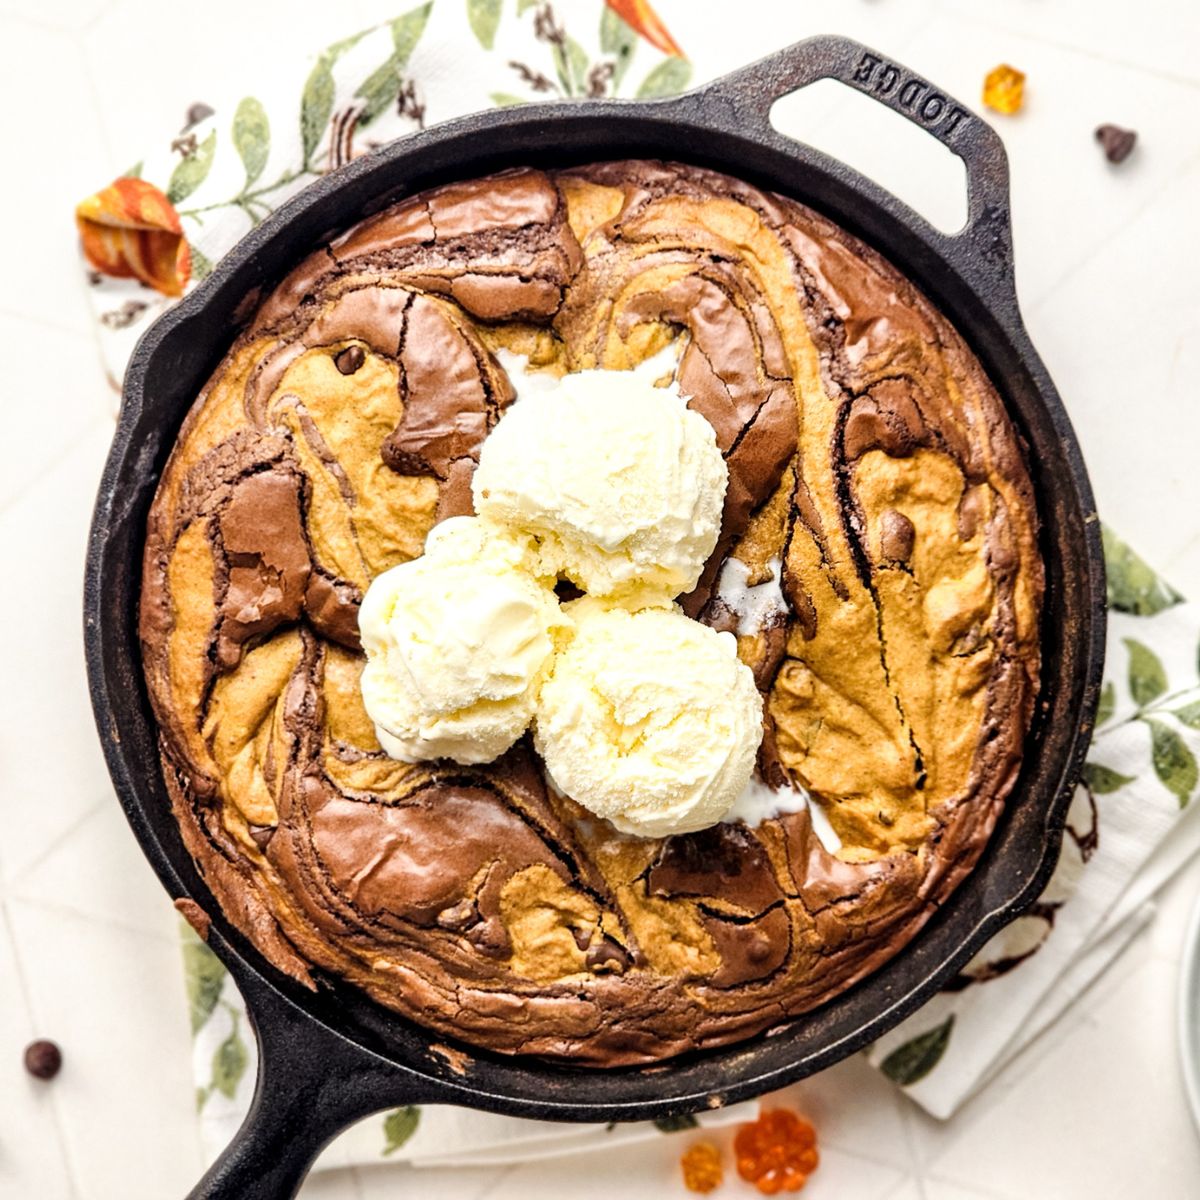
What it is: A rich, fudgy brownie baked in a cast iron skillet with a swirl of pumpkin and warm fall spices. This semi-homemade dessert starts with a boxed mix but is elevated with seasonal flavors and a beautiful marbled finish.
Why you’ll love it: Quick to assemble yet impressive to serve, it’s the perfect cozy fall treat for family gatherings, Thanksgiving, or a simple weekend dessert.
How to make it: Prepare the brownie mix, layer it in a skillet, swirl in the pumpkin mixture, and bake until the edges are set and the center stays fudgy. Serve warm straight from the skillet for an irresistible presentation.
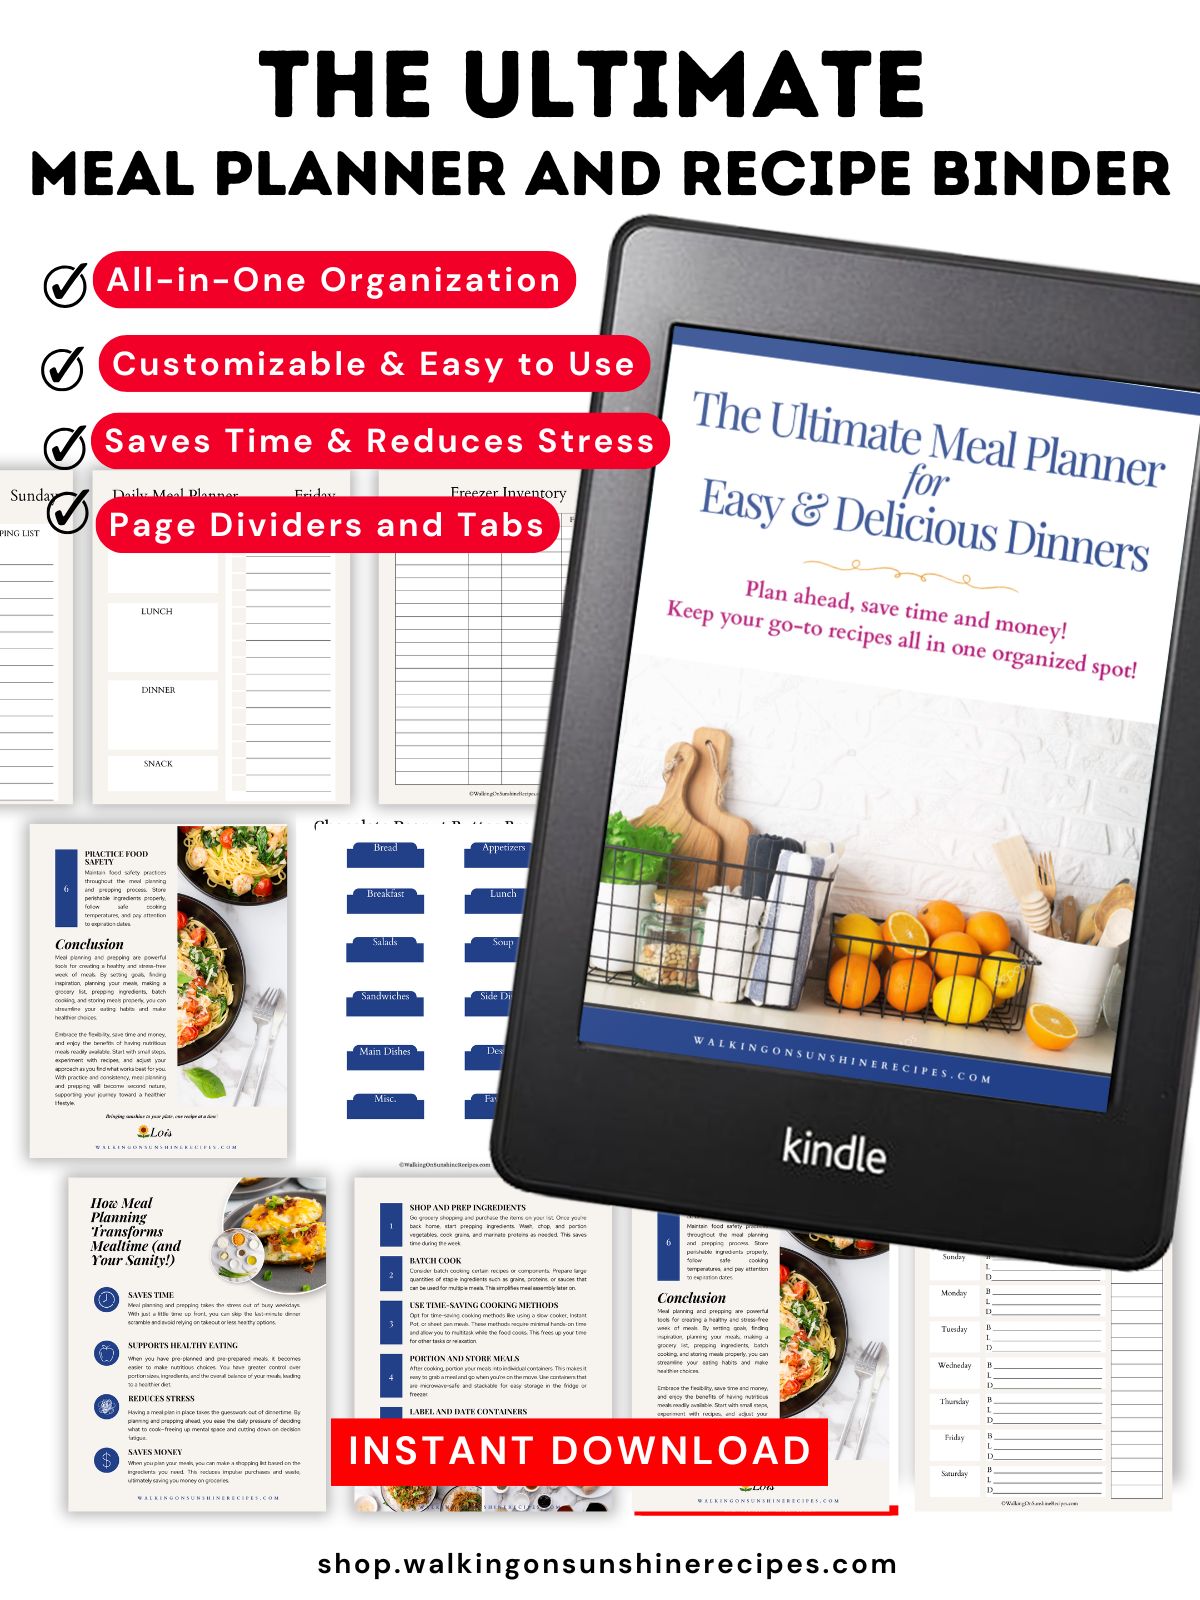
👉 Want to save this printed recipe? My Ultimate Meal Planner & Recipe Binder is the perfect place to keep all your favorite recipes organized and ready to use again and again!
Table of Contents
- Recipe at a Glance
- Cast Iron Baking Tips
- Recommended Kitchen Tools
- My Kitchen Tools Essentials
- Ingredients You’ll Need
- Substitutions and Variations
- Step-by-Step Instructions
- Insider Tips from My Kitchen to Yours
- Why I Love using My Cast Iron Skillet for this Recipe
- Storage & Serving Tips
- More Cast Iron Skillet Desserts You'll Love!
- LOVE this recipe? SAVE it for Later!
- 📖 Recipe Card
- Finally, a Meal Planner That Keeps Up With Your Life
- Recipe FAQ's
- Didn't find the answer you're looking for?
- Food Safety Tips:
- 💬 Comments
Cast Iron Baking Tips
Grease the skillet well: Even though cast iron is naturally nonstick when seasoned, a good layer of butter or cooking spray ensures the dessert releases easily and gives the edges a golden, crisp finish.
Adjust bake times slightly: Cast iron holds heat longer than a regular pan, so desserts may finish baking a few minutes earlier or continue to cook slightly after being removed from the oven. Start checking for doneness a bit sooner than usual.
Protect surfaces: Always place the hot skillet on a trivet or towel to avoid damaging countertops or tables.
Looking for more pumpkin desserts? Try my Pumpkin Brownies, Pumpkin Chocolate Chip Muffins, and even my Pumpkin Crunch Cake. Yum!
Recommended Kitchen Tools
For a full list of kitchen tools used in this recipe, be sure to check the recipe card below. You can also browse my Favorite Kitchen Tools by clicking the photo below.

Check out my list...
My Kitchen Tools Essentials
Tools that will make your time easier and faster in the kitchen!
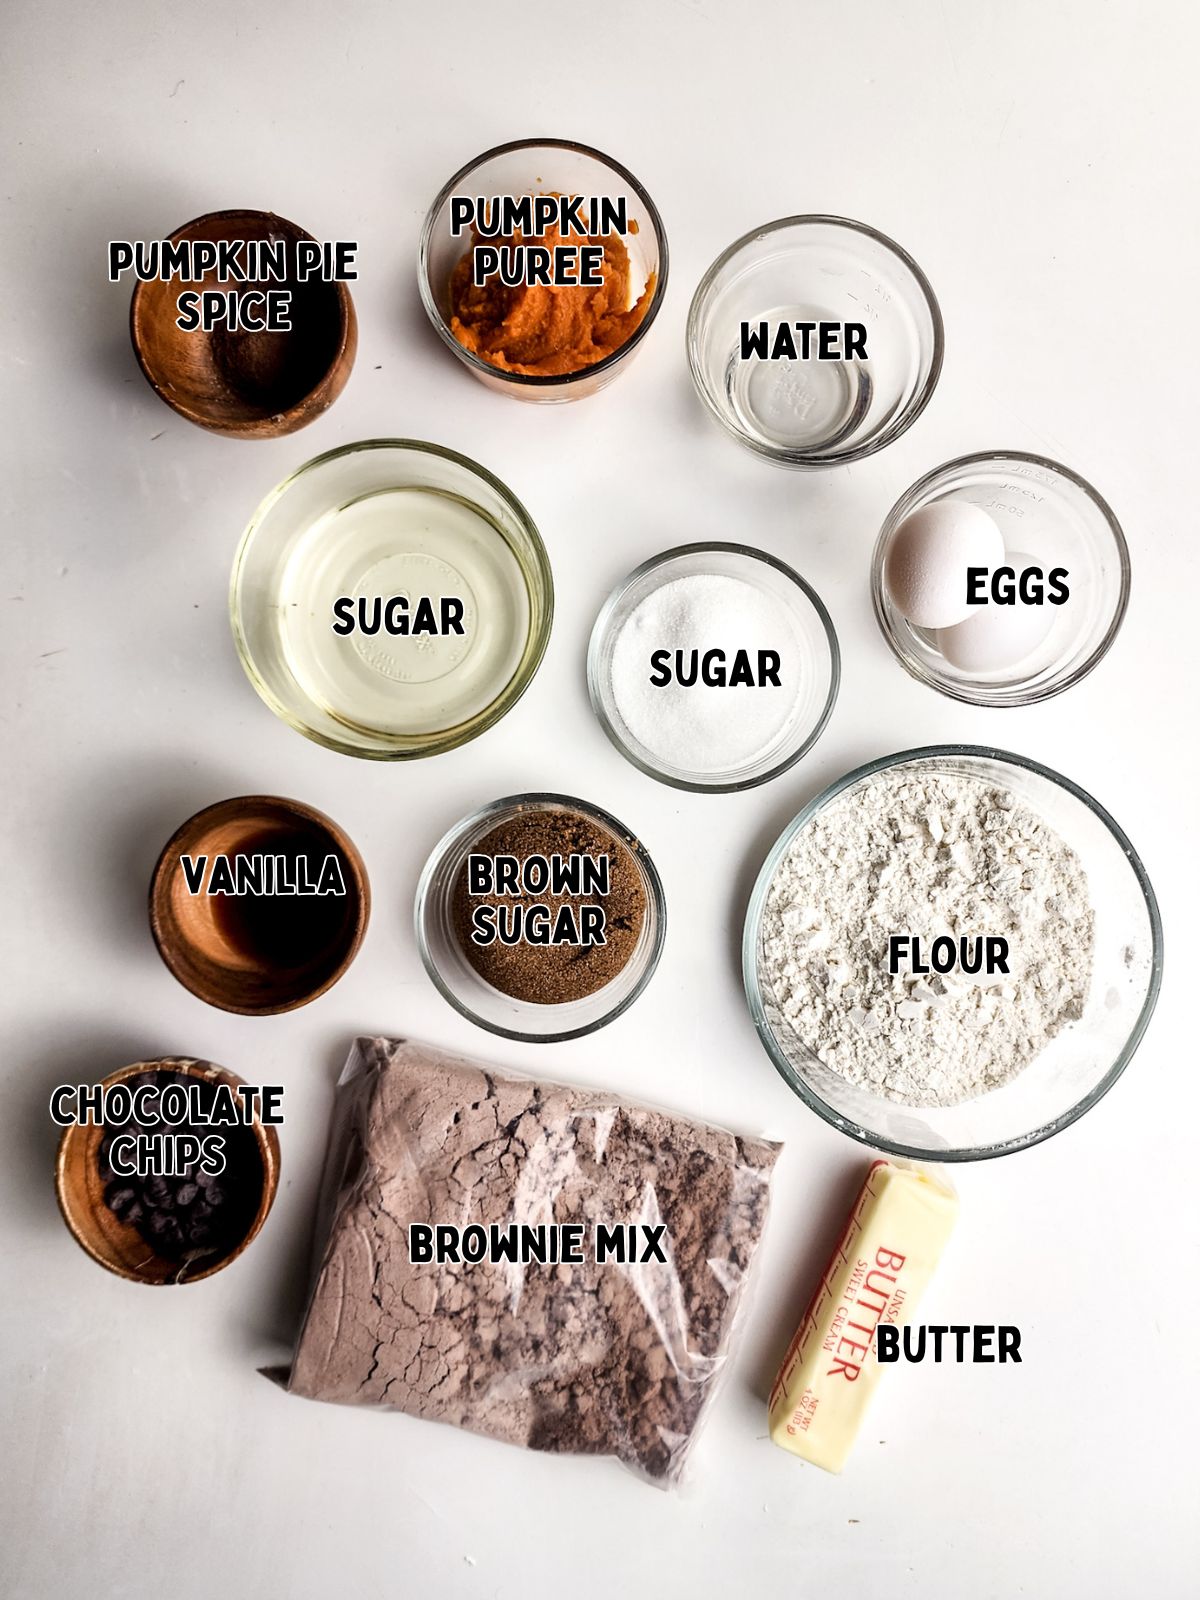
Ingredients You’ll Need
Below is a quick preview of the ingredients you’ll need. For exact amounts, check the recipe card below. You can also use the "Shopping List button" to create a printable shopping list, or the "Get Ingredients button" in the recipe card to order groceries online.
Substitutions and Variations
Brownie Mix: Use your favorite boxed mix whether that's a classic fudge, dark chocolate, or even a gluten-free option all work well. You can also use a homemade brownie base if you prefer.
Bake in a 9x13 Pan: You can make this recipe in a traditional baking dish. Grease or line with parchment, and start checking a few minutes early since it may bake faster. The edges won’t be as chewy, but the brownies will still be soft and fudgy.
Add-Ins: Stir in chopped nuts, or a handful of toffee bits into the batter for extra texture and richness.
Toppings: Finish with a drizzle of caramel sauce, a scoop of vanilla ice cream, or a dusting of powdered sugar to dress it up for guests.
This recipe has not been tested with other substitutions or variations. If you replace or add any ingredients, please let me know how it turned out in the comments below!
Step-by-Step Instructions
This section provides step-by-step photos and instructions to guide you through the recipe. For the complete printable version, scroll down to the recipe card below.
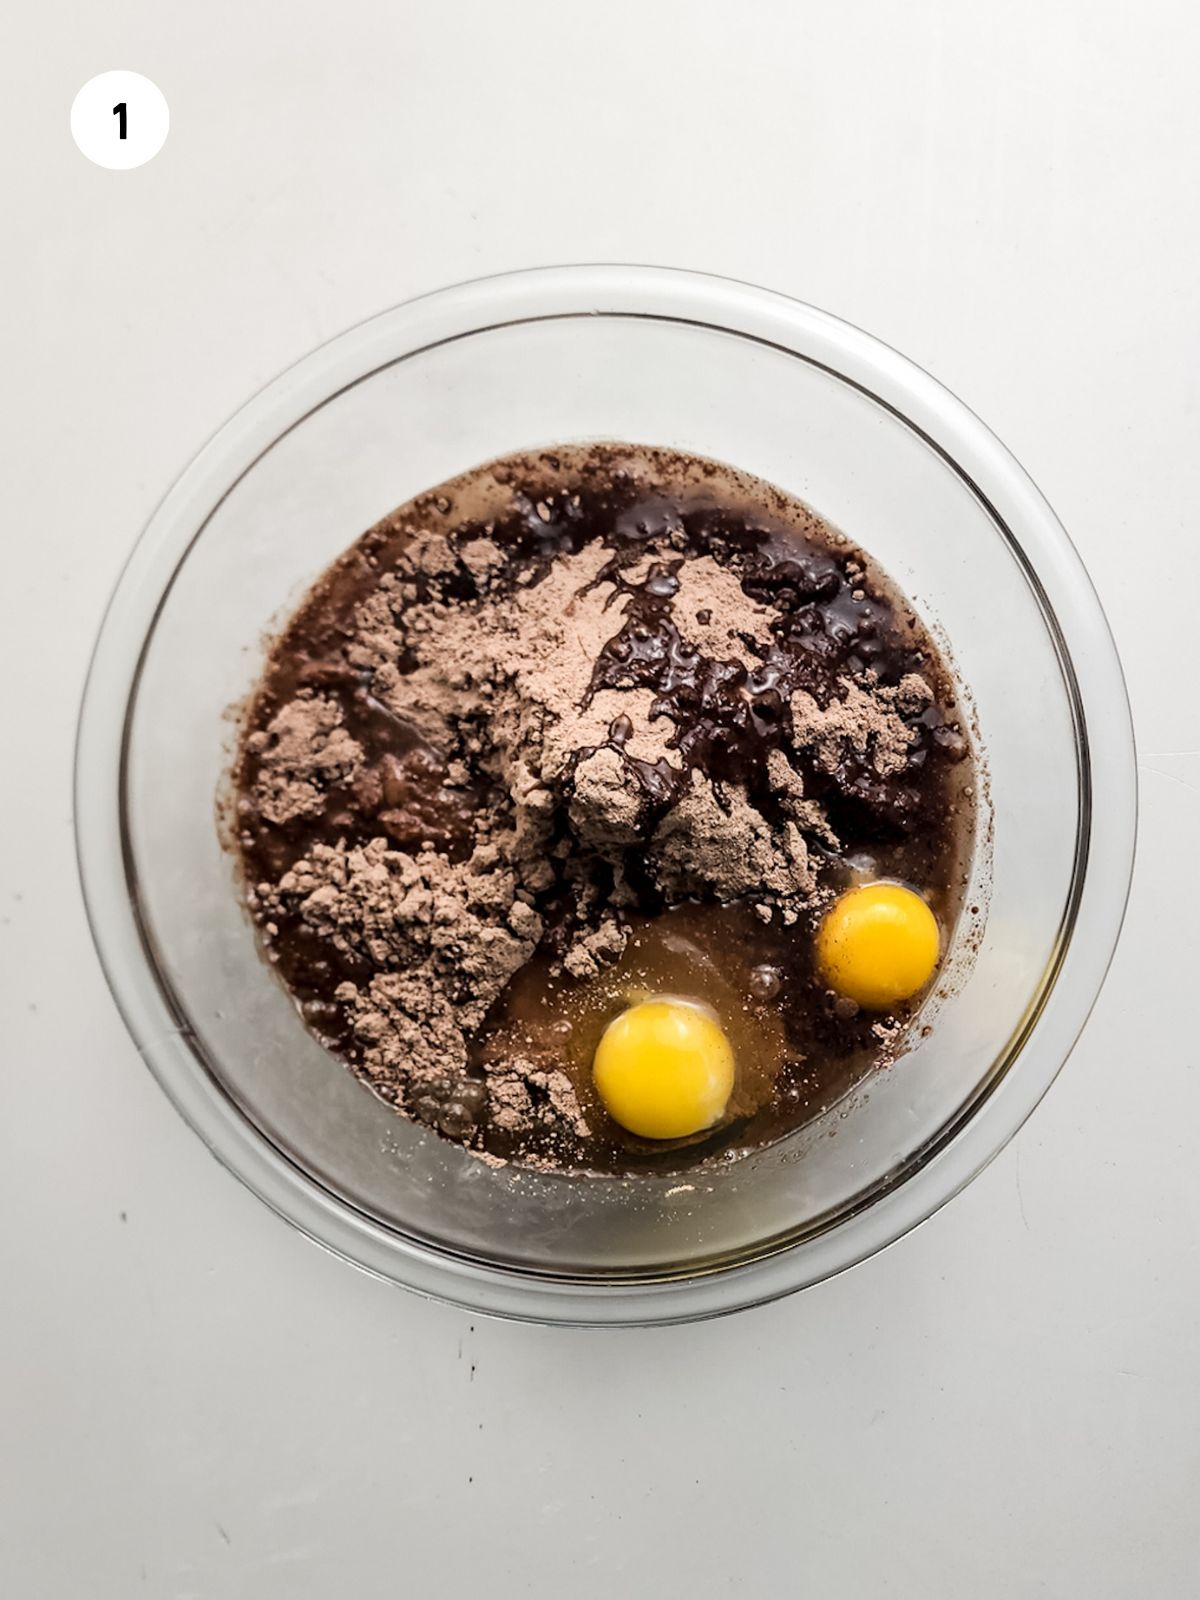
Step 1: Combine the brownie mix with the ingredients listed on the box.
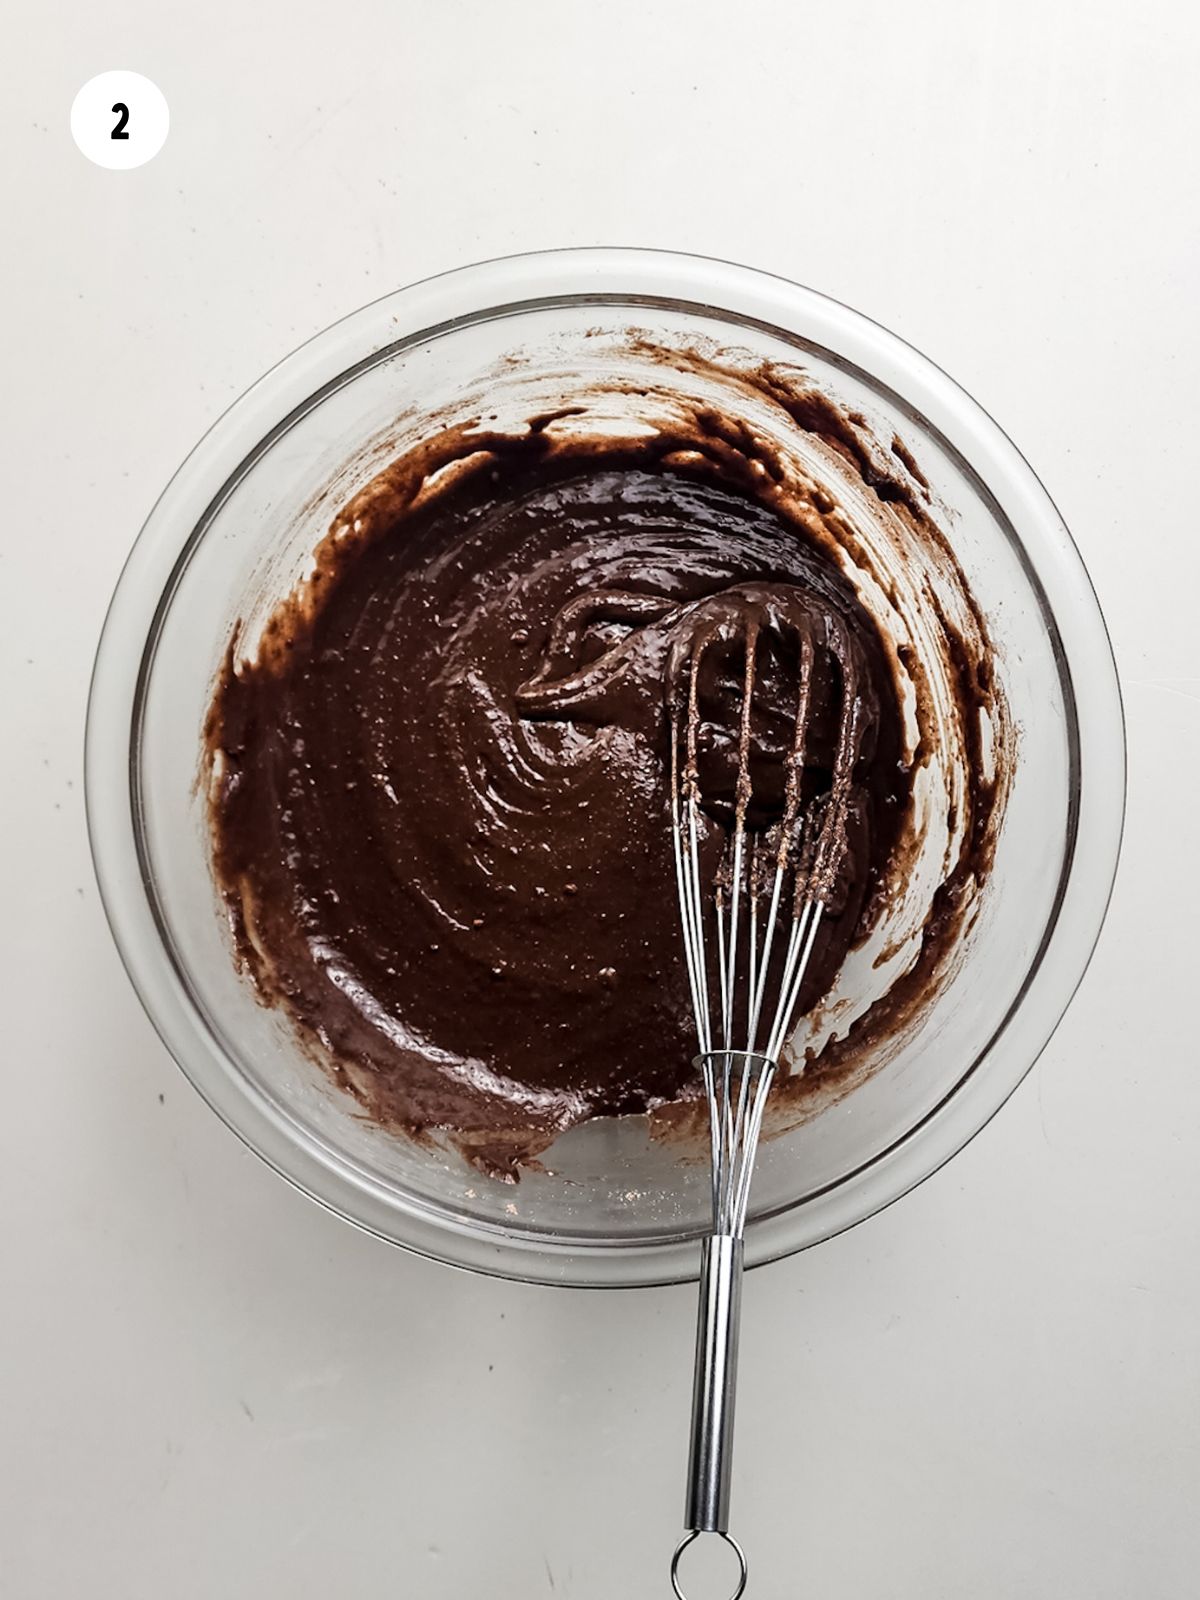
Step 2: Mix together until the batter is formed. Set aside.
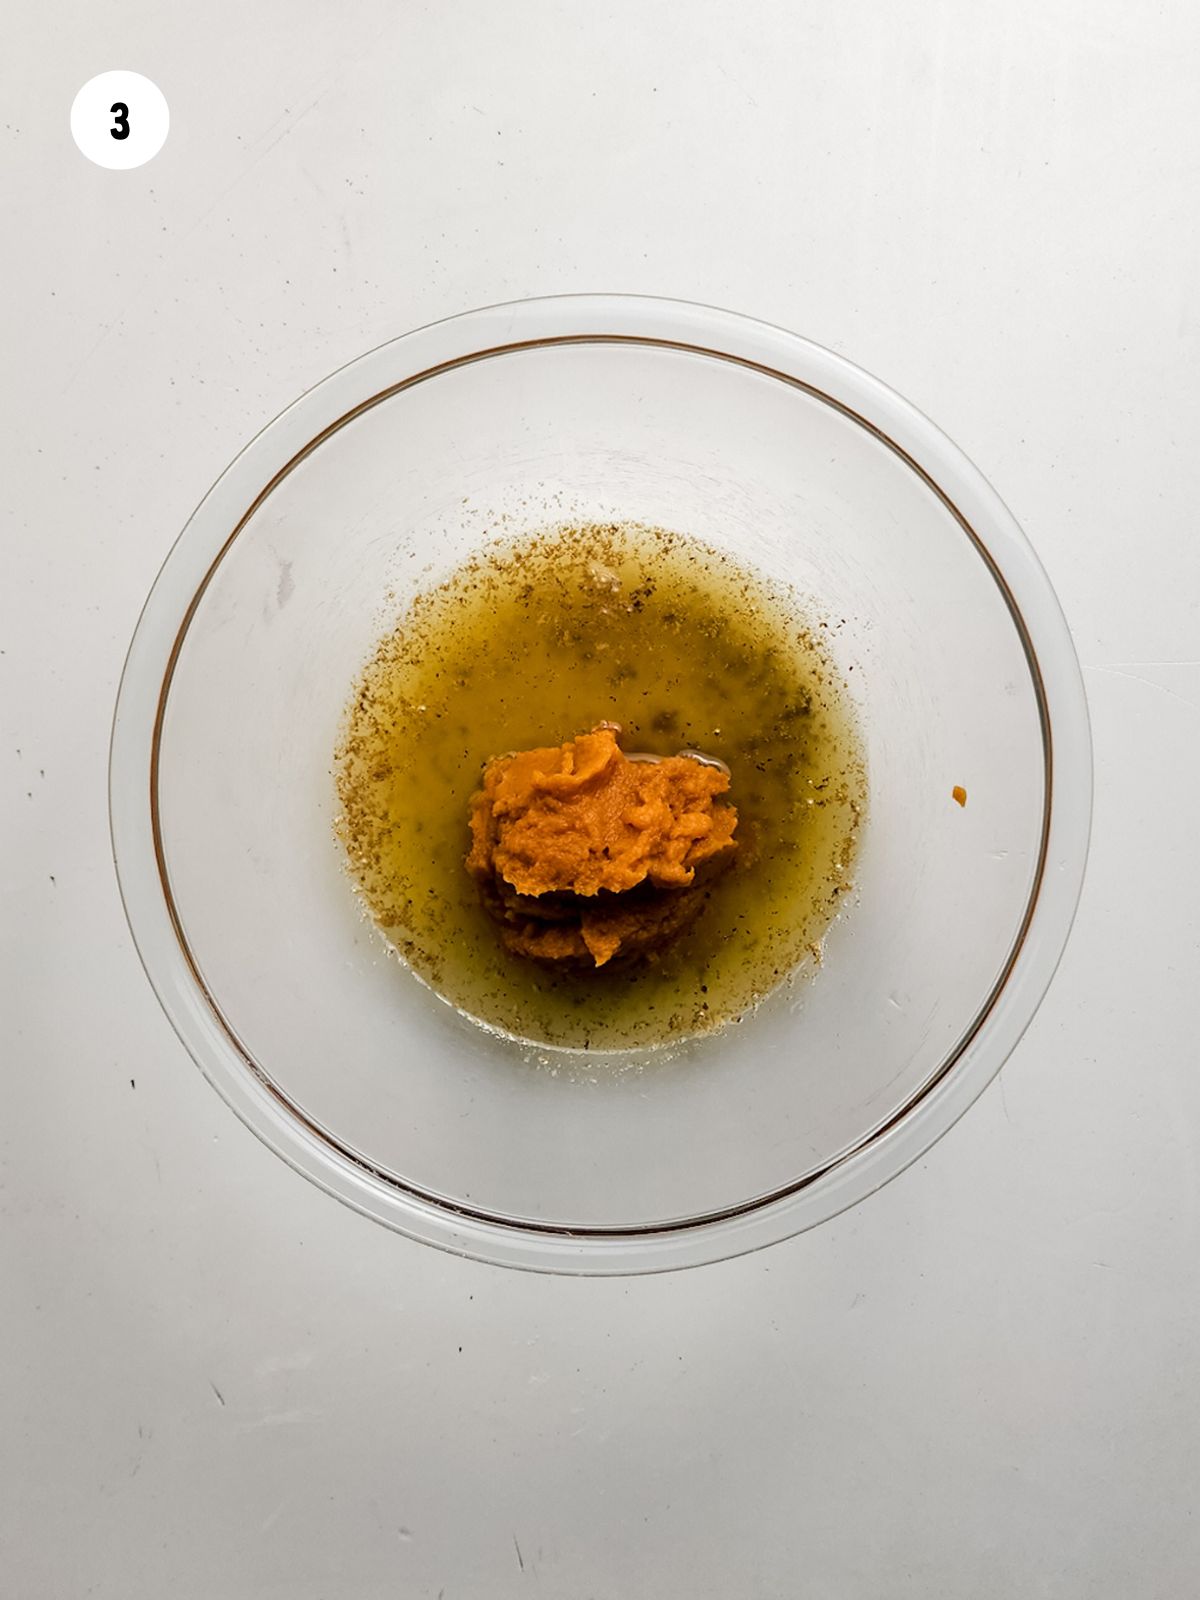
Step 3: Whisk the melted butter and pumpkin puree together.
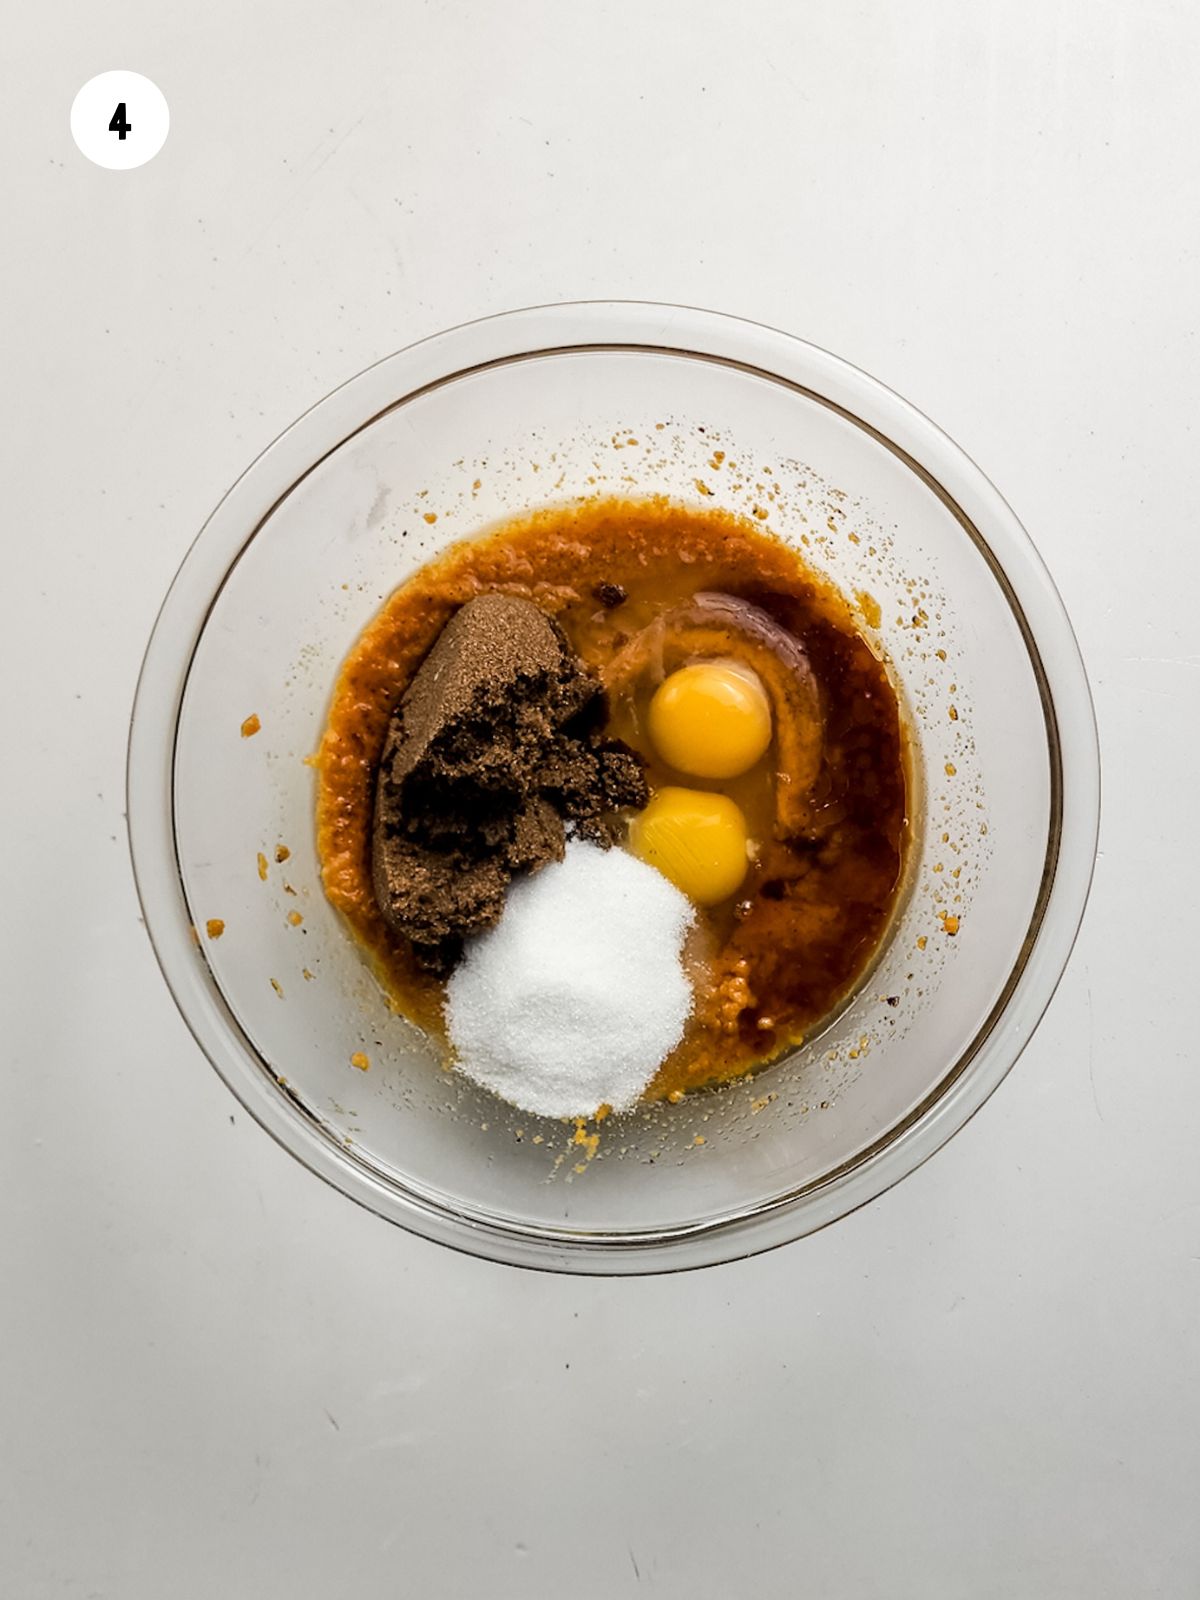
Step 4: Mix in the sugars, eggs, and vanilla extract until the mixture is smooth.
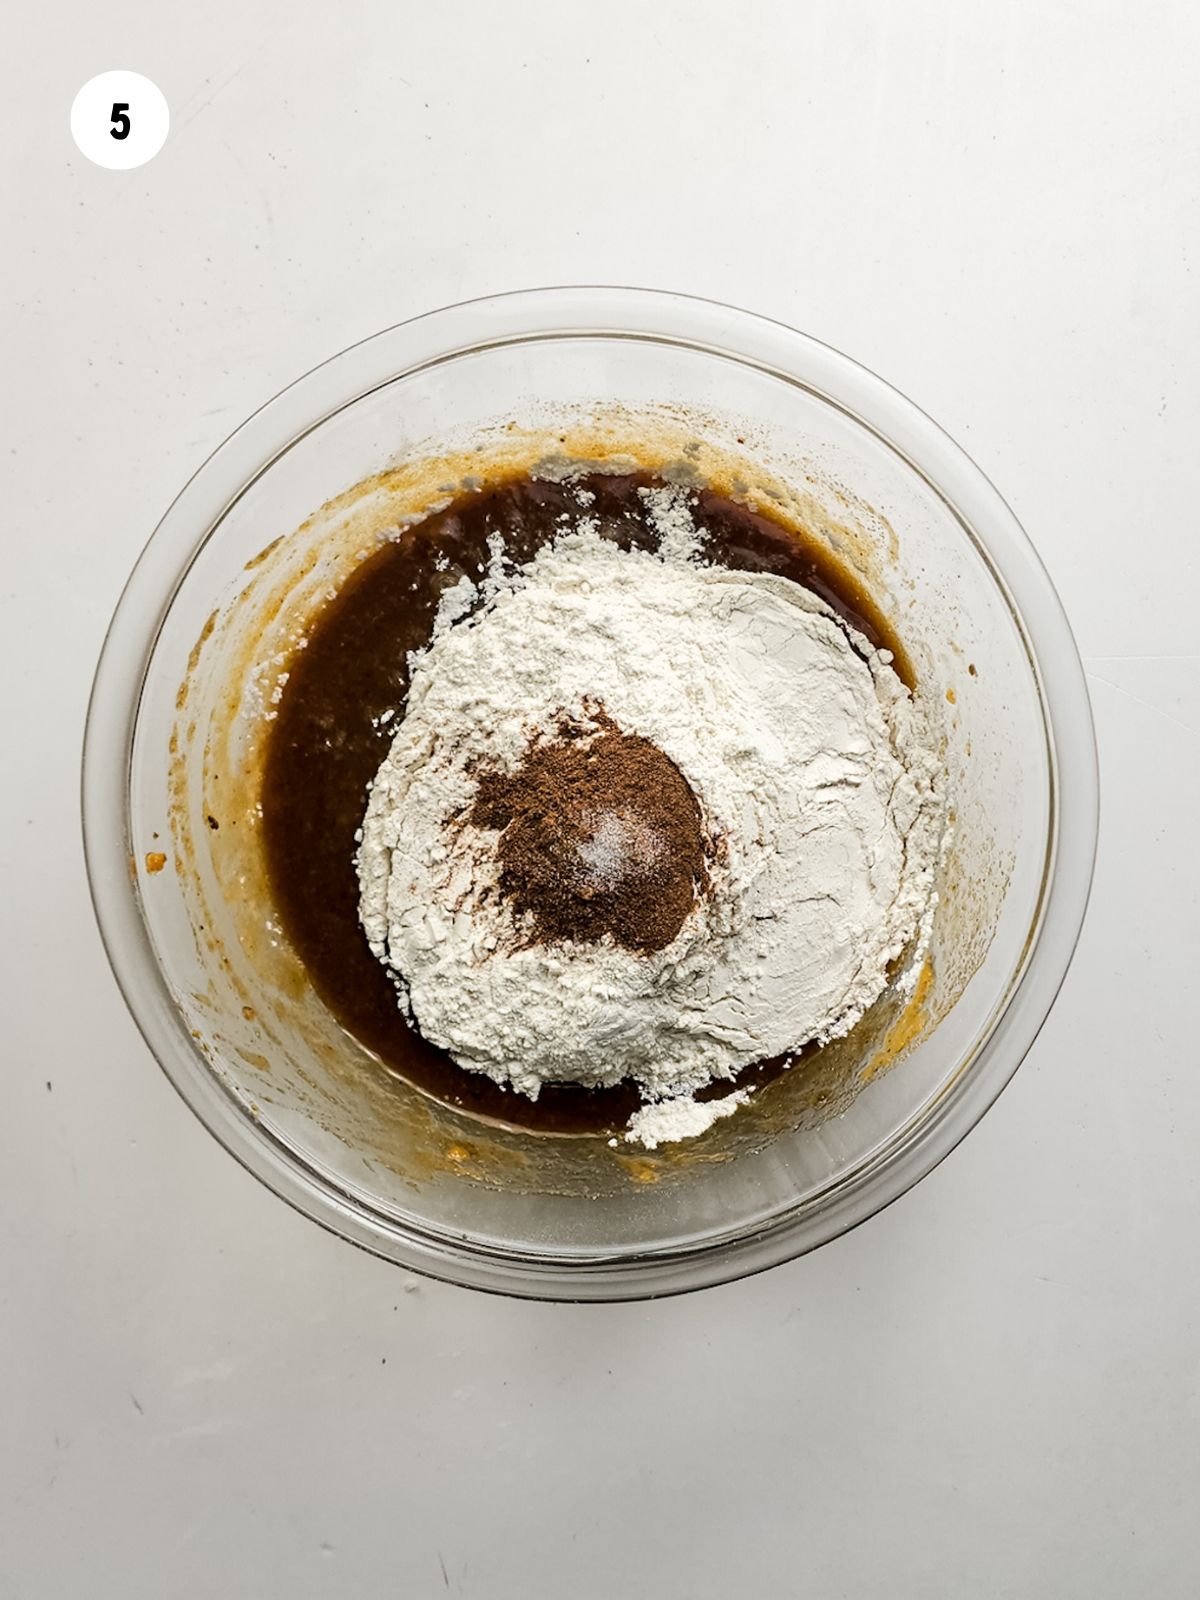
Step 5: Mix the flour and pumpkin pie spice into the wet ingredients.
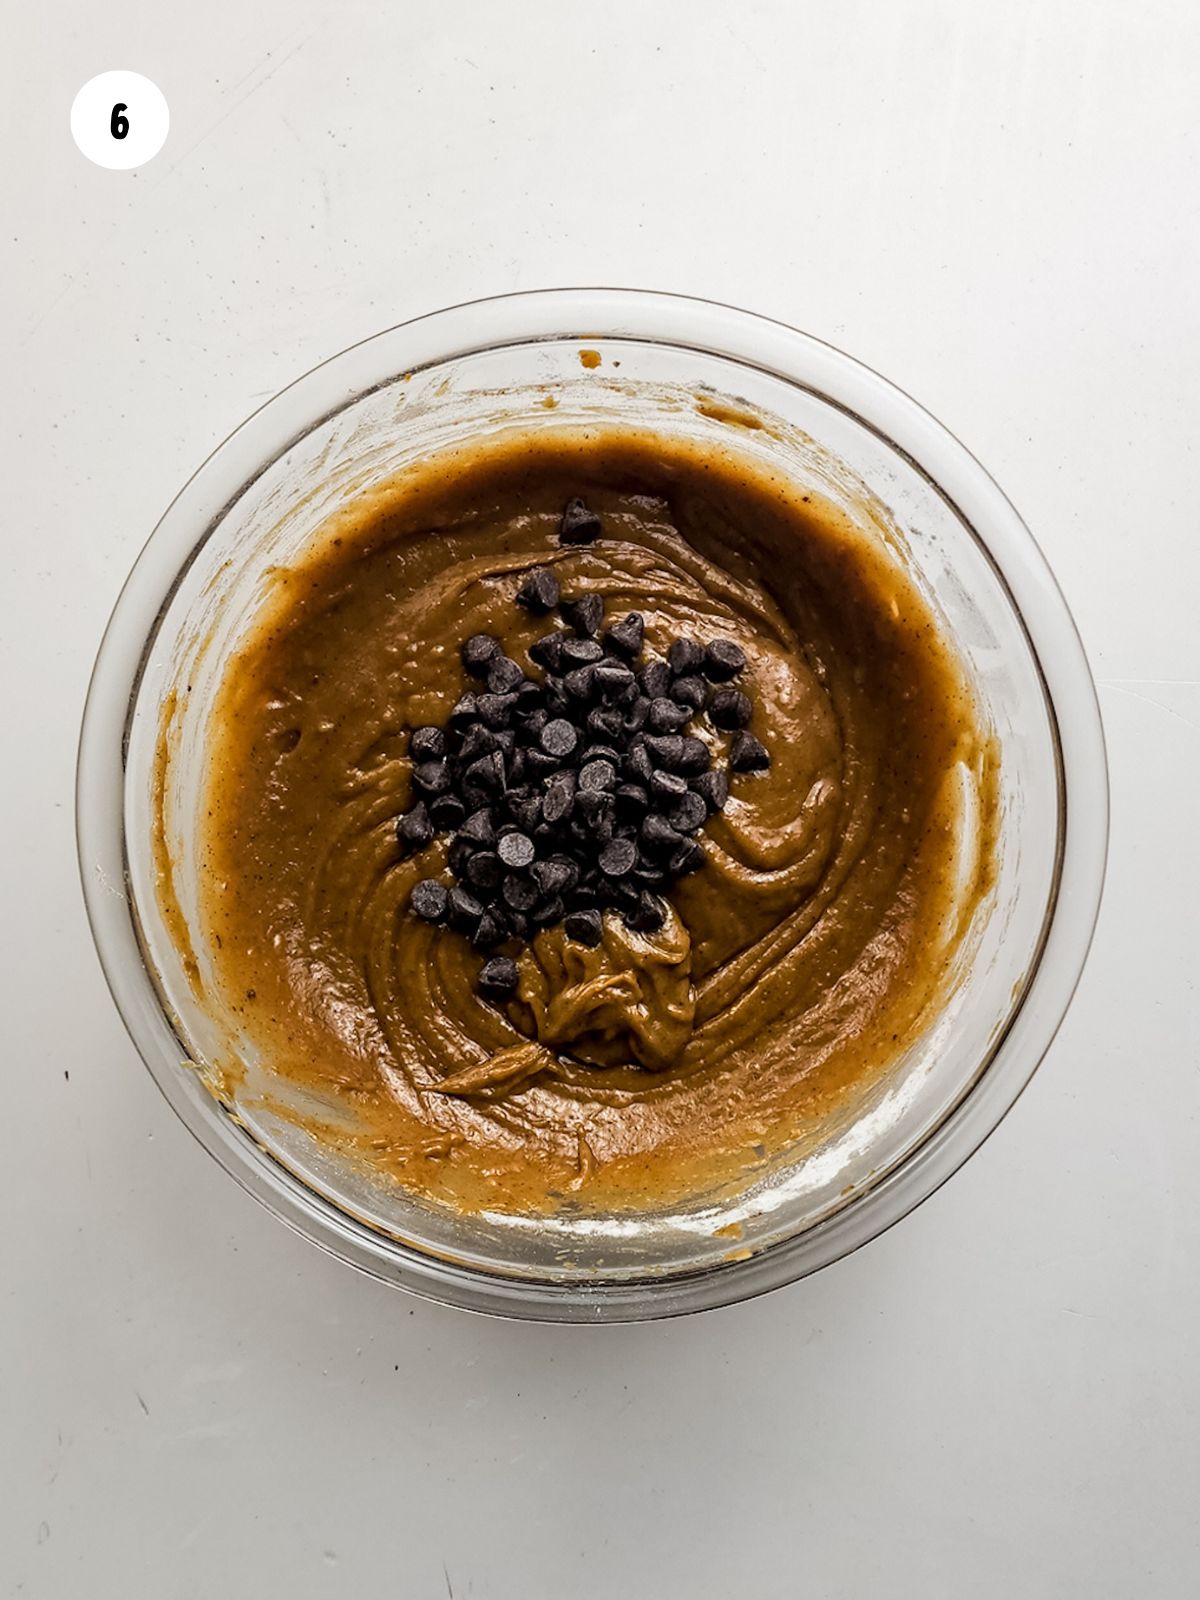
Step 6: Fold in the chocolate chips.
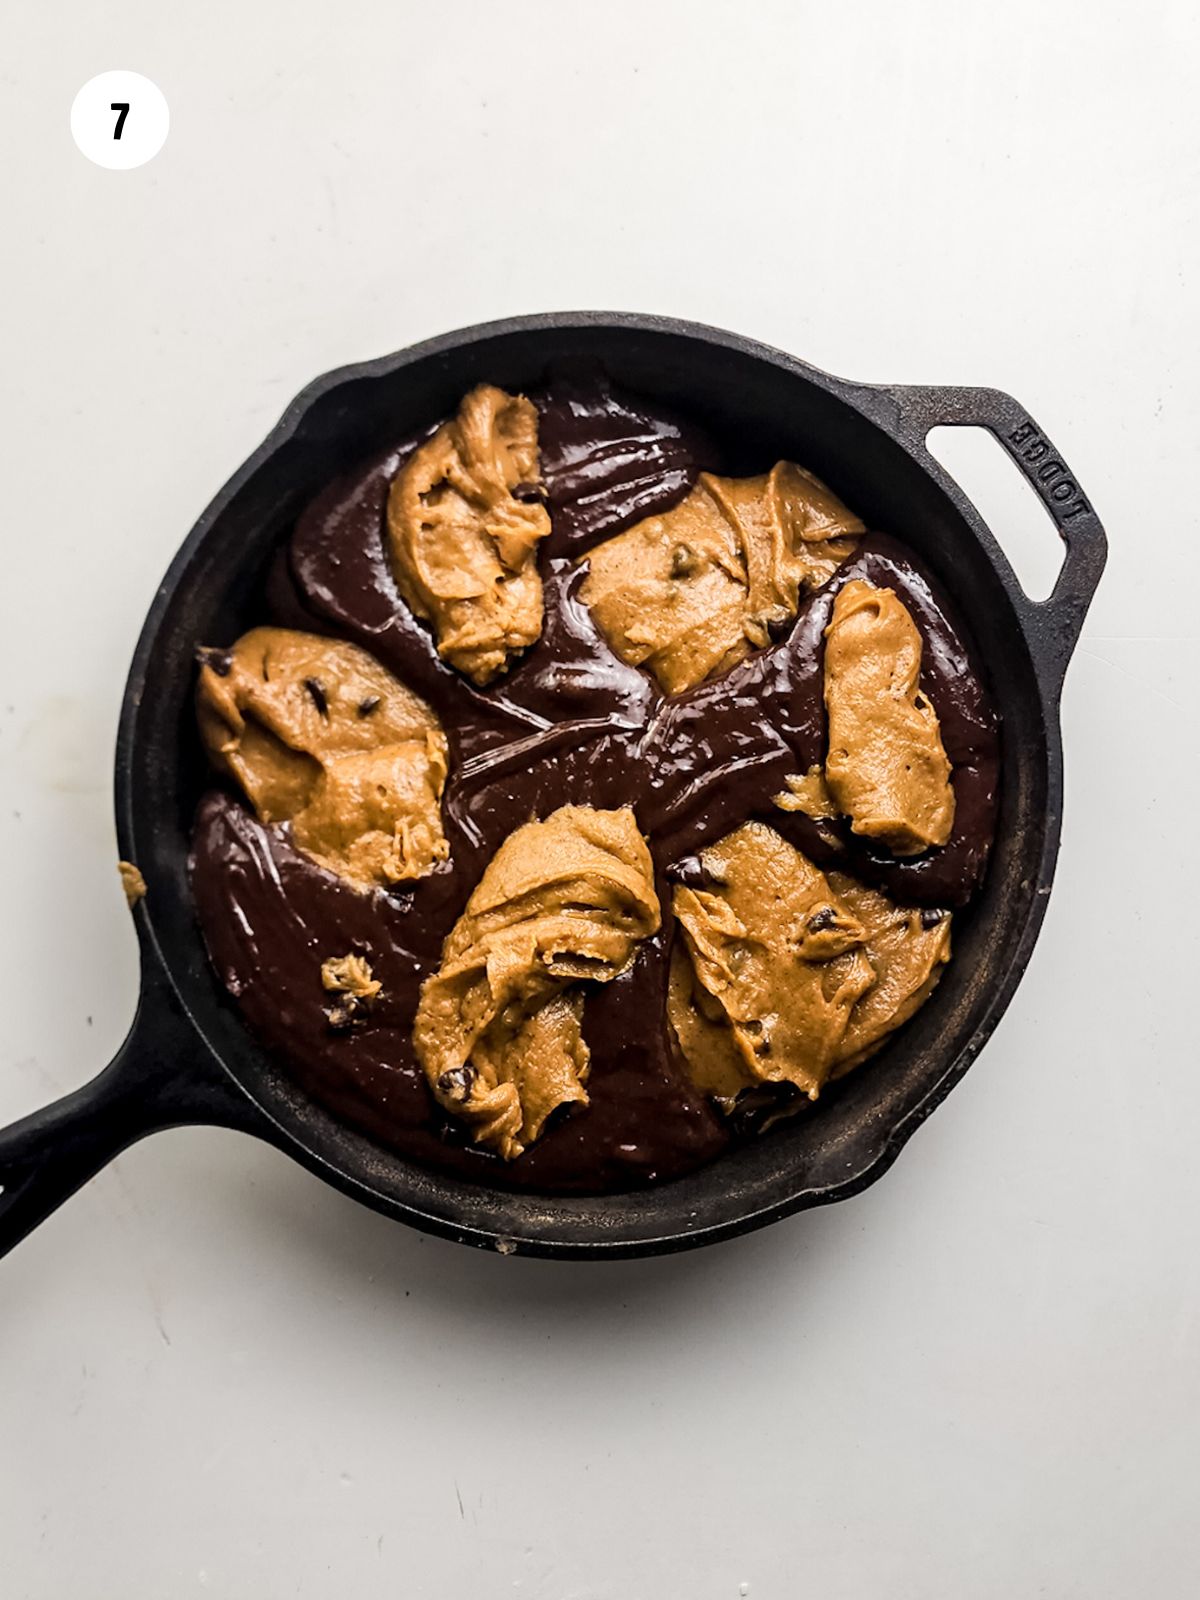
Step 7: Dollop the brownie batter and the cookie dough evenly into a 10-inch cast iron skillet.
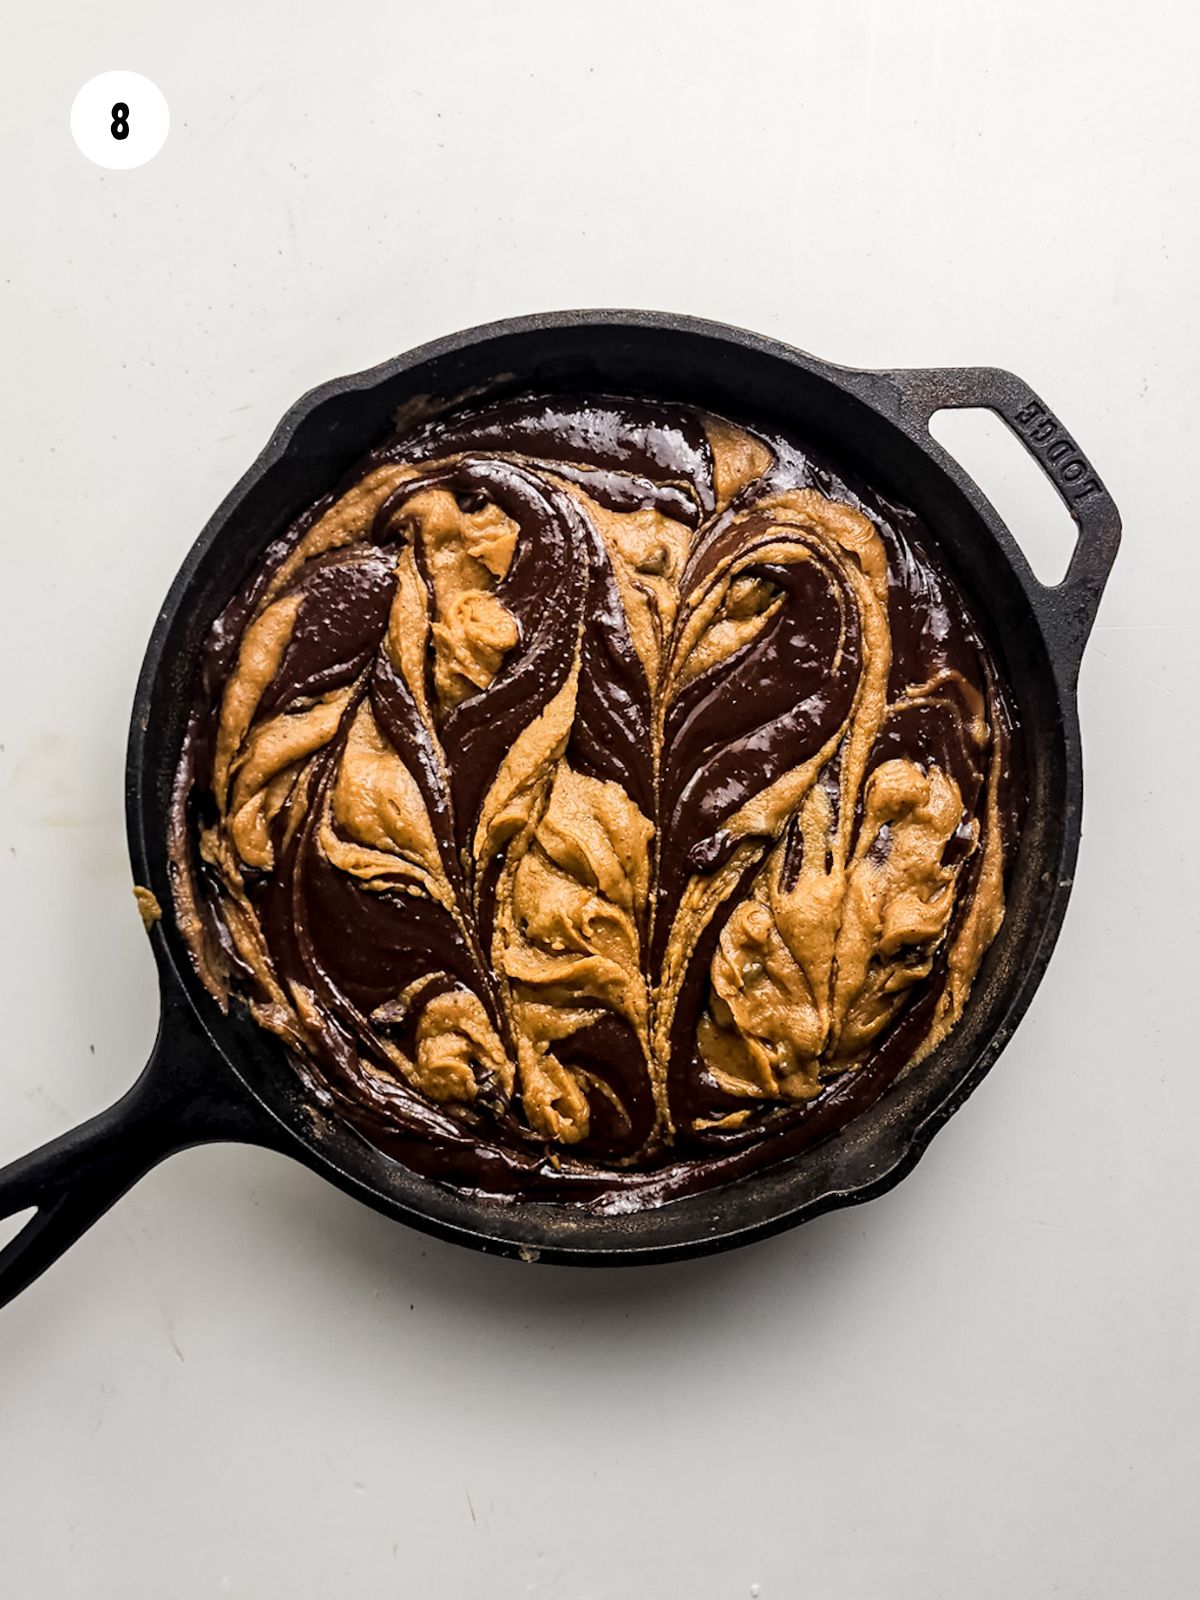
Step 8: Use a butter knife to swirl the batters together.
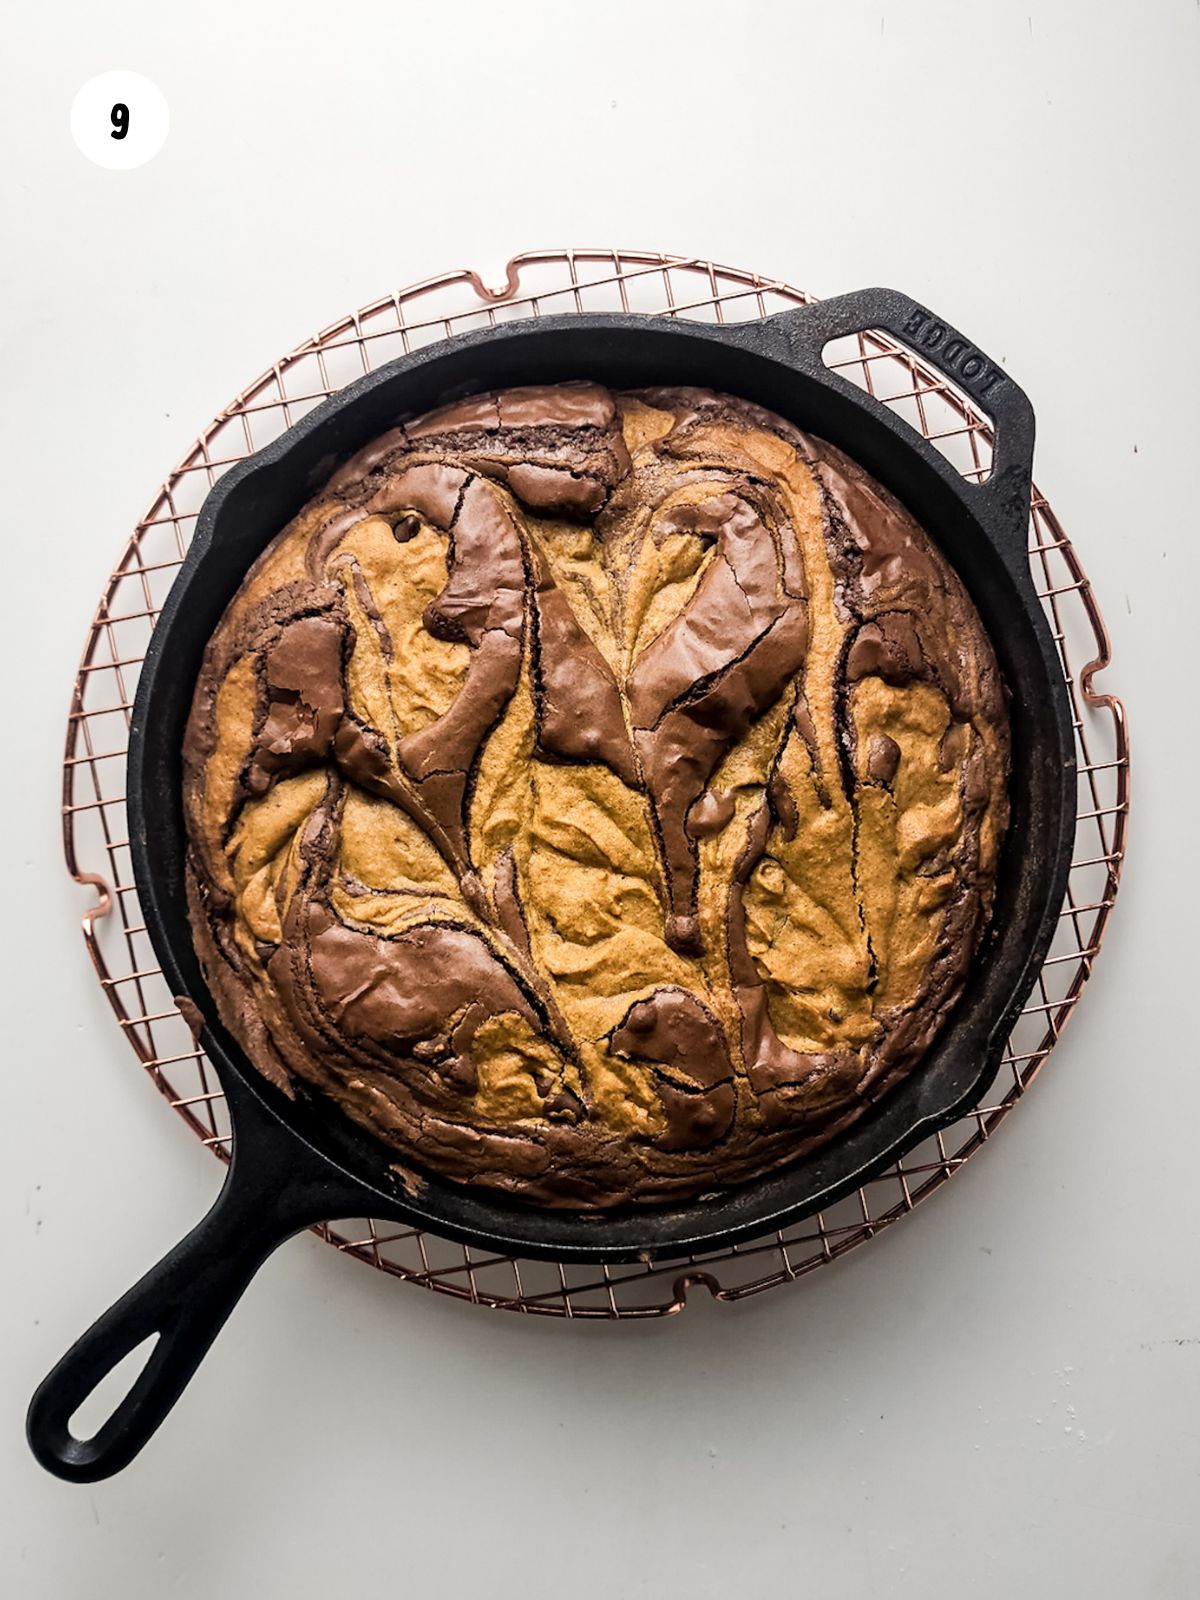
Step 9: Bake at 350°F for 35-40 minutes until the center is cooked through. Cool for a couple of minutes then serve with ice cream!
Insider Tips from My Kitchen to Yours
✔️ DO grease the cast iron skillet generously so the brownies bake evenly and release easily once cooled.
❌ DO NOT overbake. The skillet holds heat and continues cooking after it’s out of the oven, so remove the brownies when the center is still slightly fudgy.

Why I Love using My Cast Iron Skillet for this Recipe
I love how the cast iron skillet gives the brownies perfectly chewy edges while keeping the center soft and fudgy.
It makes the dessert feel rustic and cozy, and serving it straight from the skillet adds a warm, homemade touch.
Storage & Serving Tips
Refrigerate: Store leftover brownies in an airtight container in the refrigerator for up to 4 days.
Freezer: Wrap individual pieces tightly in plastic wrap, then place in a freezer-safe bag or container. Freeze for up to 2 months.
Thaw and Reheat: Thaw at room temperature or warm gently in the microwave for 10–15 seconds for a soft, fudgy texture.
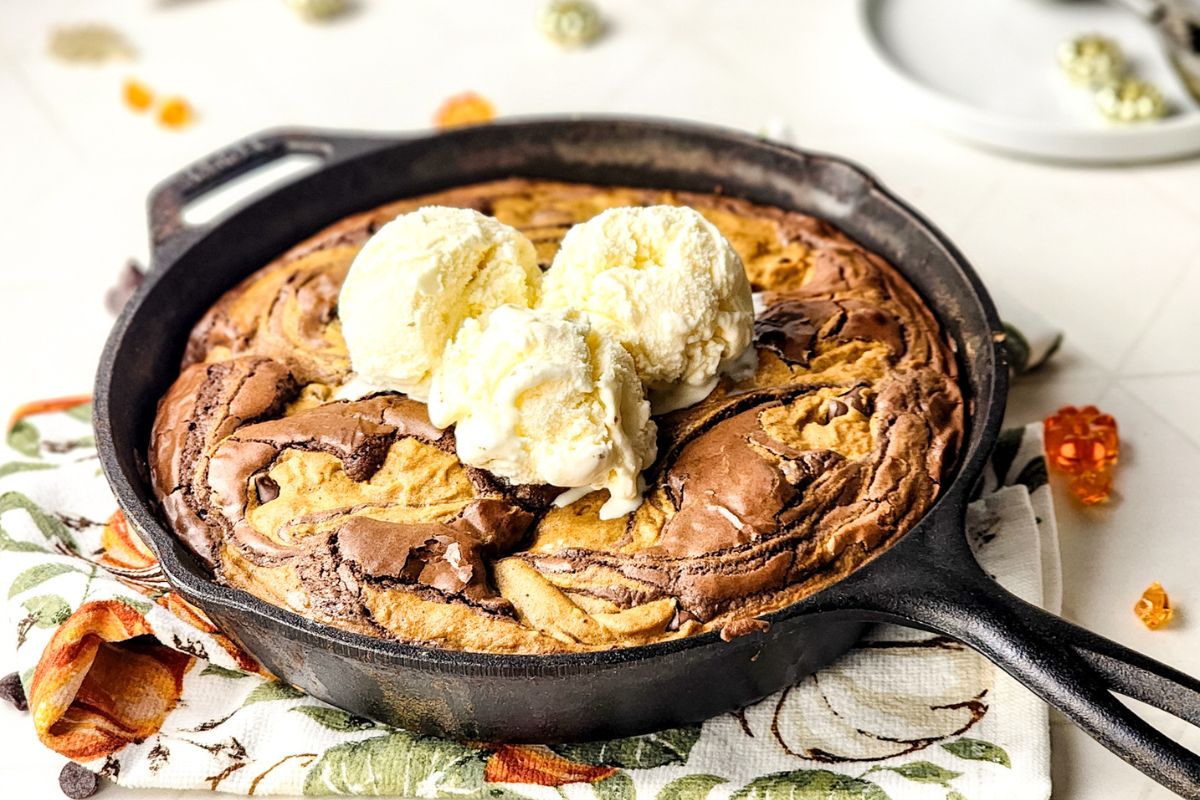
Serving Tips: Serve warm straight from the skillet or with a scoop of vanilla ice cream and a drizzle of caramel sauce for a cozy fall dessert.
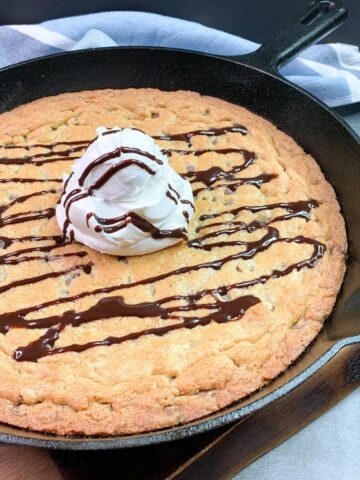
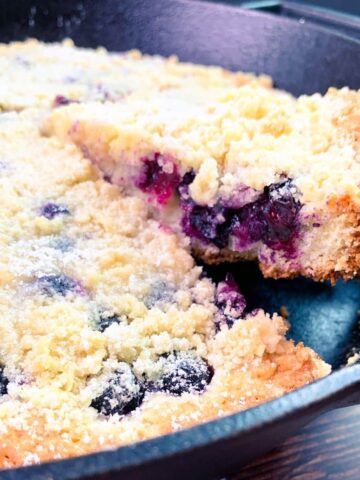
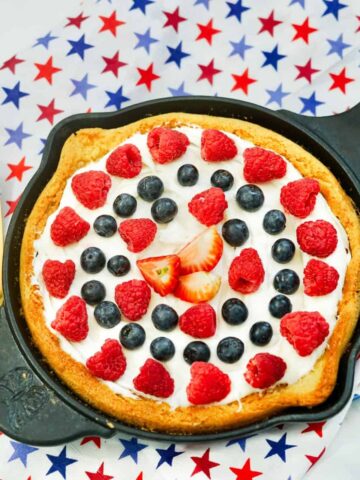
More Cast Iron Skillet Desserts You'll Love!


LOVE this recipe? SAVE it for Later!
❤️Tap the heart icon in the lower right corner to add the recipe to your recipe box for easy access anytime.
If you made it, leaving a star rating or quick review is always appreciated and helps other readers too.
Want to save this printed recipe? The Ultimate Meal Planner & Recipe Binder helps you keep recipes organized in one easy place.
📖 Recipe Card
Cast Iron Skillet Pumpkin Brownies
Video
Ingredients
- 1 box brownie mix (plus ingredients listed on box)
- ½ cup melted unsalted butter
- ⅔ cup pumpkin puree
- ½ cup brown sugar
- ¼ cup white granulated sugar
- 2 eggs
- 1 ¼ cup all purpose flour
- 2 teaspoons pumpkin pie spice
- 2 teaspoons vanilla extract
- ¾ cup semi-sweet chocolate chips
Method
- Preheat the oven to 350°F.
- In a bowl, add the brownie mix along with the ingredients necessary listed on the box. Whisk together until a thick batter is formed. Set aside.
- In another mixing bowl, add the melted butter and pumpkin puree. Whisk together until combined.
- Then add in the brown and white sugars, with the eggs and vanilla extract. Whisk this mixture again until smooth.
- Pour in the all purpose flour and pumpkin pie spice. Blend these dry ingredients into the wet, gently mixing until a thick batter is formed. Fold in the chocolate chips.
- Take the cast iron skillet and place dollops of the pumpkin batter and dollops of the brownie batter into the pan. Continue this until all the batter is used, being sure to evenly distribute the two batters.
- Use a butter knife and drag back and forth through the batters for a cool swirl effect when baking.
- Place in the oven and bake for 35-40 minutes or until the top is shiny and the center is cooked through.
- Remove from the oven and let cool for a couple minutes.
- Top with ice cream and enjoy!
Nutrition
Notes
- Grease the cast iron skillet well to keep the brownies from sticking and to get crisp, chewy edges.
- Start checking for doneness a few minutes early since cast iron holds heat and can bake faster.
- Let the brownies cool in the skillet for 10–15 minutes before slicing for cleaner cuts and a fudgy center.
- Store leftovers in an airtight container in the refrigerator for up to 4 days.
- Freeze individual pieces tightly wrapped for up to 2 months.
- Warm briefly in the microwave before serving to bring back that fresh-baked texture.
Tried this recipe?
Let us know how it was!Finally, a Meal Planner That Keeps Up With Your Life
Want a better way to keep track of your family’s favorite meals? Grab my Ultimate Meal Planner & Recipe Binder—perfect for organizing go-to recipes, planning weekly dinners, and making mealtime feel a little less chaotic.

Recipe FAQ's
To view the answers, simply click on the down arrow (⬇) next to each question. If you have any other questions not answered here, please leave a comment!
The brownies are done when the edges look set and a toothpick inserted about 2 inches from the edge comes out with just a few moist crumbs. The center should still look slightly soft — it will continue to cook a bit in the hot cast iron after you remove it from the oven. This keeps the texture fudgy instead of dry.
Yes, the baking time may change depending on the size of your skillet or pan. A larger pan will spread the batter more thinly, so the brownies may bake a few minutes faster. A smaller pan will make them thicker and may need a little extra time. Start checking for doneness a few minutes early and use the toothpick test near the edges to avoid overbaking.
Yes, you can make this recipe without a cast iron skillet. A 9x13 baking dish or similar oven-safe pan works well lined with parchment paper. The edges may not get quite as chewy as they do in cast iron, but the brownies will still bake up soft, fudgy, and delicious. Adjust the baking time slightly and start checking a few minutes early.
Didn't find the answer you're looking for?
Ask AI to answer based on this specific recipe.
Food Safety Tips:
- Baked goods are done when they reach their recommended internal temperature—usually between 190–210°F (88–99°C), depending on the type. Always check the recipe for exact guidance.
- Use separate utensils and surfaces for raw ingredients, especially eggs, to prevent cross-contamination.
- Wash your hands thoroughly after handling raw dough or eggs.
- Avoid leaving baked goods or raw dough at room temperature for extended periods.
- Never leave the oven unattended while baking.
- Choose oils with a high smoking point to minimize the release of harmful compounds.
- Ensure good ventilation when using a gas stove when using an oven or gas stove to maintain a safe cooking environment.

Comments
No Comments